
Manage Memberships Part II: Add Membership to Contact (Version 2+)
- This tutorial will cover how to add memberships to a contacts record.
- This tutorial covers adding a brand-new/first-time membership. If the contact is already a member and you need to renew or change/upgrade/downgrade the contact's membership, please see the tutorials on Renewing a Membership and on Changing a Membership.
- IT IS EXTREMELY IMPORTANT THAT YOU DO NOT ADD MORE THAN ONE MEMBERSHIP PER CONTACT. If a contact ends up with more than one membership, it becomes very difficult to write a report telling you if they are active or not (if one of their membership is active and one is inactive, they are both an active an inactive member and will show up on both types of reports; furthermore, they will have two membership join/start dates, so it becomes difficult to write a report showing their very first start/join date).
- There are several ways to add a new membership: a) Full Add New Membership via Add New Member button at the bottom of the Manage Memberships screen, b) Add New Member via Membership Widget on View contact profile, c) Quick Add Membership from the Quick Add Menu (start at step #29), and d) Add Invoice from the Quick Add Menu or from the Invoices Index Screen (start at step #34). This tutorial will cover all four methods.
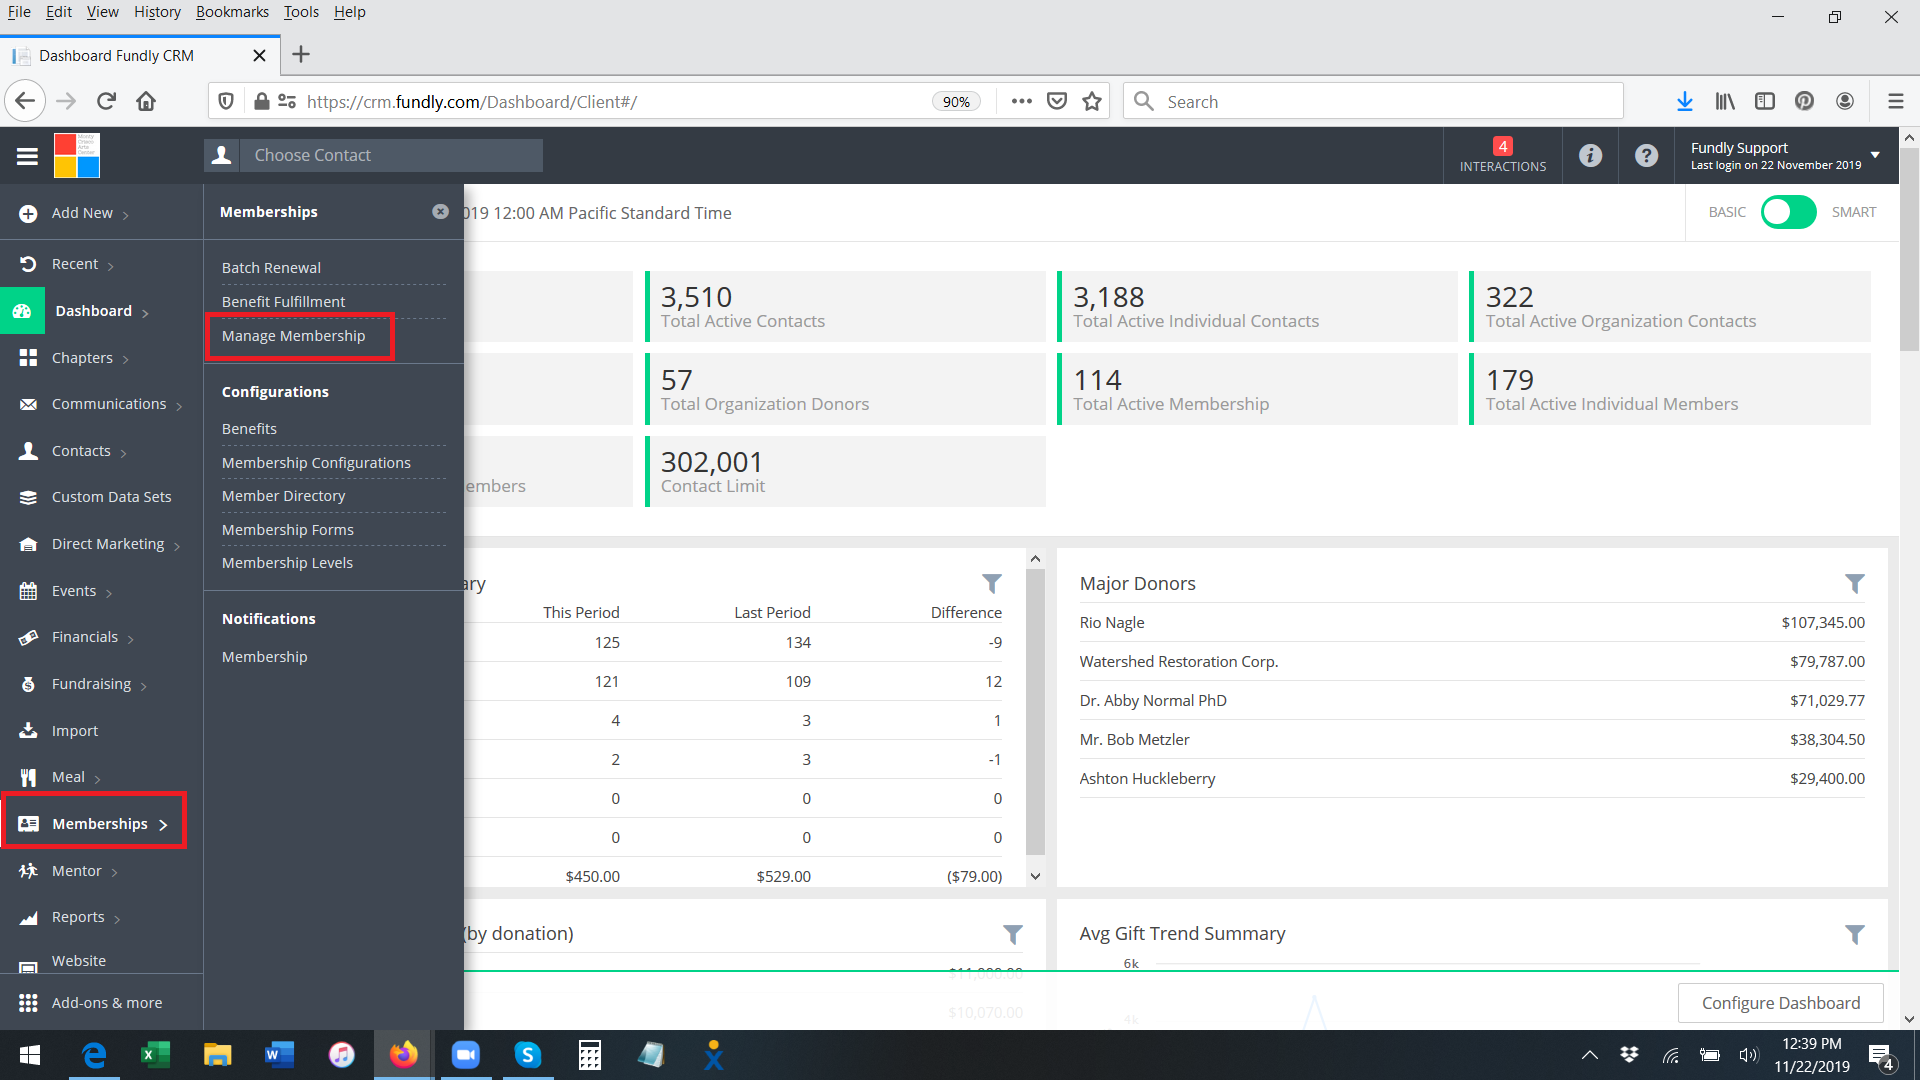
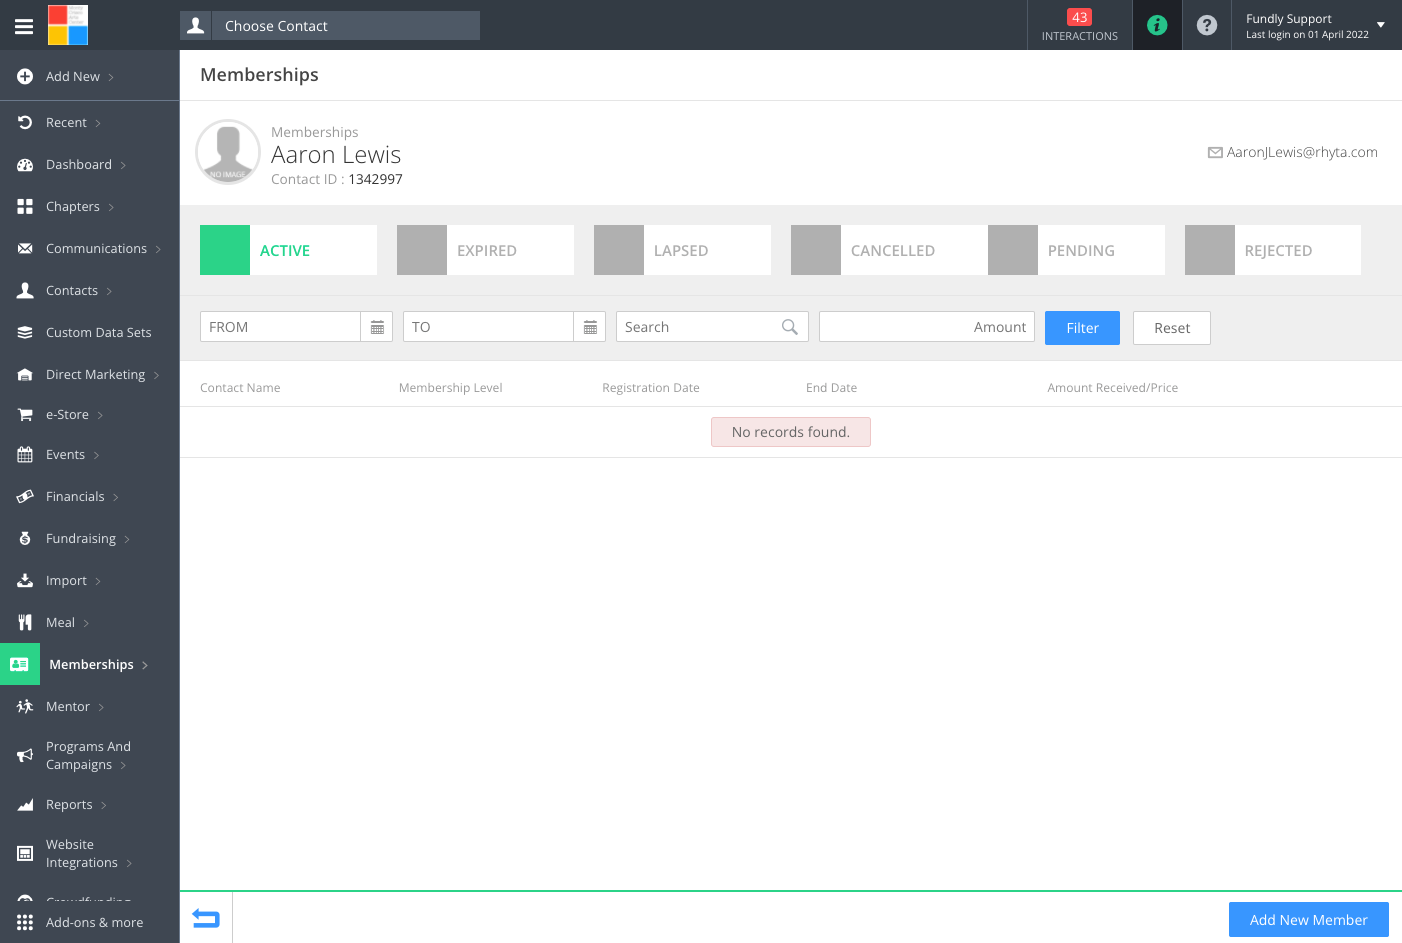
- To Full Add Membership from Manage Memberships, start by clicking on Membership on the Main Menu and click on Manage Memberships.
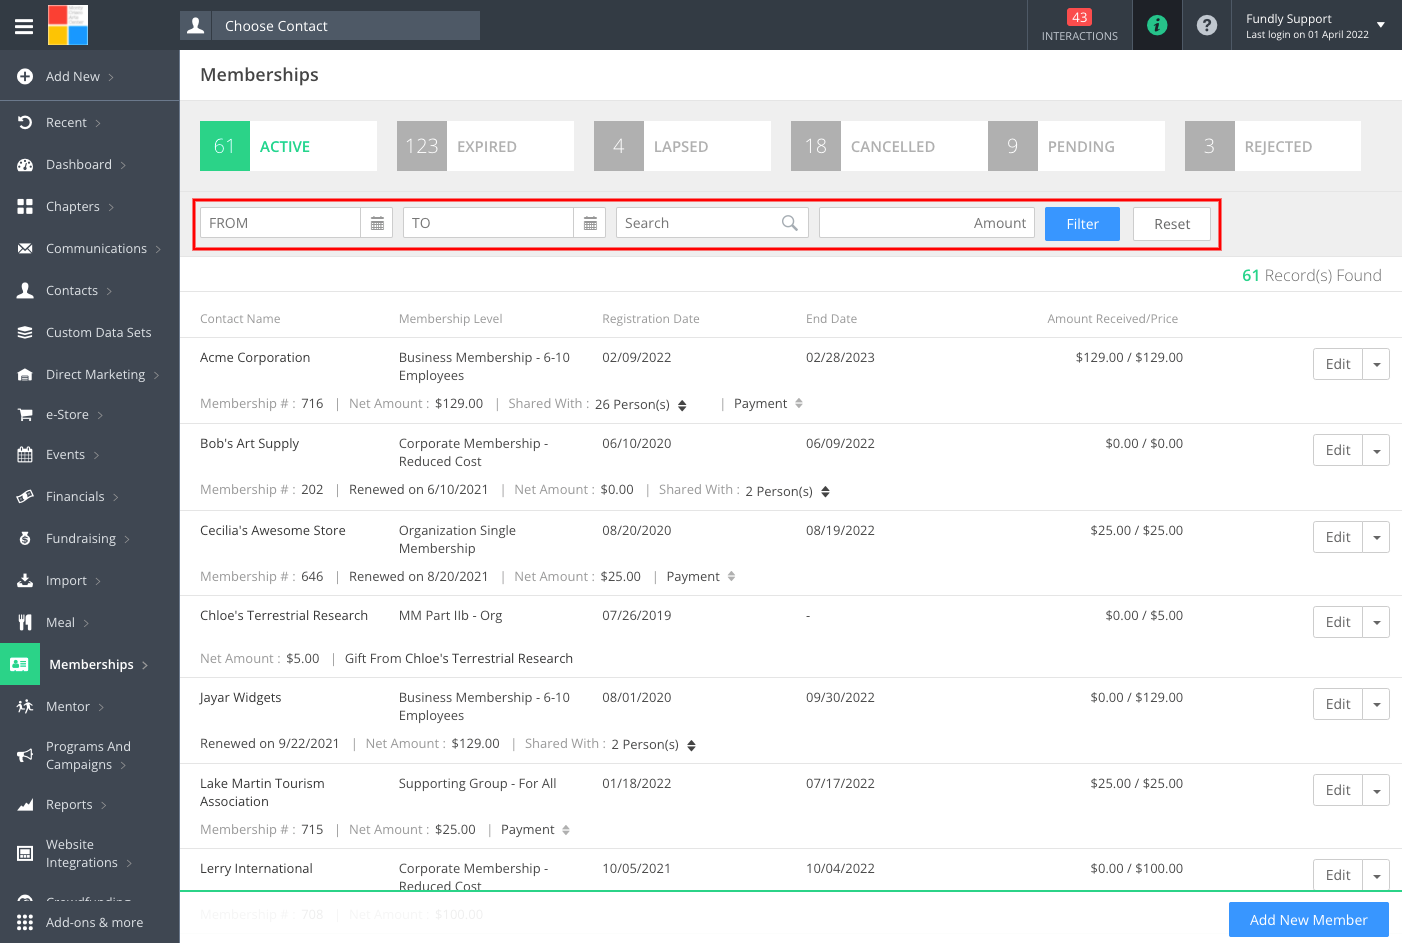
- In the resulting Membership Index screen, you will see a list of all currently entered membership with the ability to filter by status by clicking the tabs at the top of the screen (Active equals current members, Inactive equals expired members, Lapsed equals members so expired they can't be renewed, Pending equals members who applied online who are awaiting staff approval, and Rejected equals online membership applications that were rejected by staff). You can also filter by Membership End Date, Contact/Member Name or Membership Level/Keyword, or Membership Price using the filters.

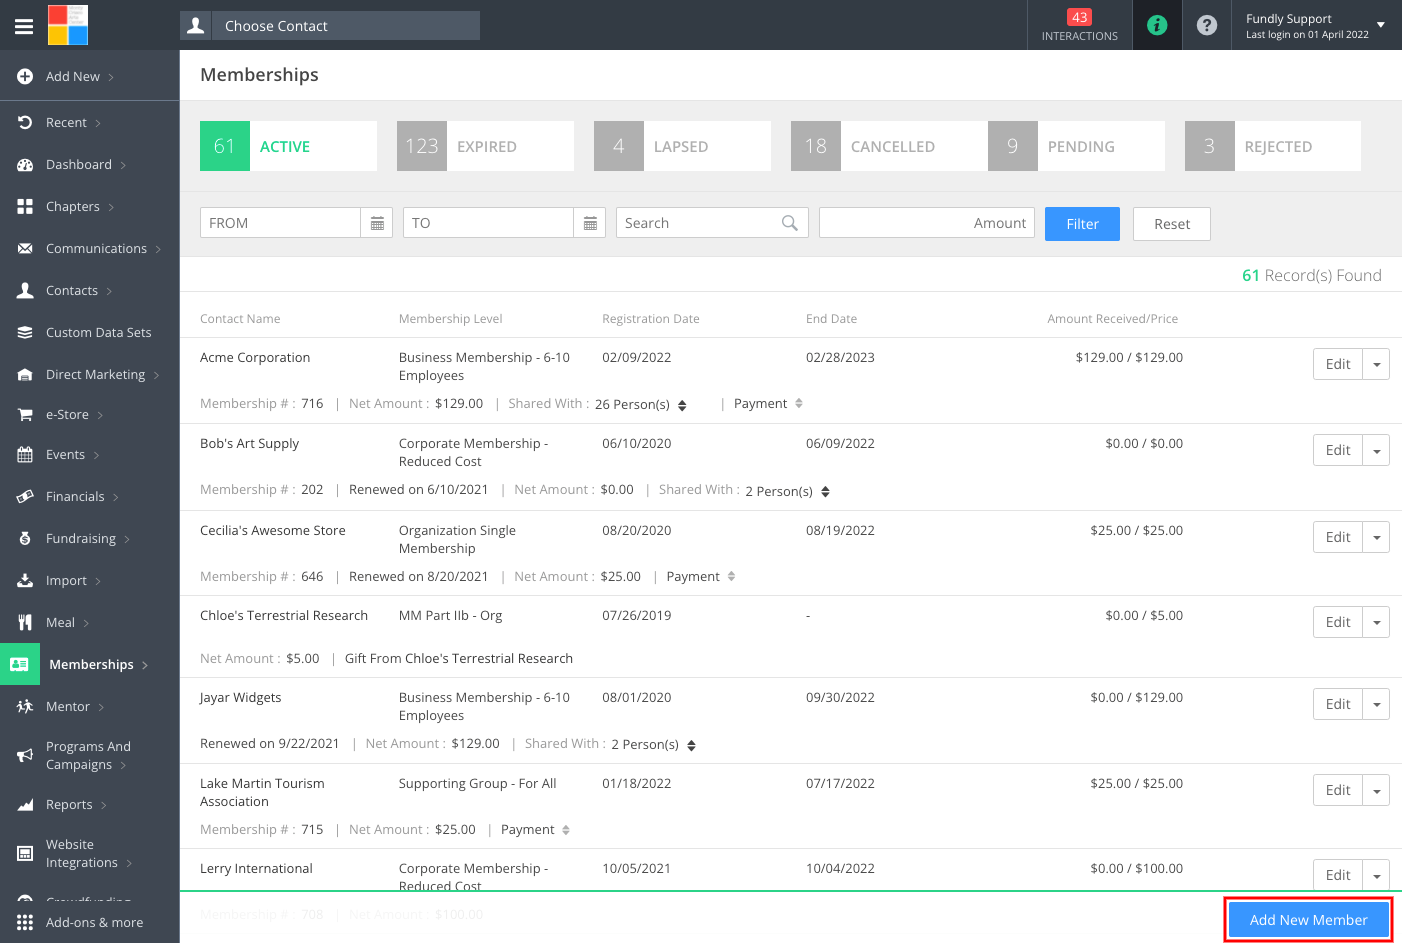
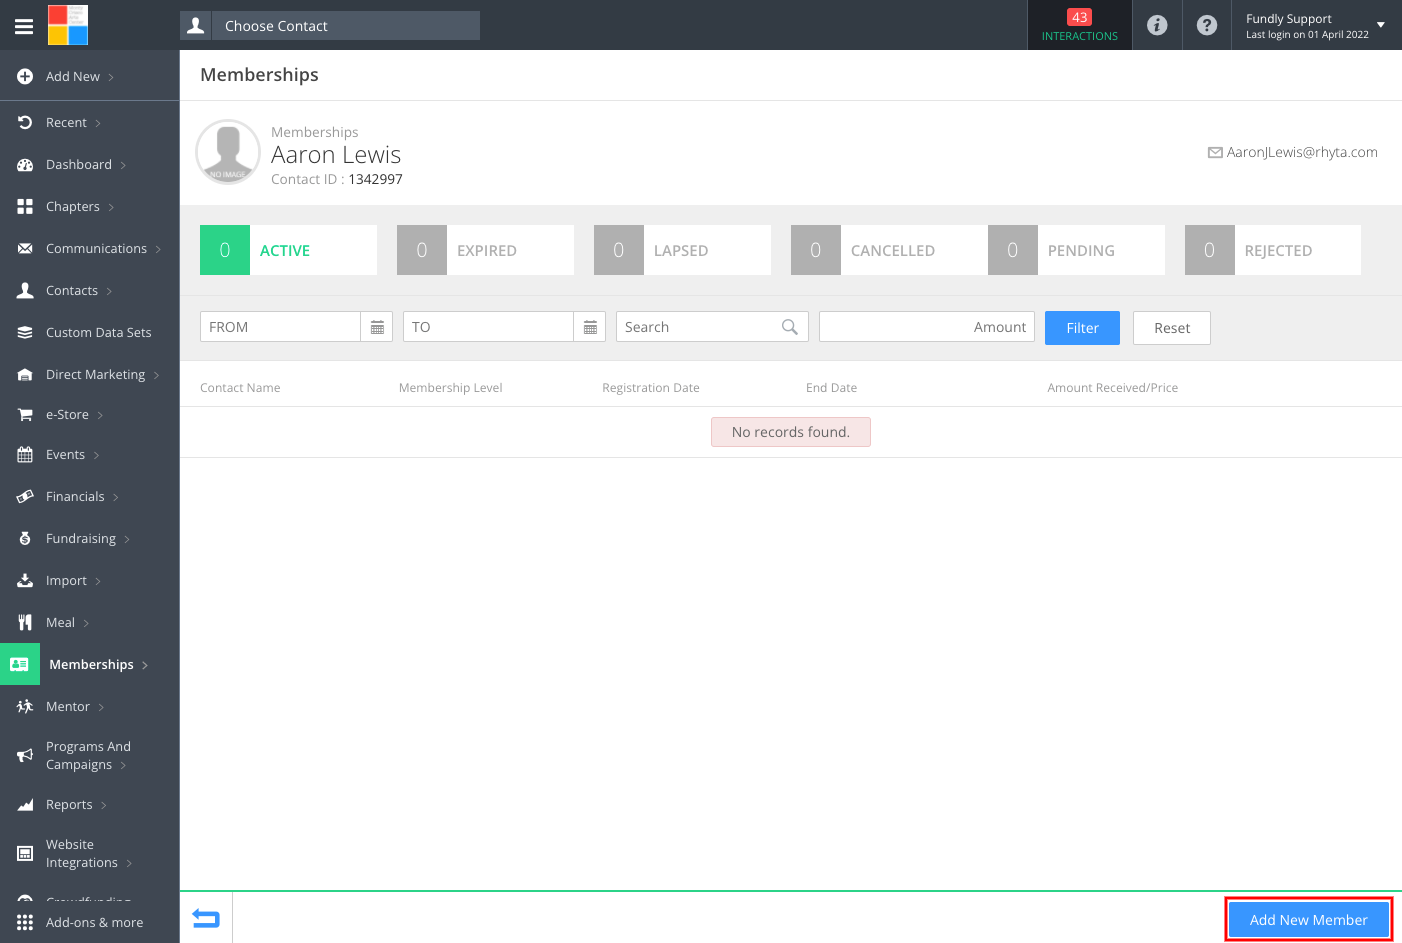
- To add a new membership for a contact, click on the Add New Member button in the lower right corner. Next steps are same for Add New Member from View Contact page (starting from step #10).
- To Add New Member via Membership Widget on View contact profile, start from viewing the contact record, scroll down to Membership Widget (You can activate membership widget from available widget dropdown) and click All. This will redirect you to a view all membership page for that contact.
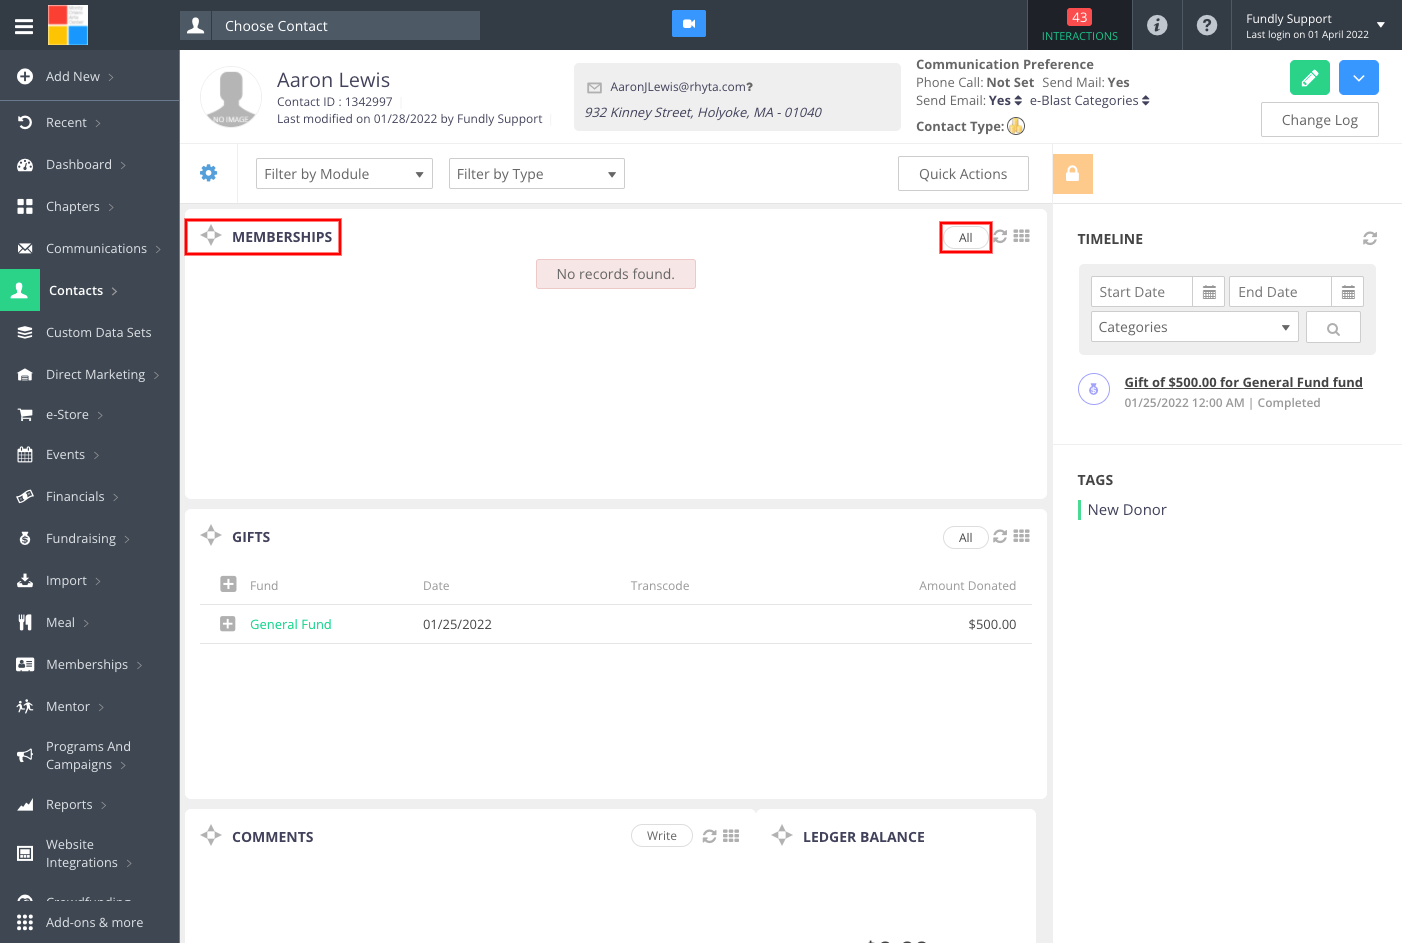
- To add a new membership for this contact, click on the Add New Member button in the lower right corner.
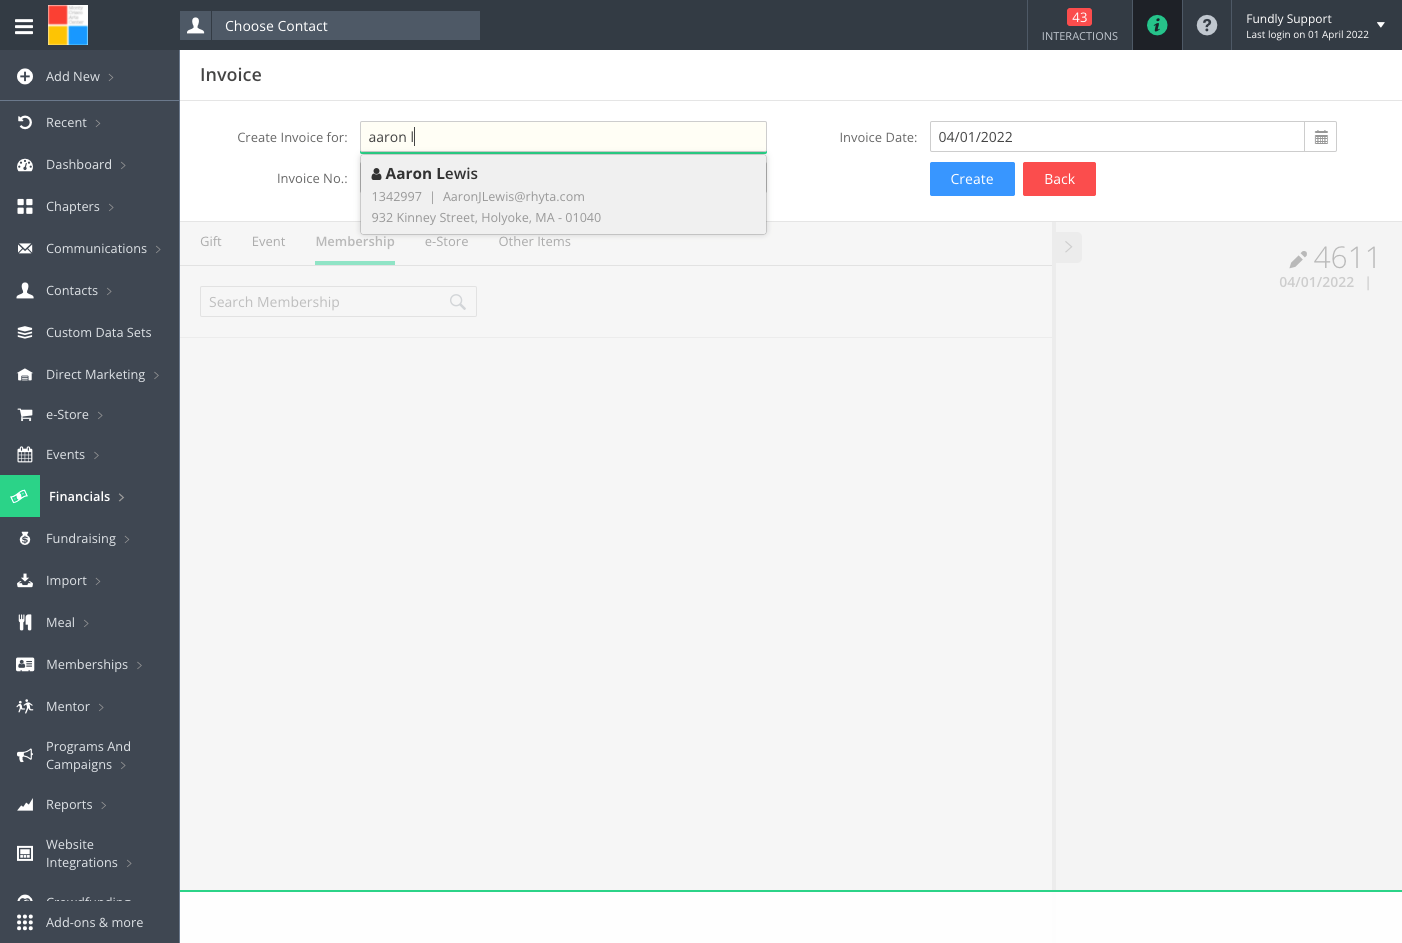
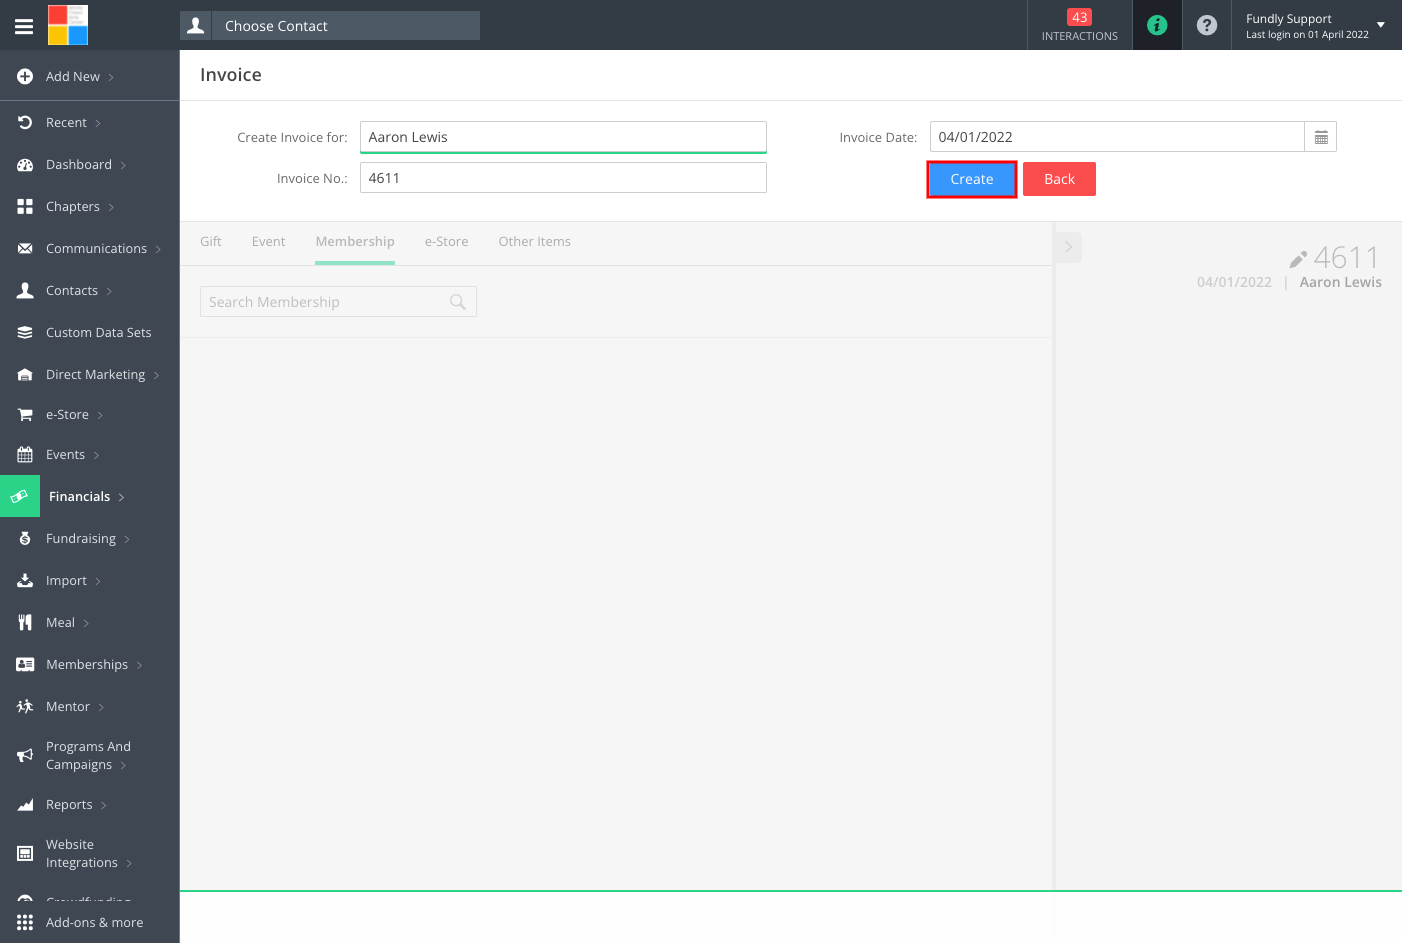
- This will open up the Create Invoice screen. Choose the Contact for whom you are creating a membership by starting to type the name and selecting from the resulting list of existing contacts. If the contact does not already exist in your system, type the name and hit enter. You will be given the ability to add the contact "on the fly" via Quick Add Contact.
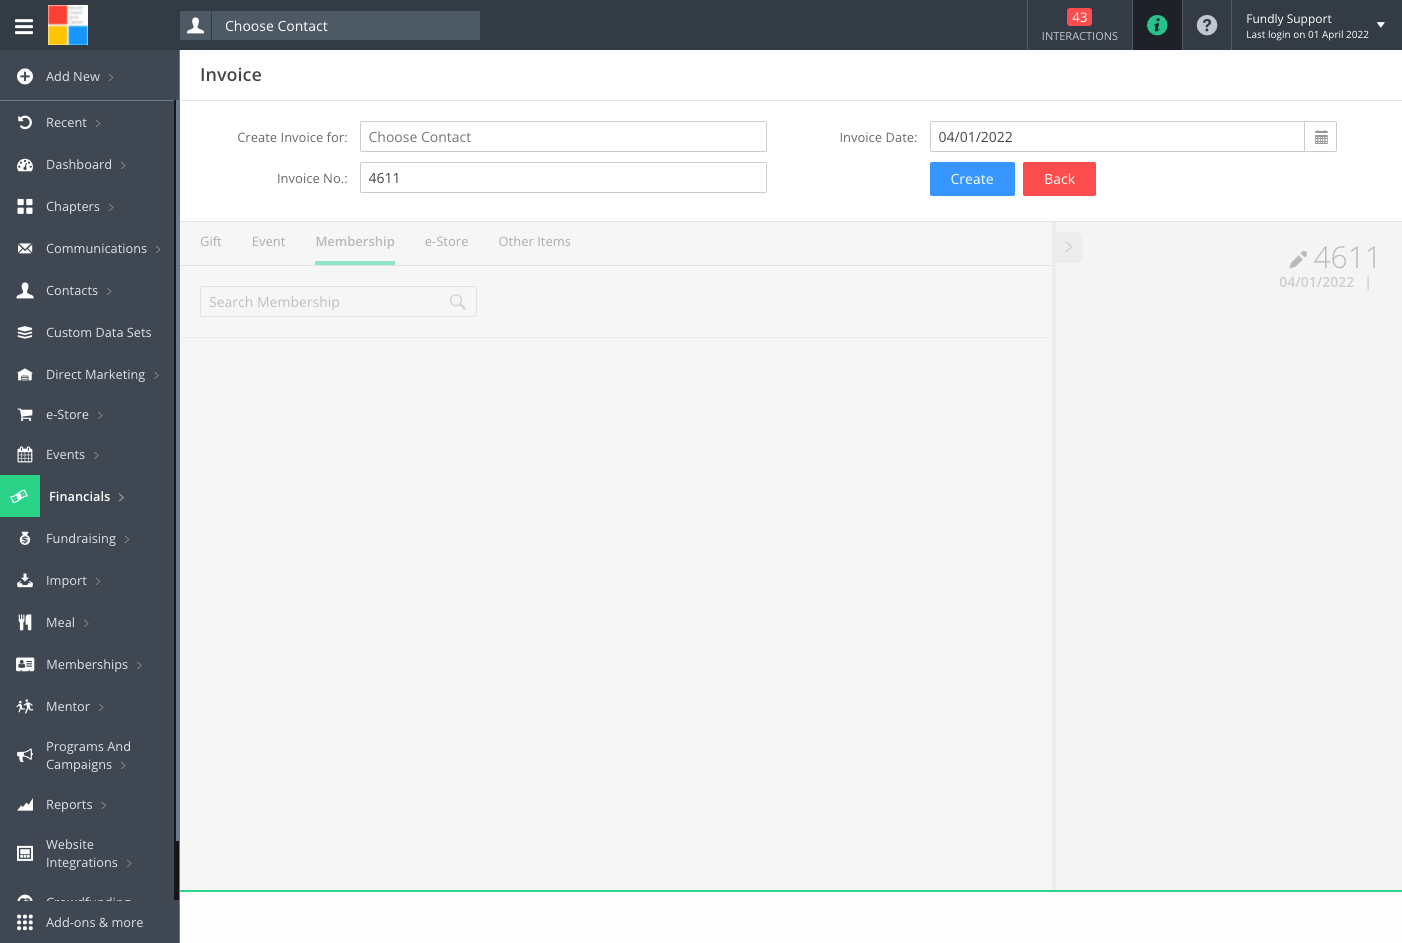
- Enter the Invoice Date (by default, the system will enter today's date; however, the Invoice Date this can be whatever you want to track: data entry date, payment date, membership start date, etc.) and then click Create.
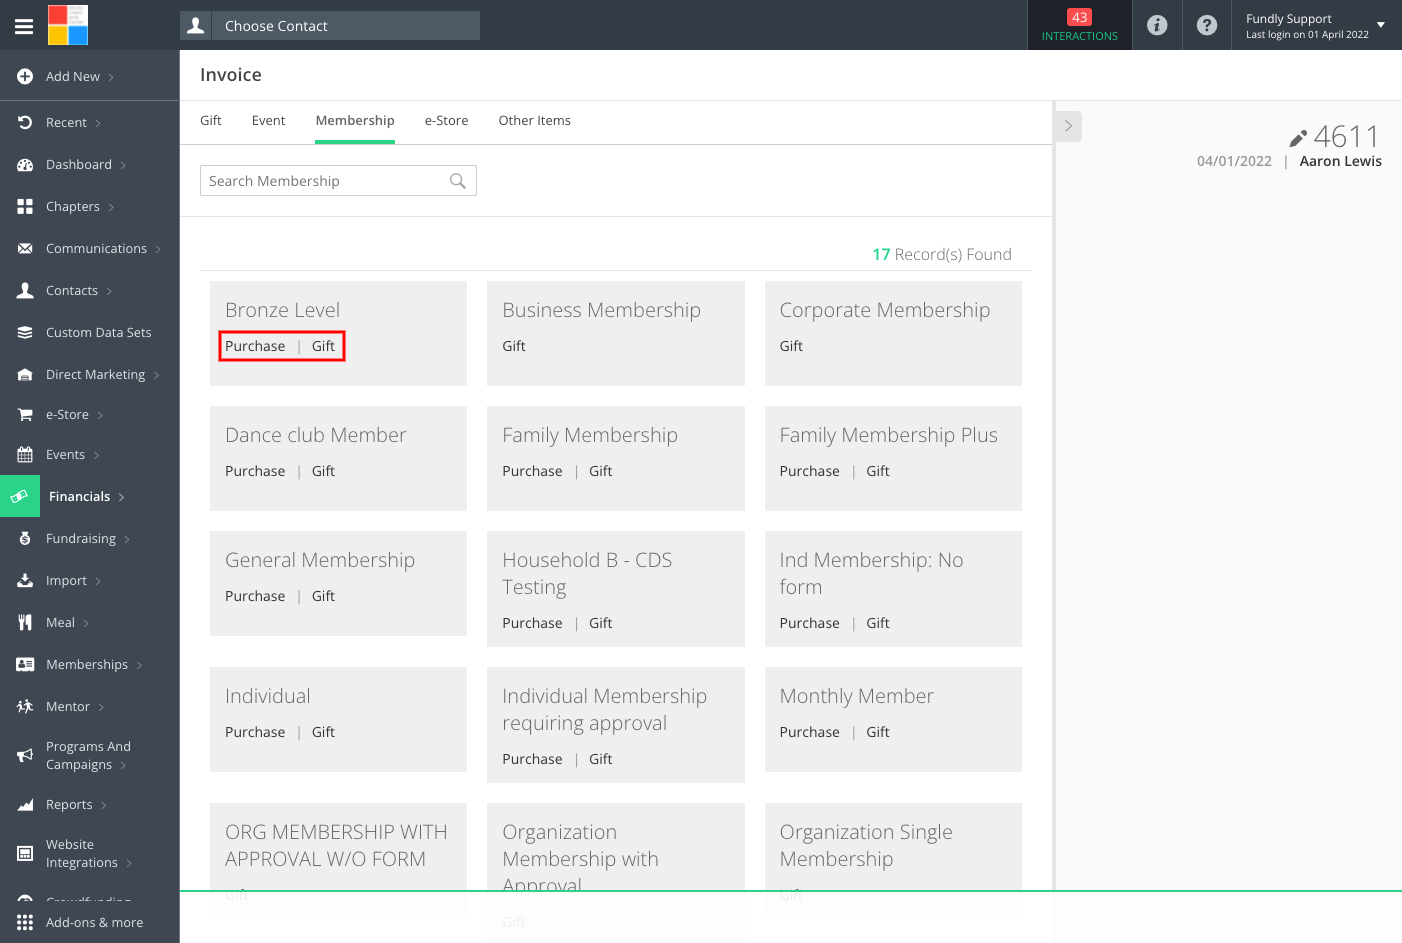
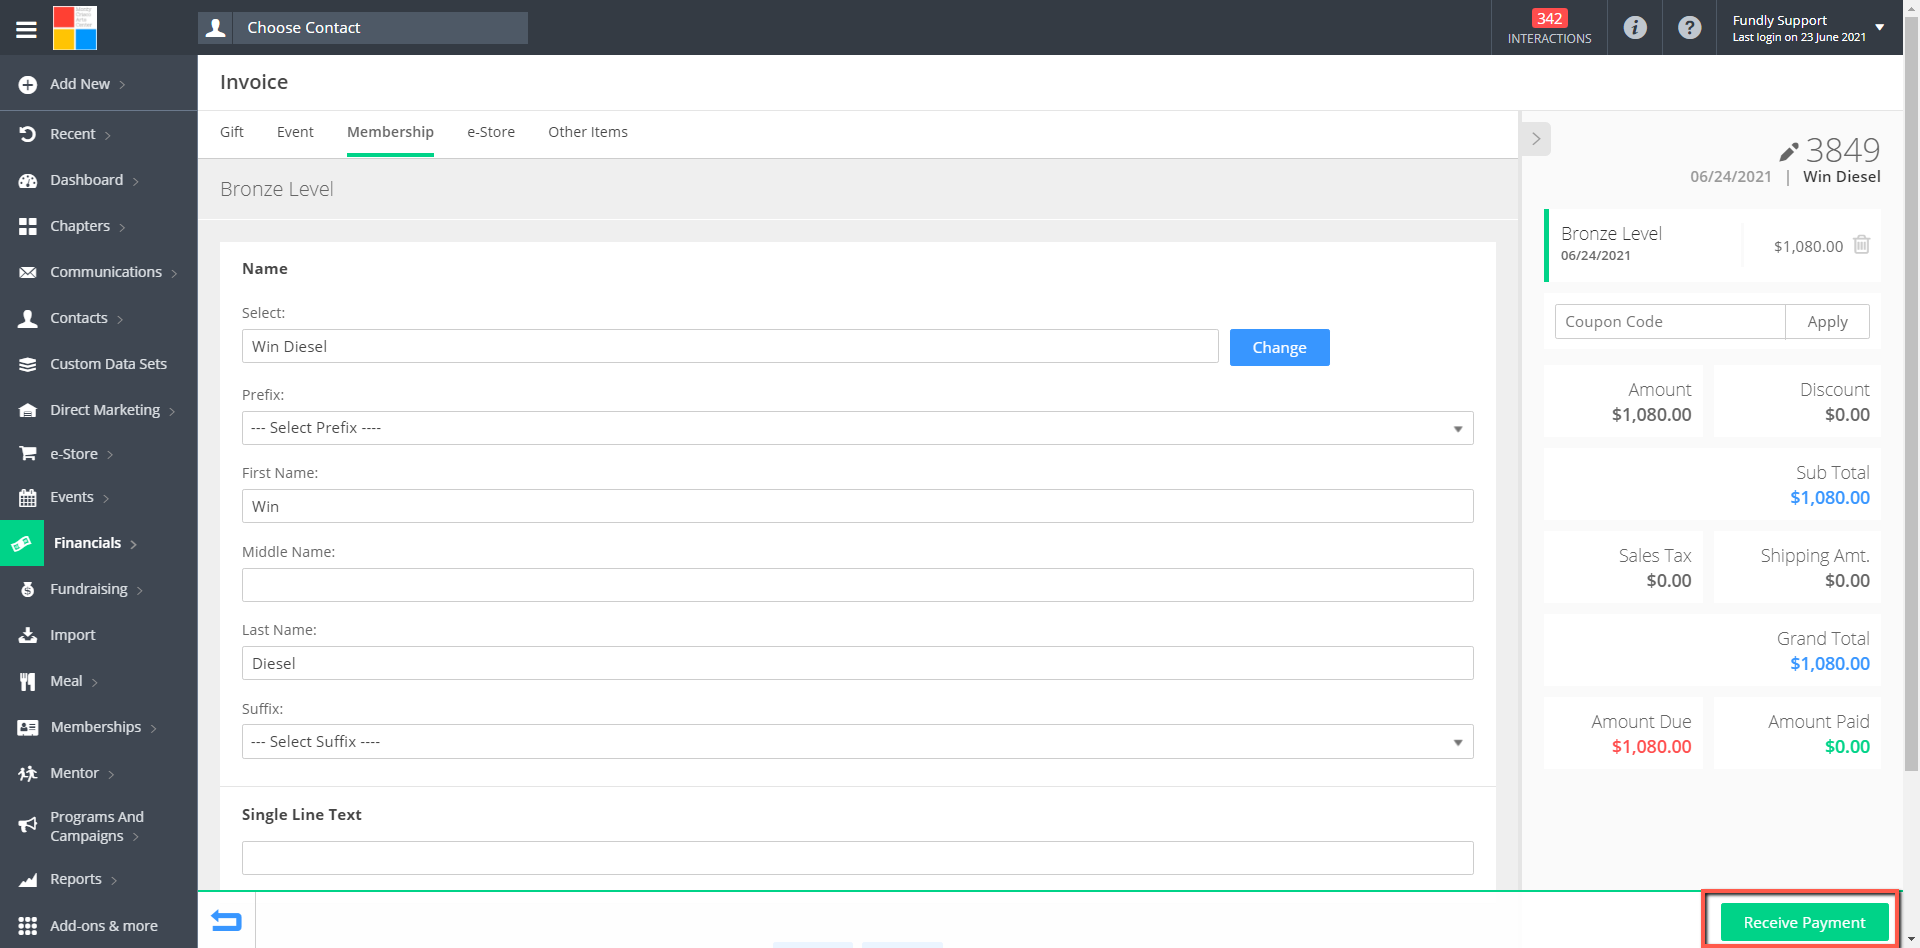
- Next, making sure you are on the Membership Tab, pick the membership level/category by clicking the word Purchase beneath the membership level if the contact is purchasing their own membership or the word Gift if the contact is giving the membership to someone else.
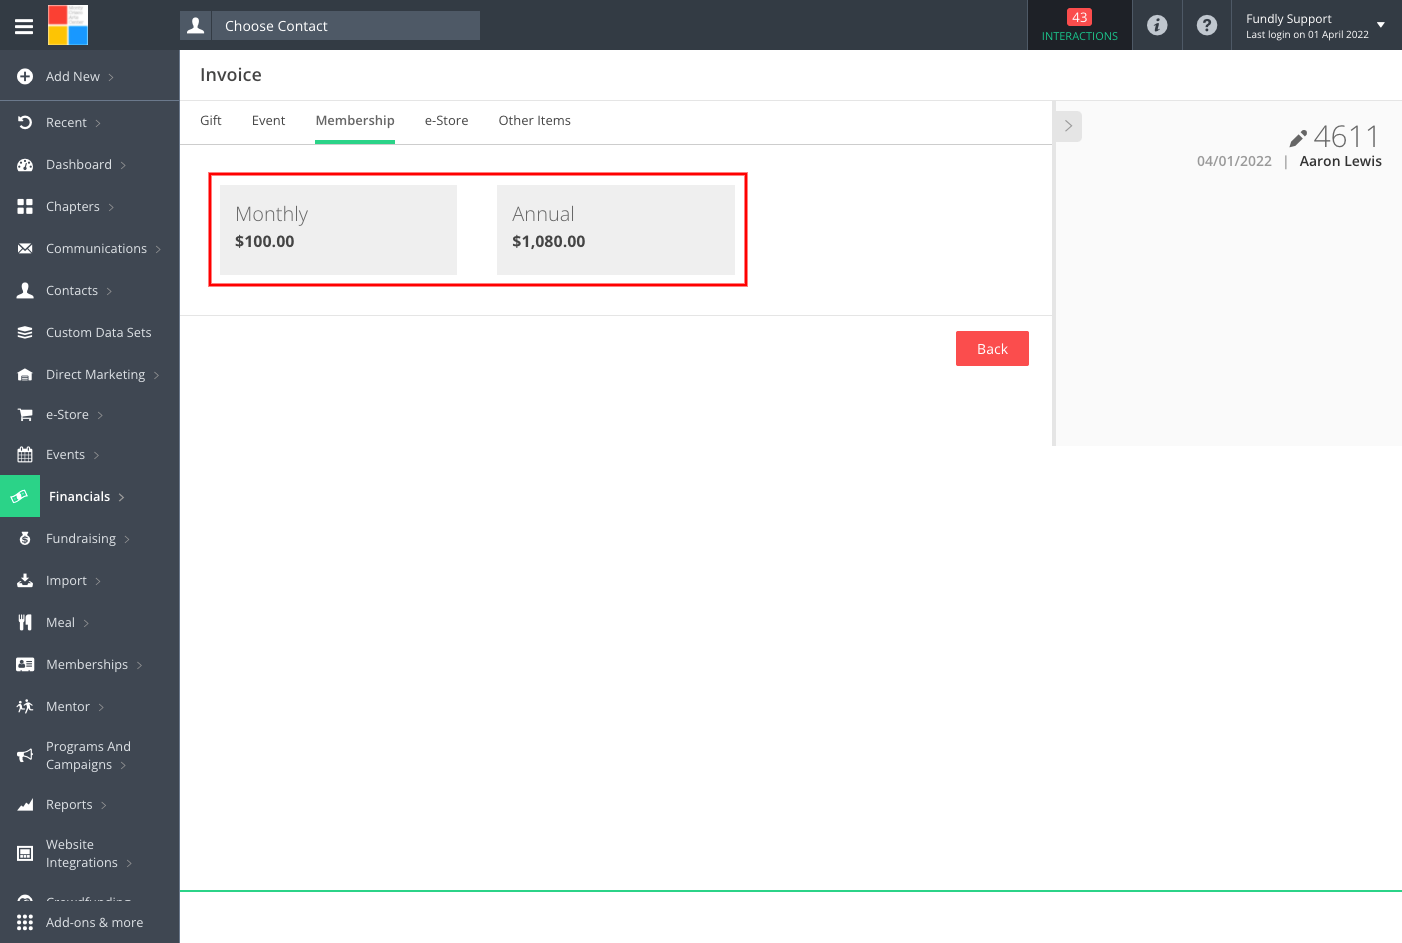
- On the next screen, select the pricing level by clicking on the price box.
- On the Add/Edit Membership screen, if gifting the membership, start by indicating the intended recipient in the Gift To field (if this is not a gifted membership, this field will not be present).
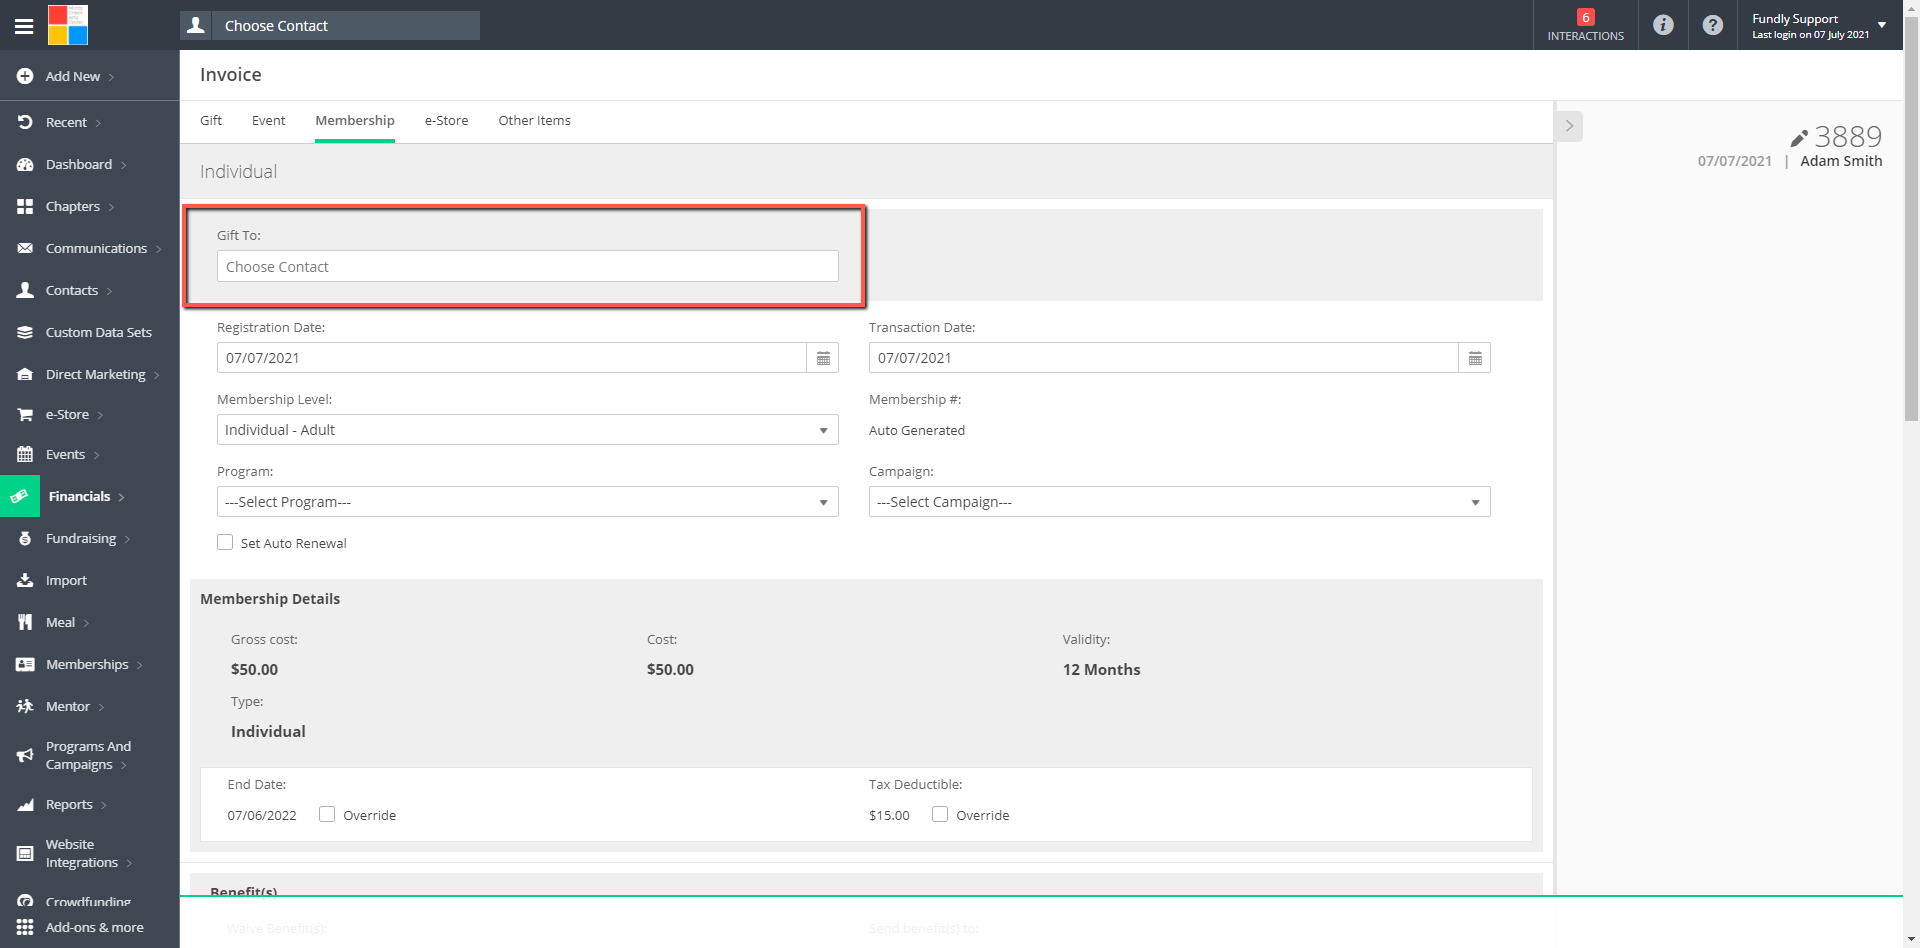
- In the Registration Date field indicate the date on which the membership is to begin and use the Transaction Date to indicate on what date the membership is to be purchased (the Transaction Date will be used for any discount codes that might rely on date to determine validity).
- If you have set up your memberships to have auto-generated membership numbers, this field will not be editable. If you have set up your memberships to have manually generated numbers, enter the membership #.
- Next, indicate, if appropriate the Program and Campaign this membership is to be linked to if the membership level does not specify this information.
- If you have signed up for a payment gateway provider (credit card processor), you may use the Set Auto Renewal checkbox to indicate that the contact card on file will be charged automatically when they are next up for renewal. If a card is not currently on file, you will be prompted to add one at this time (Note: Auto Renewal can ONLY be used with payment via credit card. You cannot set up an auto renewing membership with any other form of payment).
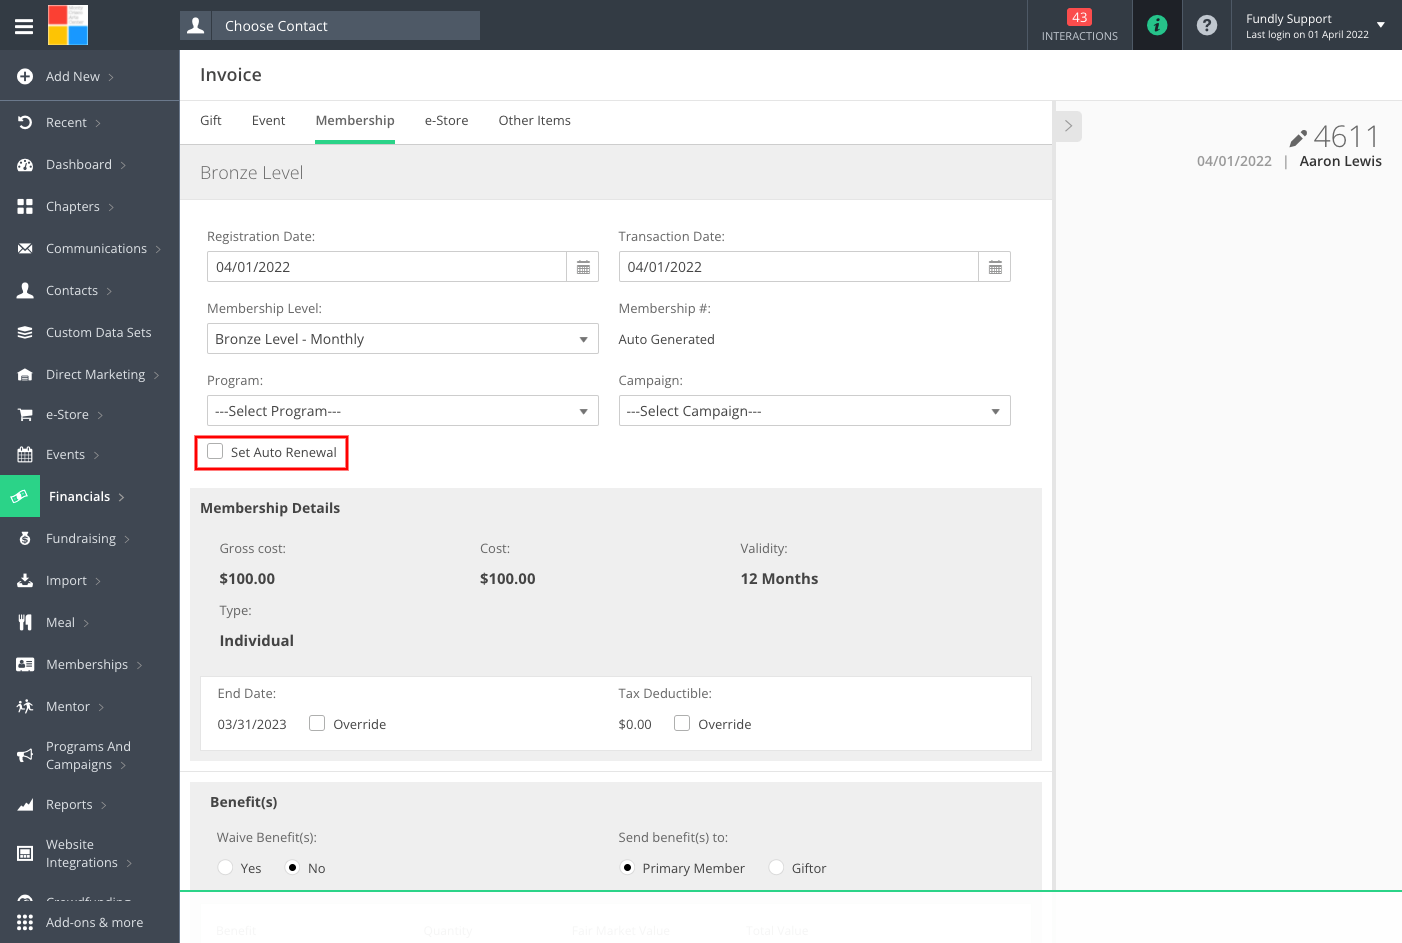

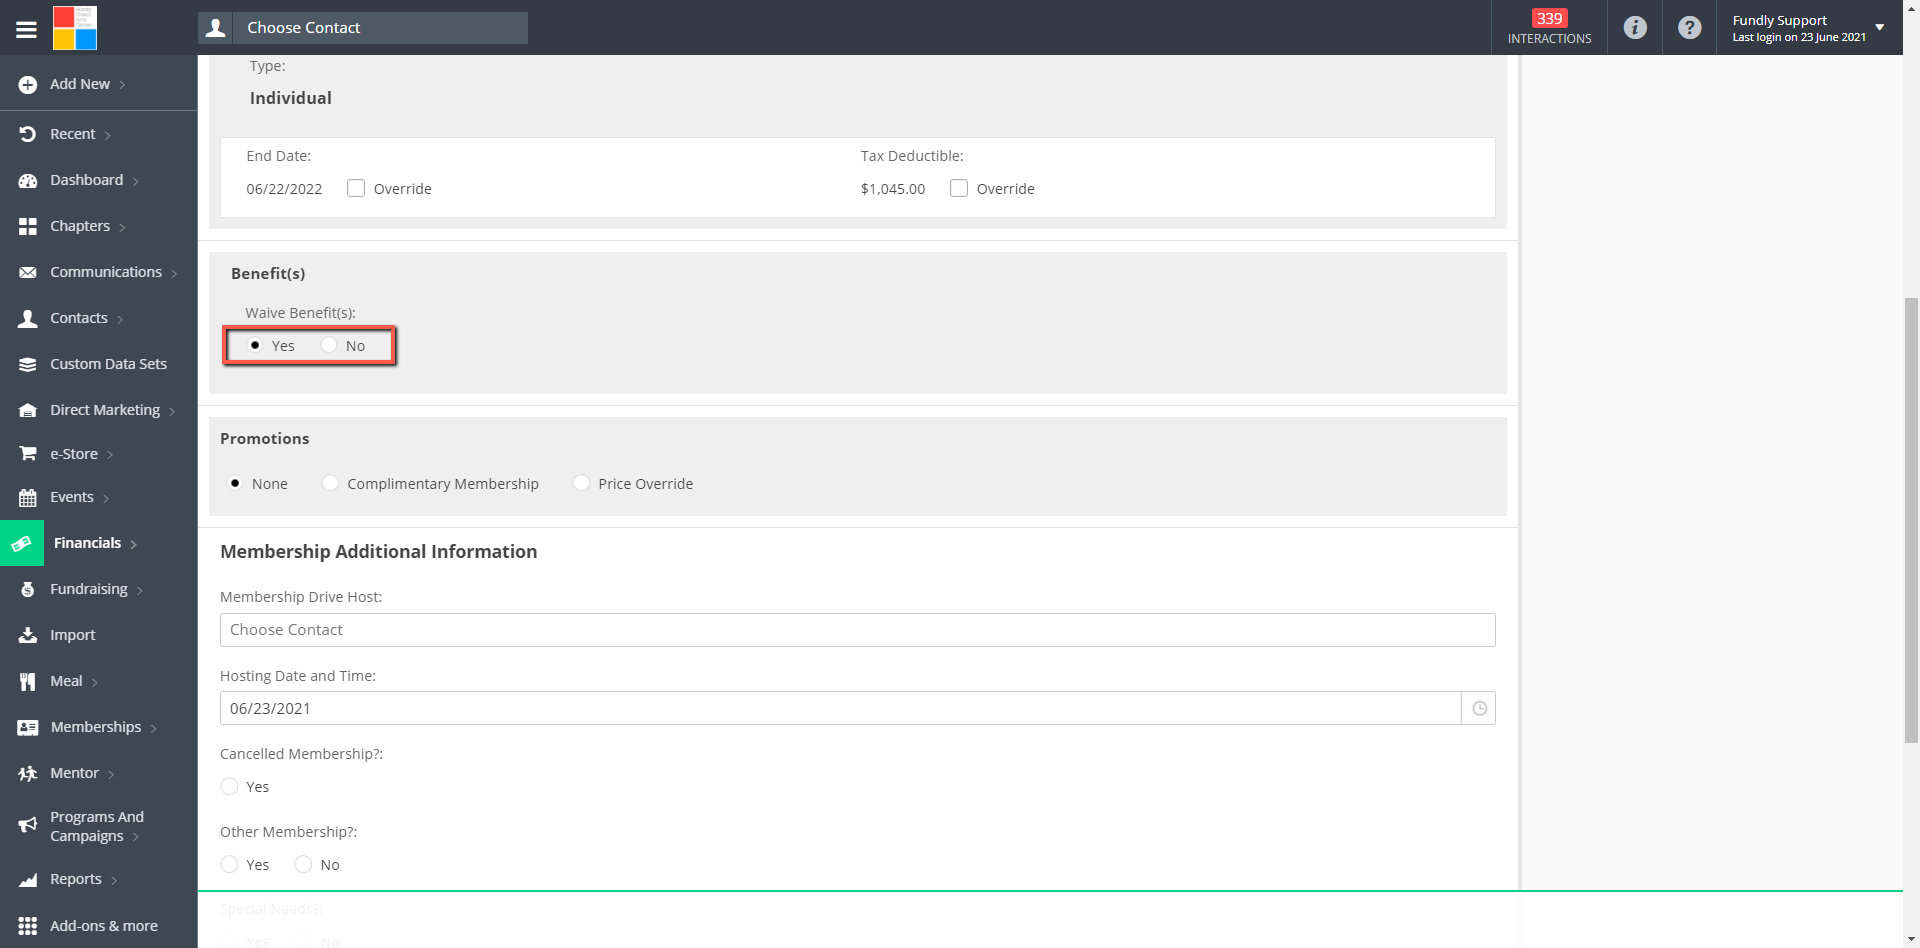
- The End Date and Tax Deductible fields both allow you to override the default values set in your membership level configuration as needed.
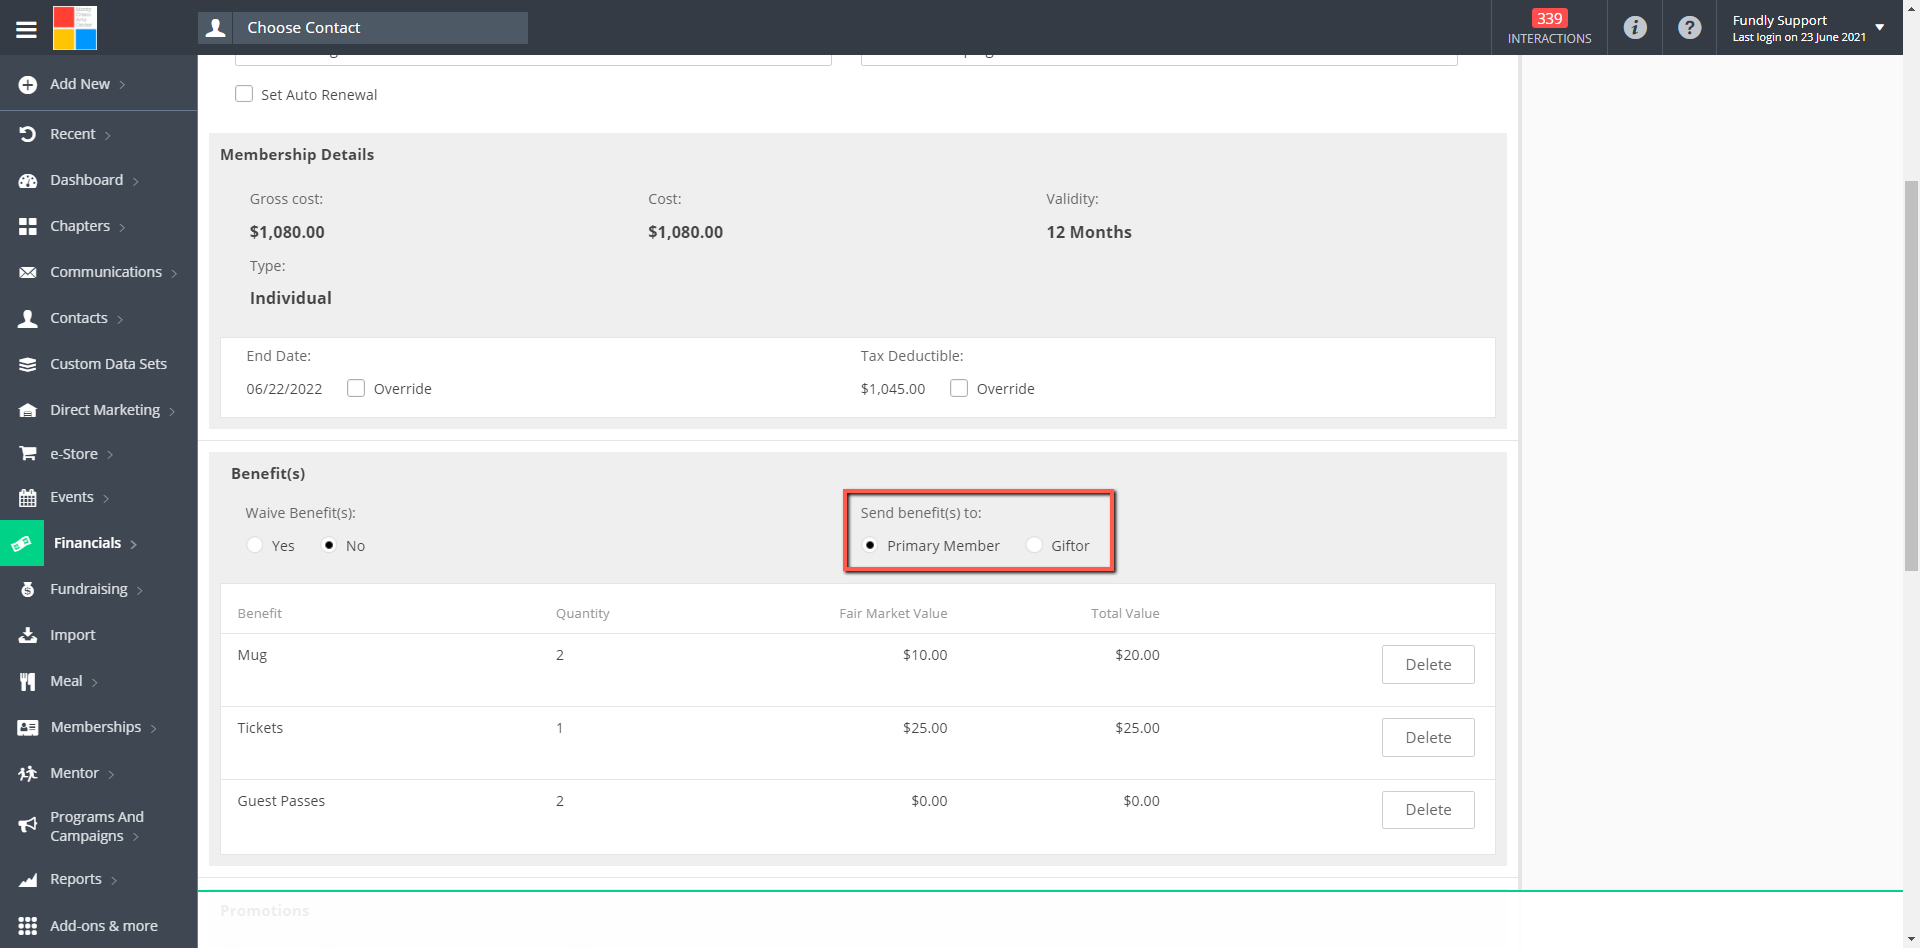
- In the Benefit(s) section, a contact has the option to waive any benefits they might normally receive with the membership (set in the membership level configuration) as well as change the recipient of said benefits for gift memberships.
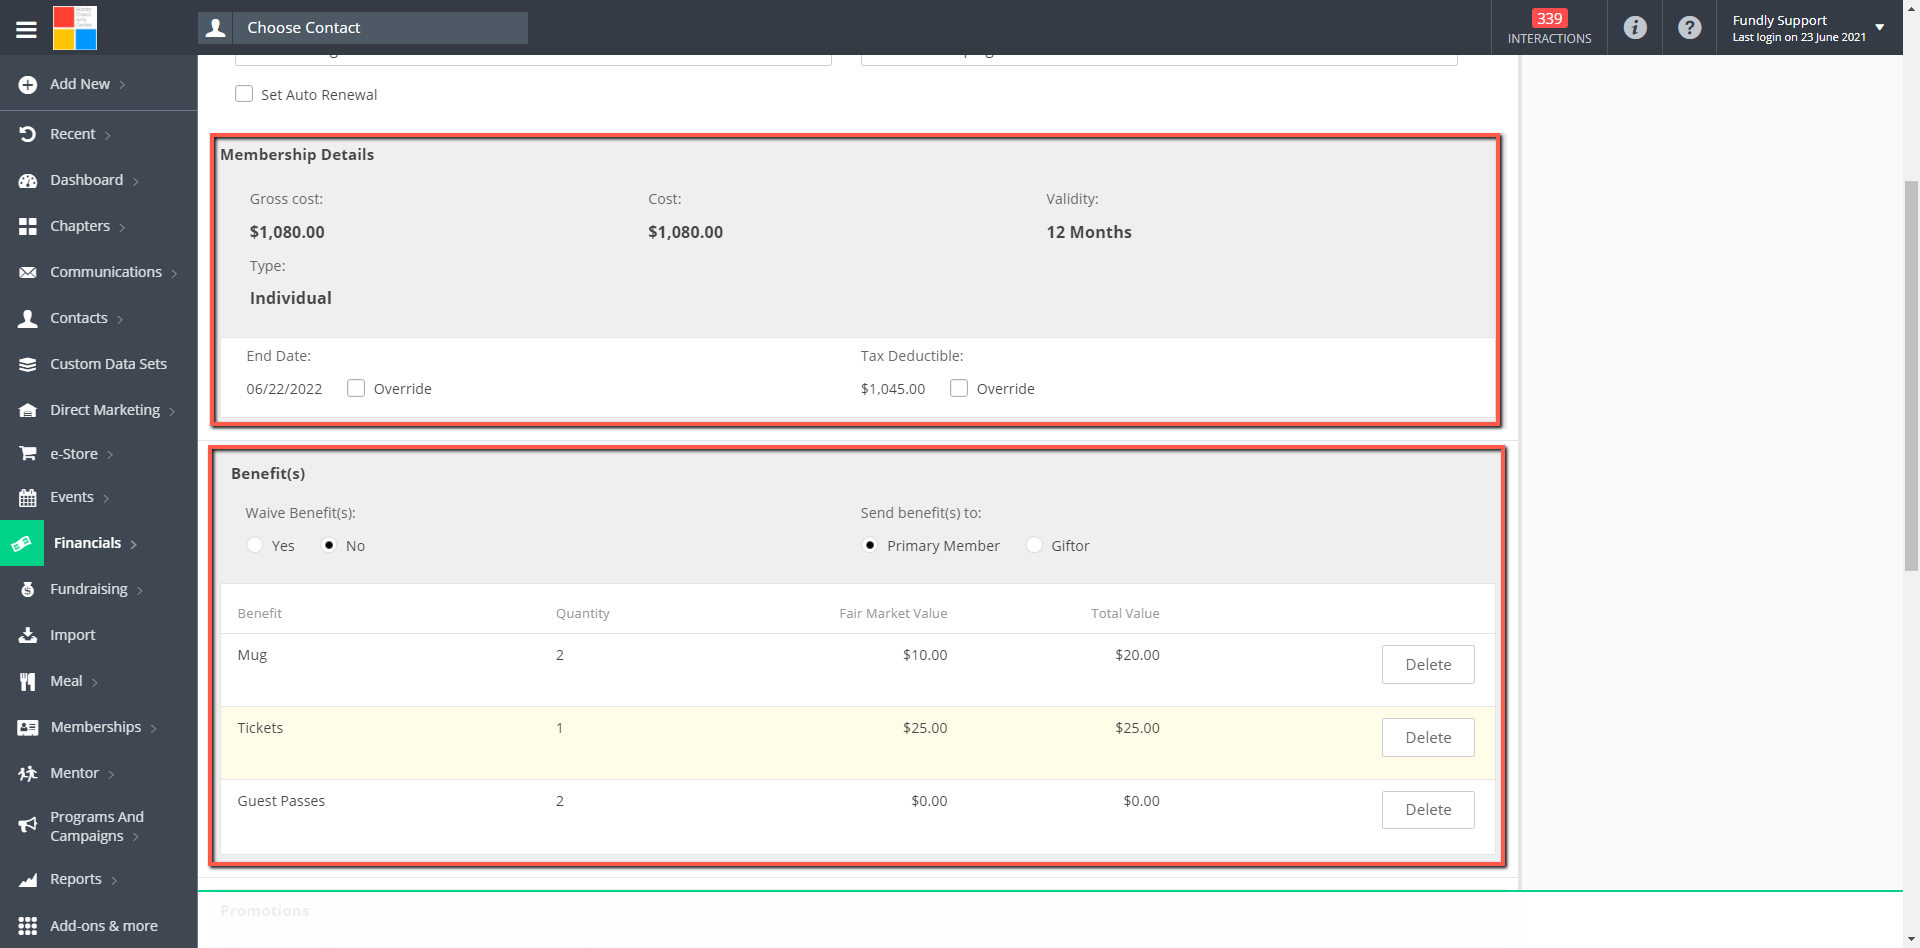
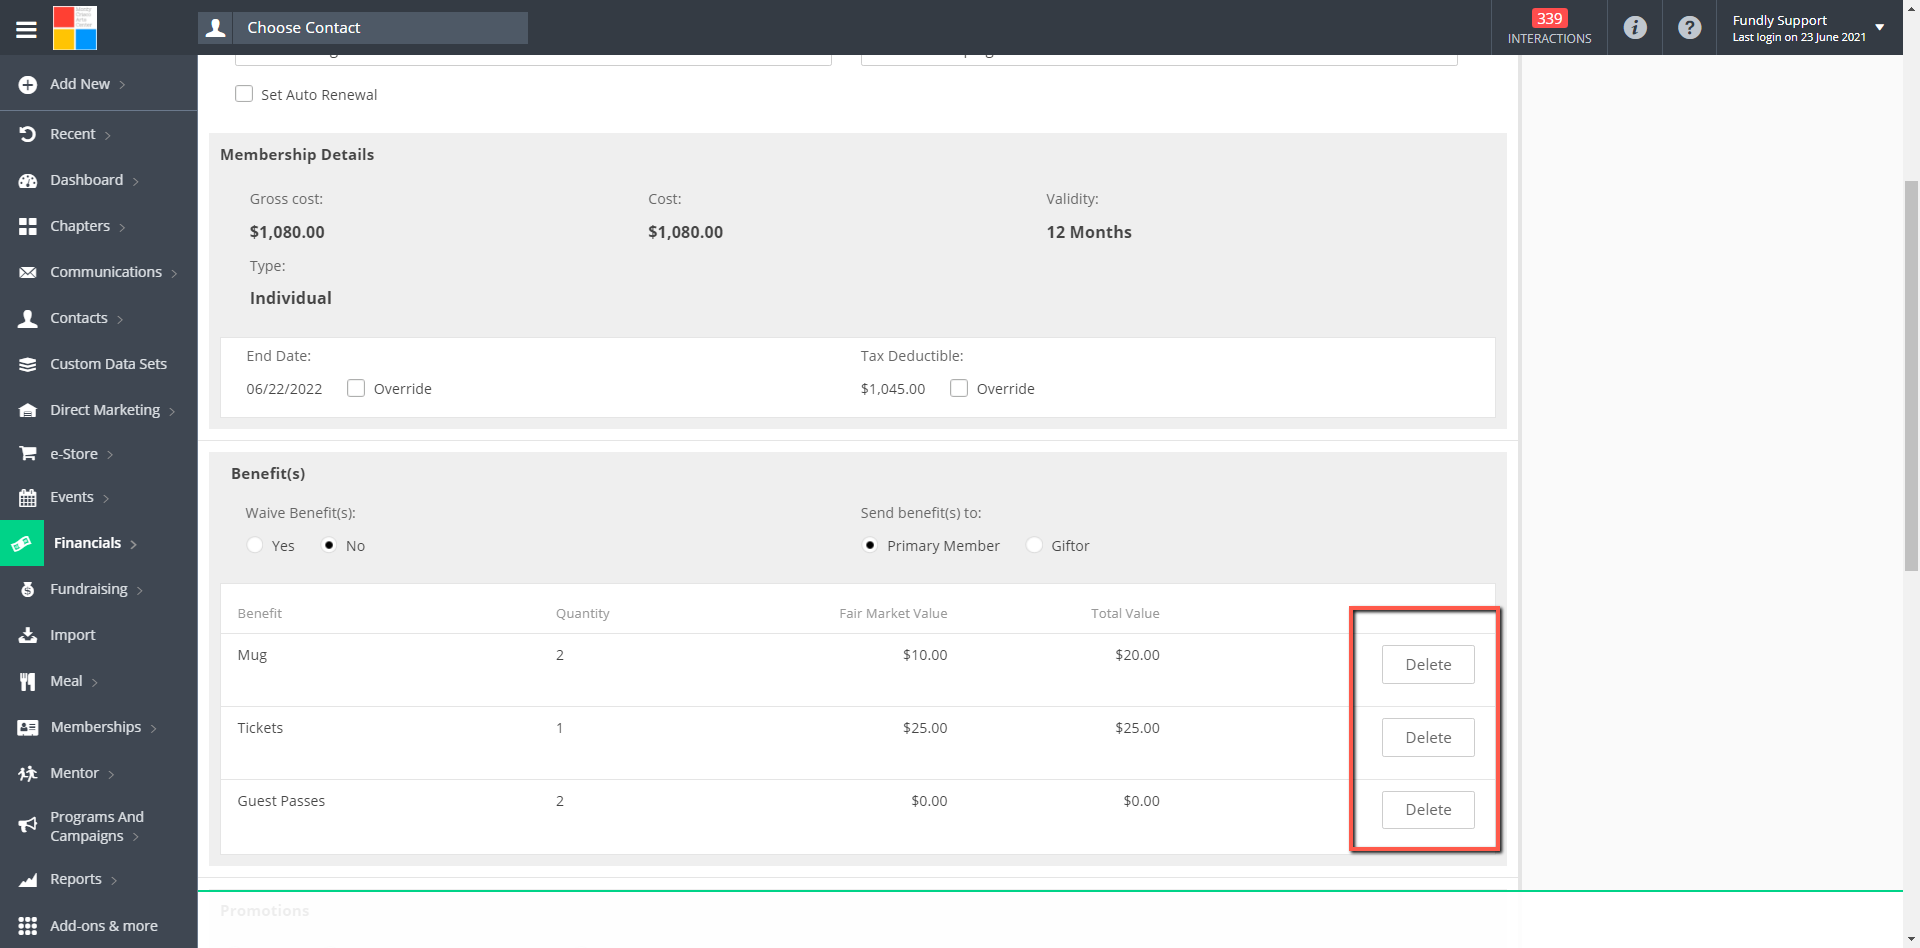
- For all default benefits you will have the option to remove a given benefit by clicking on the Delete button for that option.
- Selecting Yes on Waive Benefits indicates the Member and/or Giftor (if applicable) do not want any of their benefits. This will hide the Benefits section/remove all benefits from the membership.
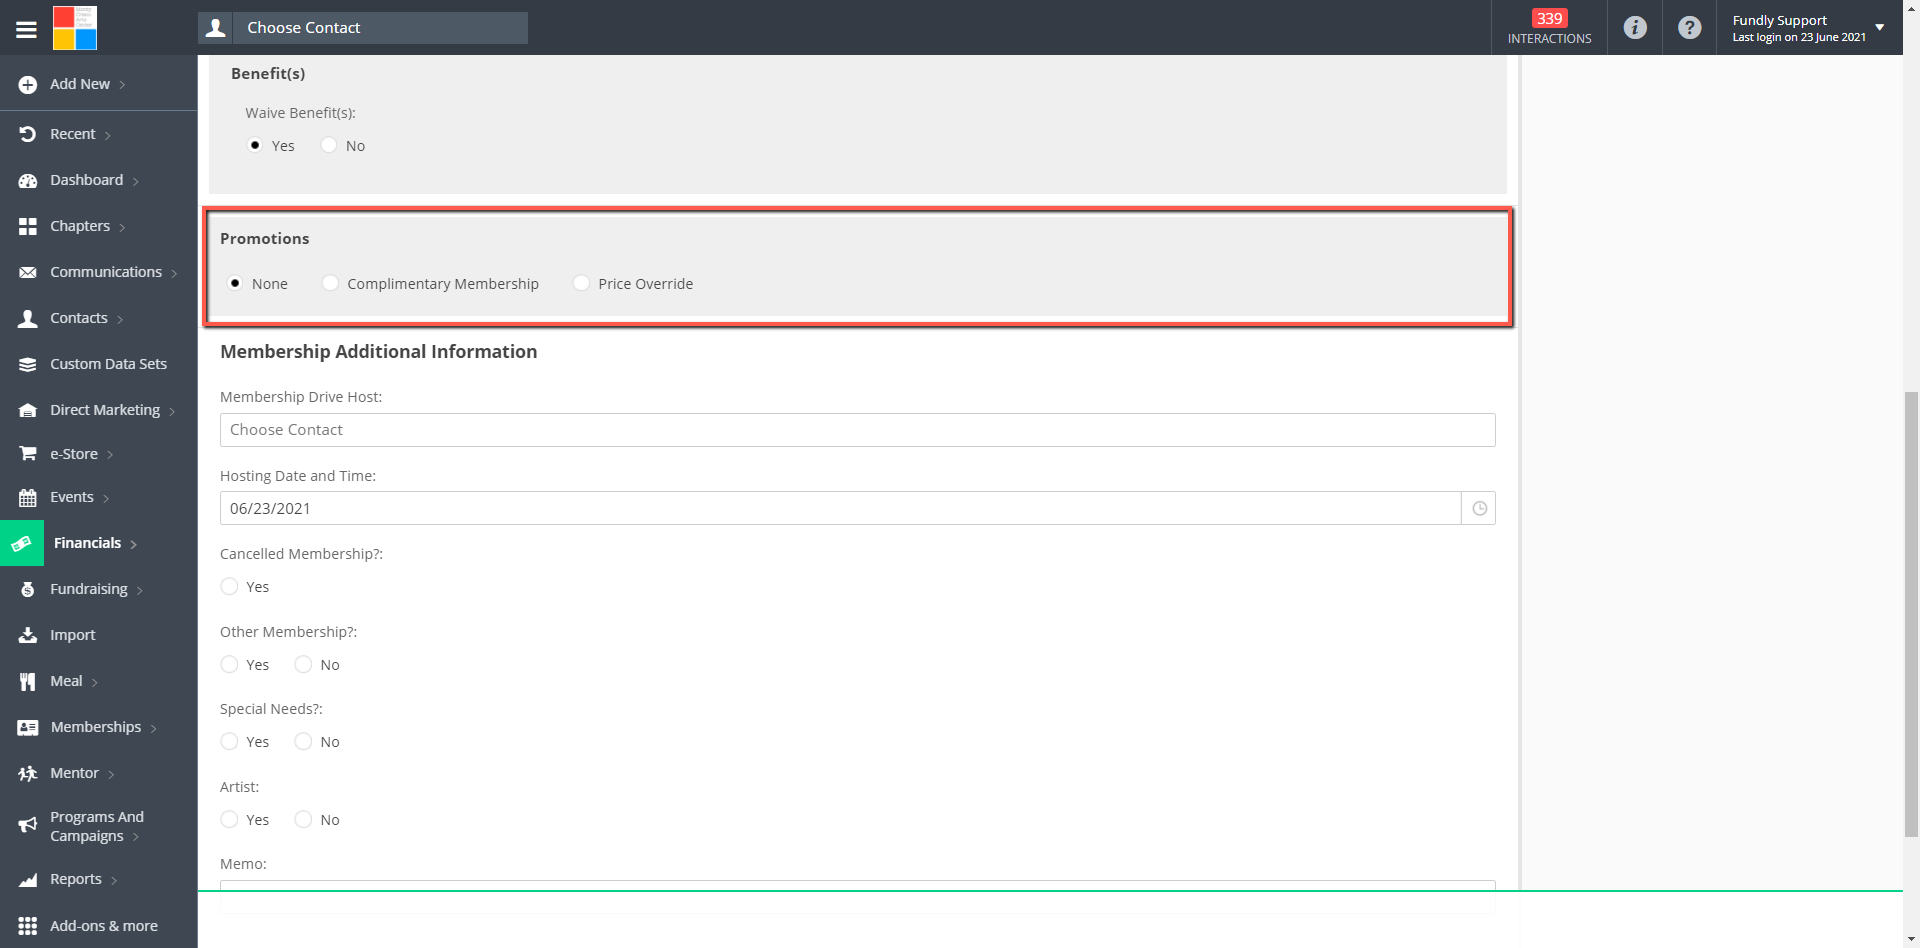
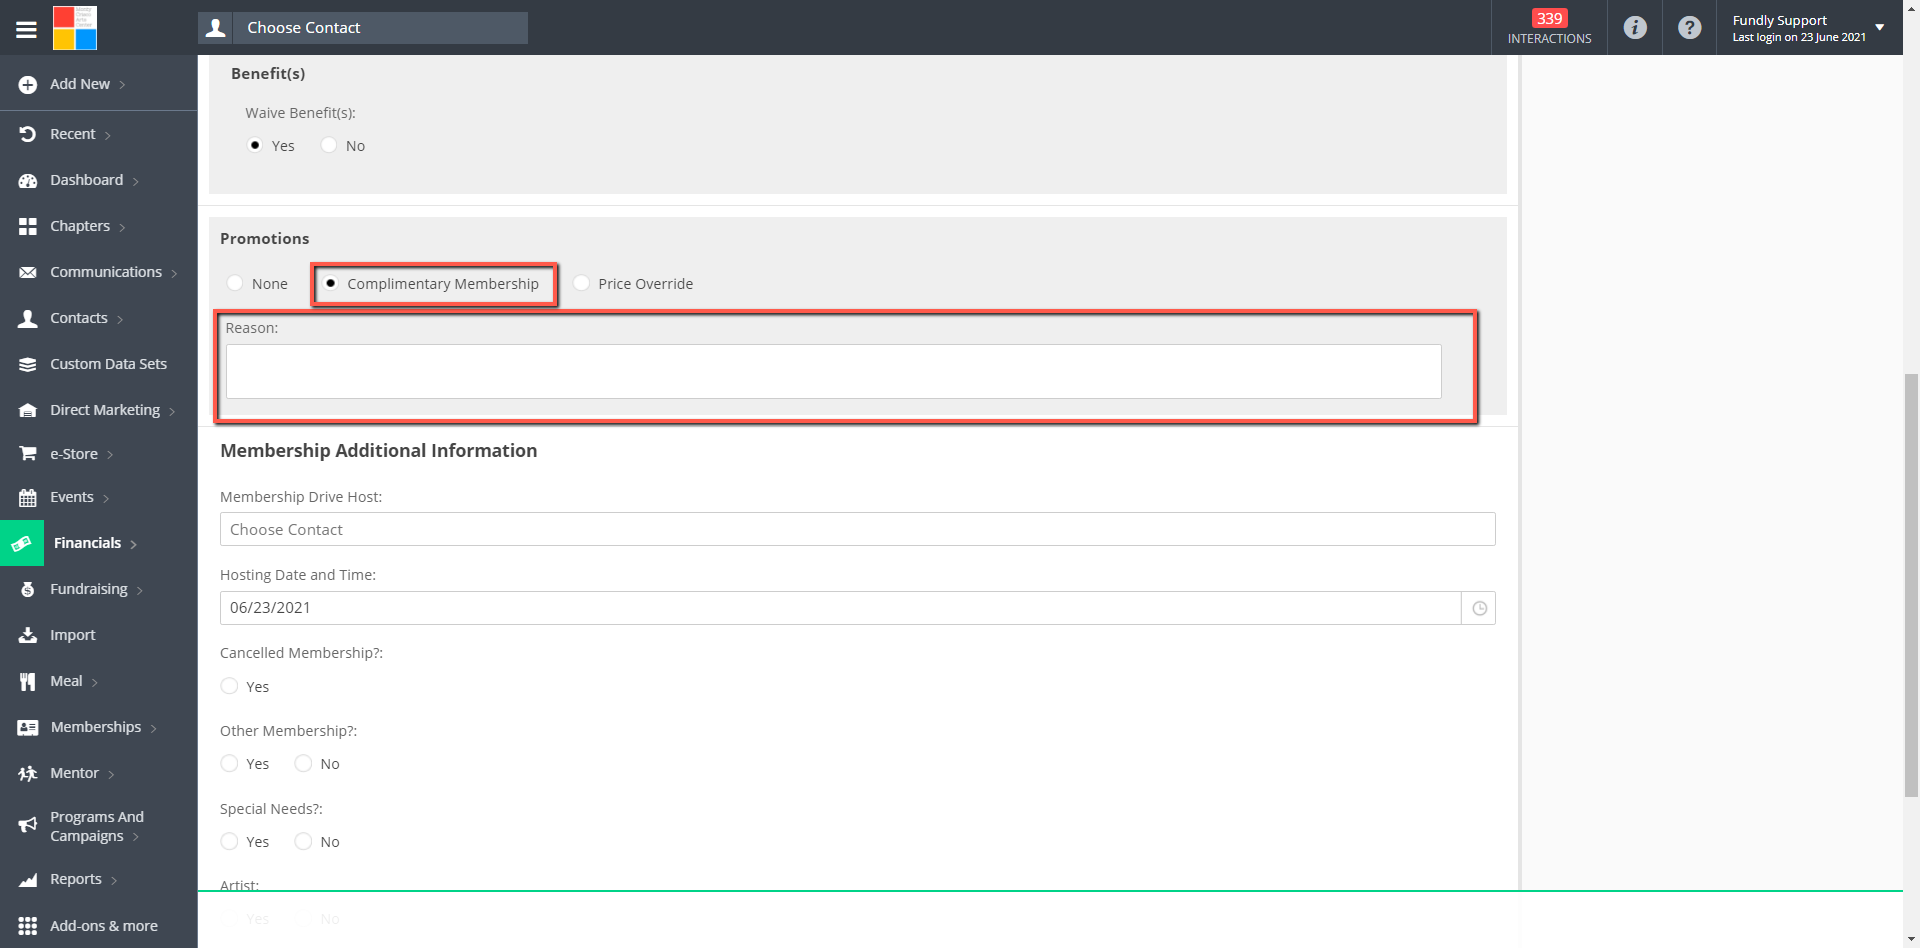
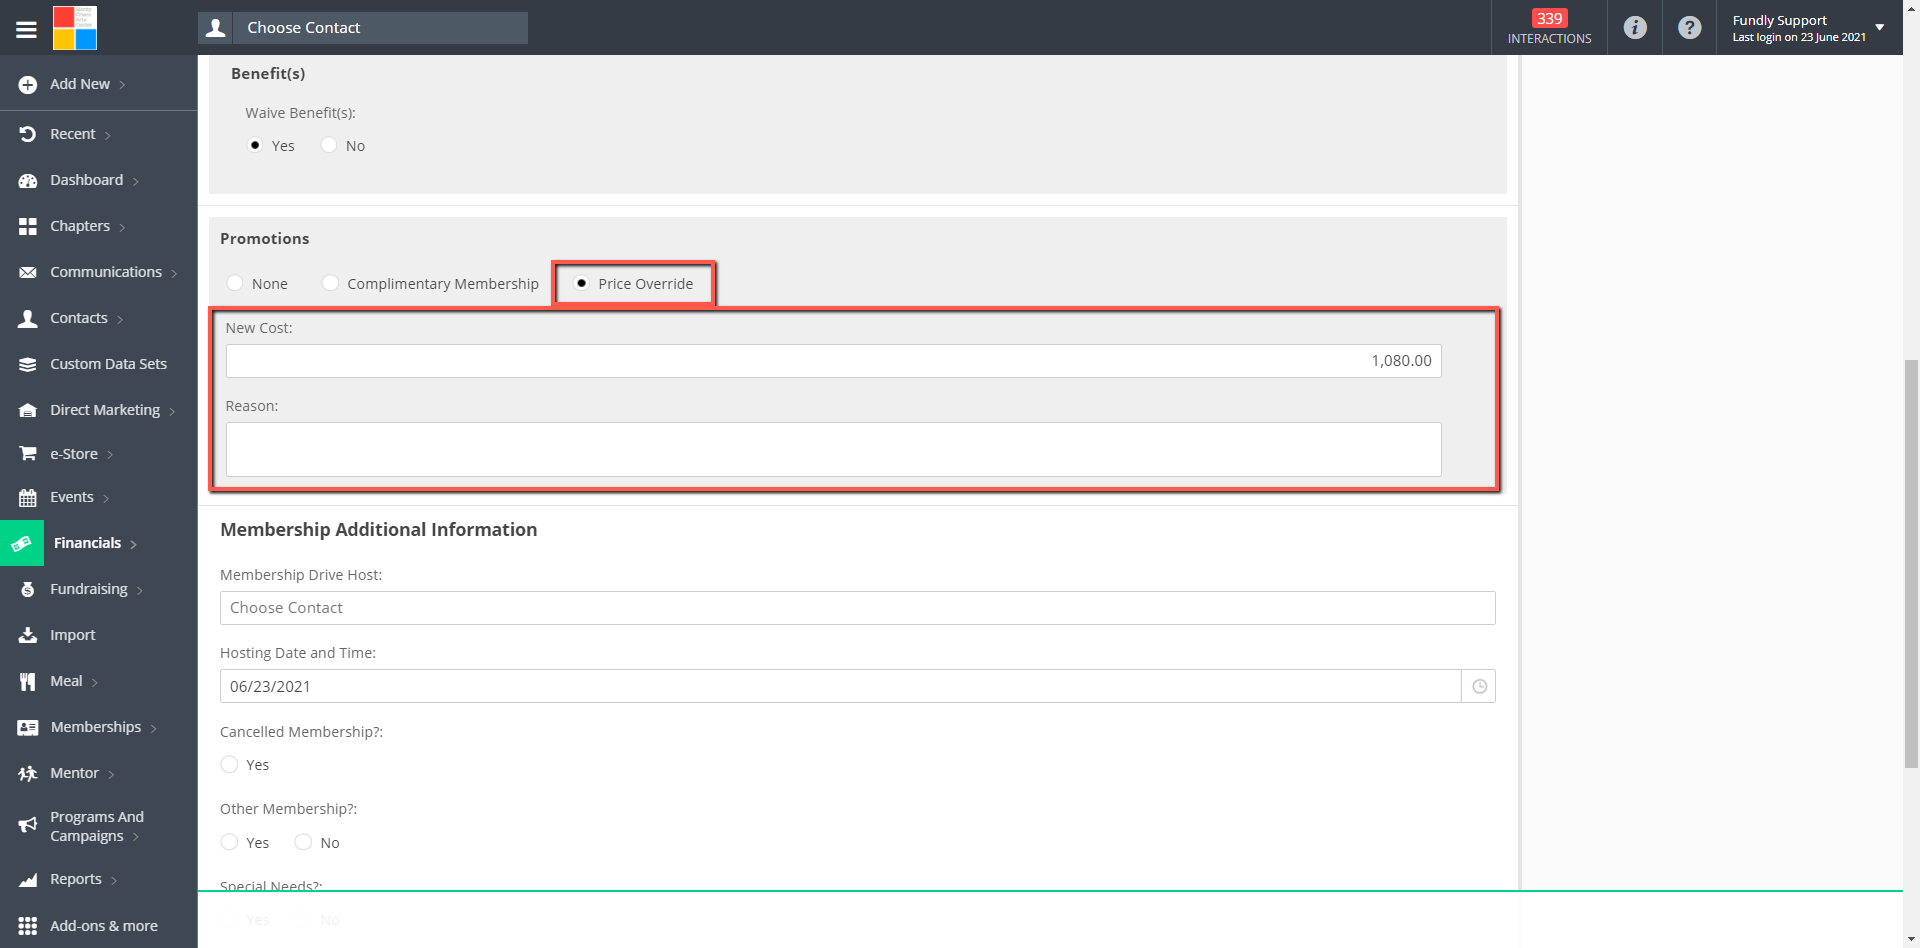
- The Promotions section allows you to indicate any promotions or discounts that would apply to the membership such as a complimentary membership (perhaps given as an incentive or as a thank you) or a price override (such as a special discount not tied to a coupon/discount code).
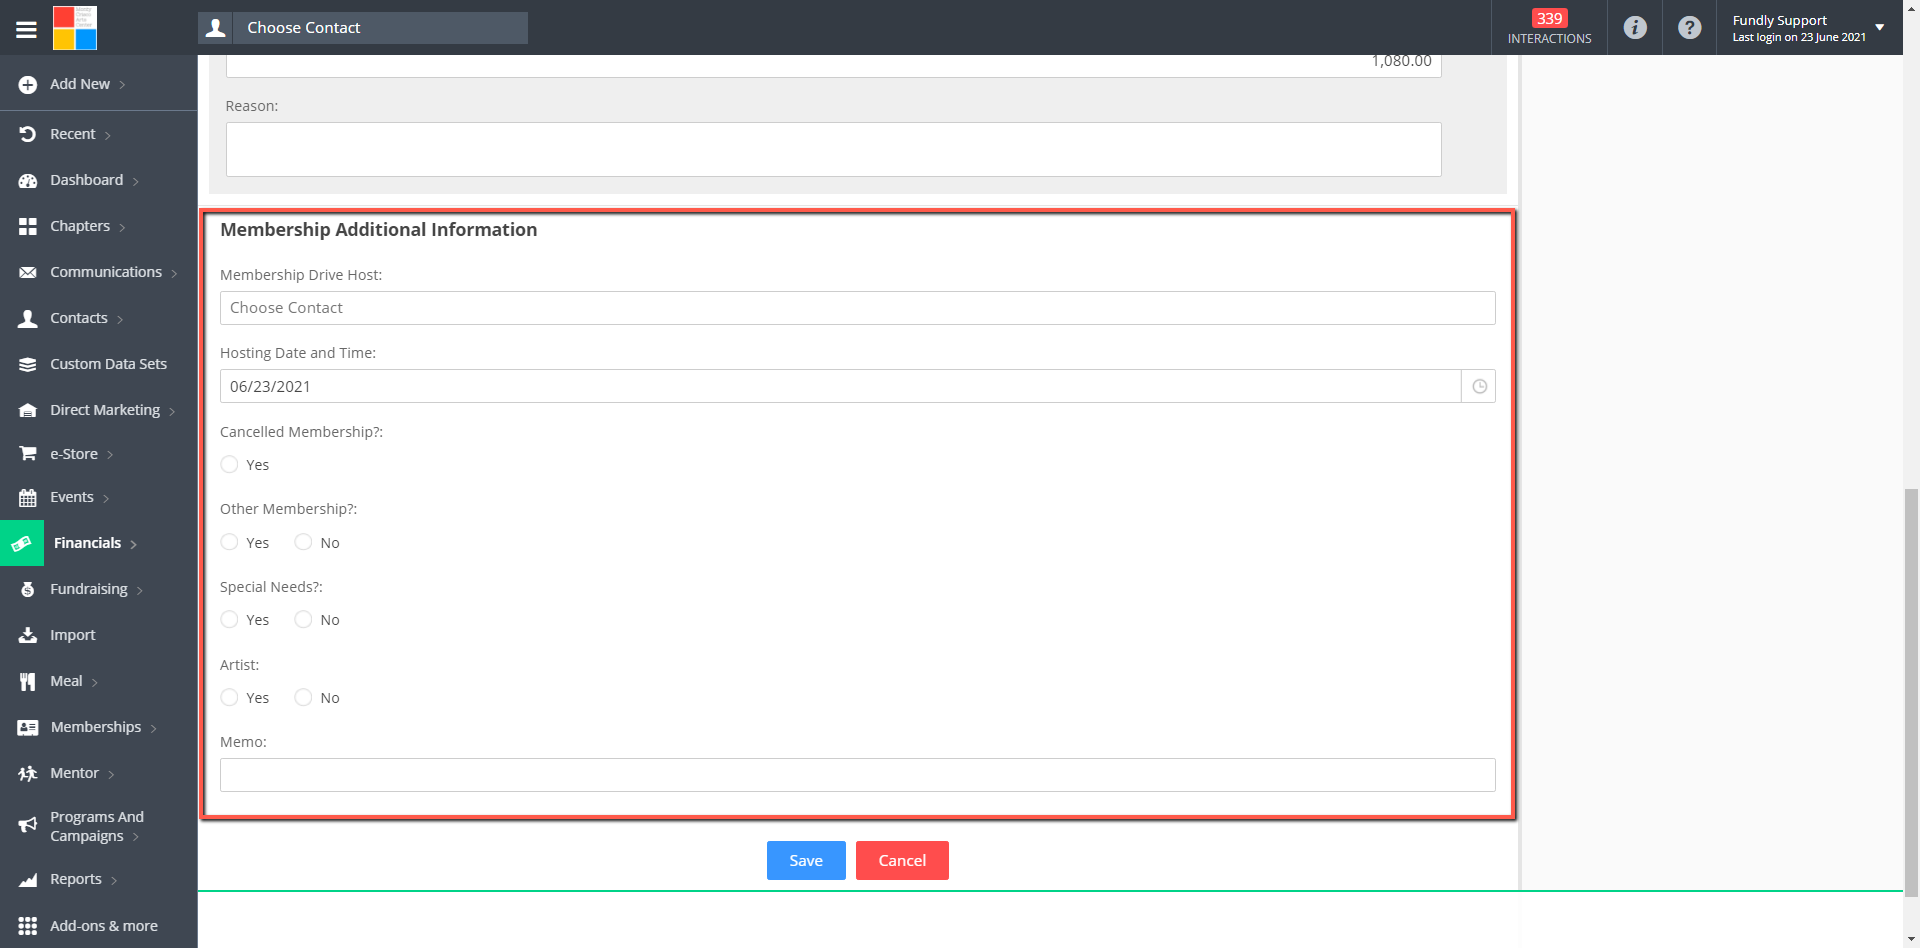
- Lastly, the Membership Additional Information section is a custom data set that you can configure yourself. It's a place to add fields to capture additional information about a membership when there is no other place to put the information (perhaps a text field for notes, a field for how they heard about about membership with your organization, or other critical information related to the membership. However, this is NOT a place to put information about the MEMBER(s). That information goes on the membership form. By default the Membership Additional Information custom data set is blank/has no fields (the ones you see in our screen shots below are specific to our demo system). You can configure the Membership Additional Information custom data set at Main Menu: Configurations: Custom Data Sets: Membership Additional Information. See our tutorials on working with Custom Data Sets if you need more information on how to add/configured custom data set fields.
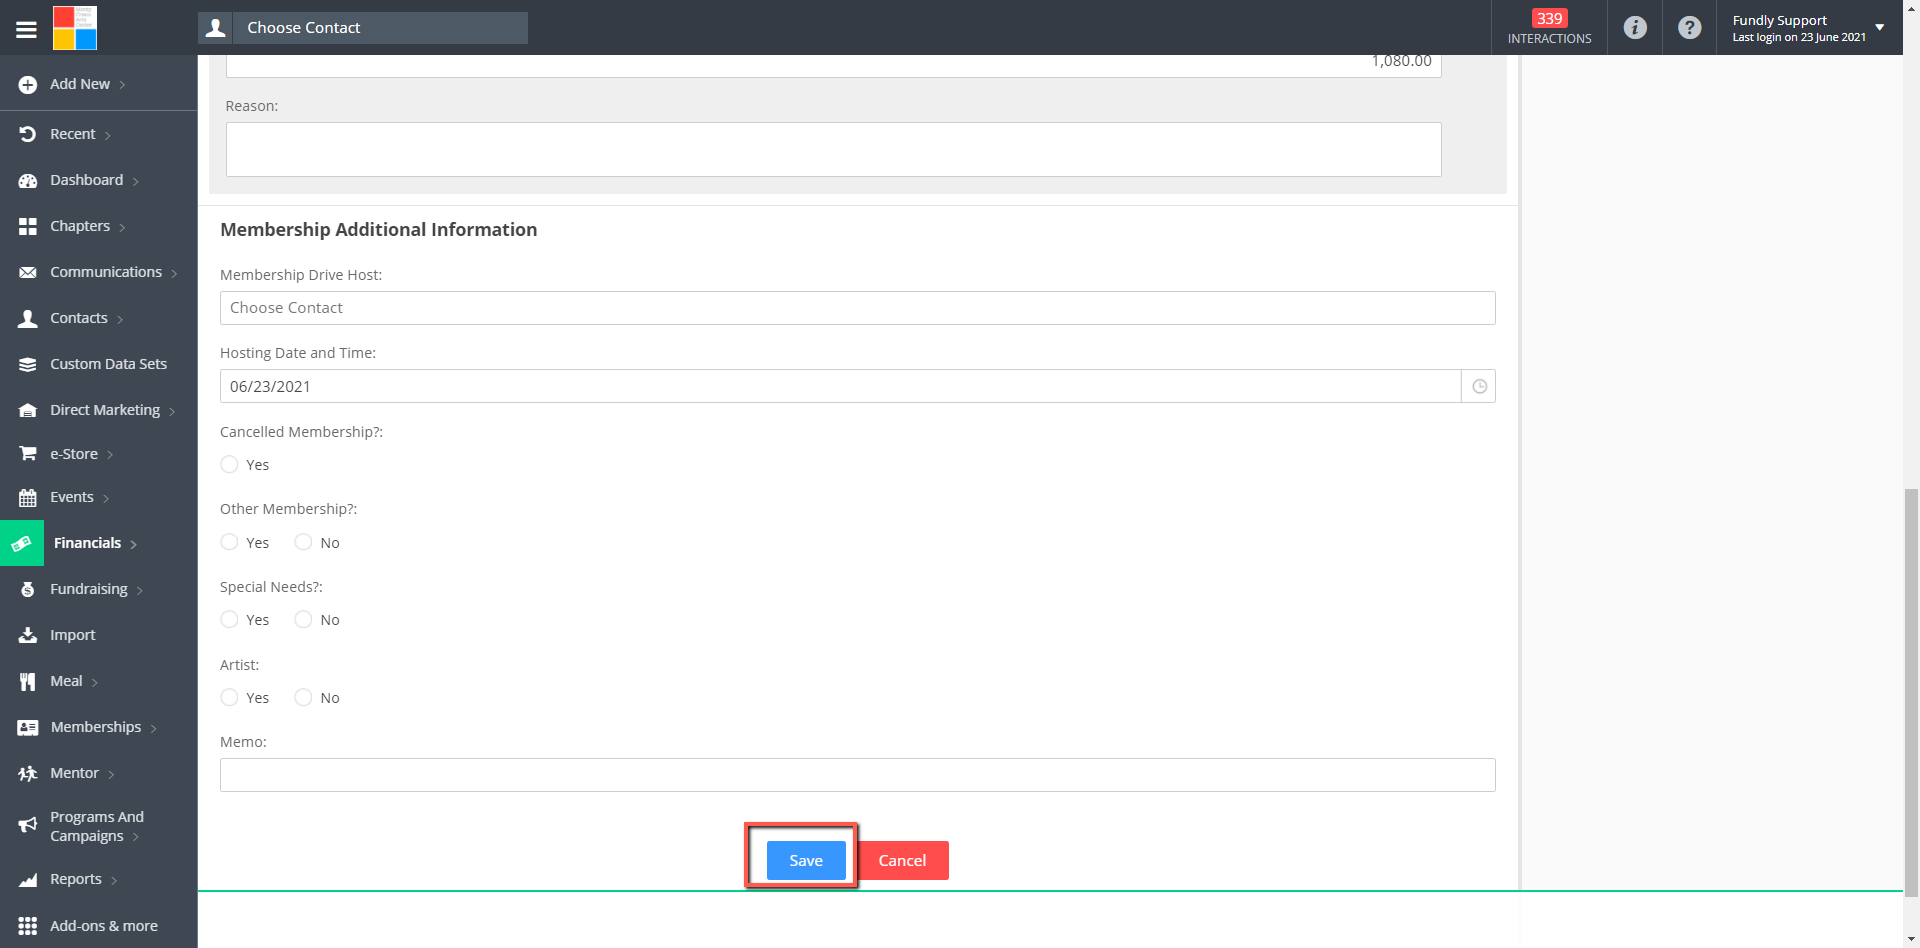
- When you have specified all needed information for a membership, click Save at the bottom of the screen.
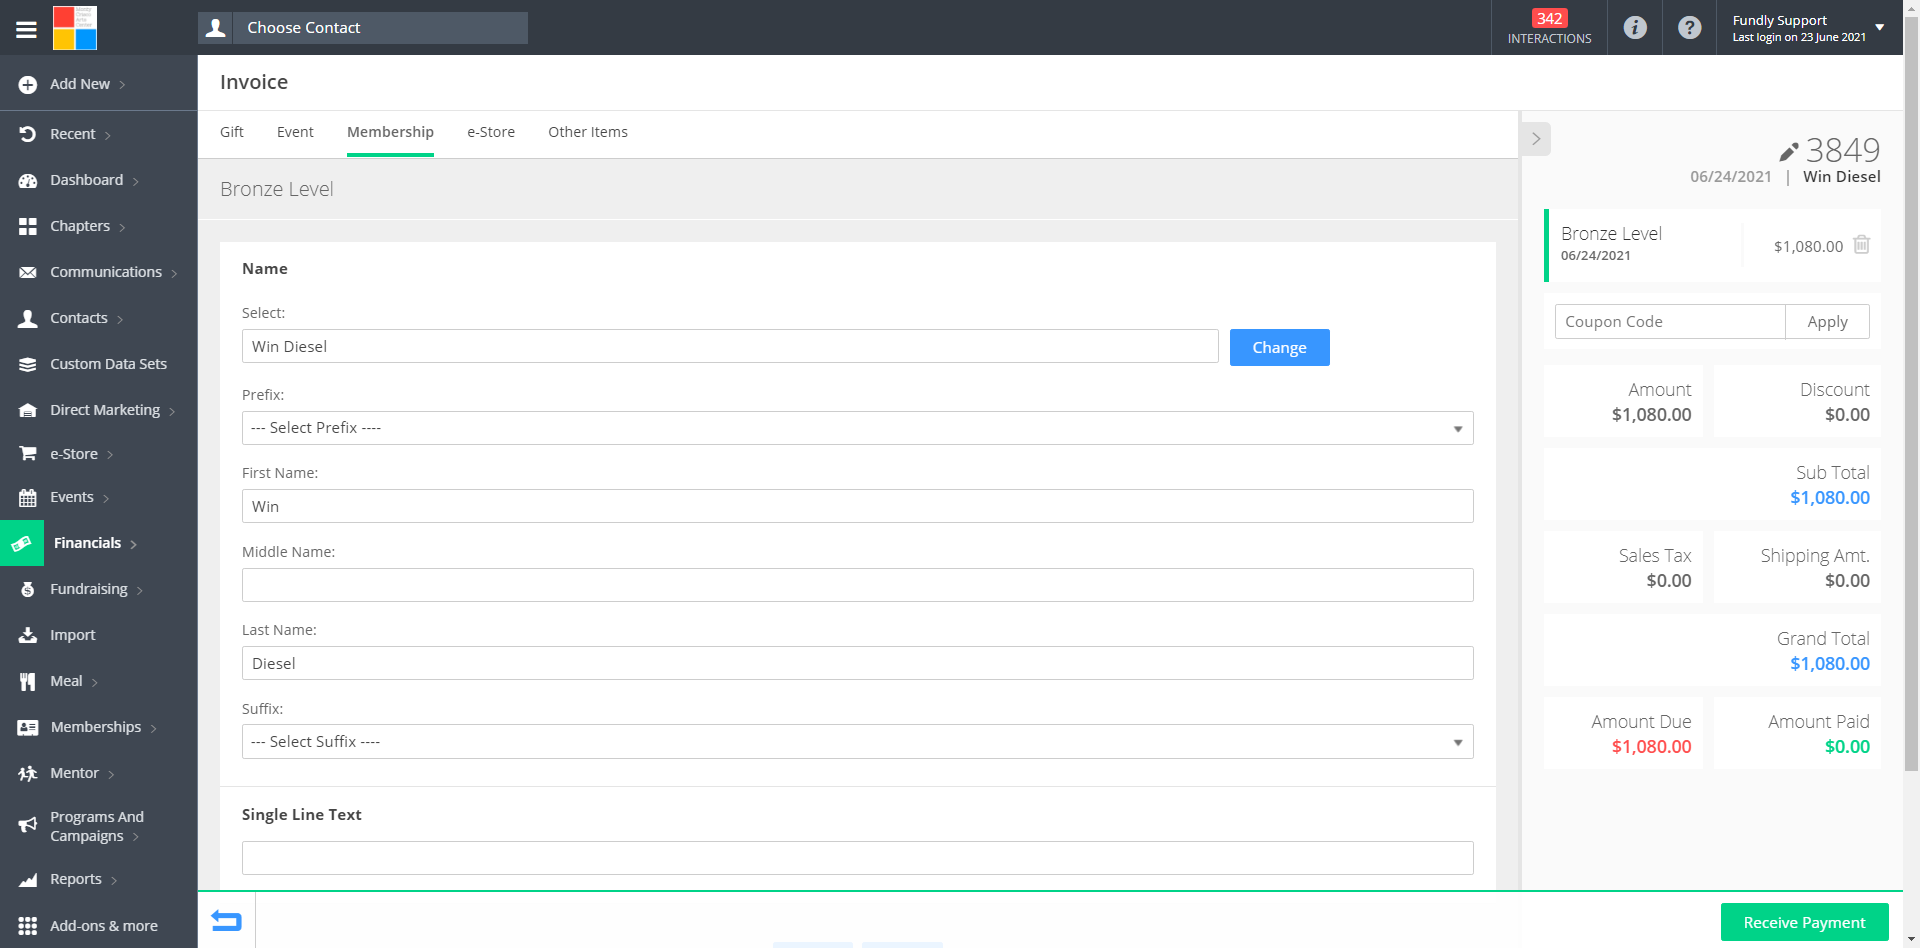
- If you have configured a membership form for this membership level, you will be presented with the membership form. If this is a group membership (more than one person on the same membership), you will be presented with one form per member on the membership (for example, if this is a family membership with four people, you will be presented with four membership forms).
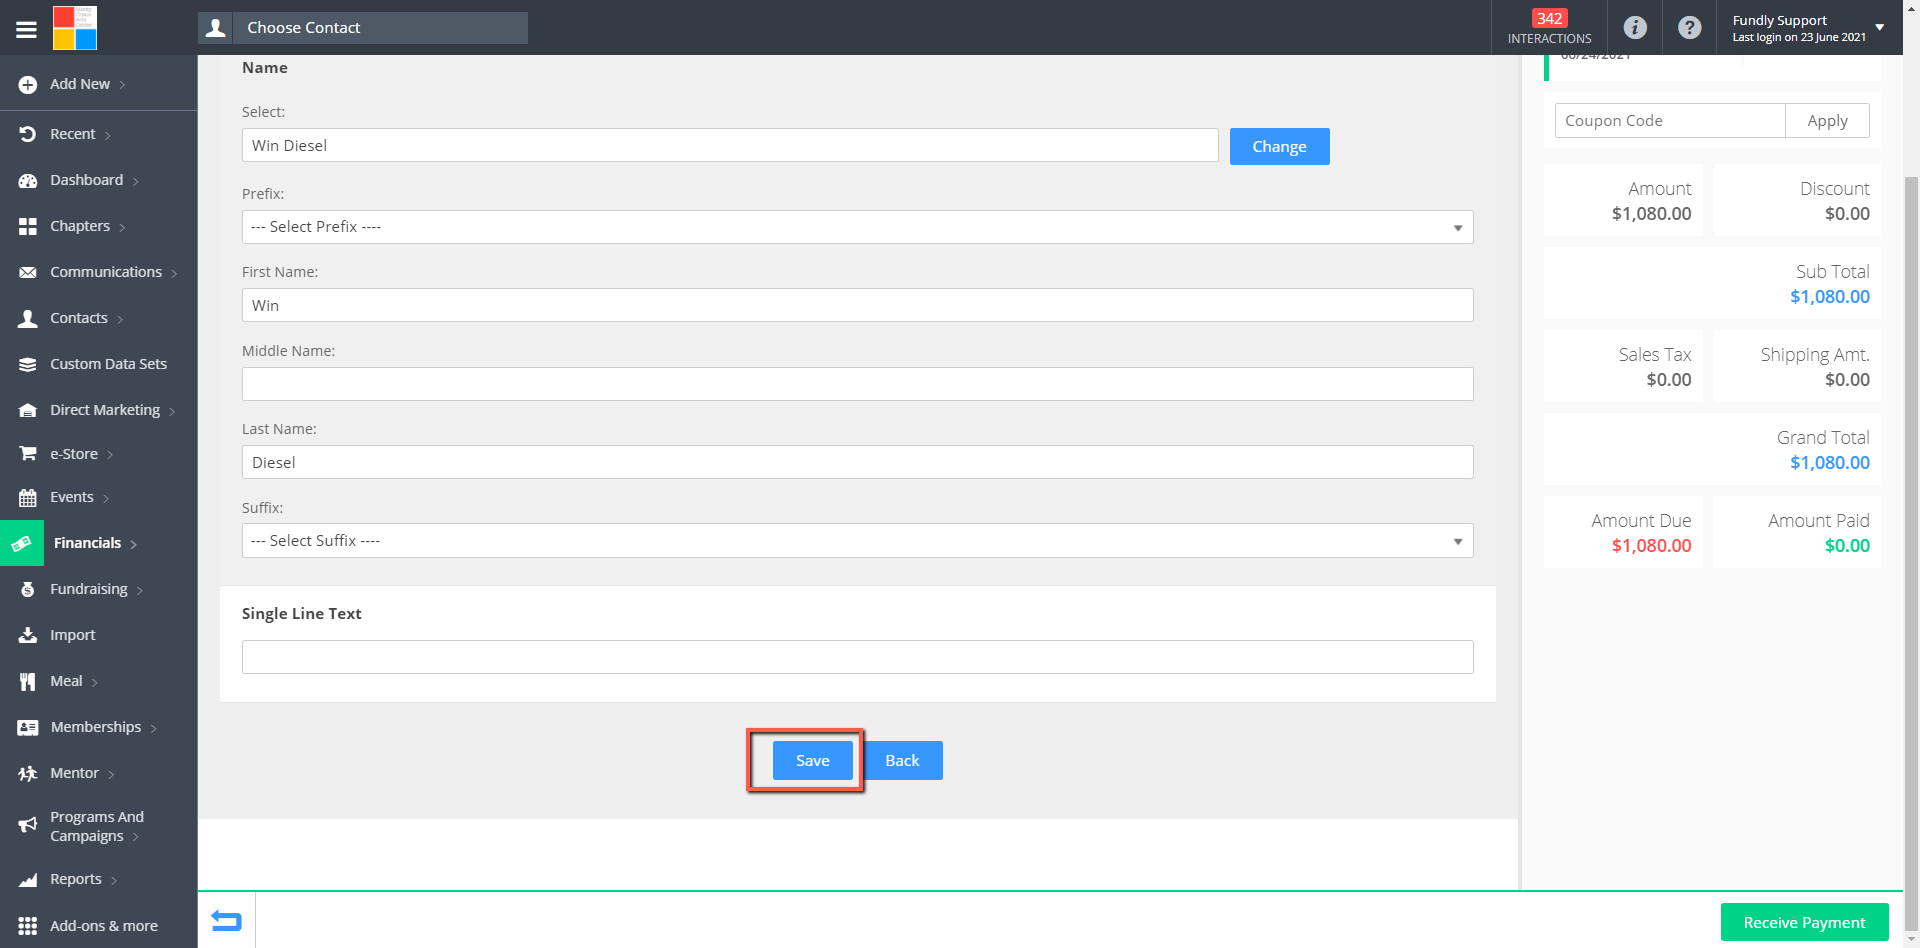
- Complete all required fields on the Membership Form and click Save at the bottom of the screen.
- If the member is paying for the membership at this time, click on Receive Payment button in the lower right (note: payment does not have to be received at this time. You can always receive/record payment by going to the Invoices index screen and receiving payment from there. See our tutorials on working with Invoices for more information).
- If you entered mode of payment as Credit Card and the card issuer requires "Strong Customer Authentication" (referred to as SCA or PSD2 authentication), a box will pop up asking you to initiate the authentication process. SCA is a new requirement for credit cards issued by European banks or for credit card transactions taking place on European websites for the card holder to authenticate an online purchase by indicating they are the ones who has initiated/authorized the transaction (see this explanation of SCA from Stripe for more information).
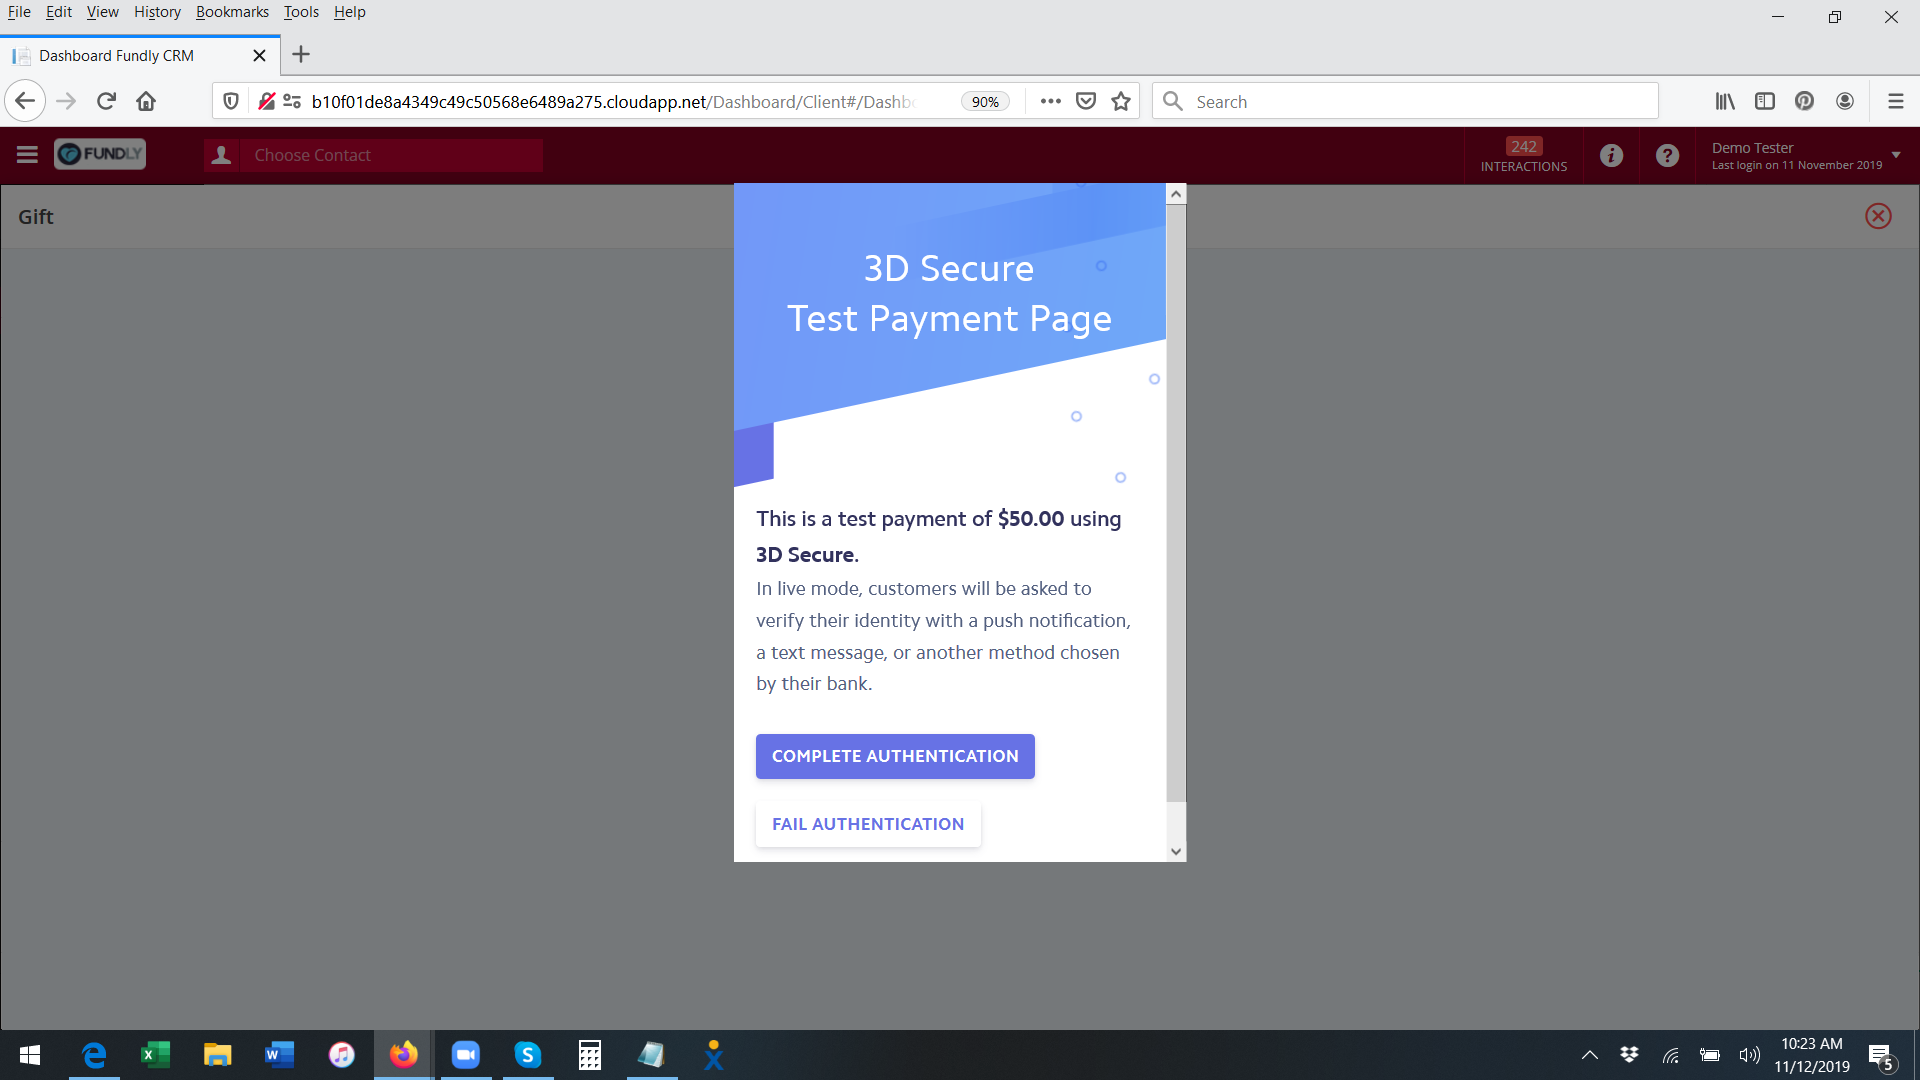
- Click the authenticate button and then you will have to wait until the card holder completes the validation process on their end. Once they do (and authentication is completed successfully), the transaction will finish saving automatically.
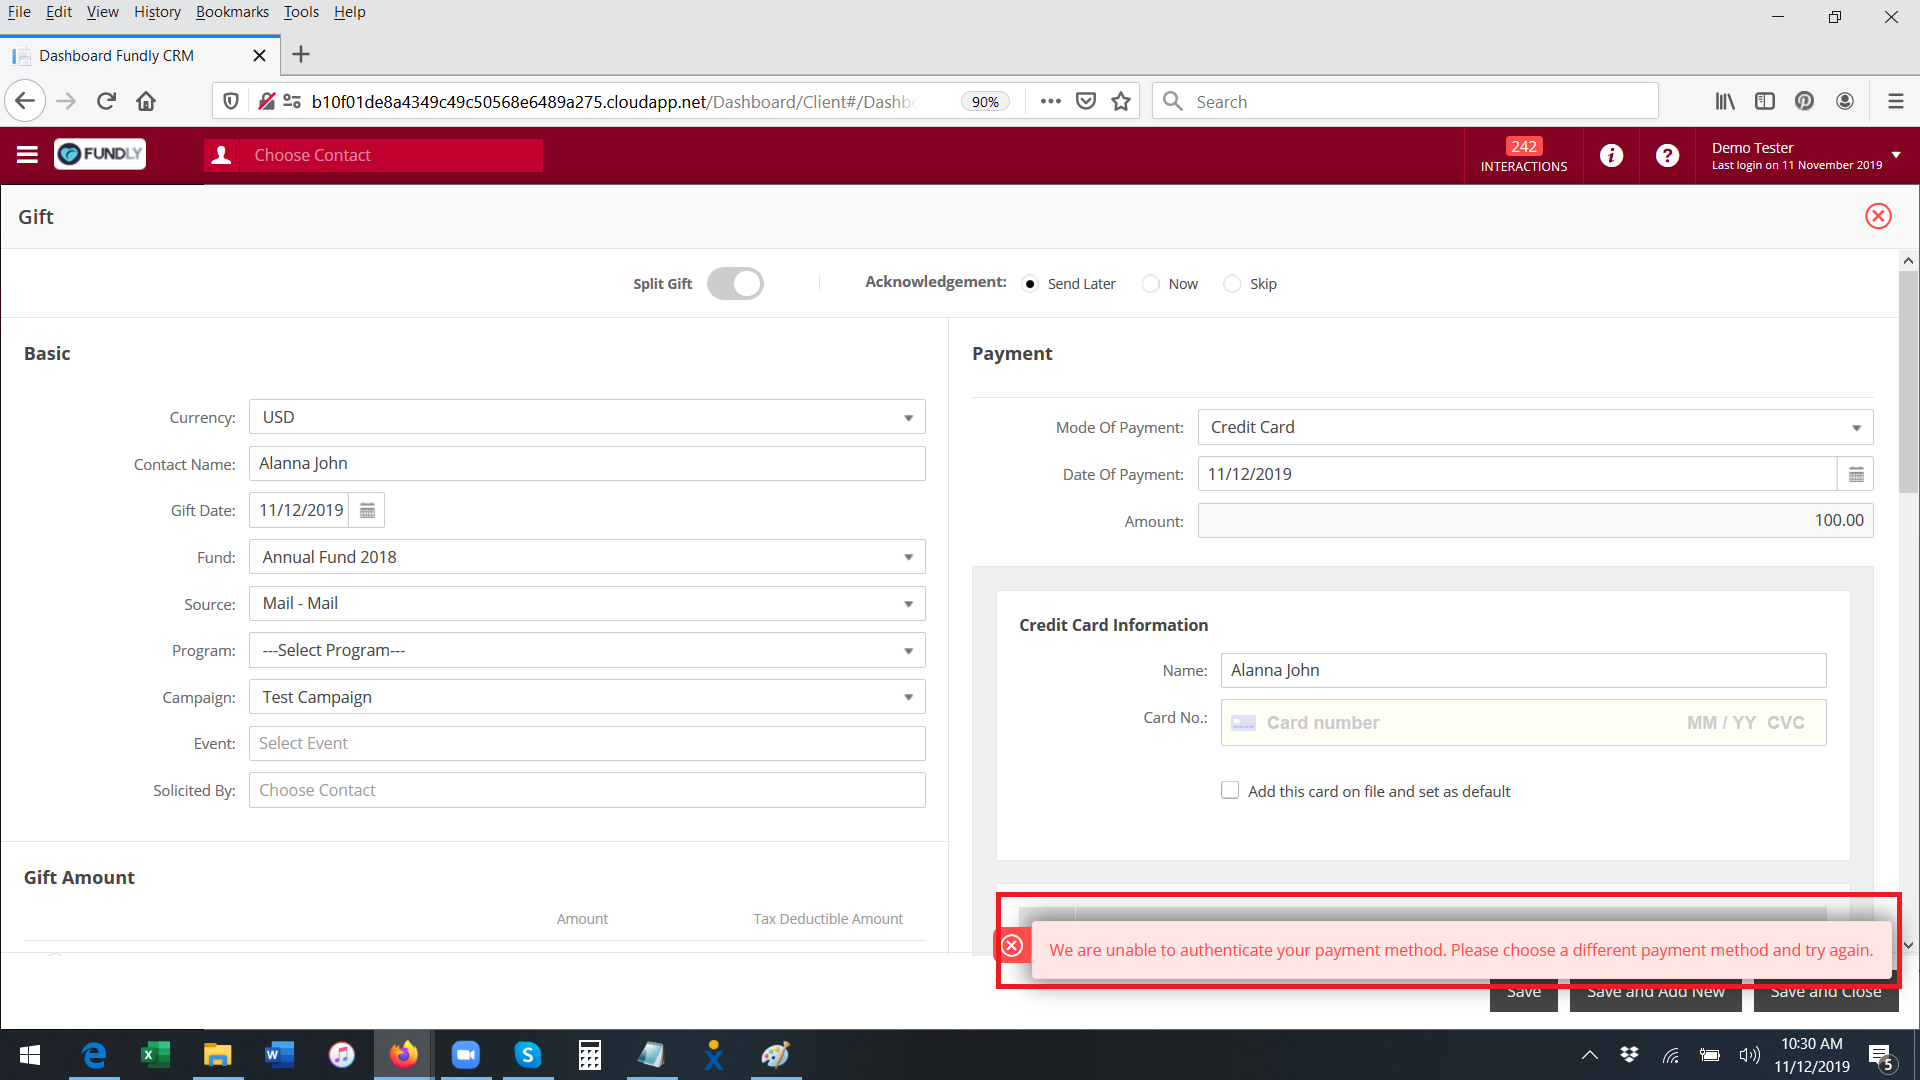
- If the card holder fails to authenticate the transaction within the specified time frame or denies the transaction, a authentication failed message will appear on the screen.
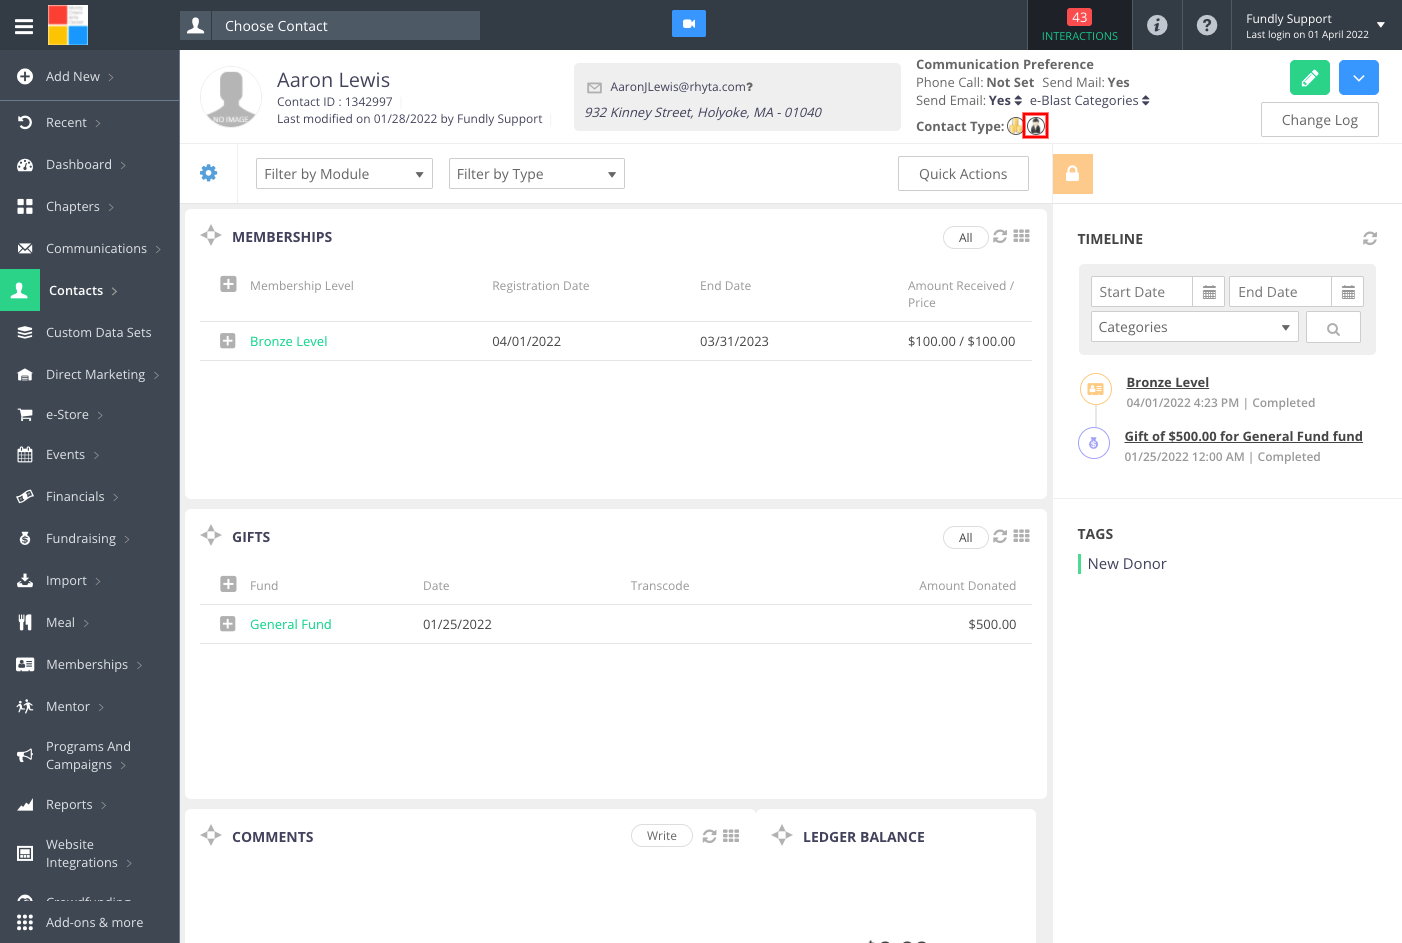
- The contact will now show the contact type Member on their record (this contact type will be added as soon as you click Save on step #22. It will be added even if you do not complete the membership form or receive payment/mark the membership as paid).
- You can also choose to Quick Add Membership from the Quick Add Menu from anywhere in the system. However, keep in mind this will take you to a truncated Add Membership screen that does not give you the ability to:
- set the membership up as a recurring membership,
- access the Membership Additional Information custom data set/fields,
- select/assign benefits (if using membership benefits feature),
- fill out the membership form.
If you do not need these fields or the membership form, Quick Add Membership can be a quicker way of adding membership than Full Add Membership.
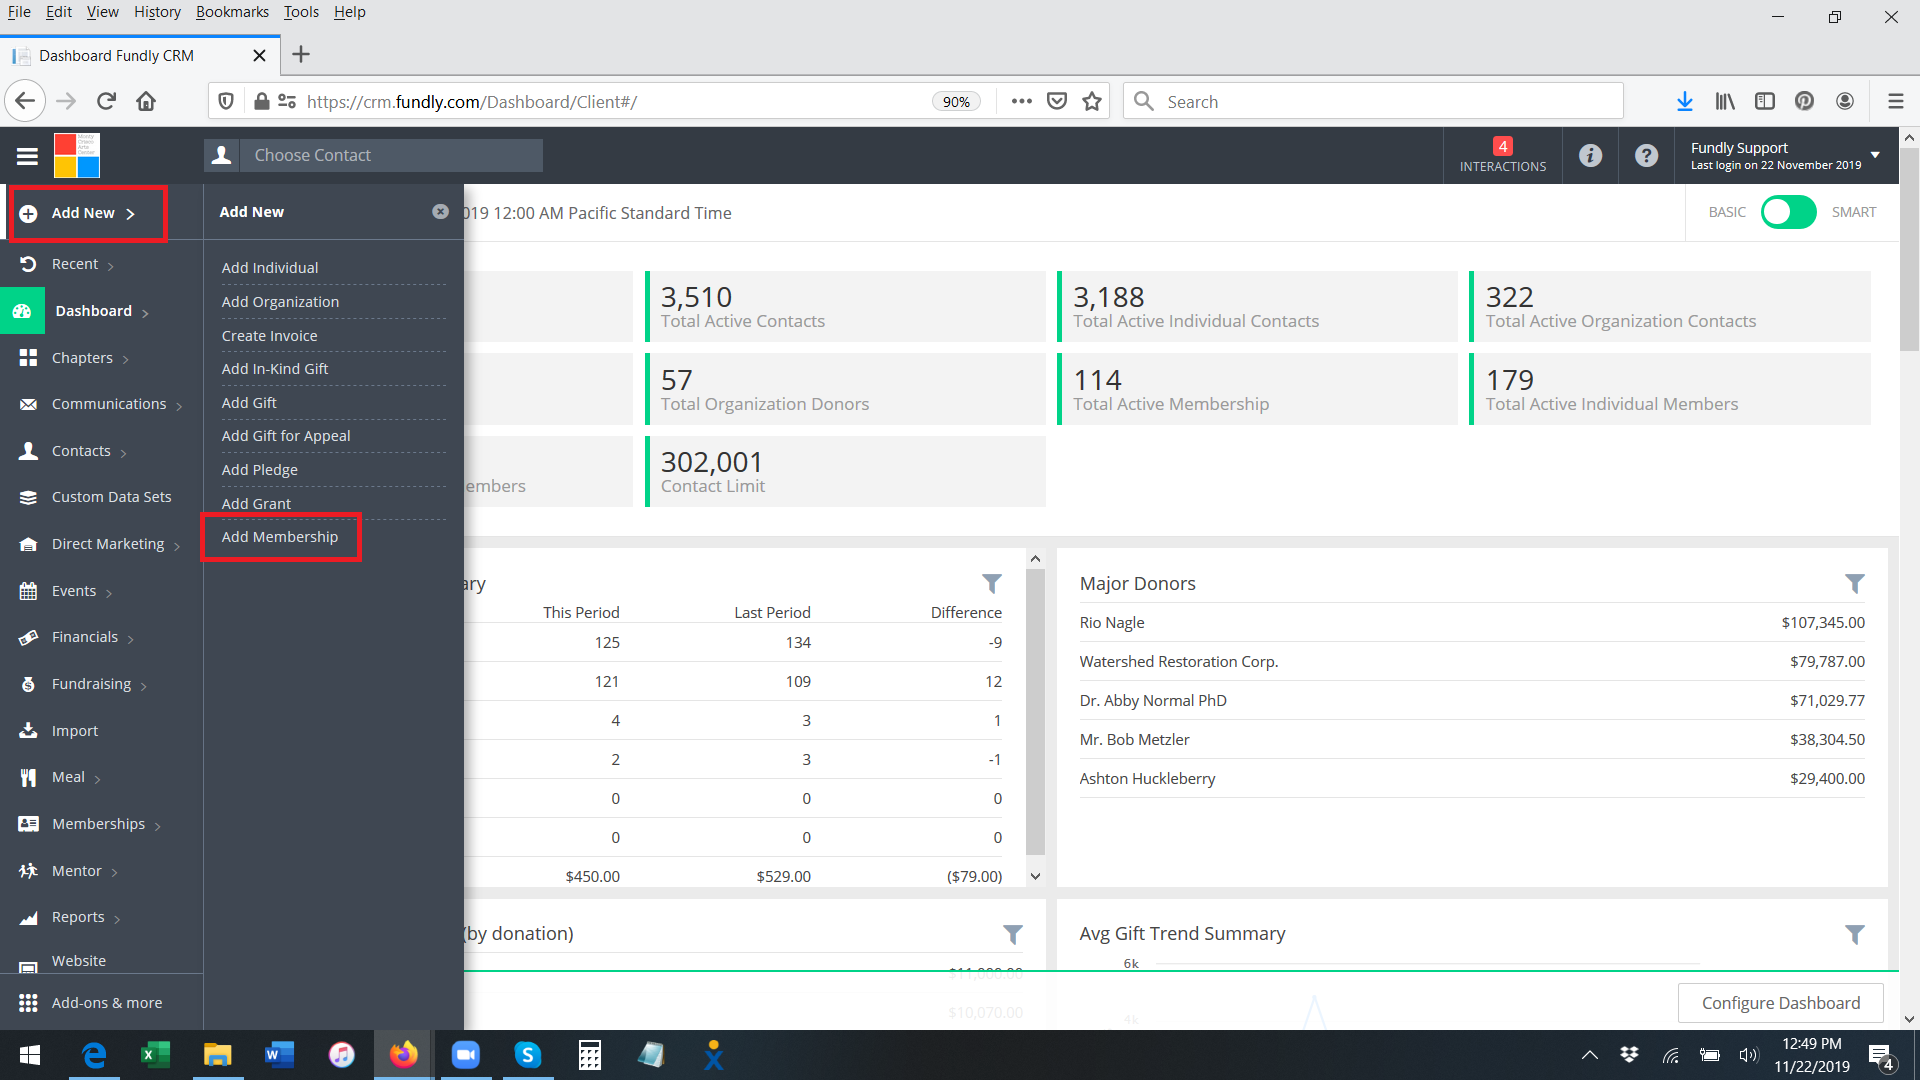
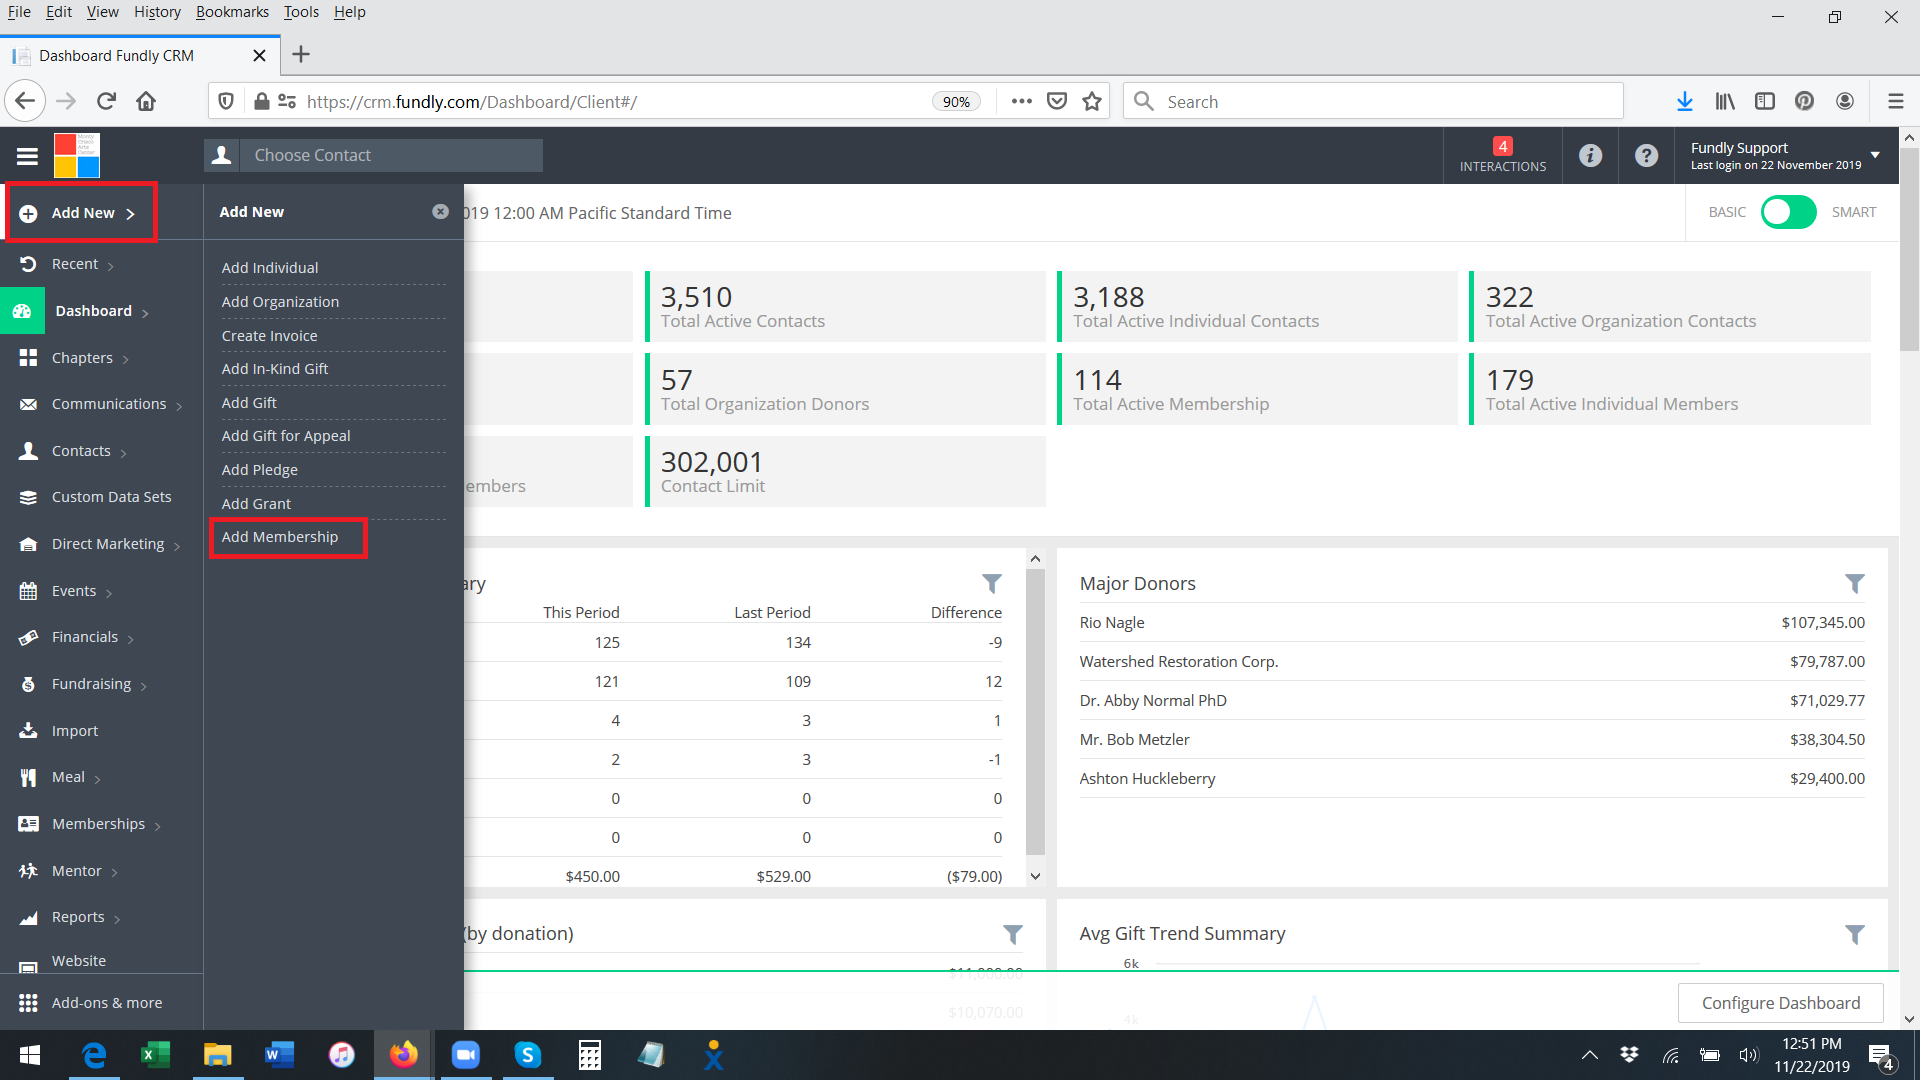
- To Quick Add a membership, from the Quick Add Menu, select Add Membership.
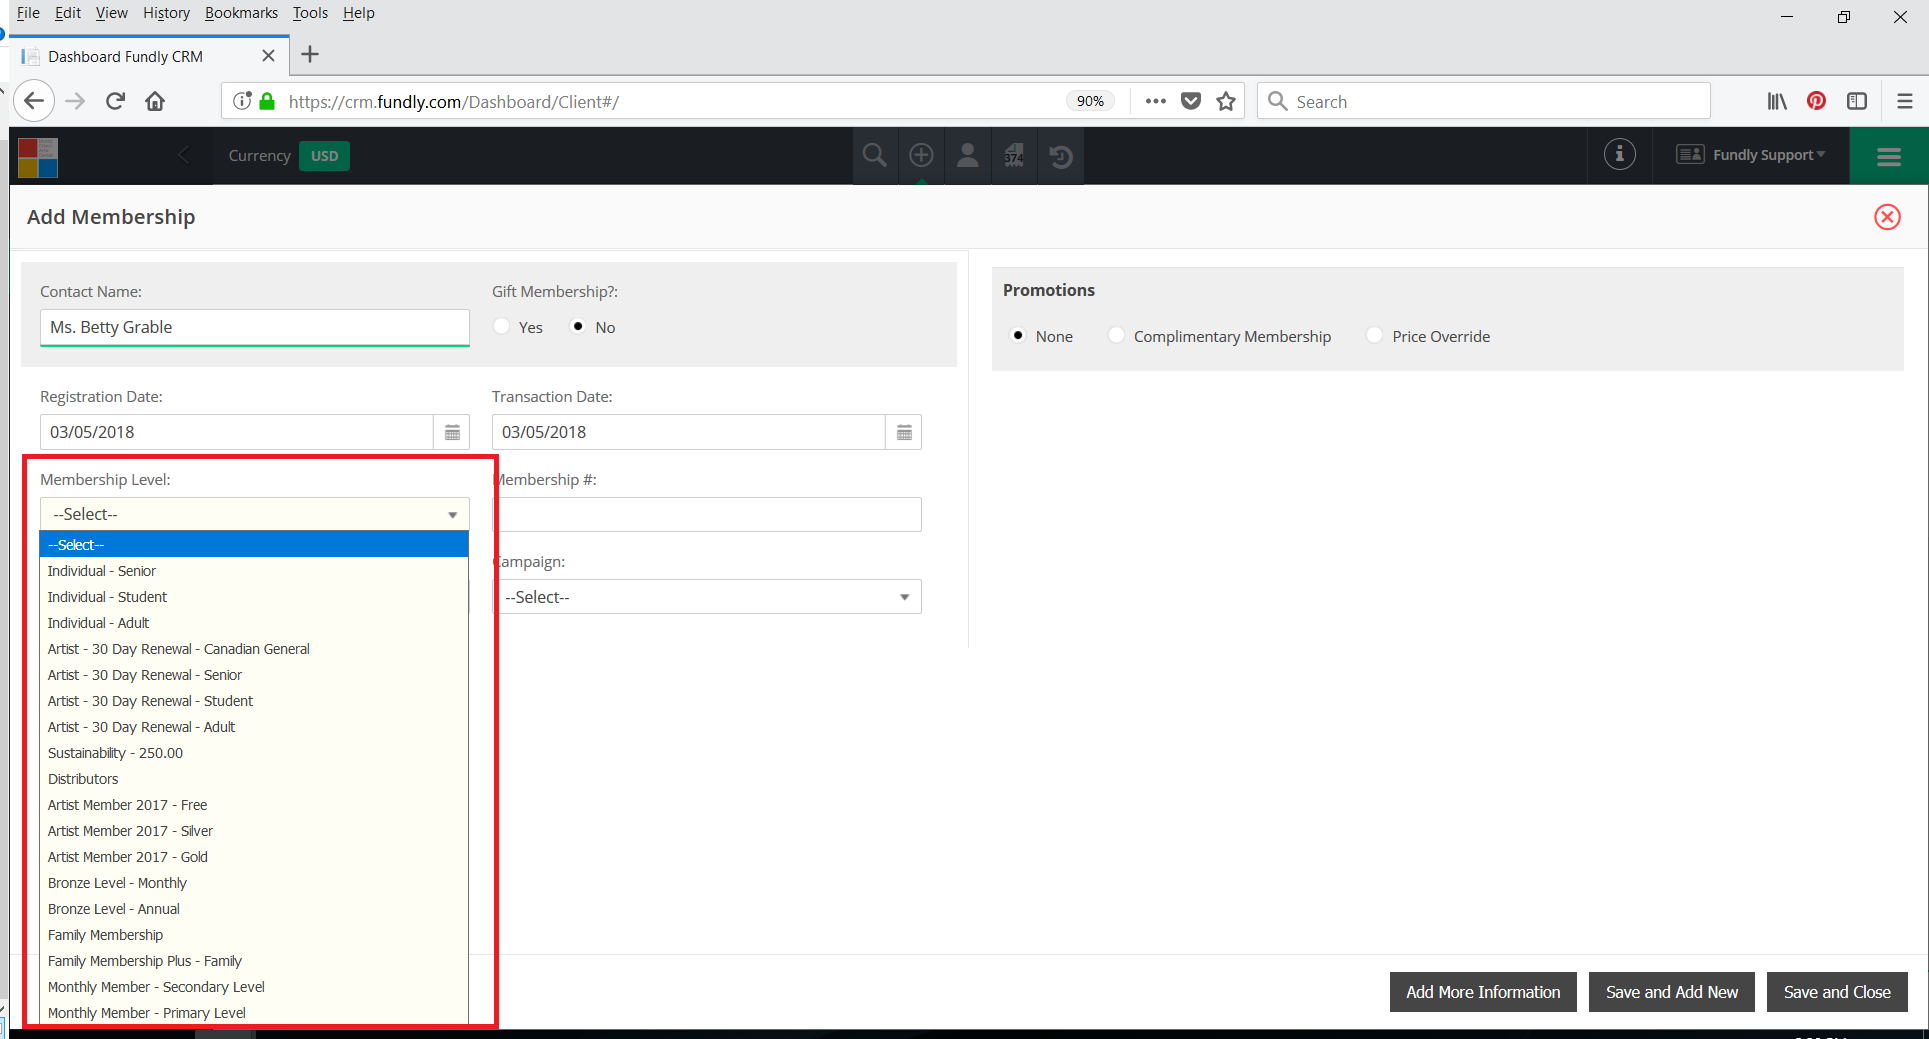
- Select the Member's name (or quick add the contact by typing their name in the Contact field and hitting Enter) and choose if this is a gifted membership.
- Select the Membership level in the drop down field. Once you select the Membership Level, additional fields will becomes available/show on the screen.
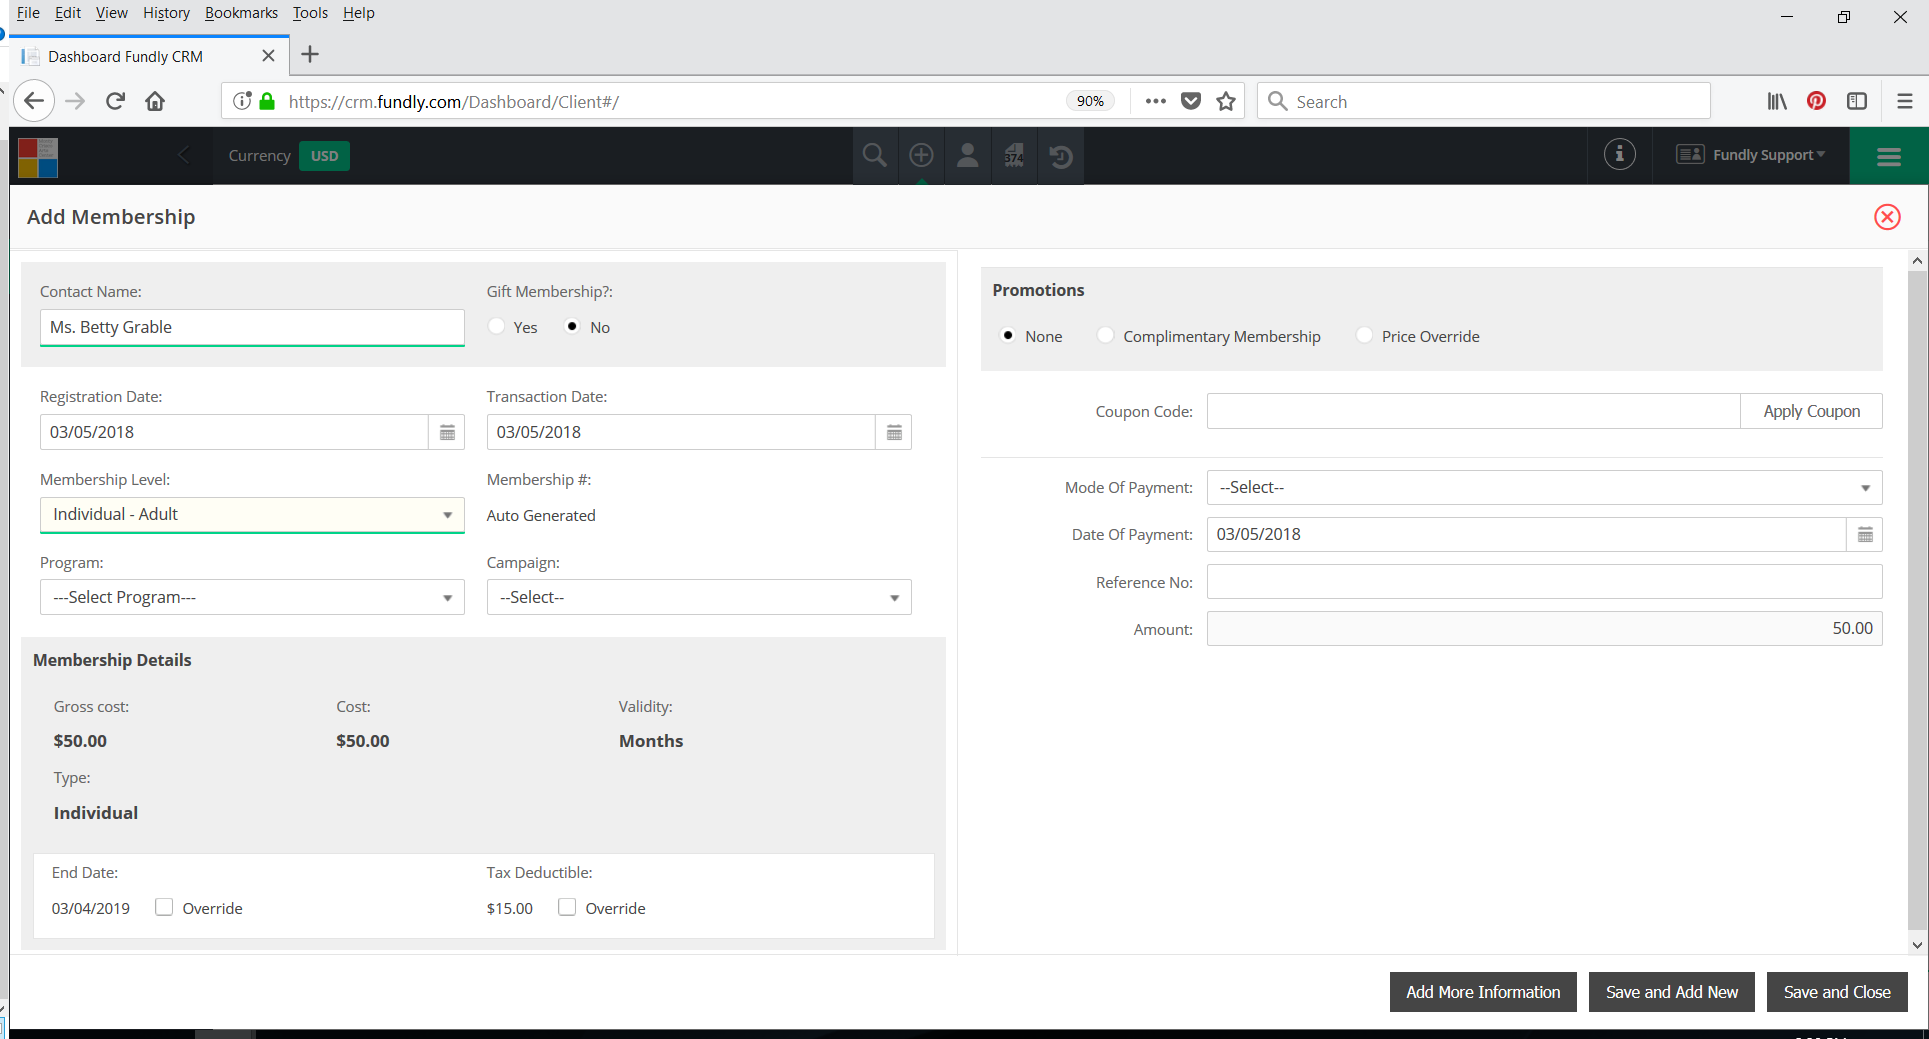
- Complete the rest of the available fields, including the payment information (if any/if paying at this time. The membership can be saved without entering payment information at this time. See step #28 for important information about credit card payments).
- If you want access to the rest of the fields available on Full Add Membership, click the Add More Information button.
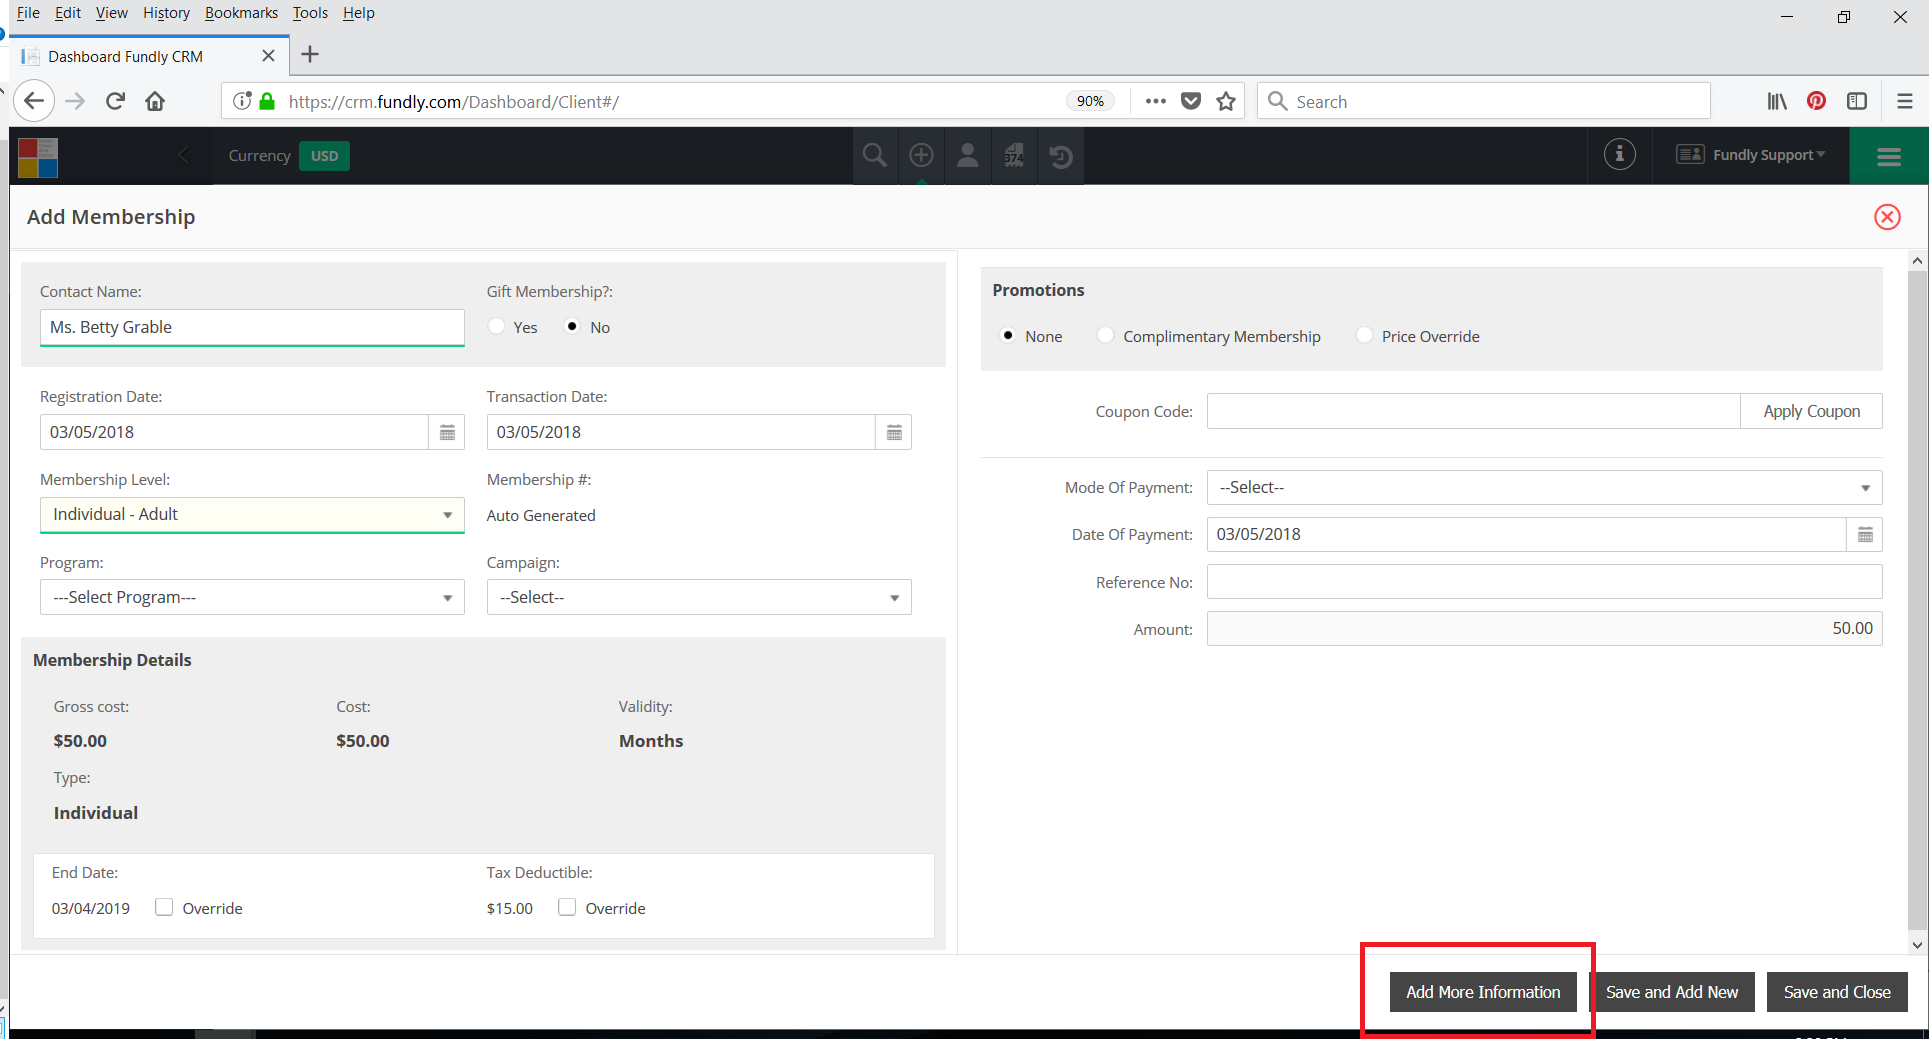
- Otherwise, click Save and Close to save the membership and exit out of Quick Add Membership or Save and Add New to quick add another membership.

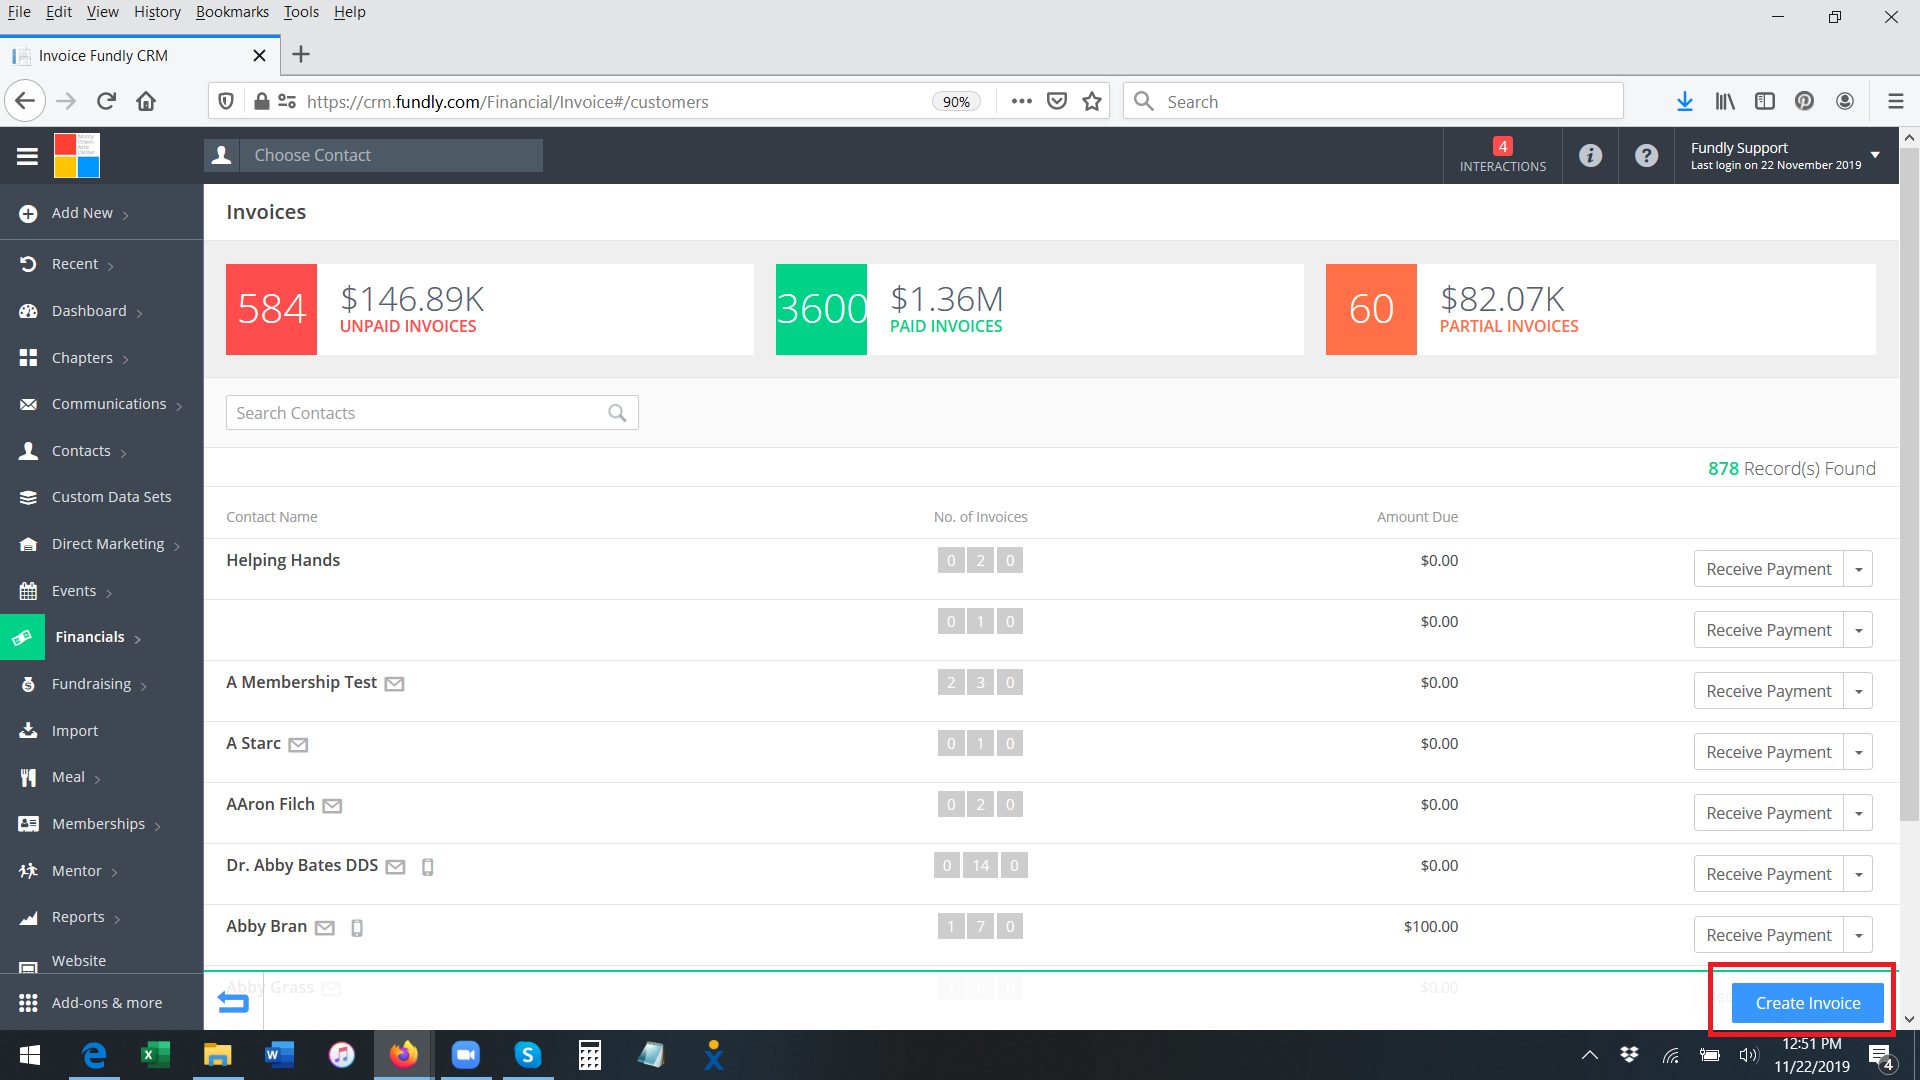
- You can also Add a Membership through Create Invoice. From the Quick Add menu or the Invoices Index Screen choose Create Invoice.
OR
- Follow the above steps starting at step #10 to complete the membership.
Comments
0 comments
Article is closed for comments.