Create Event Part XII: Sponsors (Optional)
- The sponsors tab allows you to add the logo, name, and website link of any event sponsors to your event's registration page on your website (if you have integrated your website with Fundly CRM). Use of this feature is optional.
- Please Note: this feature does NOT allow you to record receipt of money/payments for event sponsorships) (nor to advertise the availability of sponsorships). In general, sponsorship dollars should be recorded in your Fundly CRM system as a DONATION. Generally, a sponsorship is not 100% tax deductible (as the donor is getting some level of marketing/advertising by having their name listed on your event sponsor information and may also be getting tickets to the event or some other good or service that has a value) and/or has different "ask" levels than your regular donation ask. As such, you will most likely want to create a separate Fund (Main Menu: Fundraising: Configurations: Funds) for event sponsorships. You can then create a separate fundraising page in Pages or your Fundly CRM Donations Word Press Plug-In to link to this fund and present your sponsorship amounts. Then, separately, as you receive sponsorships, you may add the event sponsor name and logo to your event's registration page using the steps in this tutorial.
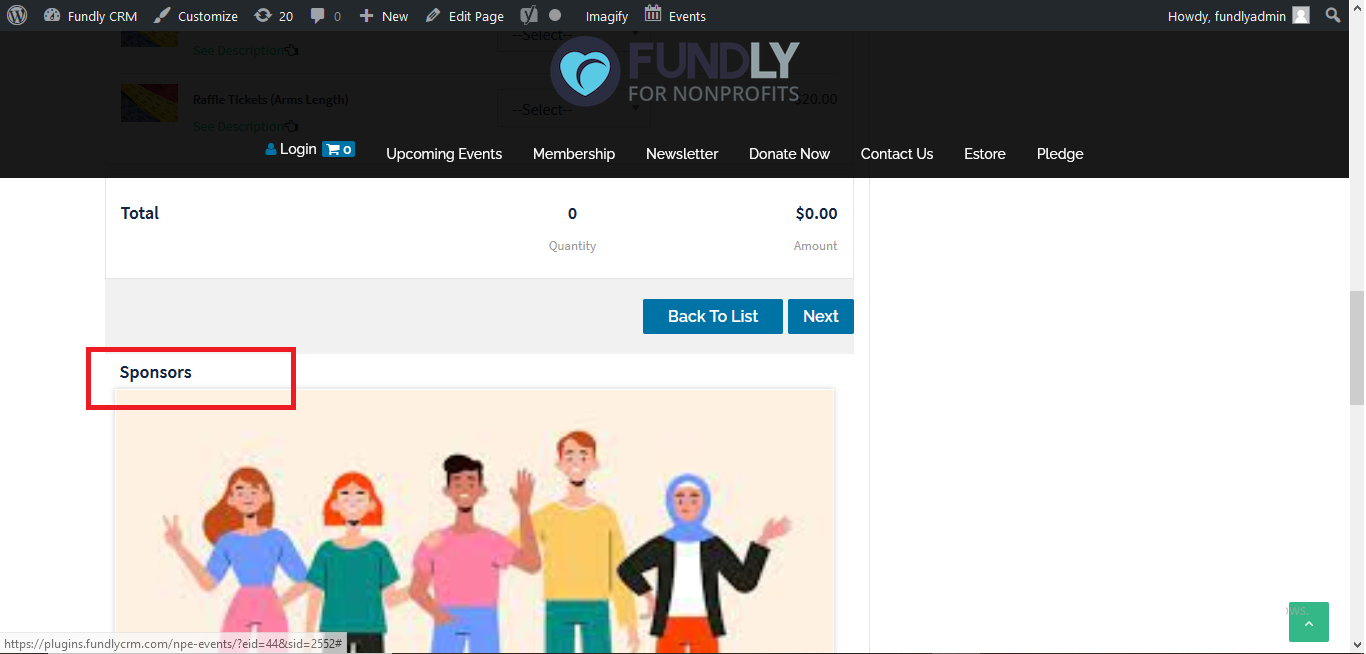
- The list of sponsors appears at the very bottom of the event page, below the ticket selection.
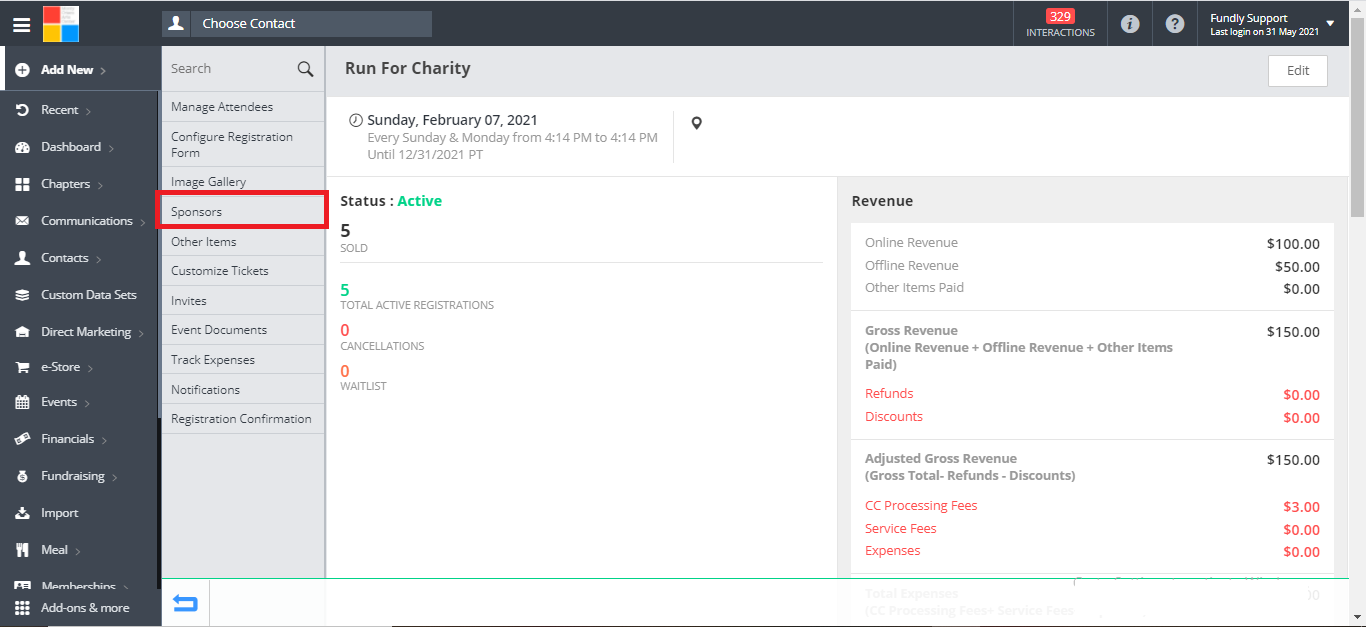
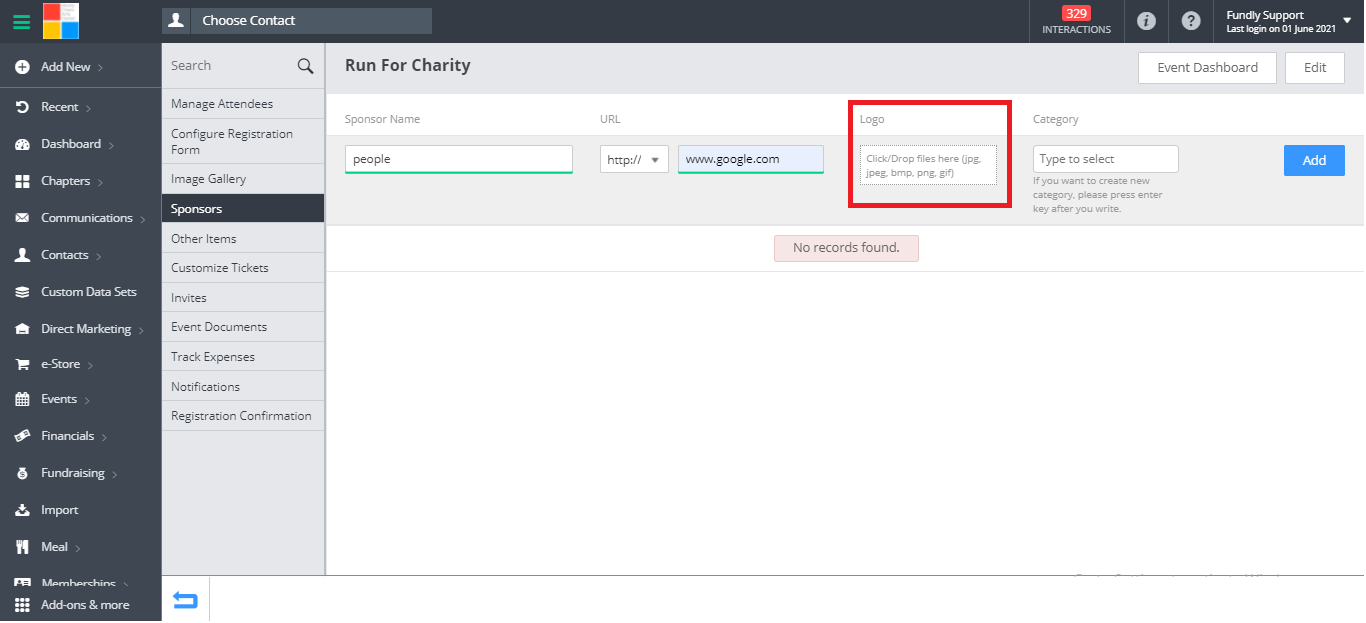
- To get started, while viewing your event in CRM, choose Sponsors from the left hand menu. This will open the event sponsor's index page. If you have not yet added any sponsor's to your event, this page will be blank except for the "add new" row at the top of the page.
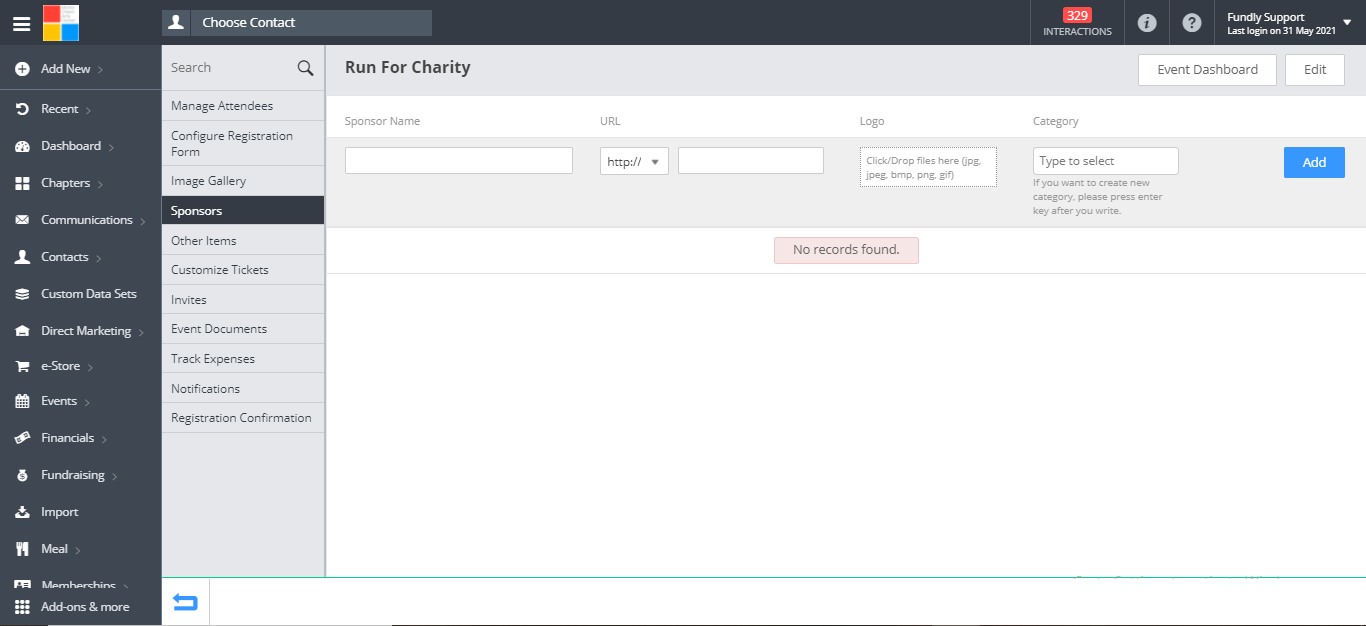
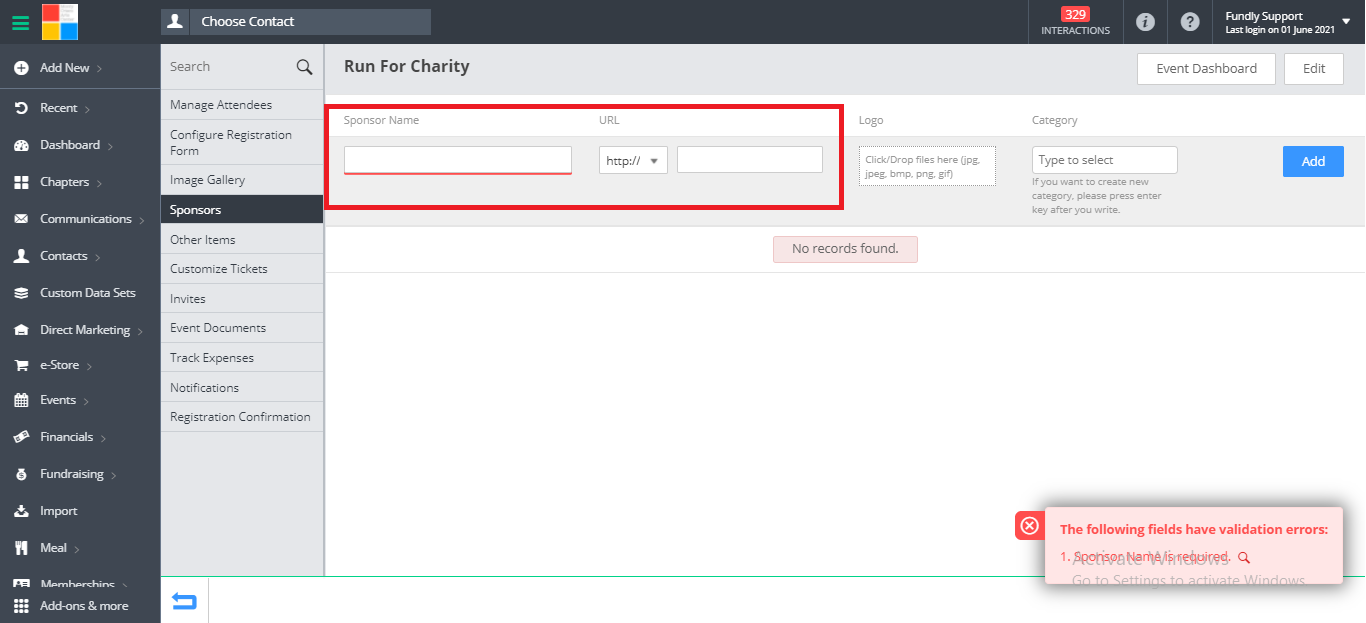
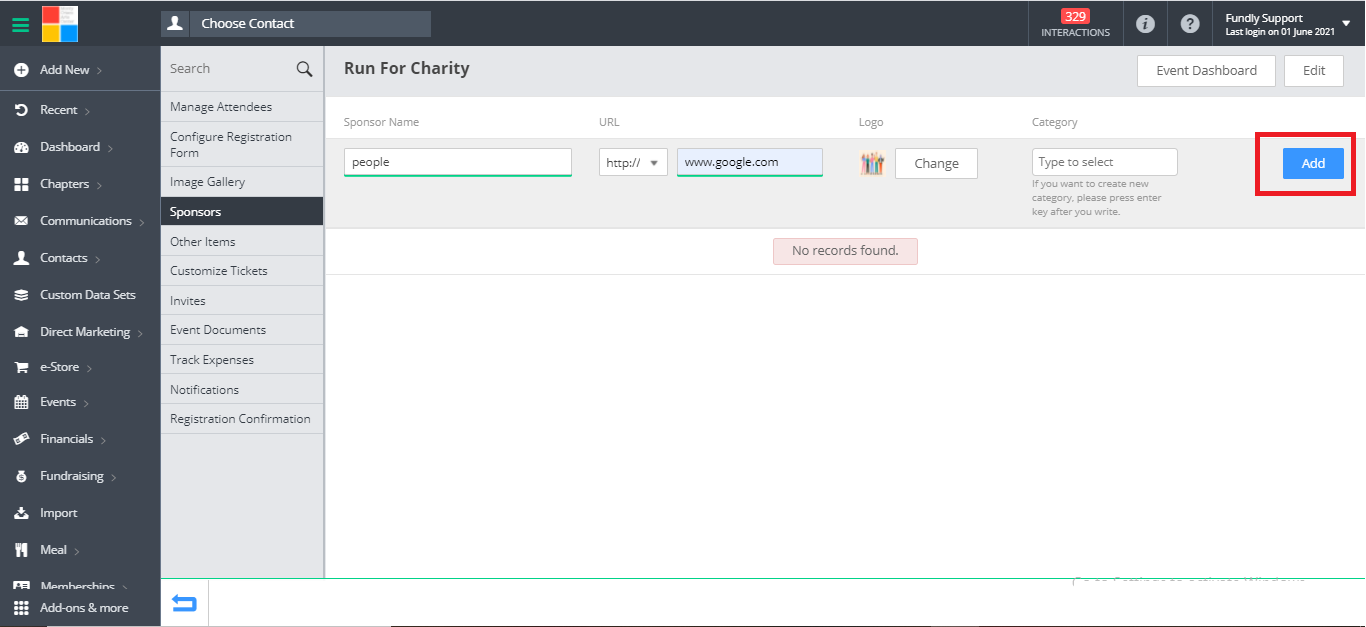
- To add a new sponsor, add the Sponsor Name and Website URL in the appropriate fields in the blank row at the top of the page.
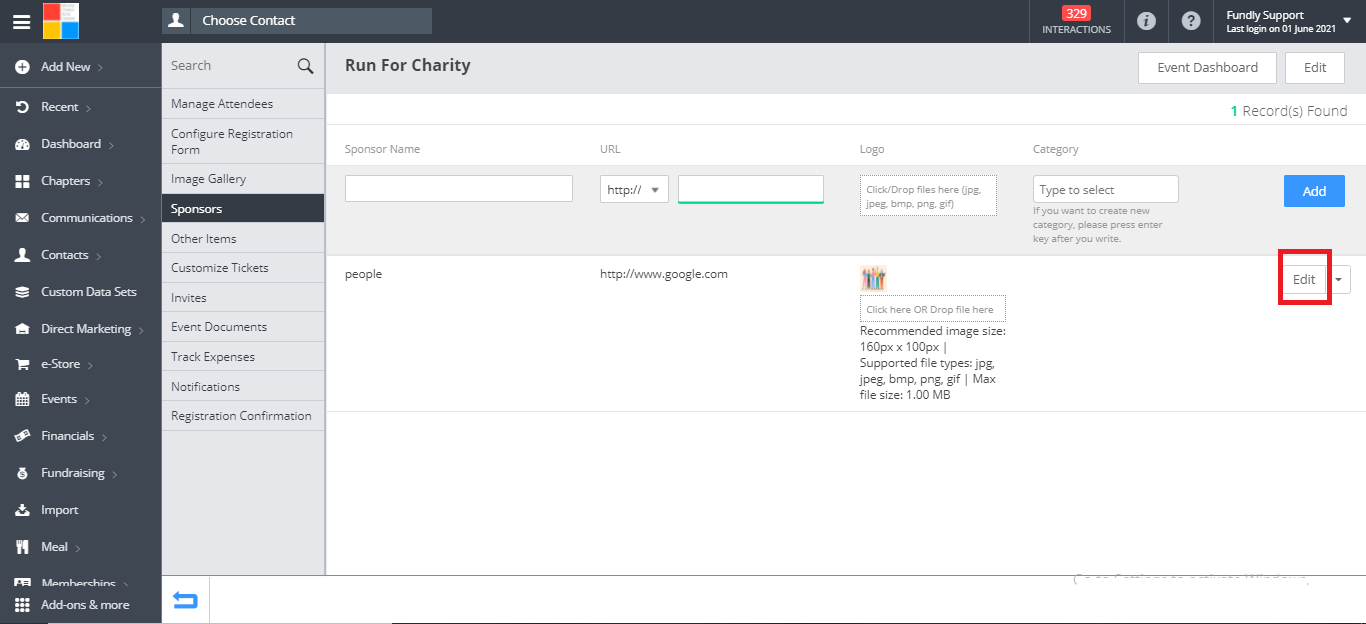
- To upload the sponsor's logo, click in the Logo box to open the image upload pop up box.
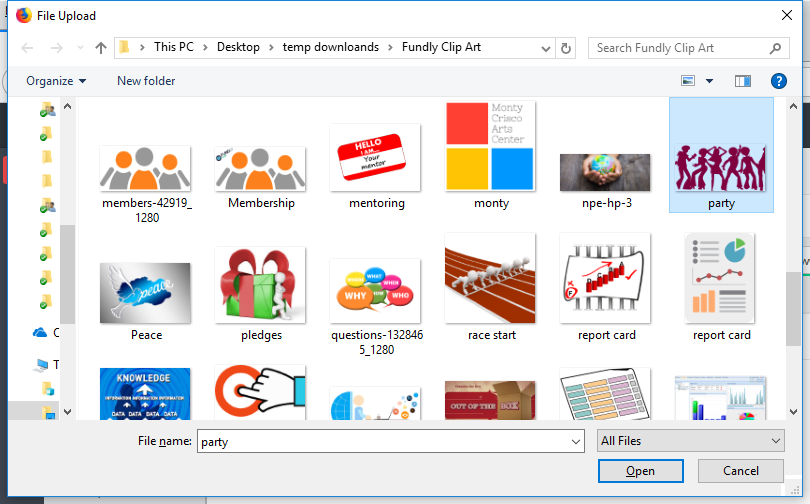
- Select the logo/image to upload.
- The logo will now appear in the Logo field. You can change the uploaded logo by clicking the Change button.
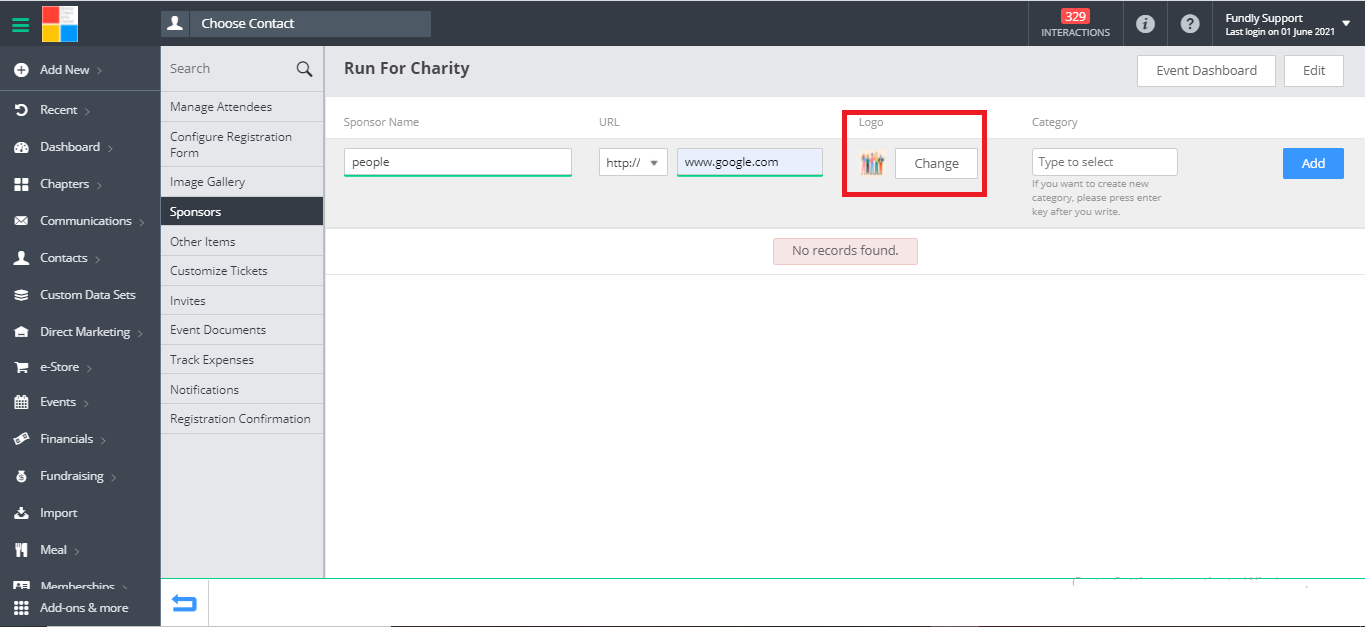
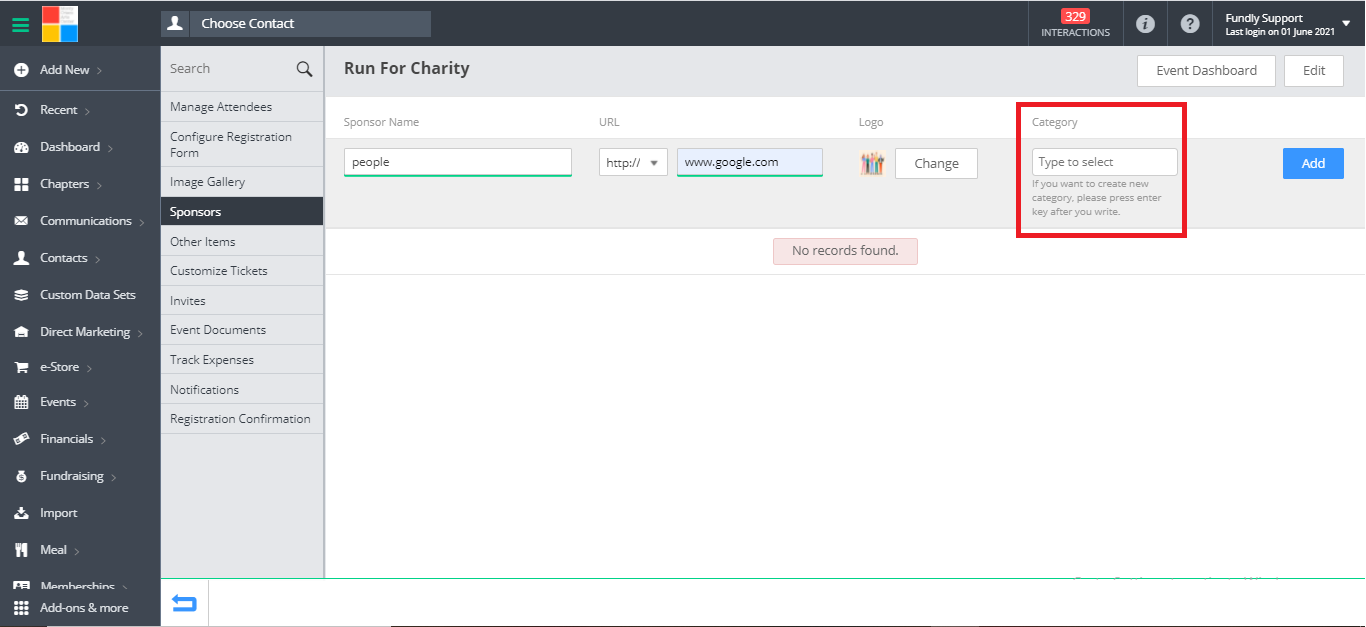
- In the category field, enter the sponsor category. This will generally be the name of the sponsorship level (e.g. Gold Supporter, Winner's Circle, Friend of Monty Crisco Arts, etc.). Type the sponsor name AND THEN PRESS ENTER to add the category. Please Note: this field is for internal reference only. The sponsorship level name will NOT publish to your website.
- When you have filled out all information on the sponsor, click the blue Add button to the right.
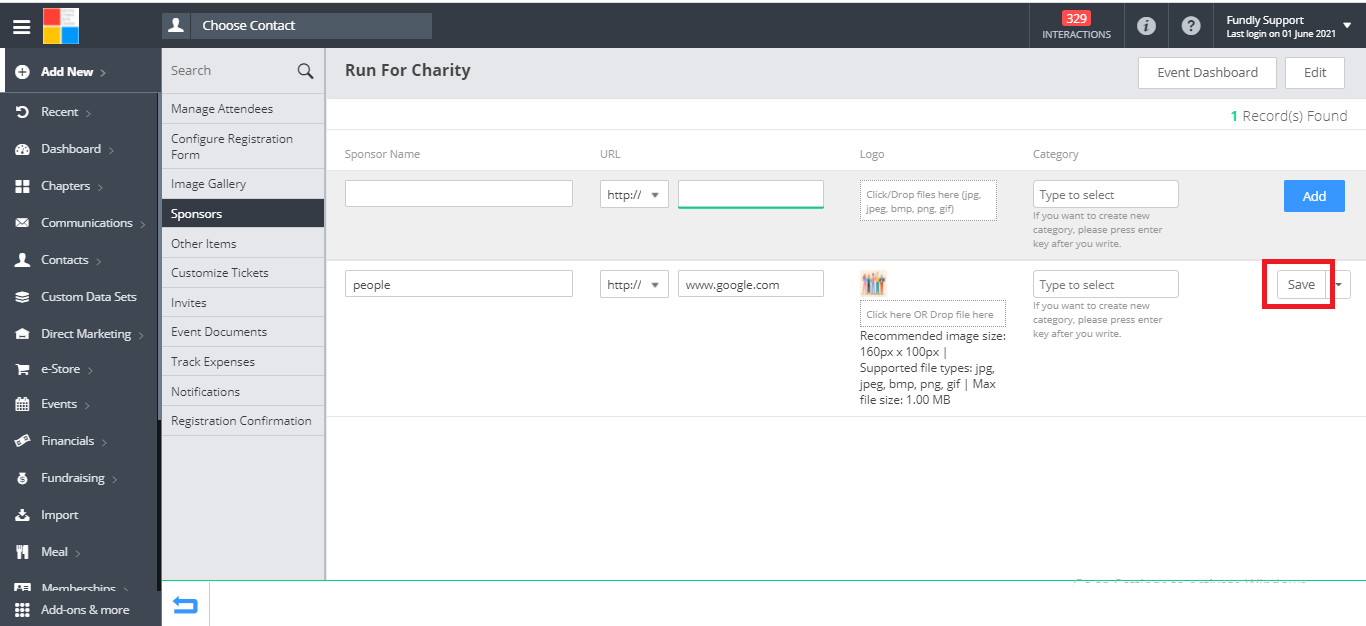
- To edit a sponsor, choose Edit from the drop down to the right of the sponsor. Make your changes and then click Save. The event sponsor will now be live on your website if you have published your event (completed step 4 of event set-up/creation).
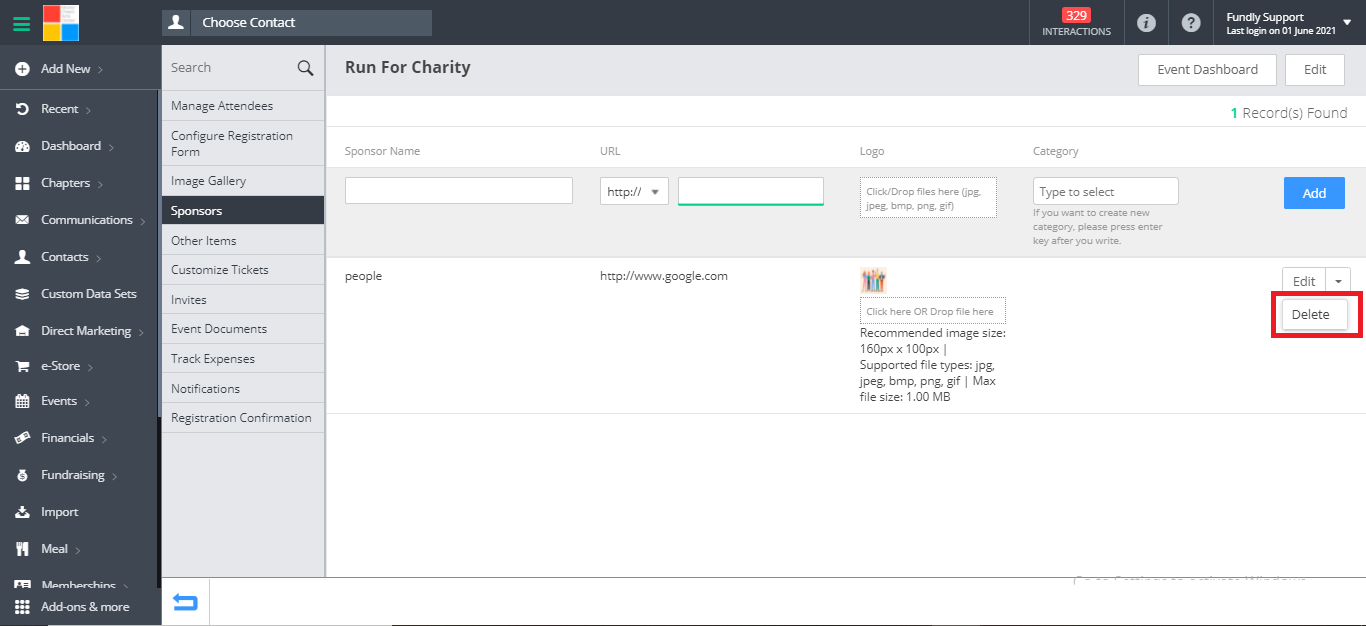
- To delete any sponsors, choose Delete from the drop down to the right of the sponsor.
Comments
0 comments
Article is closed for comments.