
Events: Configure: Default Registration Types
- This tutorial will cover how to manage and create default registration types. This step is optional.
- Default Registration Types are registration types that will be added to all new events automatically, and that can be edited and/or removed as needed when configuring an event.
- You can add registration types to an event when you create the event; they do not have to be in your default registration types. You should only create default registration types for frequently used registration types (as this will prevent you from having to create them from scratch each time); otherwise, for infrequently used registration types, just create them "on the fly" when you create your event.
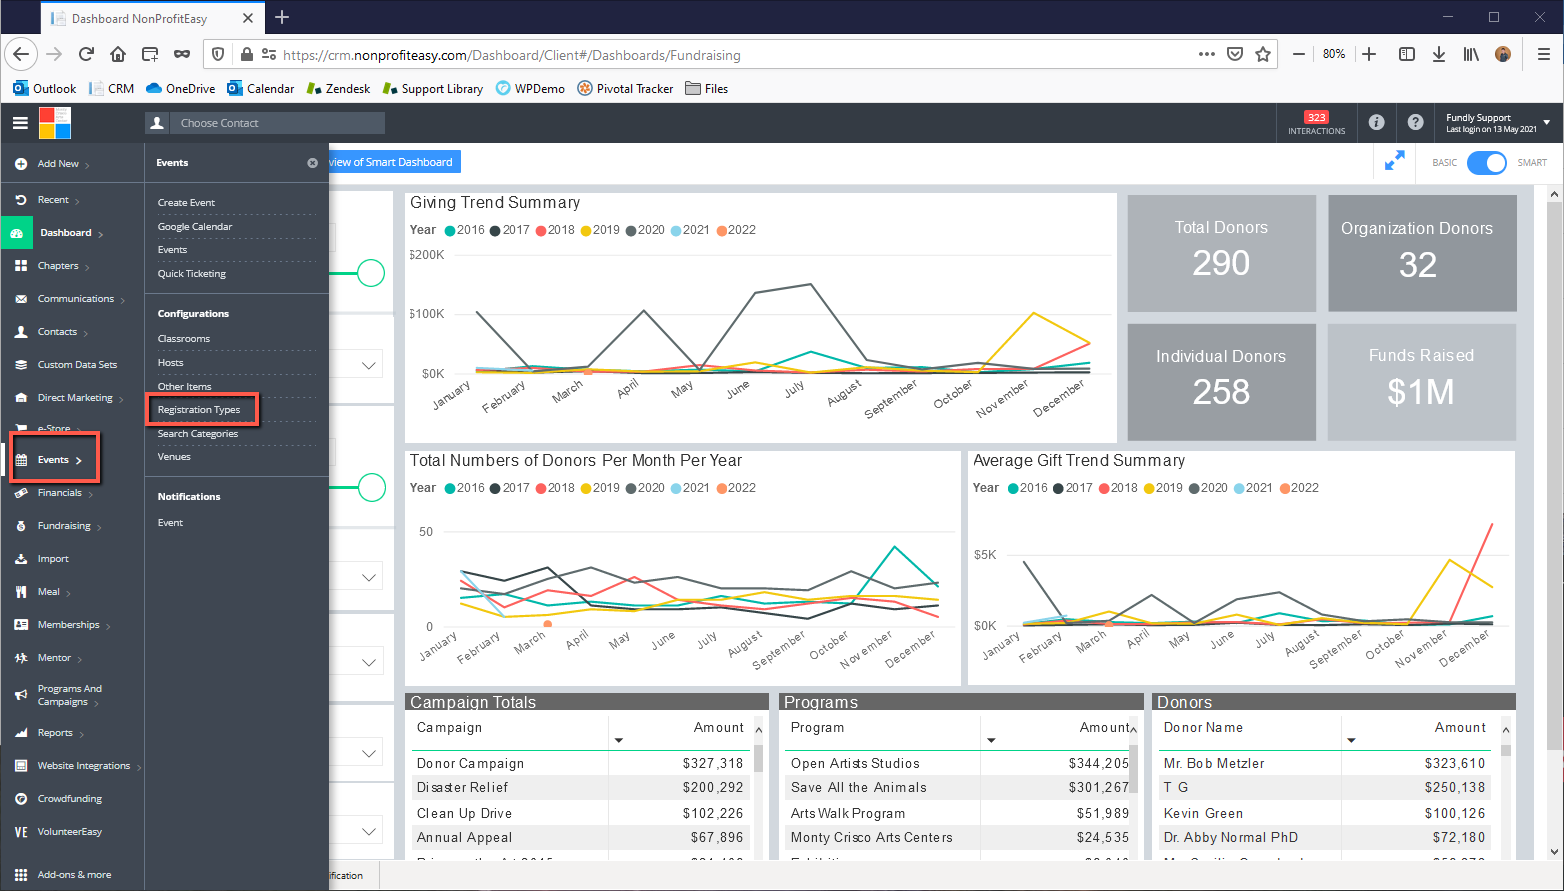
- To configure Default Registration Types, start by clicking Events on the main menu and then select Registration Types under Configurations.
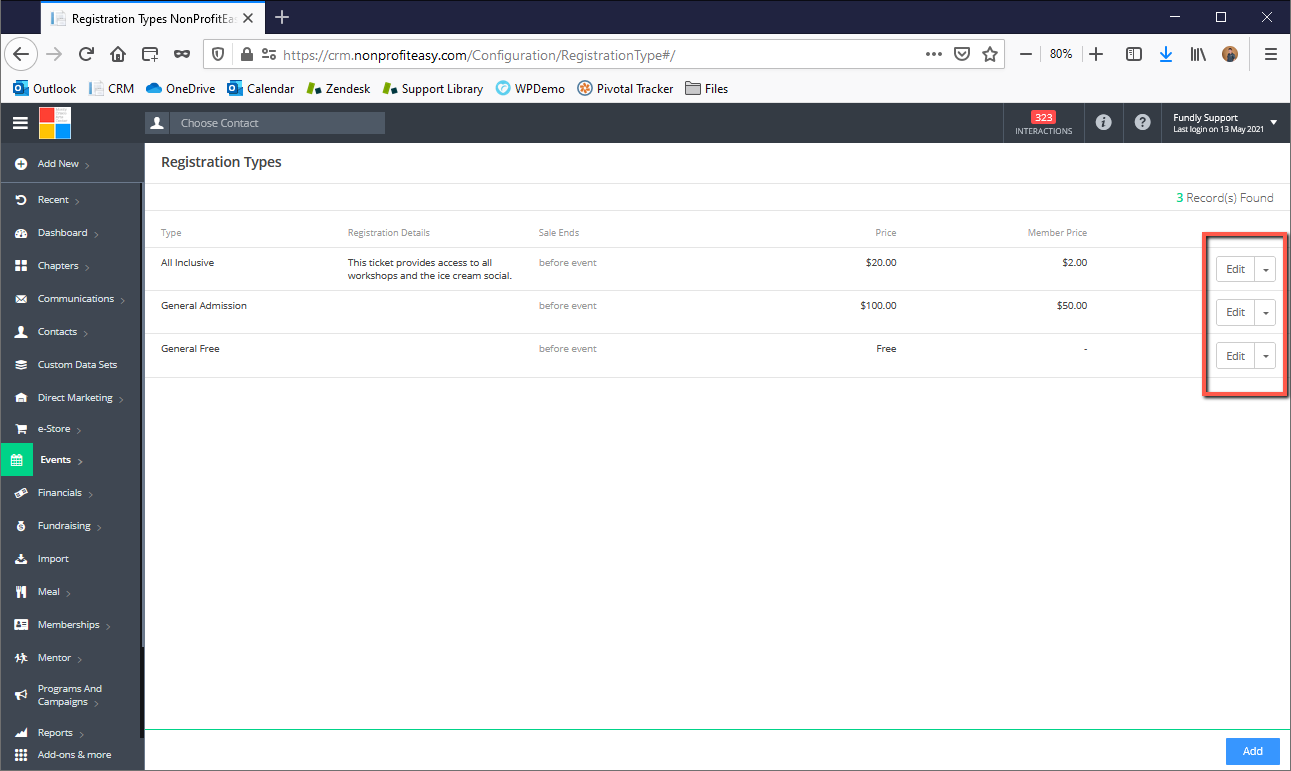
- In the resulting screen, you will see all the configured default registration types.
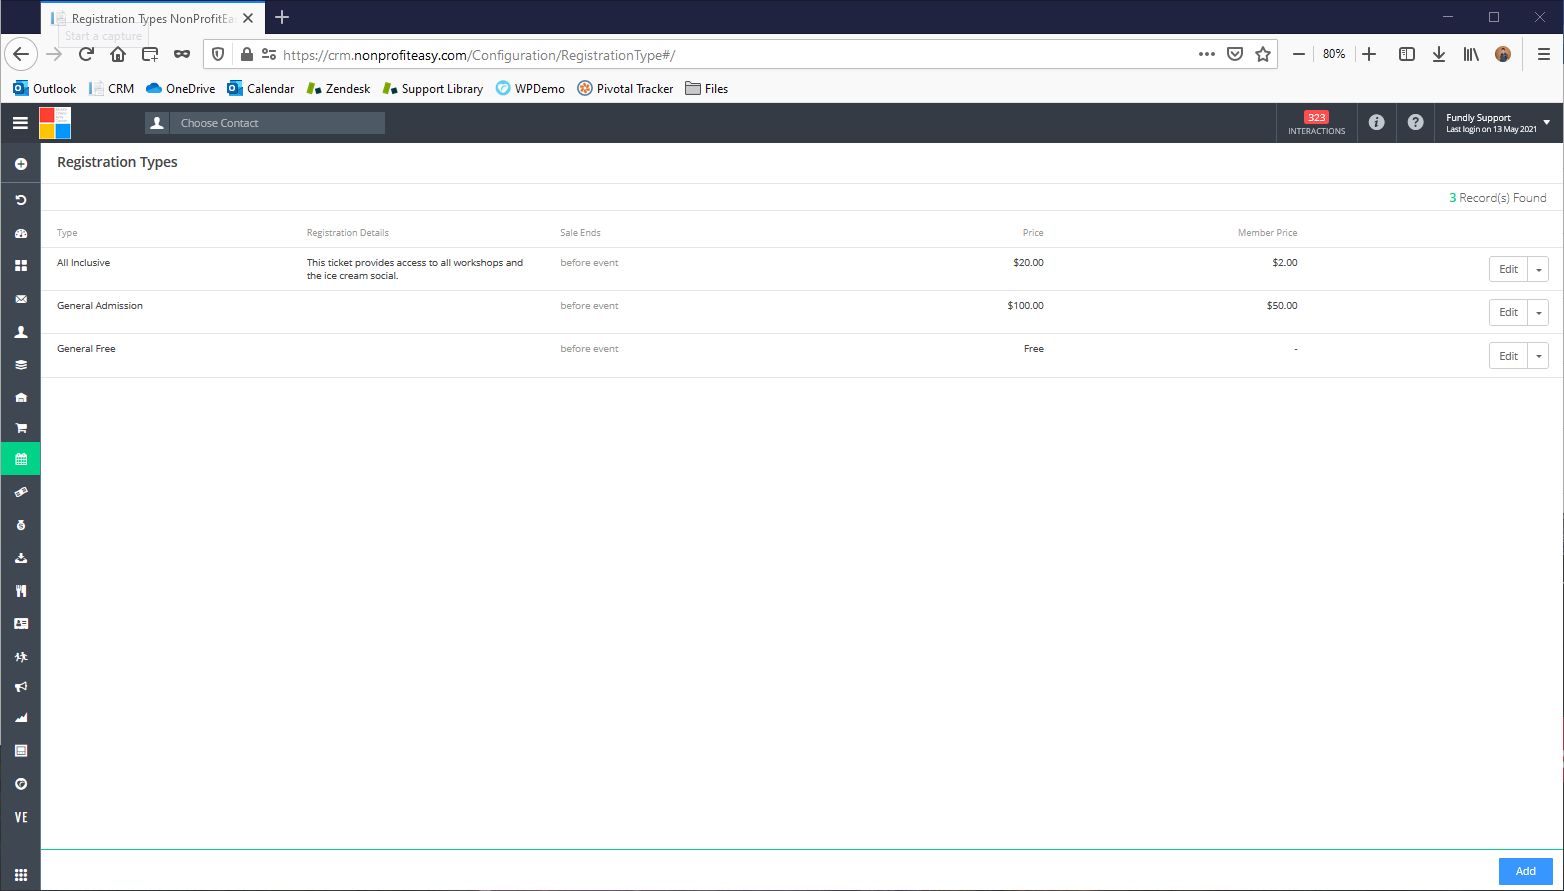
- To create a new default registration type, click on the Add button to the lower right.

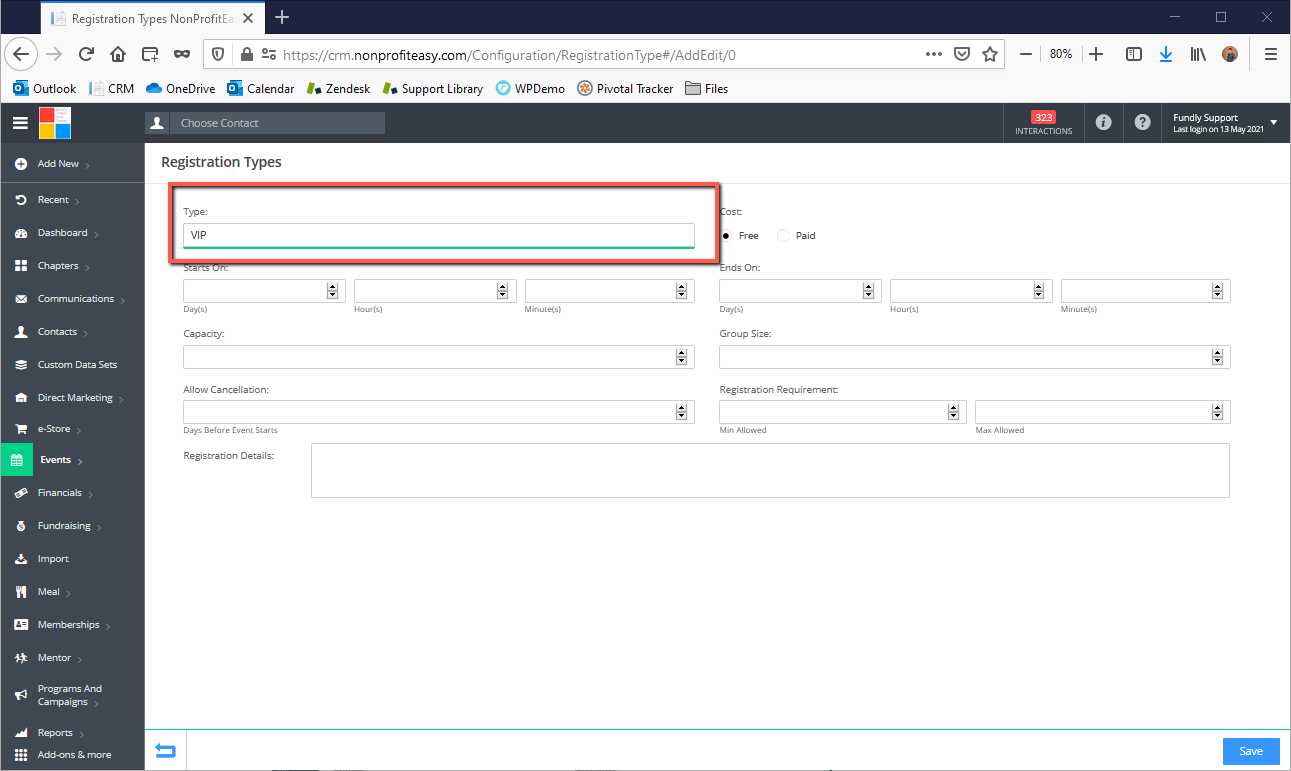
- For each registration type you create, start by providing a descriptive name in the Type field.
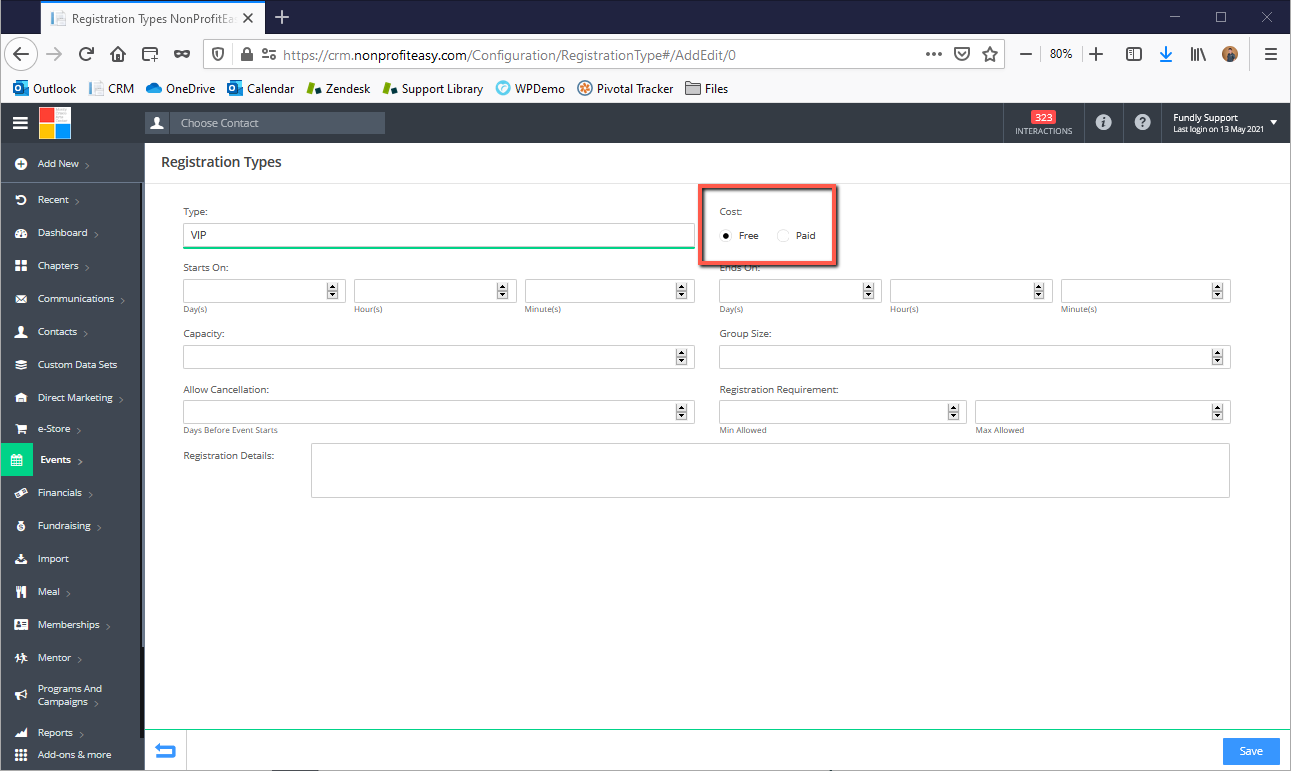
- Next, indicate whether it is a free or paid registration type, and if a paid type, indicate the cost. You can set a different price for members and non-members (members will have to be logged into your website/into their public profile to receive the member price).
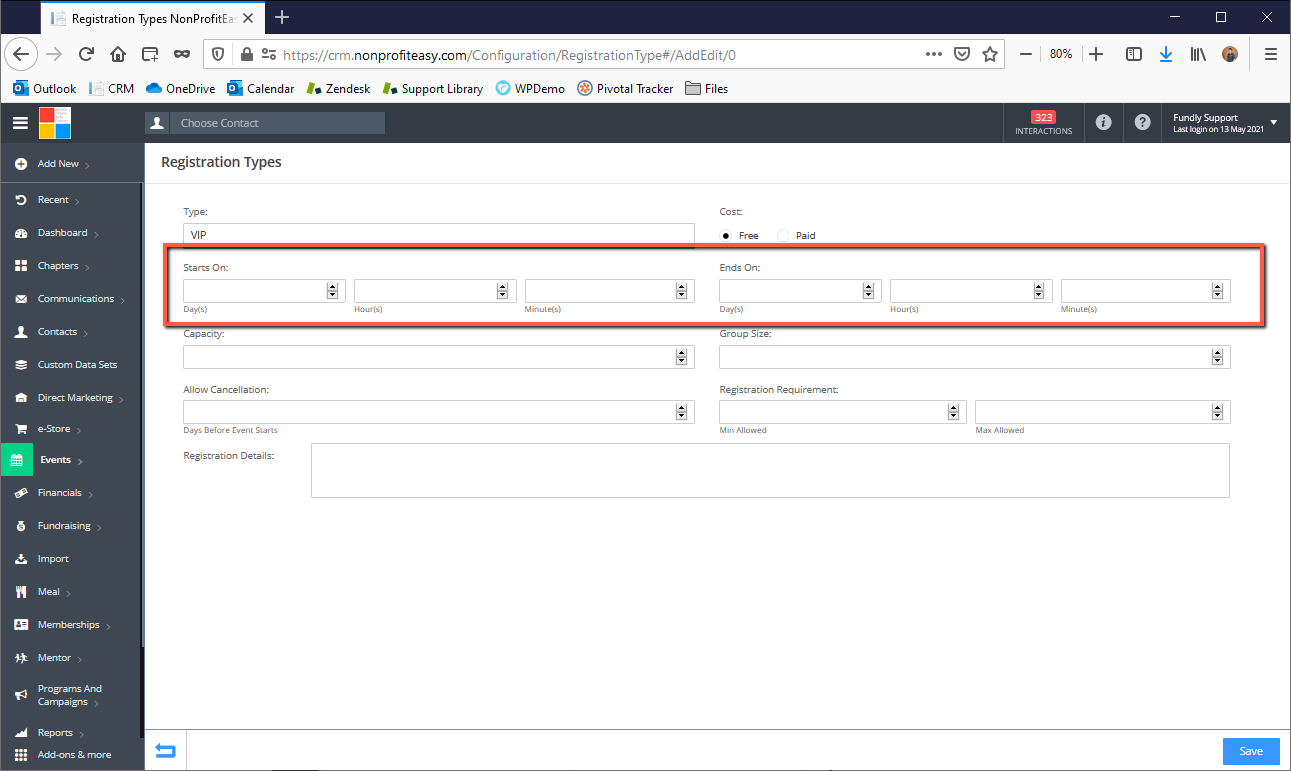
- To set the time frame within which this registration type will be available for use/available to be purchased, you can set the Starts On and Ends On fields. For default registration types, you can only set the on sale start and end dates relative to the event start time (rather than for a specific date/time). Please Note: If you leave the fields blank, your tickets will be on sale the second your event starts - and stop being on sale at the exact same time. In essence, your tickets will never be on sale/available for purchase, so be sure to enter a value here. You can edit all of the default ticket type settings once you add the ticket to an event and customize the settings -including price and on sale date - per event. For now, you are simply setting a default.
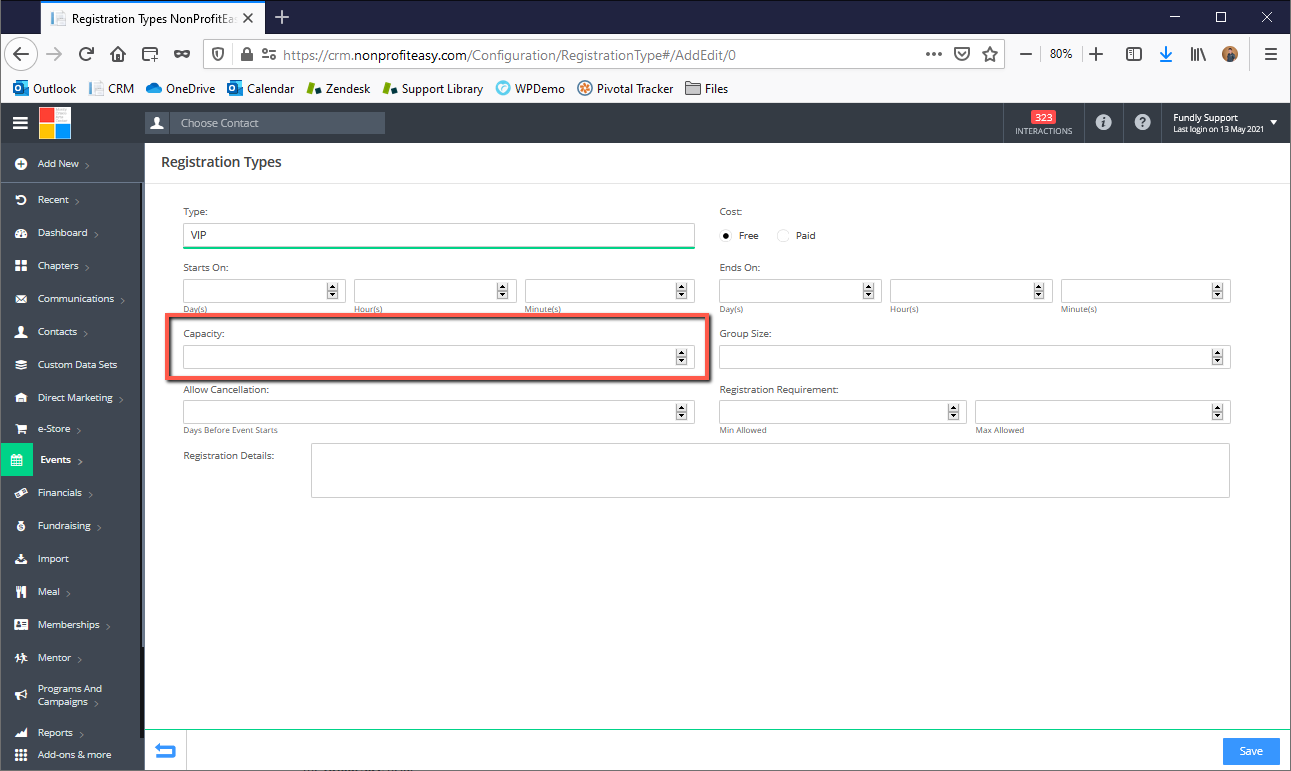
- Next you will be able to set a capacity for each registration type, limiting the number of registrants of that type for each event. Keep in mind that for each event, you can set EITHER an overall event capacity OR a per ticket type capacity/limit. You cannot set both.
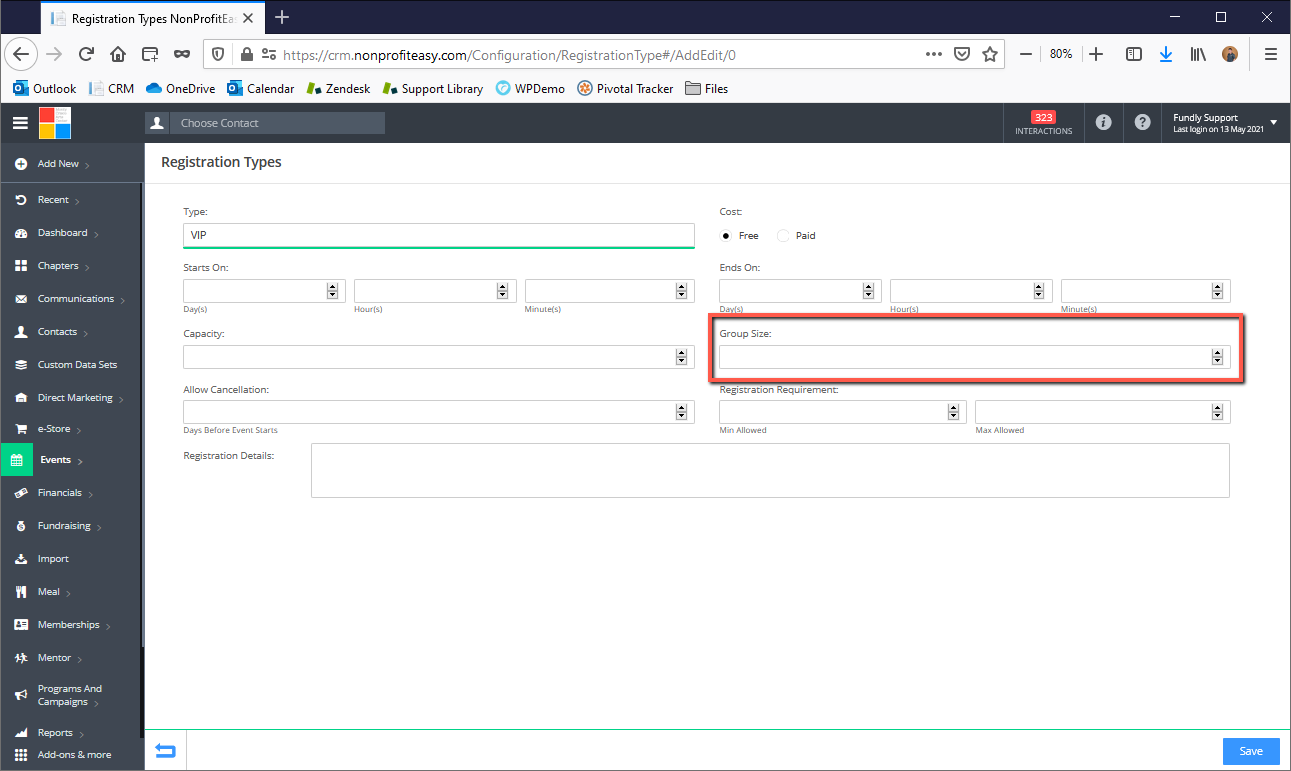
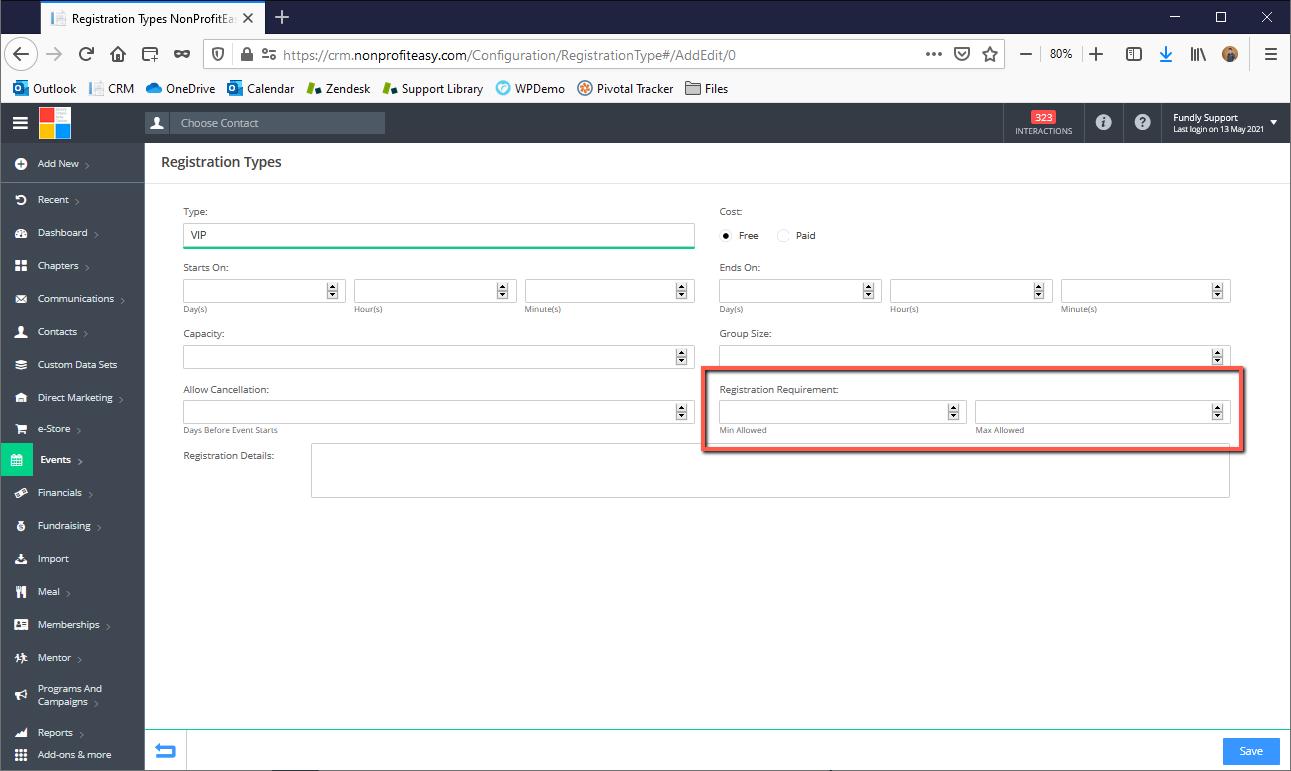
- If this registration is a group registration, allowing multiple attendees to be registered under a single Registration for one price (rather than being charged per person), indicate the size of the group in the Group Size field.
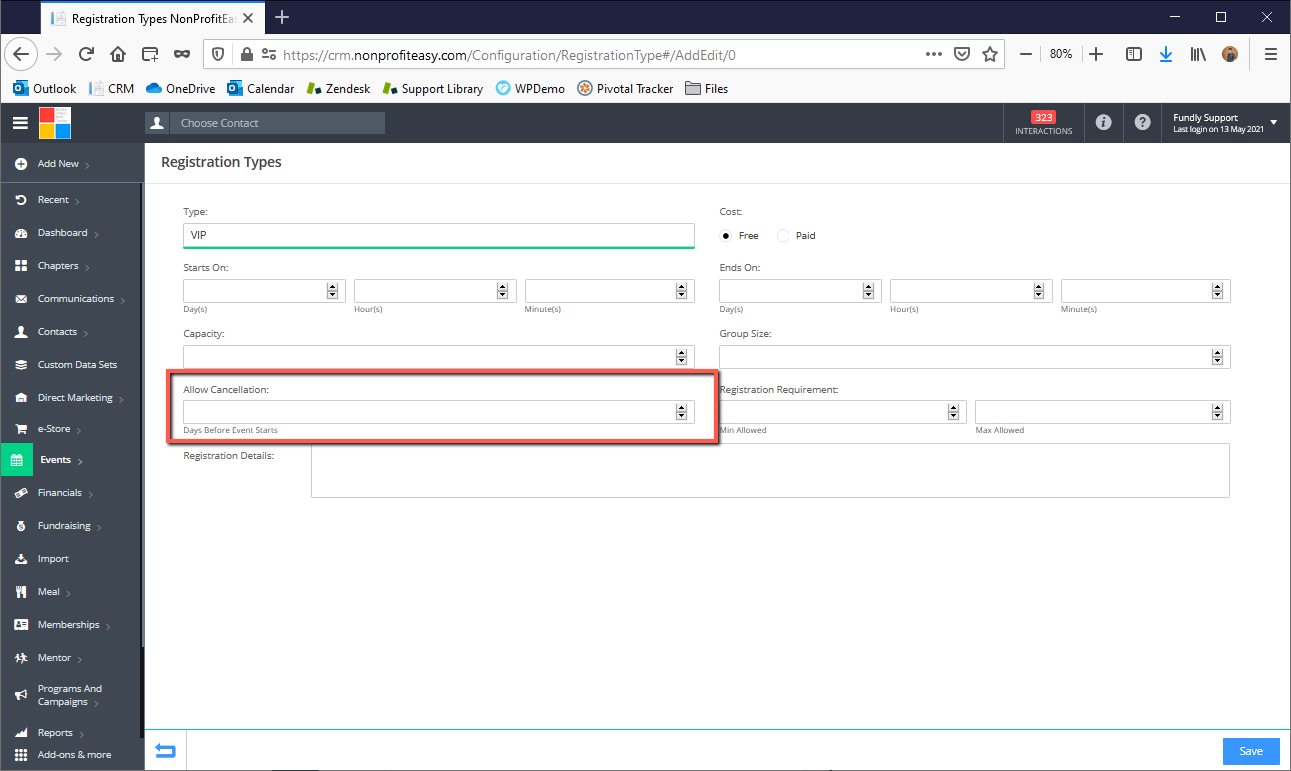
- For online events, you can specify a time limit in days before the event that contacts will be allowed to cancel their registration in the Allow Cancellation field.
- If you wish to specify minimum and maximum quantities of a certain registration type that can be recorded in a single transaction, use the Registration Requirements field to specify the Minimum and Maximum Allowed registrations (registrants will be charged "per person"/per # of tickets purchased. For example, if there is a minimum of two tickets allowed to be purchased and tickets are $20 each, then the registrant will be charged $40. Contrast this to Group Size in which the registrant would receive 2 tickets for $20 (group size = 2 and ticket is $20).
- The Registration Details section allows you to give a description of each registration type for reference. The information in this field will be published online/on your event. Use this to provide guidelines/information on what the ticket entitles them to or who is eligible to purchase this particular ticket type.
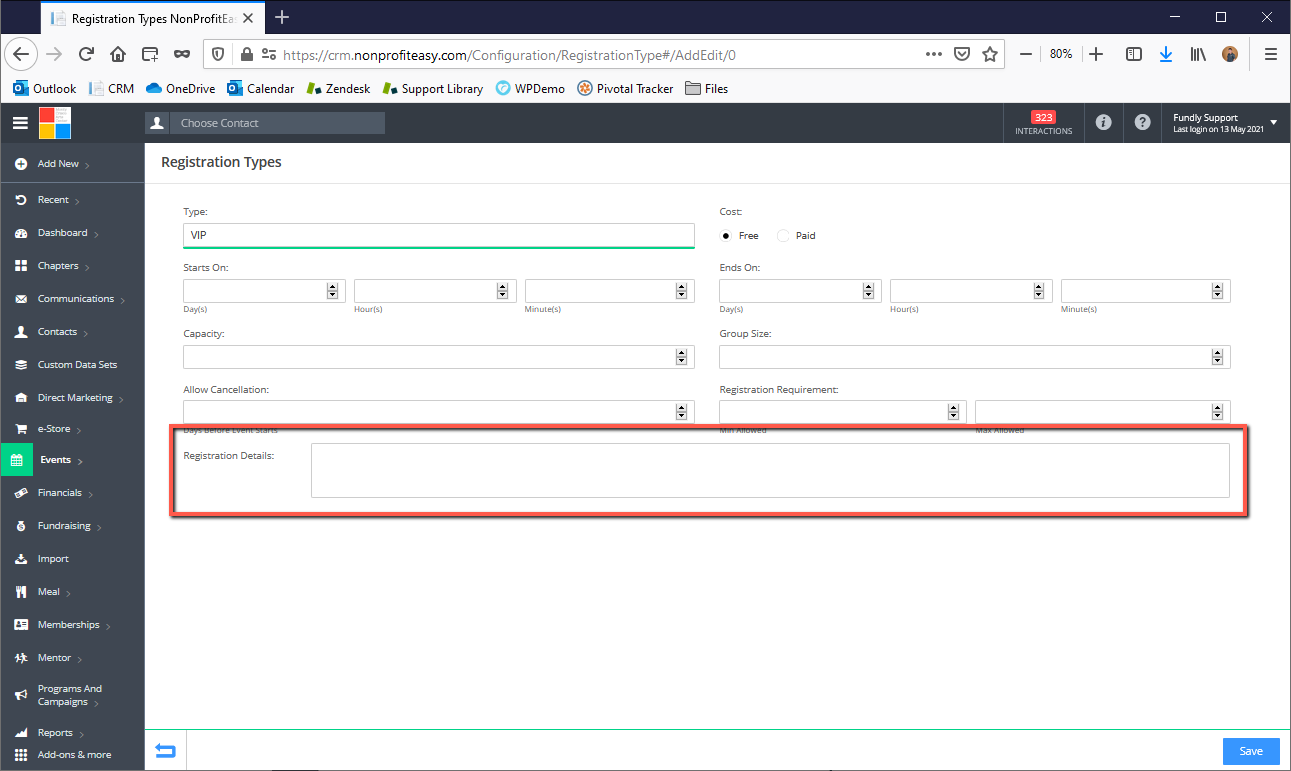
- When you are finished configuring the registration type, click the Save button in the lower right.

- To edit an existing registration type, click on the Edit button to the right of the appropriate entry, and the configuration screen will be opened again.
- To delete a registration type (to remove it from your default/frequently used registration types list), click on the drop to the right of the Edit button and click on Delete.
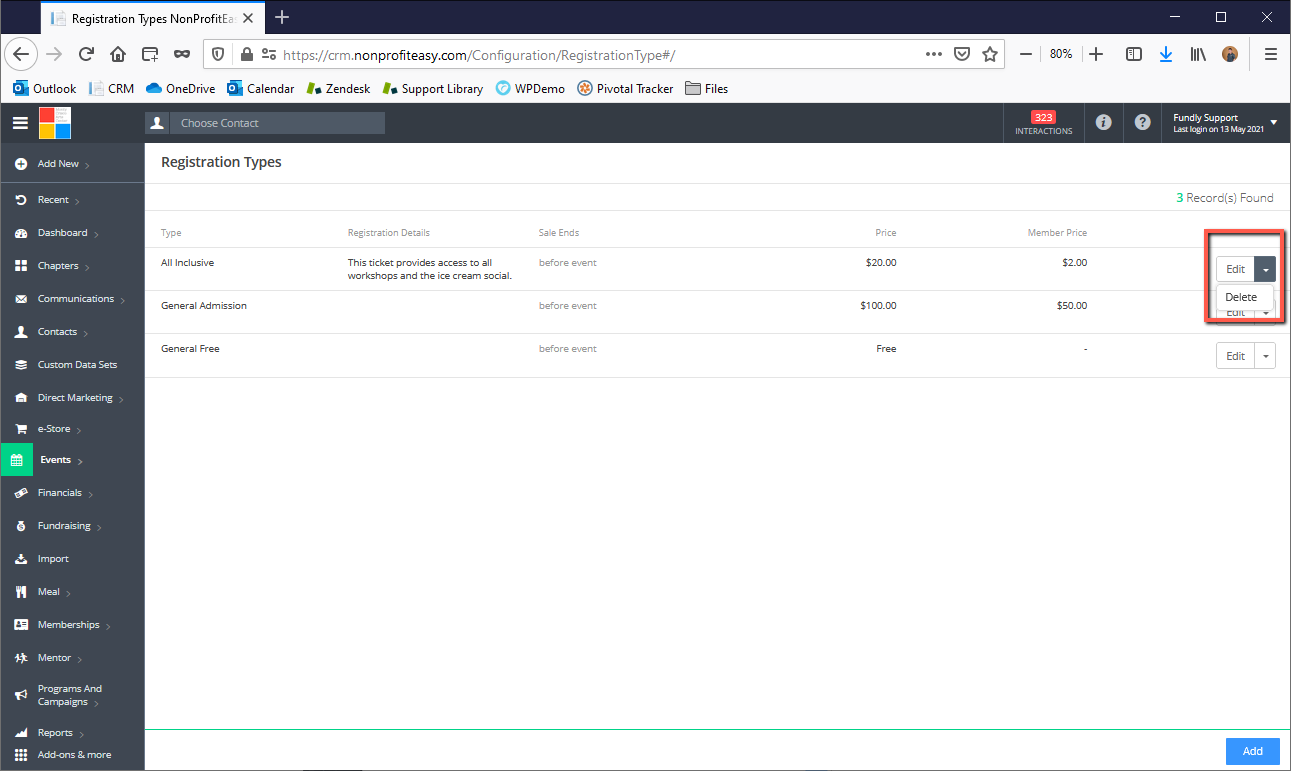
- Once you confirm the change, the registration type will be permanently removed from the system, but not from any events that have used it.
Comments
0 comments
Article is closed for comments.