Create Event Part VIII: Customize Tickets
- Event tickets are admission tickets used to show who has paid and should be admitted to your event. Use of them is optional.
- Your attendees can bring with the tickets with them on a mobile device/in their email) or print out. Attendance can be marked manually or by scanning the barcode on the ticket using a compatible barcode scanner.
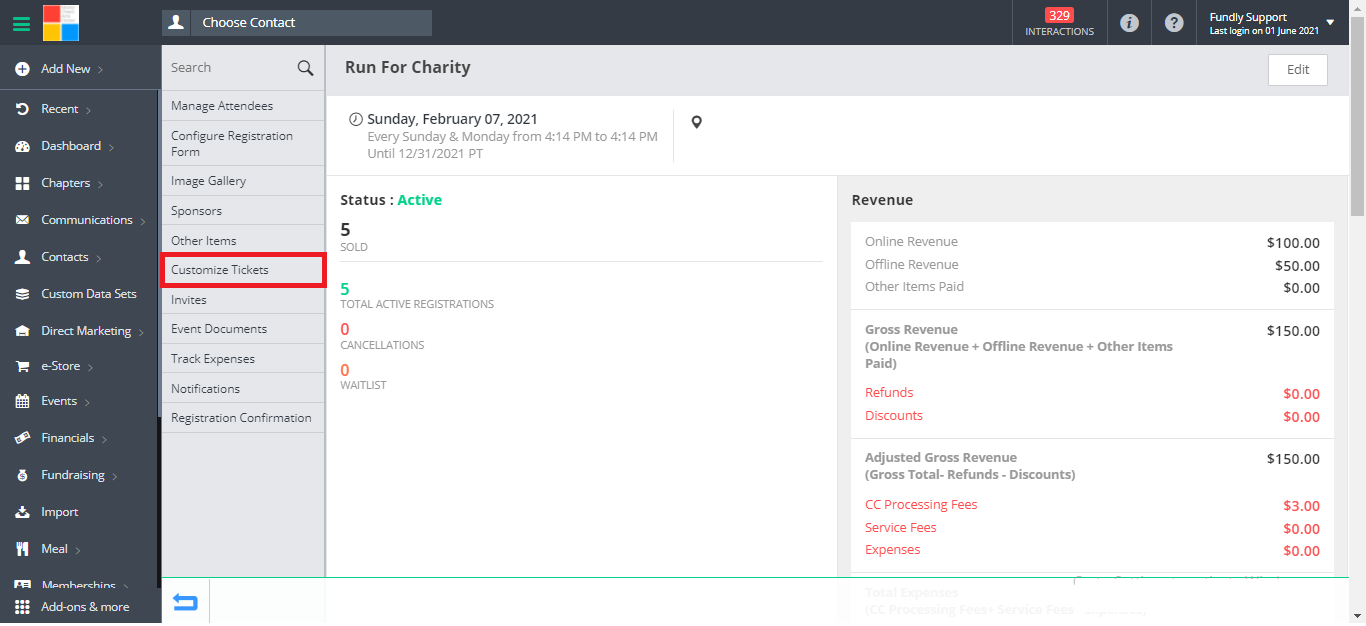
- To configure tickets for your event, while viewing the event, from the left hand menu select Customize Tickets.
- There are five tabs to fill out; click on each header to navigate between them. Configurations/settings will be selected in the left hand panel and a real-time preview will display in the right hand panel.
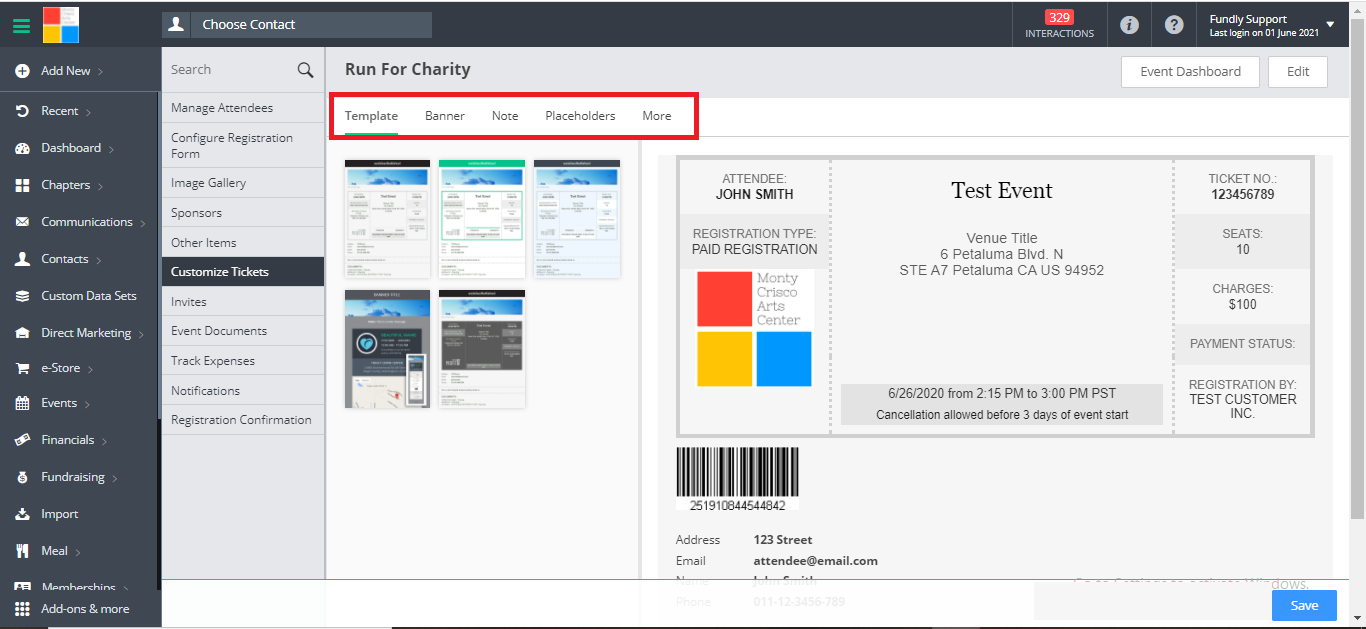
- On the first tab, Template, select one of the five pre-configured layouts.

- On the second tab, Banner, add any desired banner text or an image (the banner is optional). Banner text and images appears as a header at the top of the ticket.
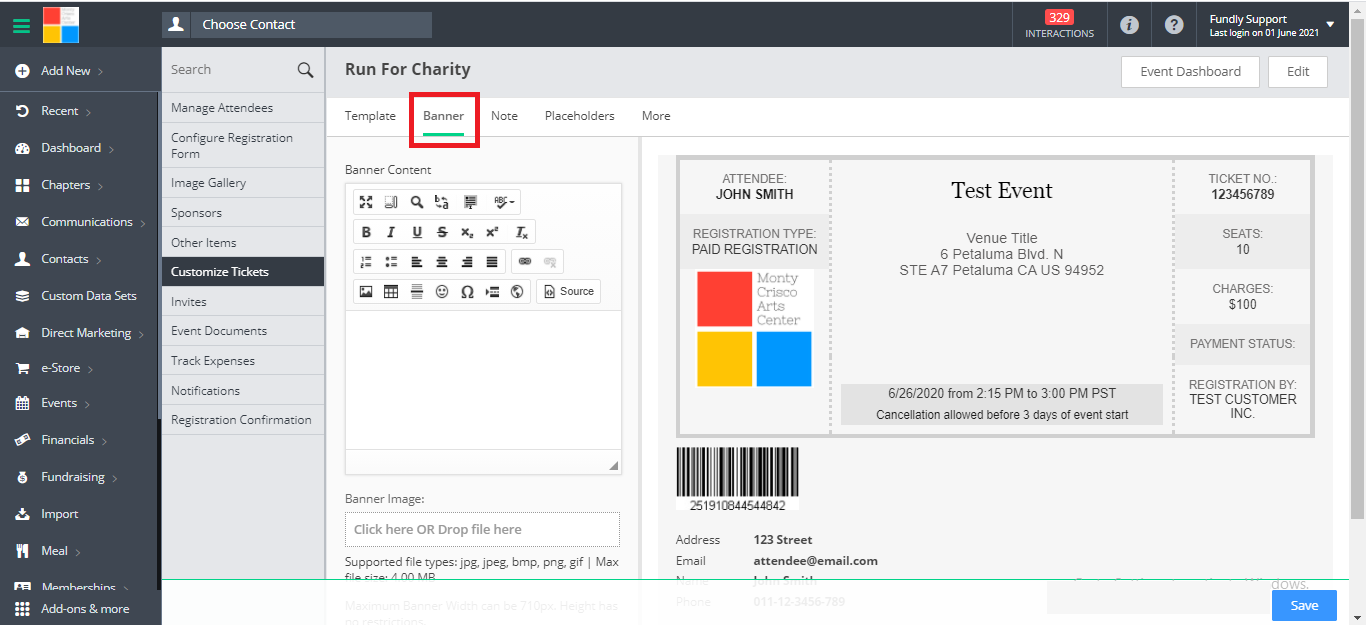
- If you leave the banner text and image blank, no banner (including the background) will display.
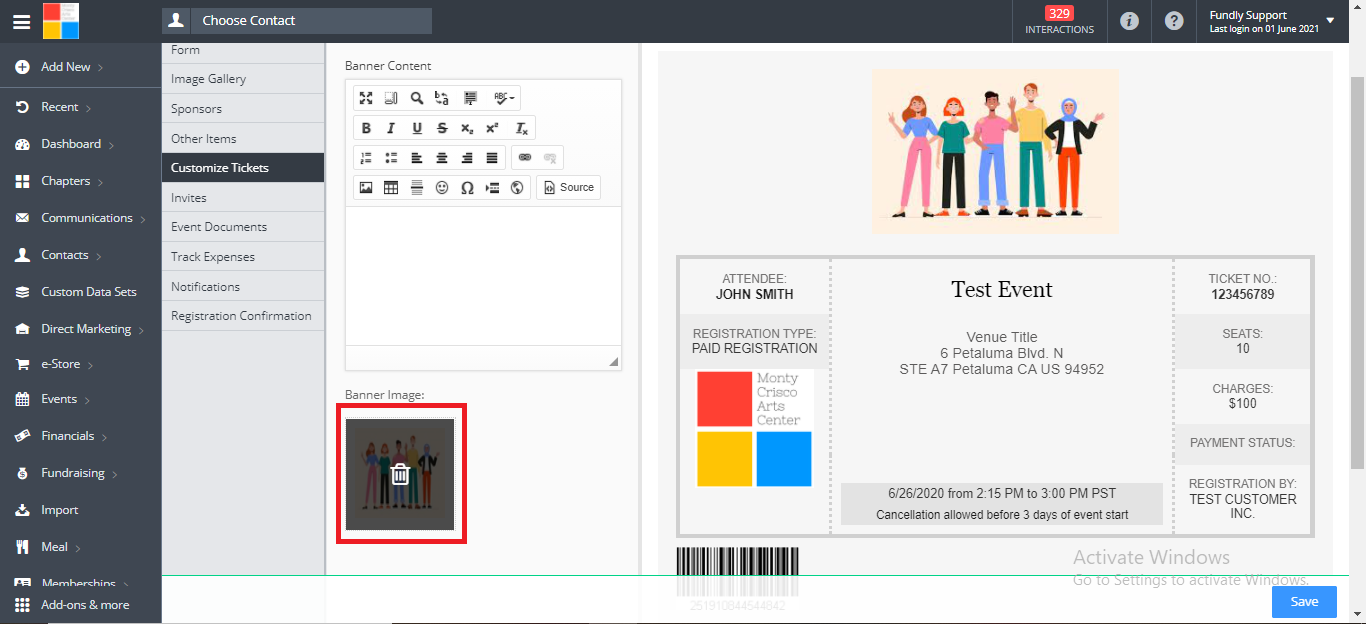
- If you want to remove your banner image after adding it, hover over the banner image upload field and click the trashcan icon.
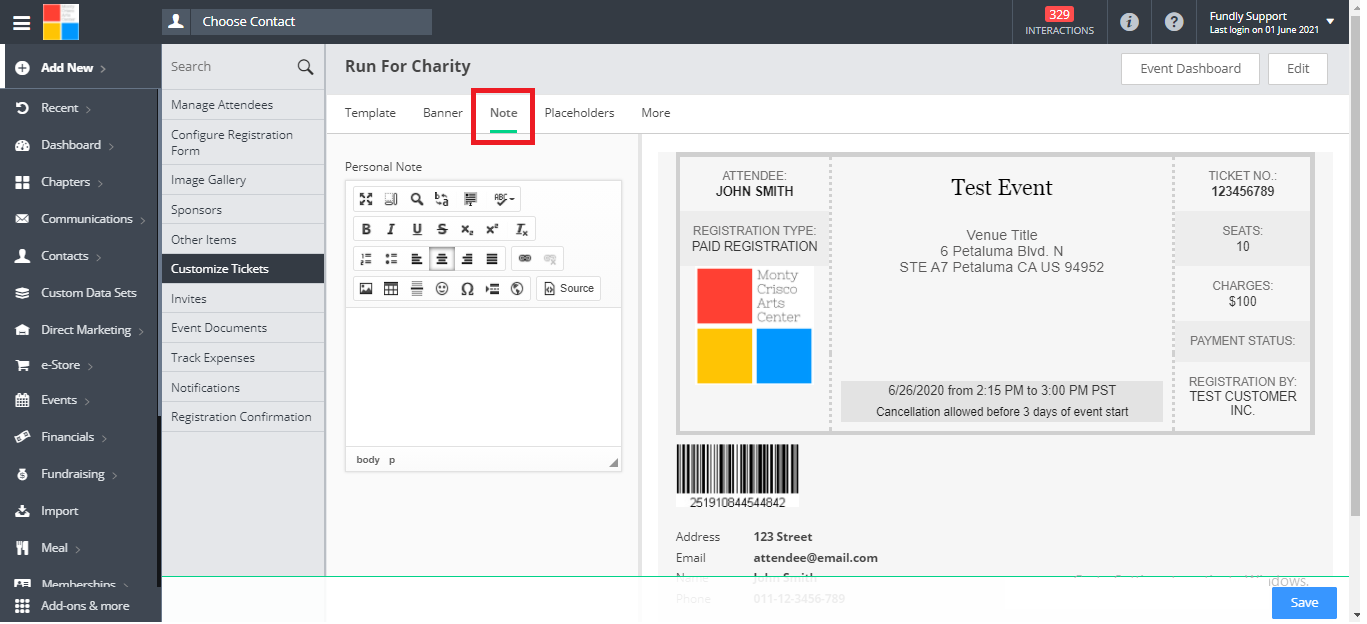
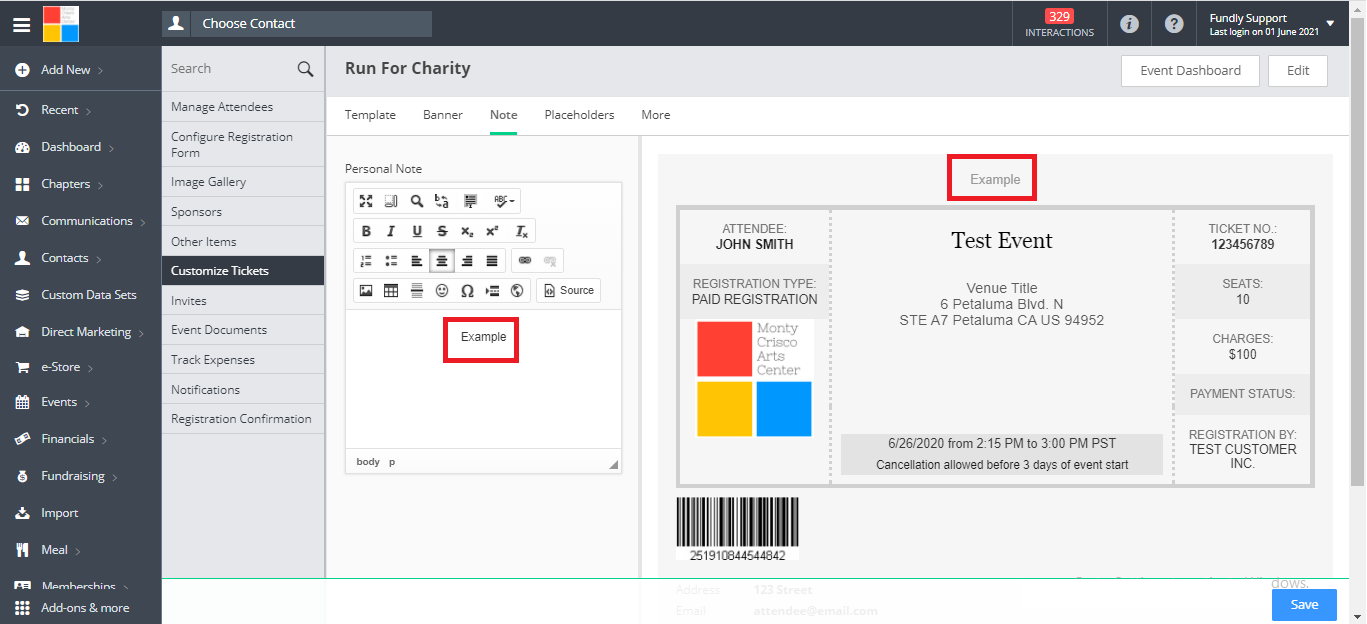
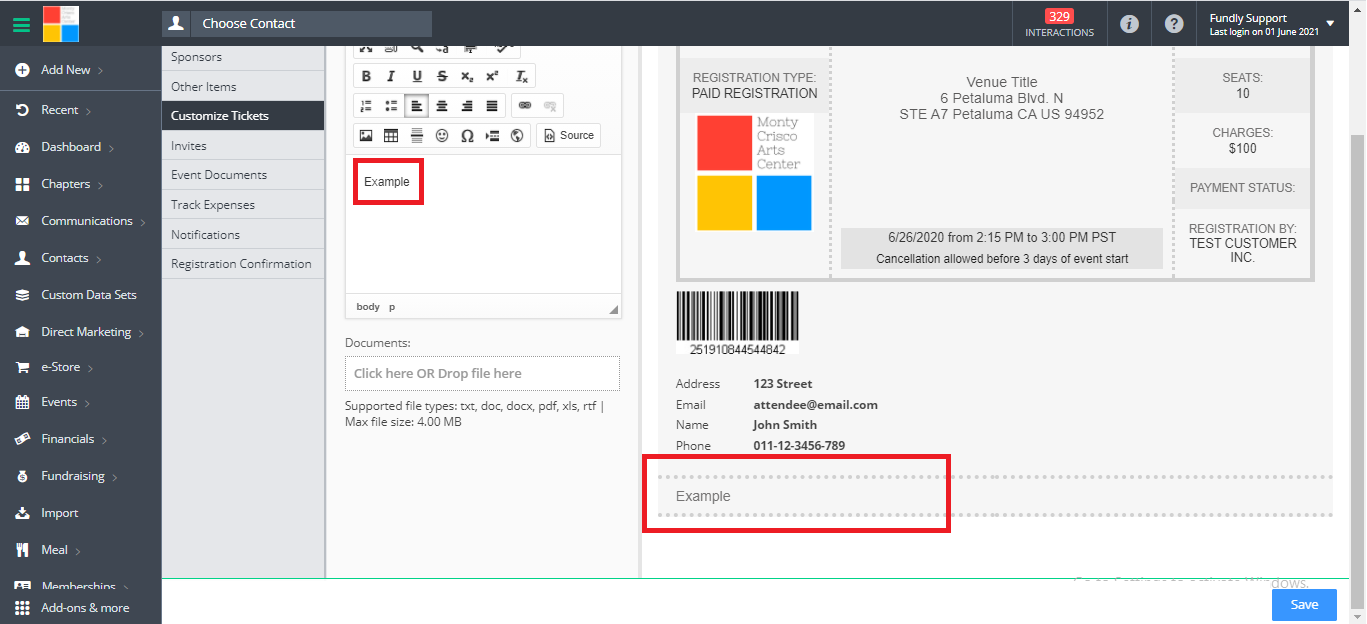
- On the third tab, Note, add any notes (the note is optional). The note area is directly below the banner.
- On the fourth tab, Placeholders, select which fields you wish to have on the ticket.
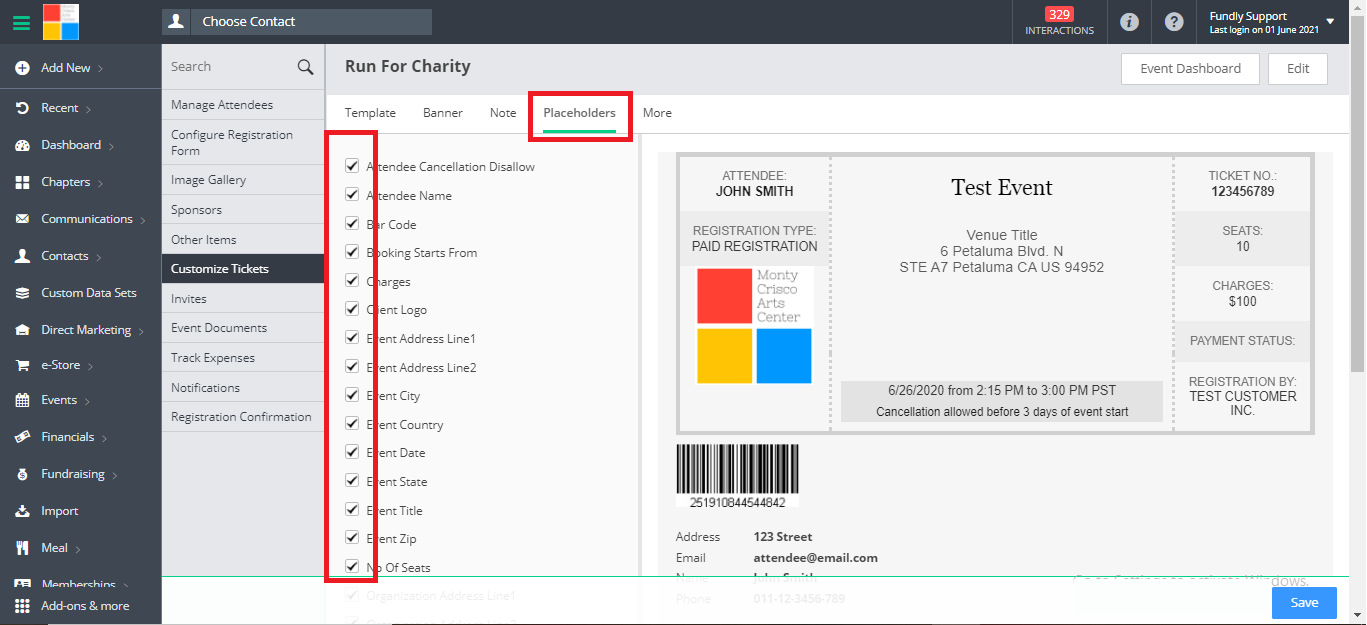
- All of these fields are optional; you can chose only those that you want/that are applicable.
- Attendee Cancellation Disallow indicates your cancellation policy (which is set on the registration type settings)
- Attendee Name is the person attending – this pulls from the registration form. If you have not configured a registration form for your event, you will not have attendee names.
- The Bar Code is only needed if you plan to scan tickets using an optical bar code scanner.
- Booking Starts From is the ticket on sale/start date.
- Charges is the ticket price.
- Client Logo is your organization’s logo
- Event Address fields are pulled from the Event Venue field on Tab 1 of Create Event.
- No of Seats is the number of tickets purchased by the registrant as part of the same transaction as the purchase of this ticket.
- Organization Address fields are the address of YOUR organization/the event host
- Payment Status provides details of any payments received for this ticket/transaction.
- Registration By provides the name of the person who purchased the ticket. If registration was done on the back-end/via direct entry by a staff member, then the staff person’s name appears here.
- Registration Form provides all of the information on the registration form (if you have configured one) (this is attendee data/information)
- Ticket No is the ticket number (which is automatically generated by Fundly CRM).
- Venue Title is pulled from the Event Venue field on Create Event: Tab 1.
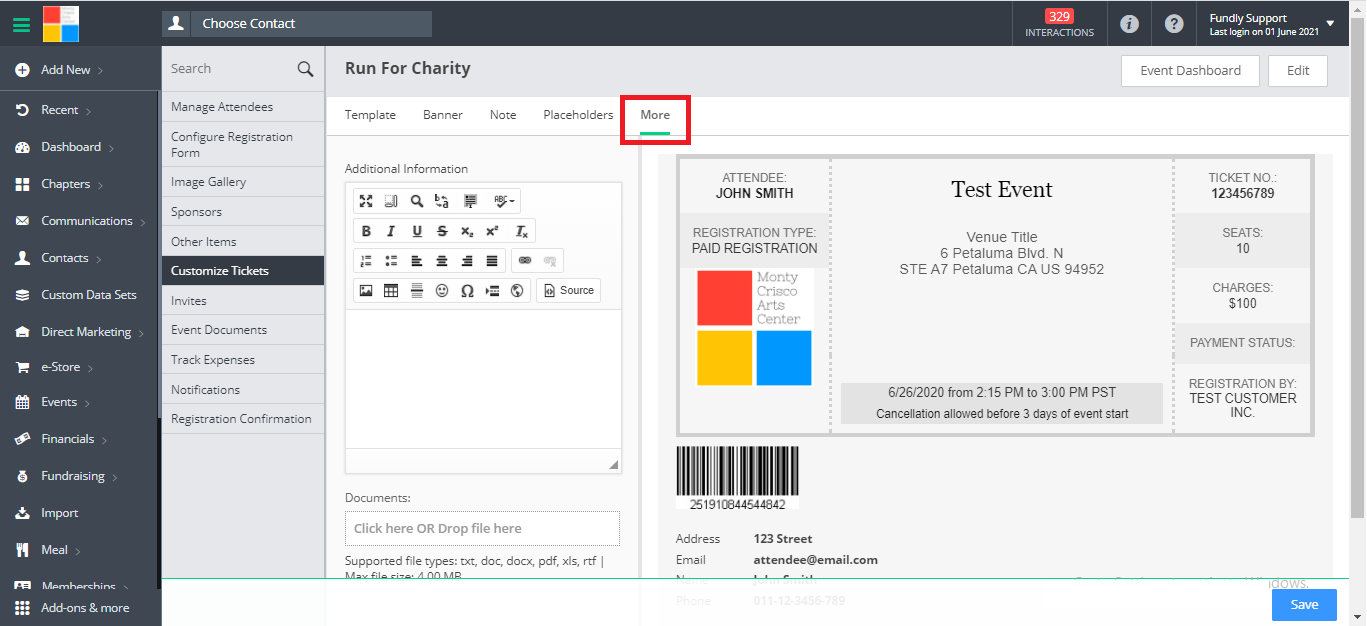
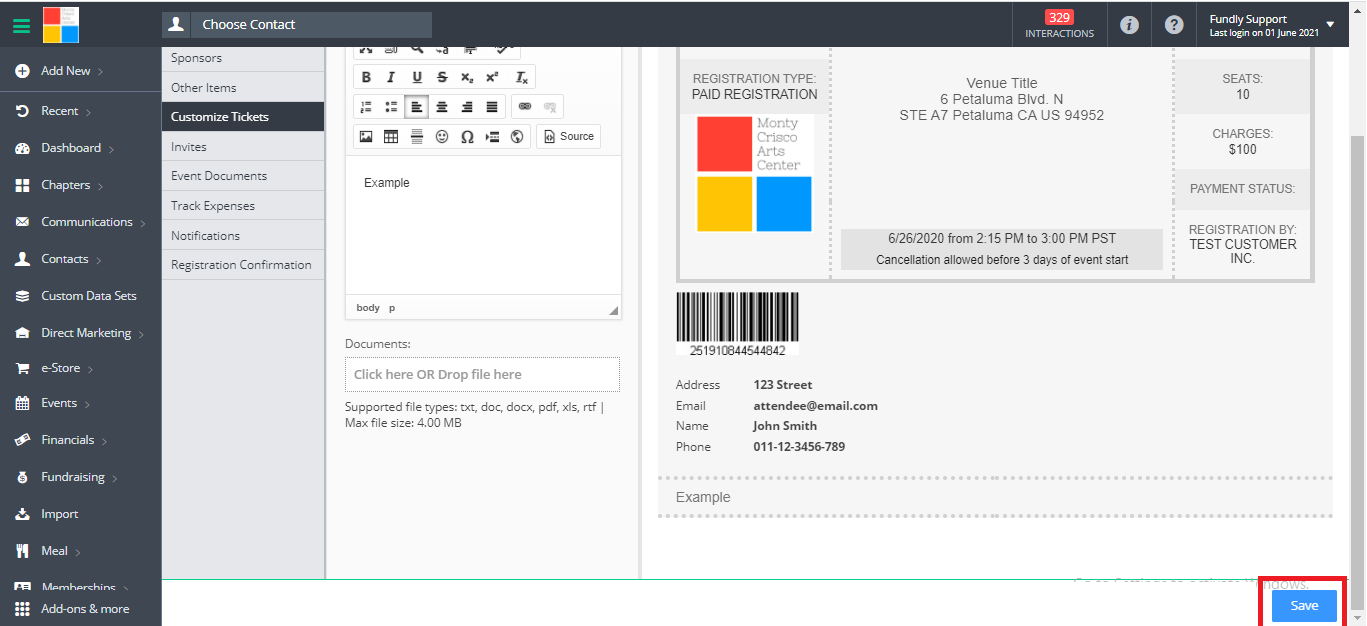
- On the fifth tab, More, you can add additional information (such as parking instructions) and attach any documents (such as travel instructions or a map); more information is optional. It appears at the very bottom of the ticket.
- Once you have finished configuring your ticket, click the Save button in the lower right hand corner.
Comments
0 comments
Article is closed for comments.