
Events: Configuring Events: Configure Registration Form
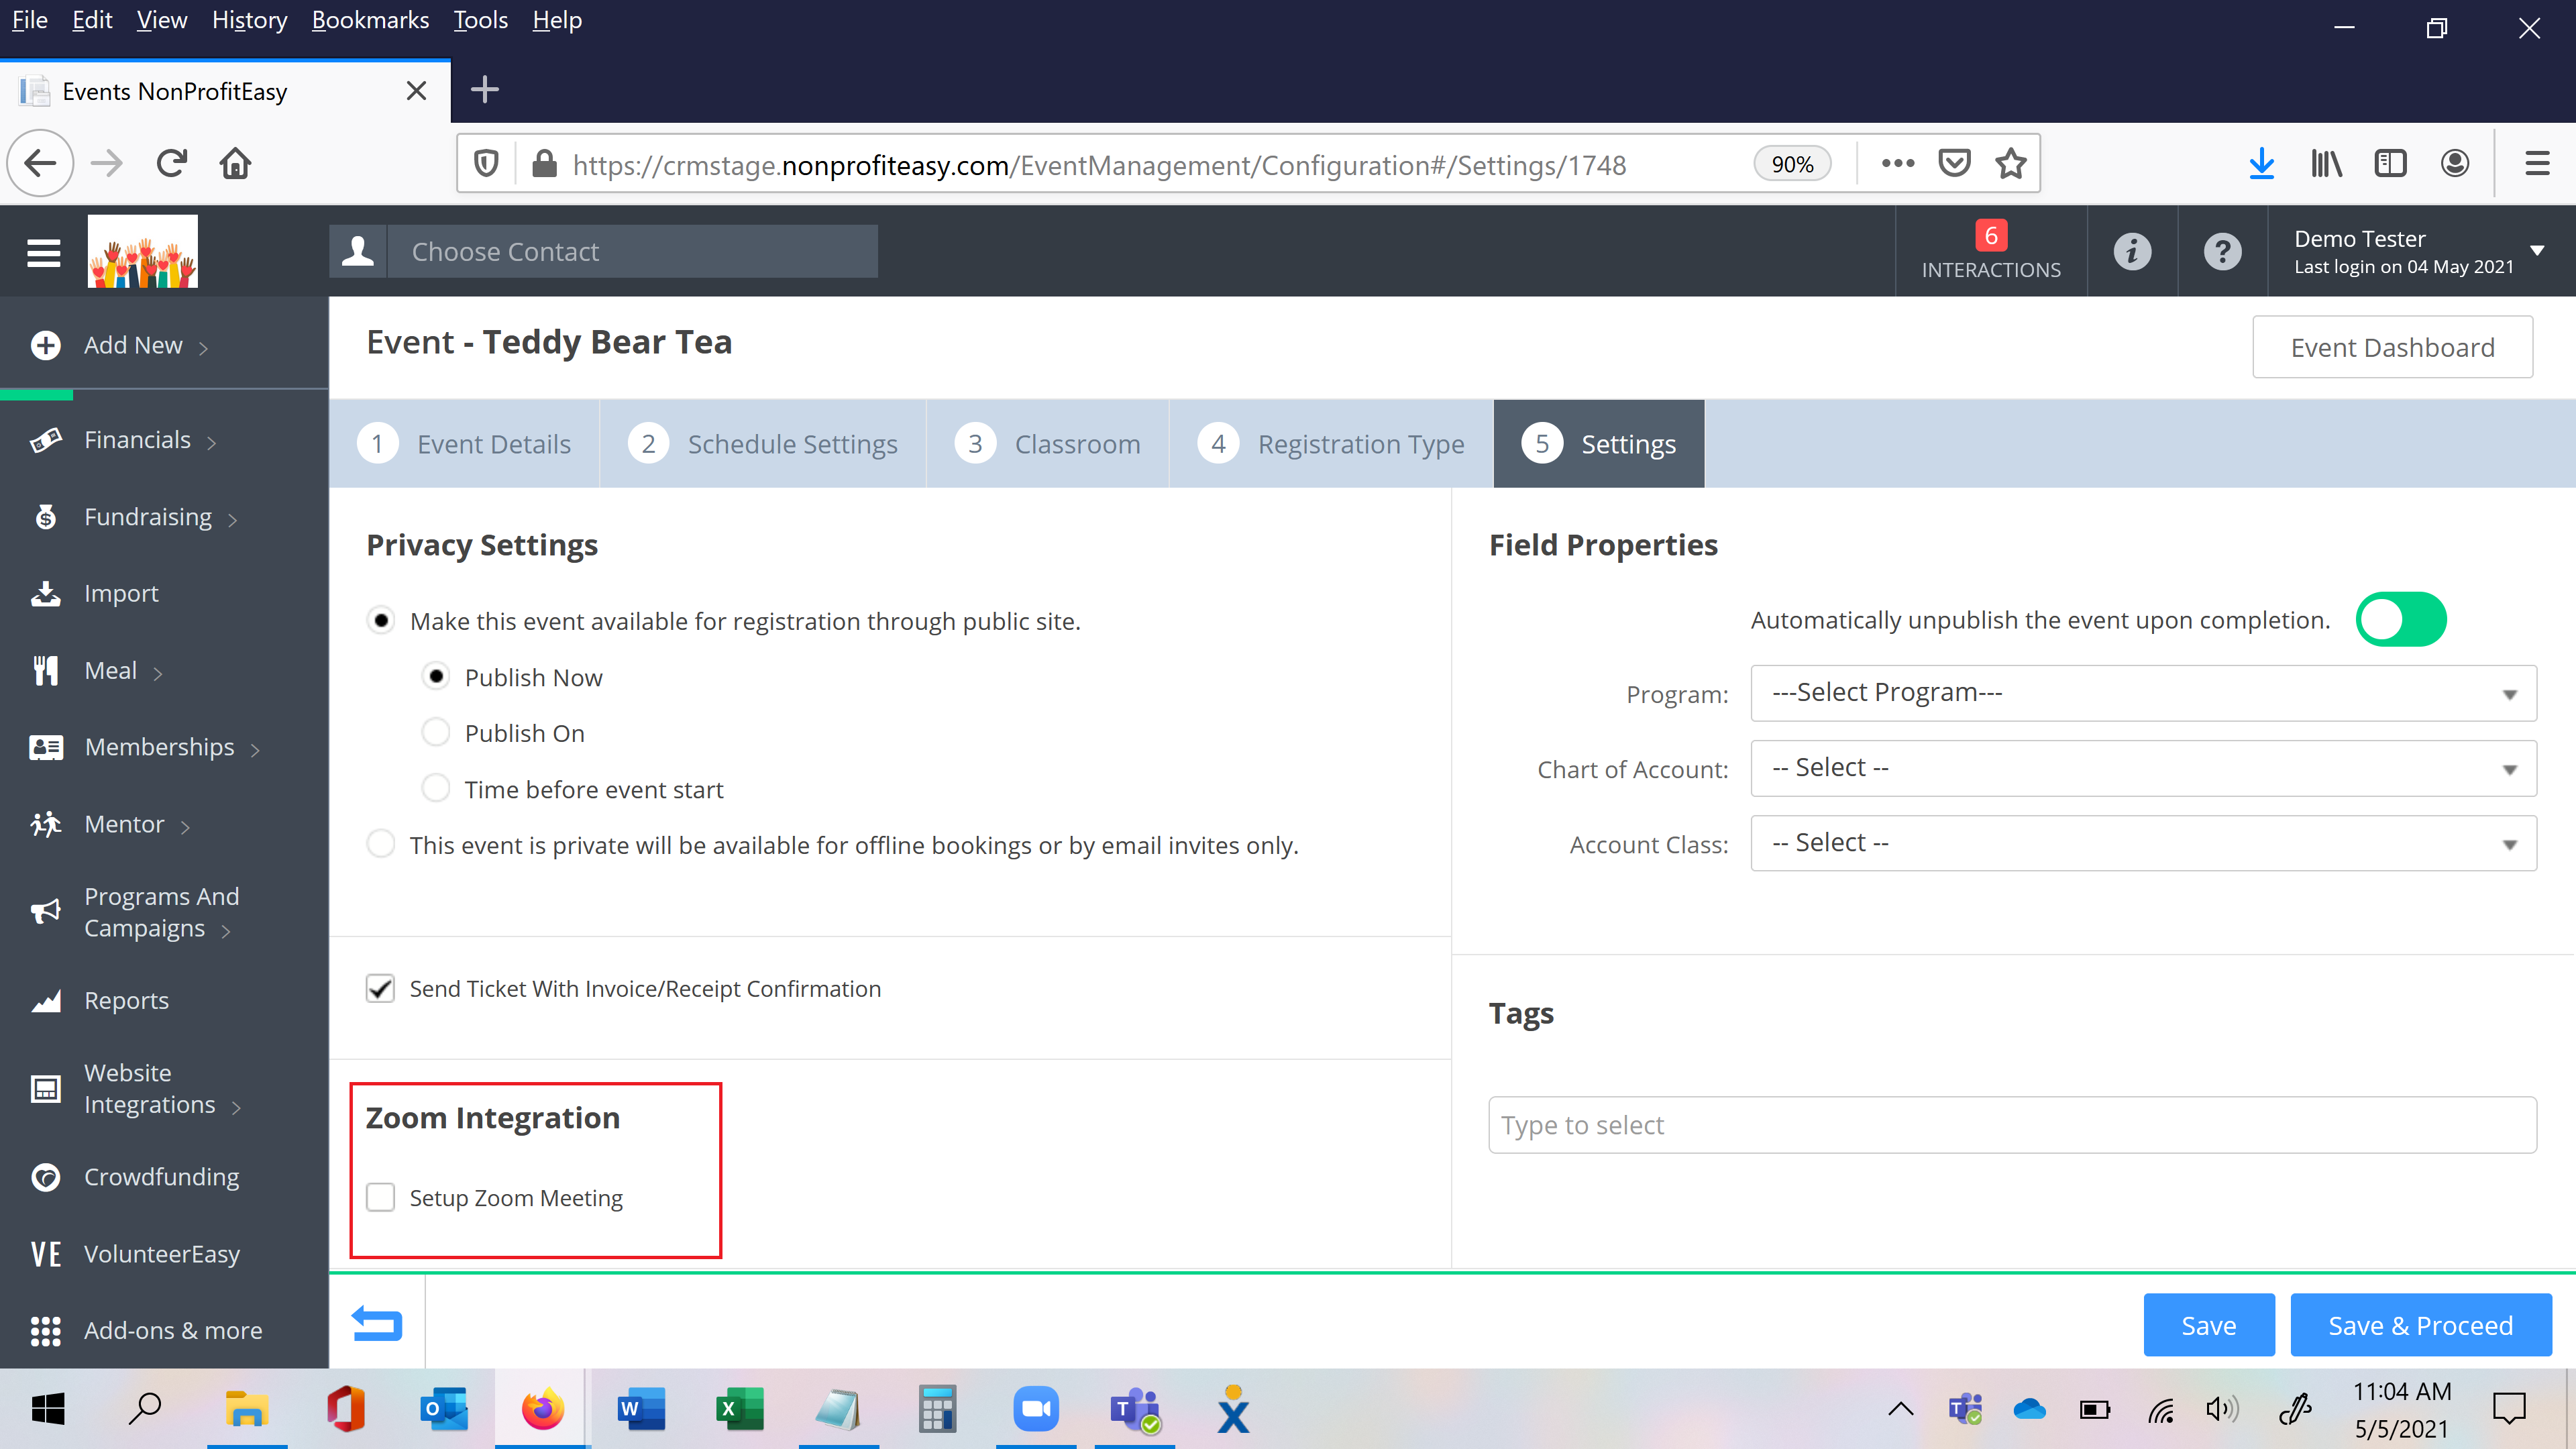
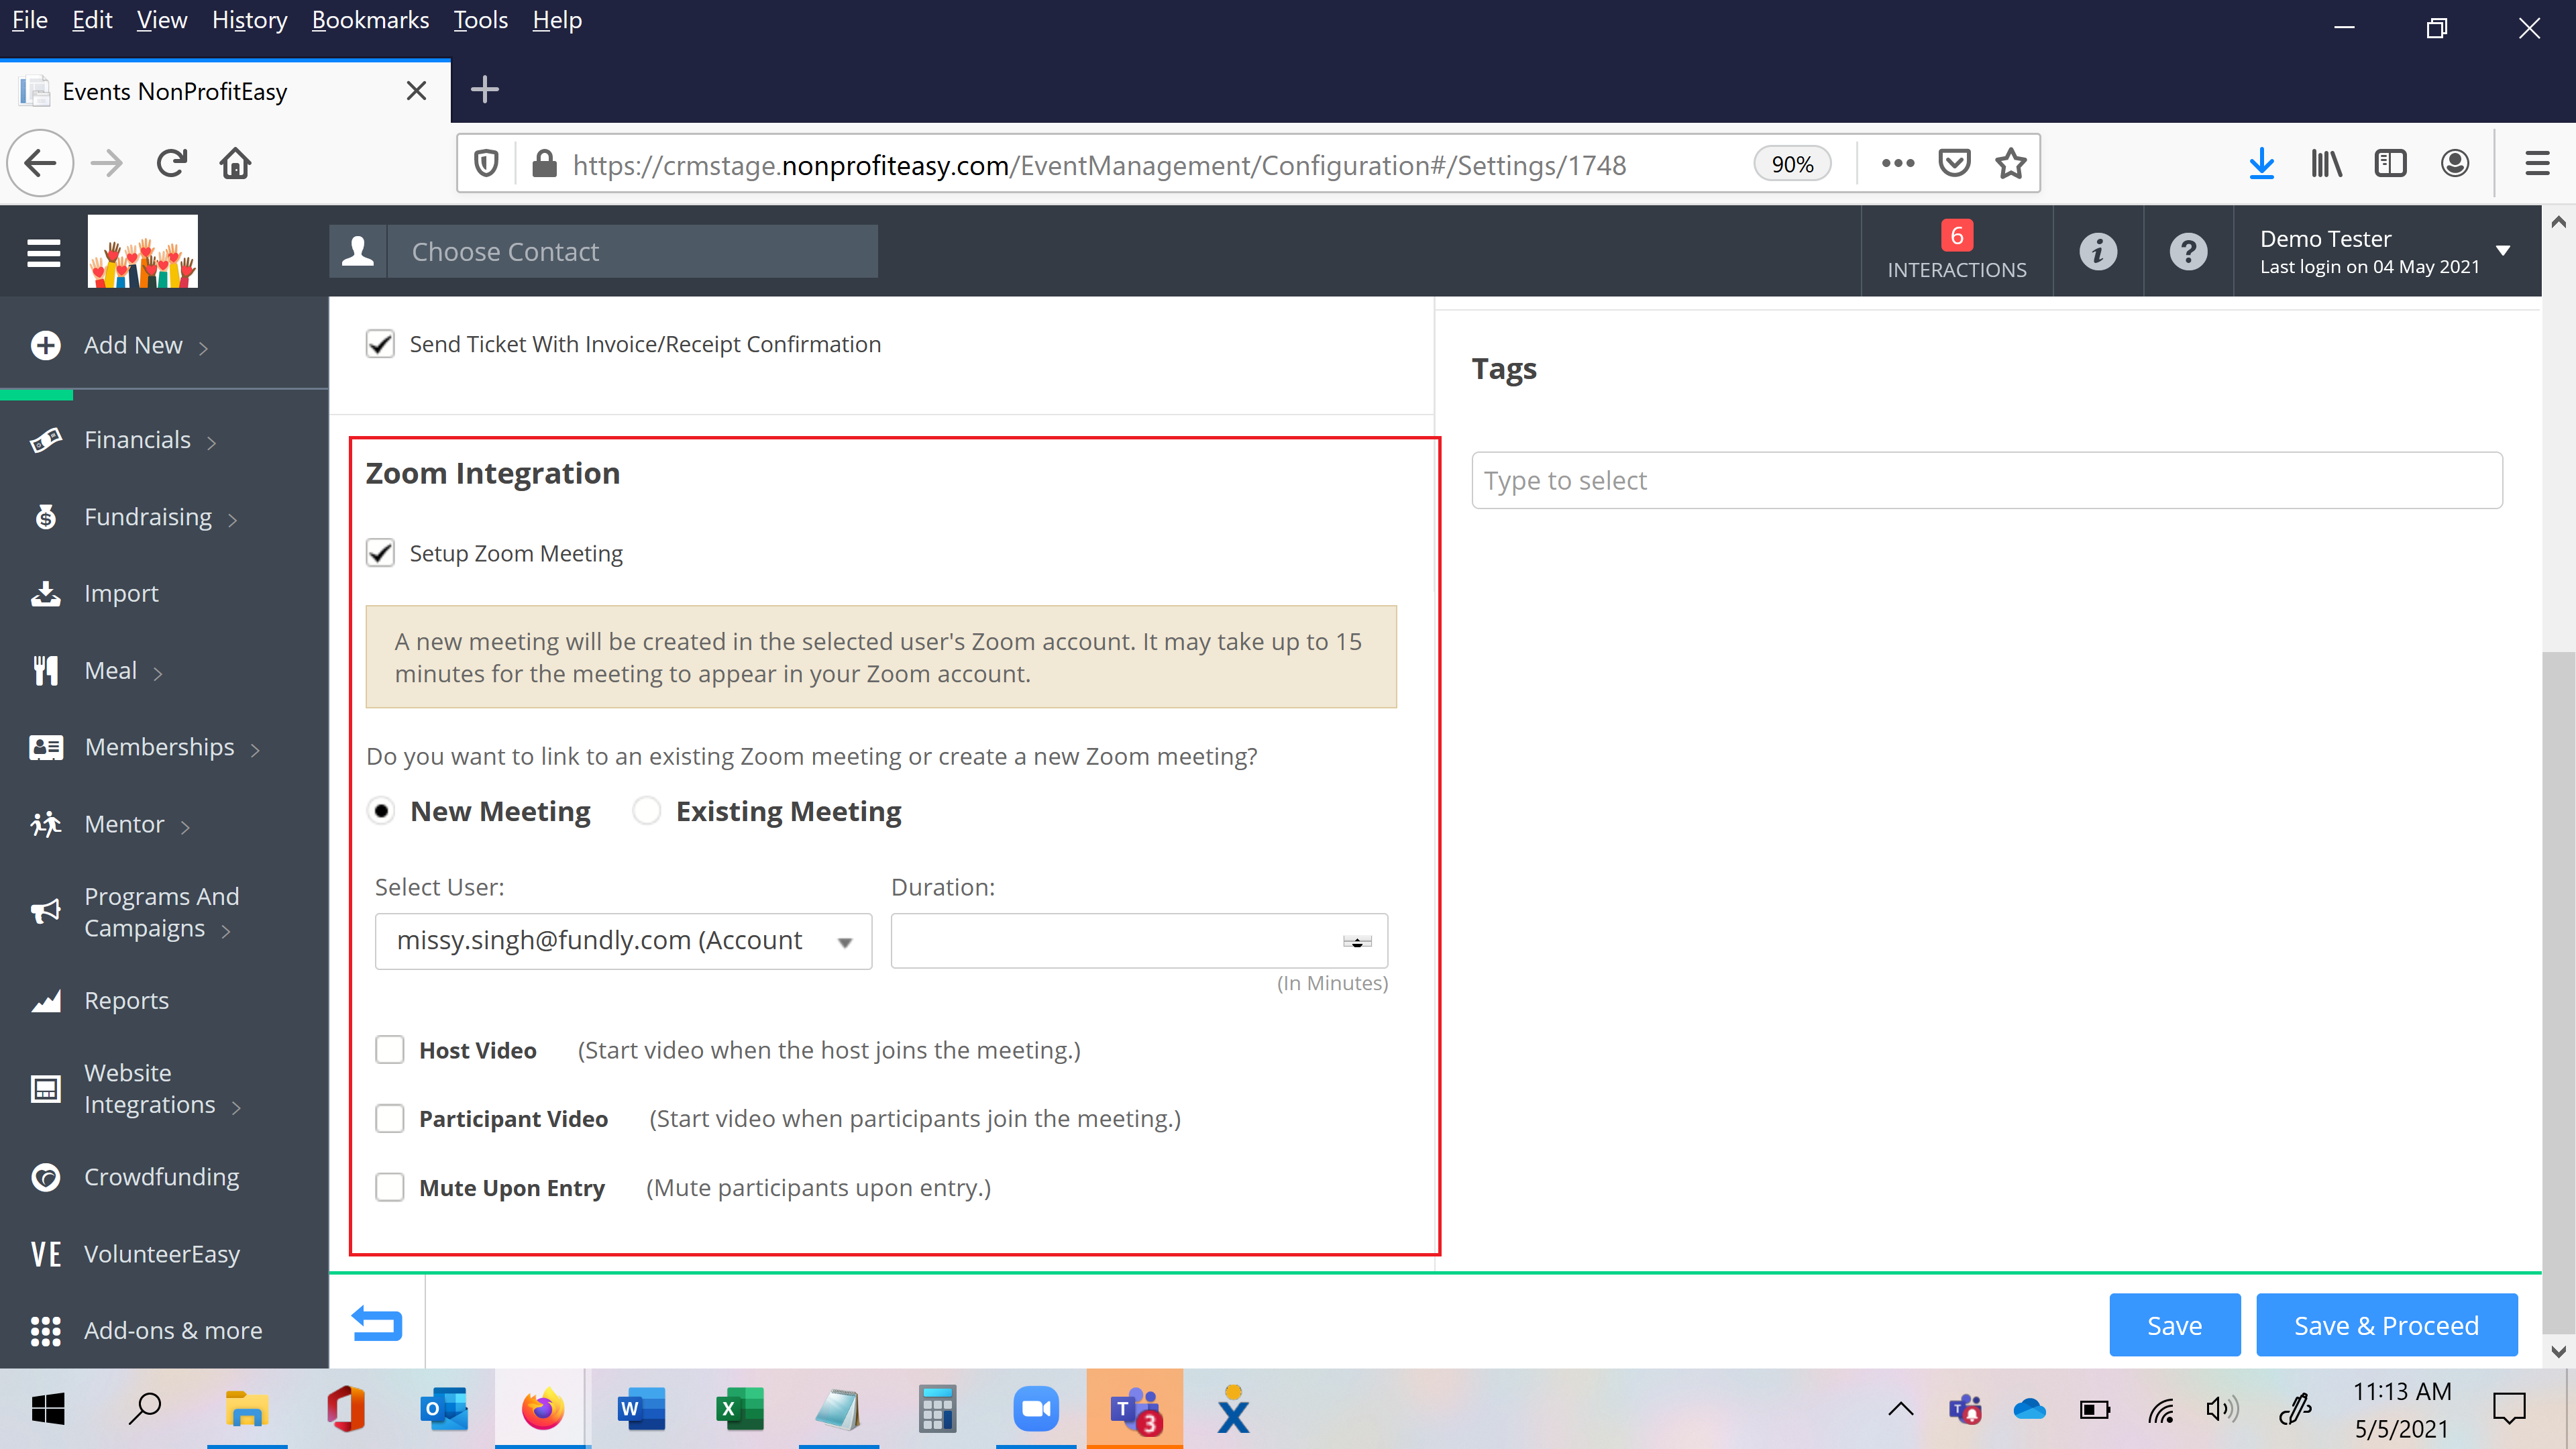
- This tutorial will cover how to configure the attendee registration form for an event once you have created an event. This step is optional UNLESS YOU HAVE CHECKED THE "ZOOM INTEGRATION" CHECK BOX ON THE SETTINGS TAB OF CREATE/EDIT EVENT. Then a new tab appears for "Configure Registration Form" and the registration form becomes required. See our tutorial on the Zoom Integration for more information on configuring events integrated to Zoom.
- If you do not configure a registration form for your event, you will not be able to capture any attendee data (all attendees will show as Guest 1, Guest 2, etc.). Without attendee data, you will not be able to send event notifications or automatic registration confirmations to attendees (only to registrants), you will not be able to track attendance (marked attendees as attended or no show), and you will not be able to run any attendee-based reports (only event registrant reports).
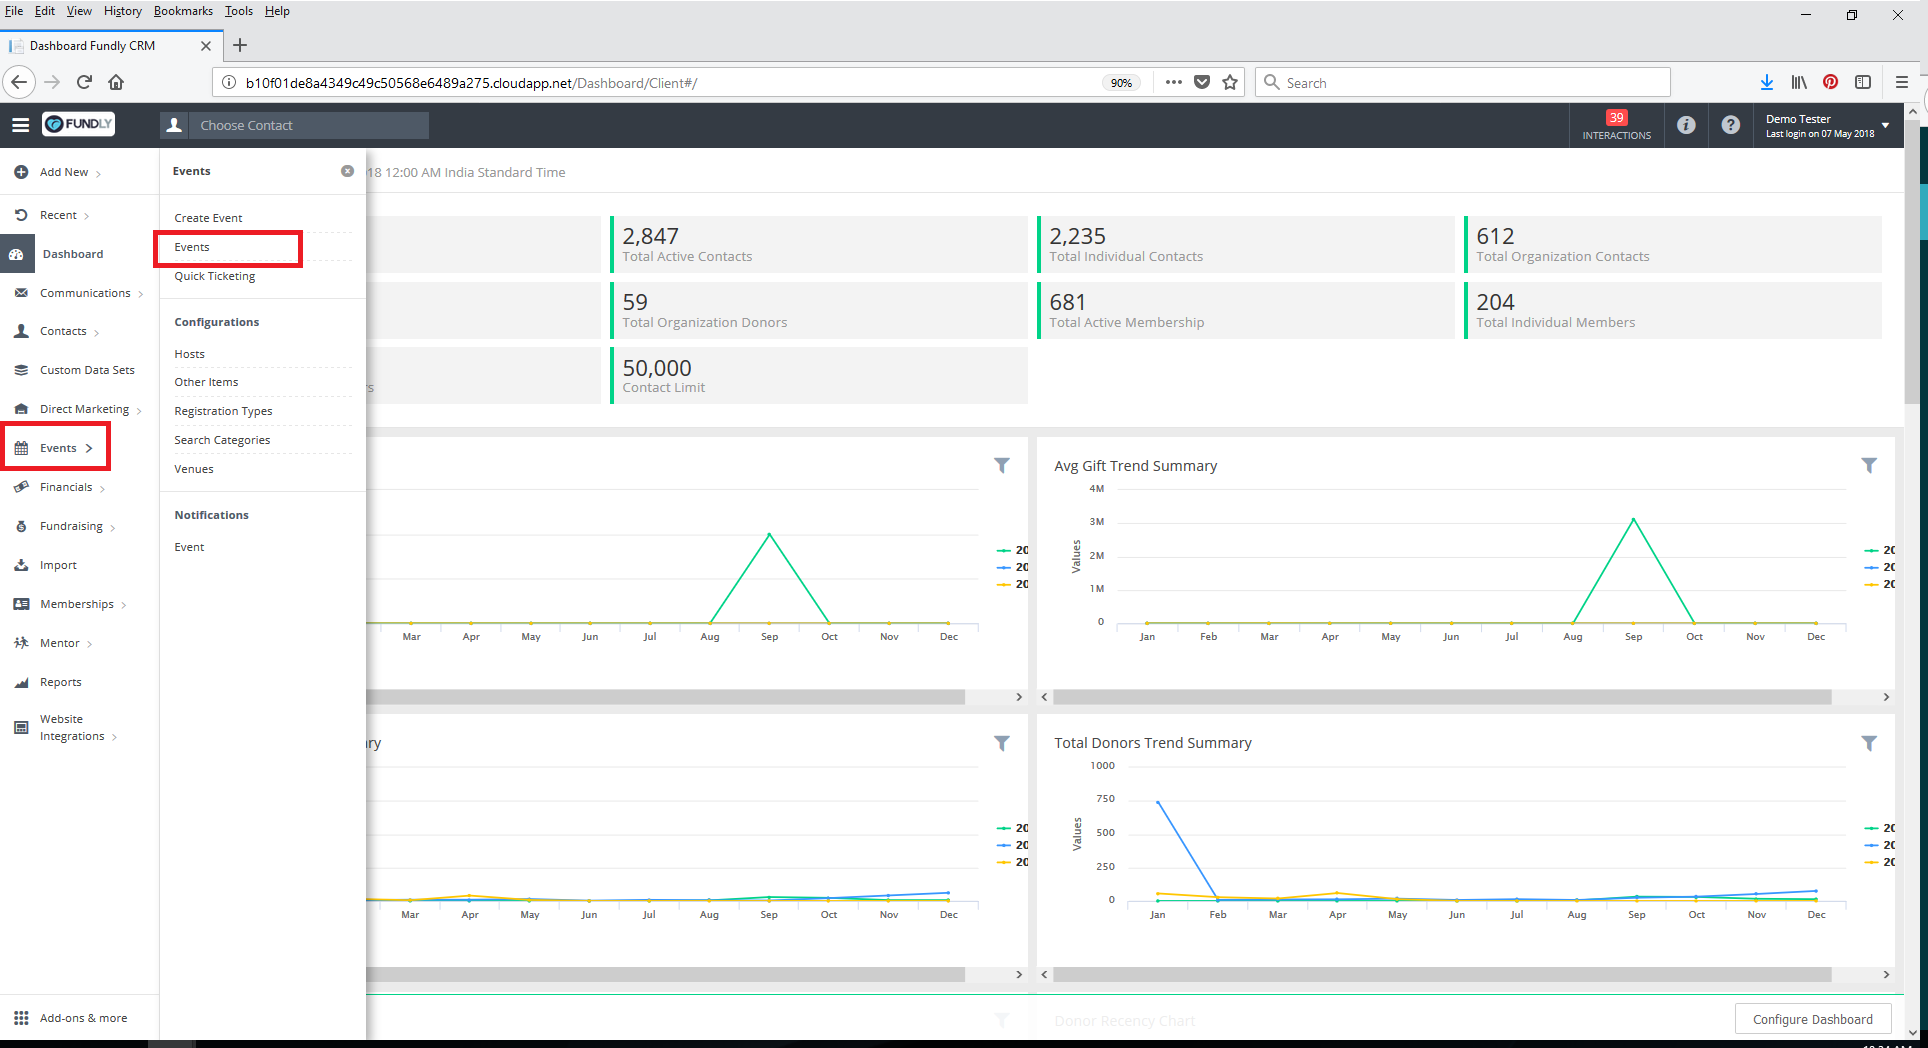
- Start by navigating to the event you wish to configure the registration form for by clicking on Events on the main menu to open the events sub-menu and then select Events under the Events header.
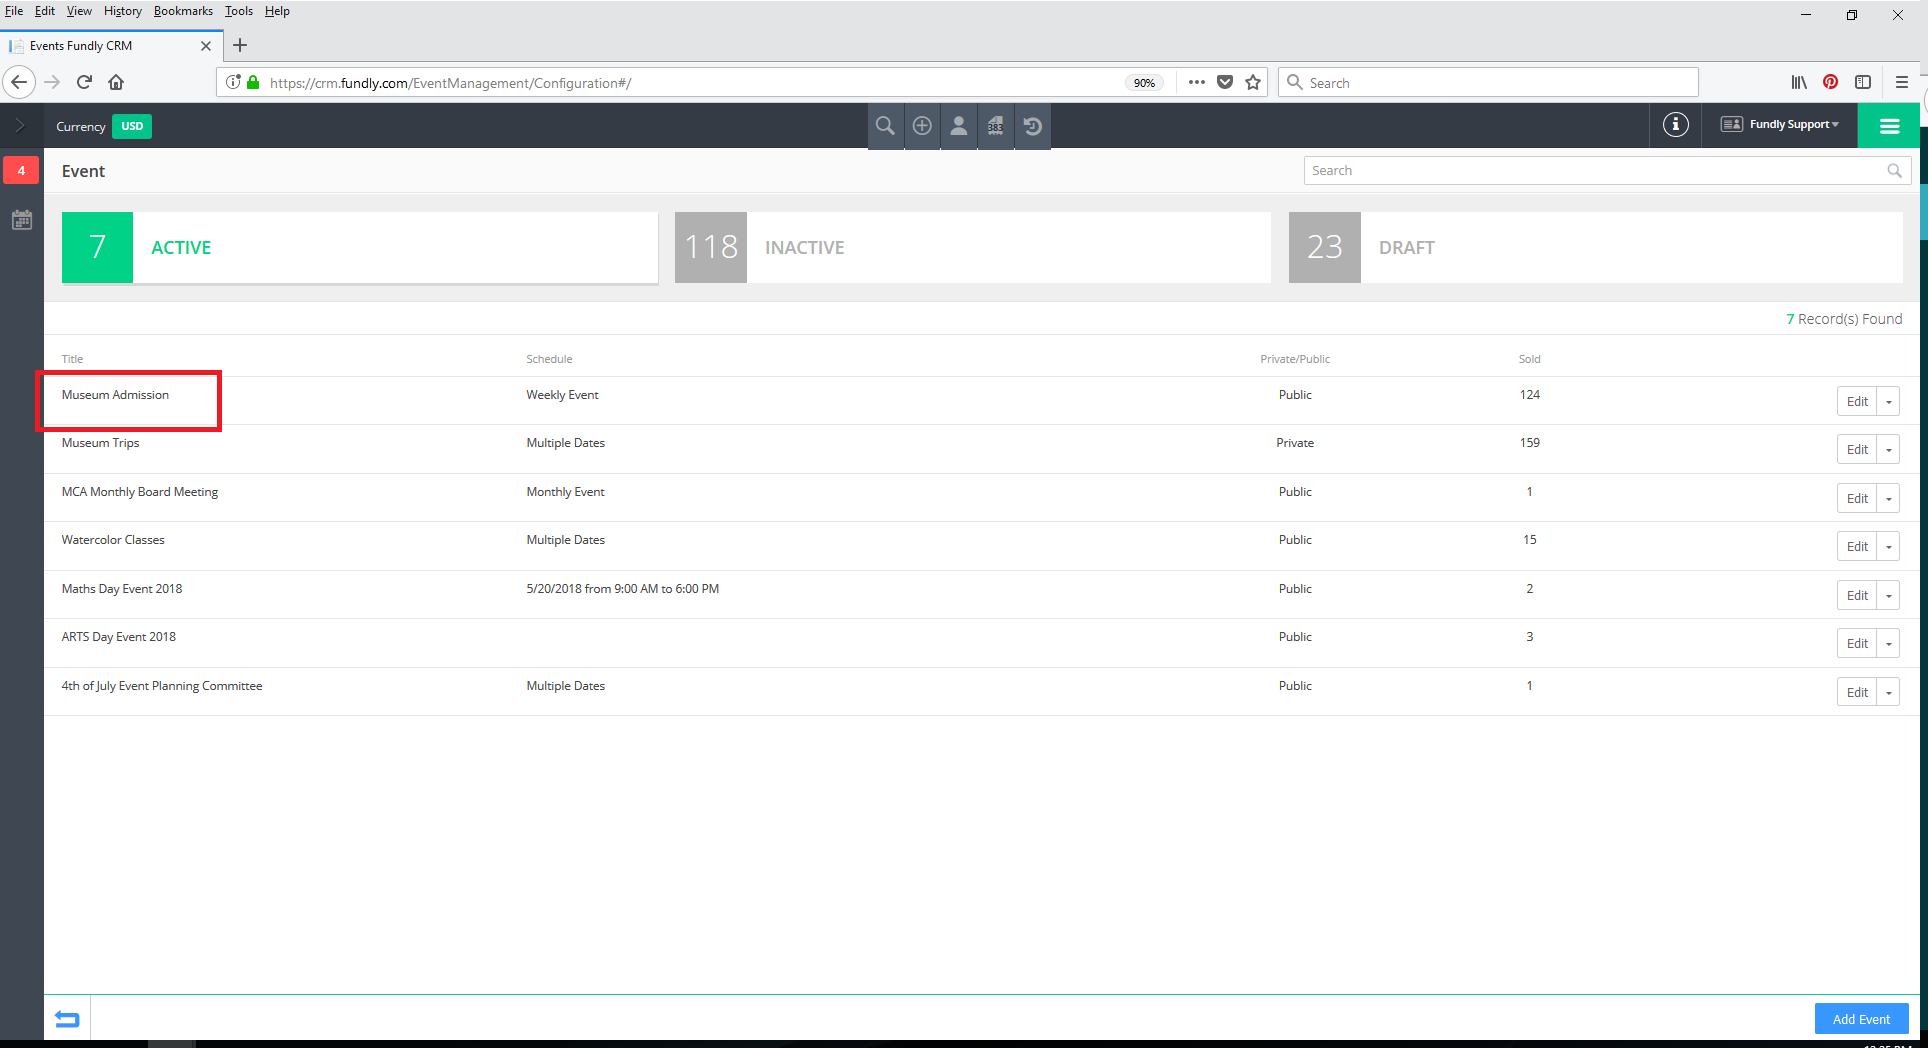
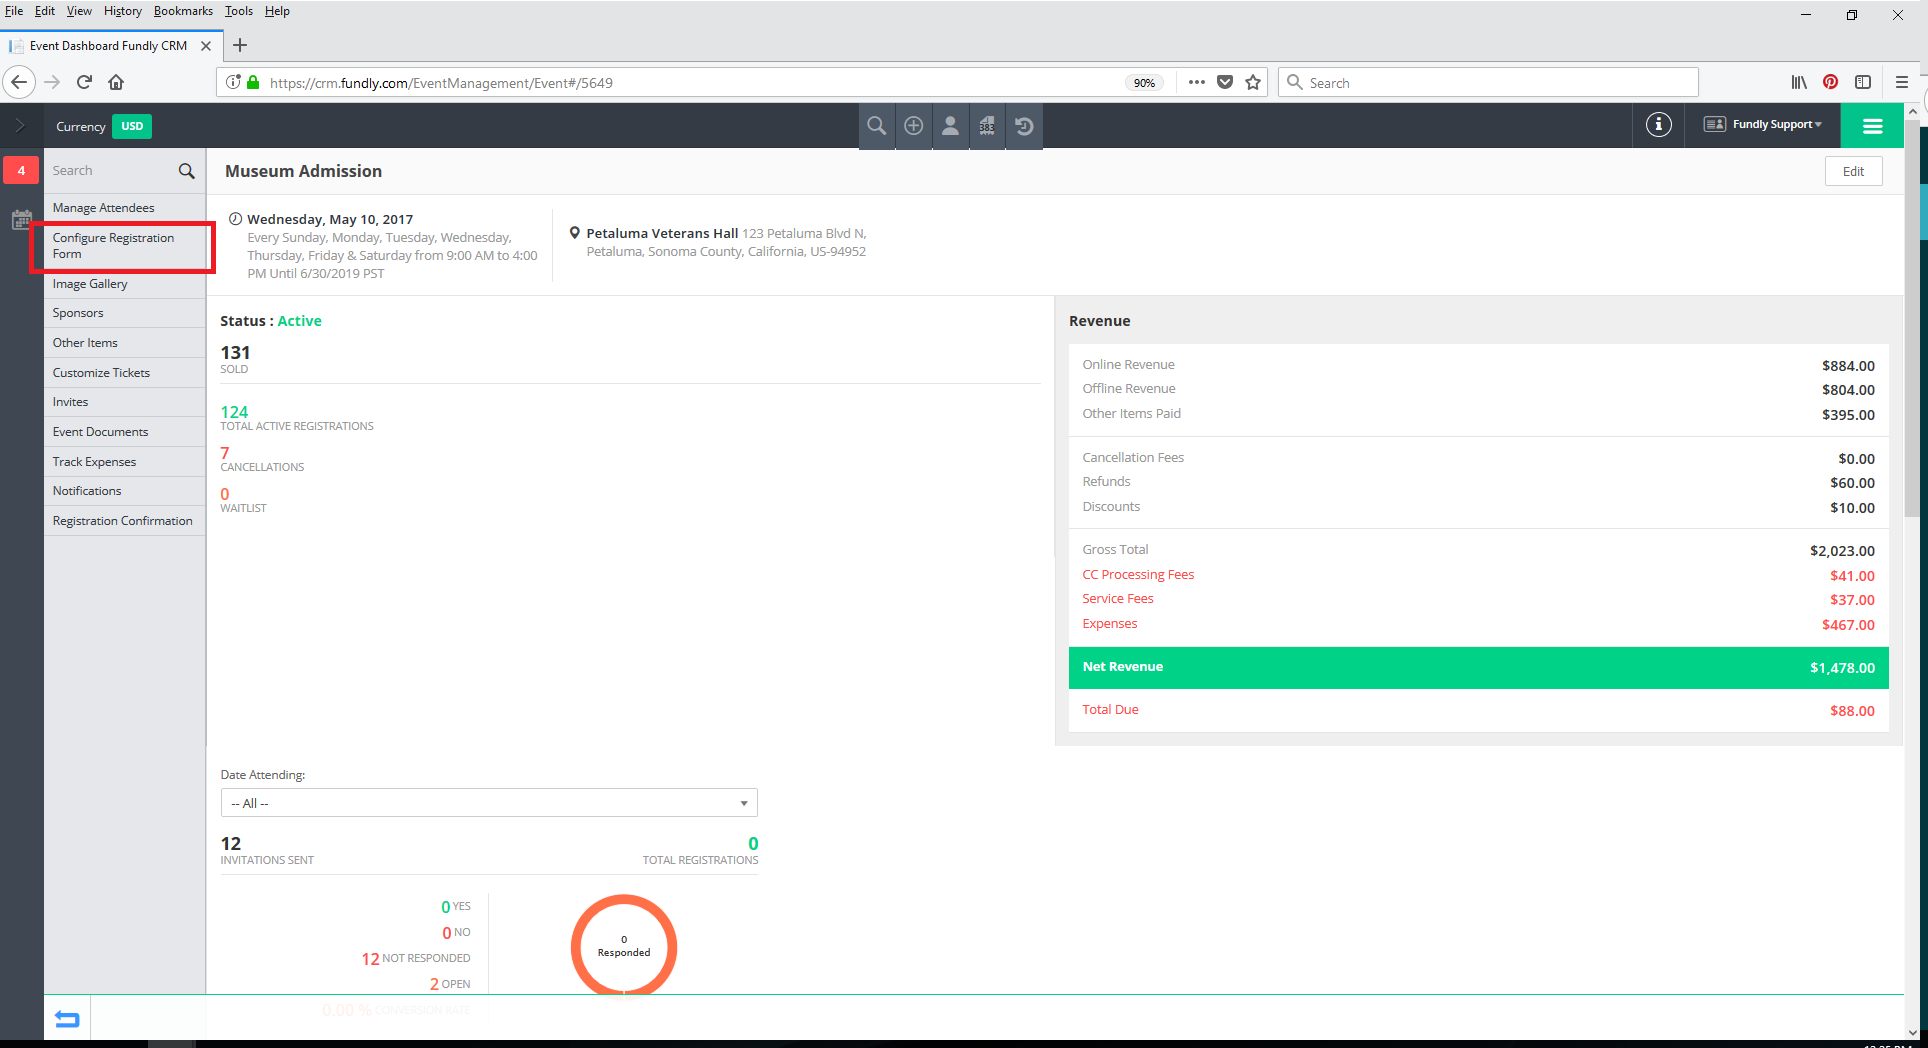
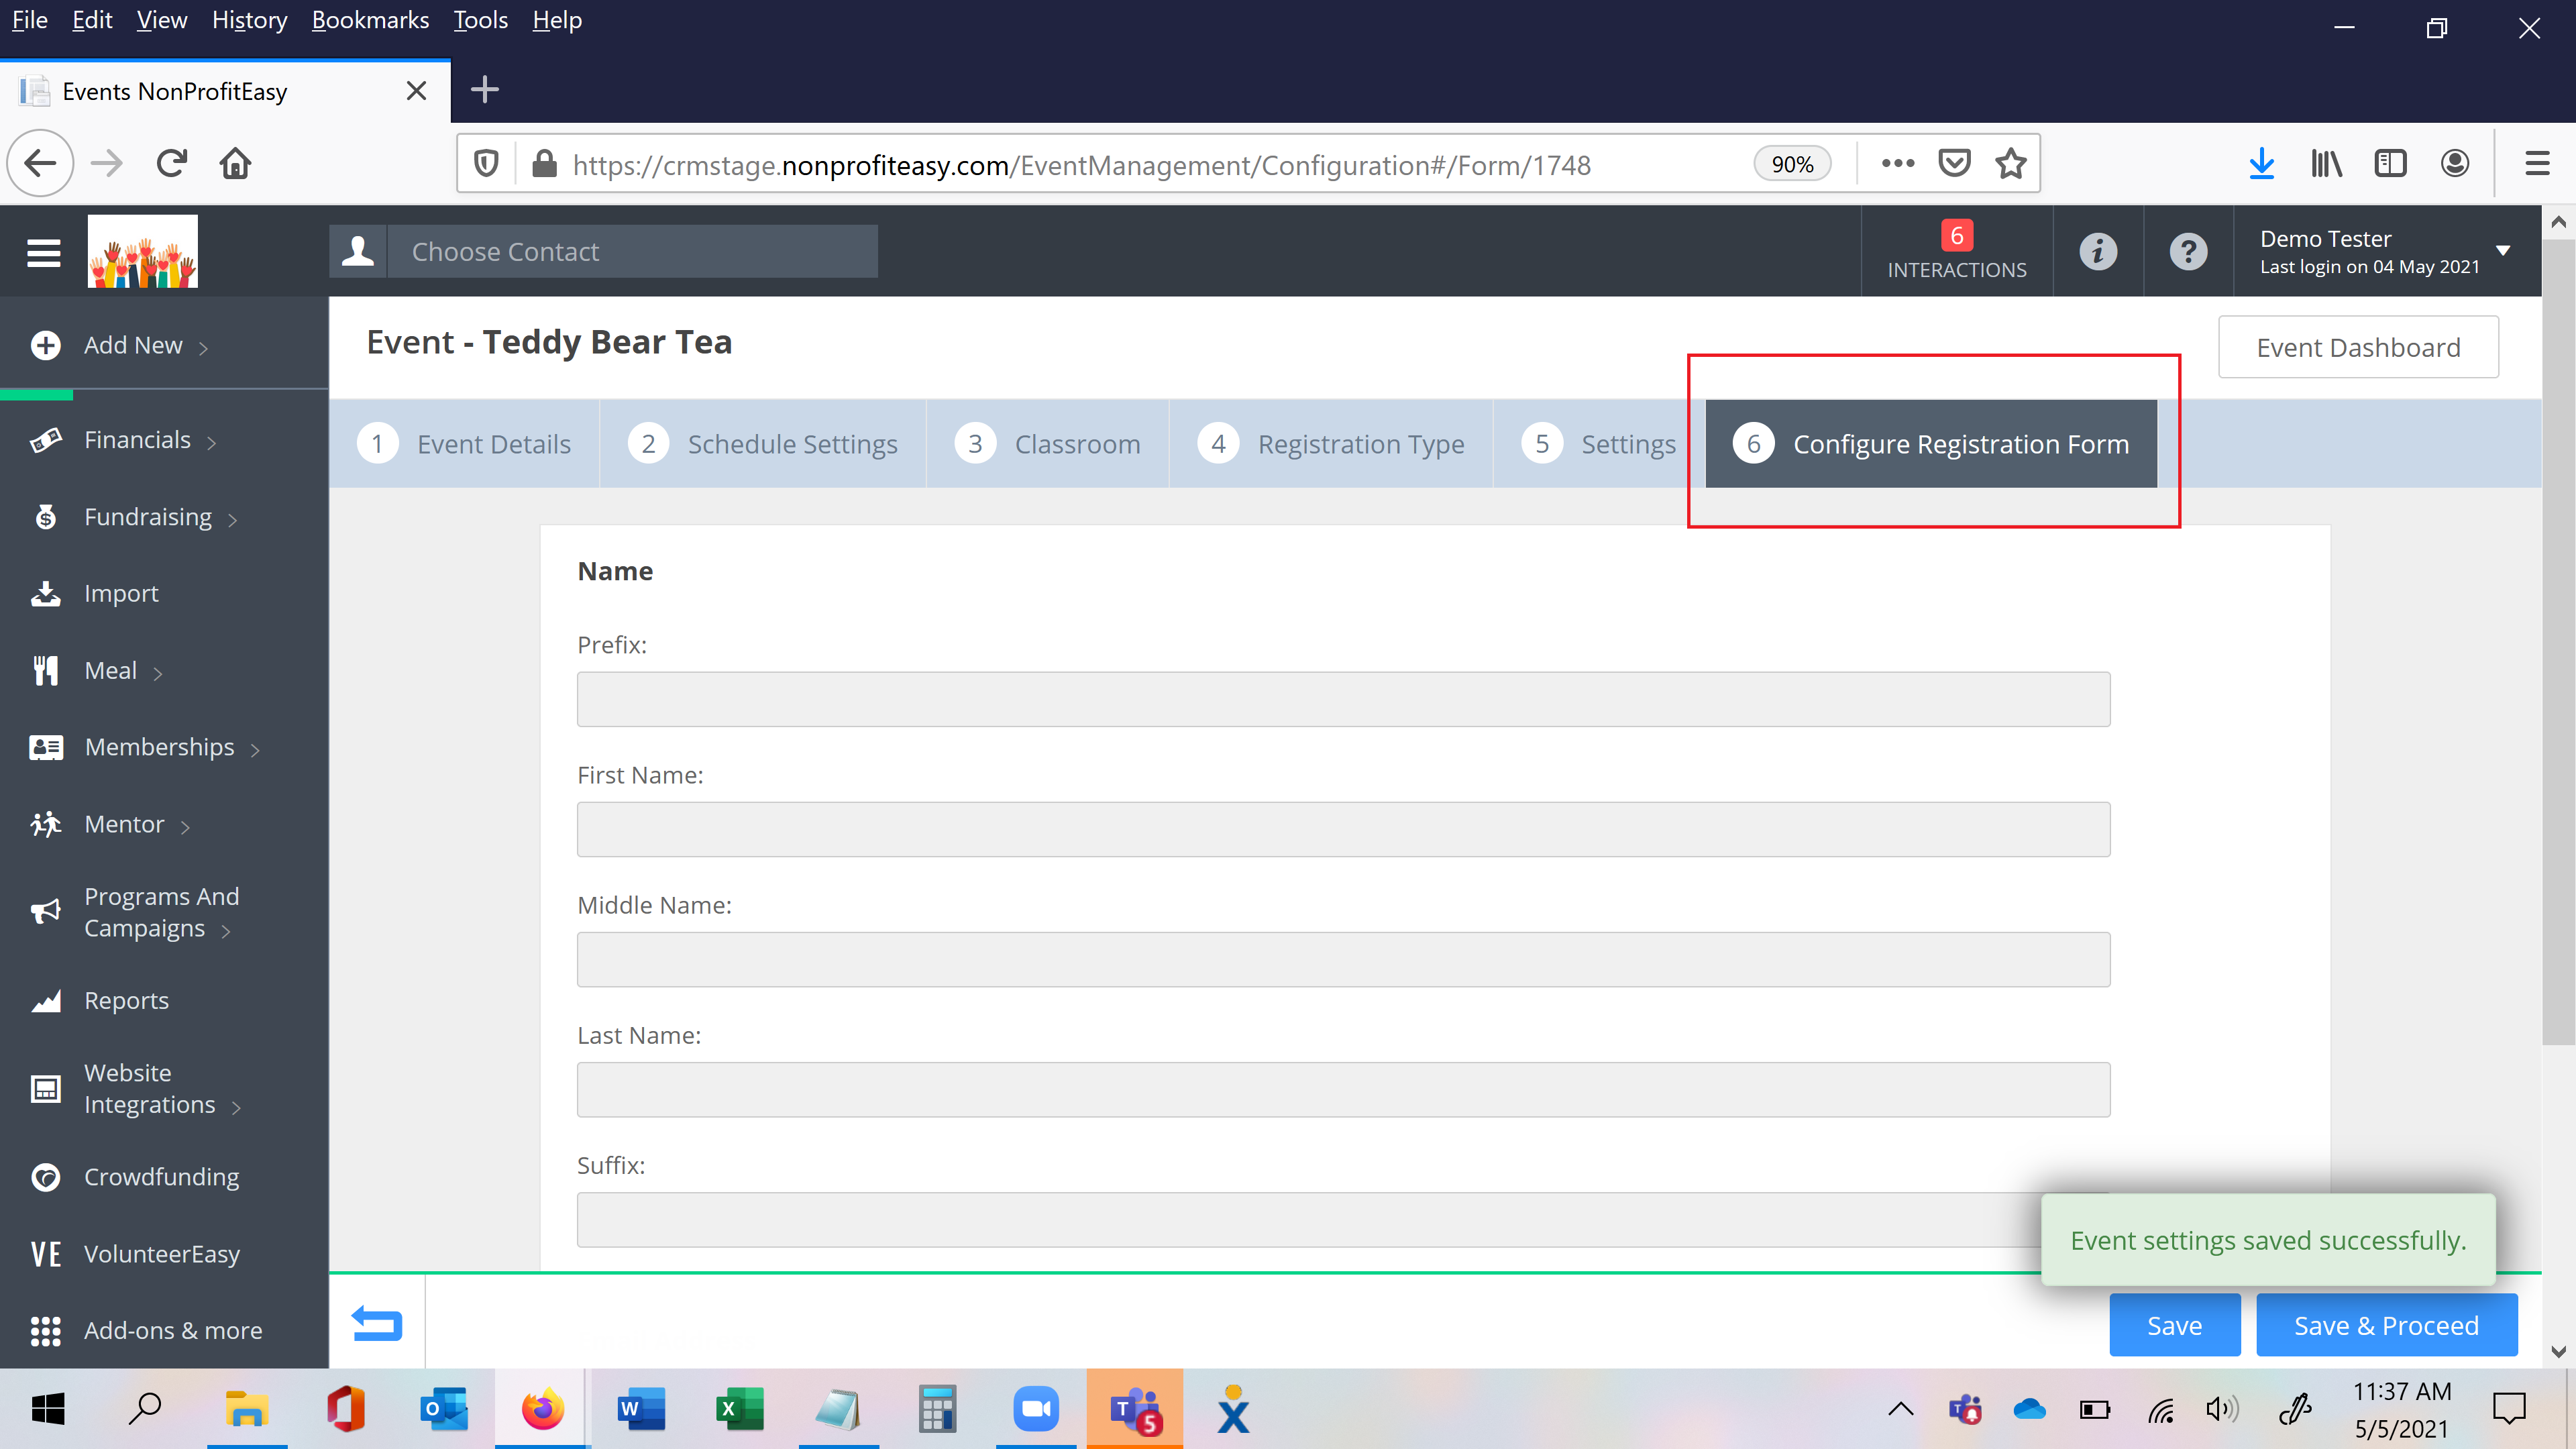
- From the list of events, click on the name of the event for which you wish to configure the registration form and then select Configure Registration Form from the left hand menu (unless this is a Zoom integrated event in which case you can edit the event and complete the event registration form configurations on the Configure Registration Form tab).
OR
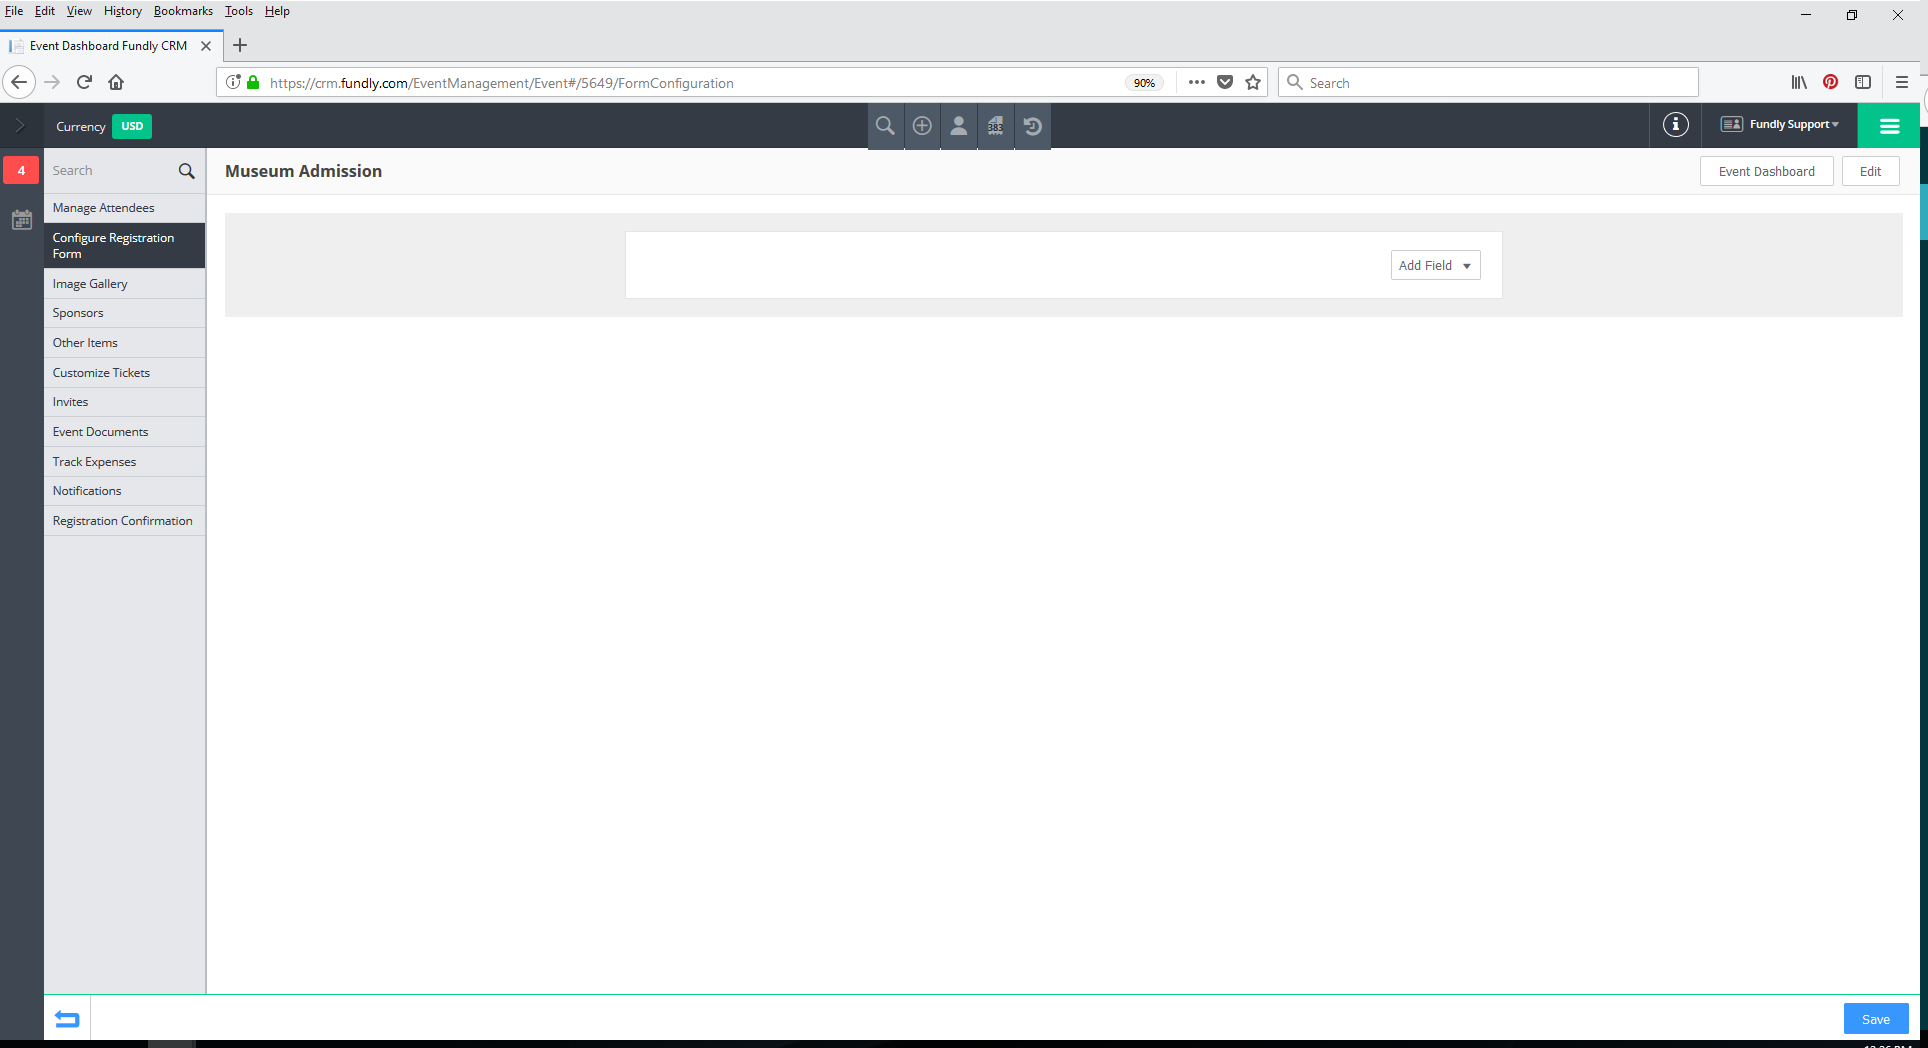
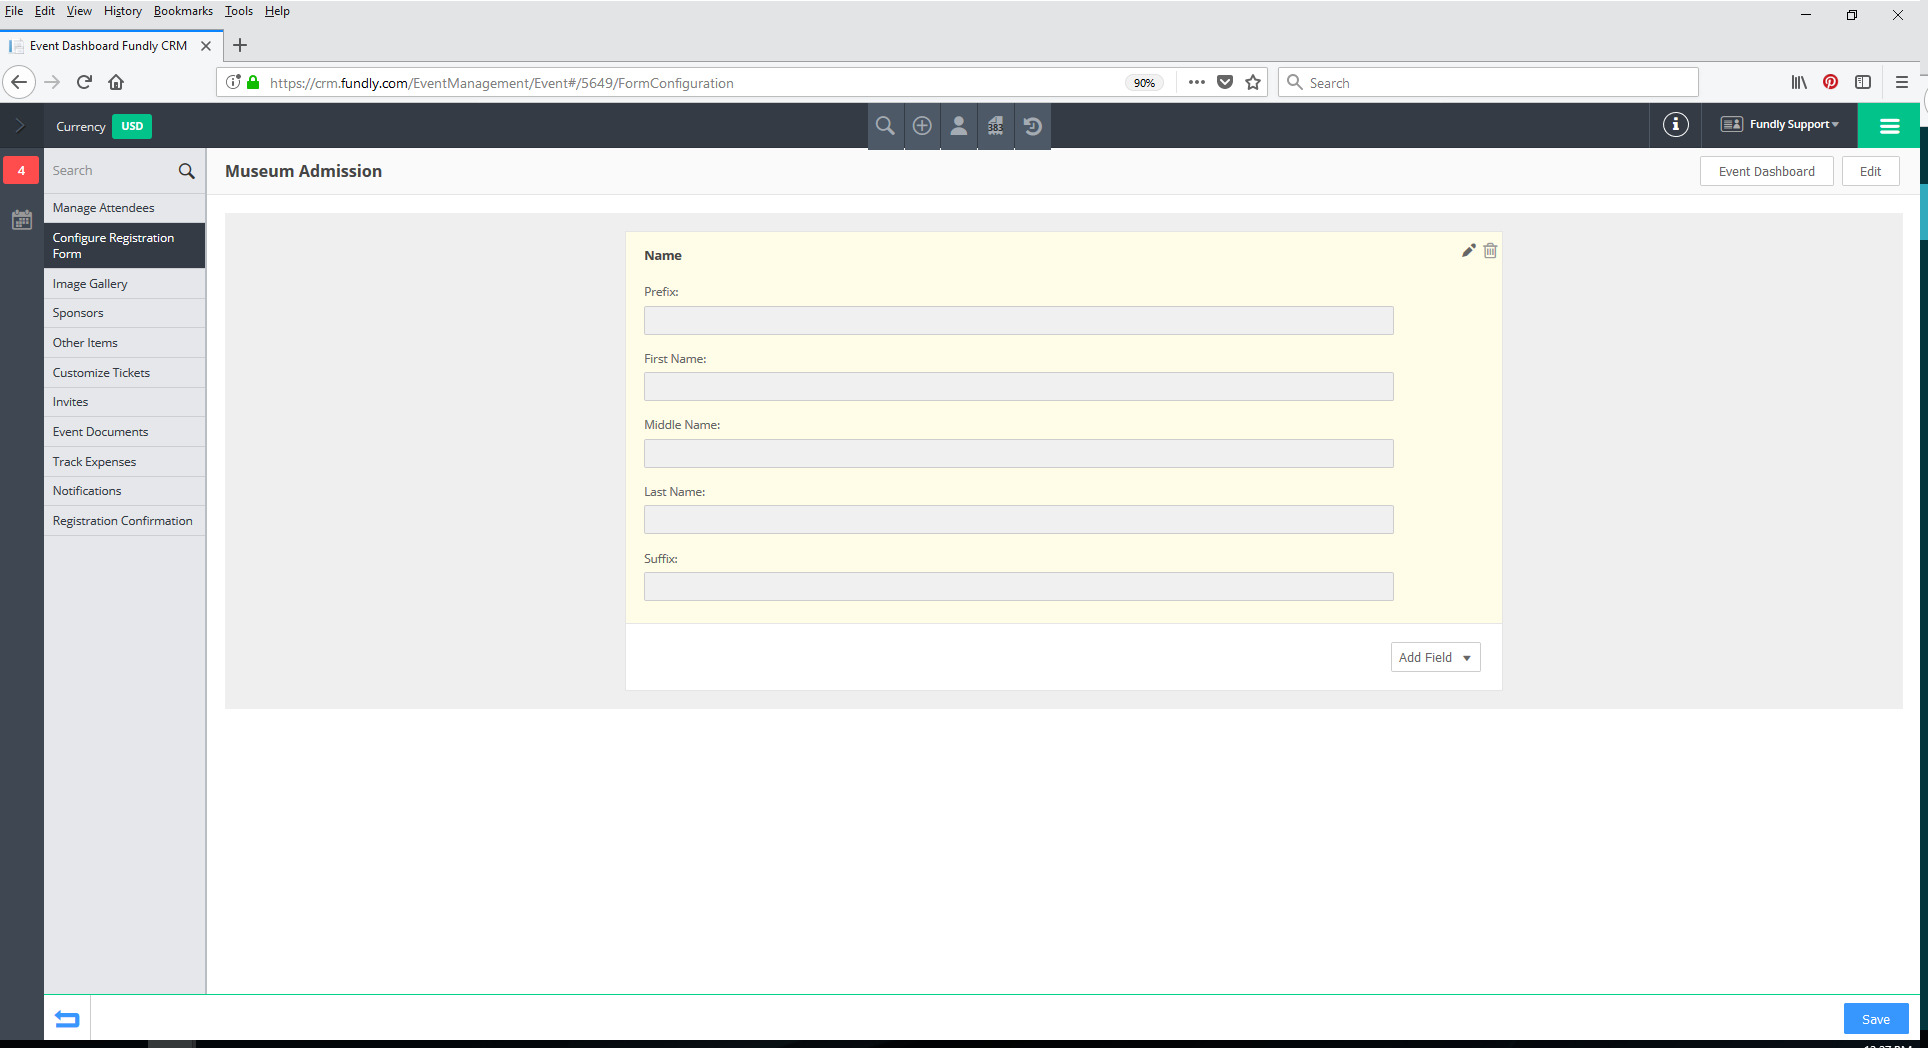
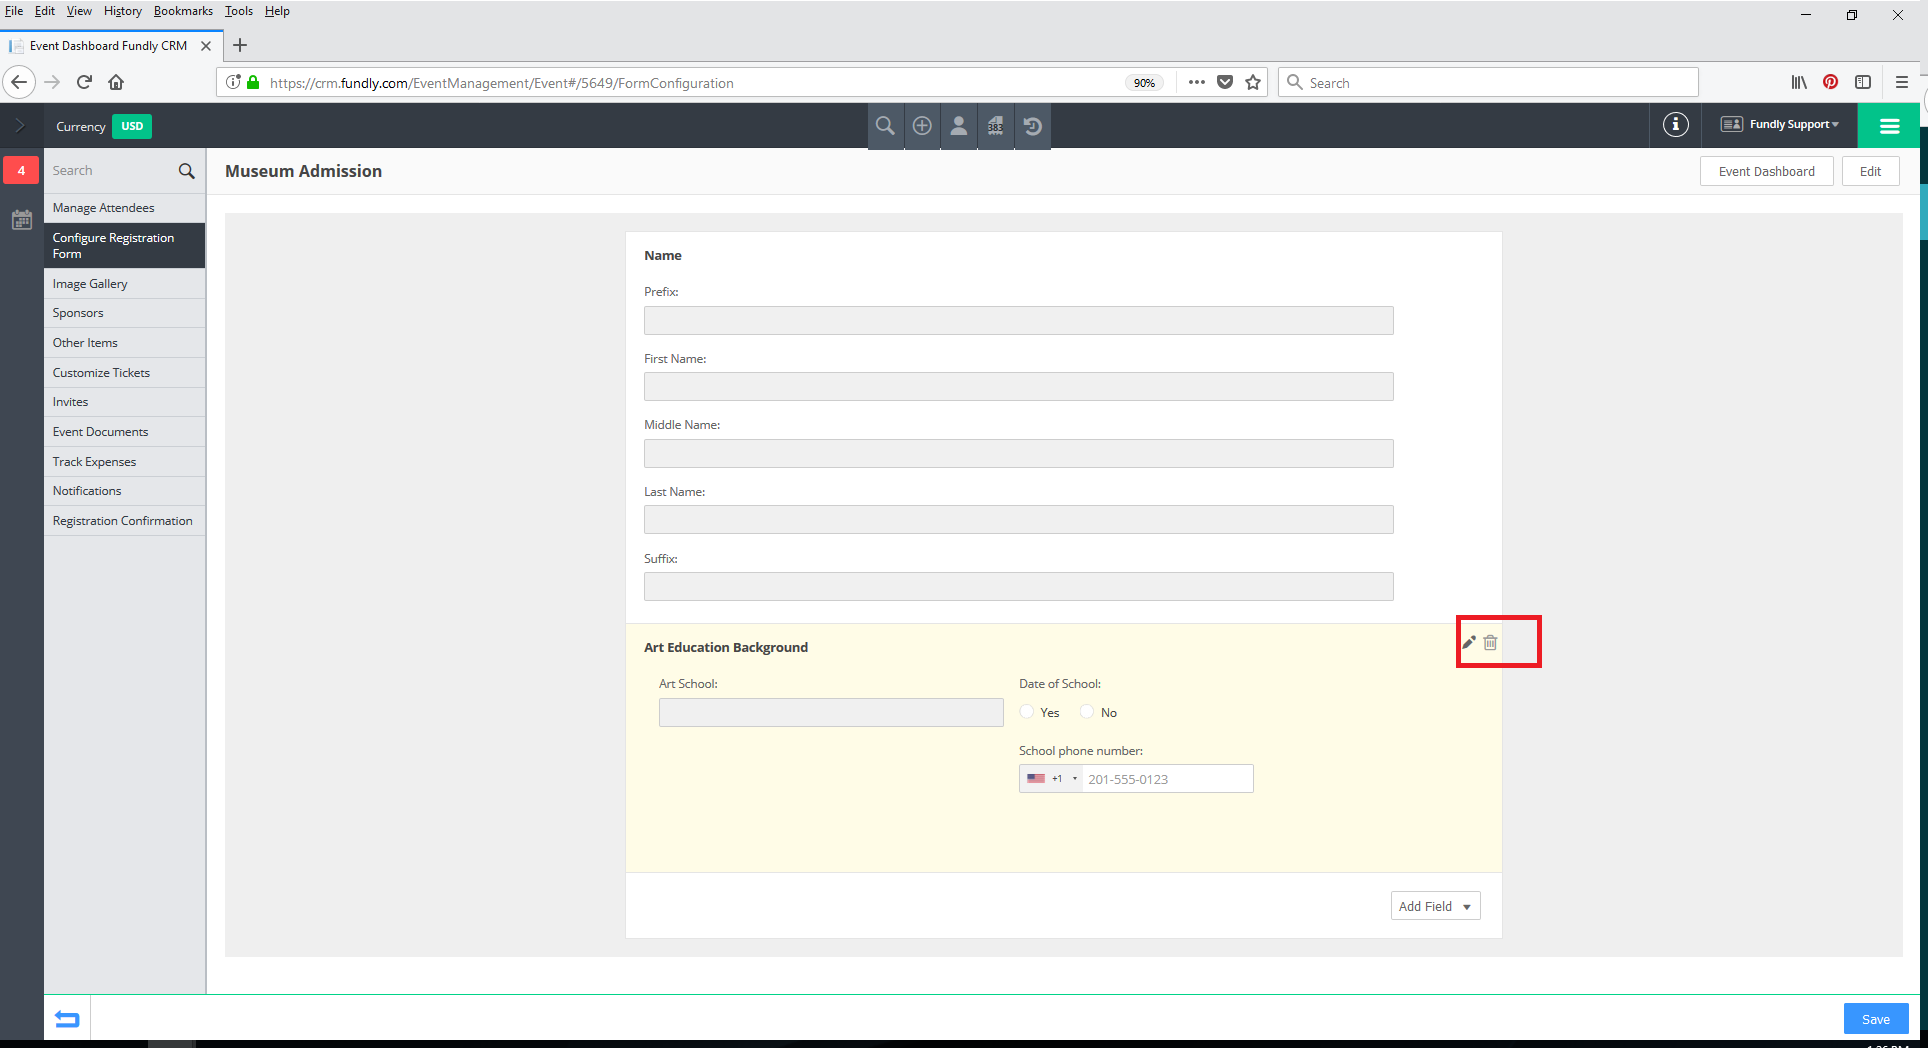
- In the resulting screen you will see a preview of the registration form that will be used for each attendee registered for your event as you build the form. This screen will be blank to begin and then as you add fields, they will show on the screen (unless this is a Zoom integrated event, in which case, the Contact Name and Email Address blocks will already be added to the form and will be set as required (and cannot be removed from the form).
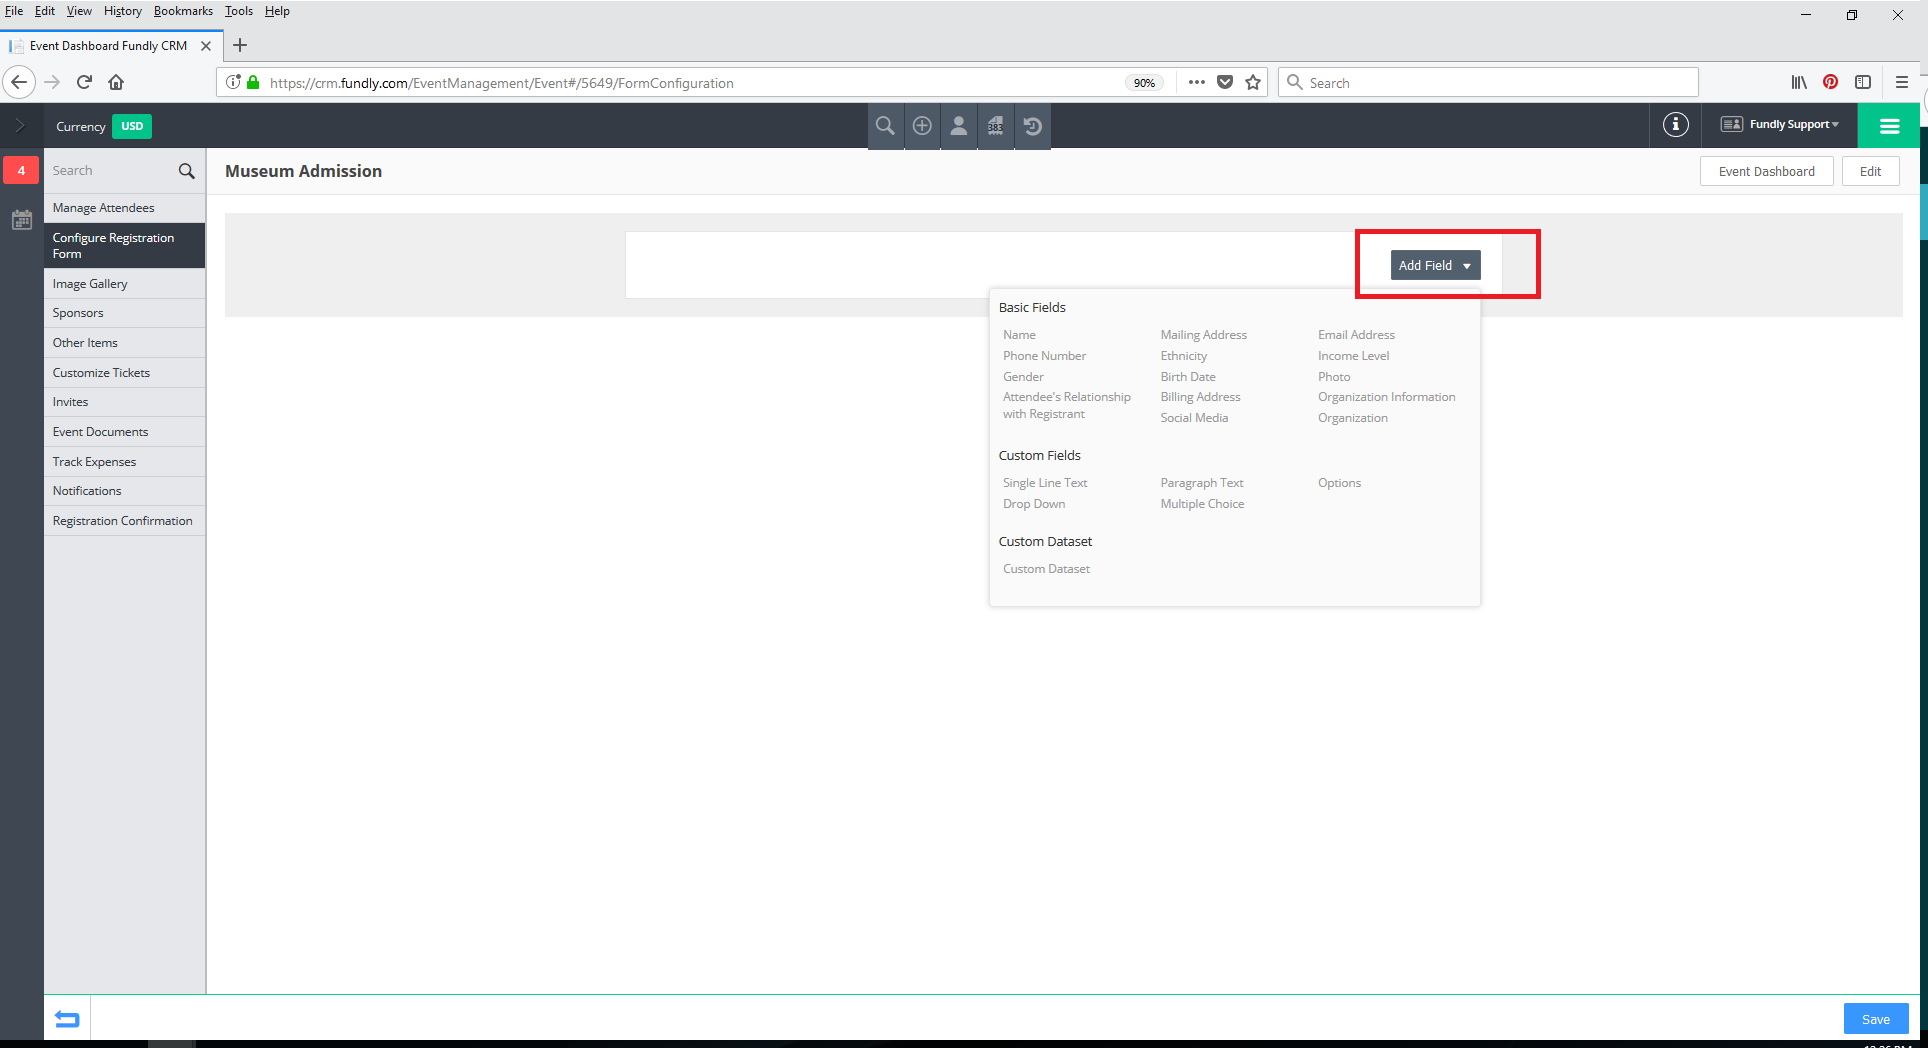
- To add a new field, click on the Add Field drop-down and select the field you wish to add to the form.
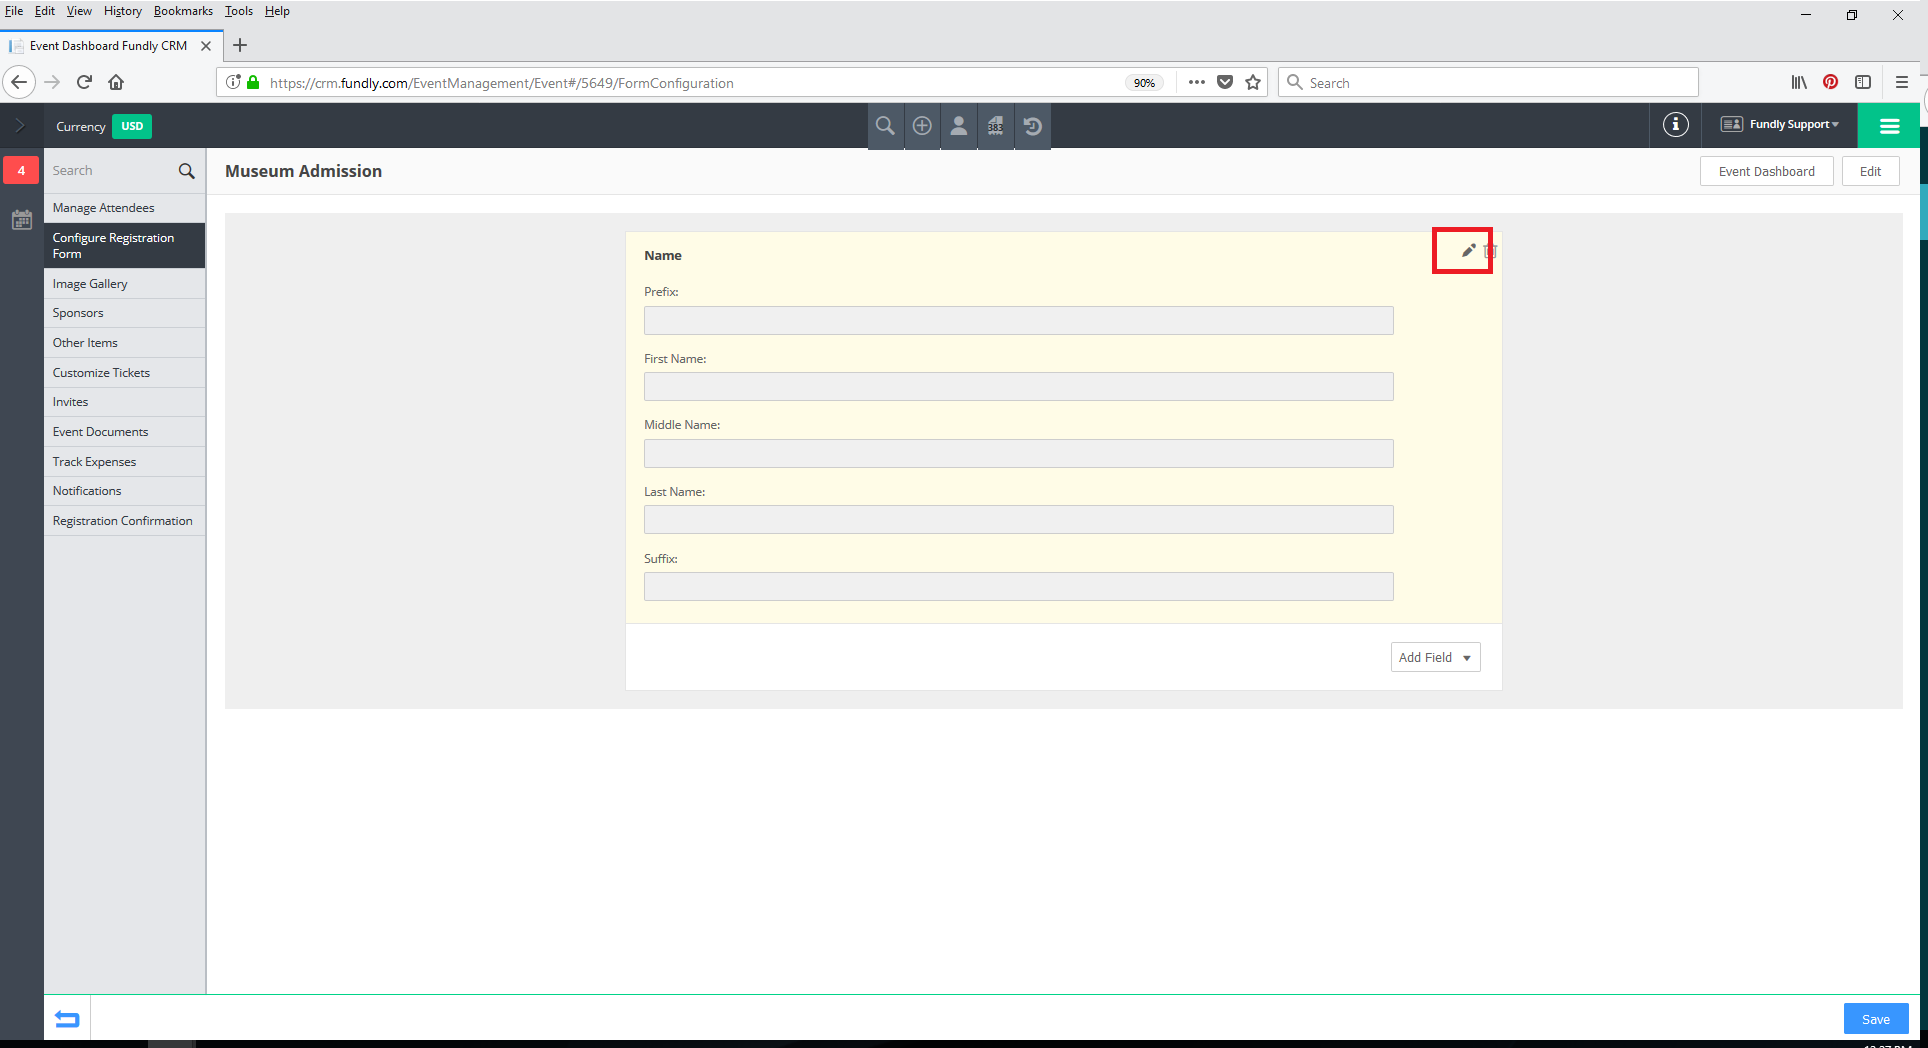
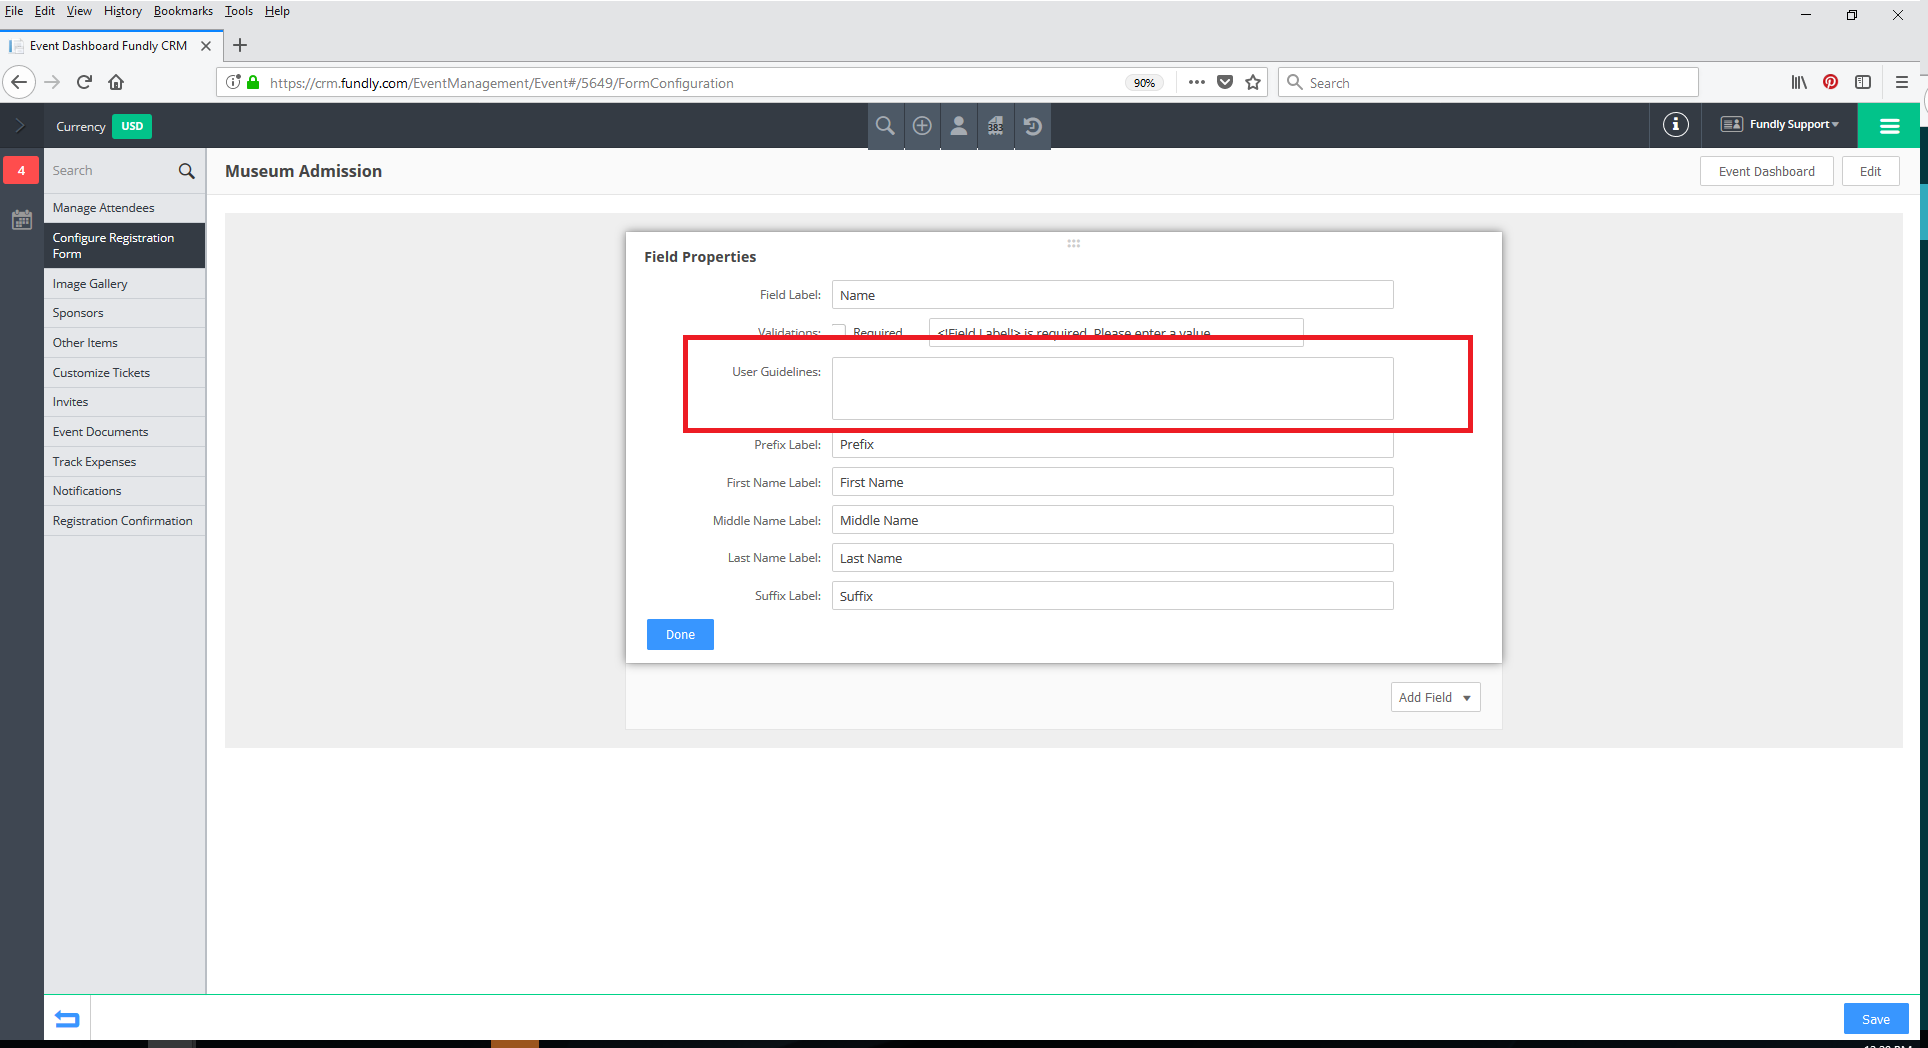
- To edit a field, hover at the top of the field and click on the Edit (pencil) icon. This will open the Field Properties box.
- You will be able to rename the field, and for some fields types, be able to change the label on subfields.
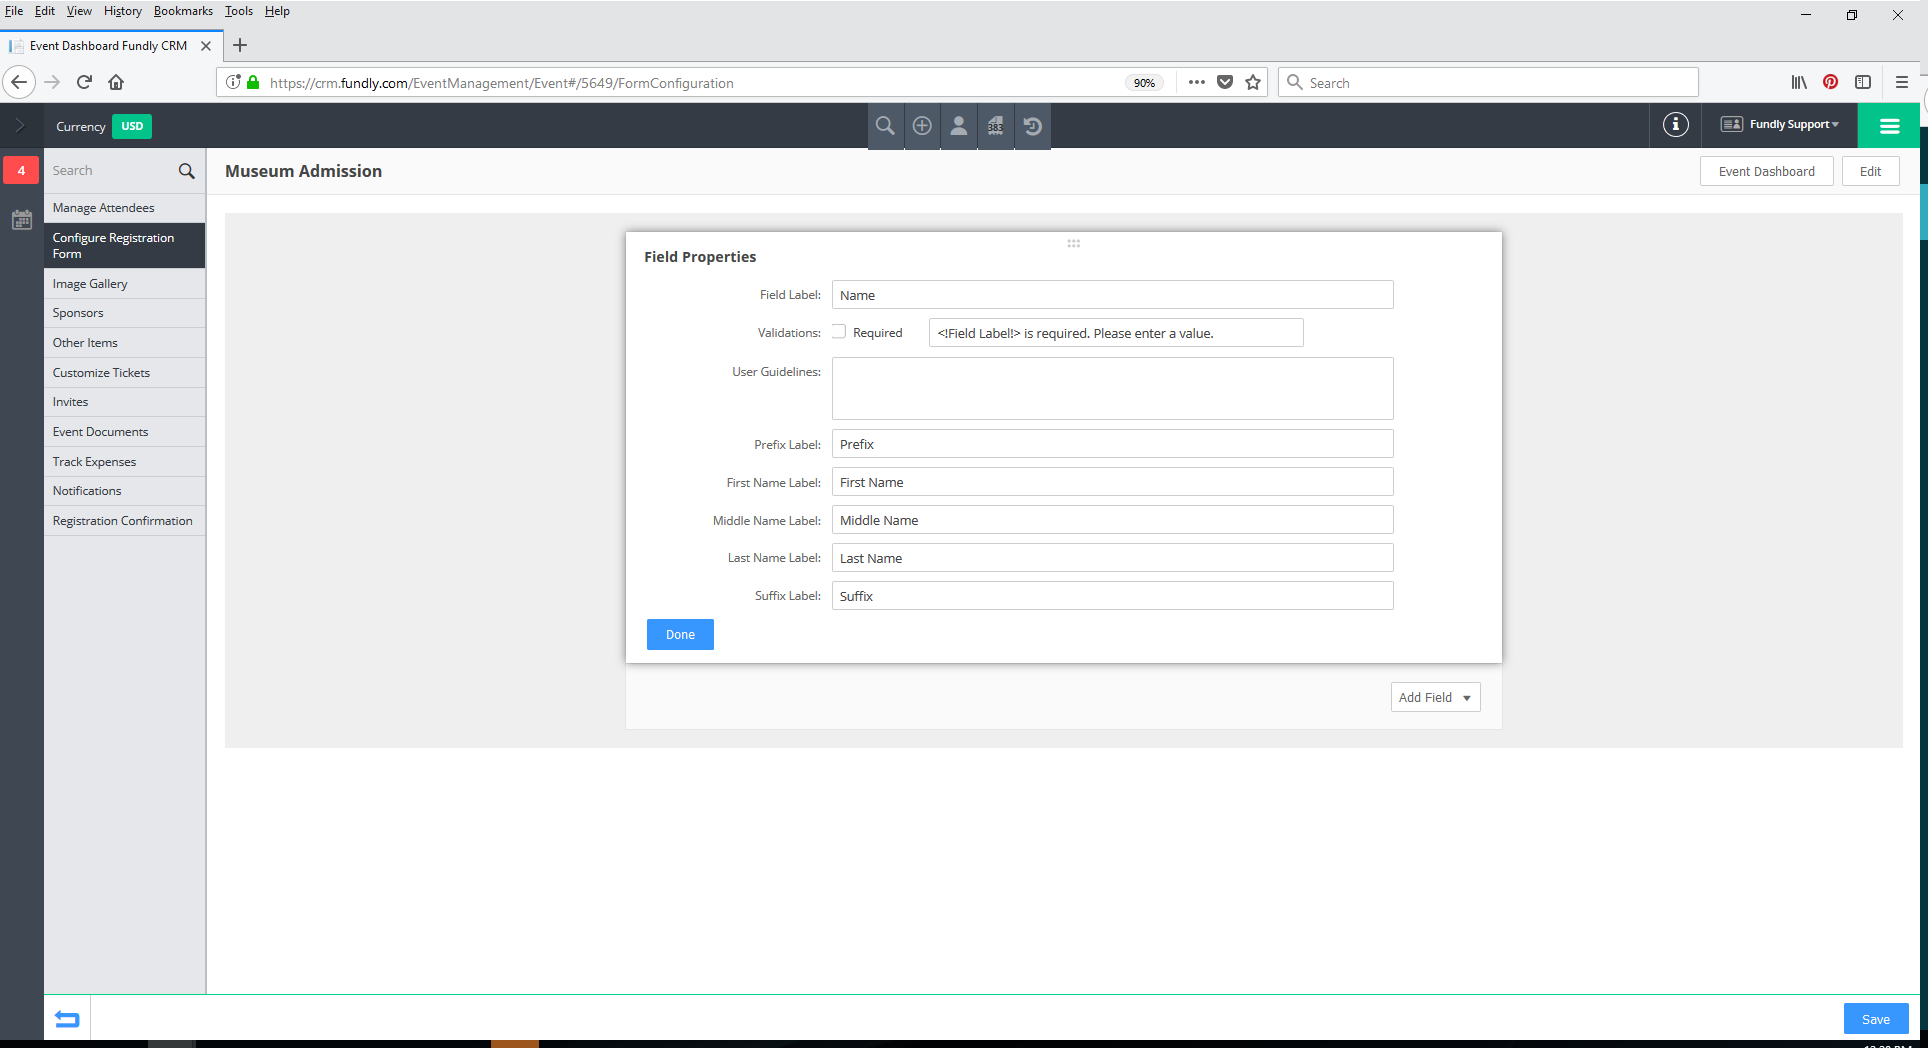
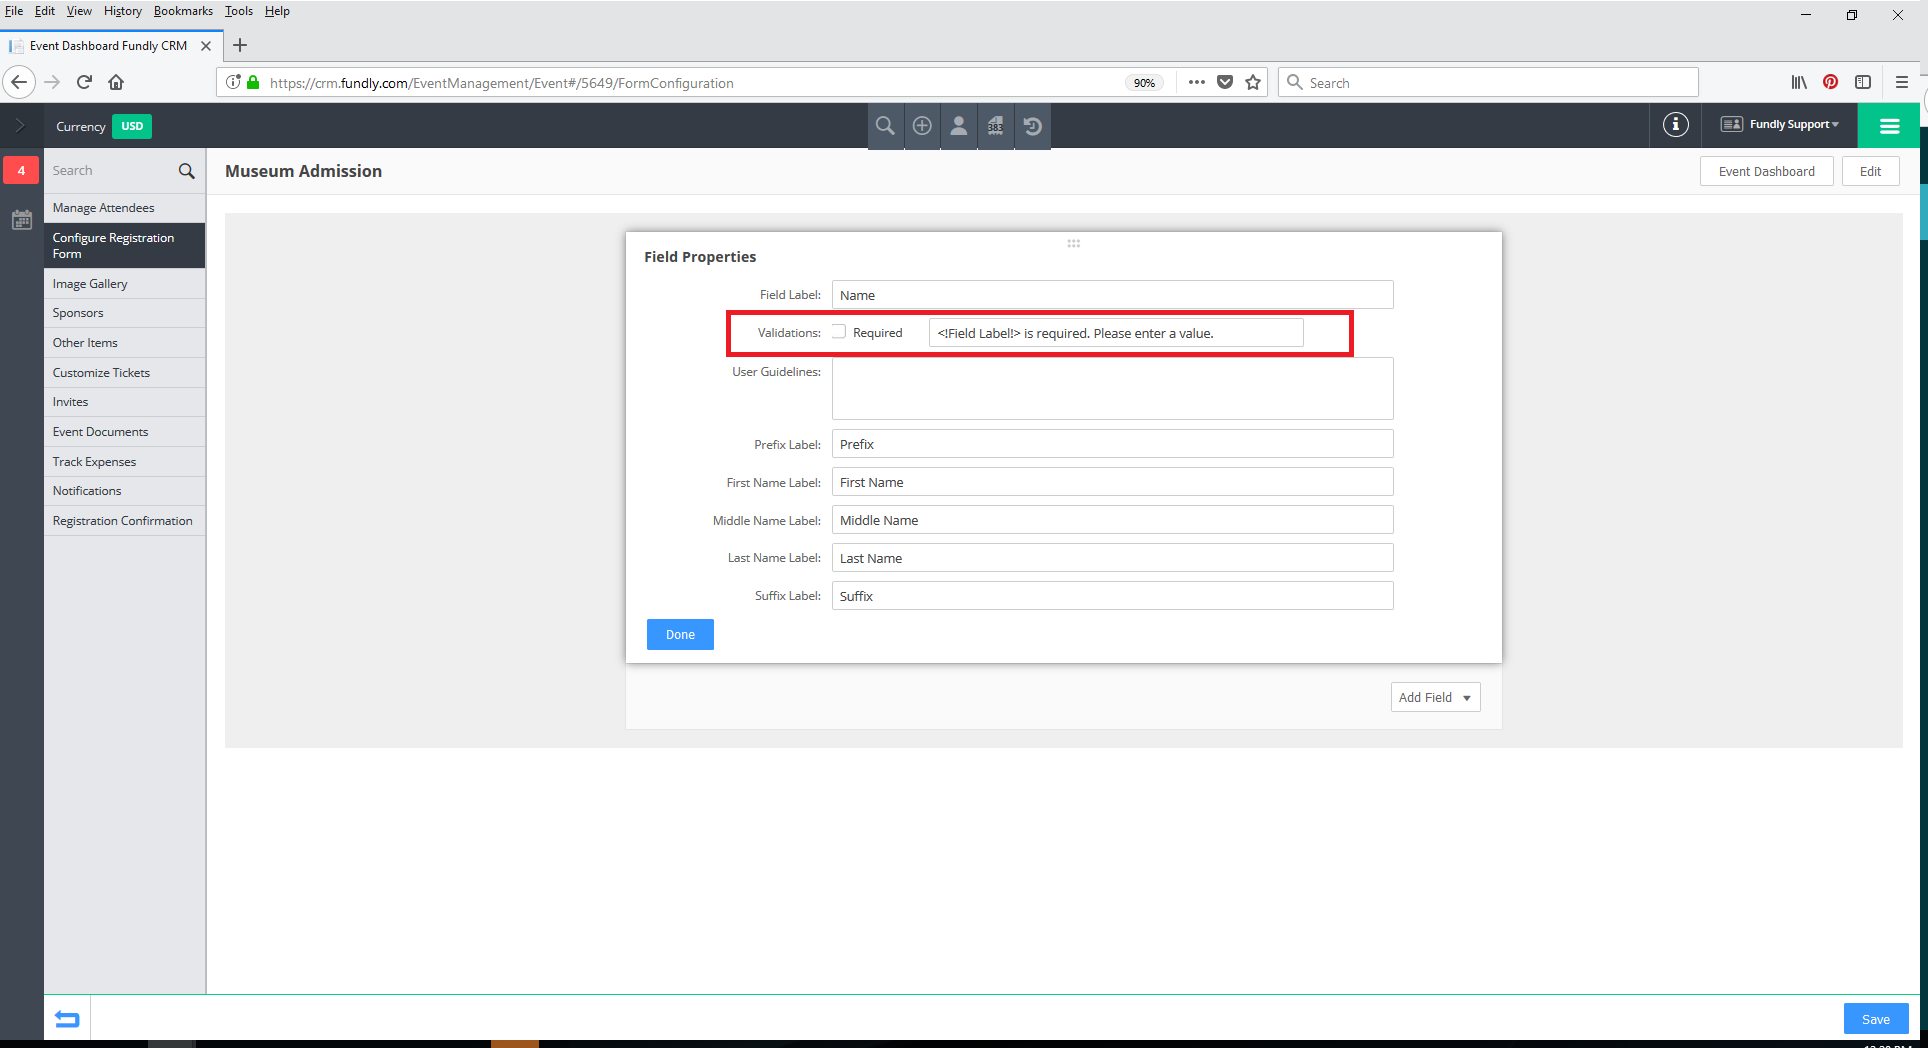
- You will also be able to indicate validation options for fields, depending on their type, such as making them required.
- To help provide guidance to online users, you can use the User Guidelines fields to provide instruction on how to complete the field. This information does NOT show on your website and is only for internal use.
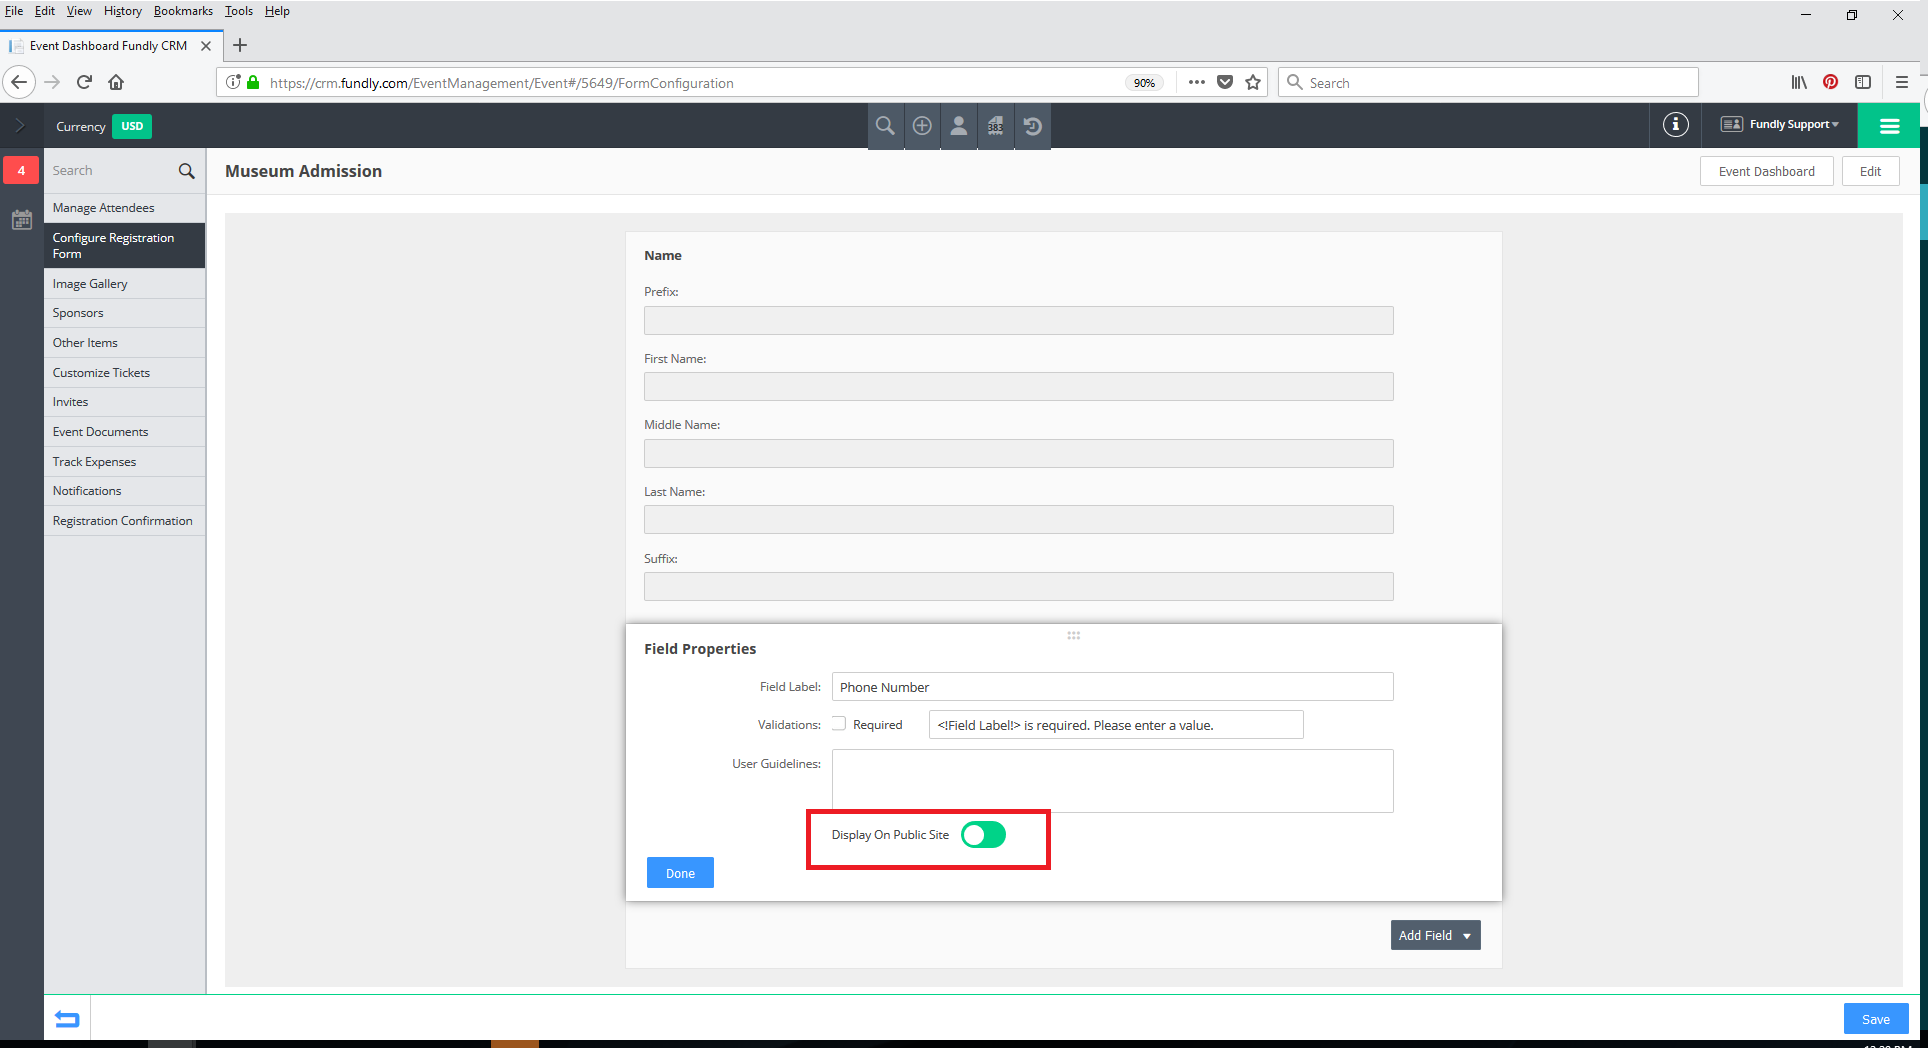
- If you do not wish for a field to be shown on your public site, unmark the Display on Public Site slider. This will make the form available for back-end (staff) data-entry only.
- Repeat steps 6 - 11 above to add more fields to your form.
- A note about adding the individual contact home address field to registration forms:
- The individual contact home address field, by default, will save to the Other Address section unless the user checks the "this is a mailing address" checkbox on the form. In that case, the home address will be saved to the Mailing Address block.
- The home address entered on the form will replace the existing home address on record. The existing home address will be erased/overwritten.
- If contact already has an uncategorized or work mailing address on file, then the one entered via the registration form will replace it and the old mailing address will be moved to the other address section.
- A note about adding the "Attendee relationship to registrant" field to registration forms:
- This field will create a relationship (add an entry to the relationship tab) between the attendee and the registrant. However, a relationship will not be created between the attendee and other members of the household. For example, if Joan Smith and John Smith are both already in your database as husband and wife and marked as being in the same household, and Joan registers their daughter Sally Smith for an event online (and indicates that Sally is her daughter in the "relationship" field), a relationship of parent-child is created in your system between Joan and Sally. However, no relationship is created between John and Sally (even though John is either her father or step-father). Someone on your staff will need to manually create that relationship inside your system/in the contact records.
- When someone creates a new relationship online via their public profile or via an online event registration, the system will email your system admin, alerting them that there is an "unclosed"/unconfigured household relationship (such as John & Sally) created by the new relationship so that staff can add this missing information.
- A note about adding the "Organization Info" field to registration forms:
- When attendee is an individual, the Organization Info section will pre-populate when the contact's employer, if any already on their record (this only applies if user is registering online and is logged in or when adding attendees through direct entry/from the back end).
- The system will ONLY load/show the first employer on the contact's record. If contact has two employers, only the first will show/populate the form fields.
- If you make any changes to the organization's name, it will create a NEW WORK INFO ENTRY (and a new organization if the name changes don't match any existing record in your system). For example, if the employer shows as "Acme Co." and you change it to "Acme Company" that will create a whole new (and duplicate) organizational record.
- If you make any changes to the organization's address, a new organization address will be created. For example, if the address is currently "19 Main St., Concord, NH 03303" and you change "Rd." to "Road" in the address, that will create a whole new (and duplicate) address on the Organization's record.
- In short, you CANNOT make any edits to the organizational contact record from the event registration form. Those changes need to be made on the org contact record directly and then will reflect in the event registration form.
- When attendee is individual and added any information to the organization info fields, the organization name will become required.
- In addition to the pre-configured field options, you can create your own fields by either adding custom data set fields or custom fields.
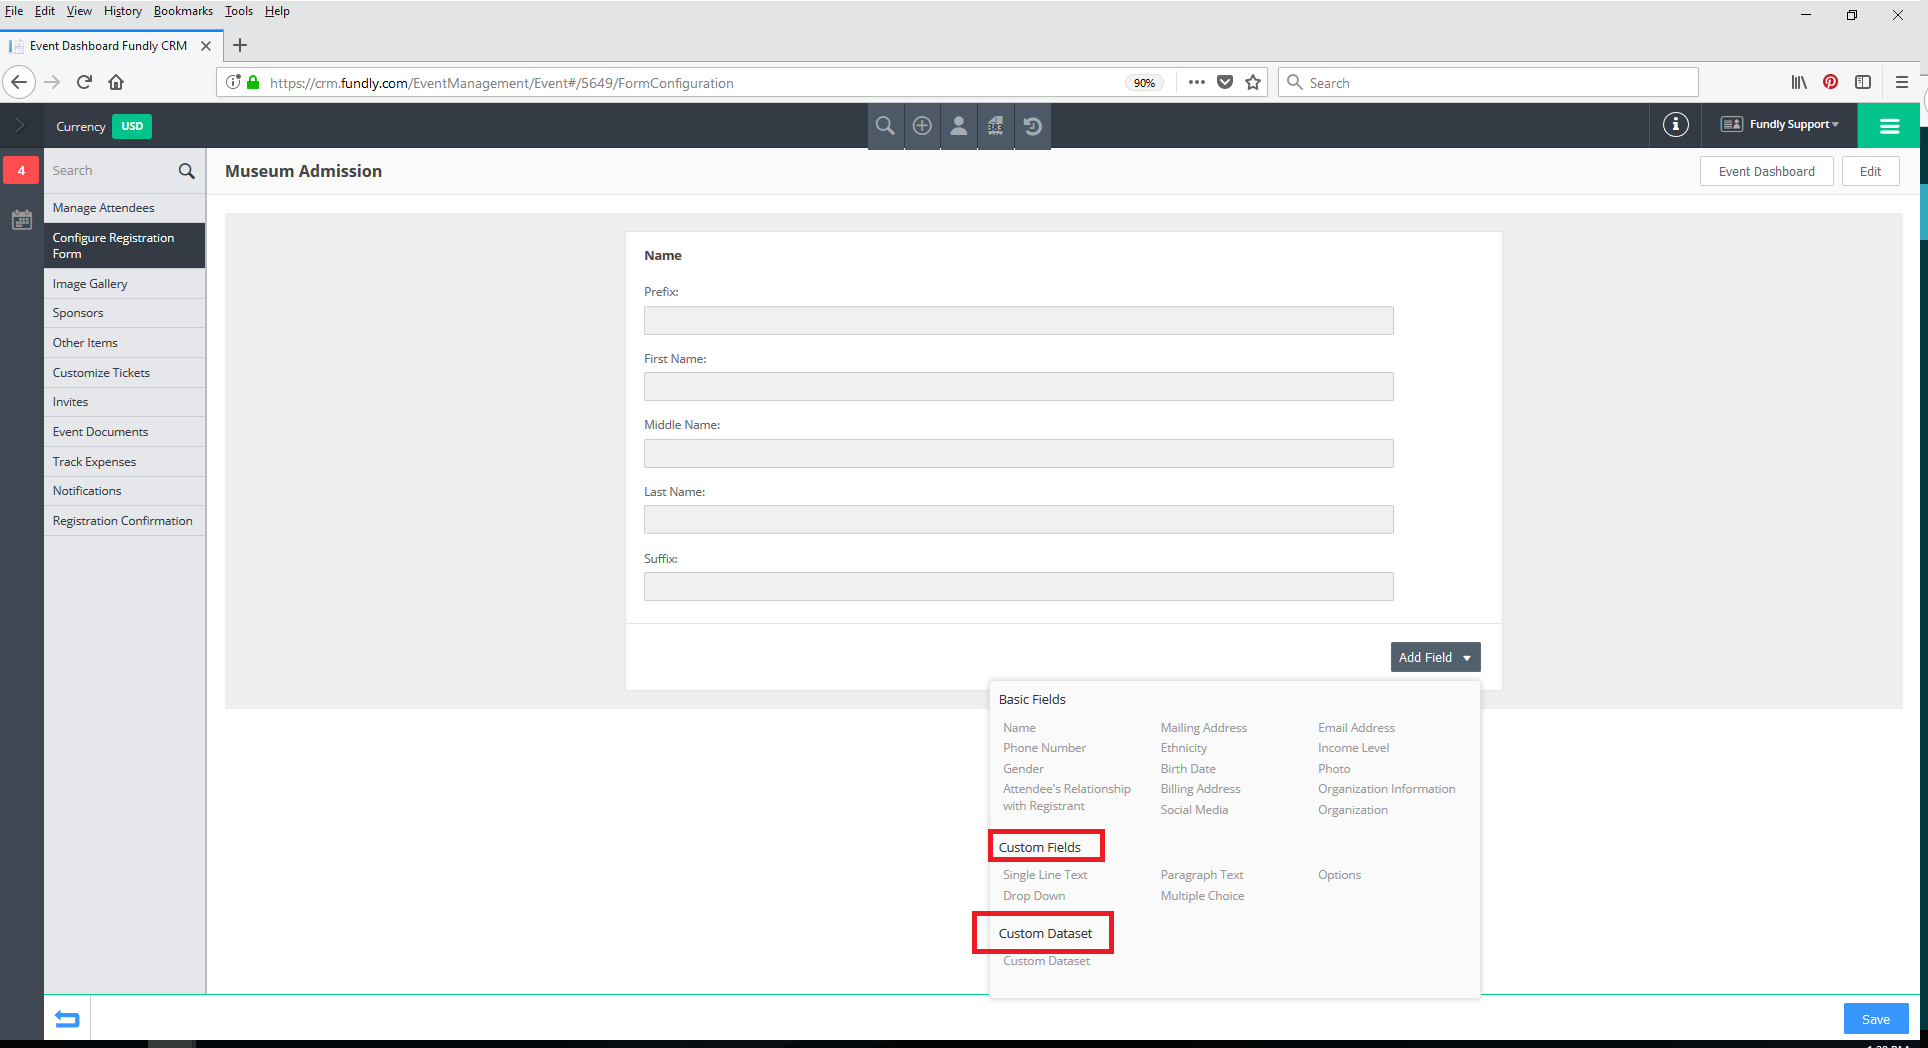
- Custom Fields are fields created specifically just for this event/form and CANNOT BE USED IN REPORTING (the data in them, however, will appear on the attendee export). Custom Data Sets, on the other hand, stay with the contact record and can be viewed when viewing contact records and can be used in reporting. If you are collecting data on a contact that might be used for other events/other purposes, such as the contact's favorite color, then a custom data set would be most appropriate. If you are collecting data that is only relevant to this one event - for example, boxed lunch choice - then a custom field would be most appropriate.
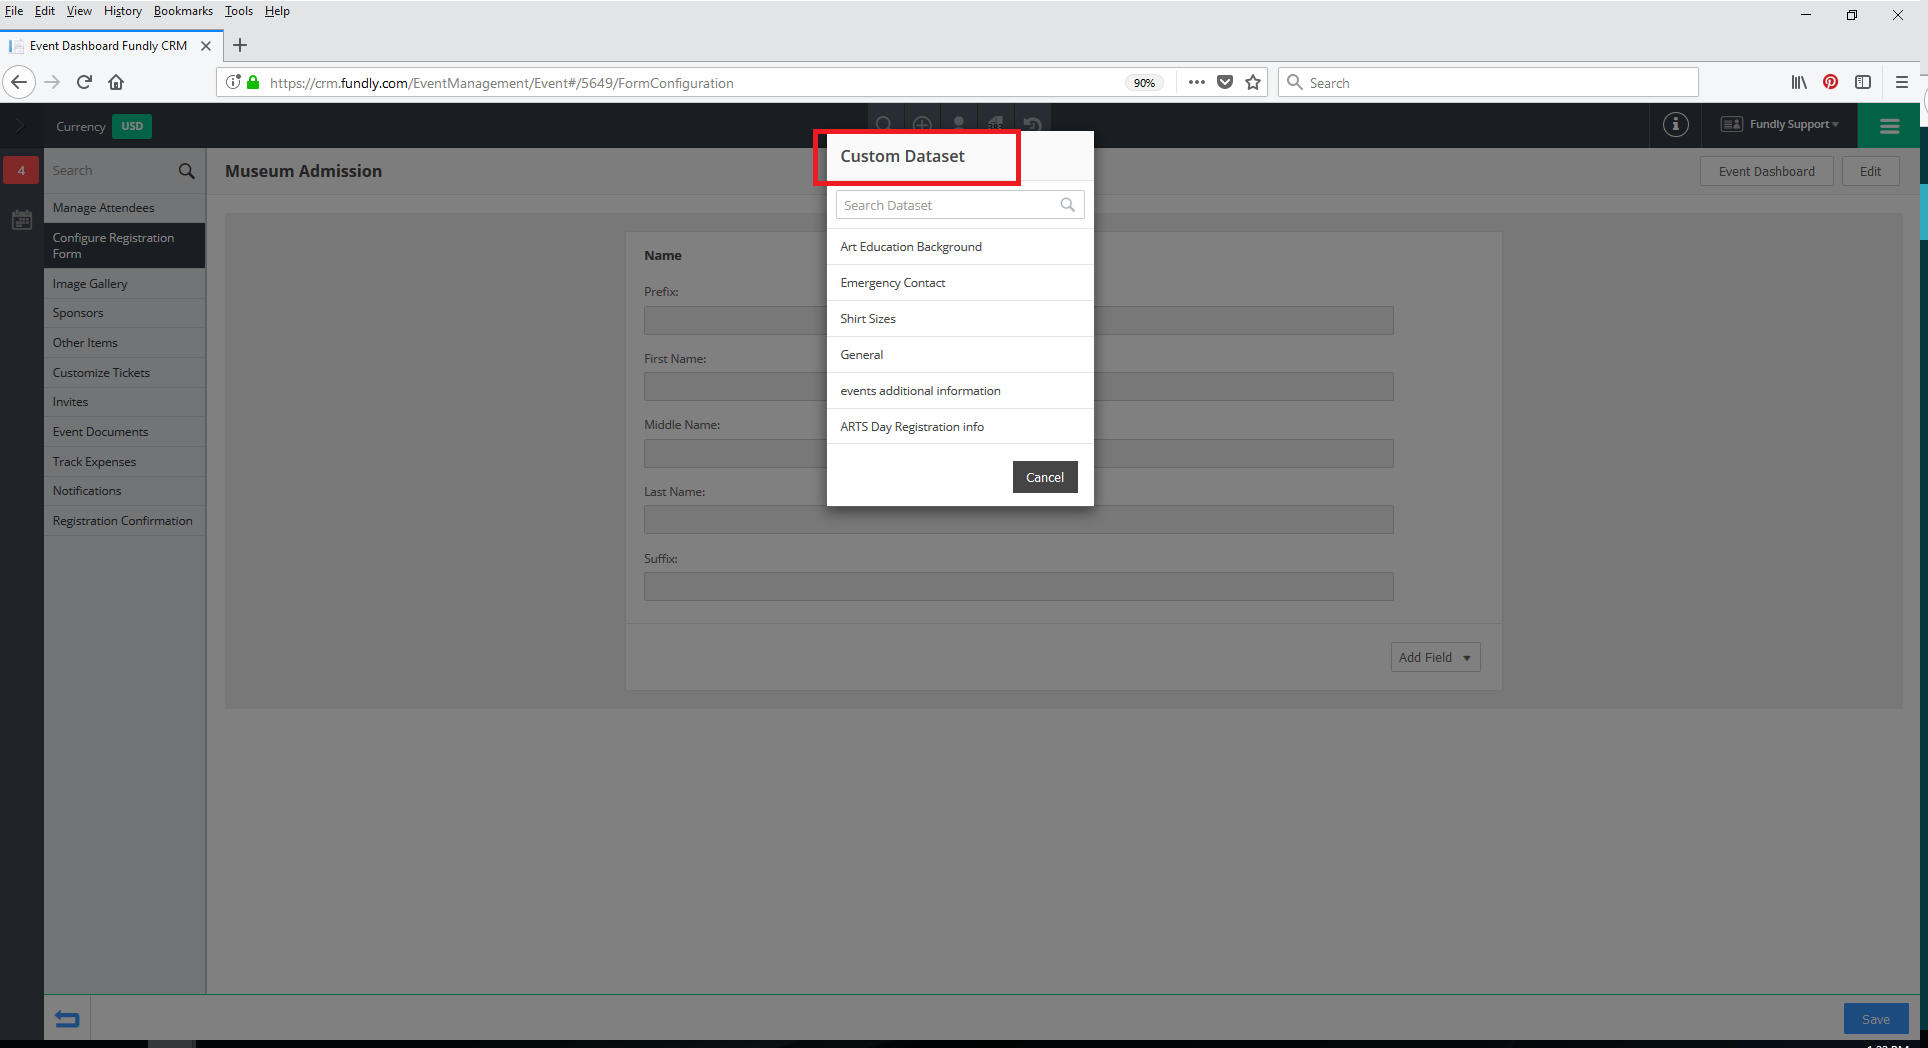
- Choosing Custom Data Set lets you select from your existing, previously configured custom data sets (must be created prior to adding them to the form). To be available, the custom data set must not be associated with a specific contact type.
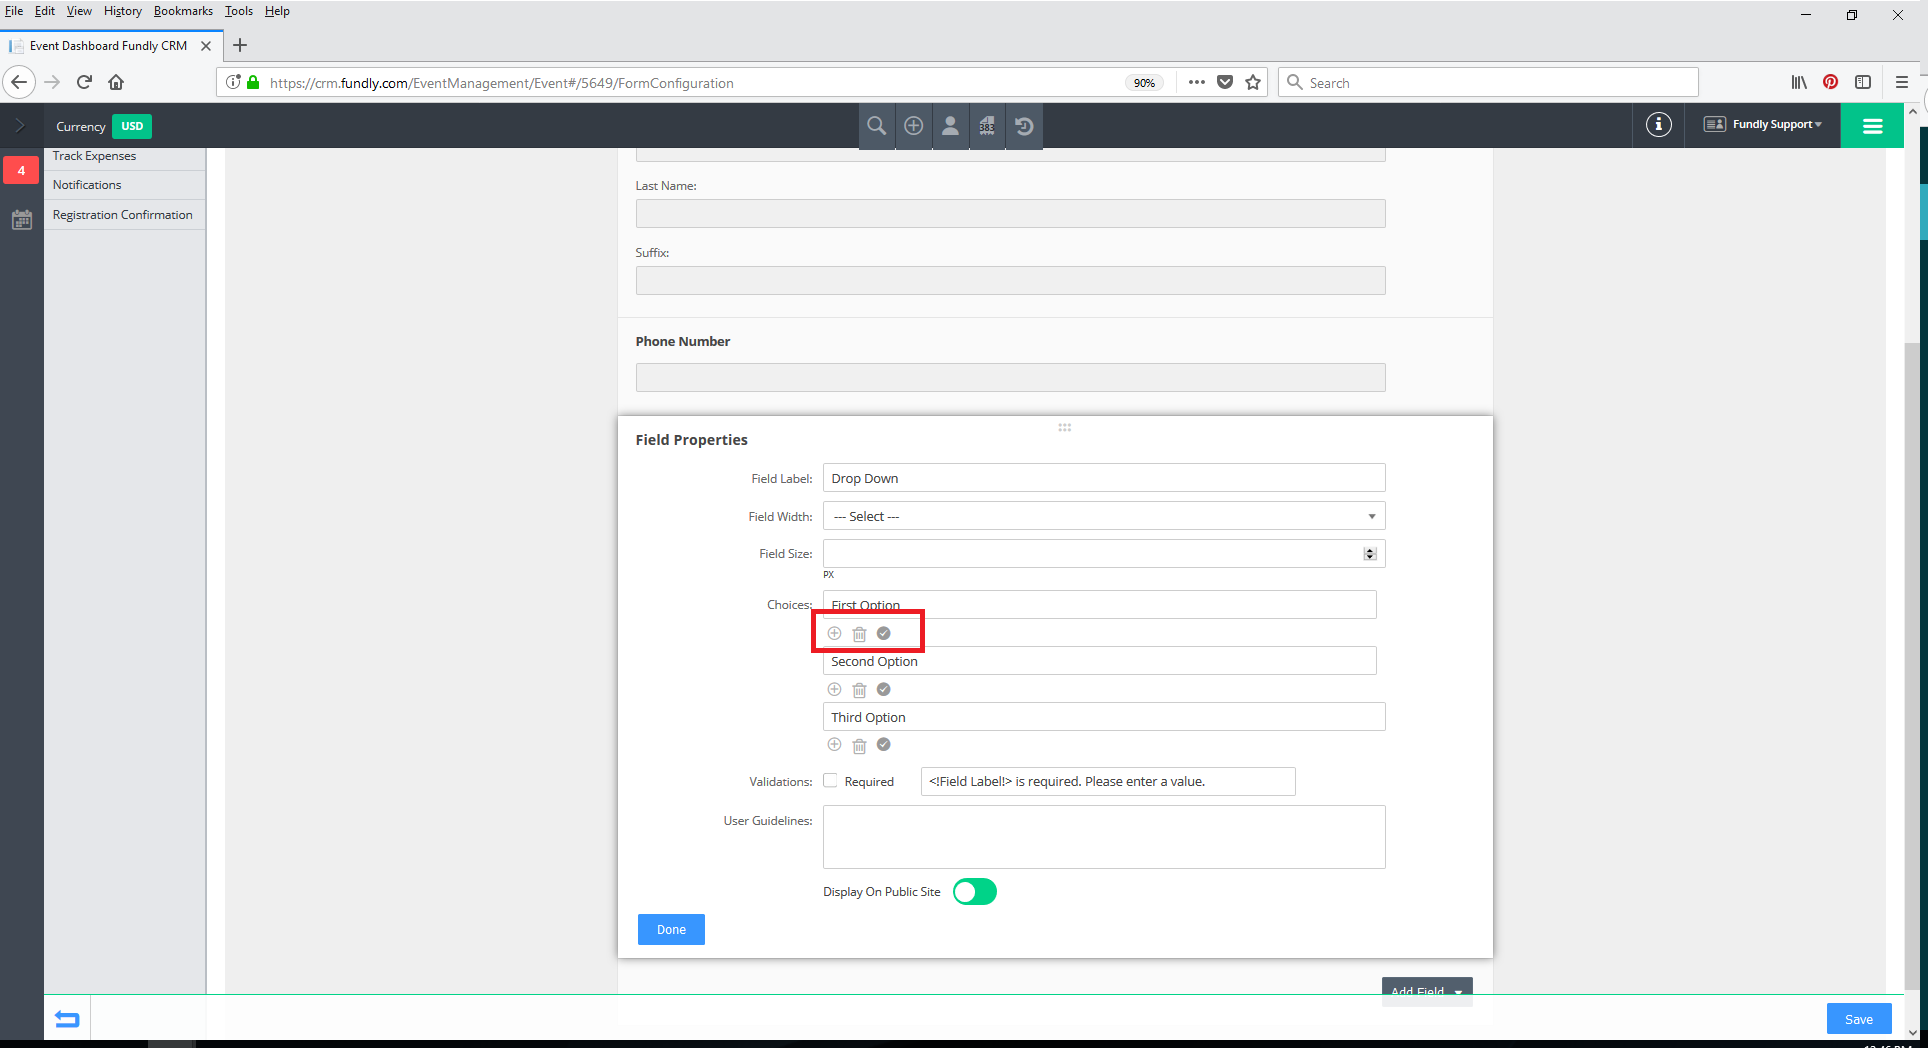
- When creating Drop Down, Multiple Choice, and Options custom field types, you will be able to create your own customized options by changing the text in the label field. Click the + button under an option to add a new option below that one. Click the trash can icon under an option to delete/remove that option. Click the checkmark icon under an option to make that option the default that pre-populates the field.
- To remove a field from your form, hover near the top of the field and click the Delete (trashcan) icon.
- When you are finished configuring the registrations form for the event, click on the Save button in the lower right corner of the screen.
- You can edit your form at any time by returning to the Configure Registration Form screen and editing the fields or adding new ones. Keep in mind that if you remove a field after attendees have already filled out the form, you will lose any data in that field. In addition, you will not be able to convert a custom field from one type to another if there is already data stored in the field (that is, you cannot convert a text field to a multiple choice field if there is data already stored in the field).
Comments
0 comments
Article is closed for comments.