Membership Directory Part II: Manage Membership Directory
- The Member Directory allows users who have integrated their CRM with their website (via Pages or WordPress Plug-In) to publish the names and selected information about their members to their website in a searchable directory [please note: the member directory is not currently supported by website integrative via Morweb].
- This tutorial covers how to add members to the publicly displayed member directory on your website if you have opted to manually approve members for the directory (if you are using Pages to integrate your website with CRM, see this tutorial on How to Add the Member Directory to Your Website to activate the directory on your website).
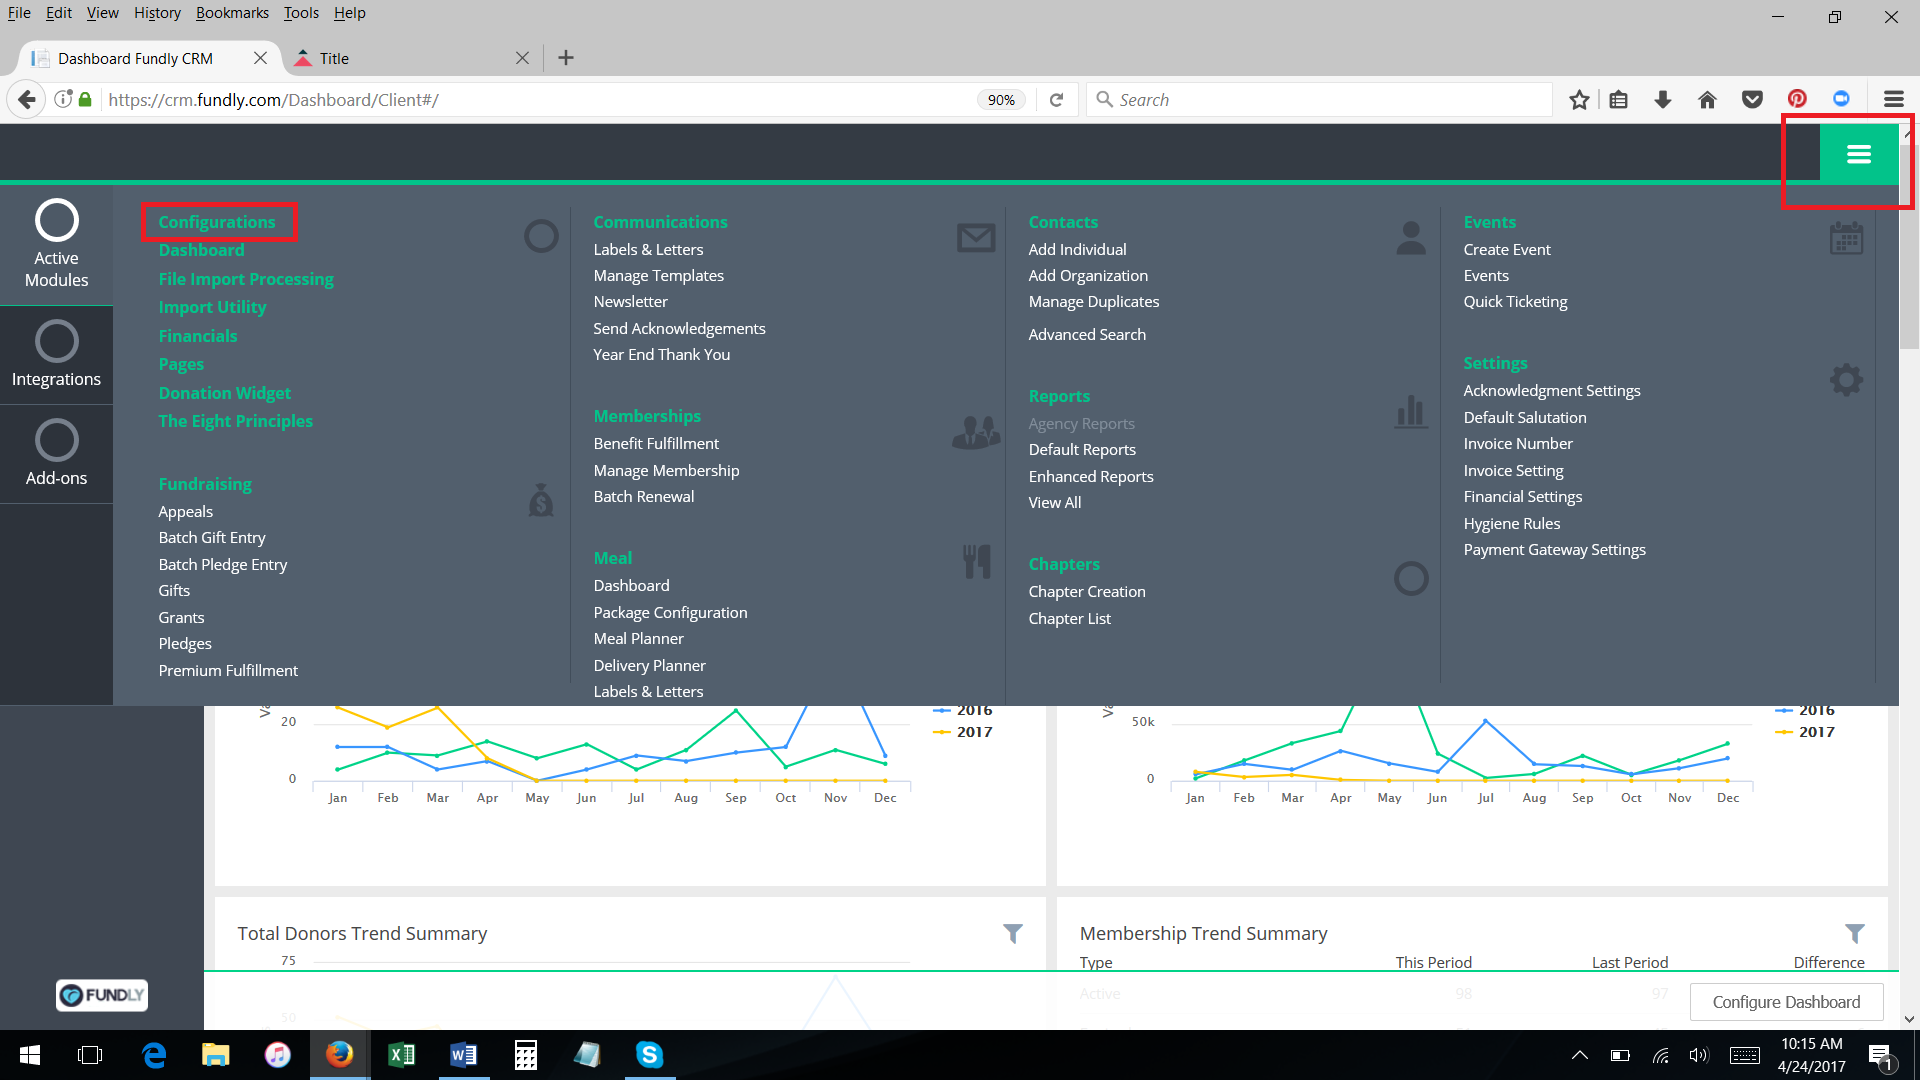
- To manage/approve members who have applied to have their names in the directory, from the Main Menu select Configurations.
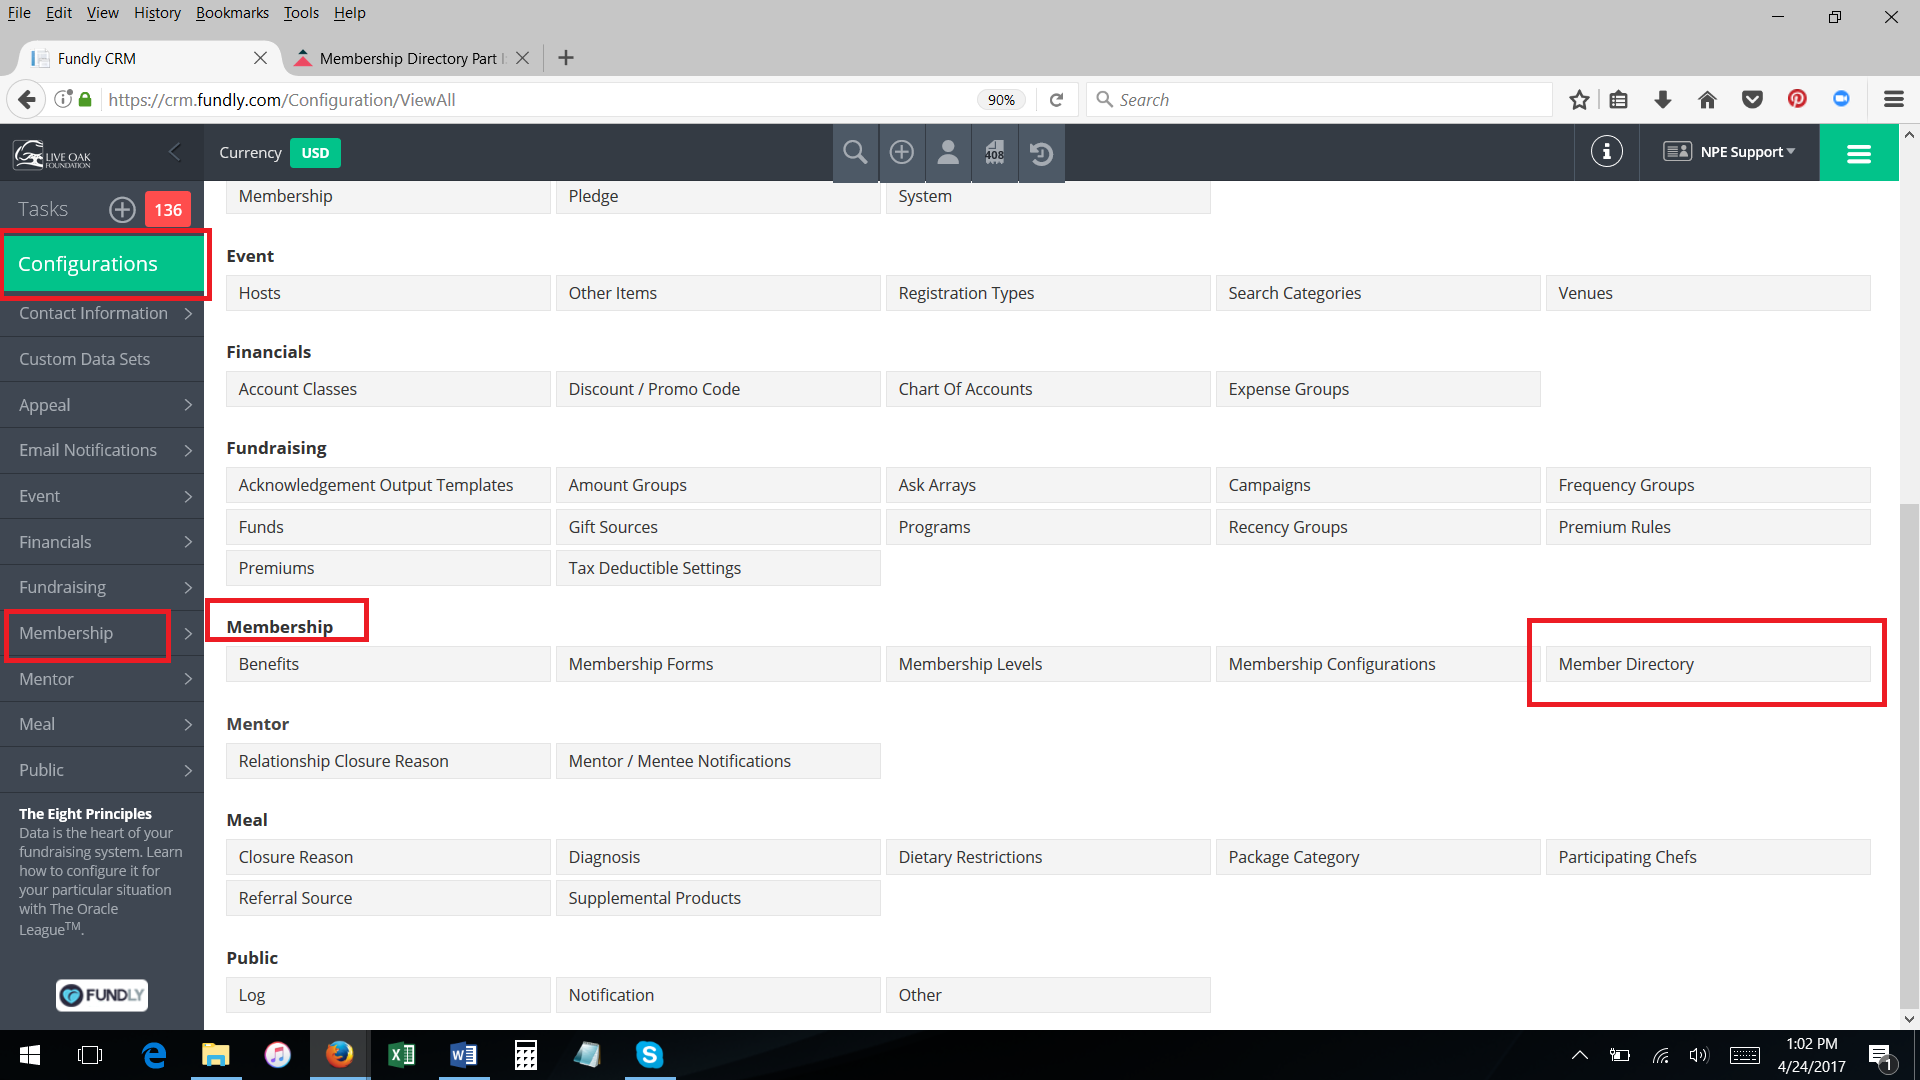
- Scroll down to the Membership section (or select Membership from the menu on the left), and then select Member Directory.
- Select the Manage Directory tab.
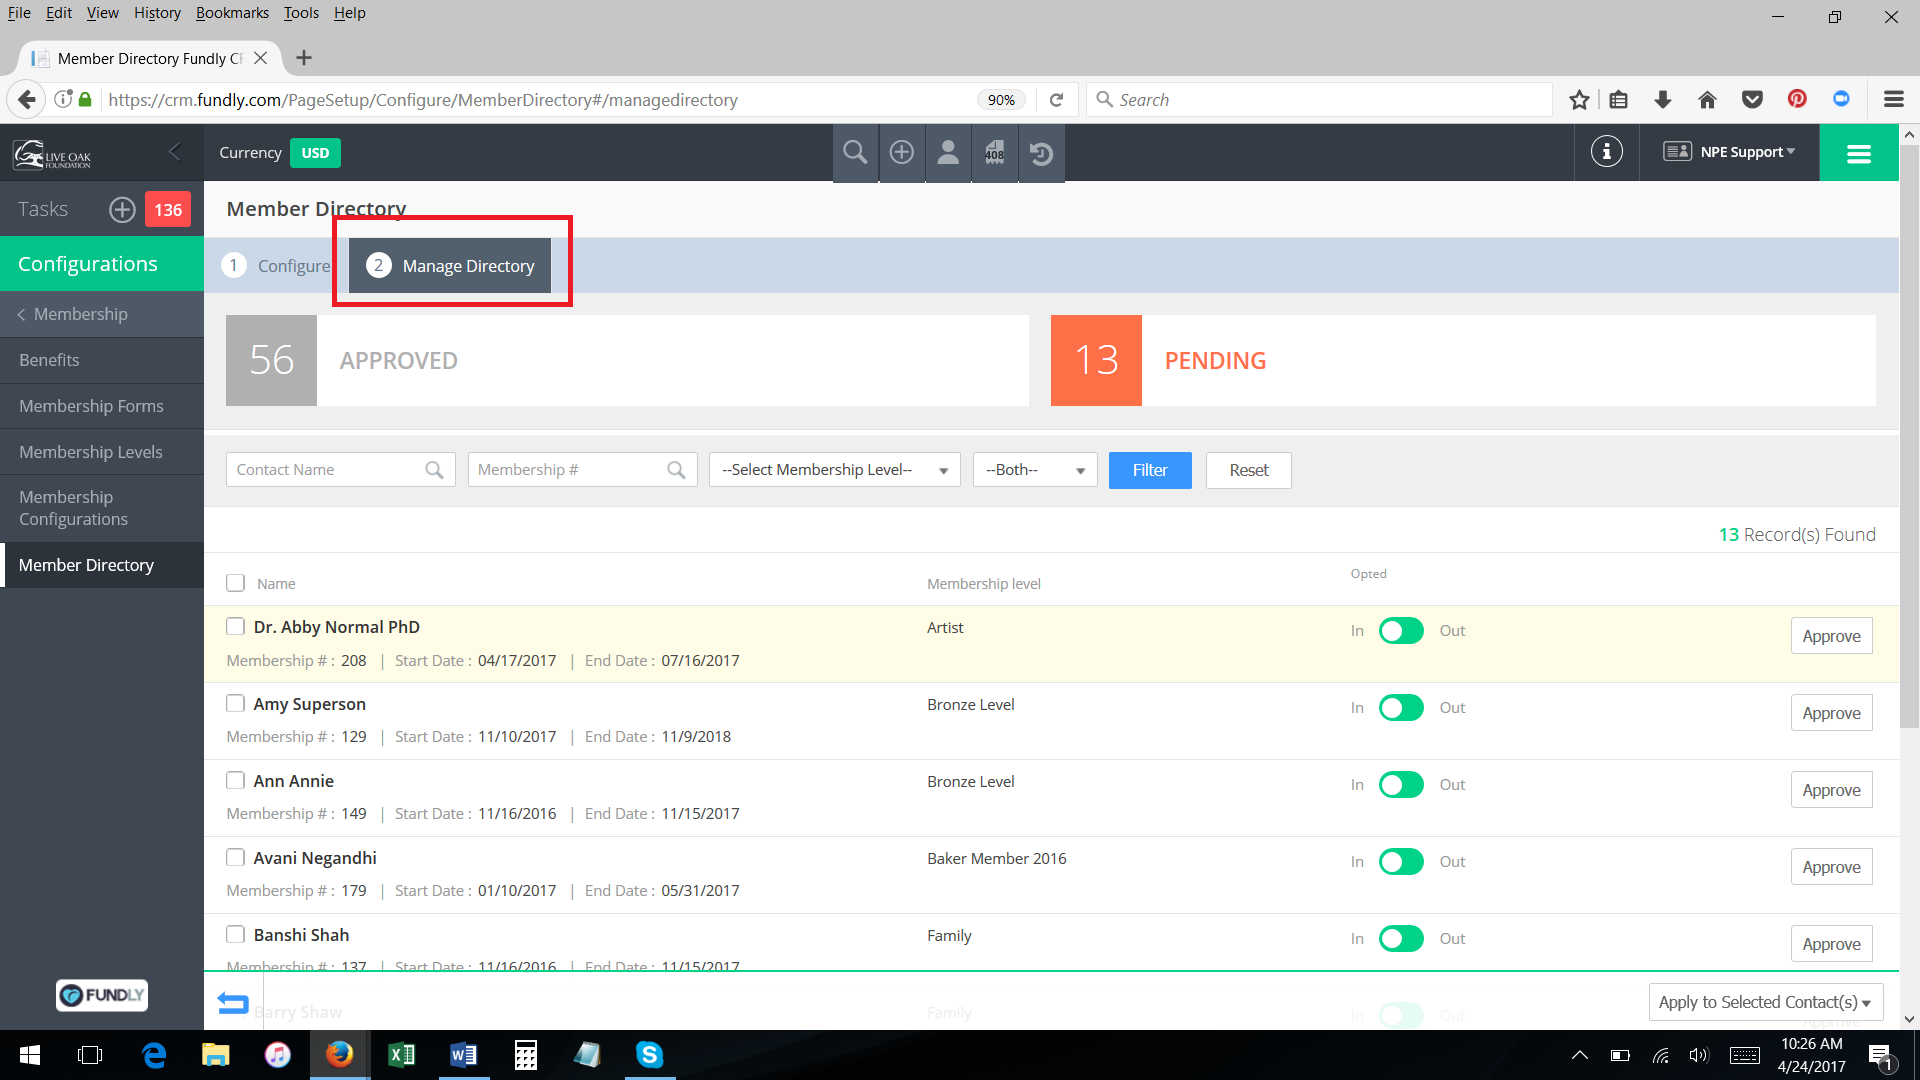
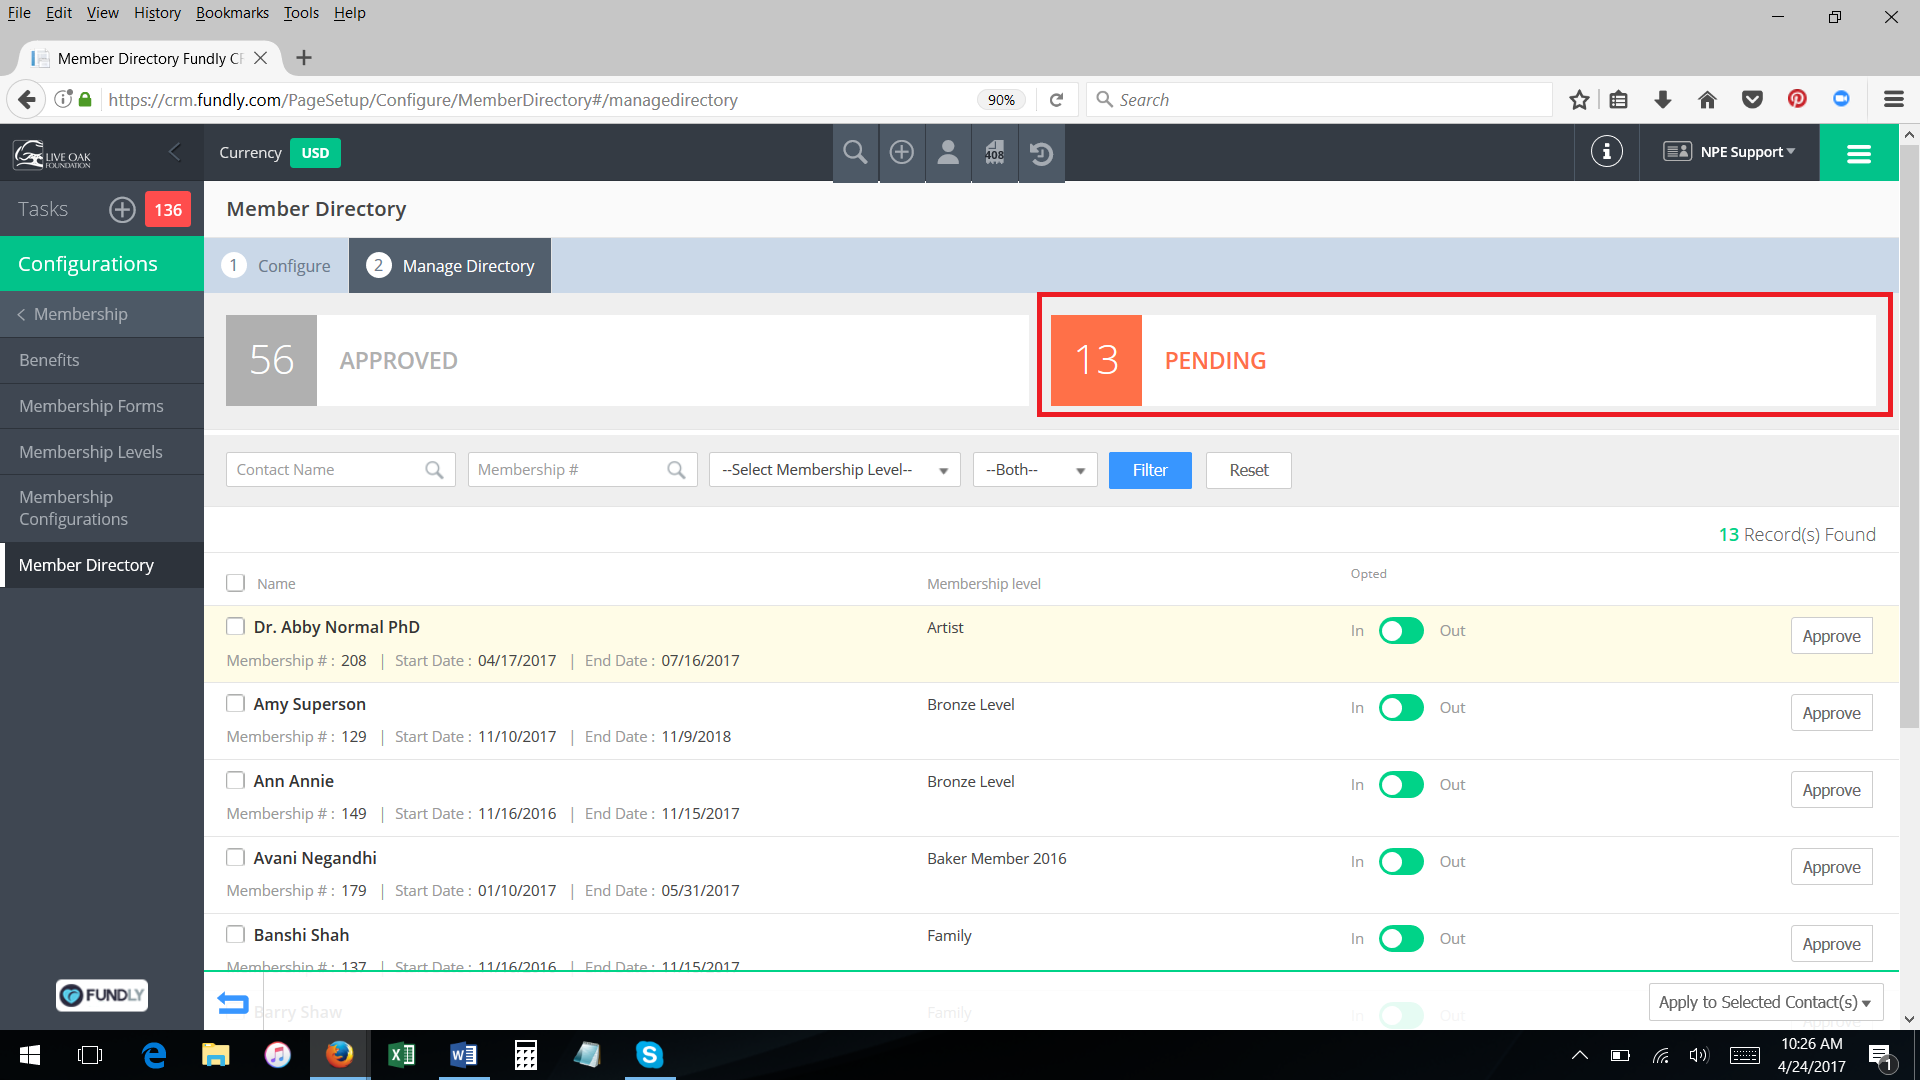
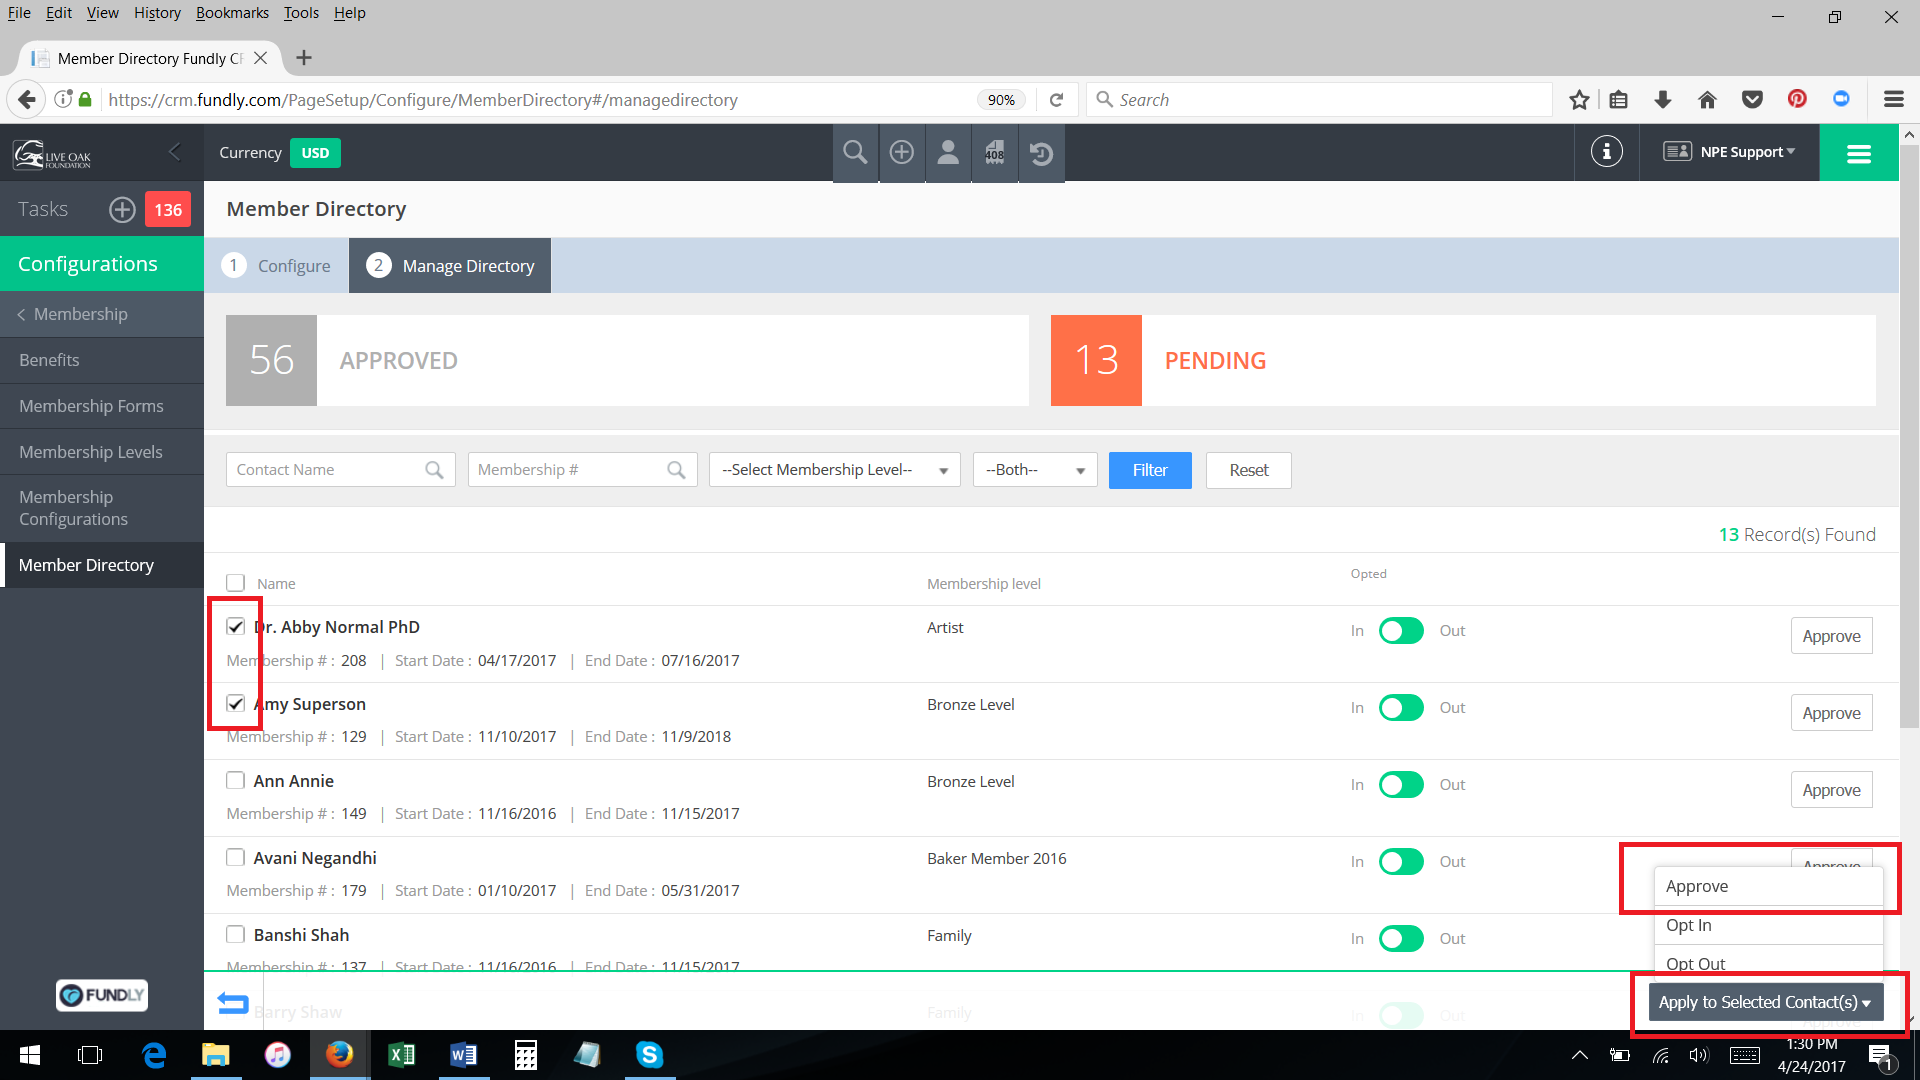
- To approve those who have applied to be in the directory, select the Pending tab.
- For those members you wish to approve for the directory, click the Approve button to the right of each member. Clicking approve will push the member’s information to your website immediately. Please note: this is different than approving a membership, which is done from within Manage Memberships.

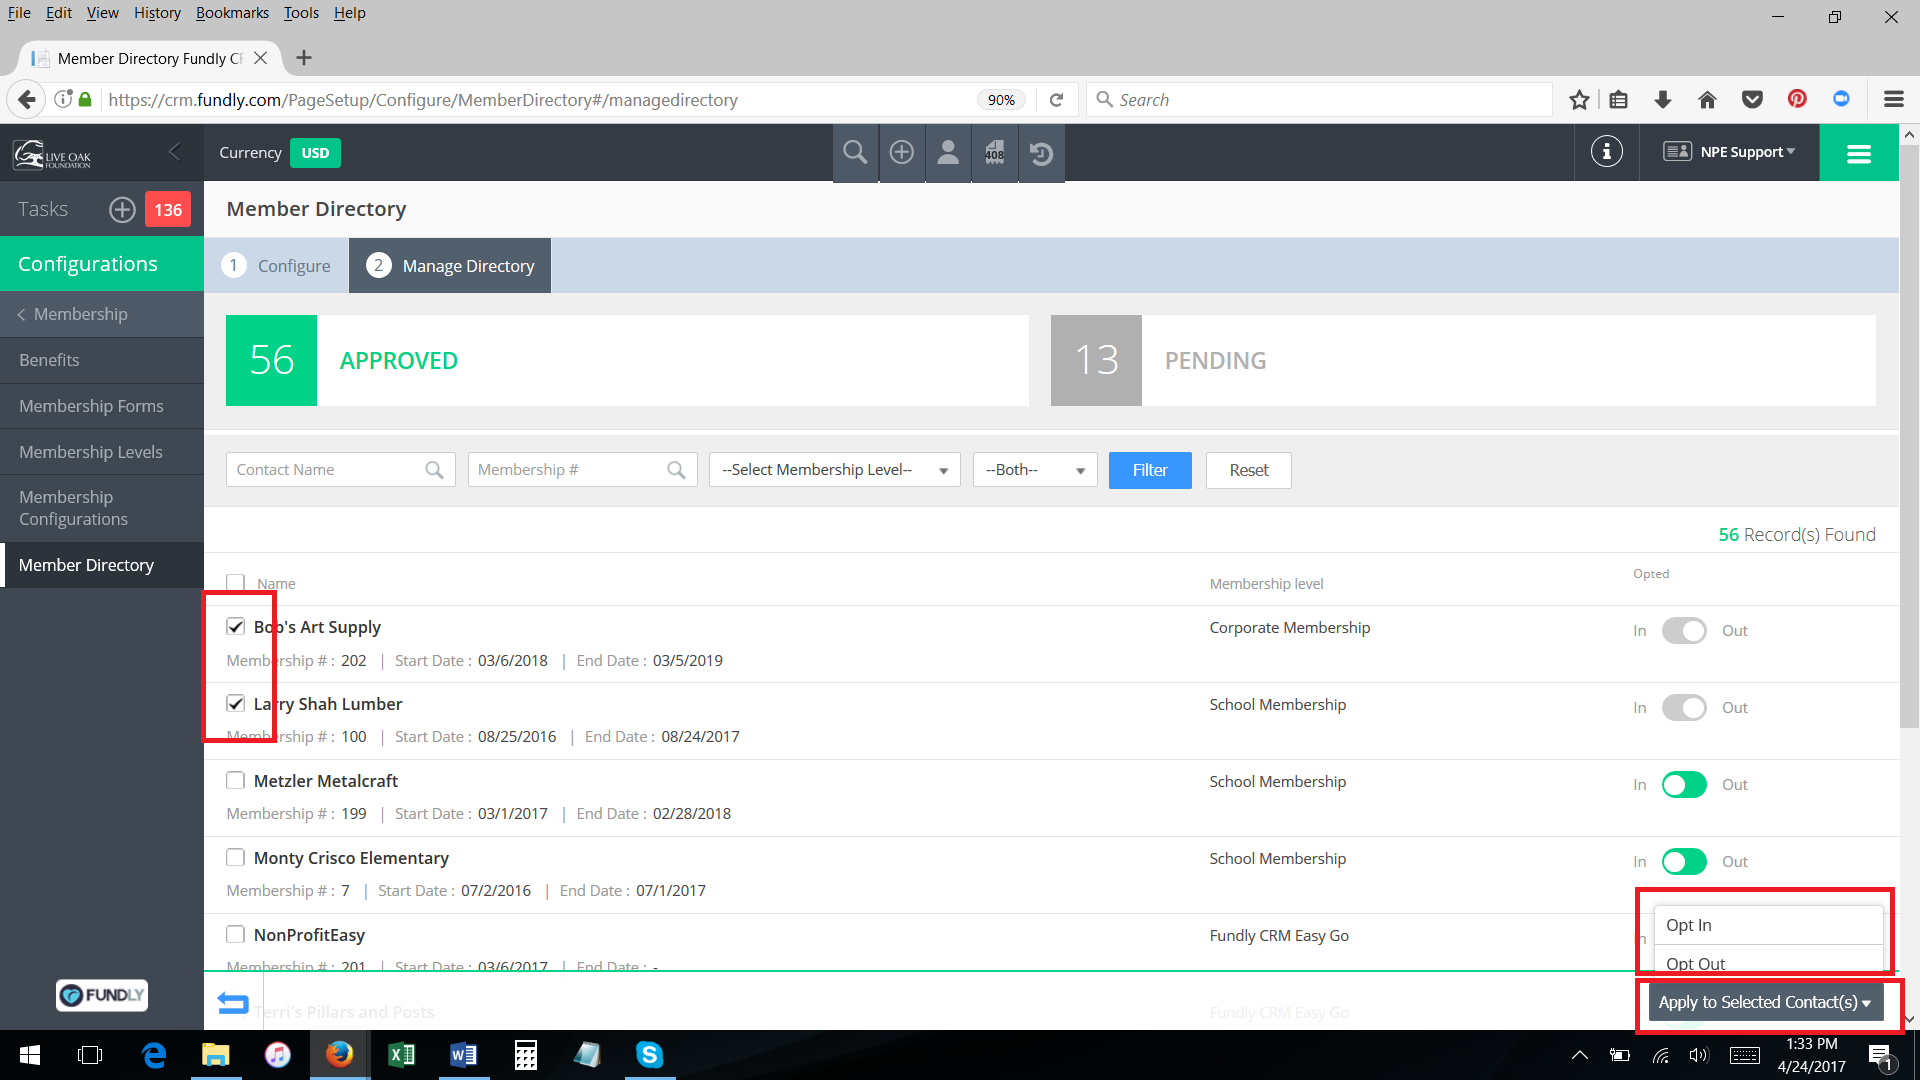
- To approve multiple members at one time, select the white check box to the left of each name, then click the Apply to Selected Contacts drop down in the lower right hand corner of your screen. Select Approve.
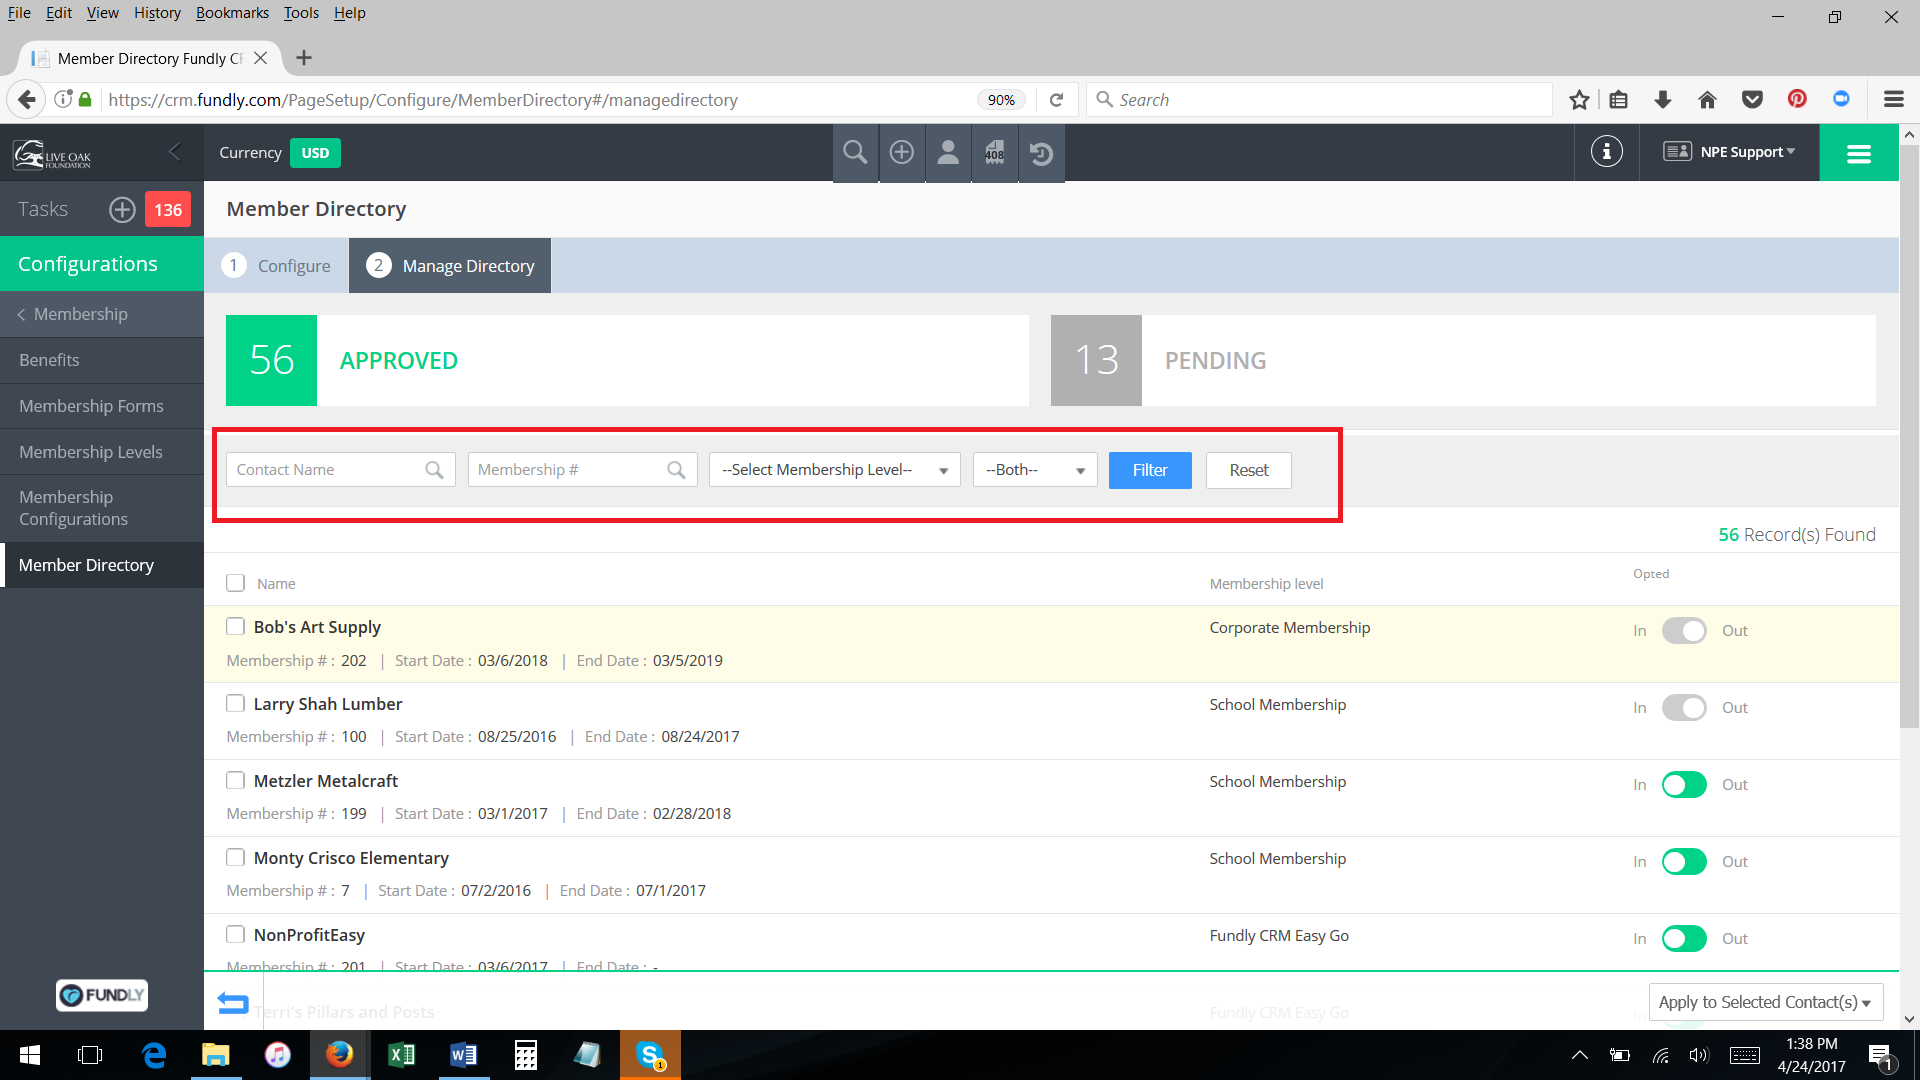
- You can search the list of Pending Directory entries based on contact name, membership #, membership level, and/or opted in status using the filters provided. Simply select the filters you want, then click the Filter button. To remove filters and see the entire list, click the reset button.

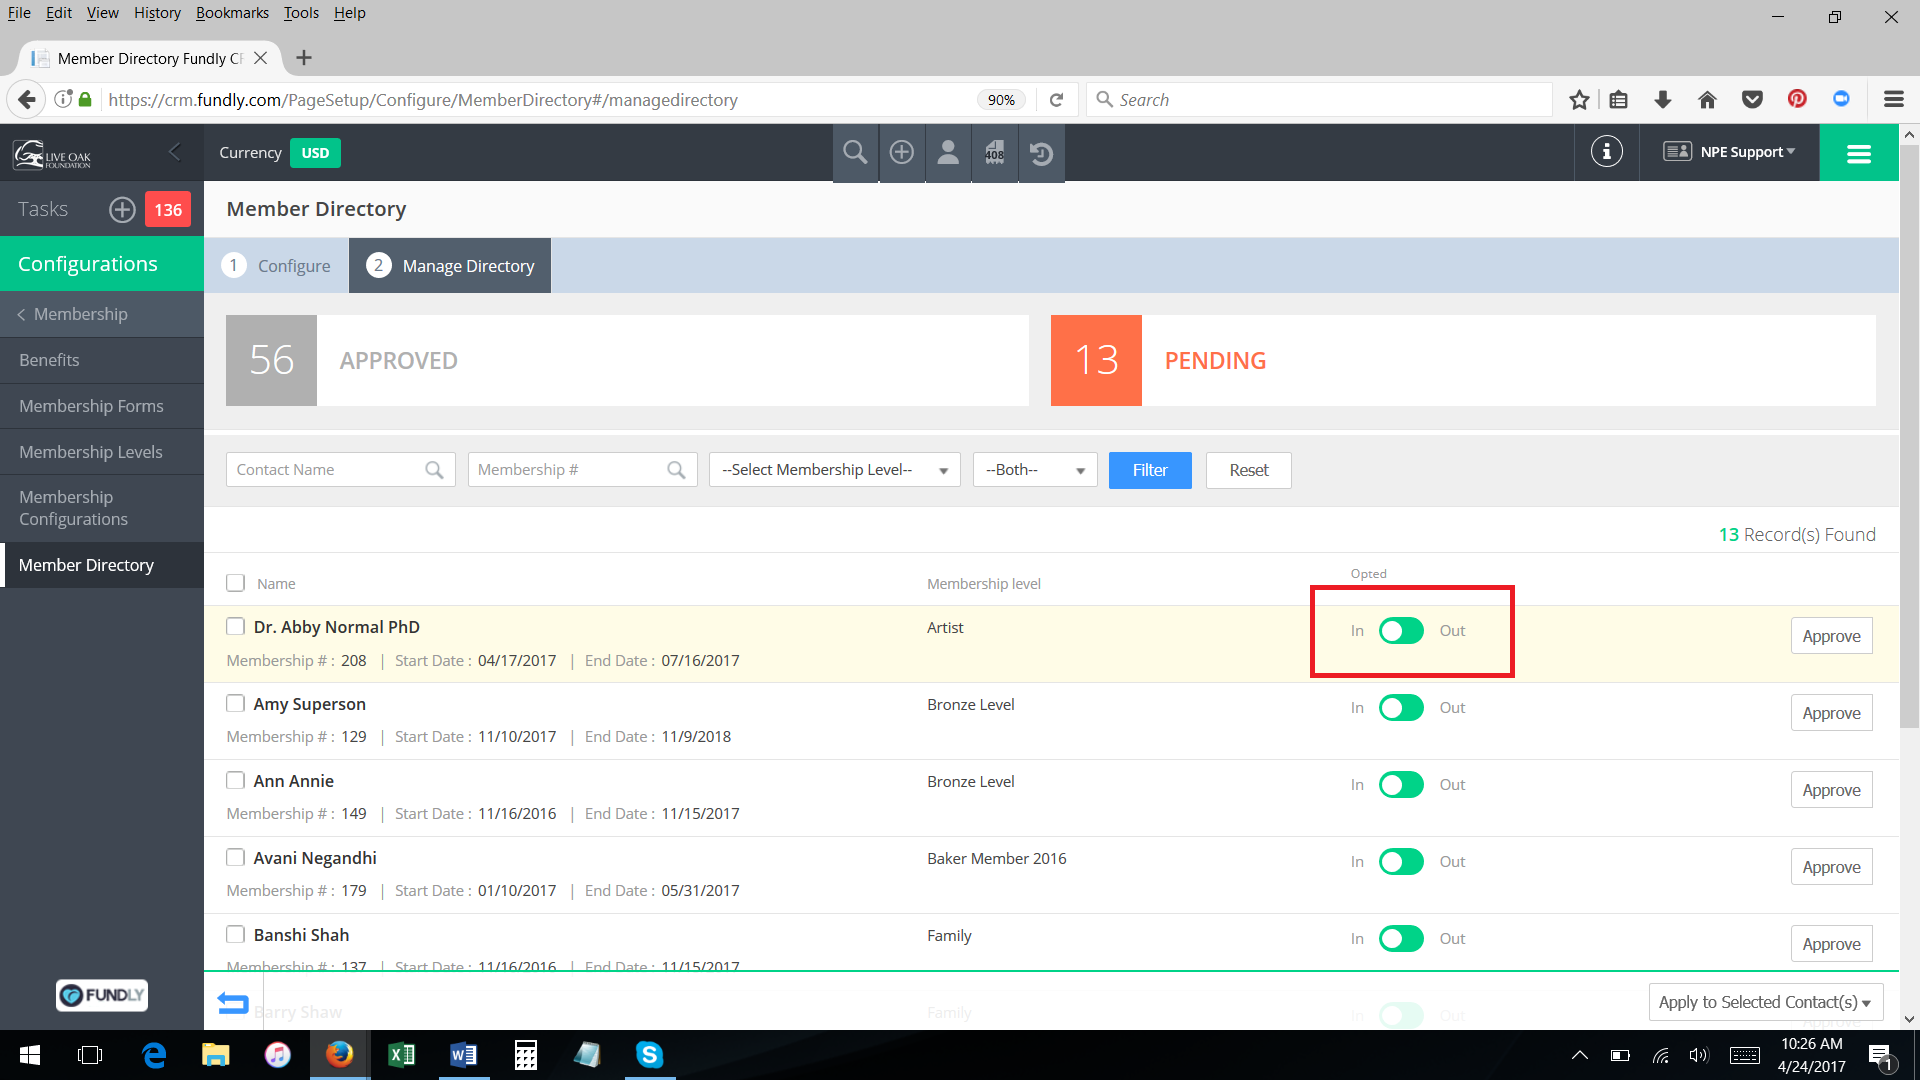
- Opted indicates whether the member choose to be added to the directory or not (Opted In means yes, they want to be in the directory. Opted Out means they do not want to appear in the directory). You can change a member’s opt in/out status by clicking on the Opt In/Out slider or by selecting the white check box to the left of each name and then clicking the Apply to Selected Contacts drop down in the lower right hand corner of your screen and selecting Opt In or Opt Out. Generally, you will only over-ride the member’s preference in the case of the member accidentally selecting the wrong option or if the member initially opts in and then later changes his/her mind.
- There is currently no “rejected” status for the Member Directory. Members who are not approved for the directory simply remain in pending status.
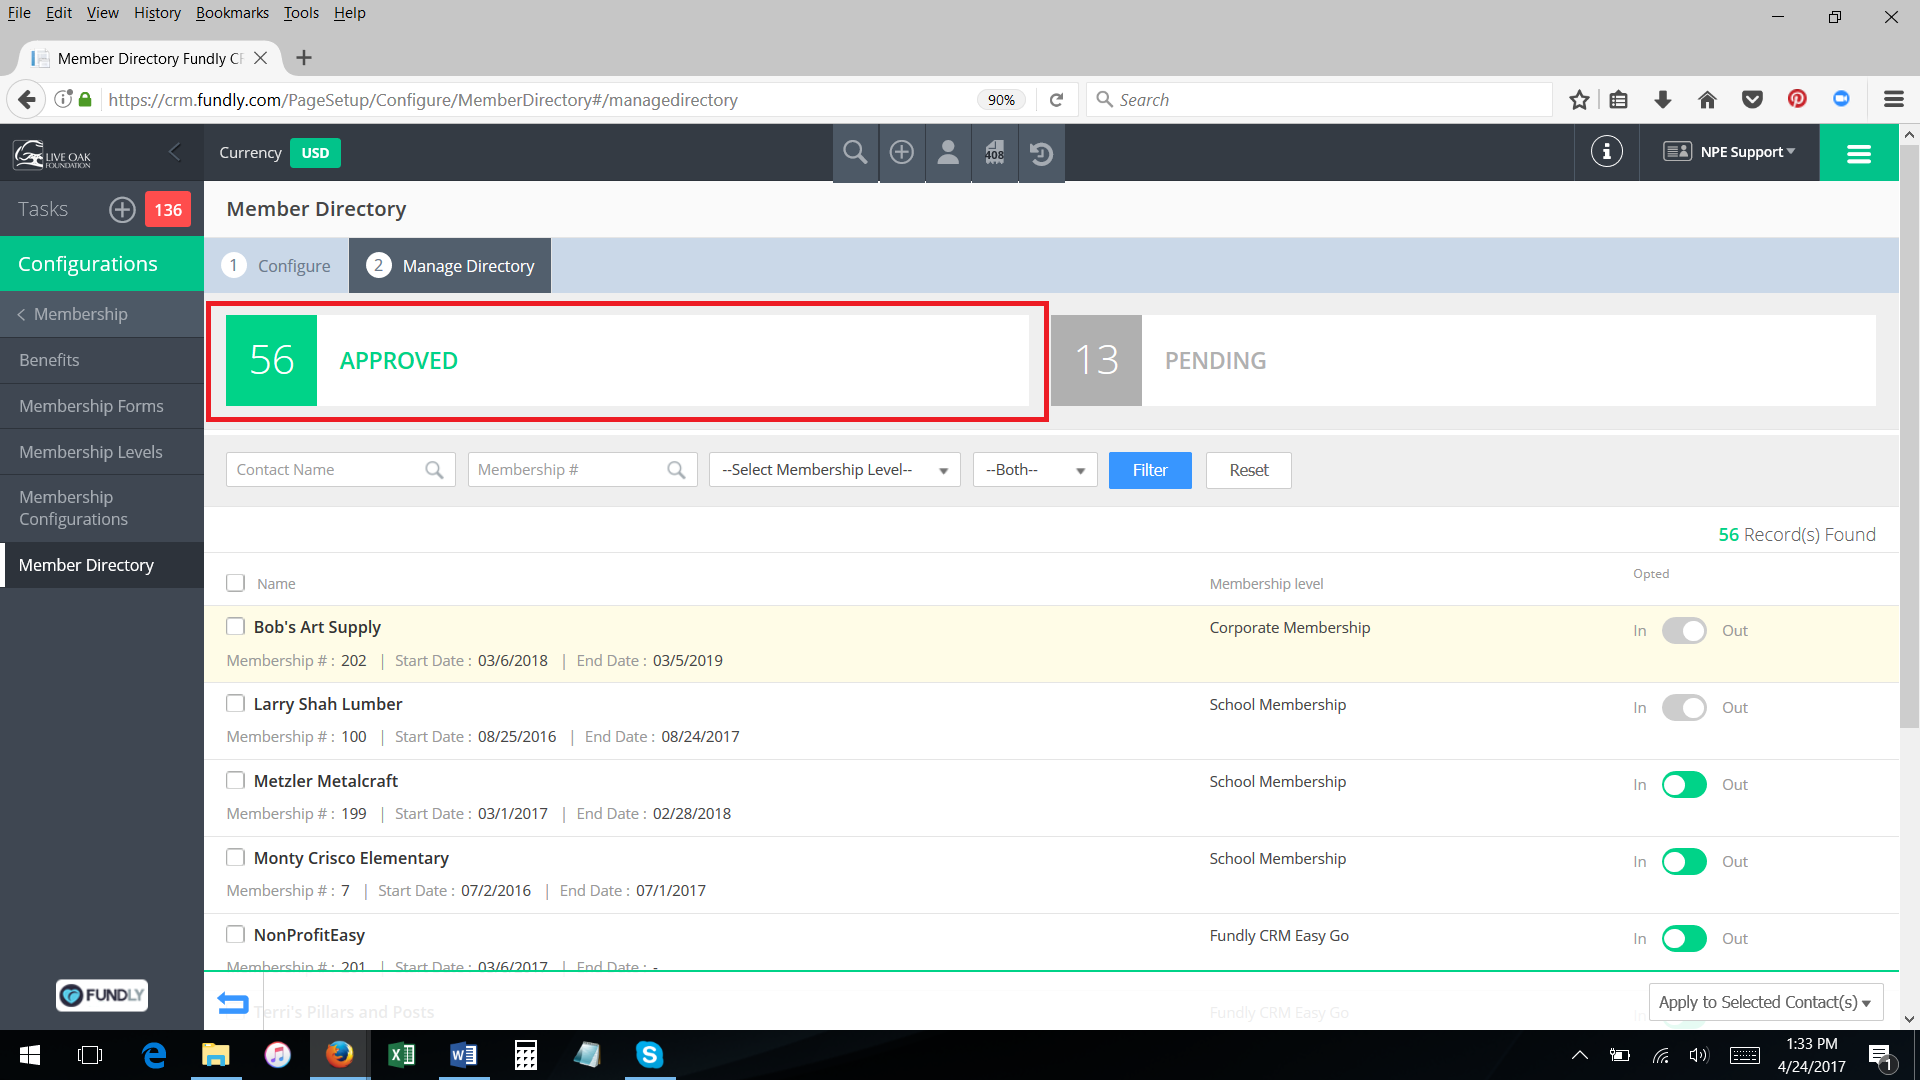
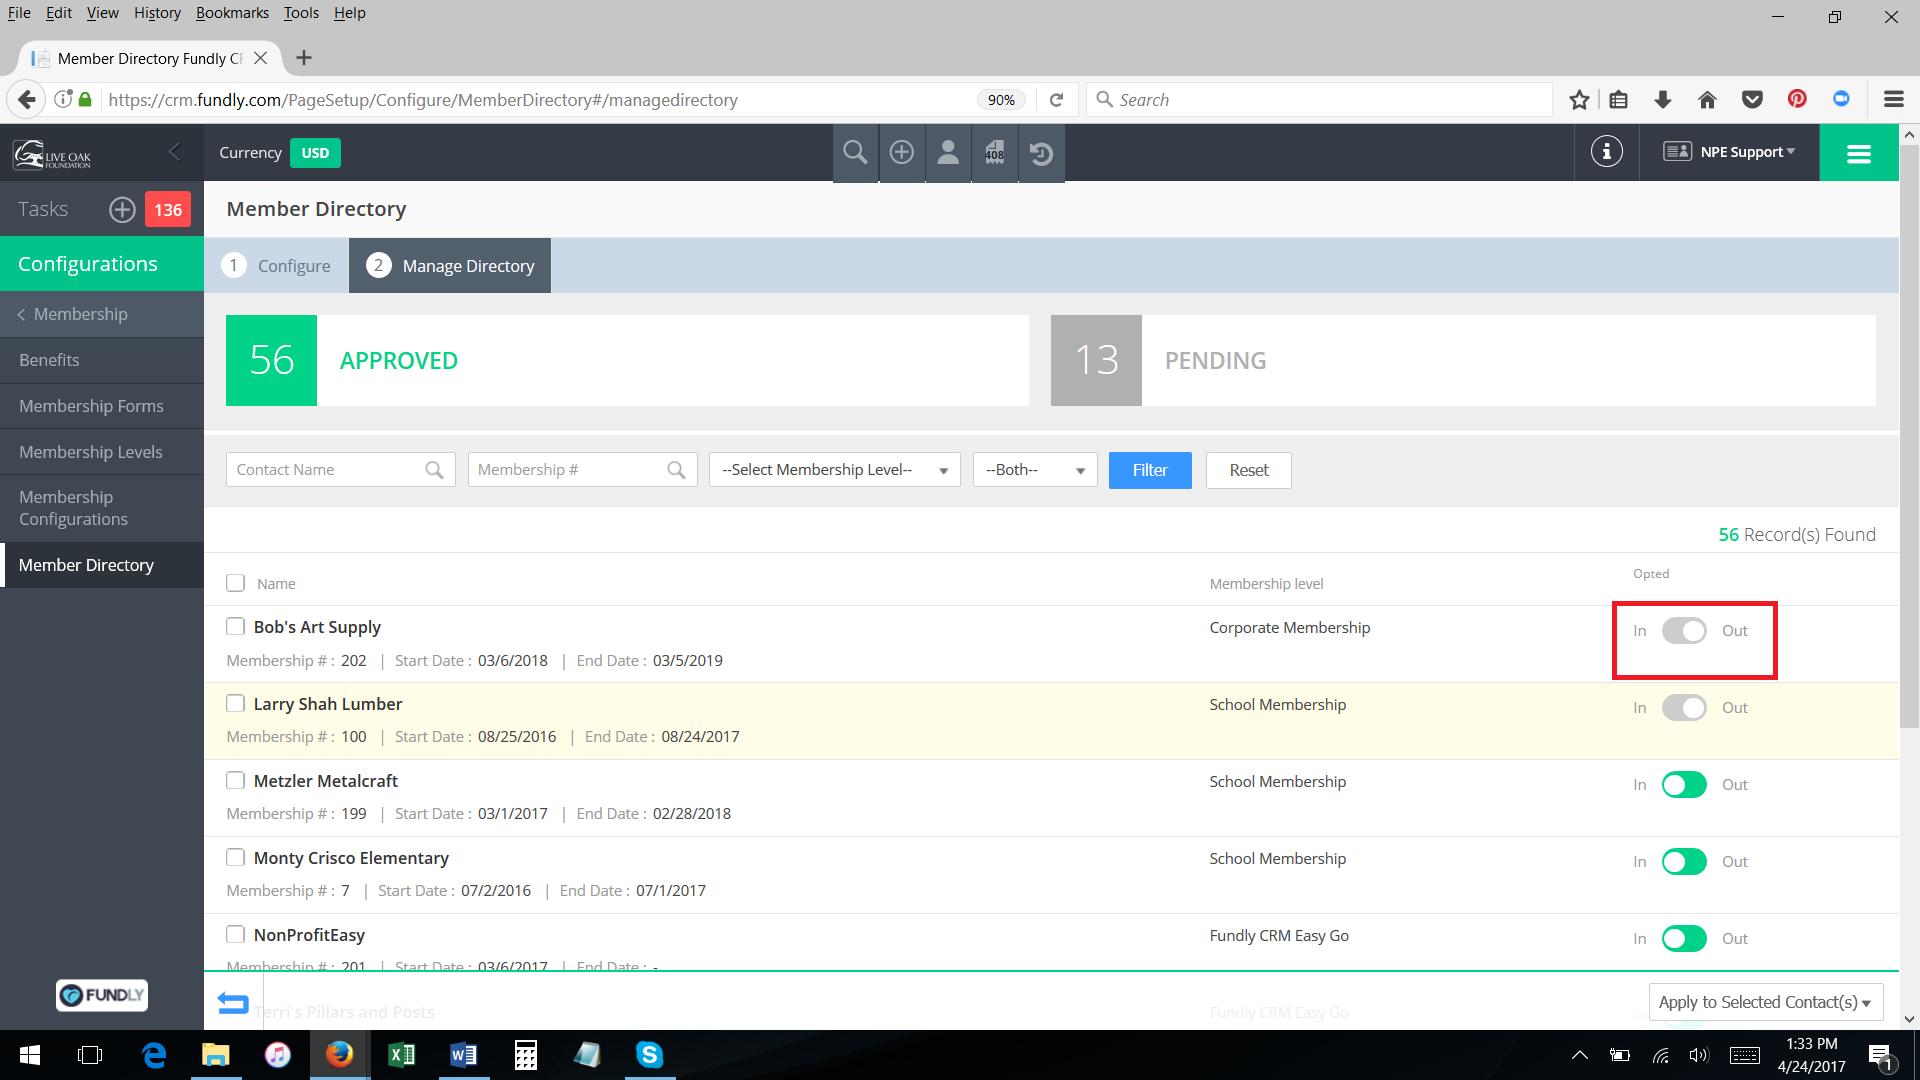
- To remove members from the published directory, click on the Approved tab.
- Change the member’s Opt In/Opt Out status to Out.
- To remove multiple members at one time, select the white check box to the left of each name, then click the Apply to Selected Contacts drop down in the lower right hand corner of your screen, and select Opt Out.
- You can search the list of Approved Directory entries based on contact name, membership #, membership level, and/or opted in status using the filters provided.
Comments
0 comments
Please sign in to leave a comment.