Clients: Add Client
- To indicate that a contact is a meals module client and an approved recipient of home meal delivery, the Client Contact Type must be added to the contact record. This will open up the Meals Module Client Custom Data Set for Data Entry.
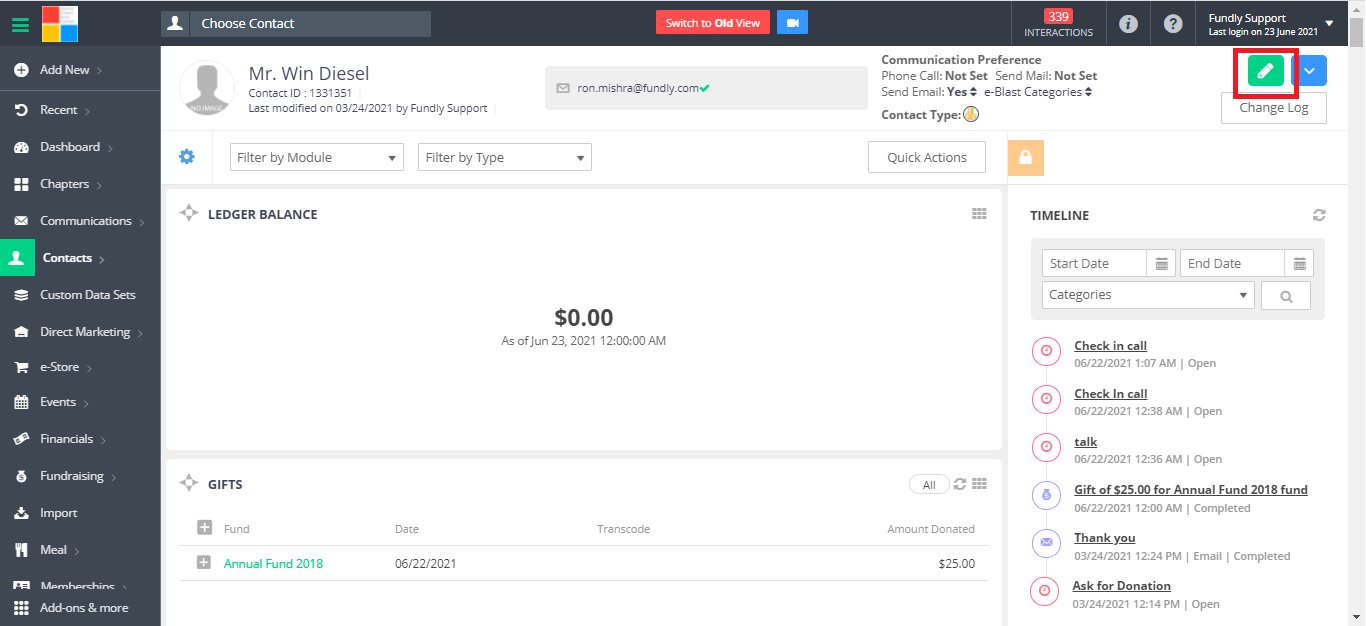
- To begin, find the contact record in your system and open it in edit mode.
- Click the Add Contact Type (“+”) button.

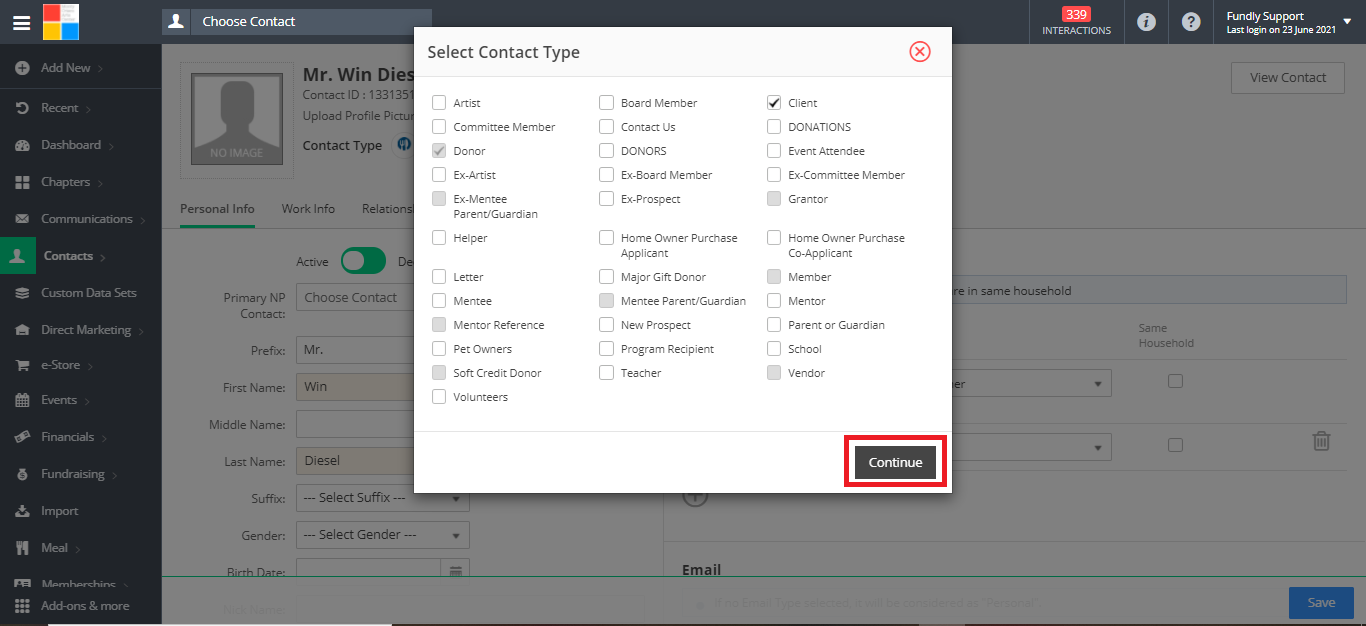
- Check the box next to the Client contact type and then click Continue to save.

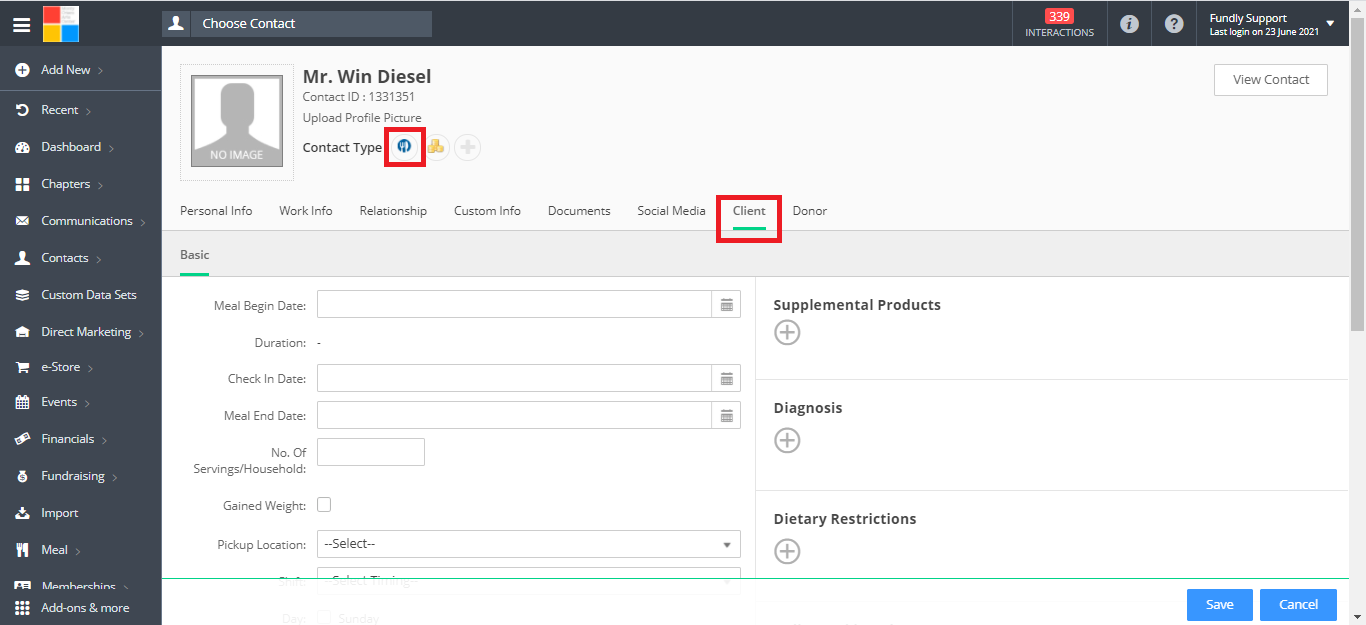
- This will add the Client (knife and fork) icon to the record and open up the Client tab for data entry.
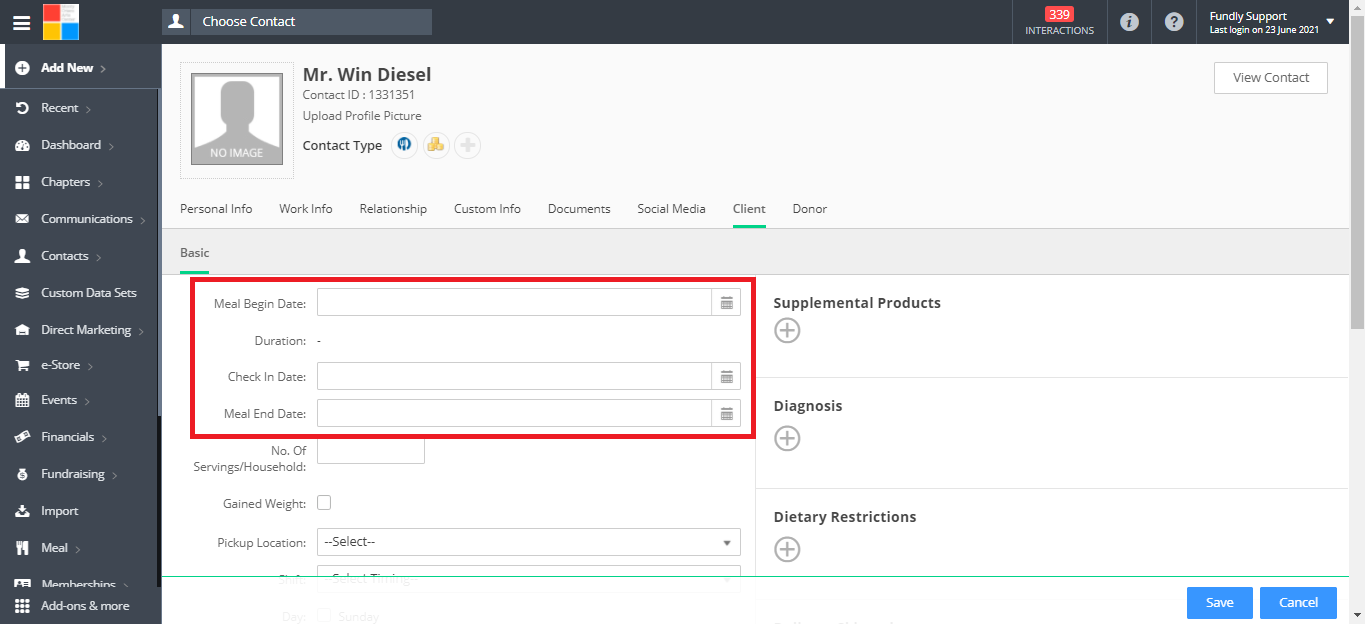
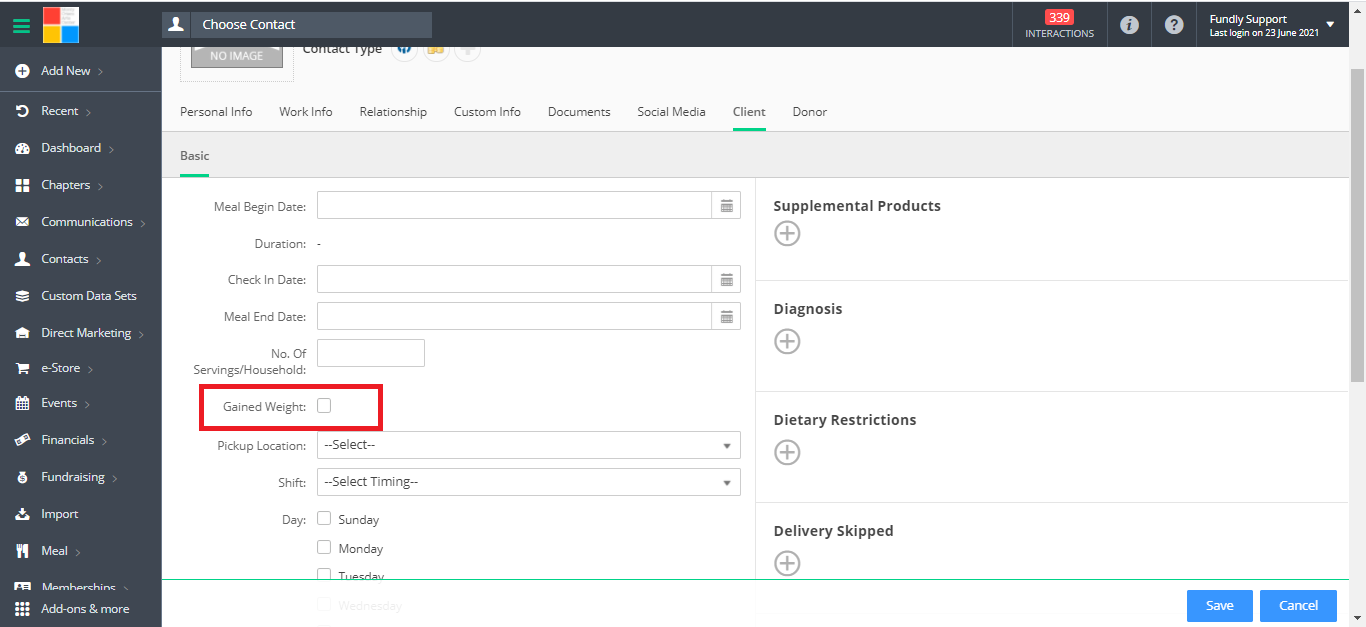
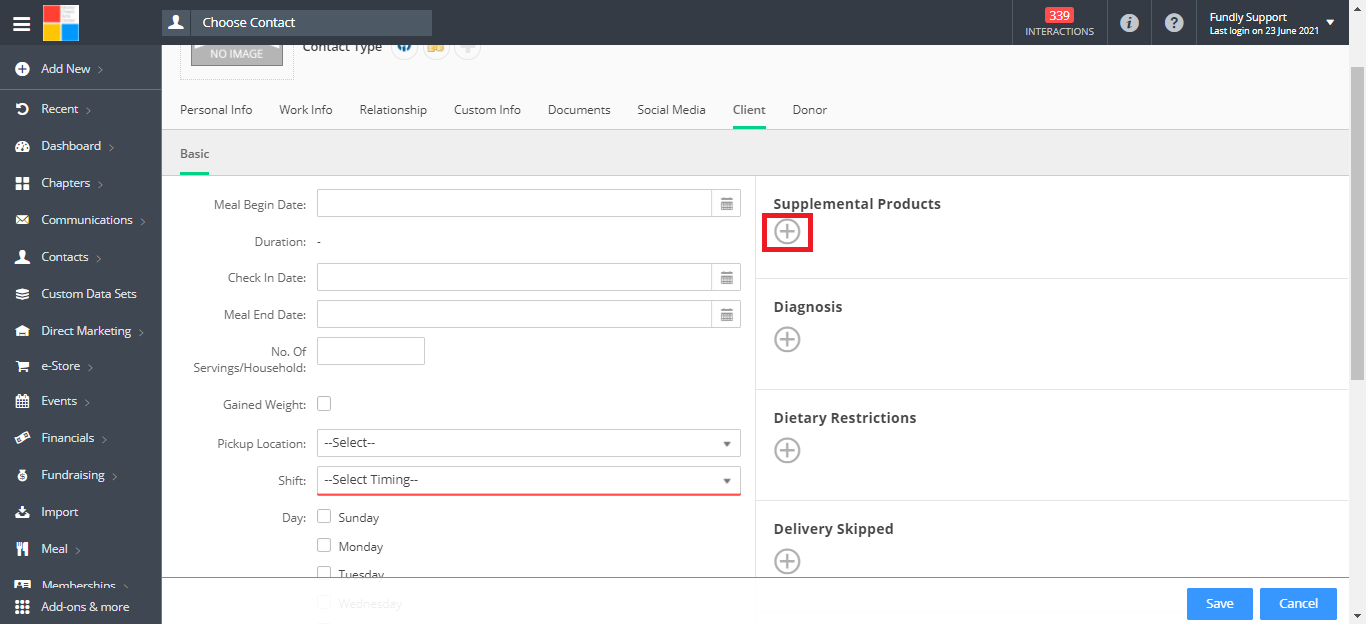
- On the Basic tab, enter the Meal Begin Date (date the client will begin receiving meal delivery service). The Meal End Date and Check-In Date fields will be computed automatically based on the Meal Start Date. The Check In Date will pre-populate to a date 30 days from Meal Begin Date and the Meal End Date will automatically pre-populate with a date 24 weeks from Meal Begin Date. You can override either or both of these dates by entering a new date. Once a Meal End Date is entered, Closure Reason also becomes required. You can use "24 Weeks Reached" as the default closure reason in order to save the client record. If you later need to change/update that closure reason, you can be editing the contact's record.
- The Number of Servings/Household is the number of meal servings that should be delivered to the household INCLUDING THE CLIENT. If the client is the only one receiving meals, then enter 1. If the client plus a caregiver will both receive meals, enter 2.

- Gained Weight is a status outcome that can be entered at the Check In or upon Completion of Services and should be skipped for now.
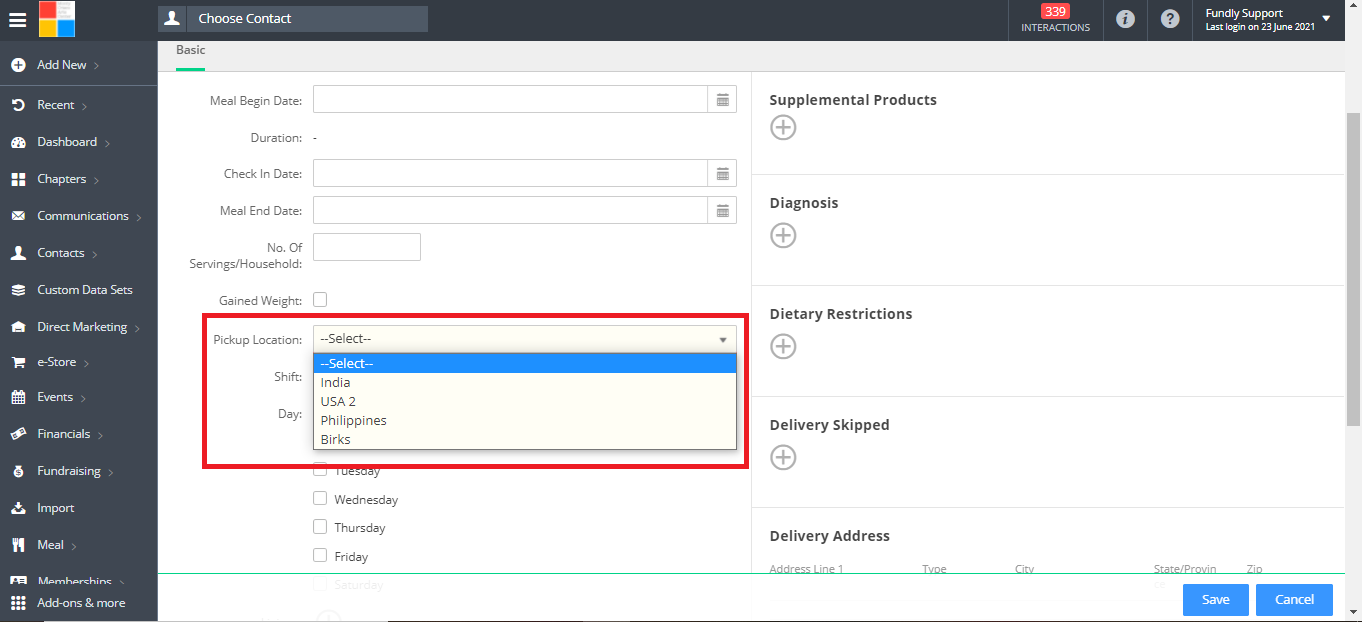
- Pick Up Location is the location where Delivery Angels will pick up the client's meals for delivery. This drop down list populates from the list of venues/locations in the Deliver Angel Volunteer Opportunity.
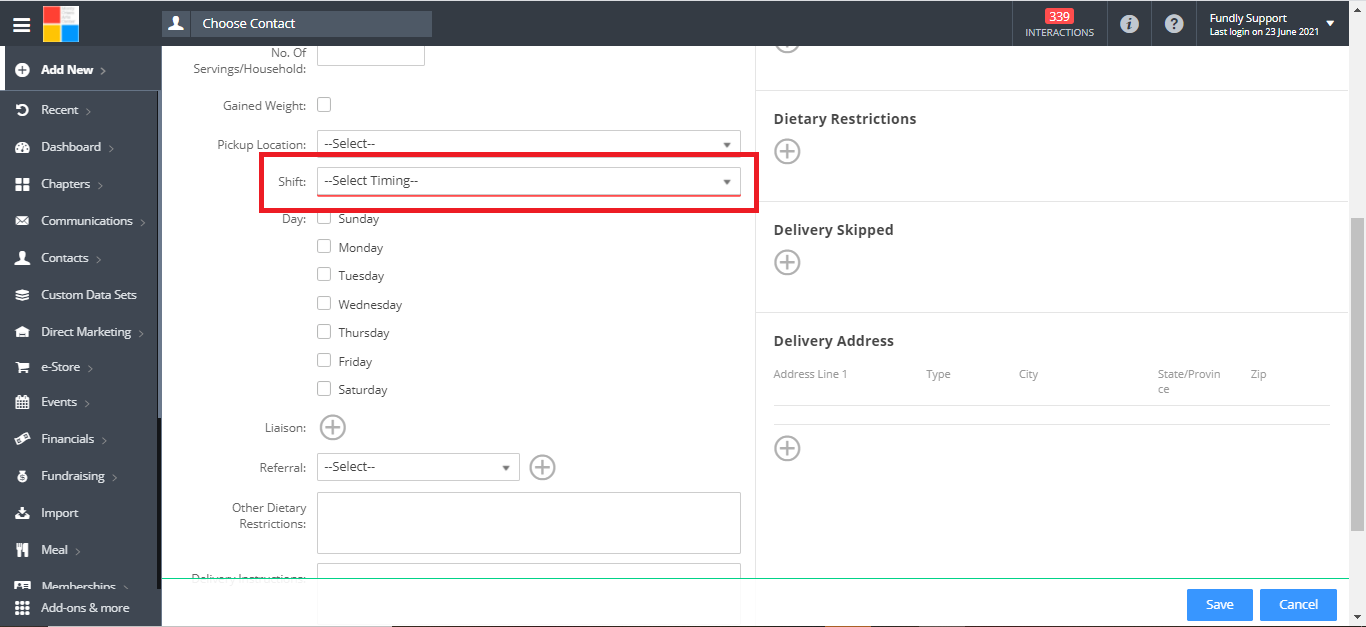
- The list of Shifts (delivery schedule shifts) pre-populates from the Delivery Angel Volunteer Opportunity (configured in Fundly Connect. See this tutorial on configuring the Delivery Angel Volunteer Opportunity to add, edit, or delete shifts).
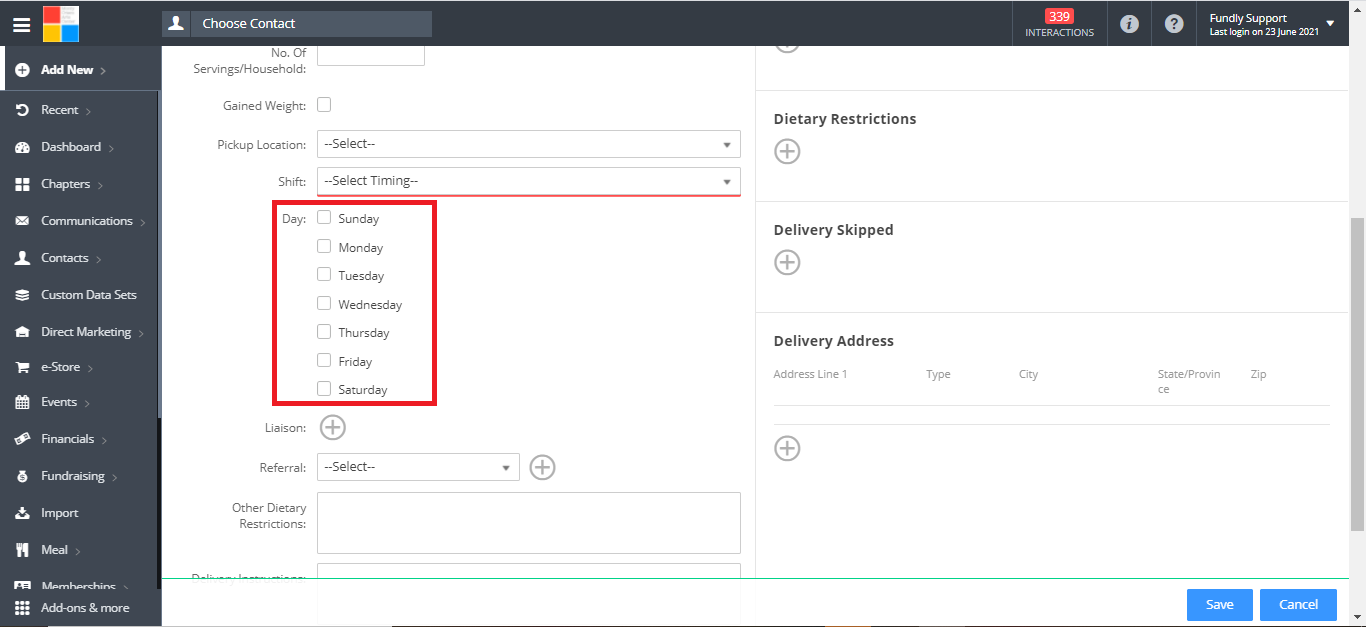
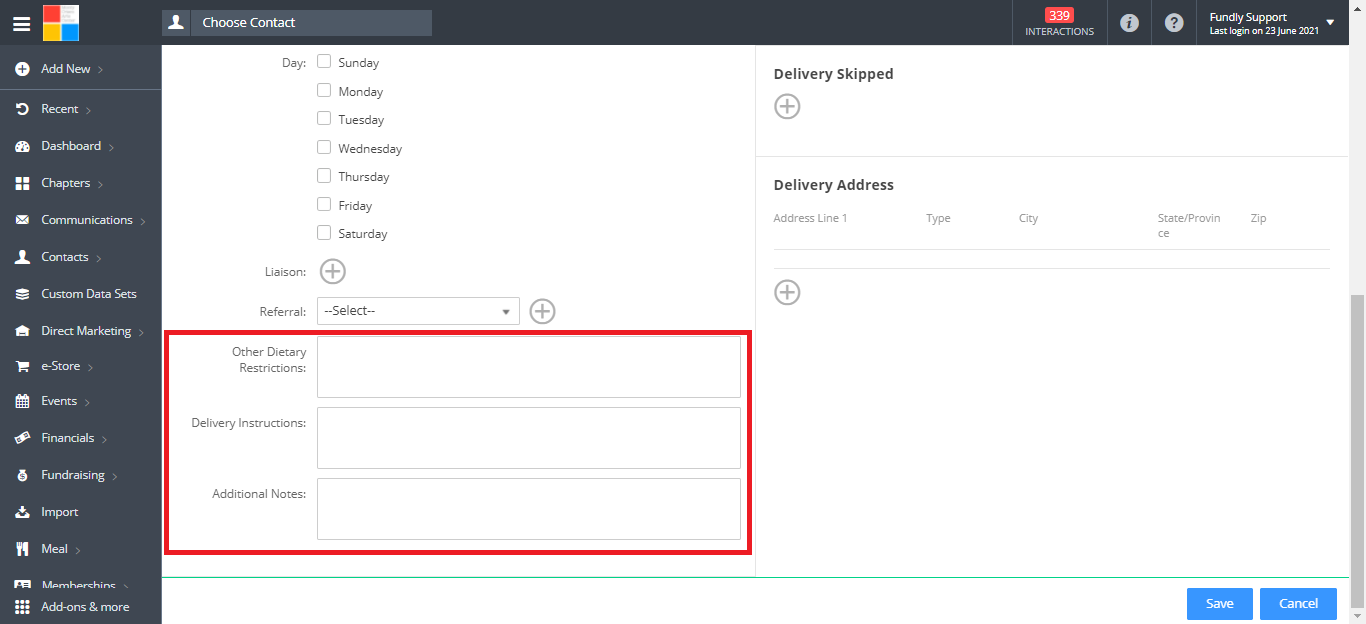
- Select the delivery Day(s).
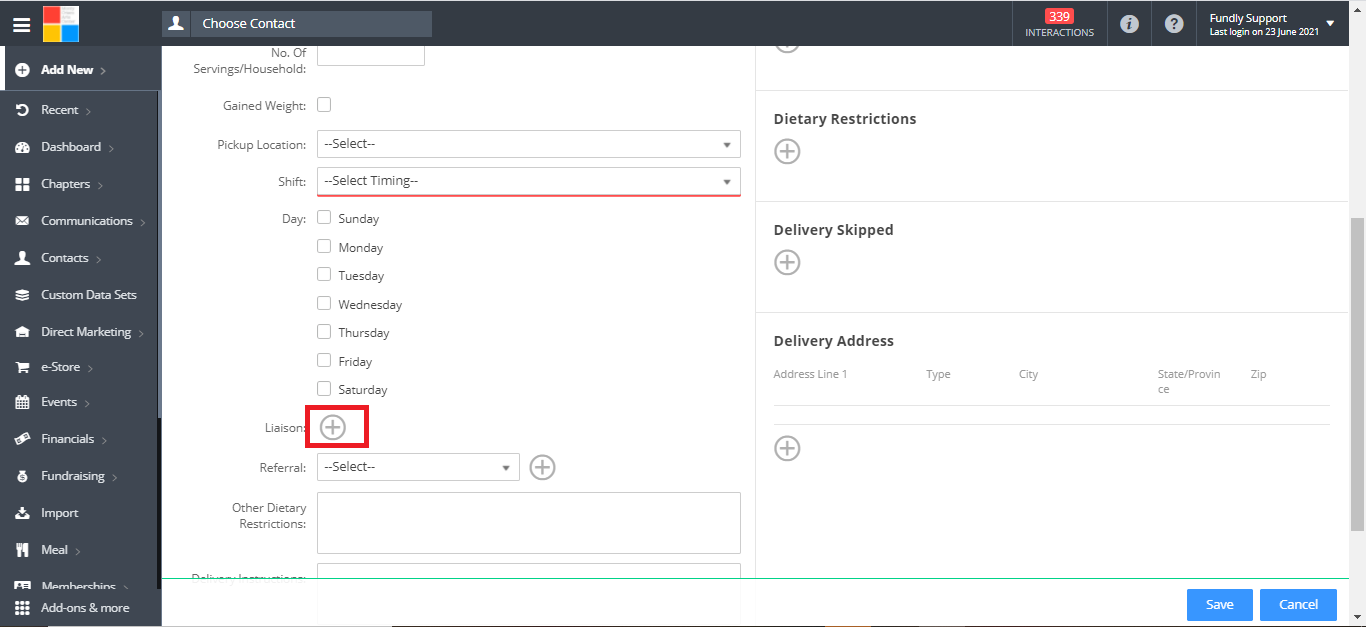
- To add a client Liaison, click the “+” button and select from the list of approved Liaisons (see this tutorial on adding Liaisons).
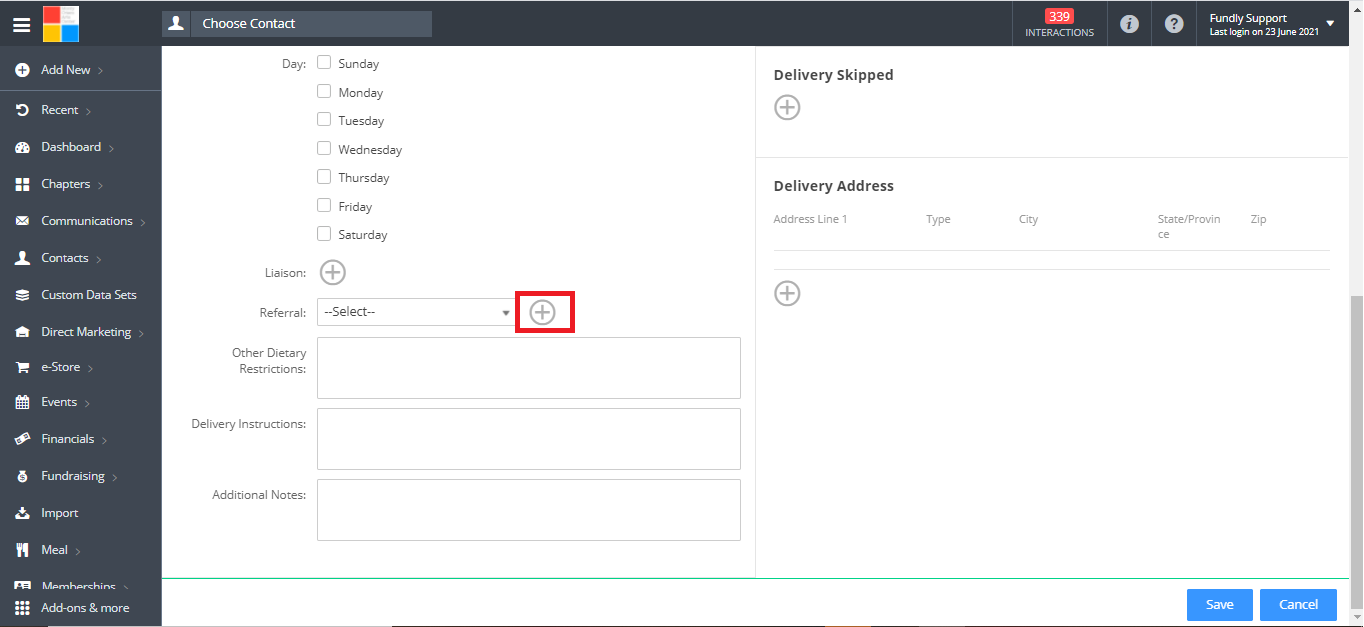
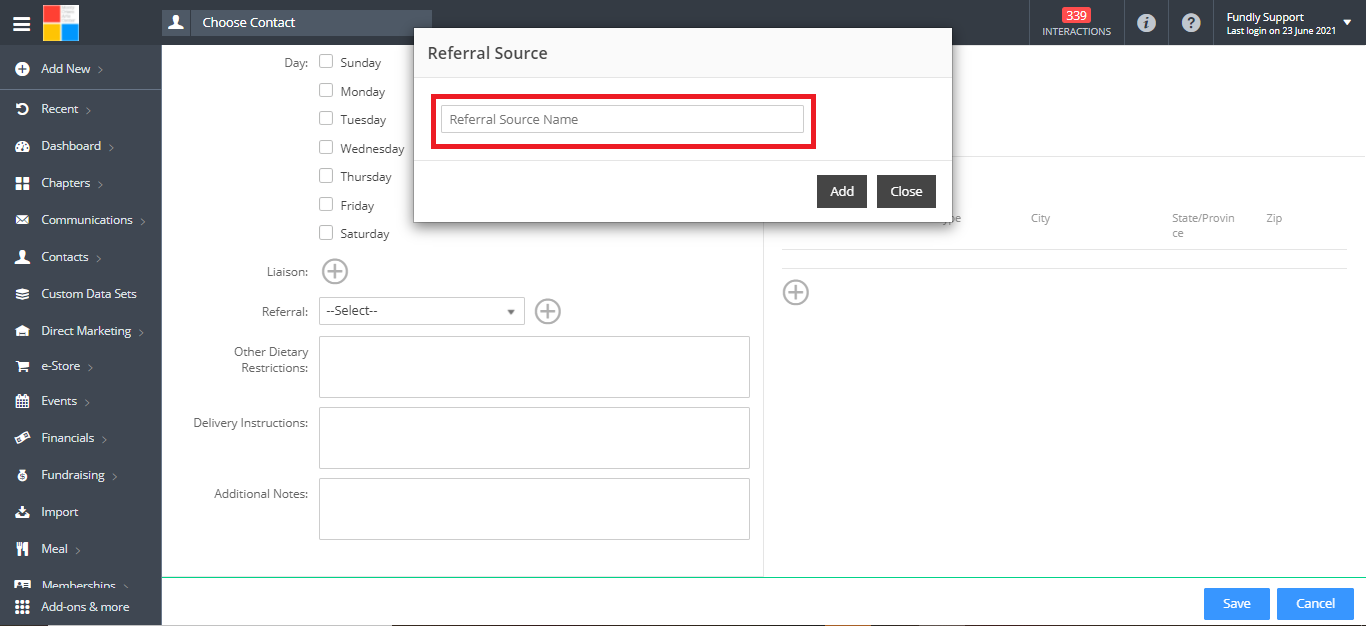
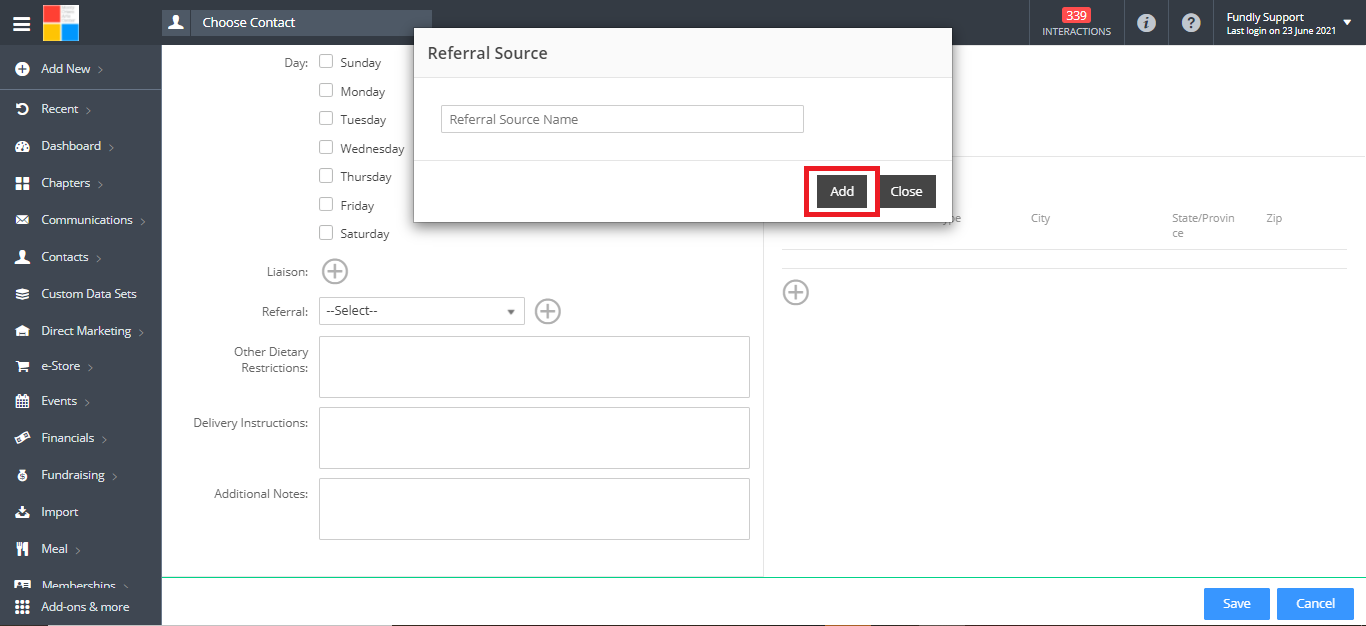
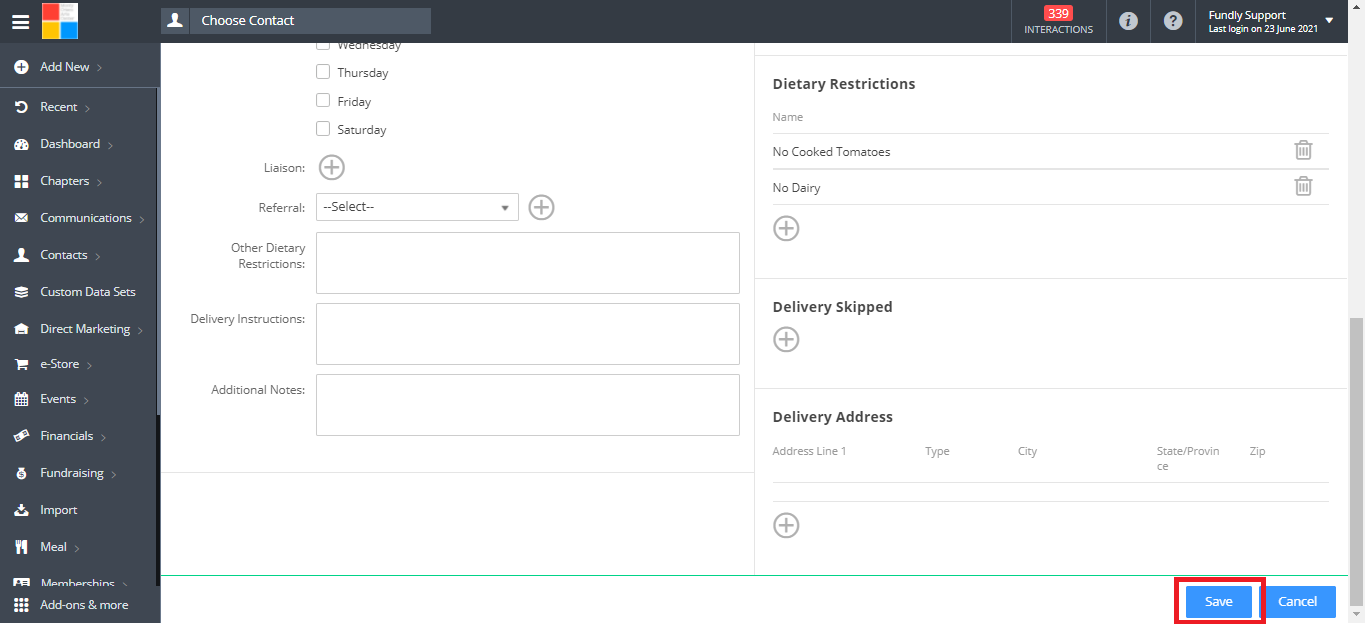
- Select the client Referral source from the dropdown list. To add a referral source to the list, click the “+” button to the right of the dropdown list or see this tutorial on adding referral sources. Type in the referral source name and click Add to save the referral source to the dropdown list.

- Other Dietary Restrictions, Delivery Instructions, and Additional Notes are optional text fields that you can add information to if relevant.
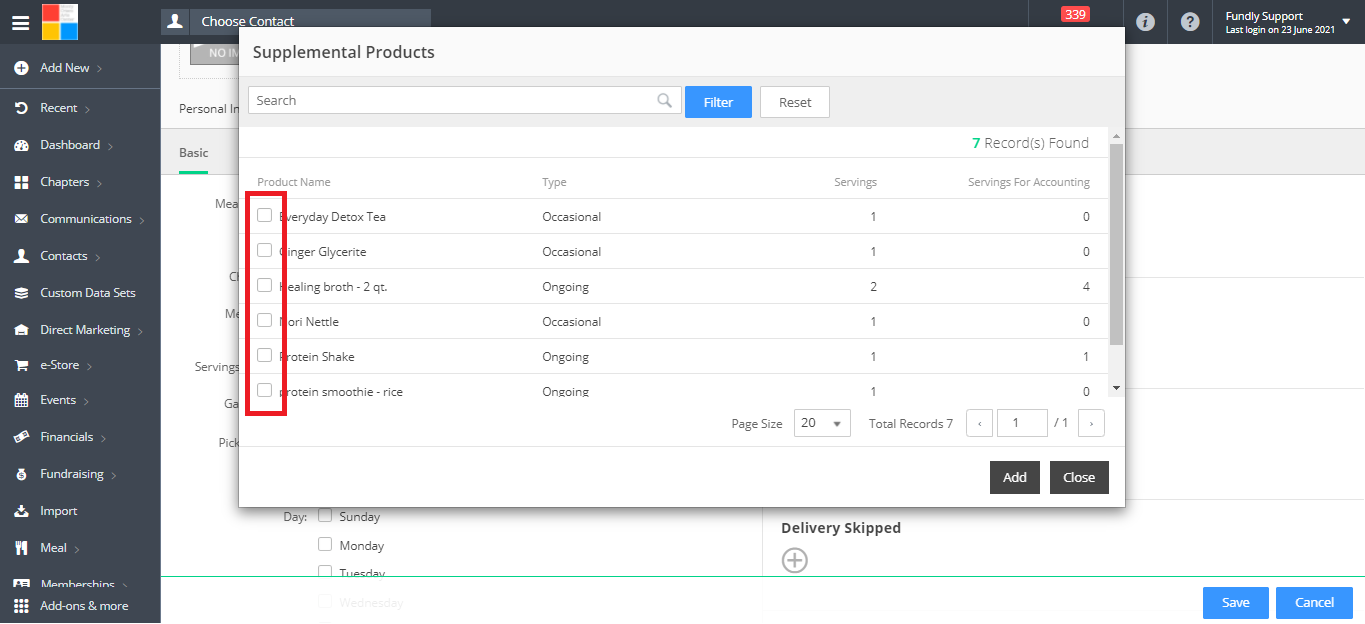
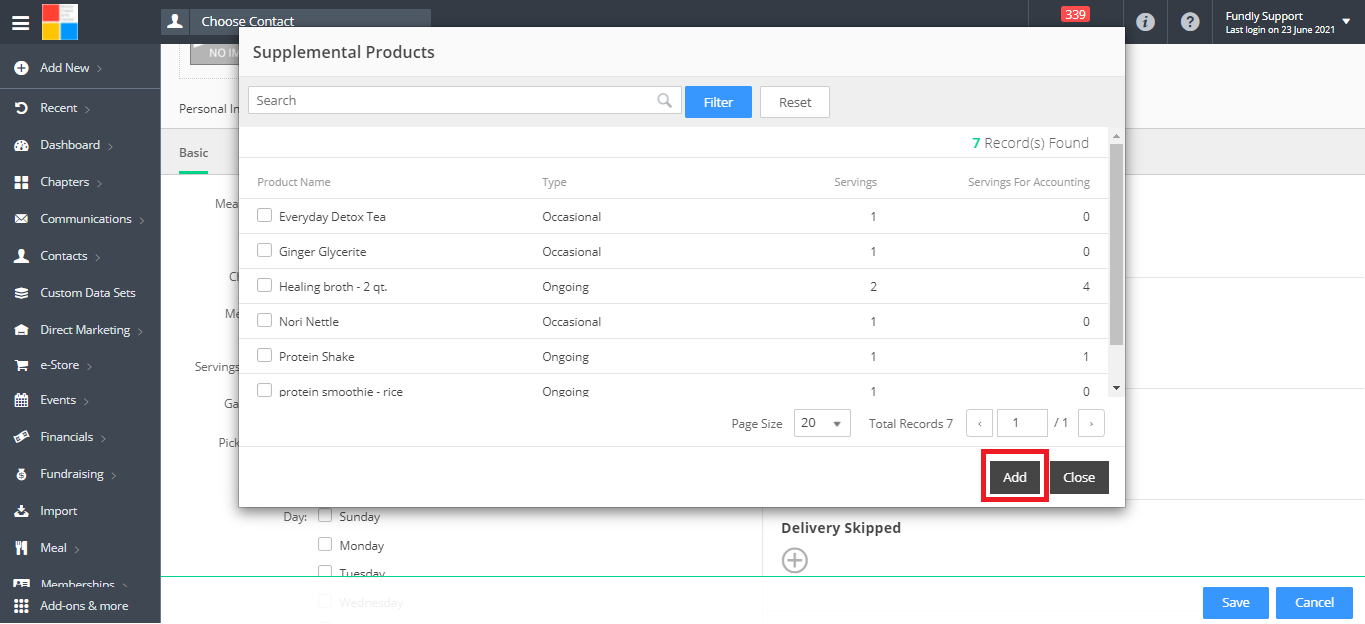
- To add Supplemental Products that the client should receive with their meals, click the “+” button, select from the list of pre-configured supplemental products, then click the Add button (see this tutorial on configuring Supplemental Products). To remove a Supplemental Product from a Contact’s record, click the trash can icon to the right of the item.

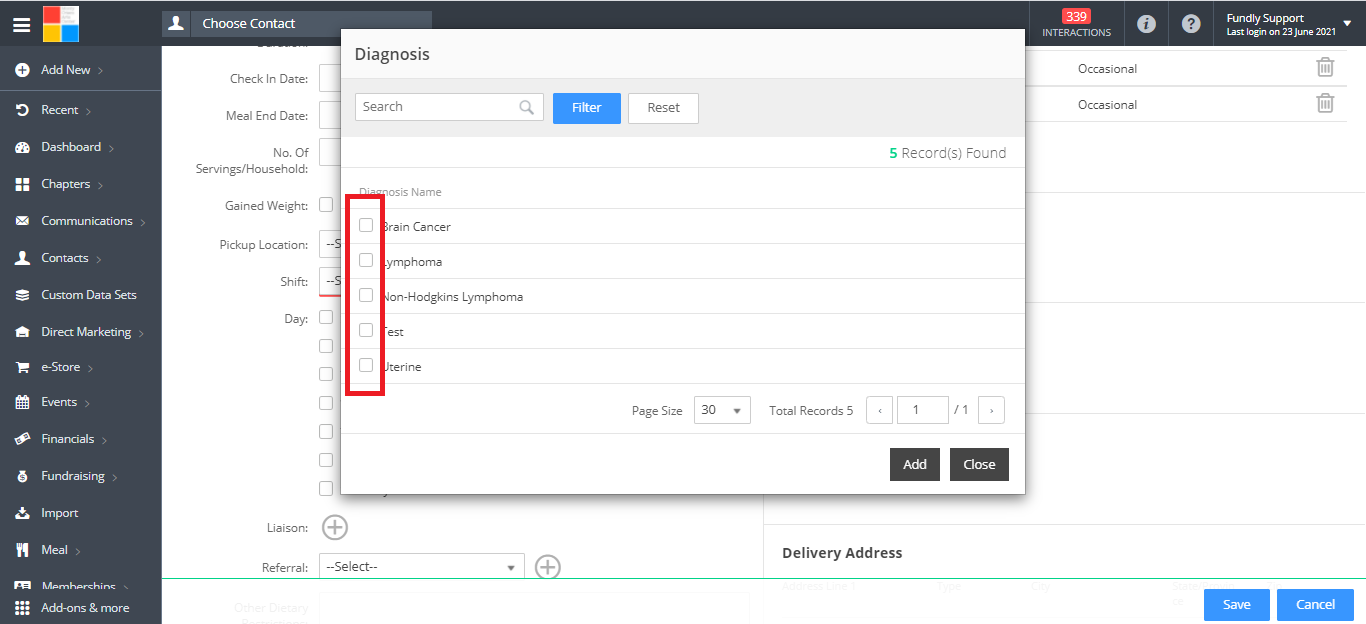
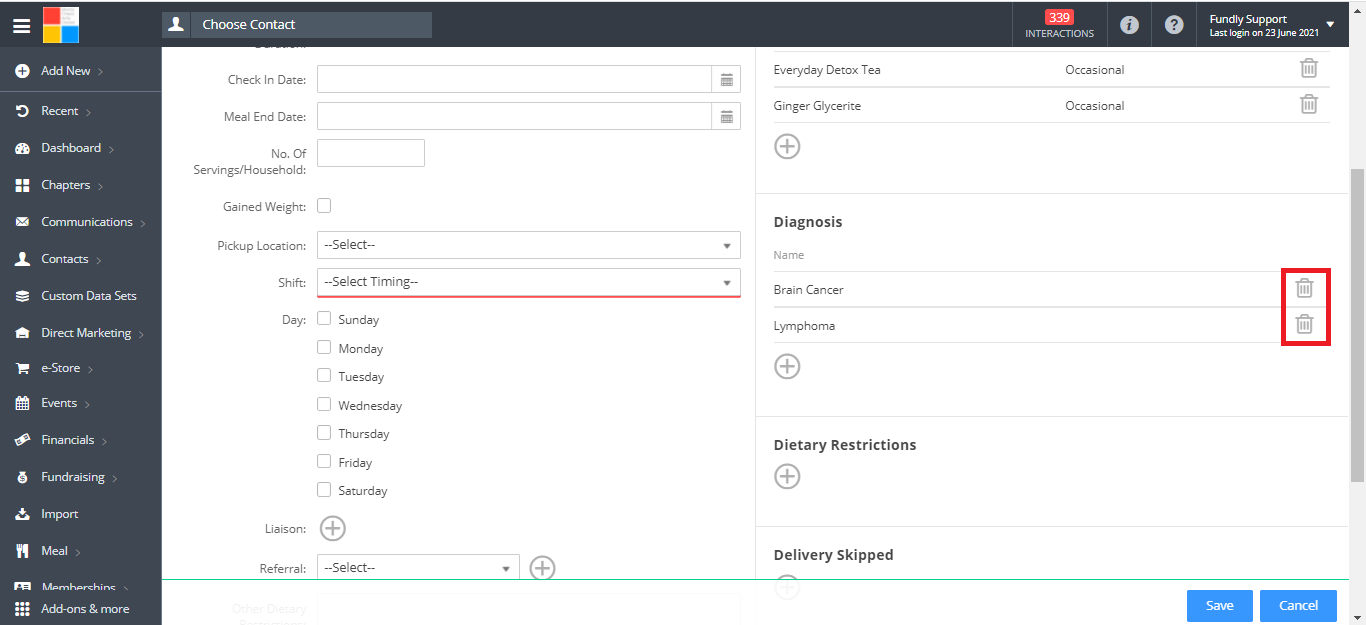
- To add a client’s Diagnosis to the record, click the “+” button, select from the list of configured Diagnosis’s (see this tutorial on configuring Diagnoses), and then click Add. To remove a Diagnosis from a Contact’s record, click the trash can icon to the right of the item.


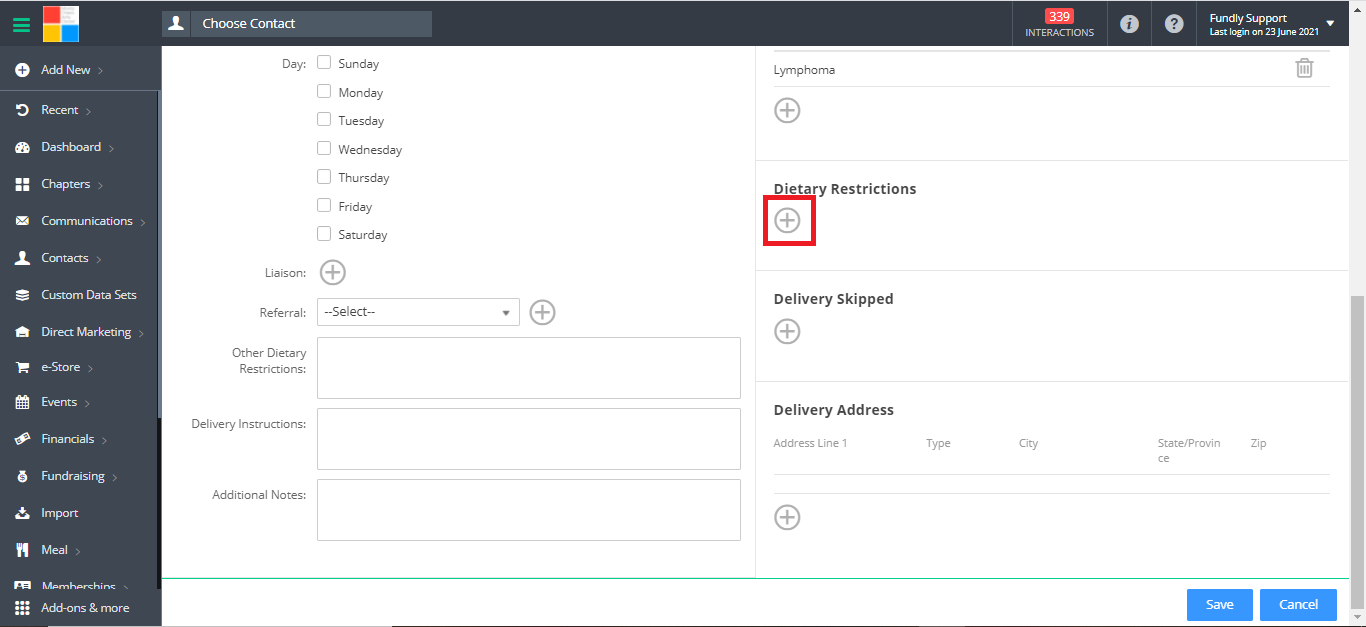
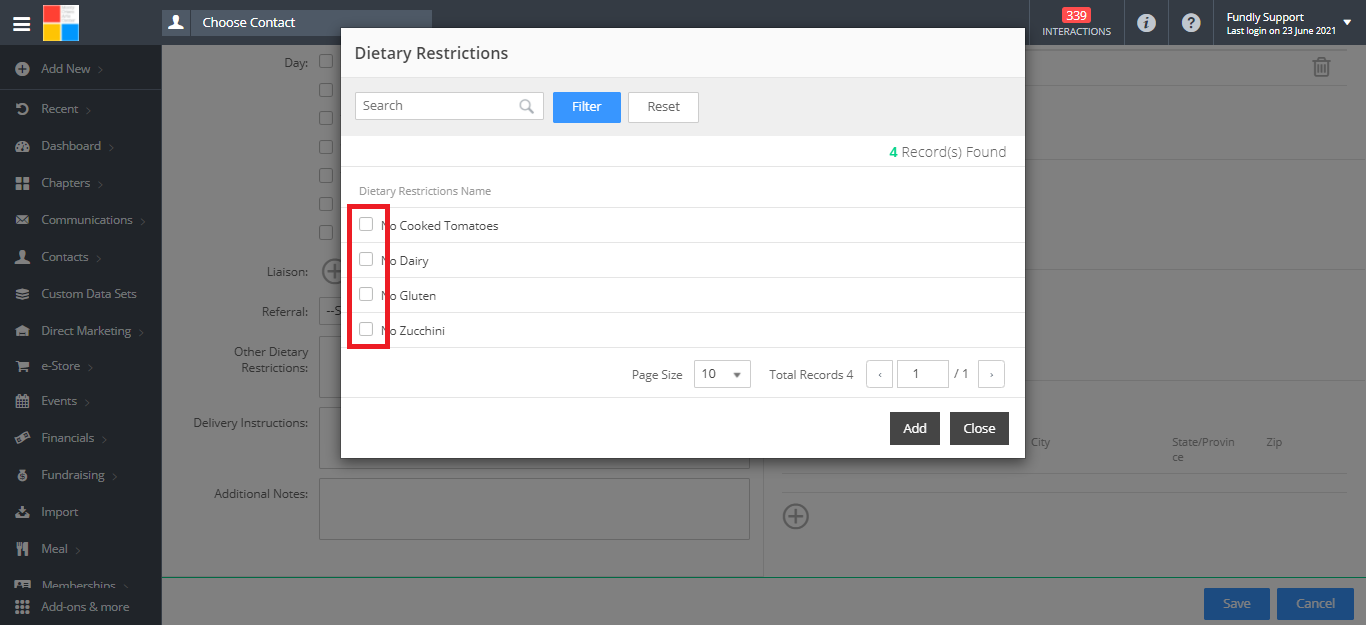
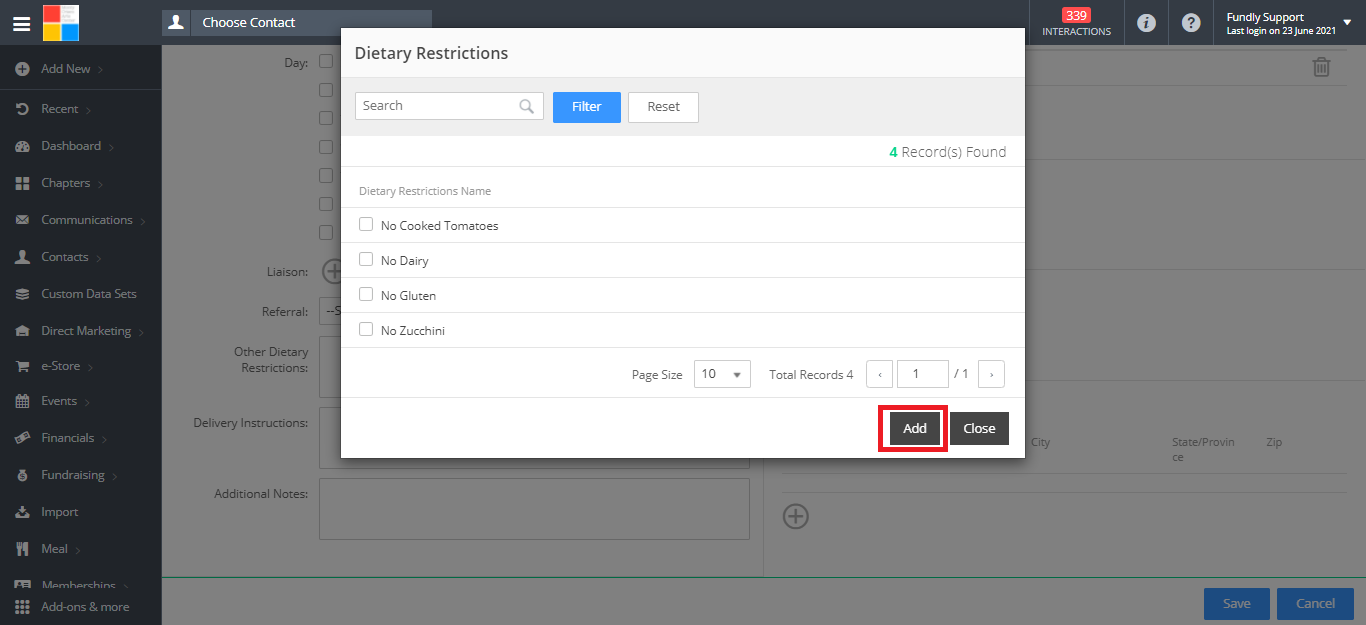
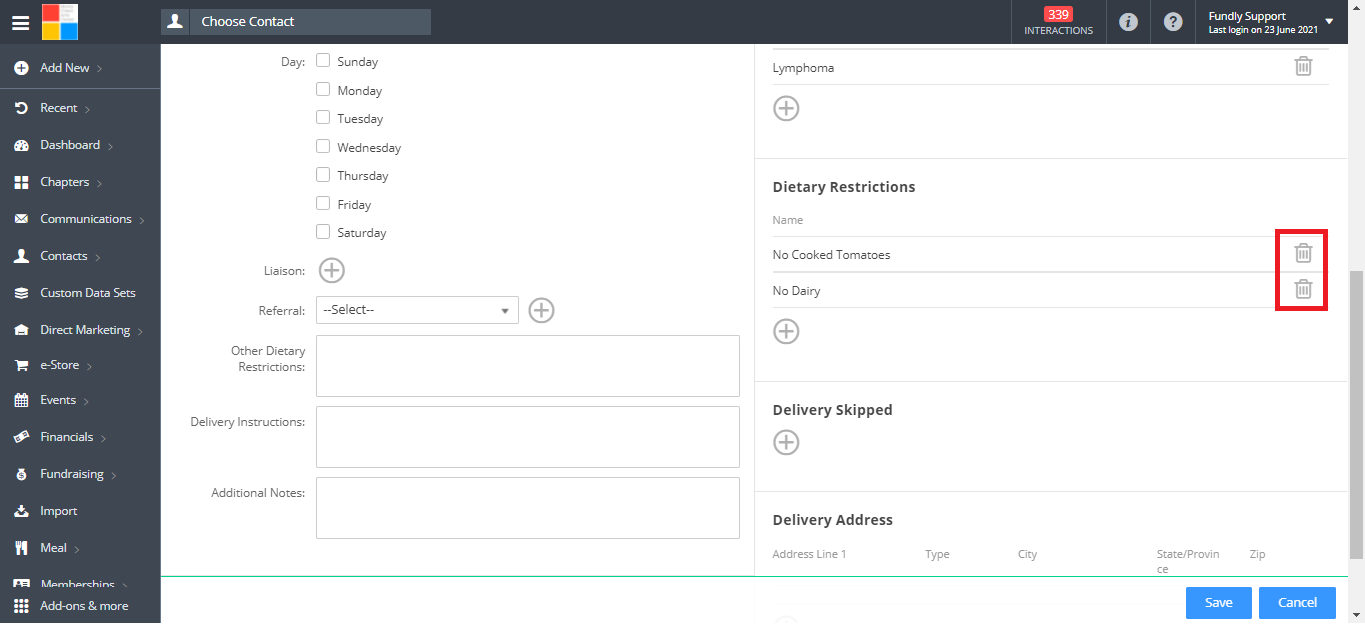
- To add any Dietary Restrictions the client has, click the “+” button, select from the list of configured Dietary Restrictions, and then click Add. See this tutorial on configuring Dietary Restrictions. To remove a Dietary Restrictions from a Contact’s record, click the trash can icon to the right of the item.
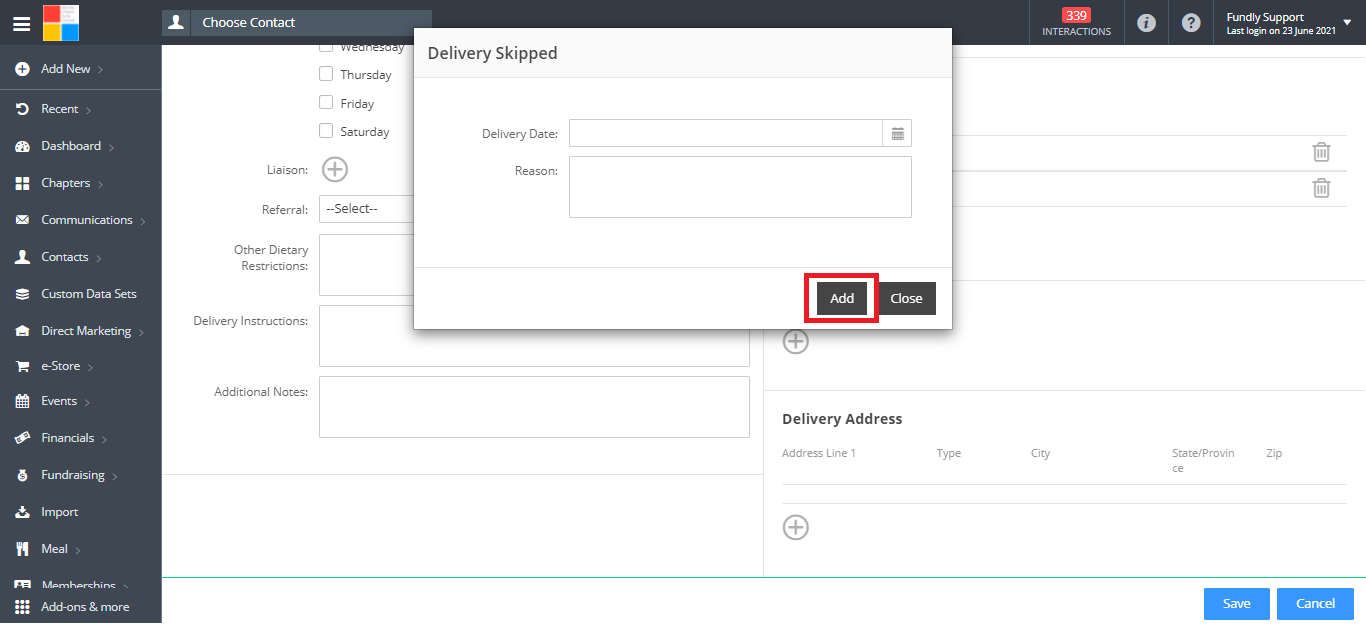
- If the client wishes to skip delivery for a particular date (they will not be home or does not want meal delivery that day), click the “+” button, enter the date and the reason for skipping delivery, and then click Add. Repeat this step for every date that should be skipped.


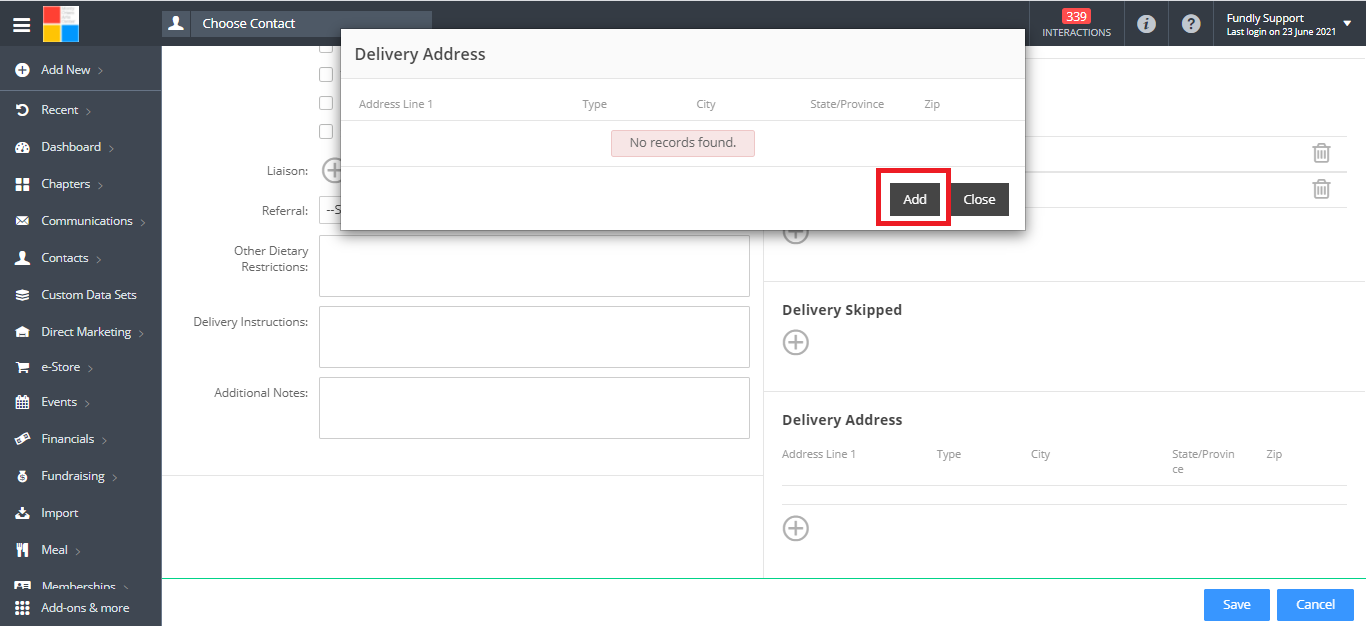
- Add the Delivery Address (the address where meals will be delivered) (required field) by clicking the “+” button, select from the addresses (Mailing, Billing, Seasonal, Temporary, and Other) entered on the contact’s Personal Info tab, and then click Add. Please Note: if the correct address is not showing, you must first correct/add the address on the contact’s Personal Info tab, then return to the Client tab to select the address. Addresses cannot be entered into the contact’s record from the Client tab.

- Click Save in the lower right hand corner to save the information entered on the Basic tab.
Comments
0 comments
Article is closed for comments.