Import Utility: Importing Donations Part II - Prepare Your Data
- The first step in importing data into the CRM is to prepare your data in a spreadsheet.
- This data could have been exported from another database system or could have been hand-entered into a spreadsheet. You could have only a handful of names/rows or you could have thousands.
- When preparing your spreadsheet, you can use our Donation Import template or you can use your own spreadsheet - it doesn't matter which. If you use your own spreadsheet/don't transfer your data to our template, be sure to use our template as a guide for setting up your data. Our template not only has the appropriate column names and identifies the fields that can be imported, it has a row of instructions that details what data is required and what format certain fields needs to be in.
- For data sets larger than 2,000 rows, we recommend splitting the data into multiple batches to speed processing.
- Setting up your data requires high attention to detail. Small mistakes in the data file can create BIG problems in your CRM data - it can cause the import to fail, to over-write existing data in your system incorrectly, scramble your data, or create a lot of hand clean up. It is imperative you review every cell in your spreadsheet for accuracy. Below are details of the most common errors we see in data files, but this list is by no means exhaustive.
- SUPER IMPORTANT REMINDER: if you sort your spreadsheet at any point, be absolutely certain that you have grabbed all the columns and rows with data. True example of what can happen if you are not careful: client exported all data from their CRM, resorted the spreadsheet but did not include the email address column. The email addresses became orphaned from the correct record (for example, Sally now had John's email address in her row). The data was then re-imported, using email address as part of the duplicate prevention settings for the import. Because the contacts now had a different e-mail address in the spreadsheet than what was in the CRM, the new records were not seen as matching existing records and a new record was created for every person. This resulted in over 10,000 duplicate records. In a few instances where the contact had no e-mail in the CRM and no e-mail in the spreadsheet (but same first and last name), those were seen as the same person and the import updated the existing record. However, the data in that row didn't belong to that person (due to sorting the spreadsheet and not including all the columns) so that the wrong mailing address was added to the existing record. We cannot stress enough this kind of mistake is easy to do if you do not pay very careful attention when sorting your data file. When it comes to importing, check and double check your data file before proceeding!
- When using the import utility to do a bulk update of data in the CRM (such as importing donations for donors who are already in your system as contacts), re-import that BARE MINIMUM data necessary for the update. Don't re-import data you aren't updating/changing (or you risk updating something you didn't mean to) (for donors, this means if the donors are already in your system with their current/up-to-date mailing address, then leave the addresses off the donation/gift import so you don't accidentally make duplicate addresses or add John's address to Mark's record).
- If using the import utility to do a bulk update of data in the CRM, we strongly recommend using the NonProfitEasy CRM ID field as the duplicate prevention setting (so be sure to include this in your original export from the CRM and keep it on the data file for re-import), rather than name, e-mail, and/or address.
- When setting up your spreadsheet:
- Only .csv format is accepted.
- Your file MUST have a header row (with column names).
- Column headers can be called anything you want - they don't have to match the column headers in our template. However, the column headers in our spreadsheet exactly match the category and name of the field in the CRM that you will be mapping the data to. If you don't use our column names, be sure to use column names that easily identify what data is in each column.
- Column headers must be unique (you cannot have two columns labeled "Phone Number" for example. You would need to make them slightly different, such as "Phone Number 1" and "Phone Number 2."
- There can be NO blank rows between the first row with data and the last row with data in your spreadsheet. Any blank rows will cause the import to fail.
- There can be NO returns (new line) in any cell. That is, in no cell can the data contain a hard or soft return (created by using alt + enter) or be on separate lines.
- Do not create stray marks, entries, or formatting outside the rows or columns with data. For instance, highlighting an entire row can cause the system to read data (the code for the highlighting) in the blank/empty cells (even if you later remove the highlighting), which will cause an error when attempting to upload or import the file (see Import Utility: Importing Individual Contacts Part IV - File Upload for more information).
- You can delete any columns without data (empty columns). This will help with the field mapping screen (less columns to wade through to get to the ones with data).
- EVERY row that has data MUST have all of the required fields. For donation import, for example, every row MUST have a donor name (first and last name for individuals, organization name for organizations) and every donation must have a gift amount. In our screen shot below, row 4 and row 7 are missing Last Name. This will cause the import to fail.

- You can only have ONE name/person per row. The First Name and Last Name field should contain only ONE name. In the screen shot below, Row 8 is set up incorrectly - there are two names in the First Name field. Those names need to be separated into two records.

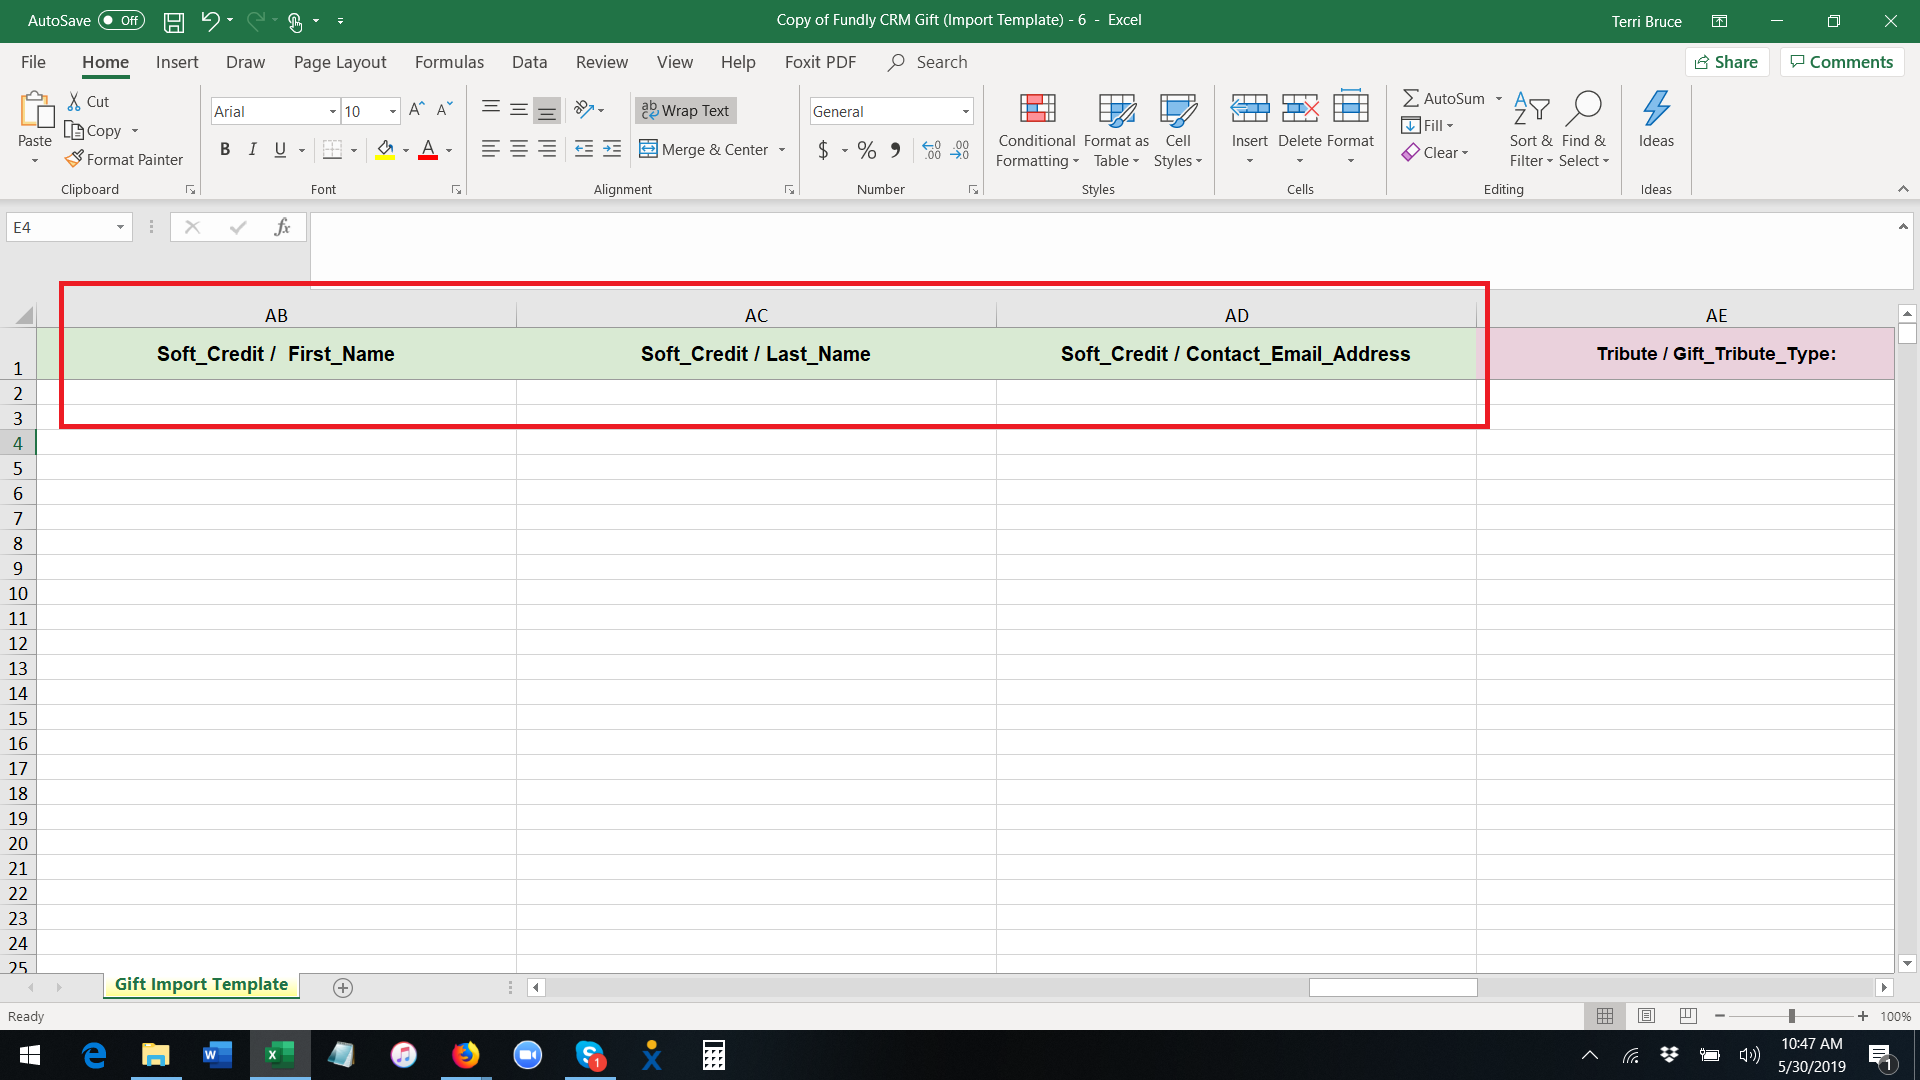
- To indicate that a donation is from two people, enter the second name in the Soft Credit fields (Columns Z-AD in our import template). Please Note: there is no way via the Gift import to indicate the relationship between the donor and soft credit donor (e.g. to indicate they are spouses/partners). If you want to create a spouse/partner relationship between the contacts, you can do this via the individual contact import or you can edit the records afterwards inside the CRM and create relationships between them manually.
- If you include an email in the gift import (donor's email, soft credit donor's email, or solicited by's email address:
- It will be imported as an uncategorized email address. If you want to set the email type for contacts, use the individual contact or organizational contact import.
- It will not be marked as the primary email, even if it's the only email on the contact's record.
- There is no way to import shared/household e-mail addresses.
- If you include an email address in the import (for donor, soft credit donor, and/or solicited by contact), the contact's email communication be set to "Yes" for new contacts (contacts being created by this import) (contacts already in your system will keep their existing email communication preference setting). If you don't want the contact's email communication preference set to "Yes" for new contacts, do not include their email address in the Gift Import (you can manually enter it into the contact record later or you can use an individual or organizational contact import to import the email address and set the communication preference).
- When importing donor address:
- Every row with any part of an address must have an Address Line #1 as well. If Address Line #1 is not included for that record, then any other address fields that ARE included will be ignored/the partial addresses without Address Line #1 will not be imported.
- If you include city, state, and country, but not zip code, the system will attempt to look up/auto enter the zip code for U.S. addresses (only for U.S. addresses).
- If including zip code, make sure the zip codes are all 5 digits (for U.S. addresses). There is no separate field for a +4 code, but this can be included in the zip field separated by a hyphen (ex: 12345-1234).
- The address fields in each block/address section (Mailing Address, Billing Address, Other address, etc.) work as a BLOCK/unit. All fields in that block/unit will be updated if you include any field from that block in the import. That is, if you include only Address Line #1 in the import and do not include city, state, zip in the import (or even in the field mapping), the city, state, and zip will still be updated (they will be updated to "nothing"/empty, wiping out any existing data in those fields if those records are already in your CRM). When updating existing addresses, be sure to include ALL of the fields in the block, not just the ones you want to update.
- Both CounTY and CounTRY can be imported; be careful when mapping your fields to not map CounTY to the CounTRY field.
- All parts of an address MUST be separated into separate parts. You CANNOT put the entire address (such as "54 Rowboat Lane, Salem, MA 01970) in one field. You must separate the address into Address Line 1, City, State, Zip, and Country. Each of these five parts must go in a separate column.
- Imported addresses will be imported to be imported as an uncategorized (neither work nor home) mailing address unless the contact already has a mailing address, in which case:
- If your contacts are not already in the CRM or are already in NPE but do not already have a mailing address (mailing address field empty in the CRM record), then the mailing address in the import will be added to the mailing address field with the type uncategorized.
- If your contacts are already in the CRM and have an uncategorized (not set to either home or work address) mailing address in the CRM, then the mailing address in the import will overwrite the existing mailing address.
- If your contacts are already in the CRM and have a "home" mailing address in the CRM, the mailing address in the import will overwrite the existing home address and be set to type "home."
- If your contacts are already in the CRM and have a "work" mailing address in the CRM, the mailing address in the import will be ignored/not imported.
- Be aware that it is impossible to use the Gift Import to import home address, except in the case where contact is already in your CRM with a home address. In that case, the address in the import will update/overwrite the existing home address.
- Be aware that it is impossible to use the Gift import to import work address (use the Organization Import to create work addresses for individuals/employees).
- There is no ability to create shared/household addresses via the Gift Import. Use the Individual Contact Import to set up spouse/partner relationships and household/shared address.
- If you wish to import additionally data for your donors beyond what appears in the gift import (name, address, email address), then you will need to also do an individual contacts and/or organizational contacts import for those additional details (birth date, tags, contact types, etc.).
- Is the Gift from an Individual or Organization is REQUIRED (Column O on the template). This is the number one thing users miss when importing donations. This column must be filled out and there needs to be a value for every row that has data.
- For multi-currency donation importing (must have multi-currency processing turned on in your system), Column V: Gift Amount in Home Currency and Column W: Gift Amount in Transaction Currency are required.
- NPE uses cash accrual principles which means receivables are not booked until they are paid/in hand. As such, donations are used for IN HAND/PAID transactions. Pledges are used to record unpaid donations/promises of future payment. As such, payment information is required for importing donations.
- Fund, Gift Source, and Donation Date can be set globally for the entire batch on the Gift Import's first tab (see Importing Donations Part III tutorial) instead of setting the value in every row of your spreadsheet. That is, if every donation in the import has the same Fund, you can just set the Fund on the first step of the import, rather than filling it in on the spreadsheet/data file. Setting it globally is one thing to set up and check in the spreadsheet; this means that it may be faster to create separate batches for your donations so that you can create batches homogeneous data. For instance, all of your in-kind donations might go in one batch, all of your cash gifts that came in the mail tagged to the General Fund in another batch, and all donations to the General Fund that came in online from your old donation portal in a third batch. Setting up multiple small, homogeneous batches may be faster than one large import that requires more accuracy/attention to detail to make sure each row has all the correct settings.
- The following fields do NOT allow you to enter multiple values per contact; you can only enter ONE value per contact:
- Prefix
- Suffix
- Source of Contact
- A few tricks for ensuring your data is formatting correctly:
- Search your first and last name column for "&" and/or "and" to make sure you only have one name in each column.
- Sort your spreadsheet (being sure to grab all columns and rows) by first name. Look at the beginning rows and end rows to make sure everyone has a first name. Repeat for last name.
- Sort by zip code to make sure you don't have any 4-digit zip codes.
- Sort by state to look for any state names or abbreviations that are incorrect/spelled wrong
- Reminder: there can be no blank rows within the data set (if your spreadsheet has 100 rows, no row from 1-100 can be empty/blank. Blank rows must be after the last row of data.
- Reminder: do not enter any stray marks, formatting (including highlighting), or characters outside of the rows and columns that have your data or the computer will read this as import data and will try to import it (and will generate an error/your batch will not be imported).
- After setting up your data sheet, if you are using our template, make sure to DELETE the instructional row (row 2).
- Now you are prepared to begin importing your data. Proceed to the Part III tutorial to start setting up your import batch within the CRM.
Comments
0 comments
Article is closed for comments.