Tips for Using the Import Utility
Prior to Importing:
- Double check your data / spreadsheet for errors.
- You don’t have to use our template, but be sure to use our template as a guide as to how the data must be formatted and which columns are REQUIRED.
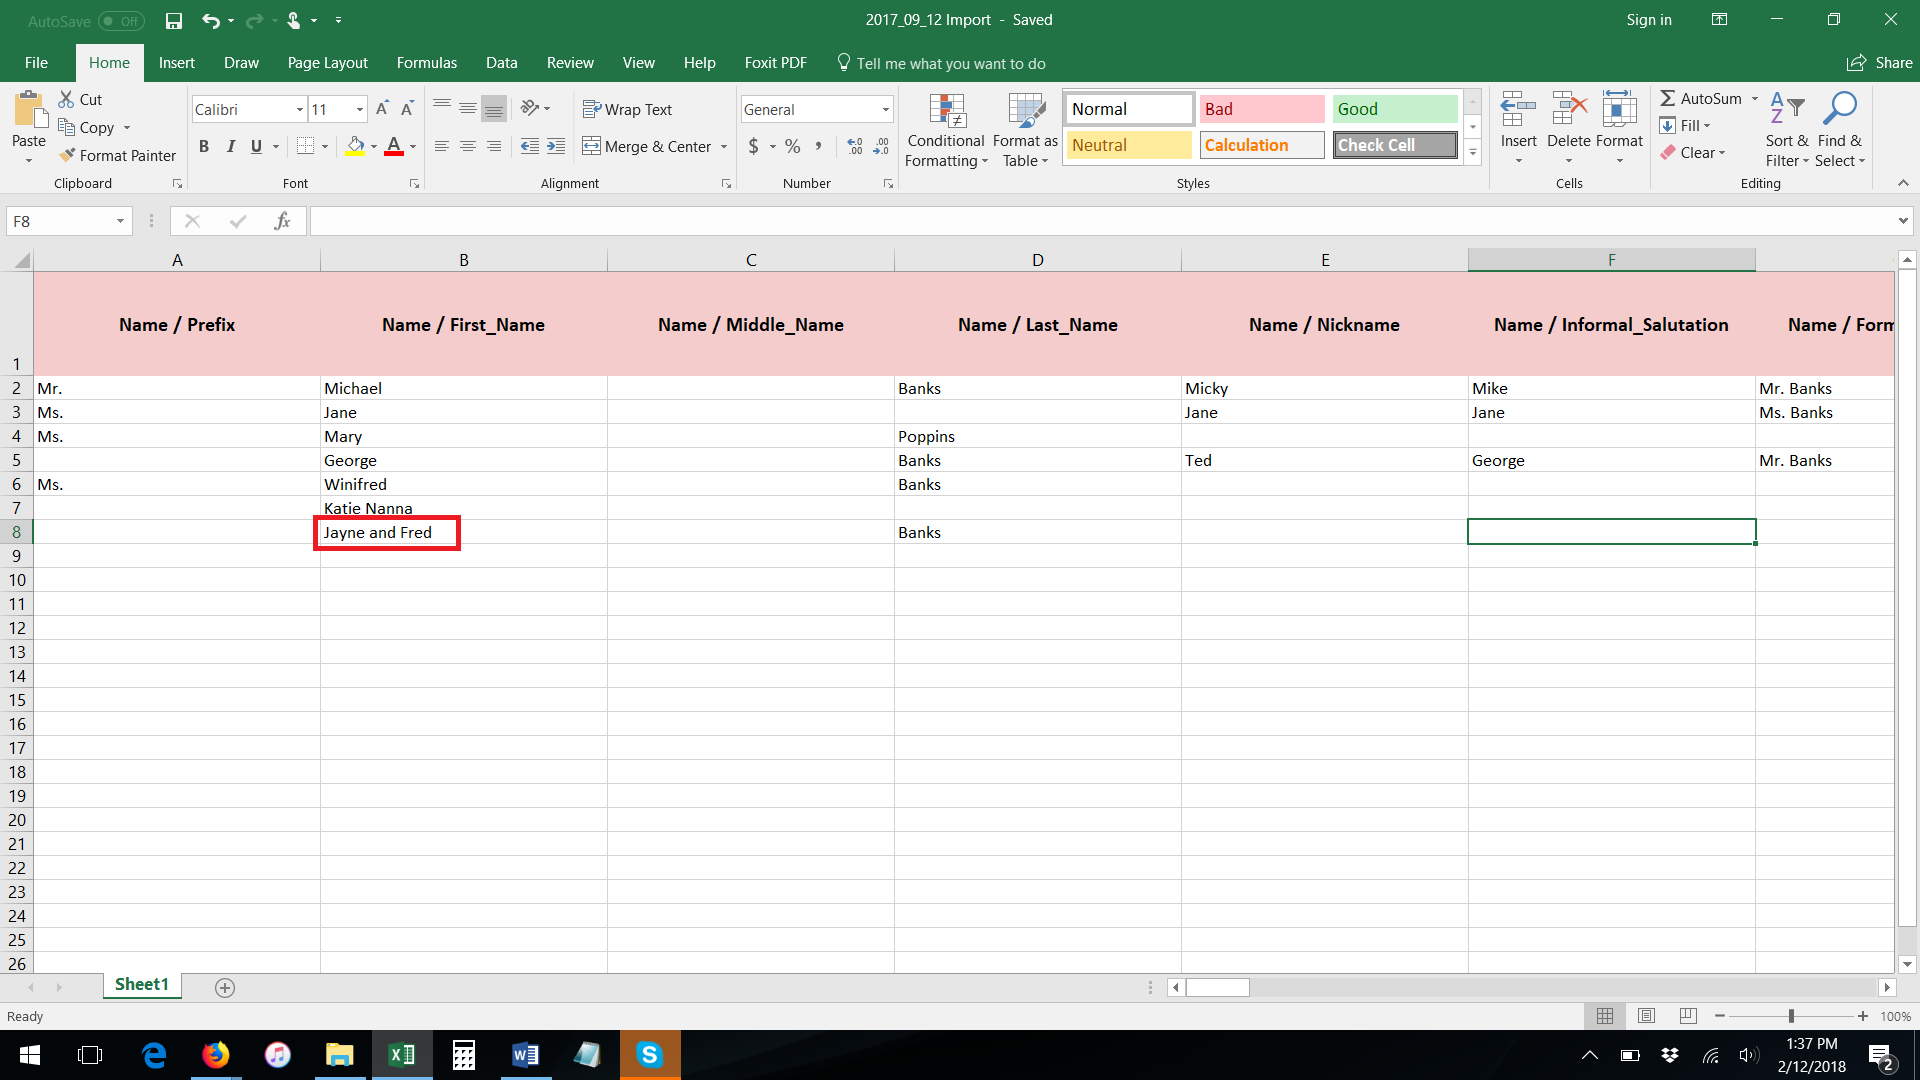
- EVERY row that has data MUST have all of the required fields. For individual contact import, for example, every row MUST have a first and last name.
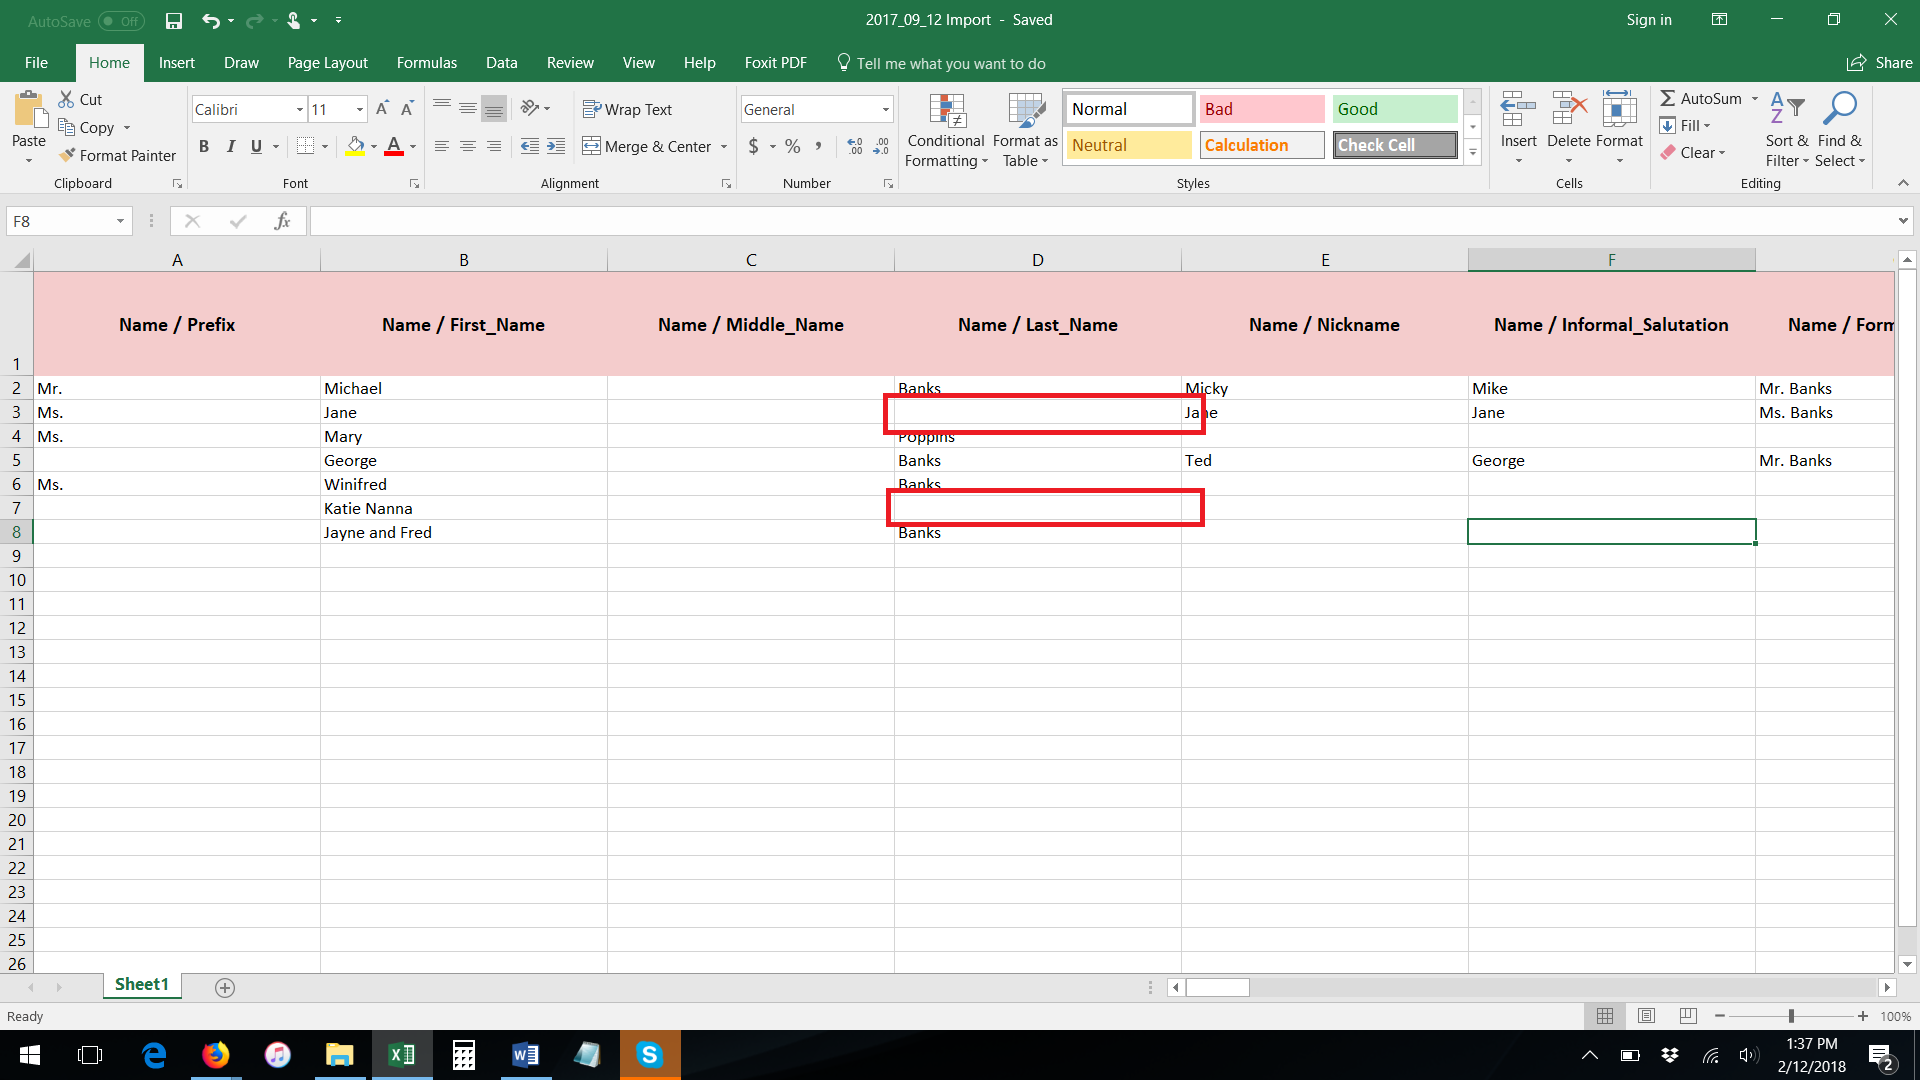
- And every row must have only one first name in the first name column.
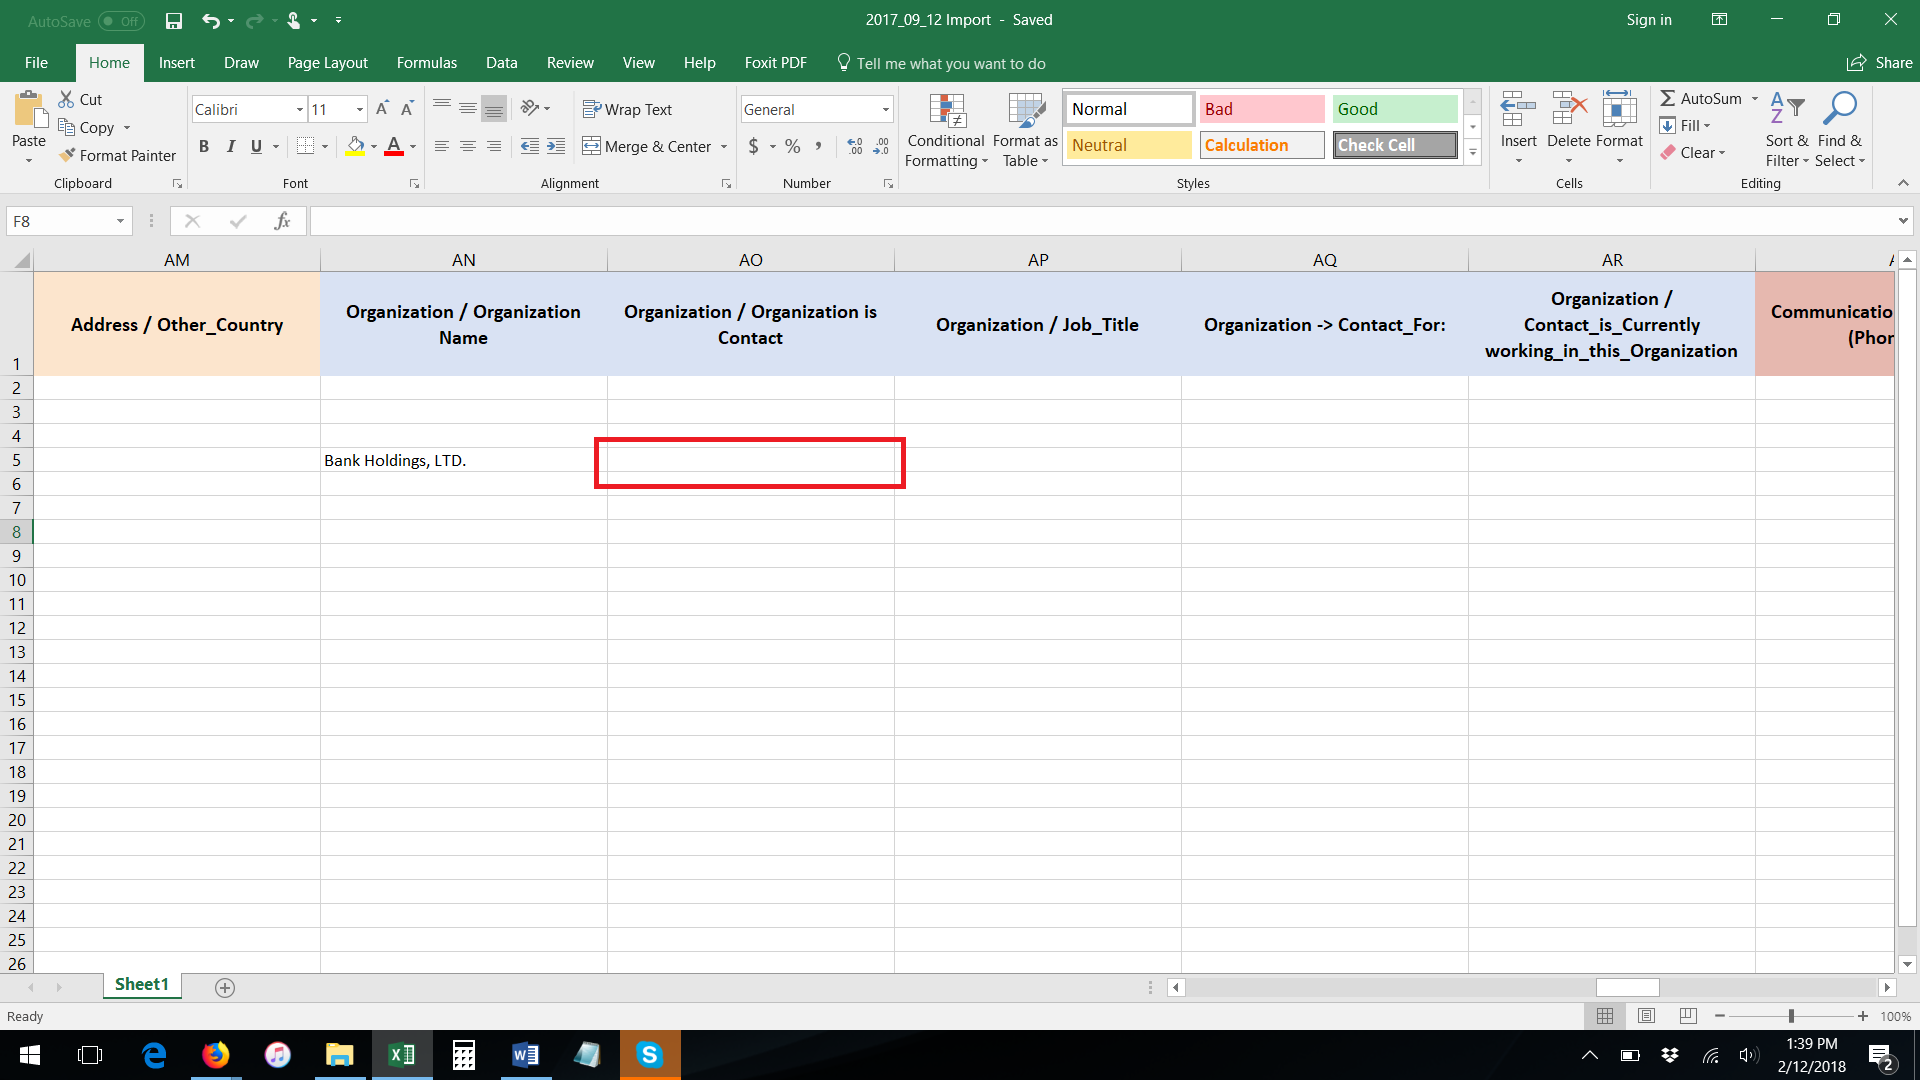
- If you include work information, then you MUST include the “Organization Is Contact” column and the value of this column must be TRUE or FALSE. A value of TRUE will create a new organization contact. A new organization contact will not be created if the value is FALSE.
- These are just a couple of examples of what is required. Be sure to check our templates for the full list of what is required for each type of import.
While Importing:
- If you receive an error that reads “Column Names Must Be Unique” while trying to upload your spreadsheet, first check your file for any columns with identical headers. For example, if you have two columns that both read "Email," rename the columns to "Email #1" and "Email #2," or "Personal Email" and "Work Email."
- If the error persists after verifying all column headers are unique, it's likely the error is caused by stray data or marks (including spaces or formatting that was erased) in the empty columns to the right of the last column with data. The system is picking that up and reading the blank column headers as duplicates. Copy the data (NOT THE ENTIRE ROWS/COLUMNS; copy just the cells with data) to a clean/new spreadsheet and upload this new spreadsheet.
After Importing:
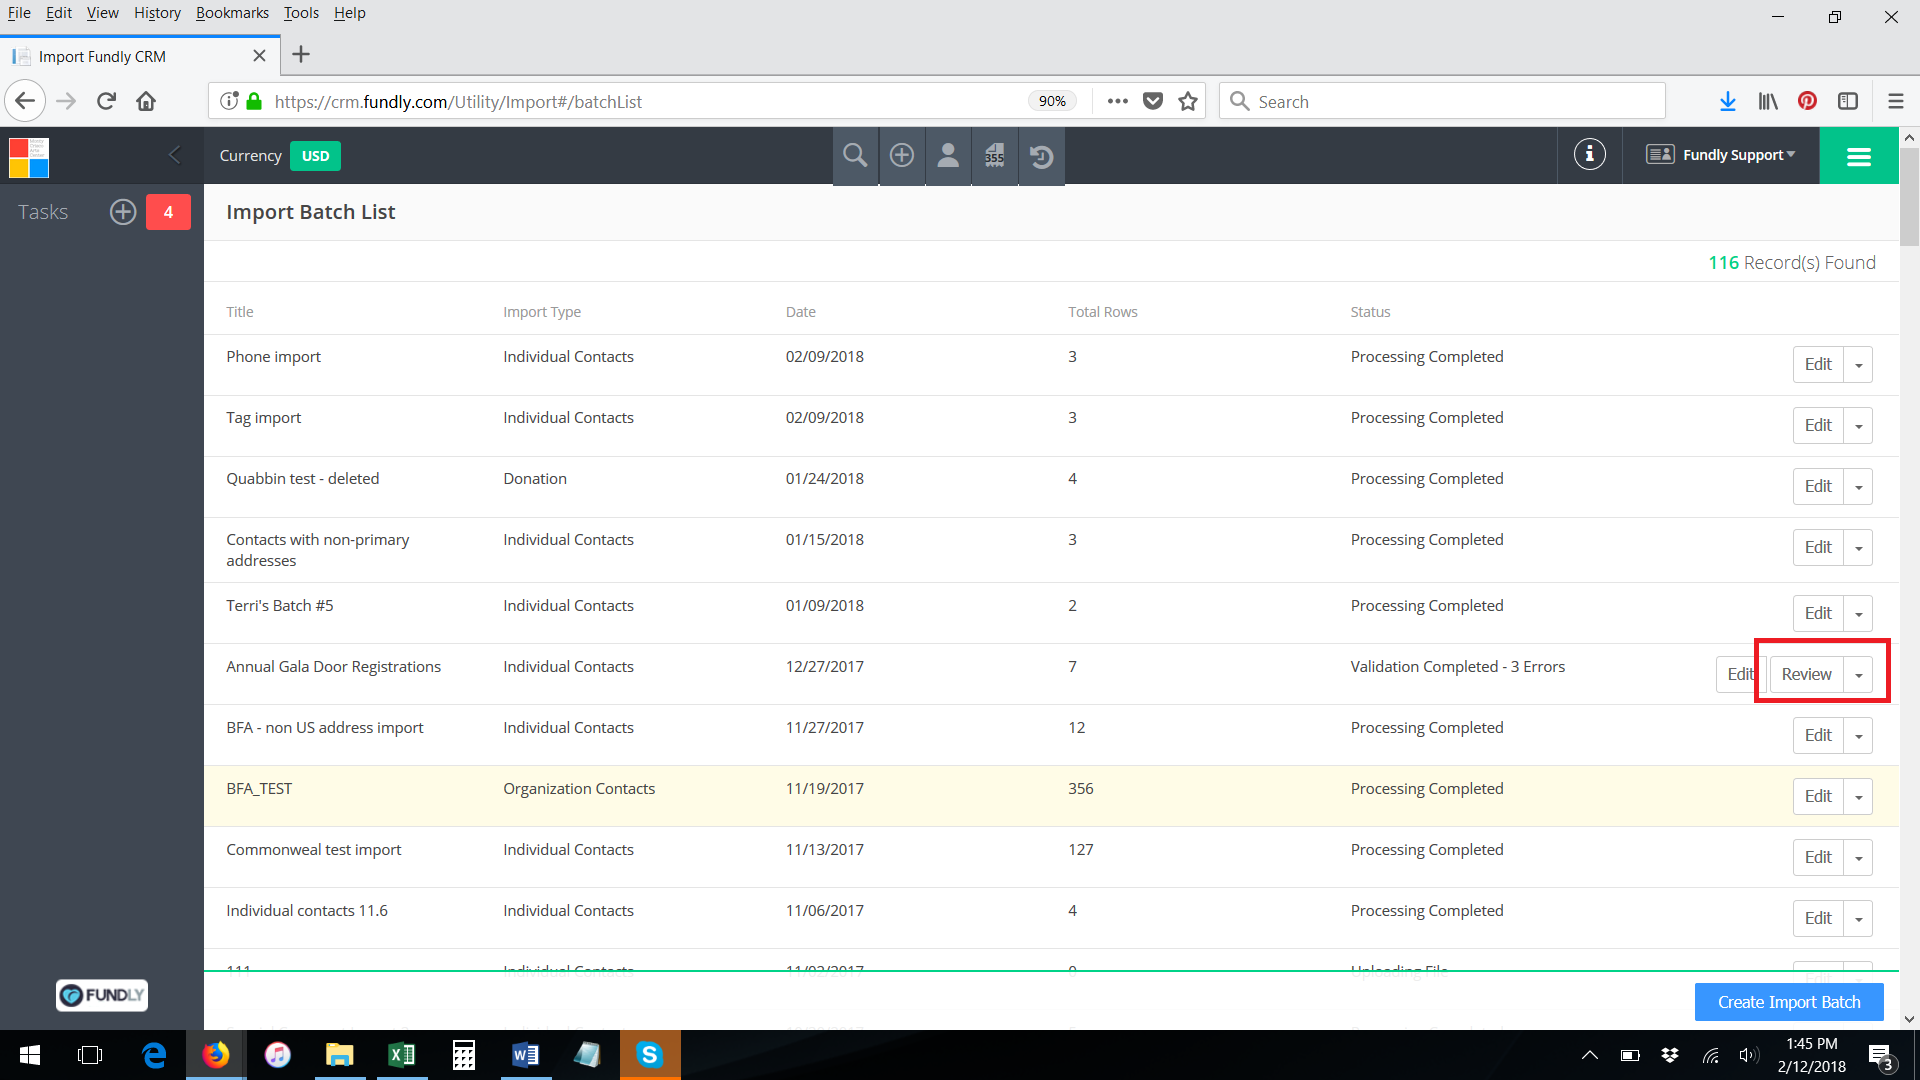
- If there are errors in your file, the system will alert you. If some of the rows were able to import successfully, your batch will have been split and the titles changed to reflect this. The batch with (Batch 1) in the title will include all rows processed successfully. The batch with (Batch 2) in the title will include only the rows with validation errors.
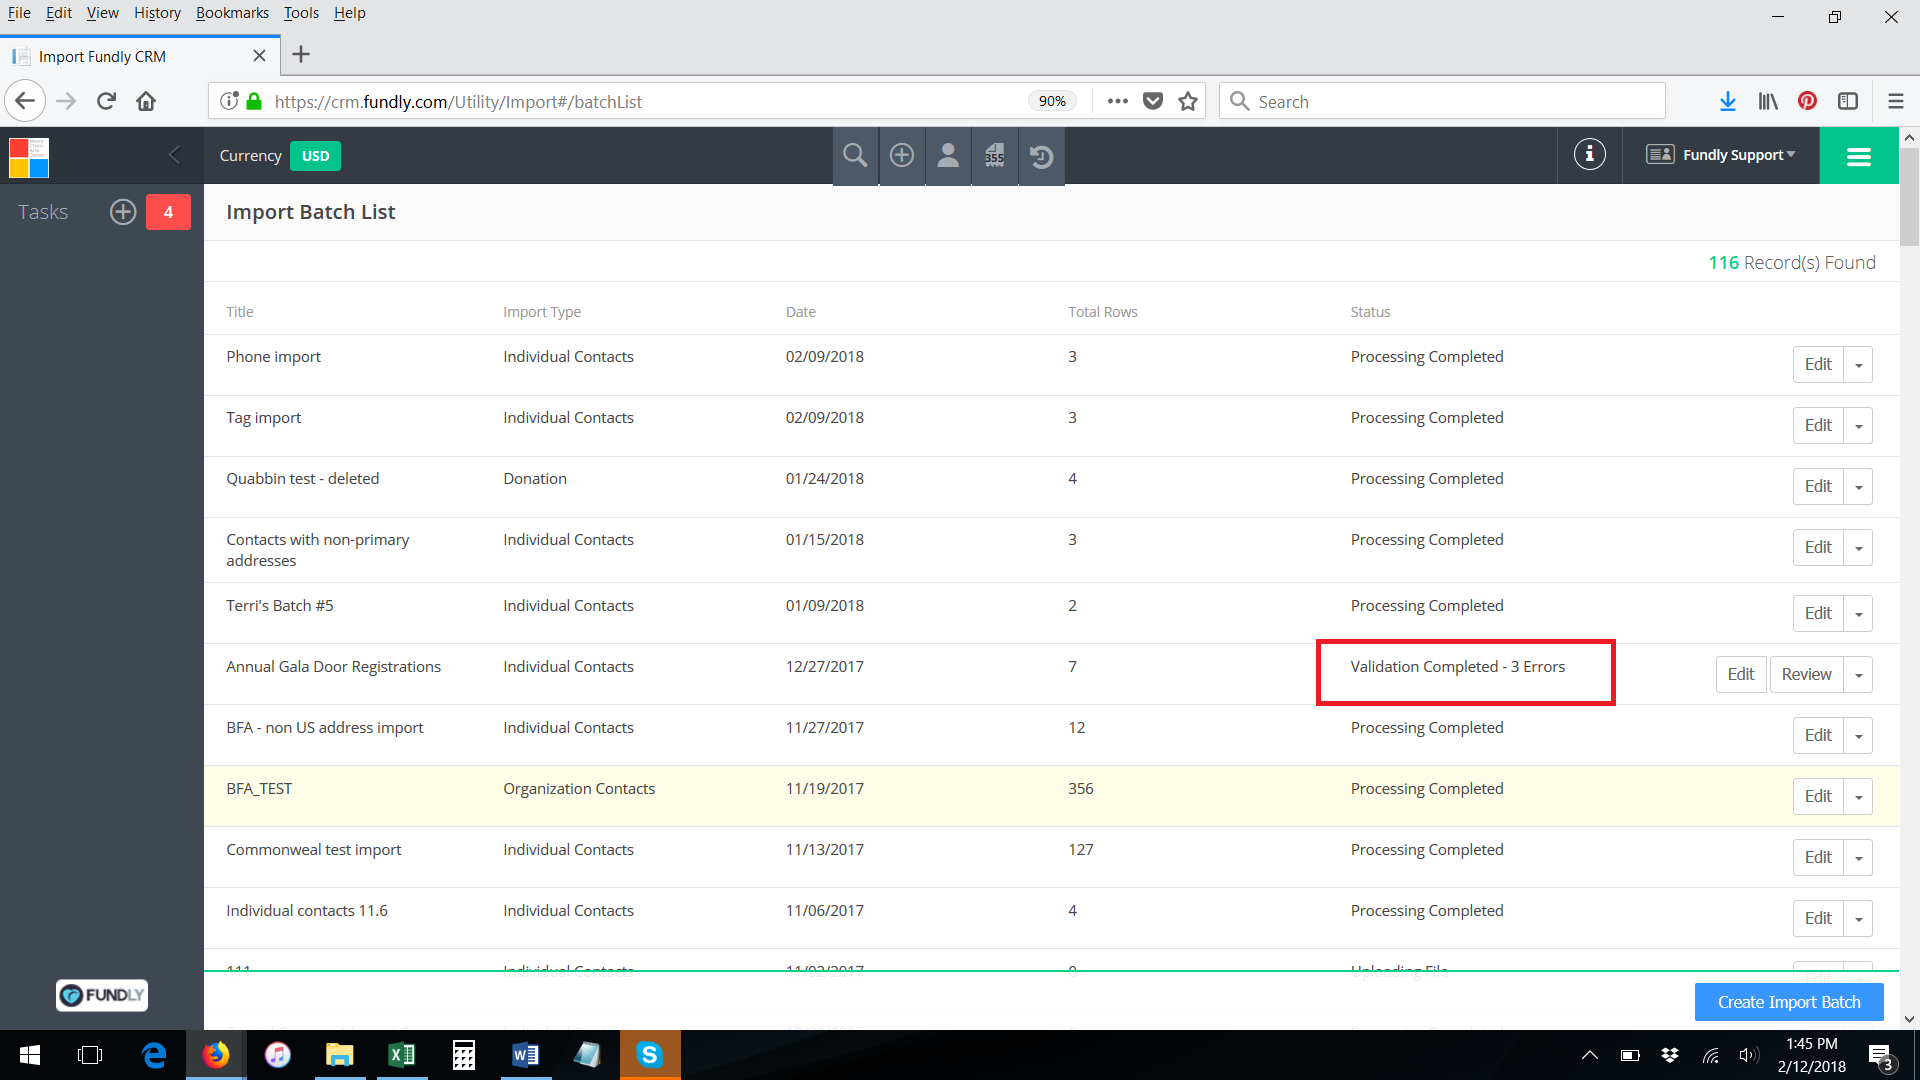
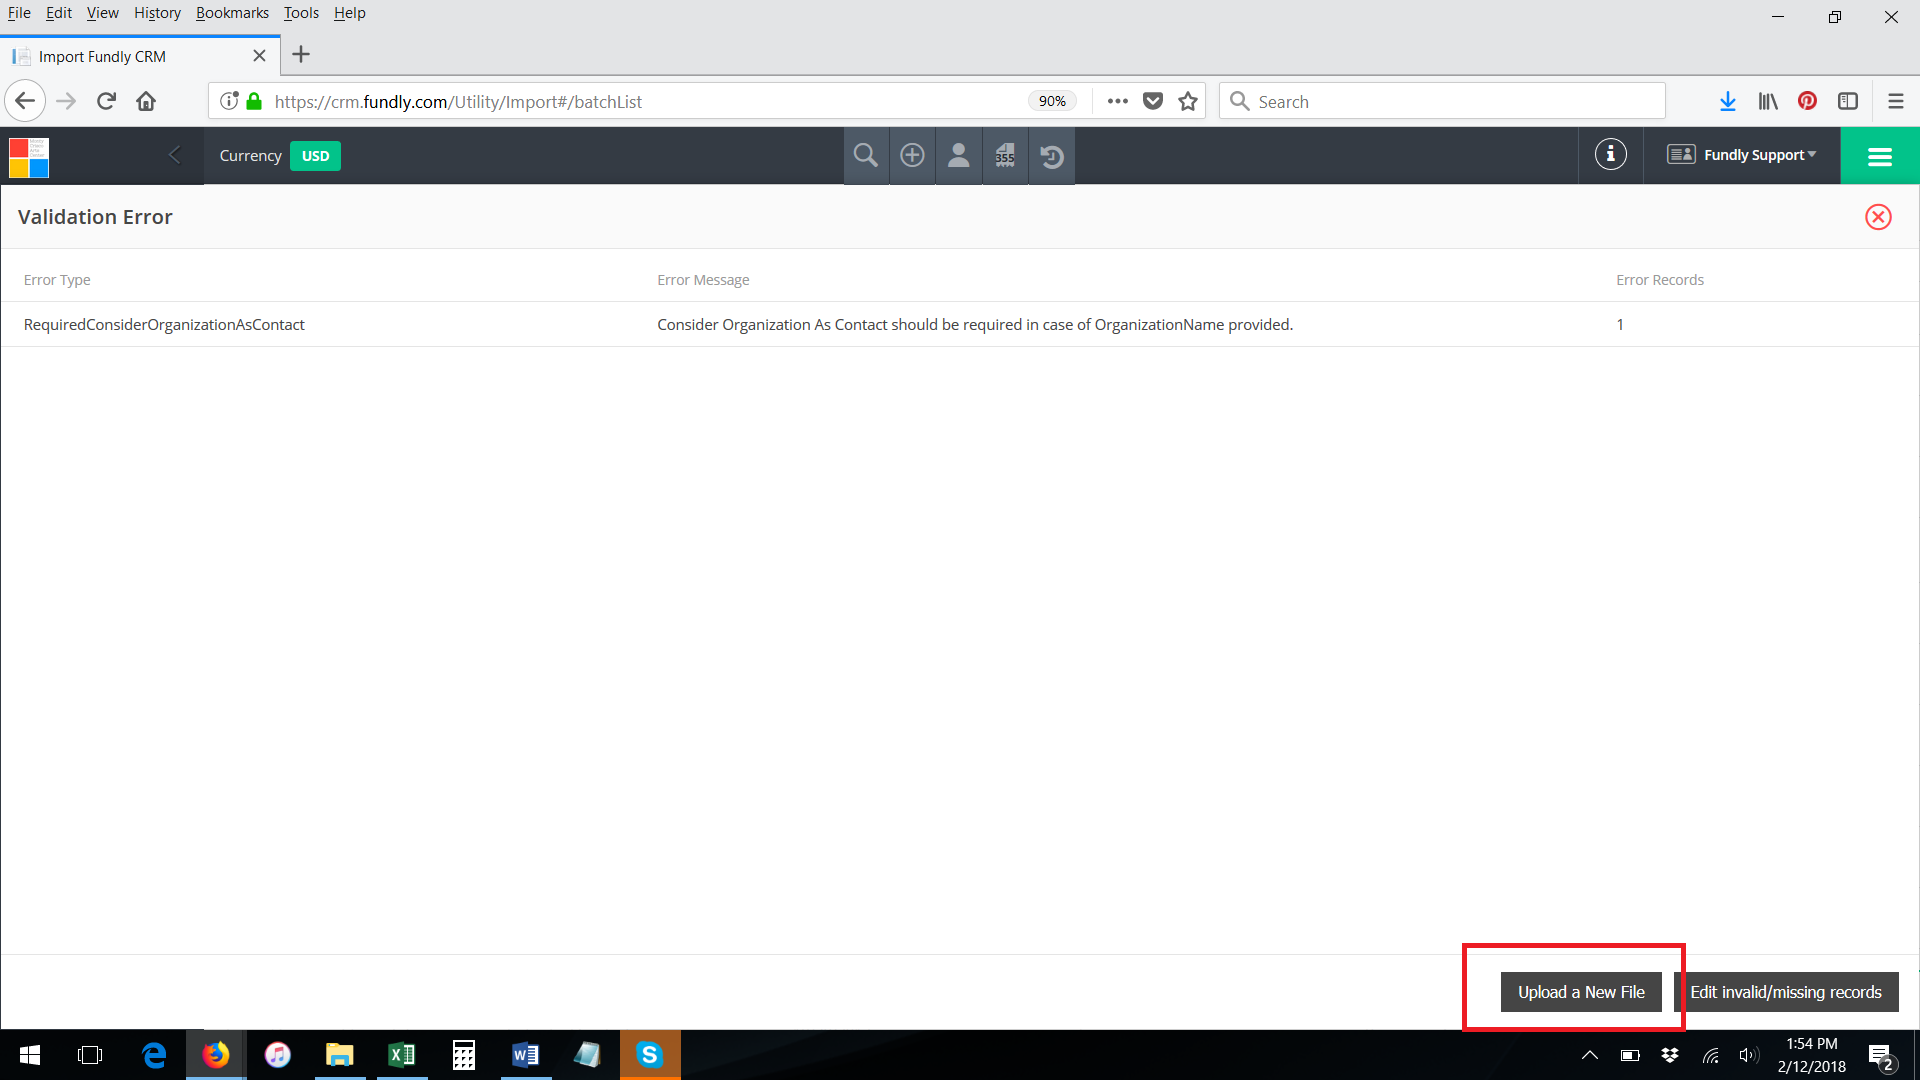
- Click the Review button to see what the errors are.
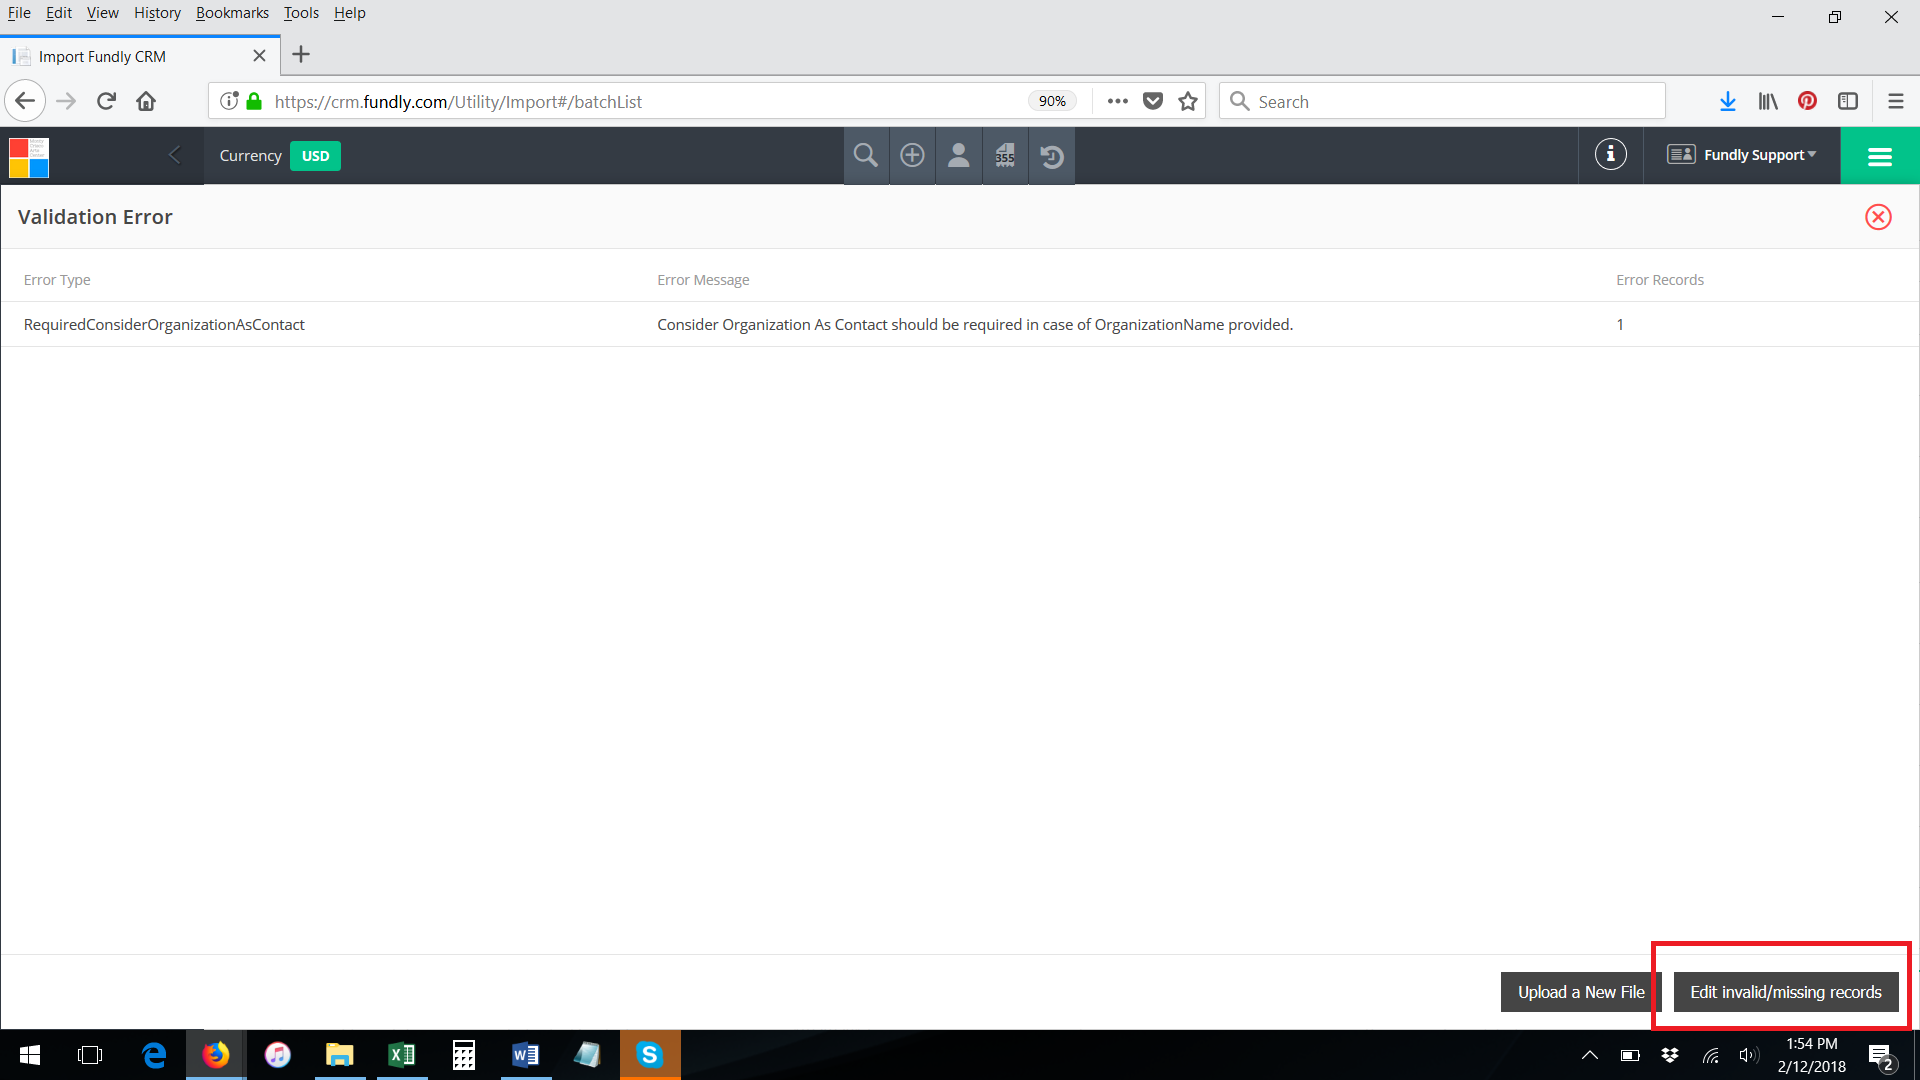
- If there are a small amount of errors, you can correct the records one at a time by clicking Edit Invalid/Missing Records in the bottom right.
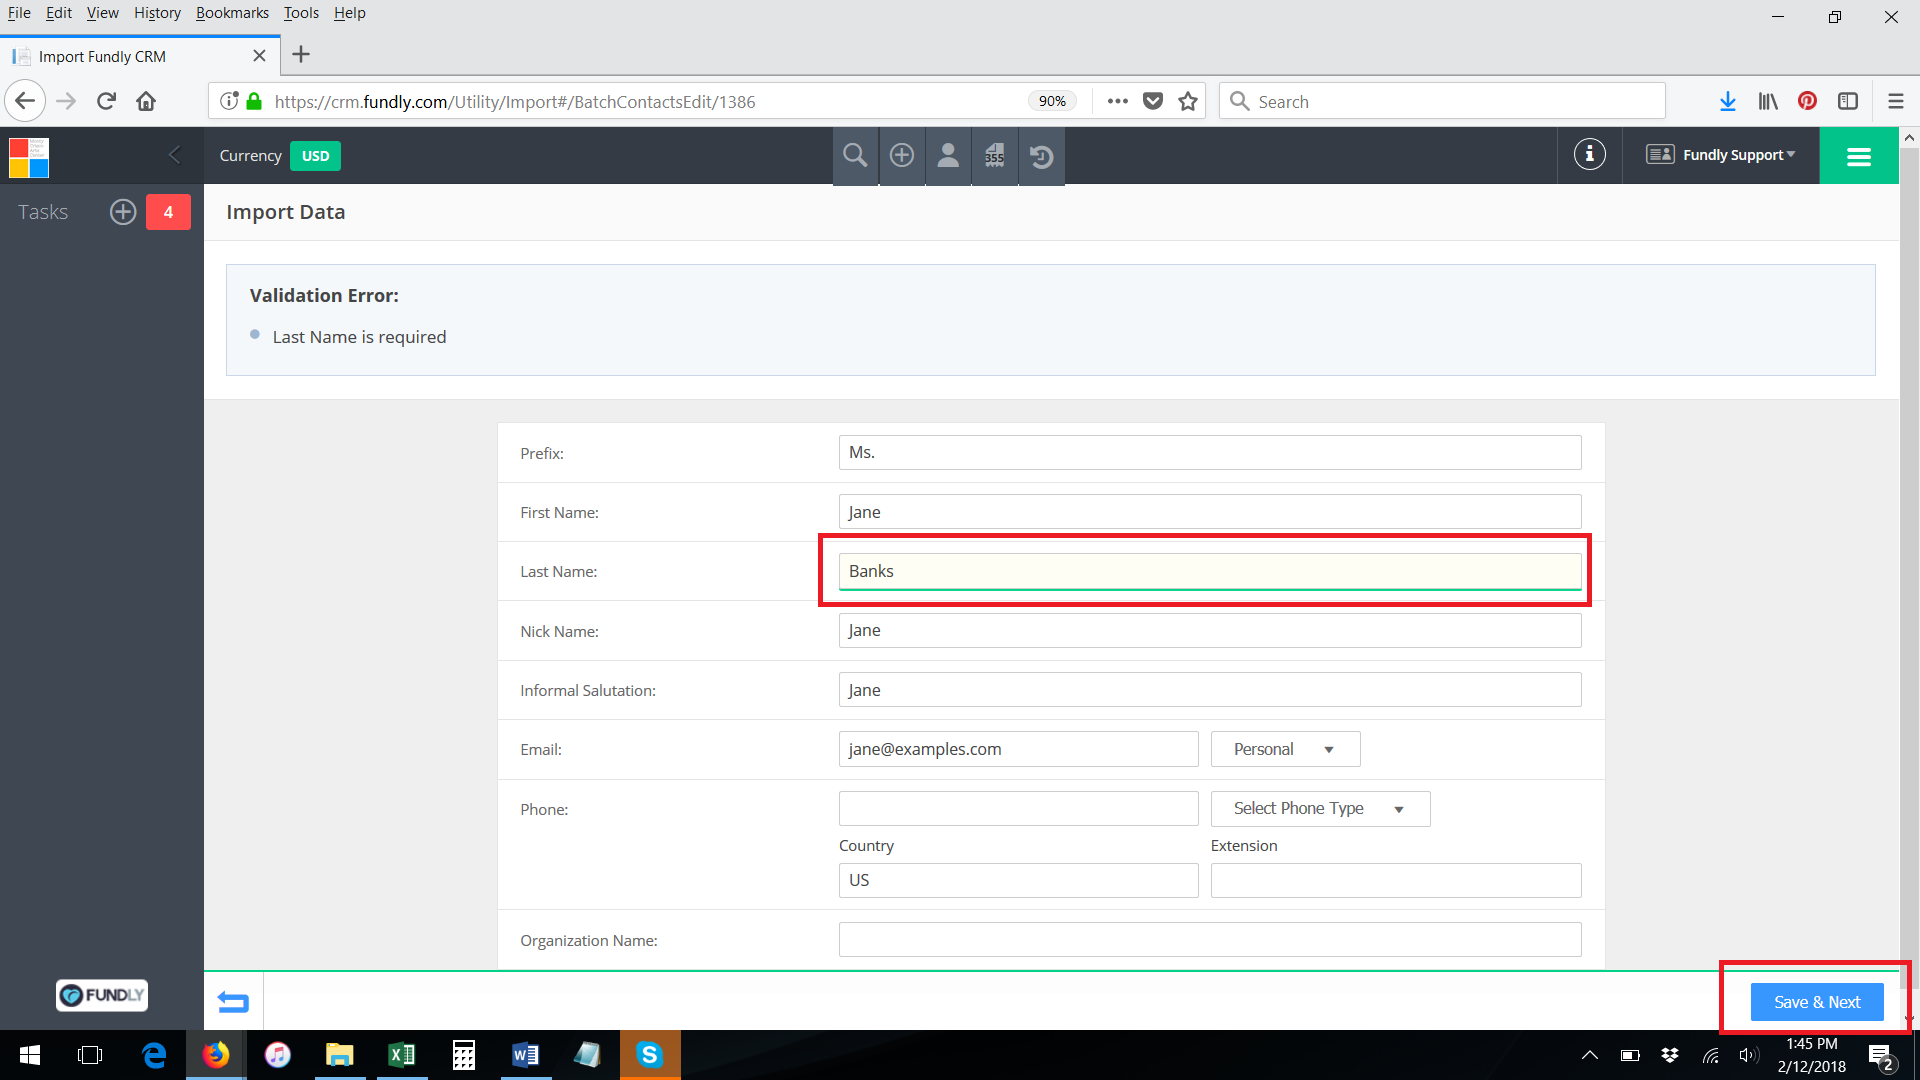
- Correct each record based on the error listed and then click Save and Next.

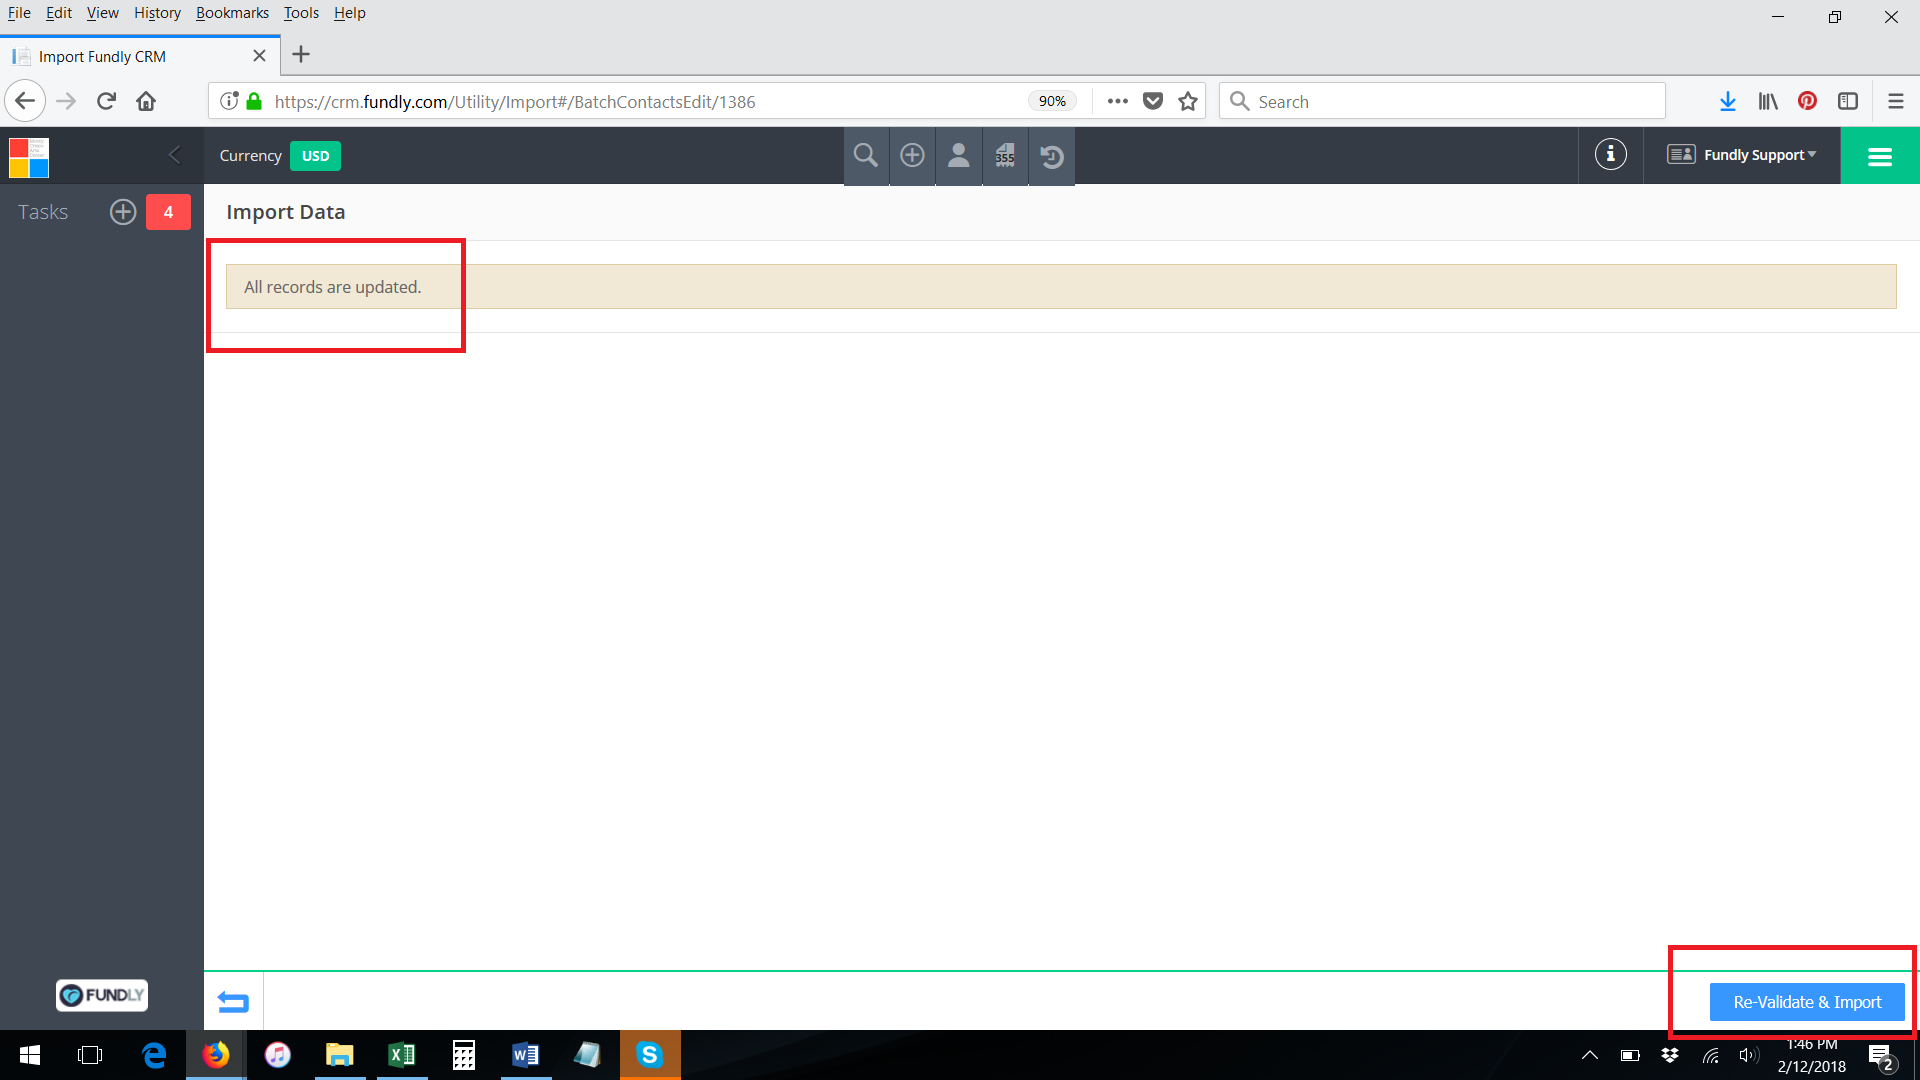
- When you finish correcting all records, choose Re-Validate and Import.
- If there are a large number of errors, it may be easier to correct the data on your spreadsheet and try again. Choose Upload a New File from the lower right in this case. If your batch was split (some of the rows processed successfully), refer to the email you received when the batch partially failed. This will include a CSV file with all the rows with validation errors. Edit this file (NOT the original file) and re-upload the file. If you upload the original file when correcting a split batch, you will create duplicate records.
Comments
0 comments
Article is closed for comments.