Meal Planner: Configure Packages
- Packages are the foods/menu items available for each meal delivery. Packages (menu items) are combined to create meals that will be delivered to clients on a specified date.
- Packages/menu items are managed from Fundly Connect. Menu items must first be added under Package Configuration in order to be selectable in the Meal Planner.
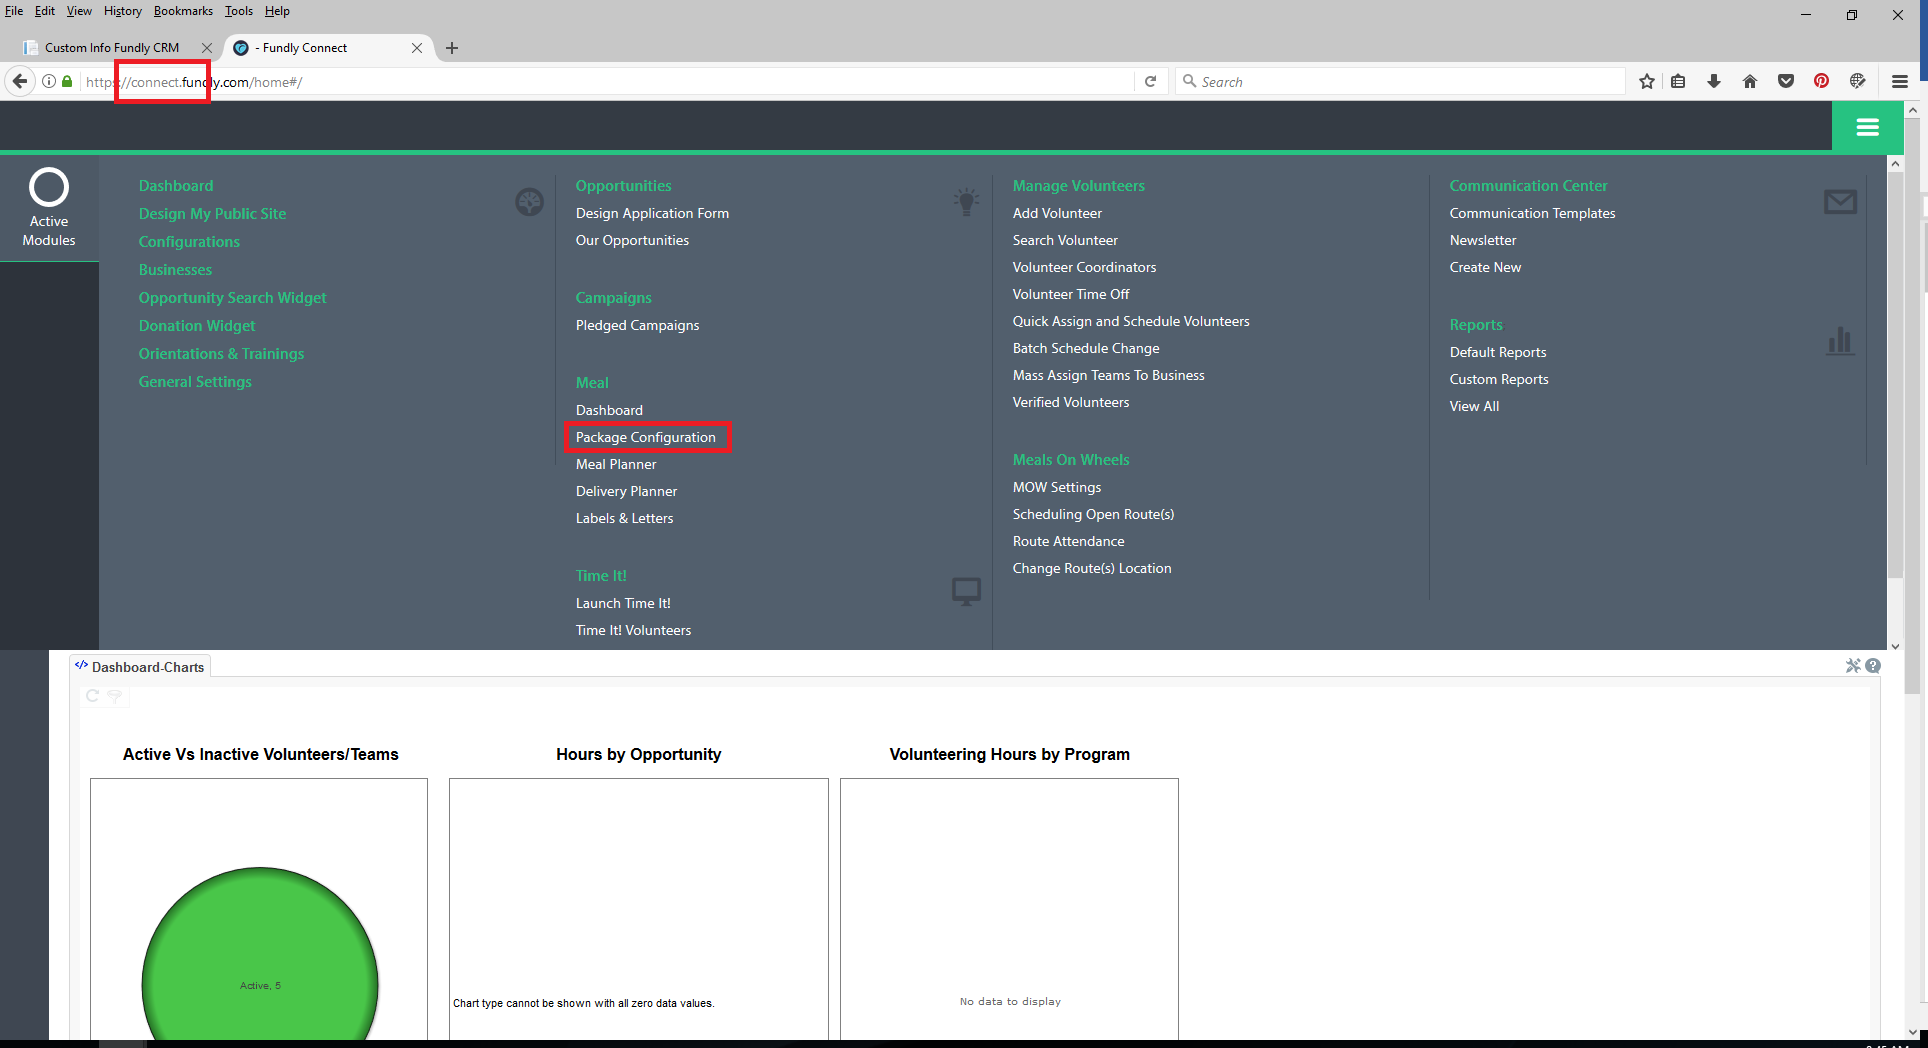
- To begin, log into your Fundly Connect account. From the Main Menu (green button in the upper right hand corner), under Meal, select Package Configuration.
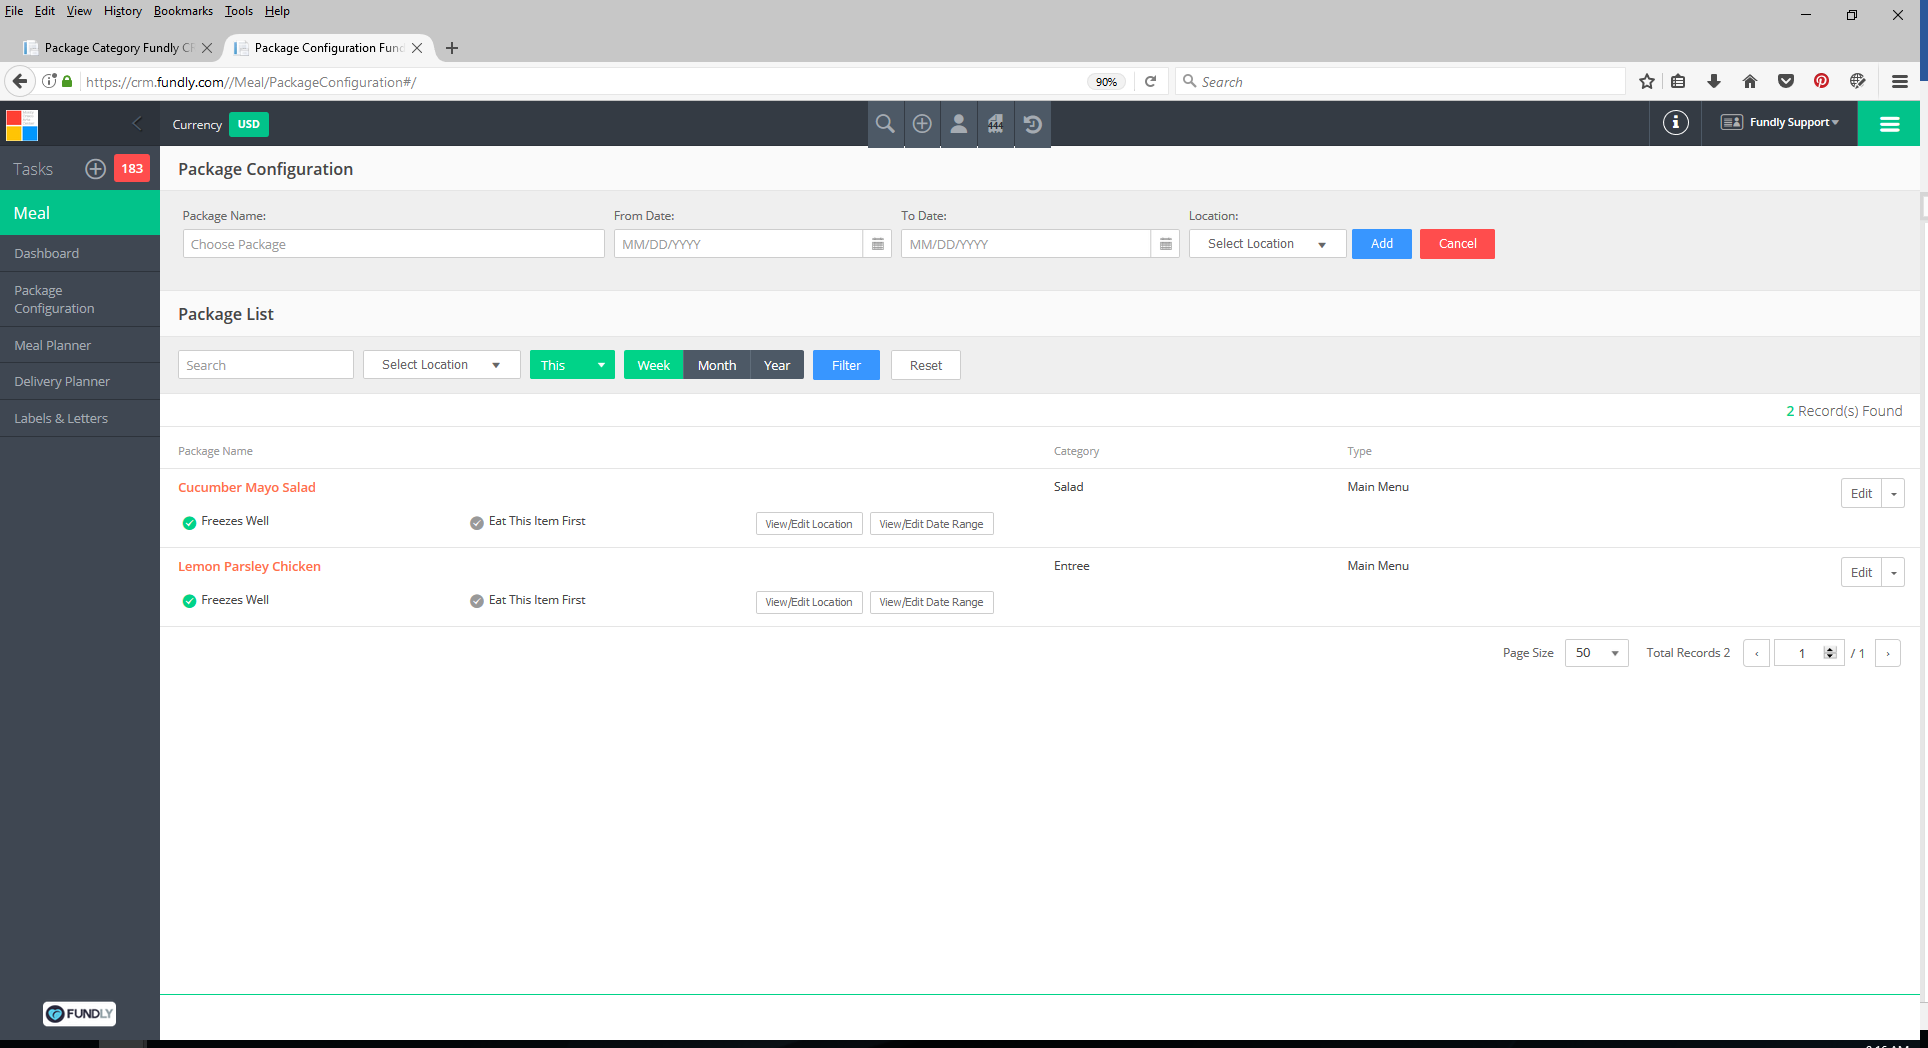
- On the Package Configuration index screen, you will see a list of your currently available/configured packages/food items.
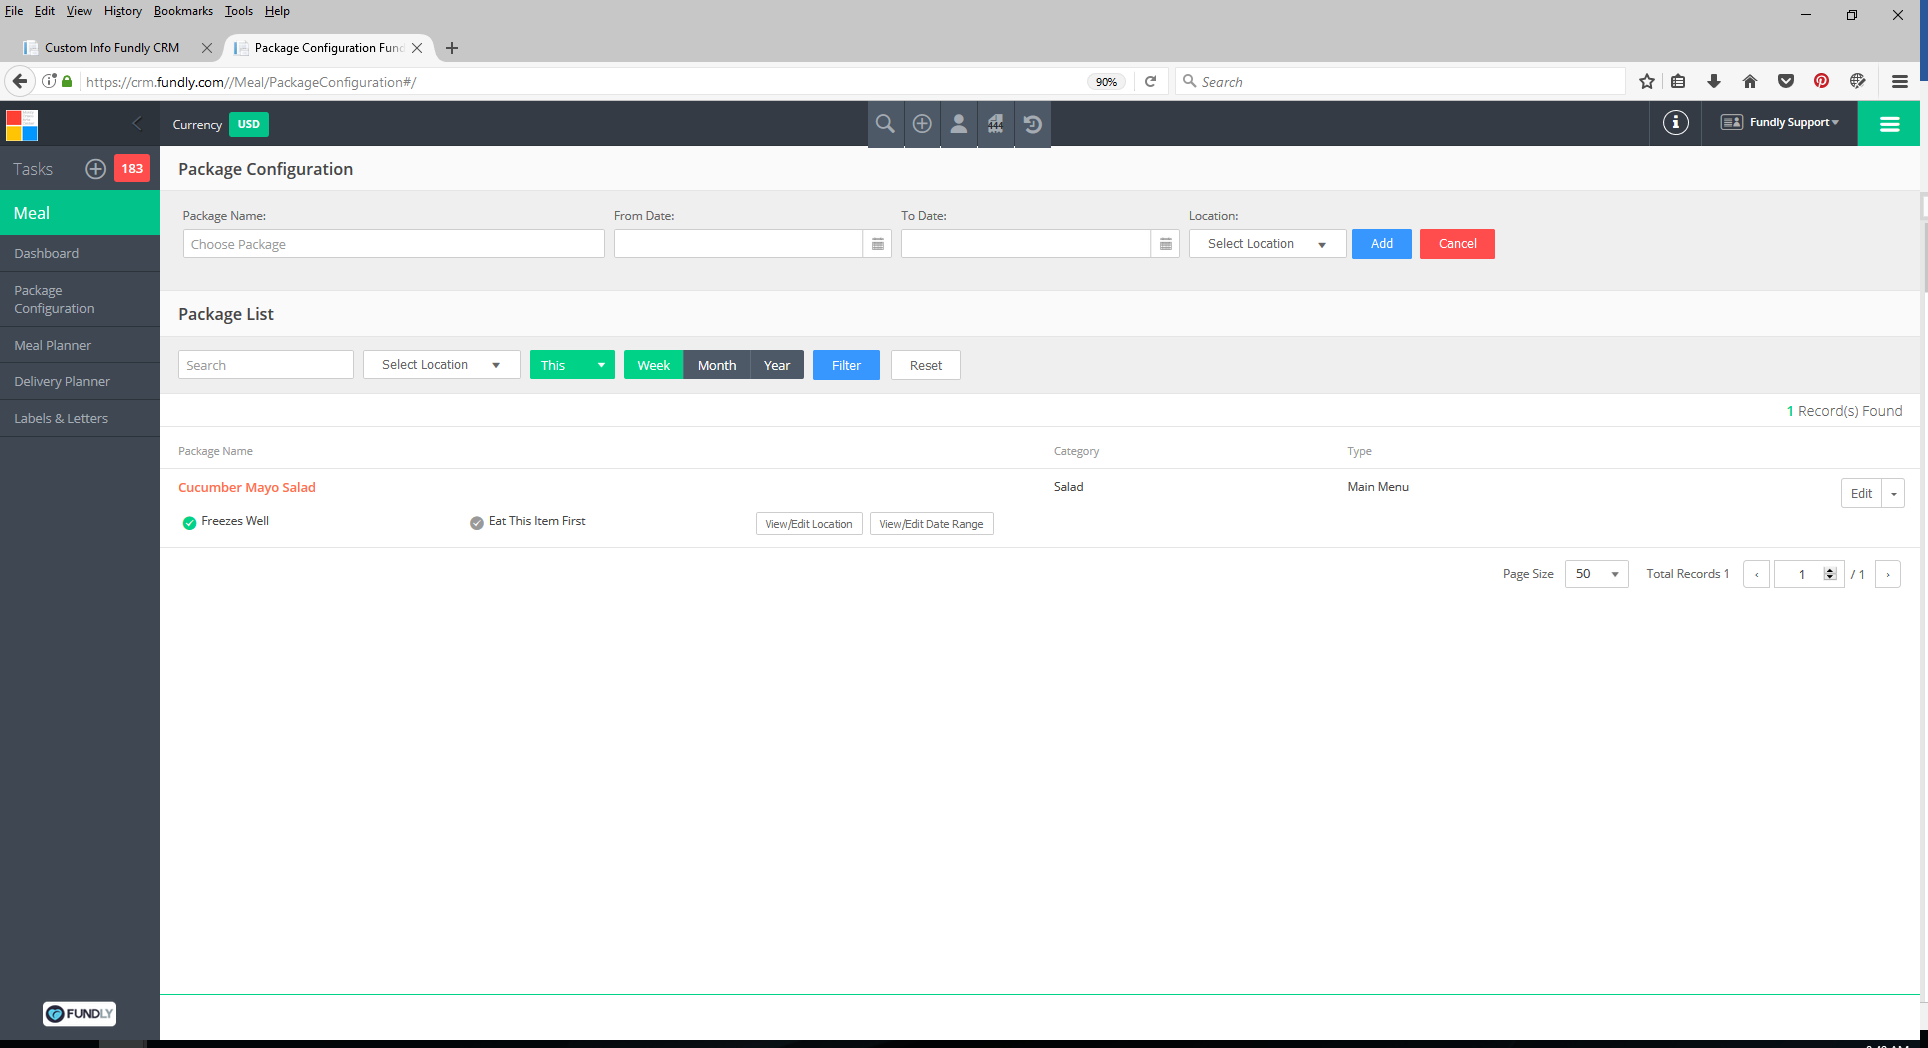
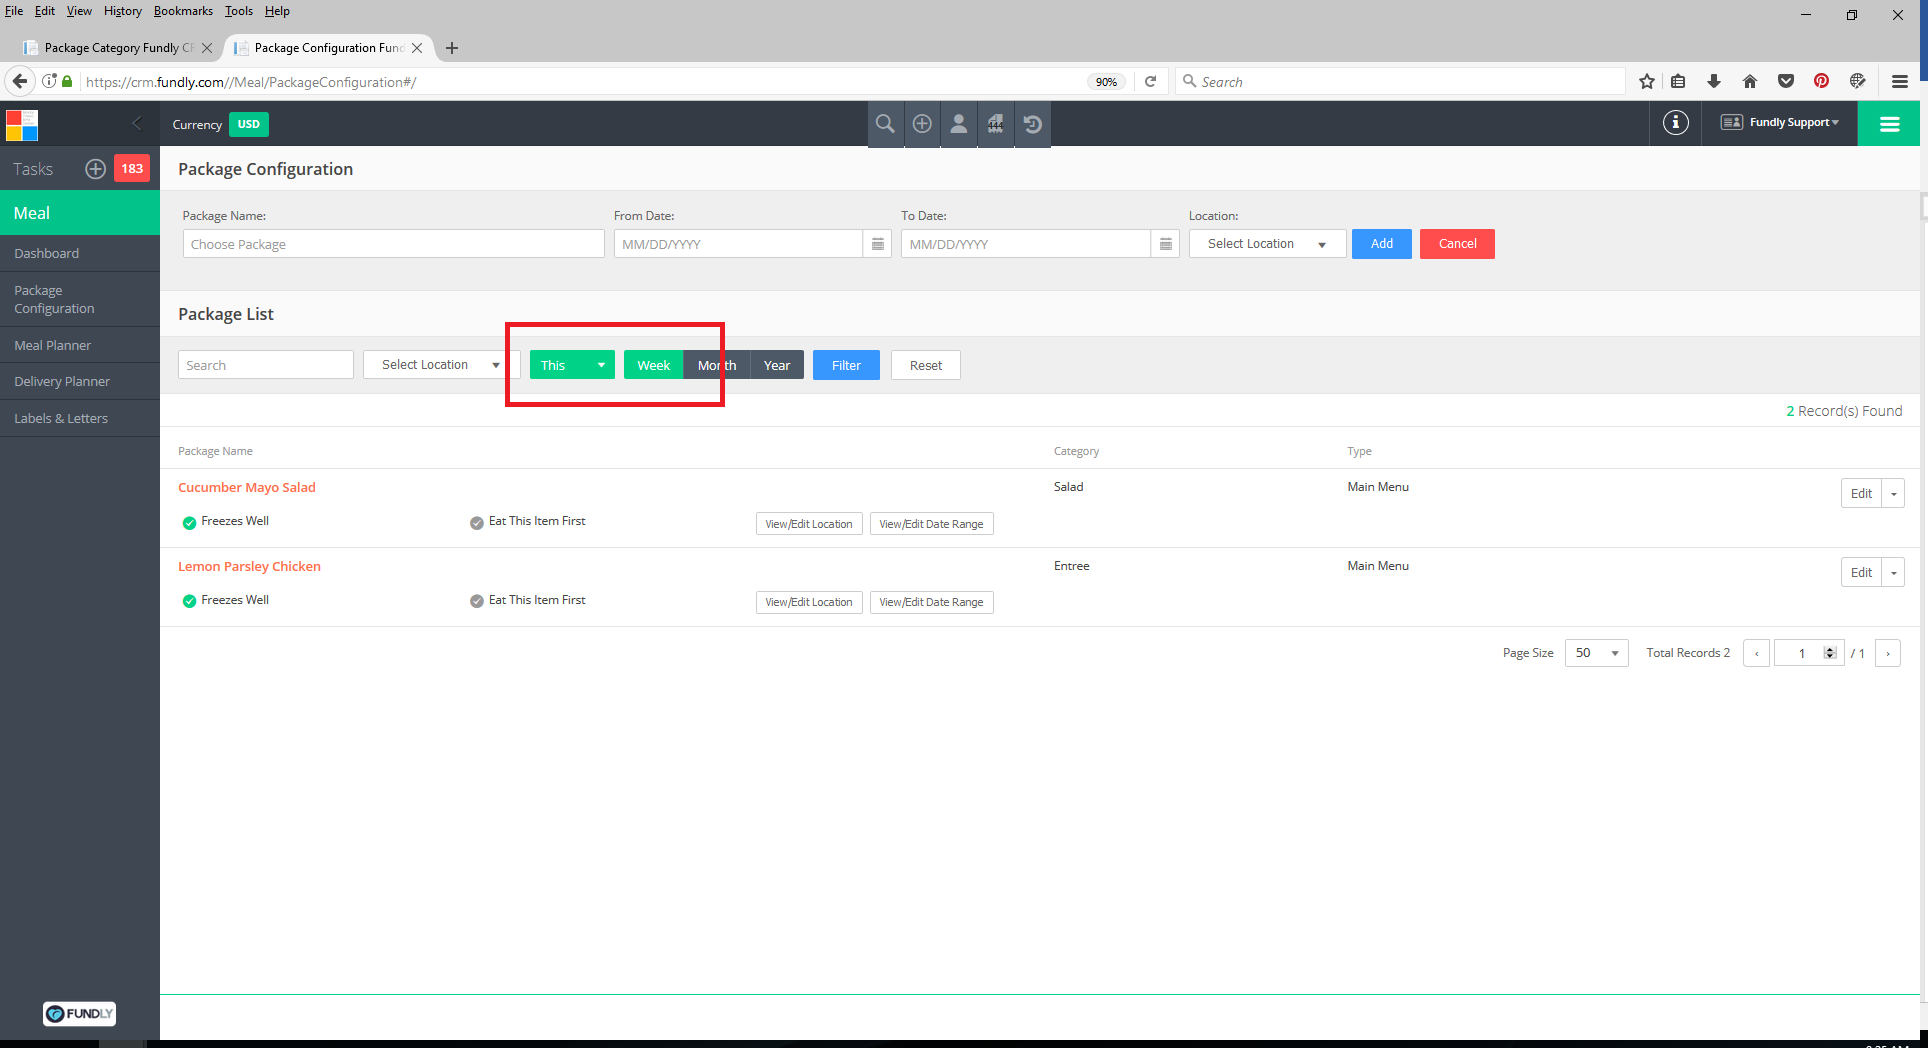
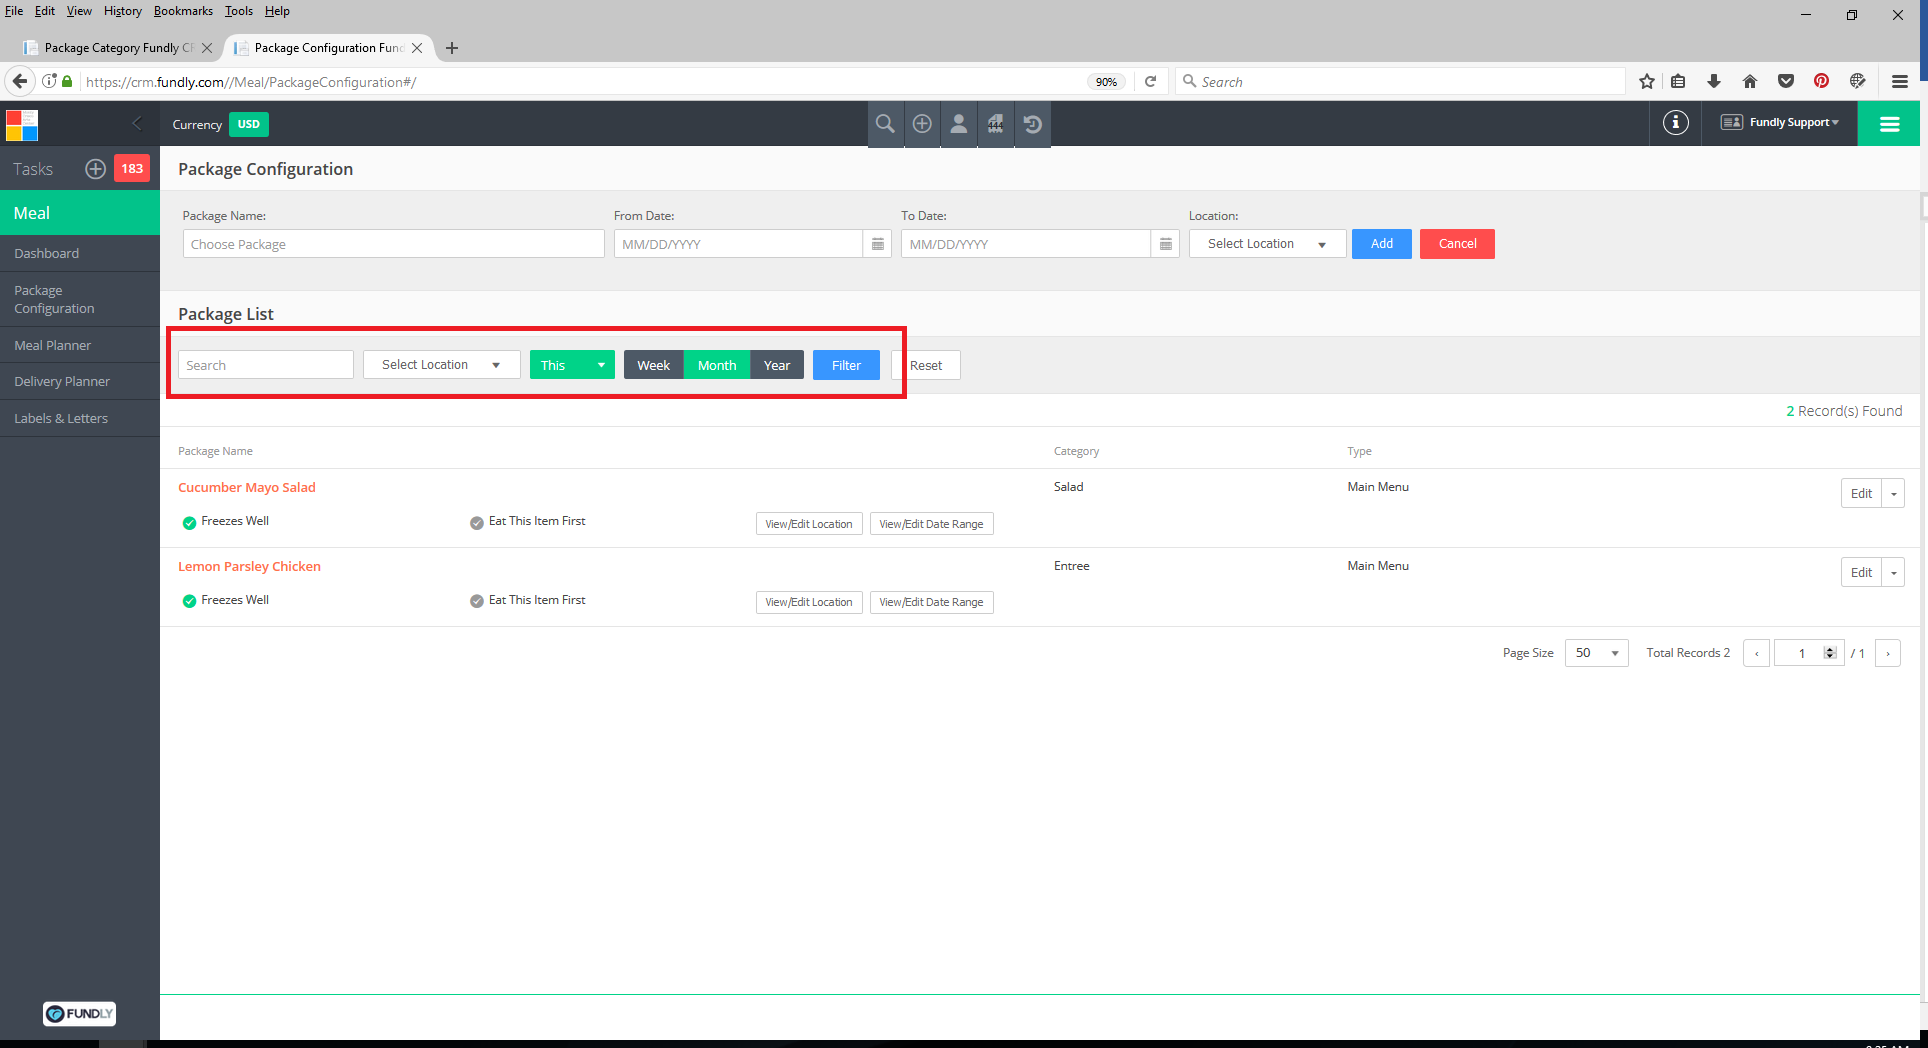
- The list defaults to packages/menu items available for delivery This Week. If you wish to view packages available for other dates or to search/filter the list, fill in the filter fields and click the blue Filter button.
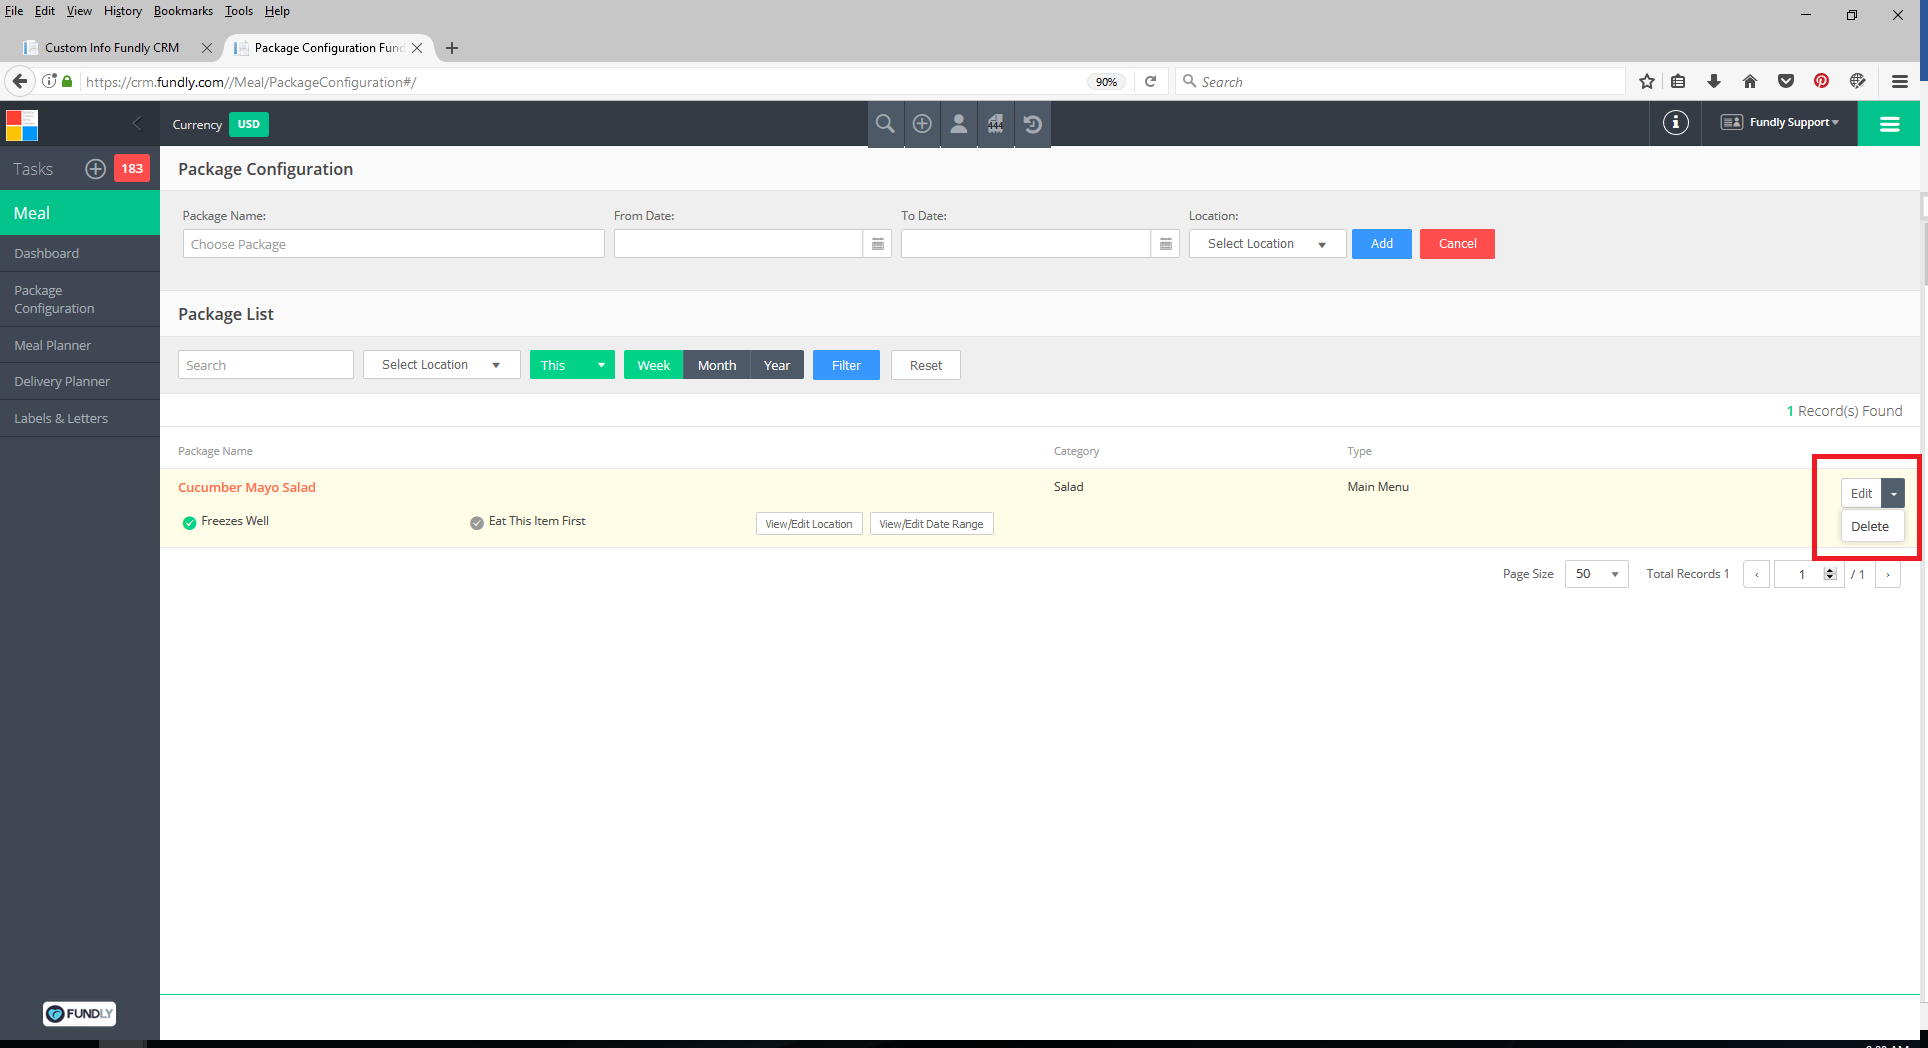
- To edit the package name, type, category, freezes well indicator, and/or eat this item first indicator of any currently configured package, click the drop down to the right of the package item and select Edit.

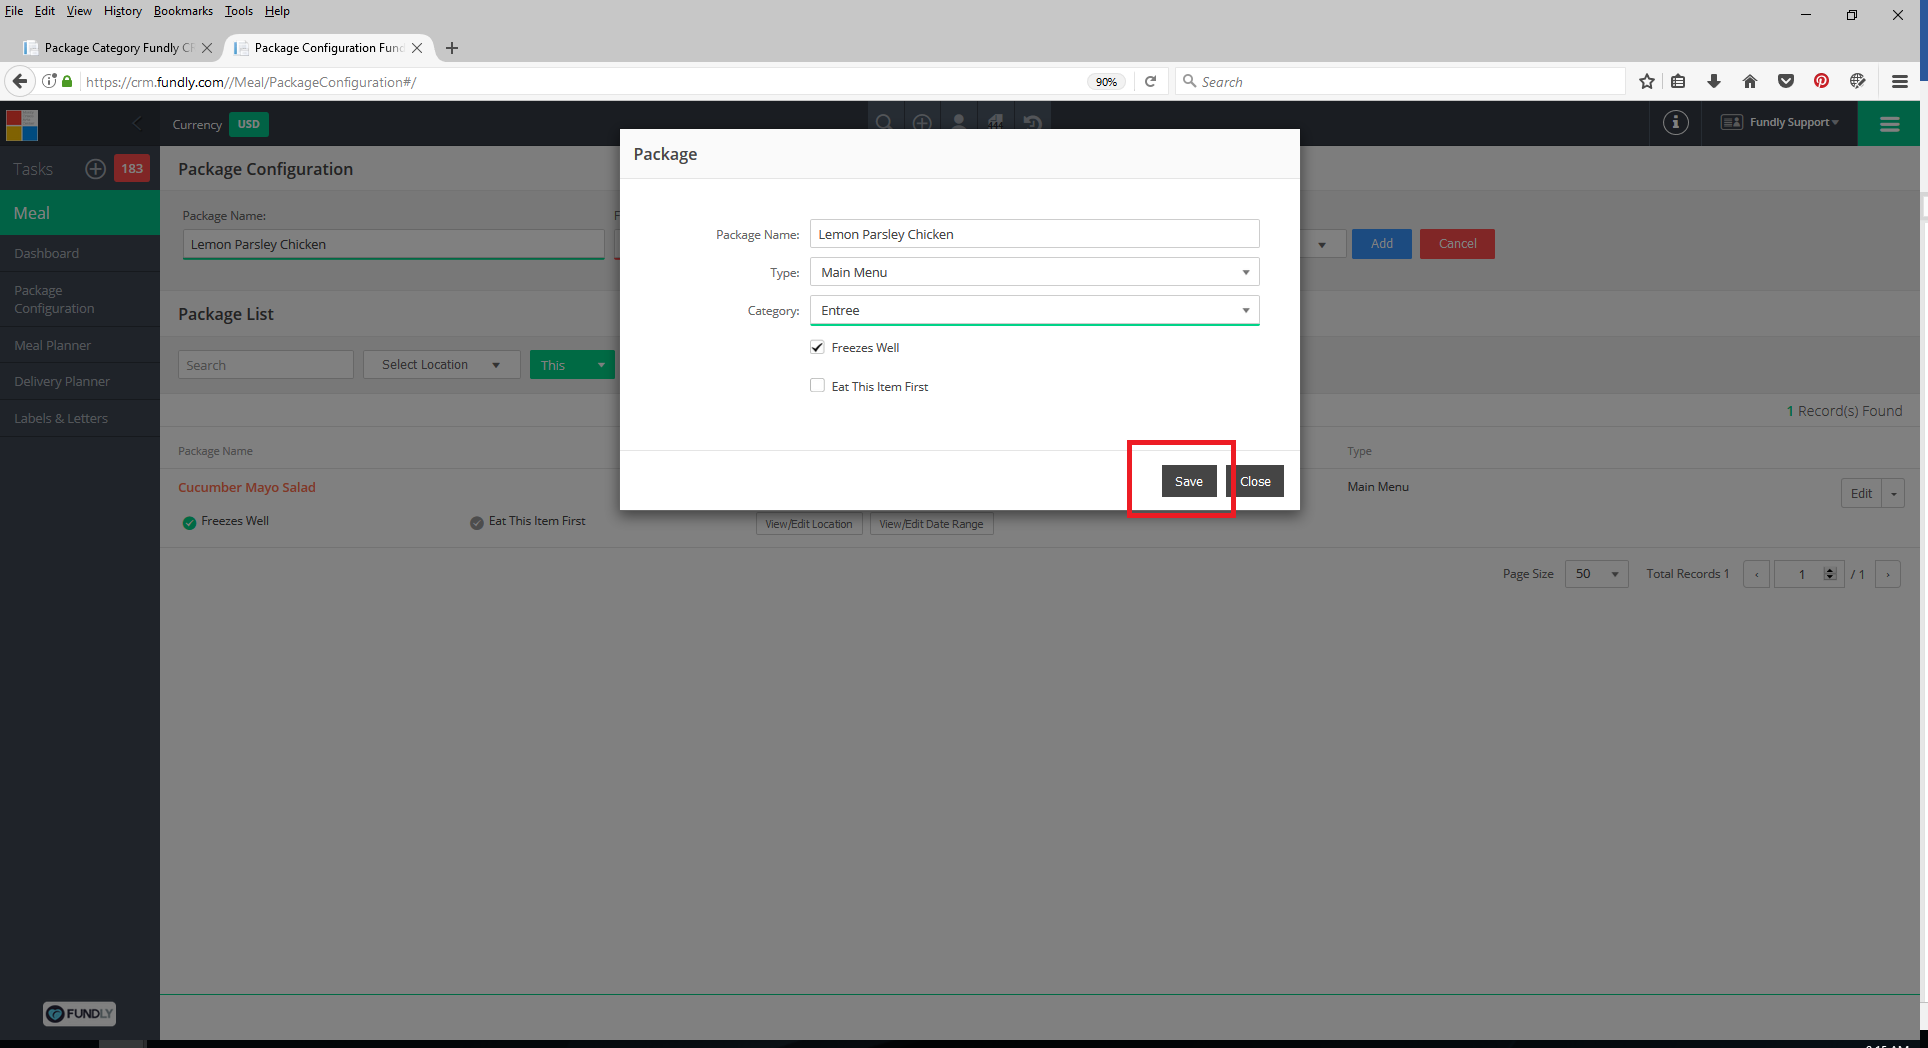
- Make your edits/changes and then click Save.
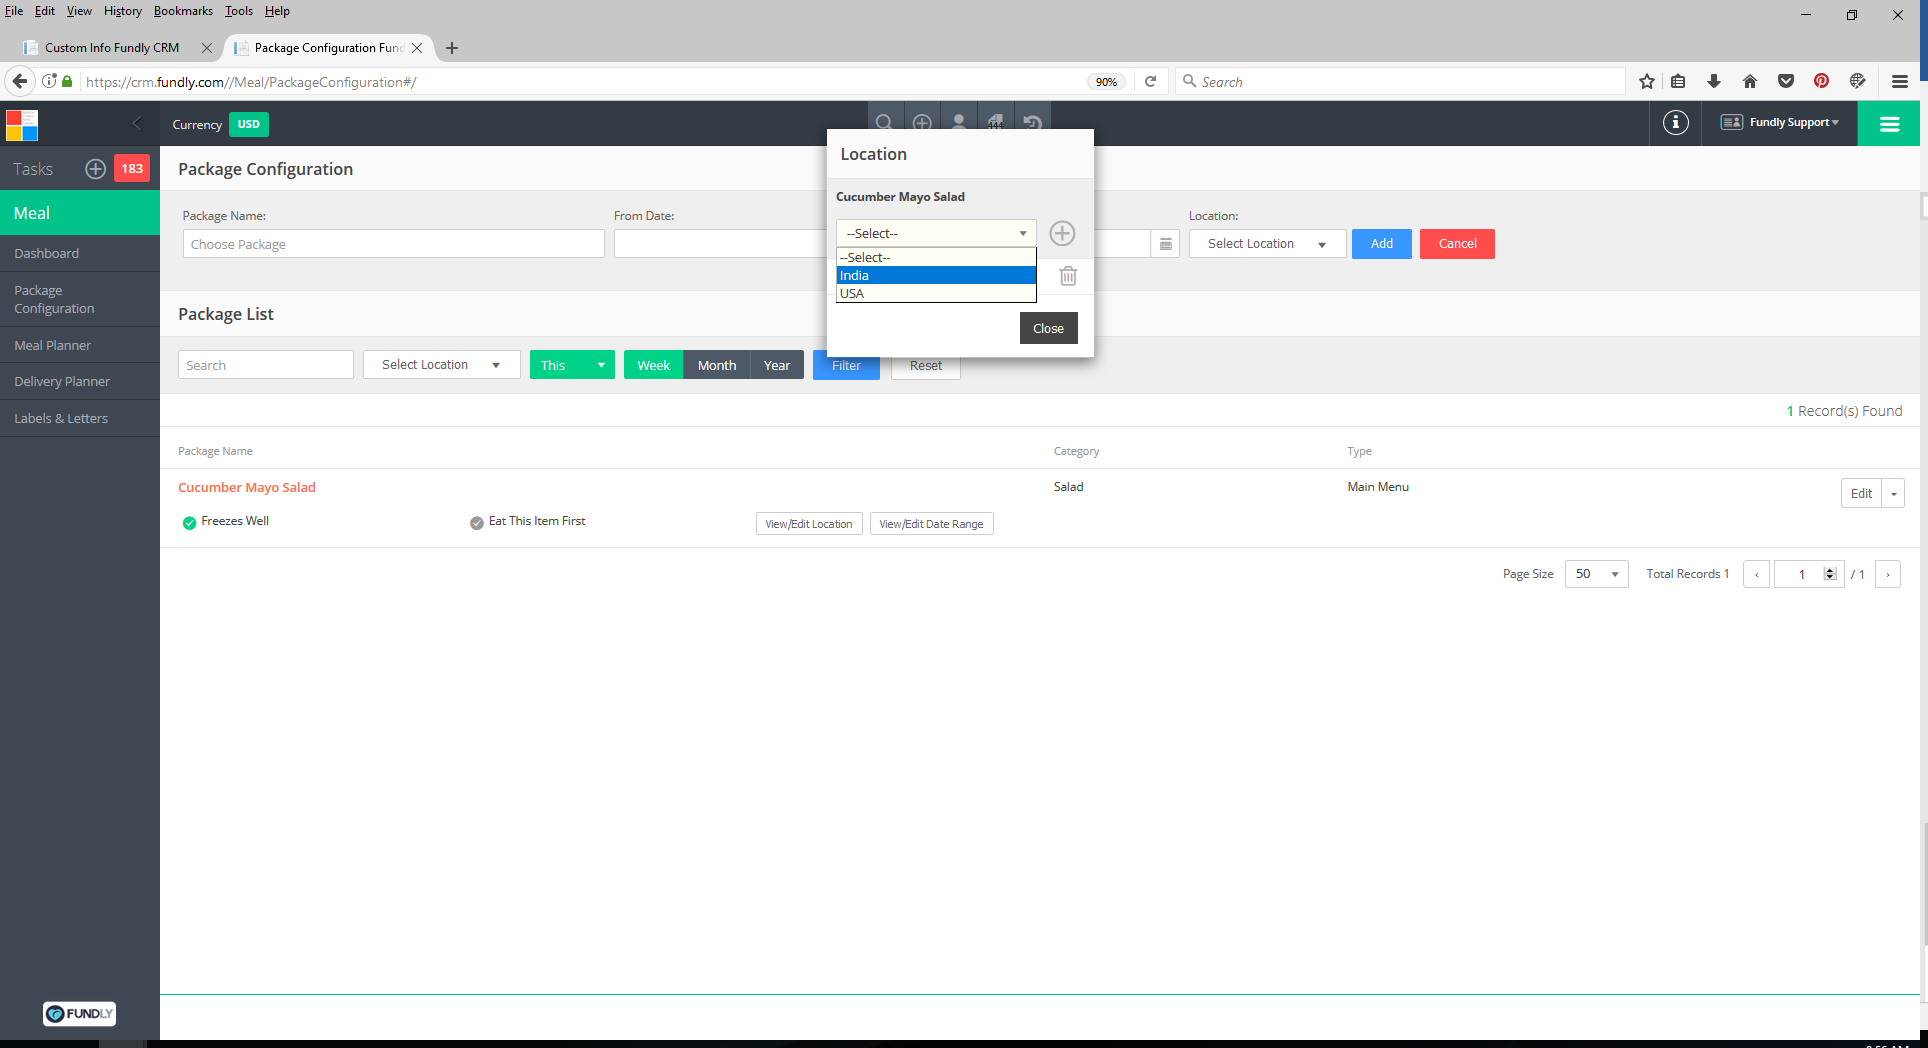
- To edit the location(s) where any currently configured package/menu item is currently available to be delivered to, click the View/Edit Location

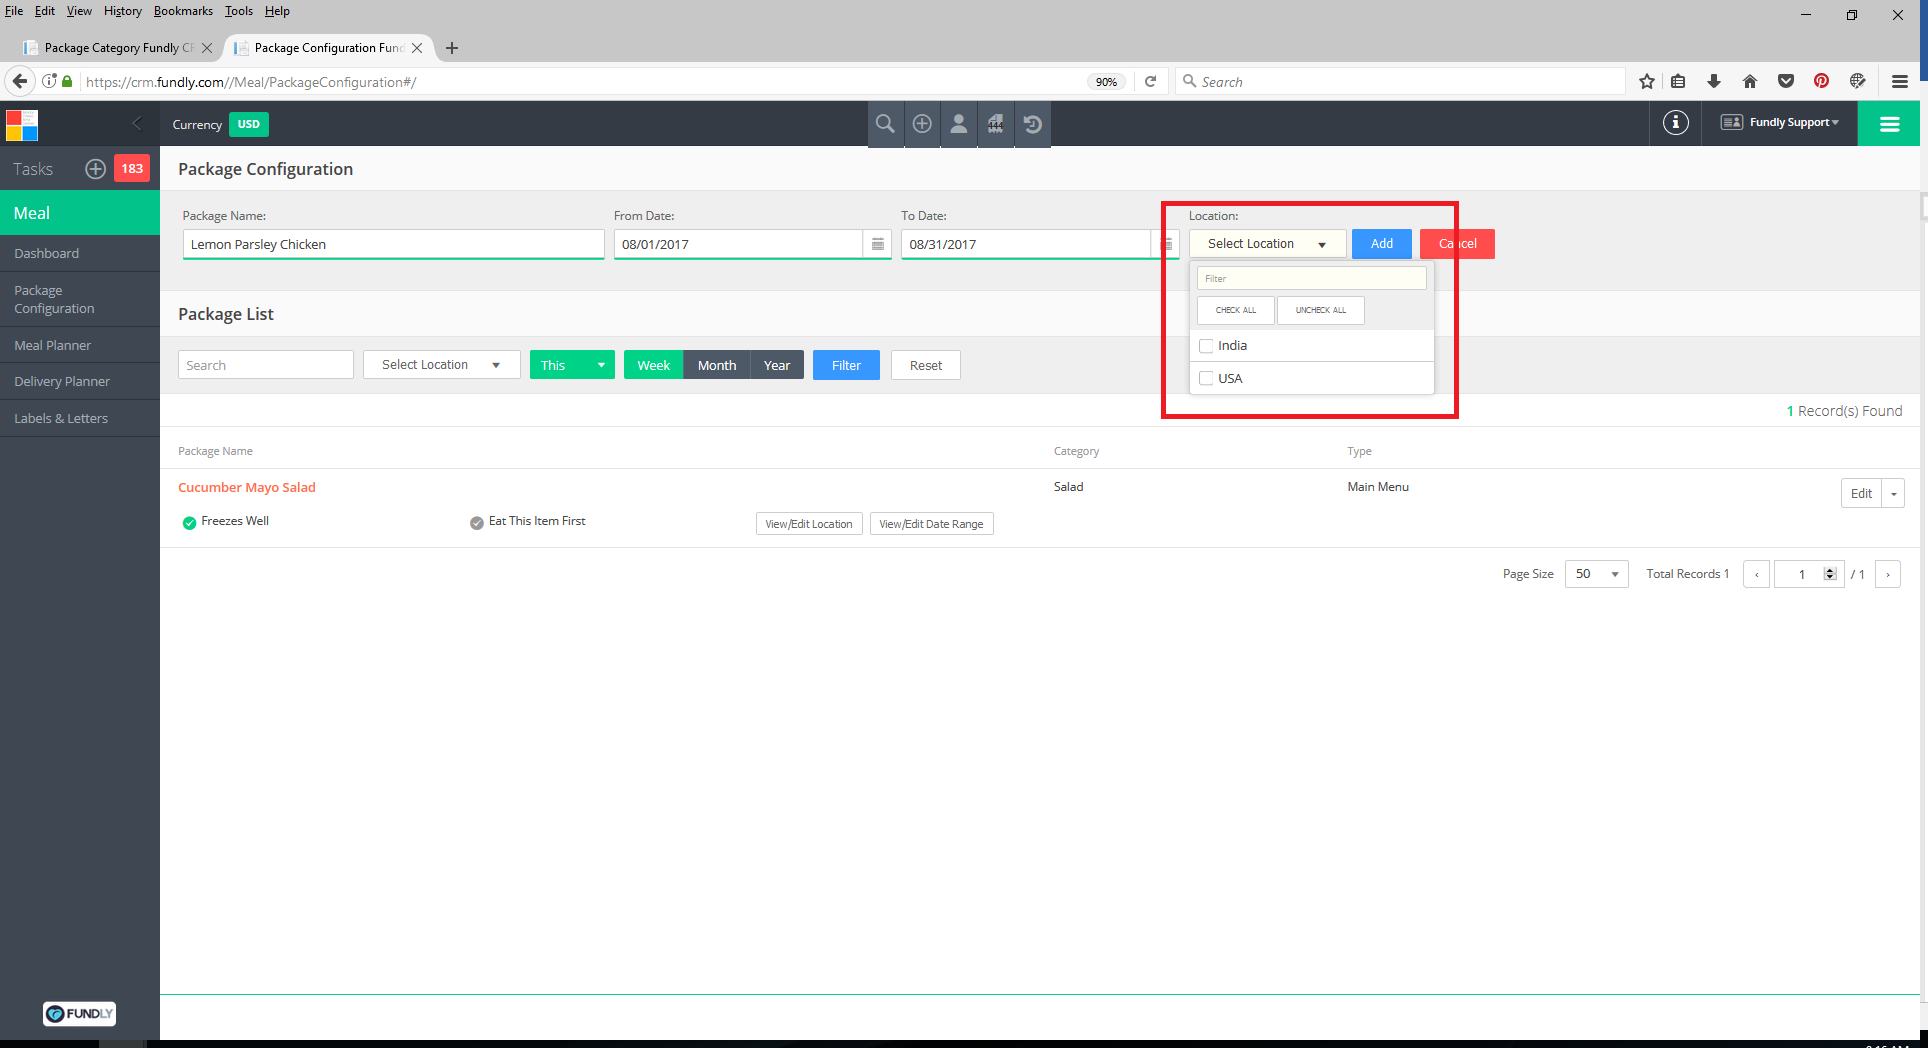
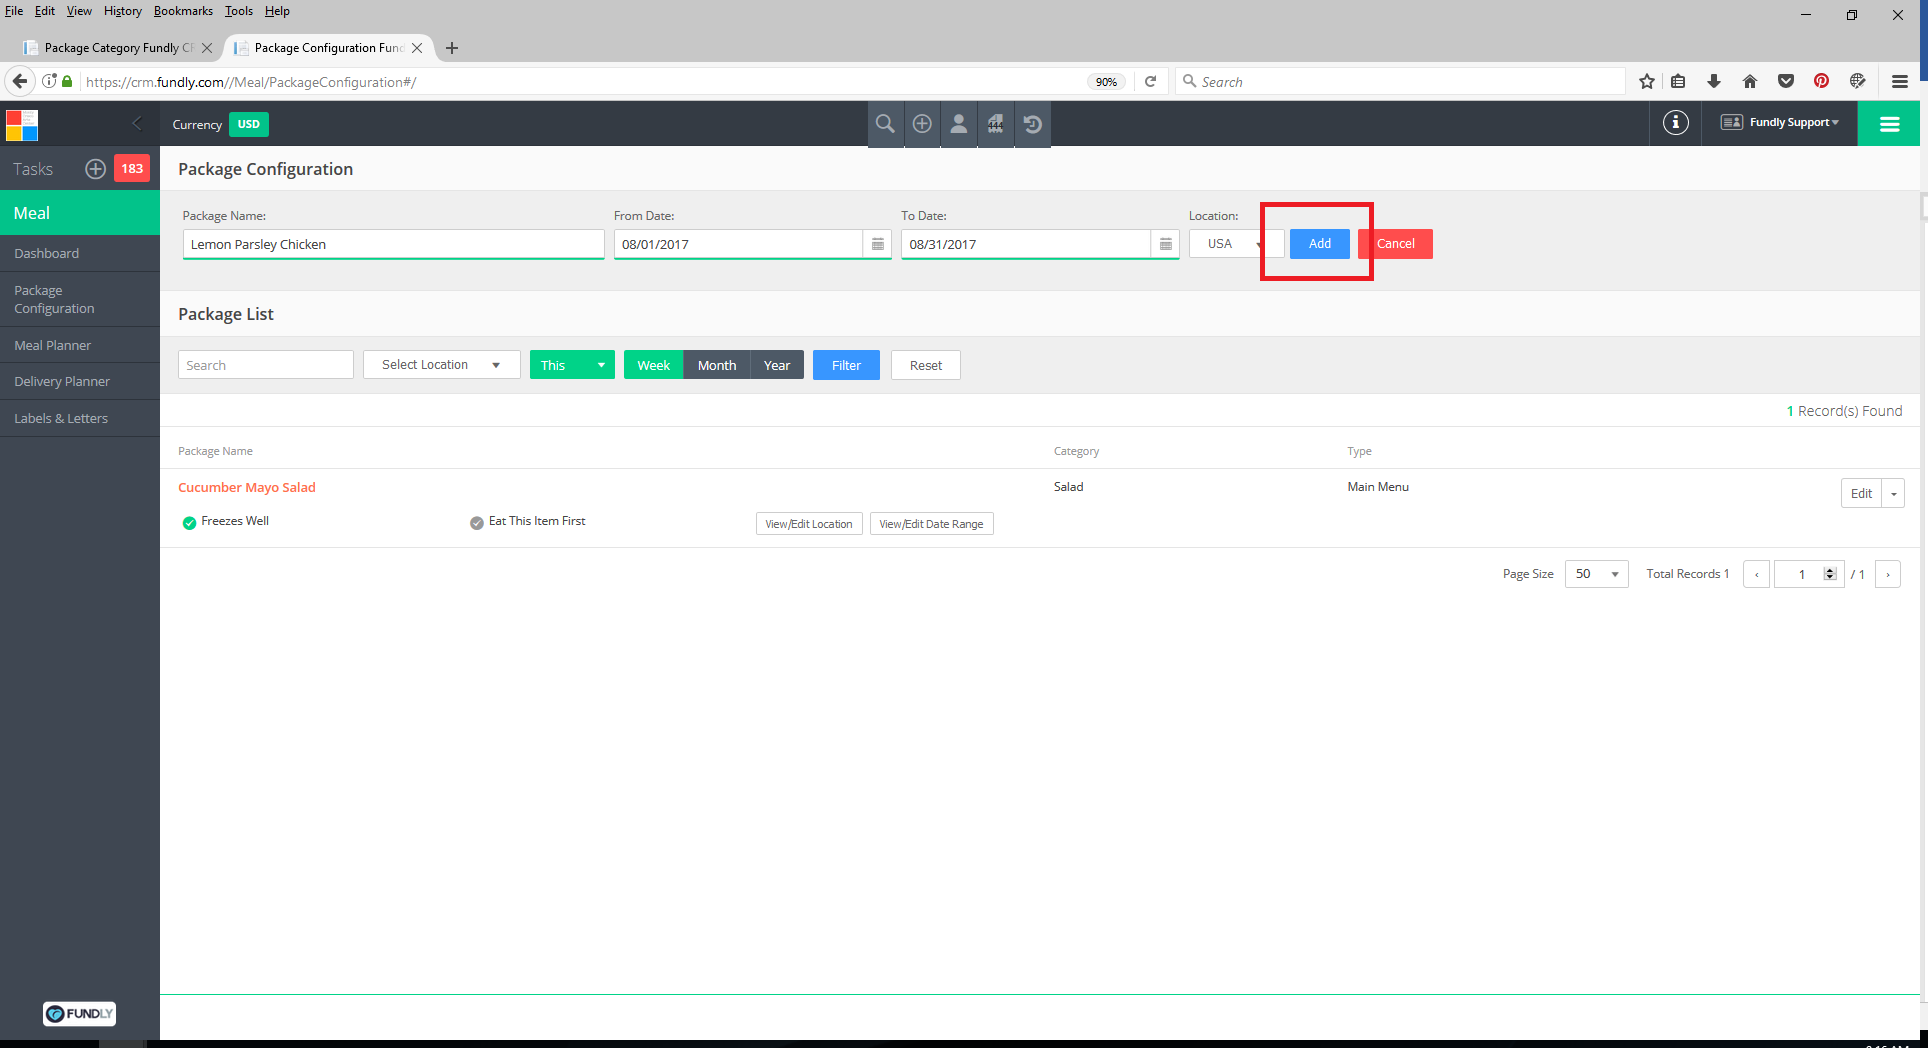
- To add a new location to the package, click the location drop down, highlight a location, and then click the “+” button. Available locations are populated from the Delivery Angel volunteer opportunity. If you need to add or remove available locations, edit the Delivery Angel opportunity.


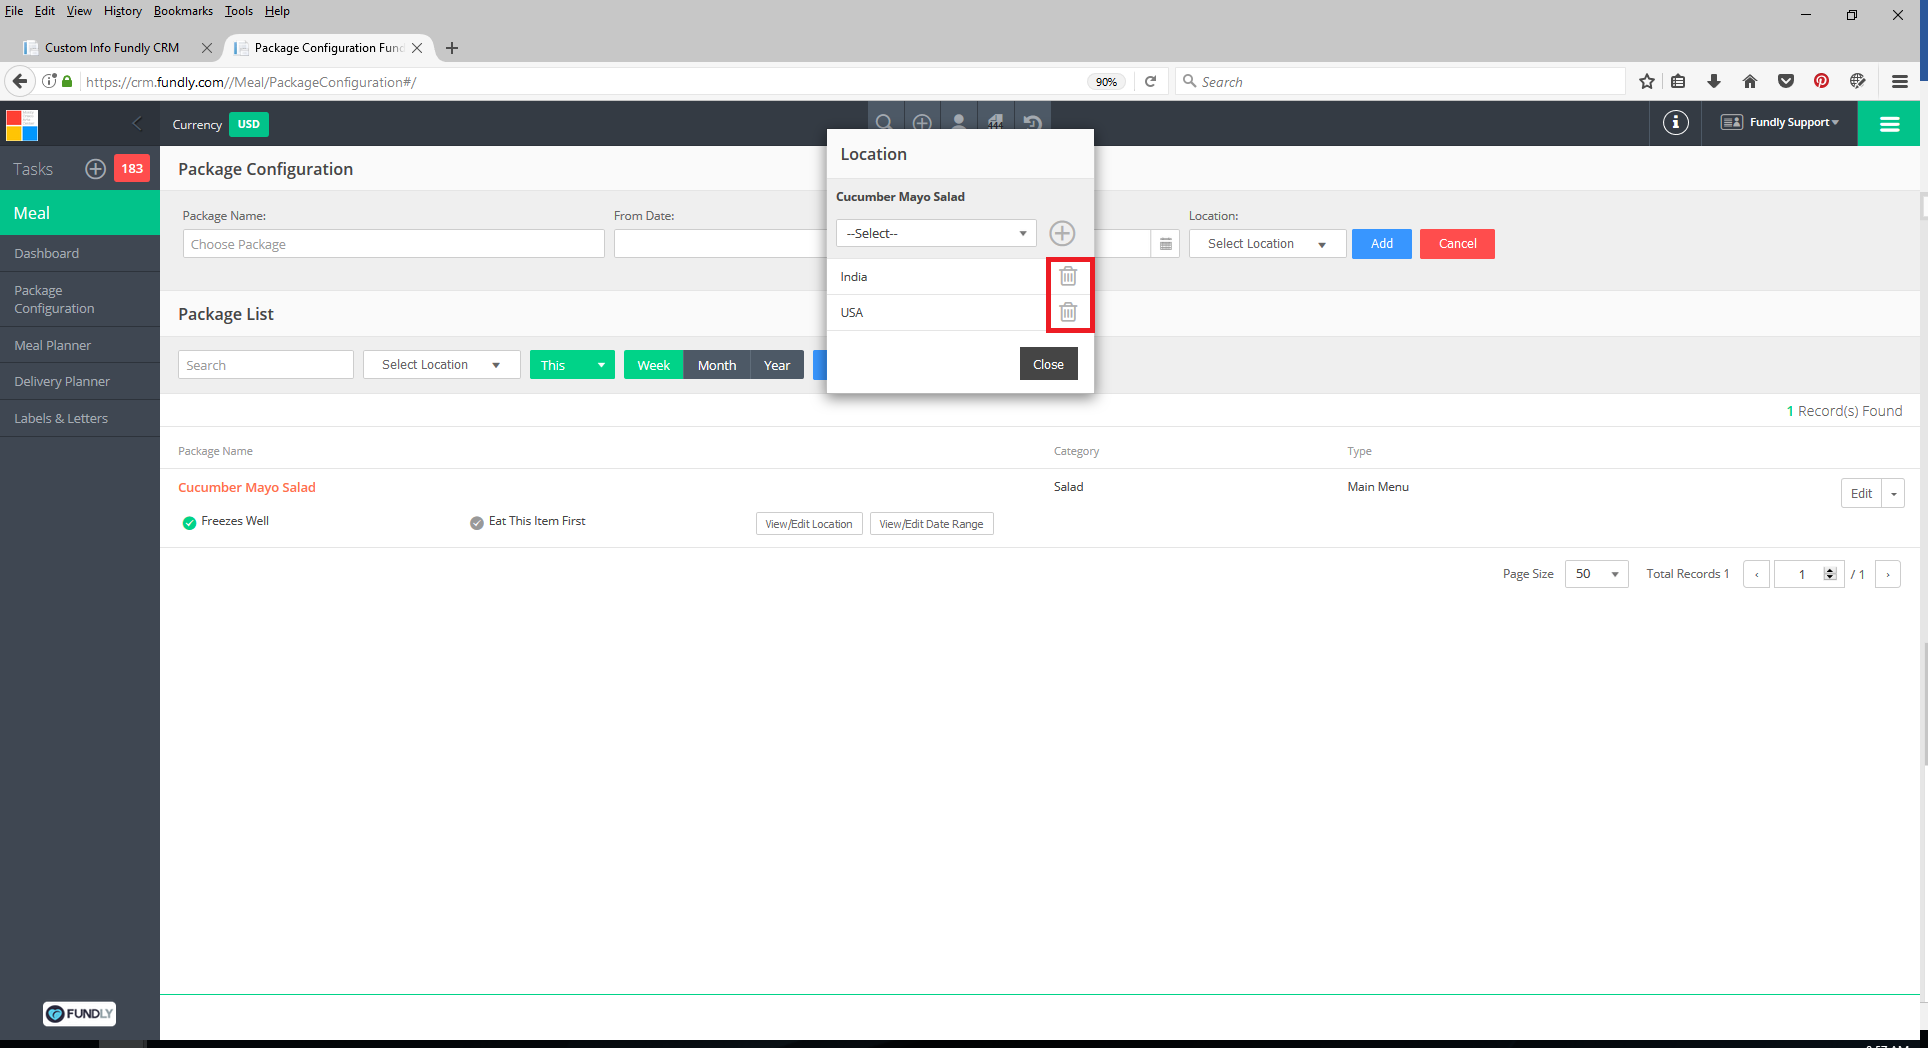
- To remove any location from the package, click the Trash Can icon to the right of the location.
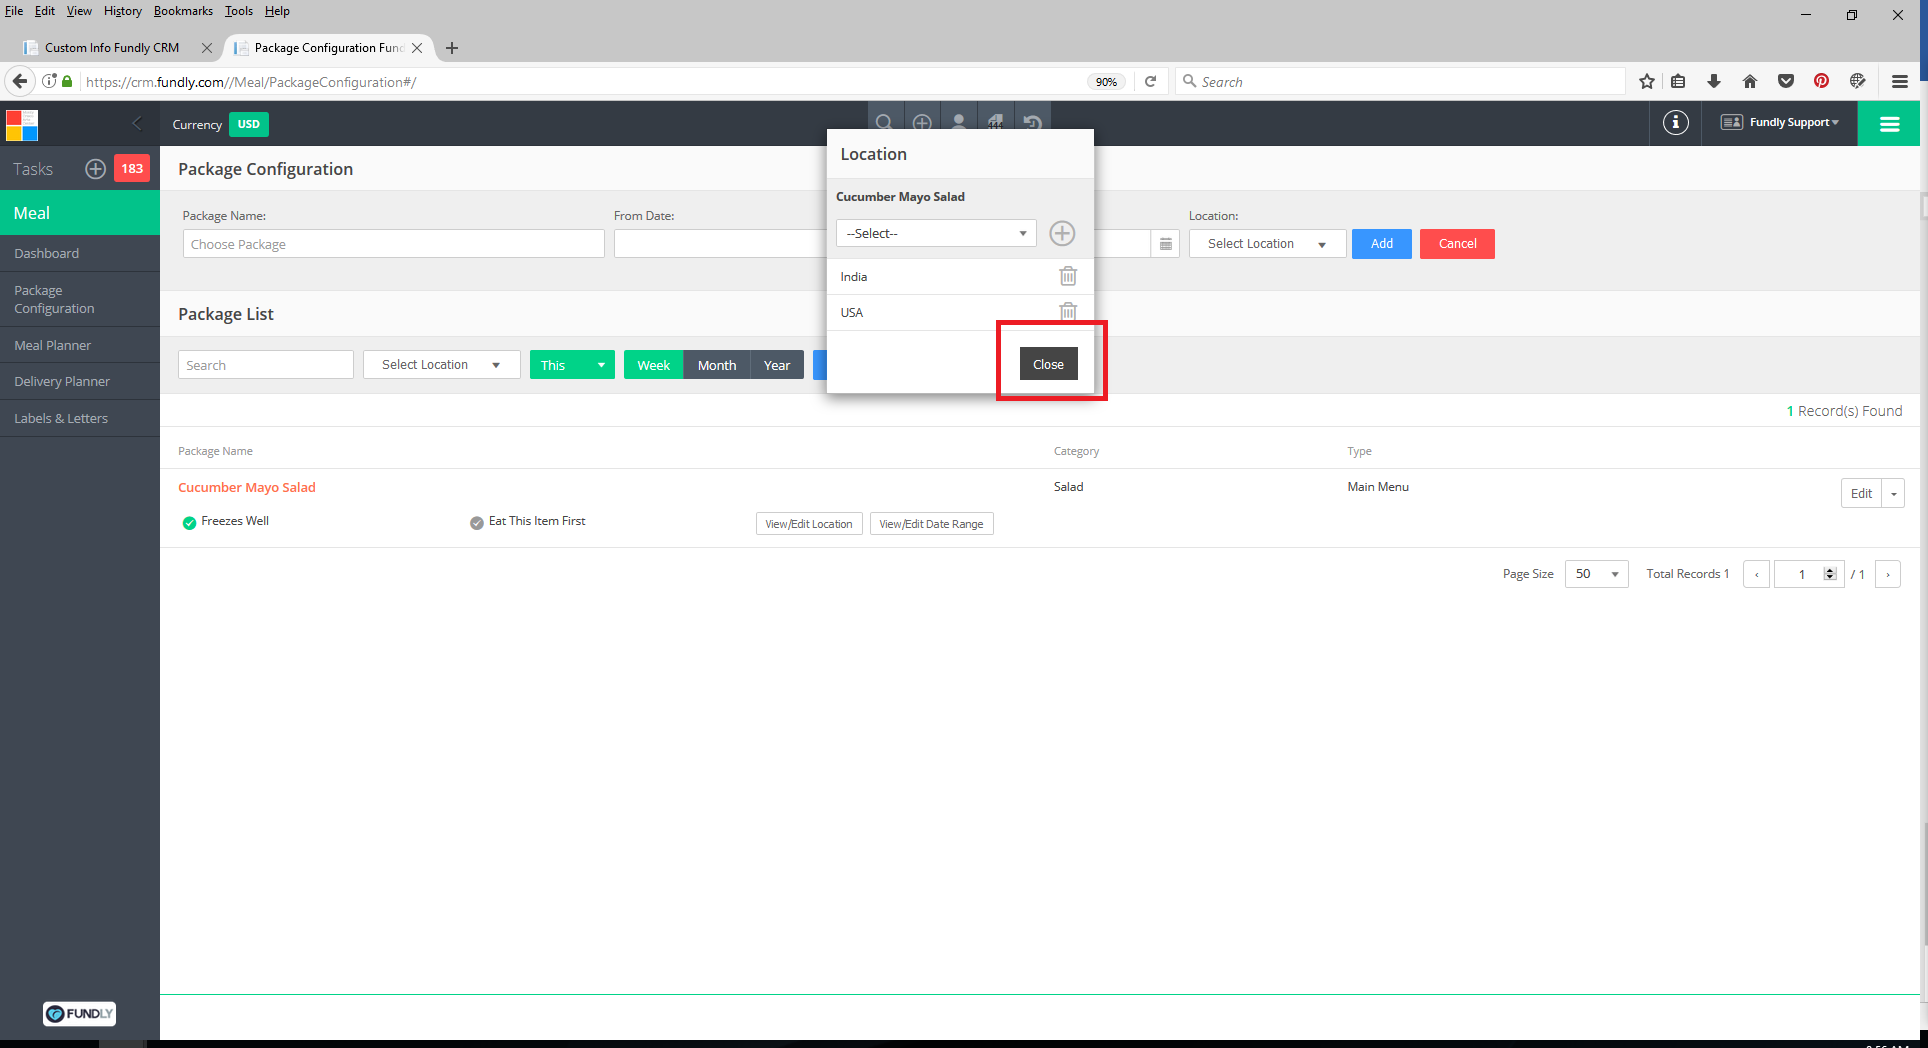
- When you are done editing the location(s), click Close.
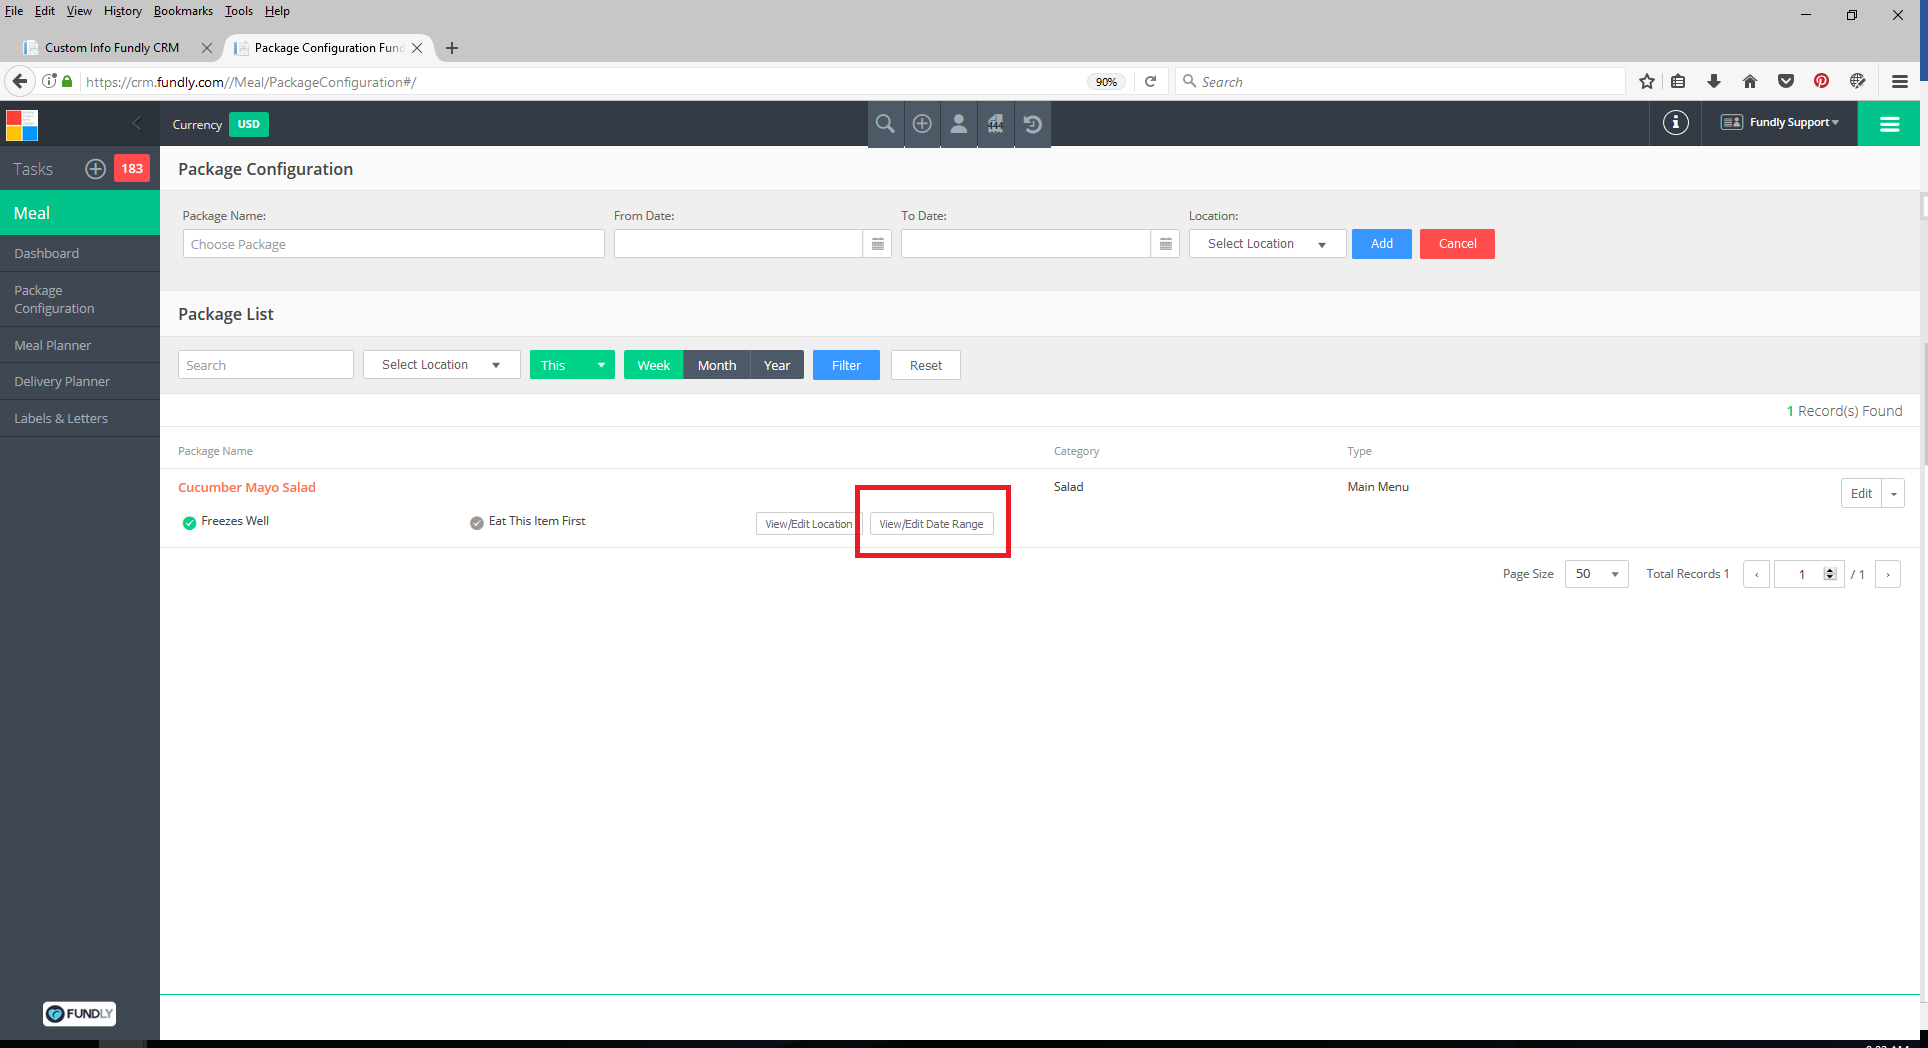
- To edit the date range of when any package/menu item is available to be served/delivered, click the View/Edit Date Range
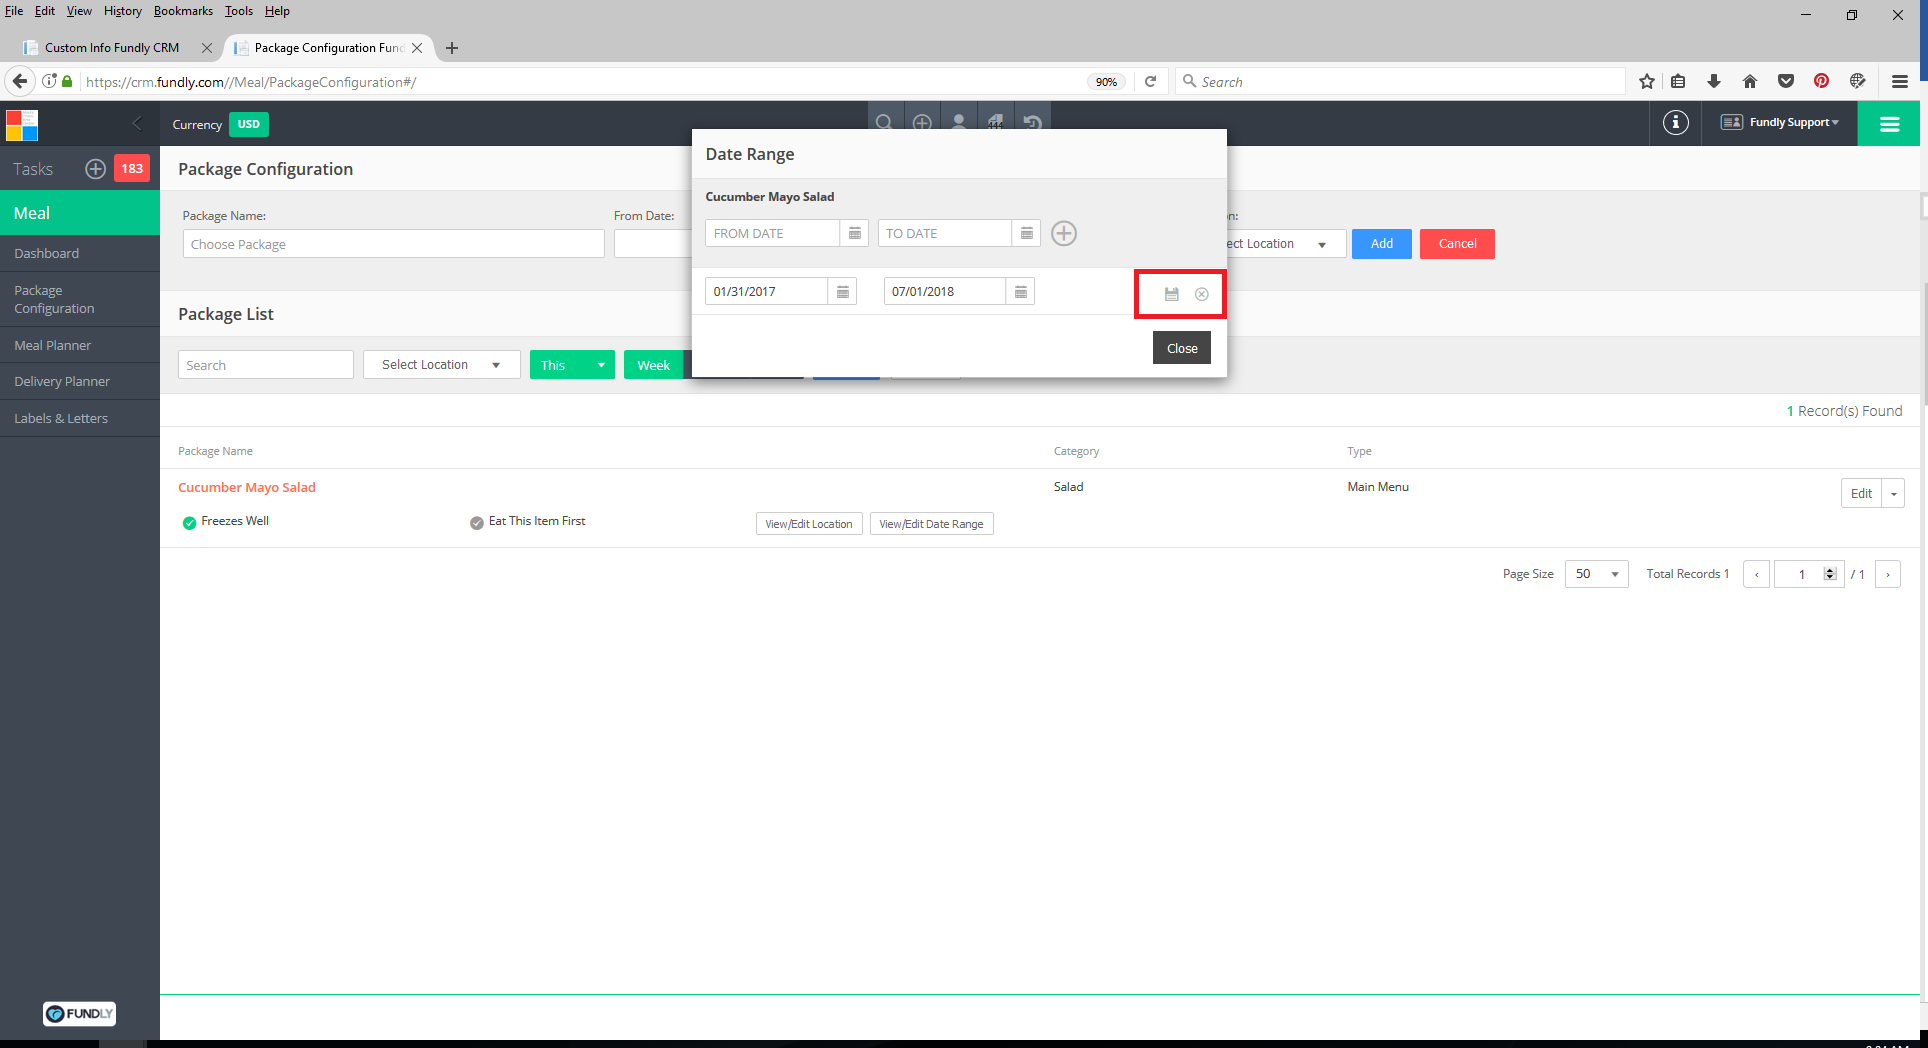
- To edit the existing date range, click the Edit (pencil) icon.

- Edit the dates and then click the Save (diskette) icon. Click the “X” to cancel without saving.
- To delete the currently available dates, click the Trash Can icon to the right of the dates.

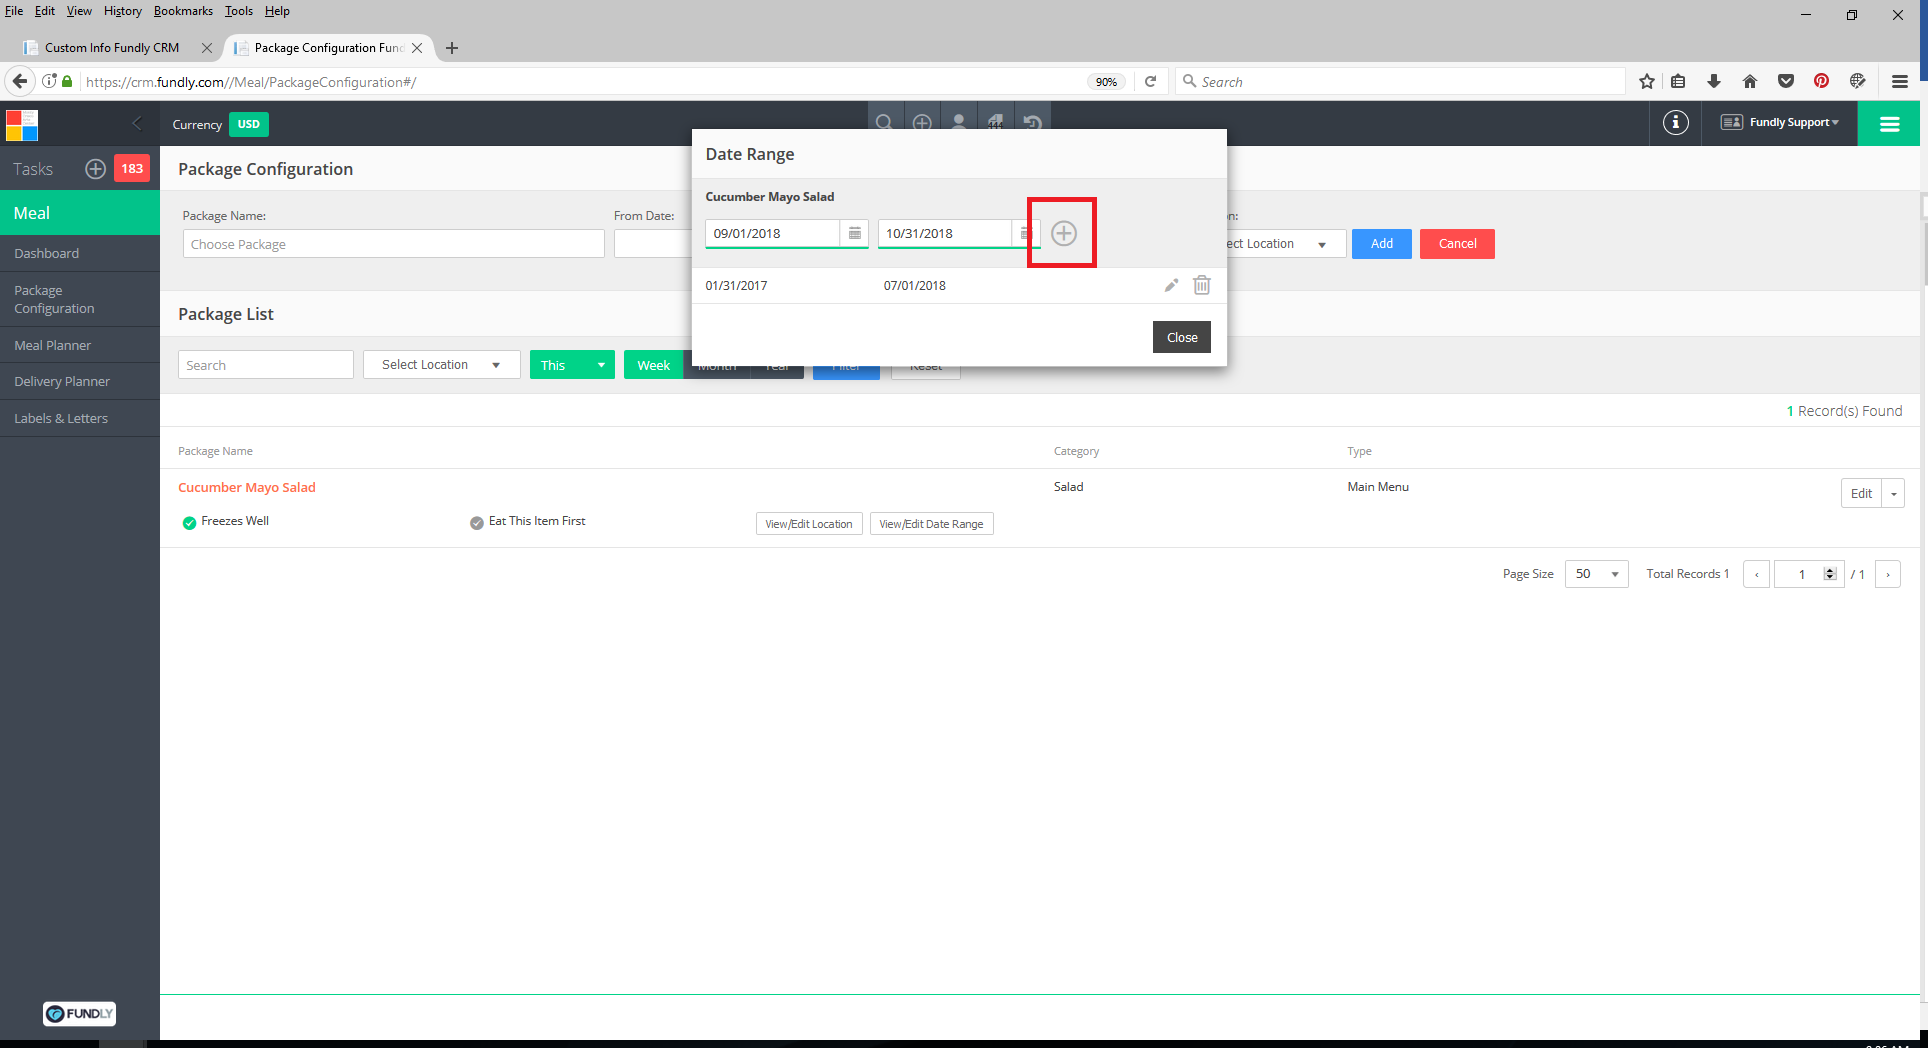
- To add new/additional dates, enter the dates in the From Date and To Date fields and then click the “+” sign.
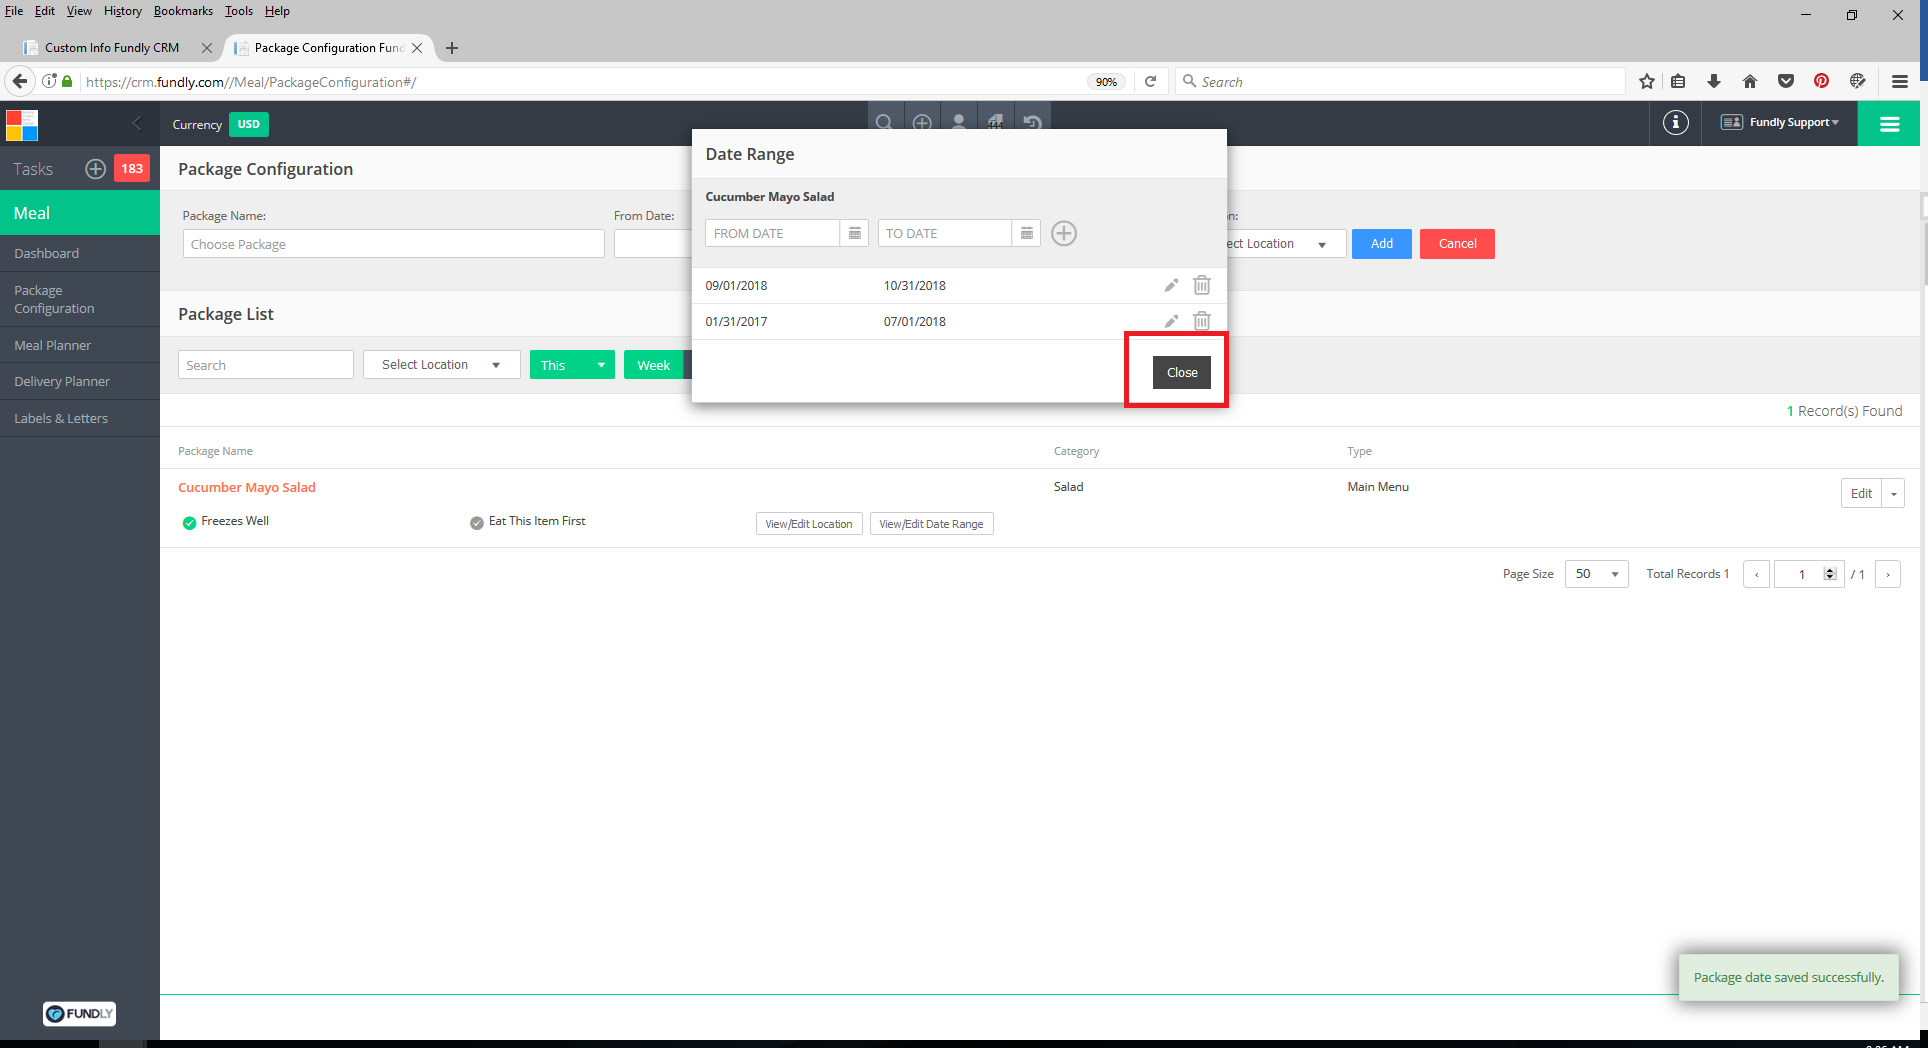
- When you have finished configuring the availability dates, click the Close button.
- To delete any currently configured package, click the drop down to the right of the package item and select Delete.
- To add a new package, fill in the fields at the top of the page.
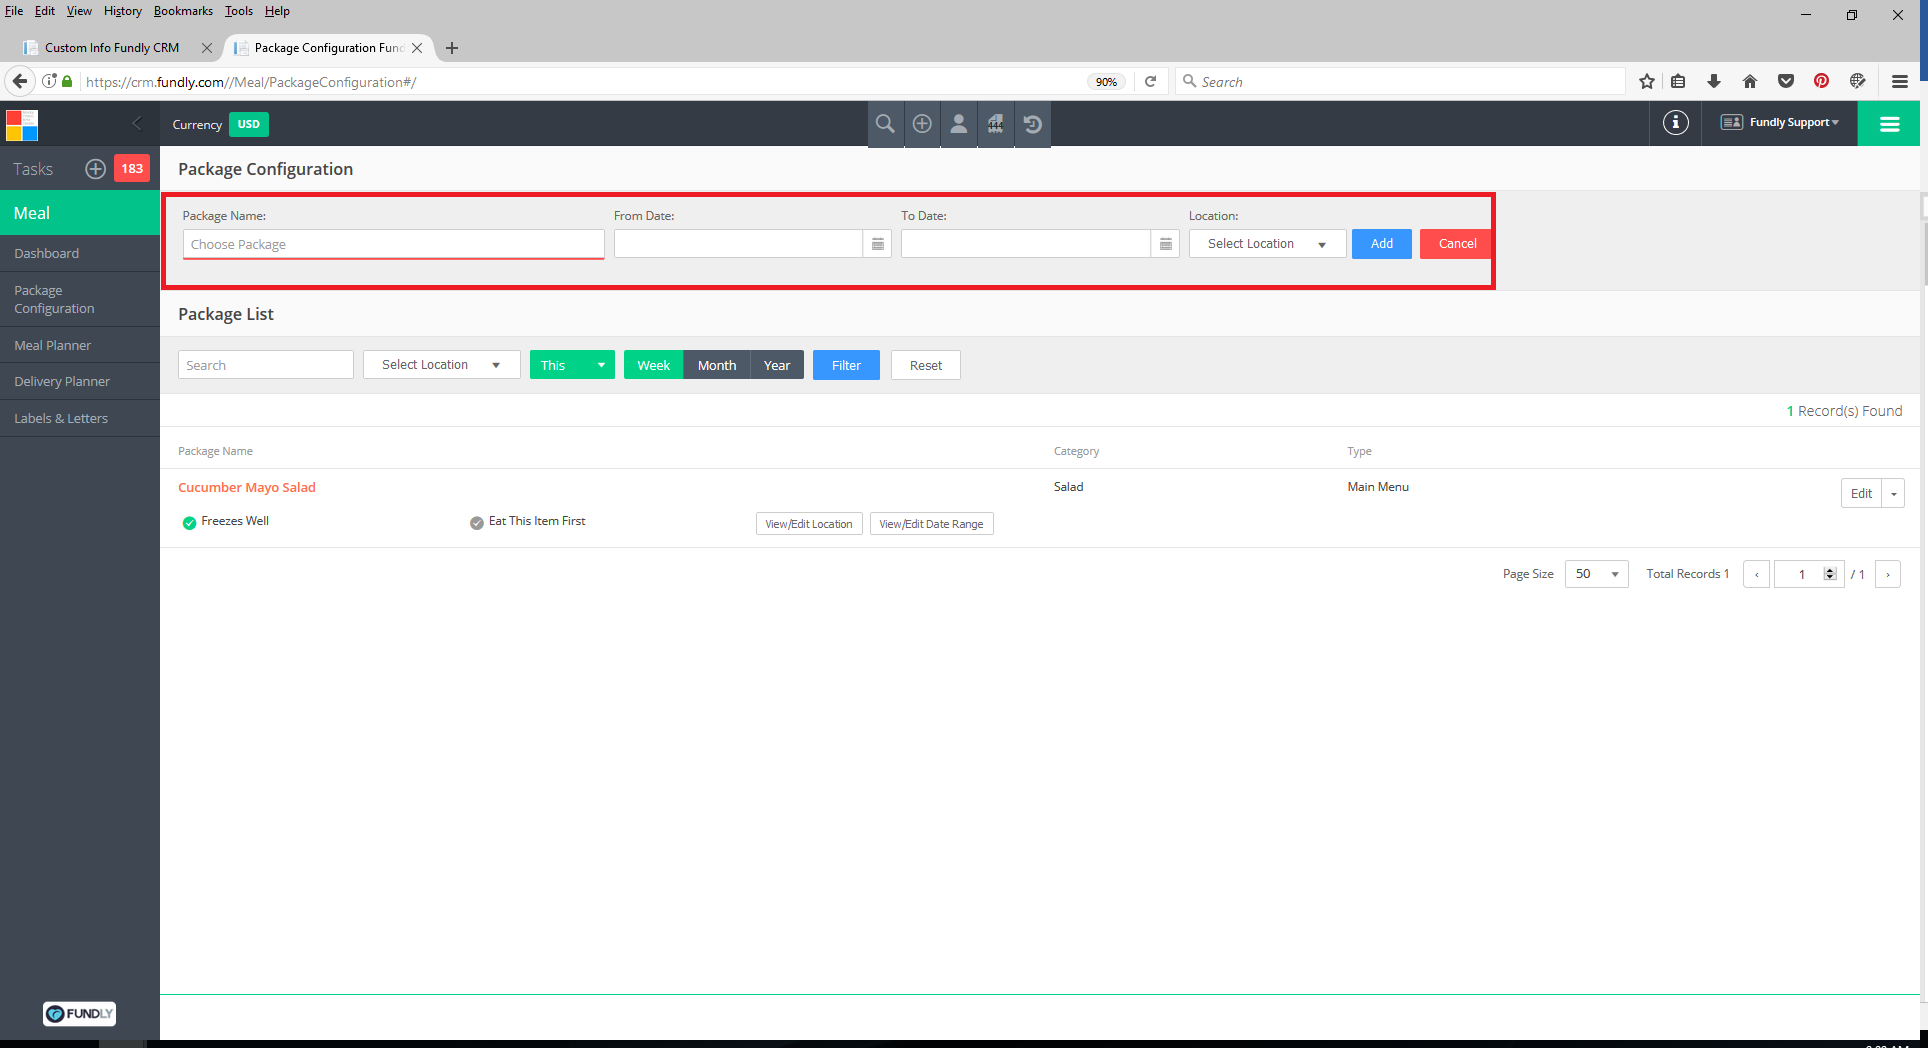
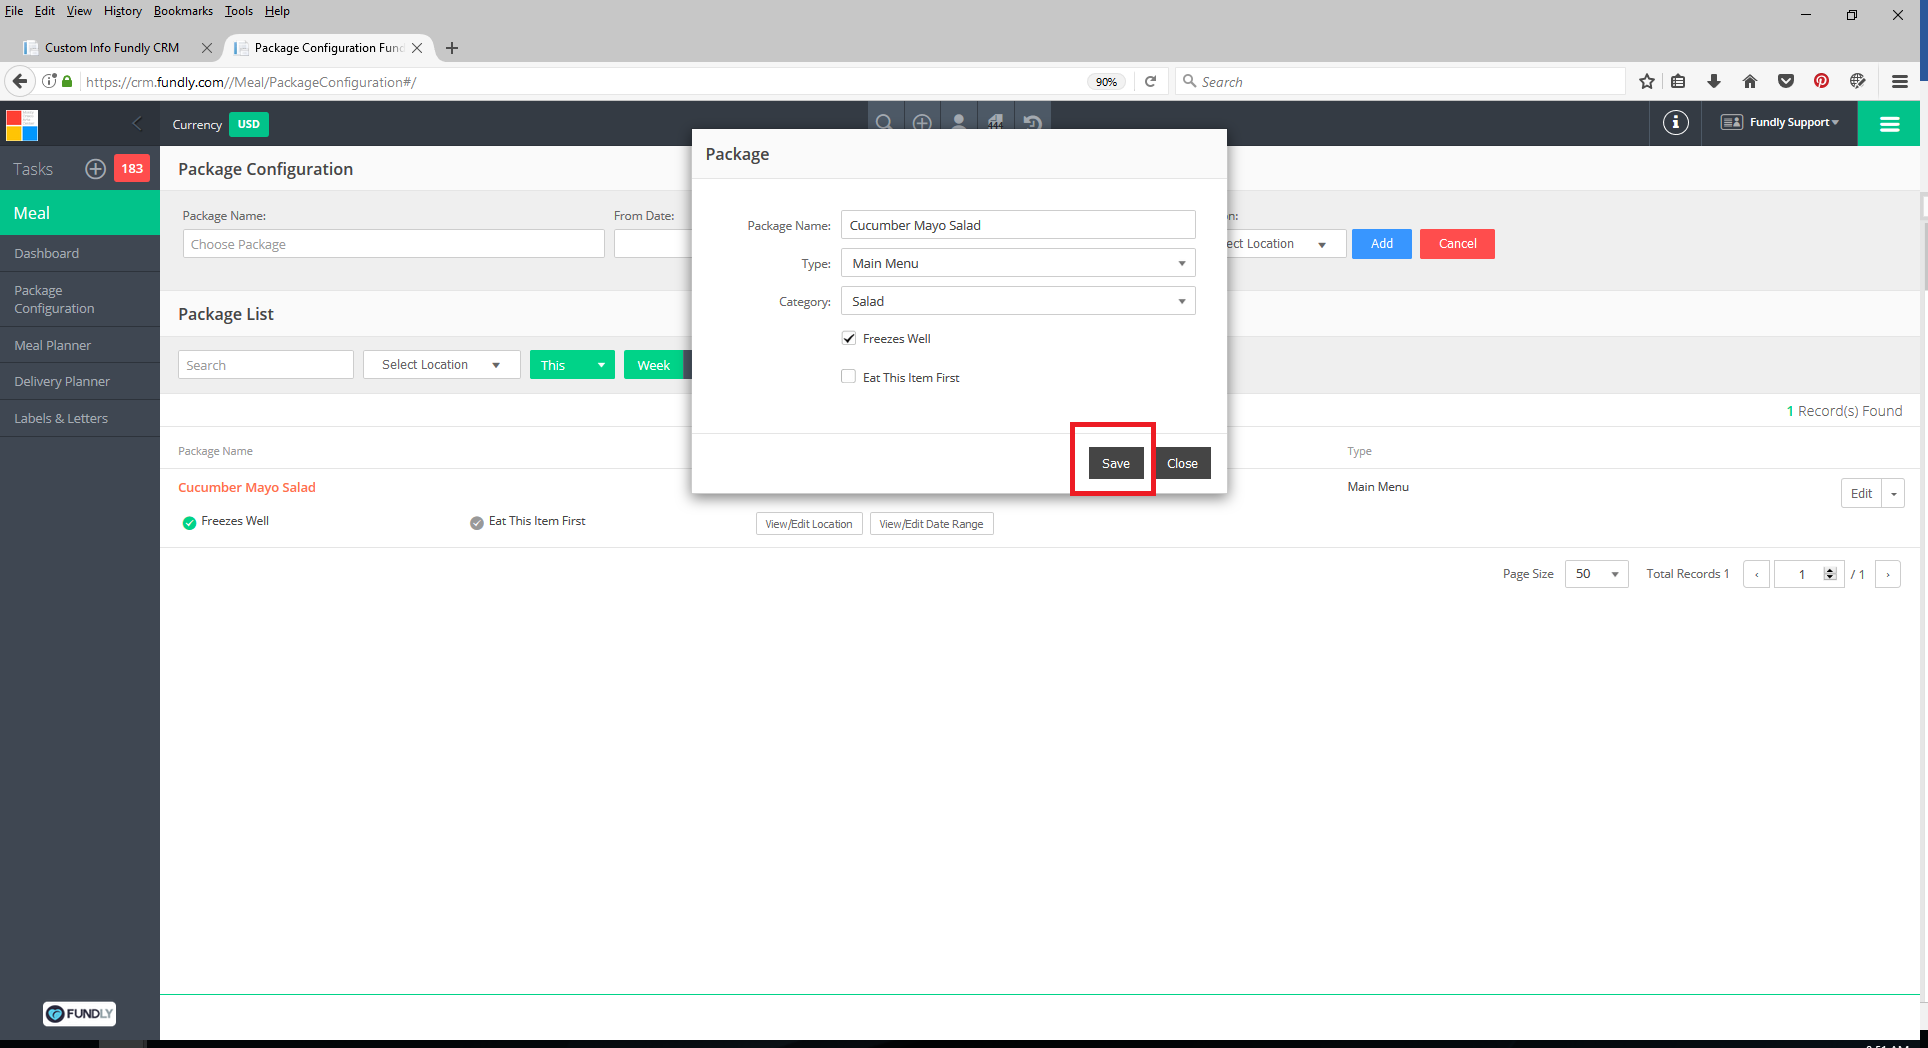
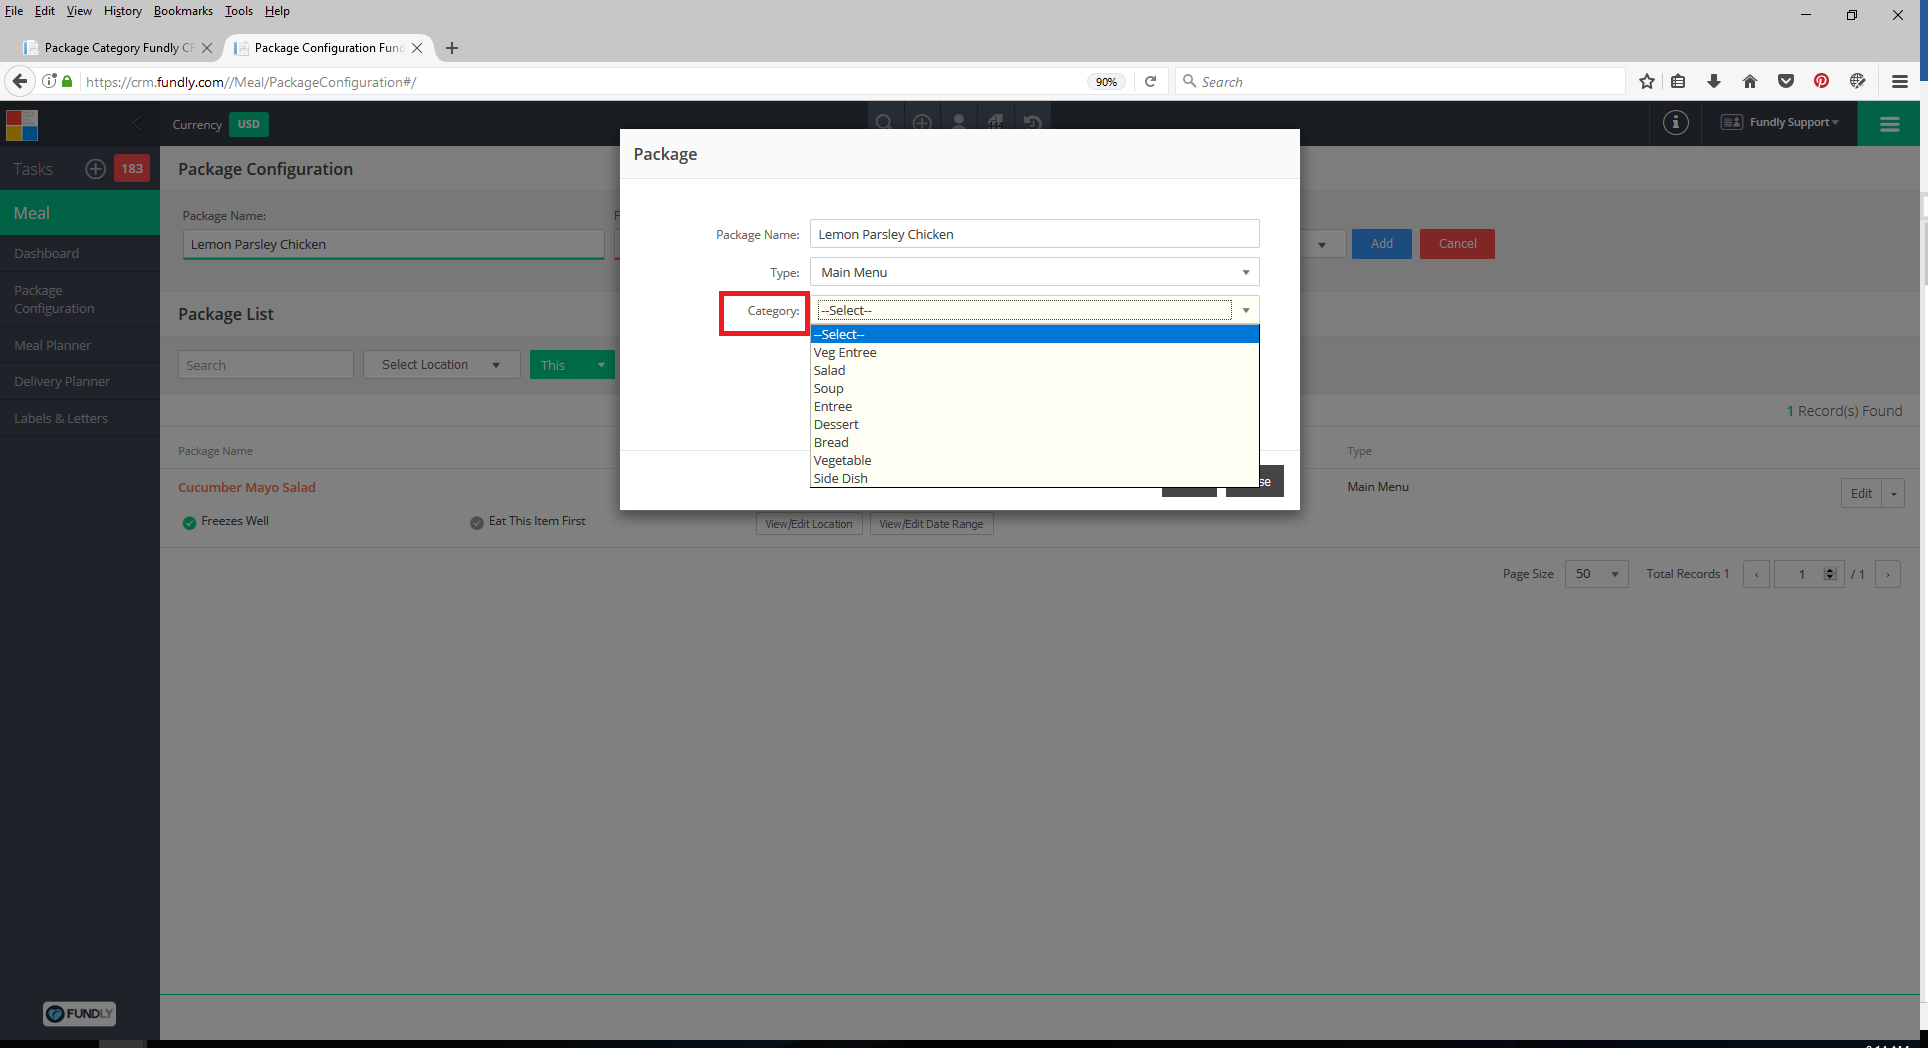
- Type the package/menu item name in the Choose Package field, then hit Enter or Tab. The Package Details pop up window will open.
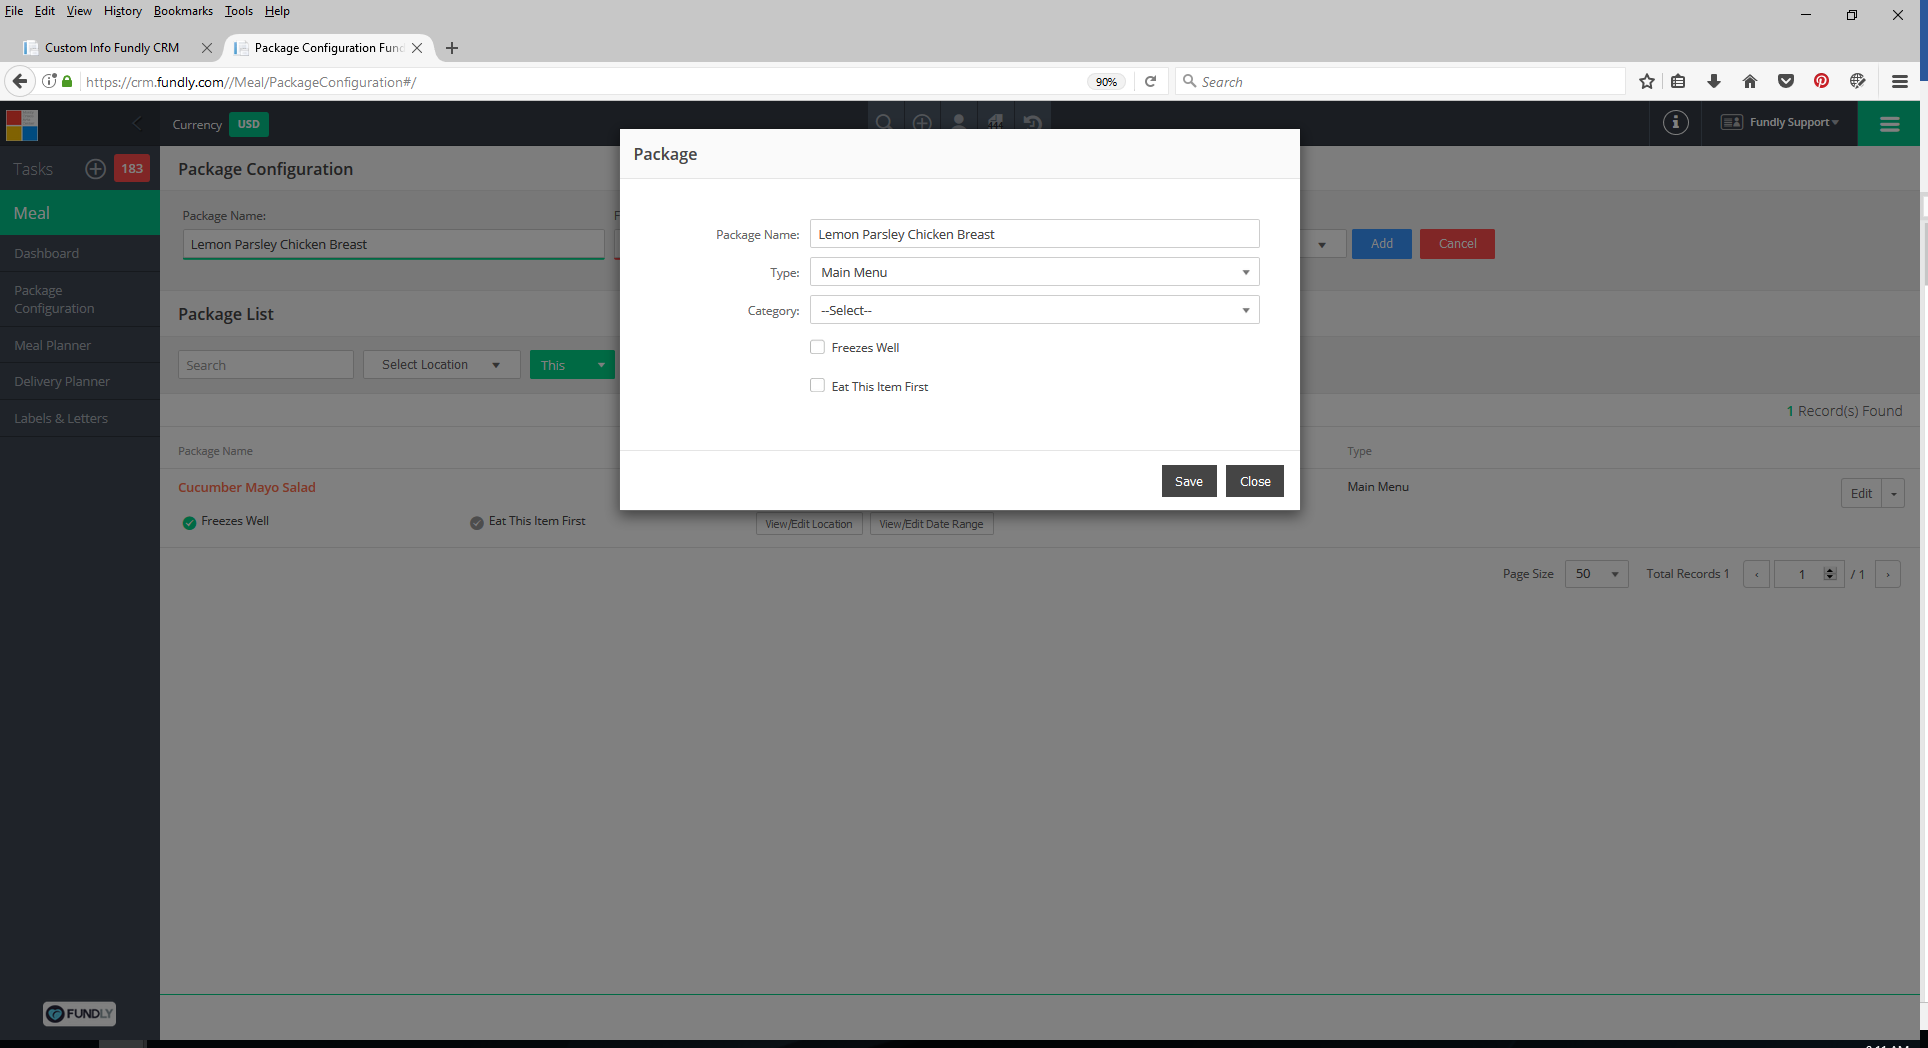
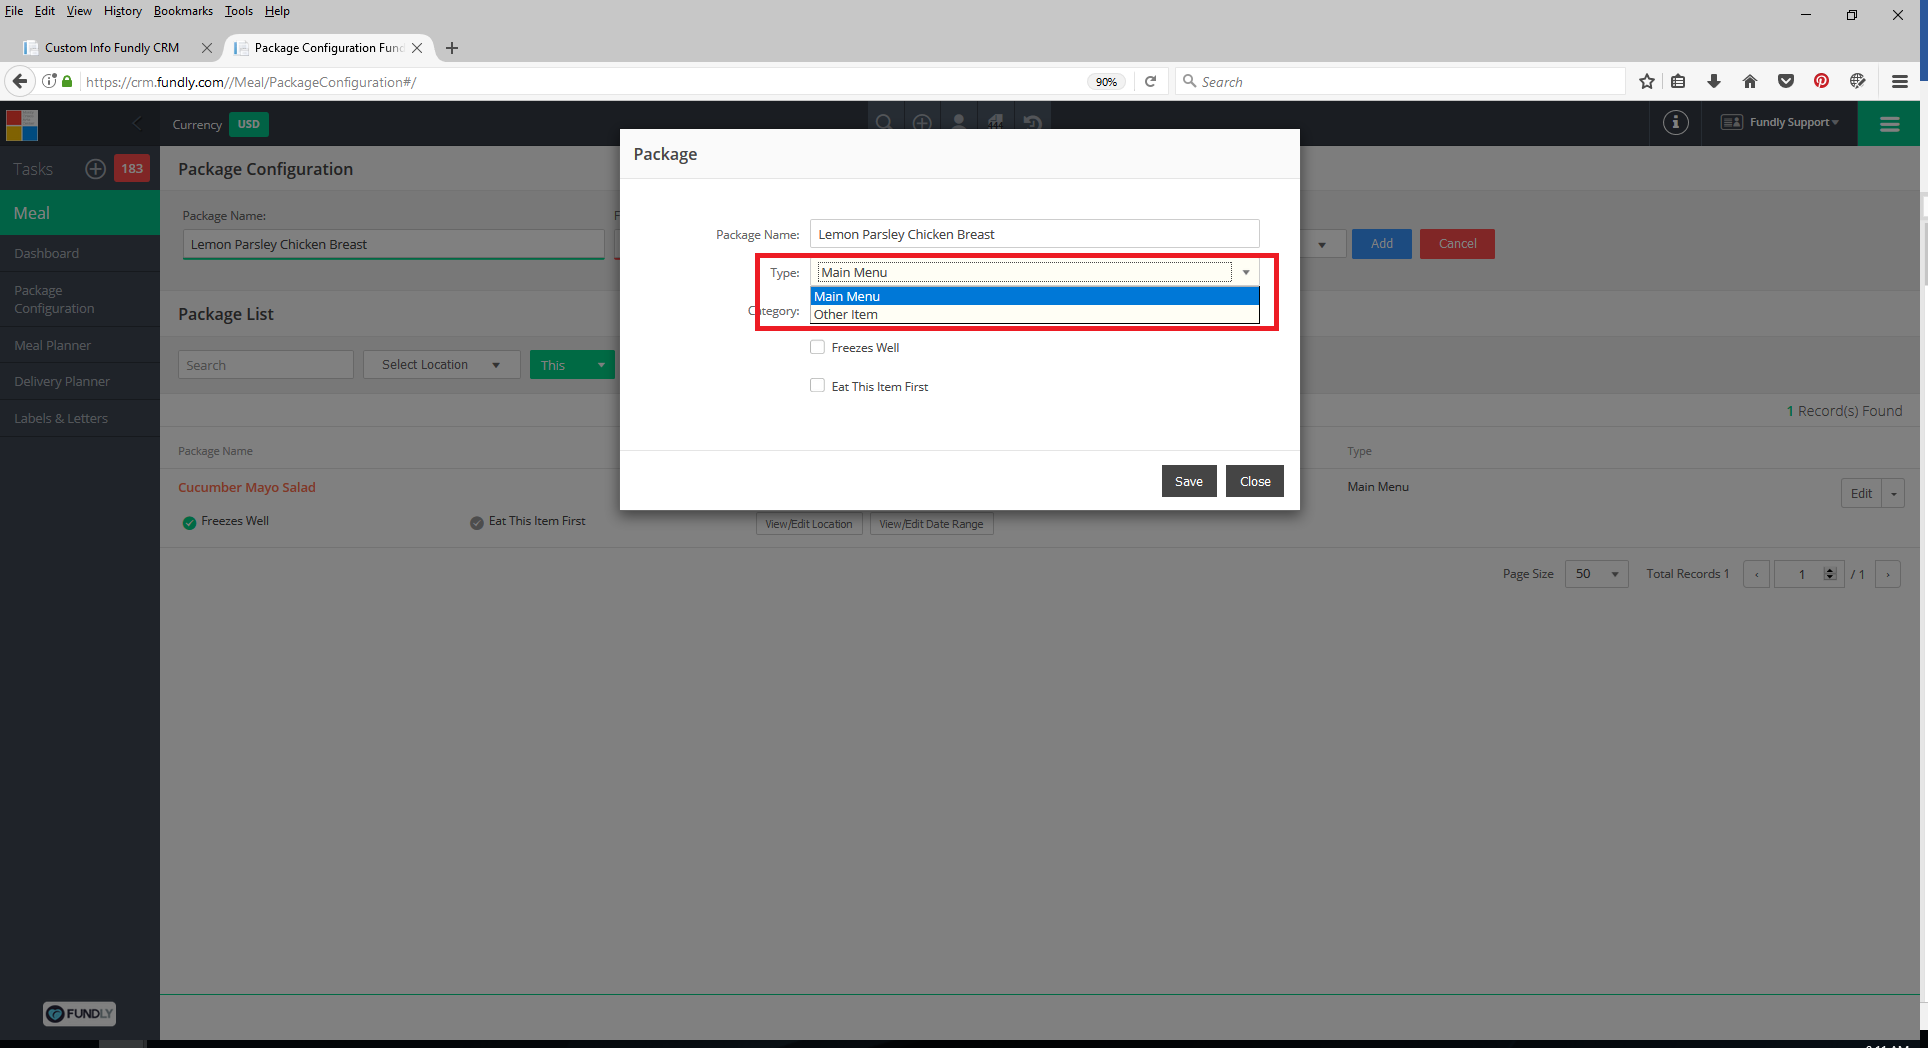
- Select the Type of menu item it is (Main Menu or Other Item), the menu Category (entrée, side dish, vegetable, dessert, salad, etc.) [Menu Category is configured in the CRM. See this tutorial on configuring Menu Categories], and select if the item Freezes Well or should be eaten first. When you have finished filling out the package details, select Save to save changes and close the pop up window.
- Add the package availability dates and select the available location(s). Available locations are pulled from the Delivery Angel Volunteer Opportunity. To add/edit available locations, edit the Delivery Angel Volunteer Opportunity.
- Click the Add button to add/save the package.
Comments
0 comments
Article is closed for comments.