Delivery Angels: Add/Manage Delivery Angels
- Delivery Angels are the volunteers who deliver meals to clients. Delivery Angels are managed from Fundly Connect.
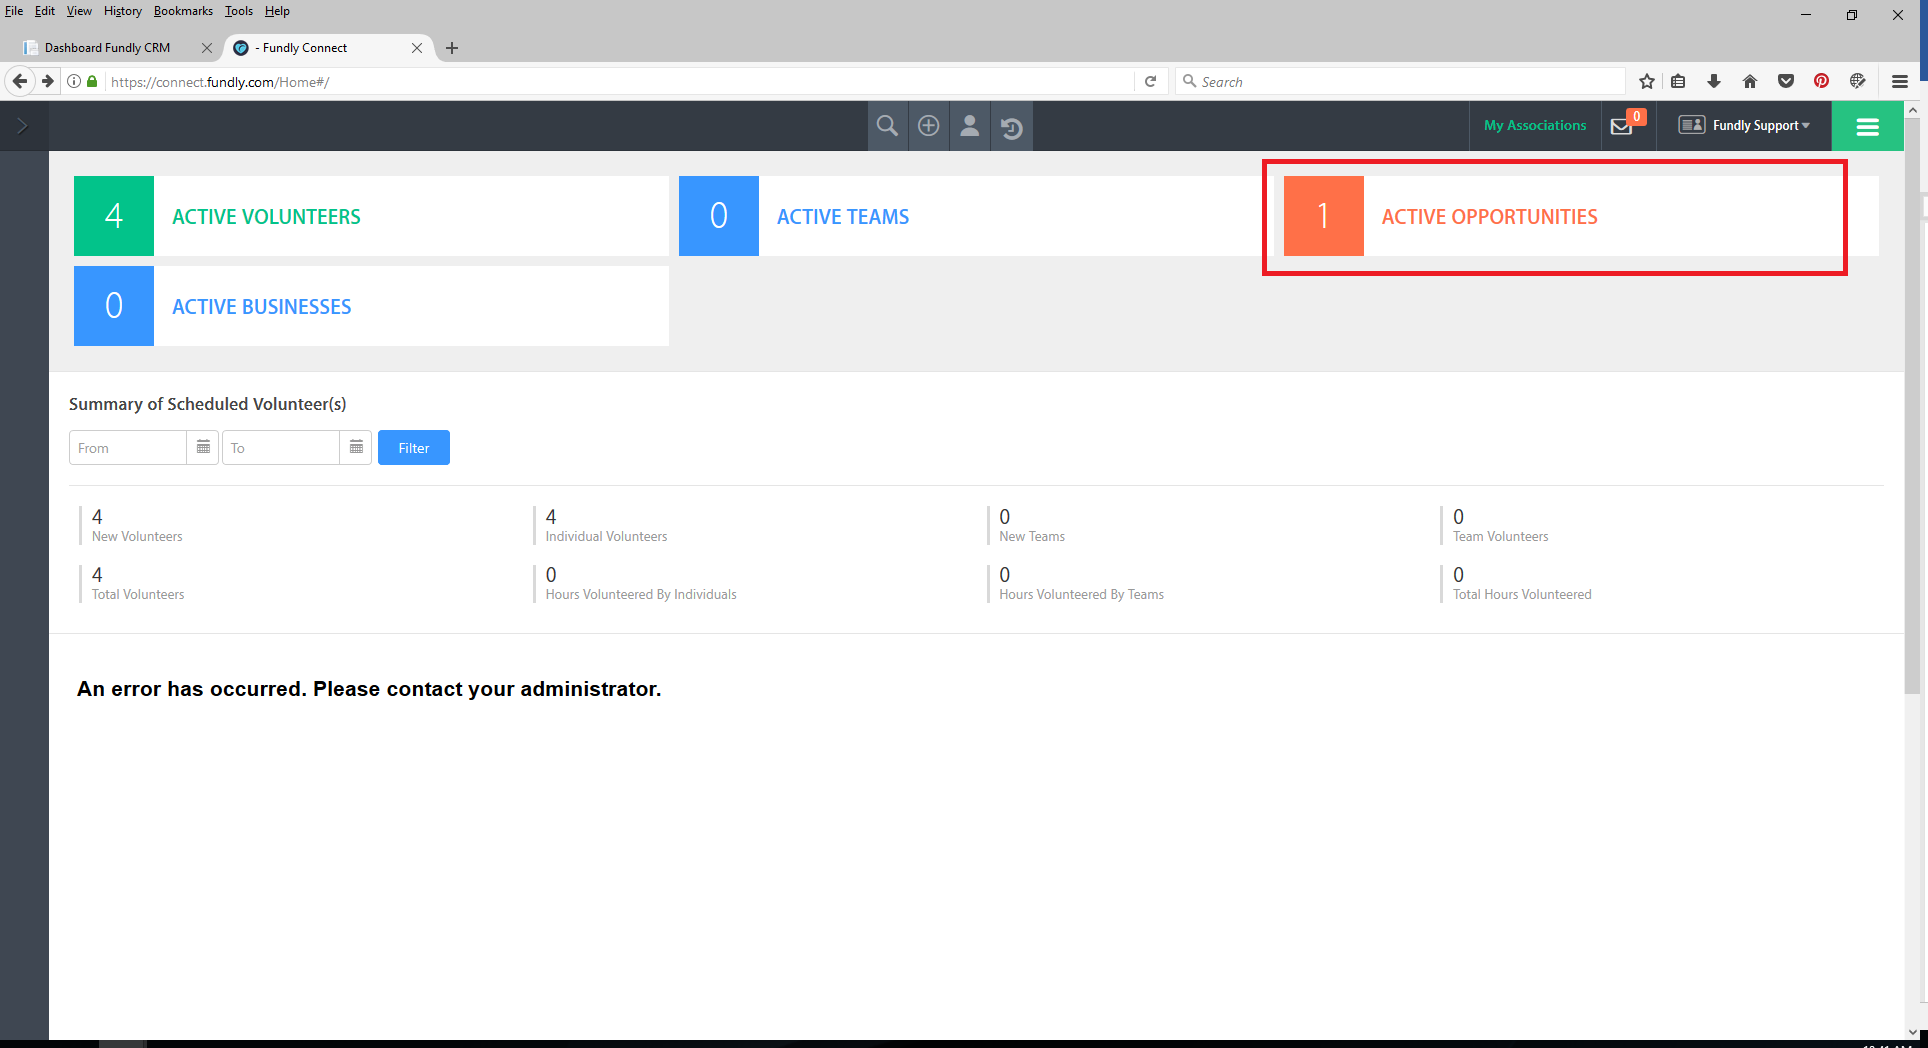
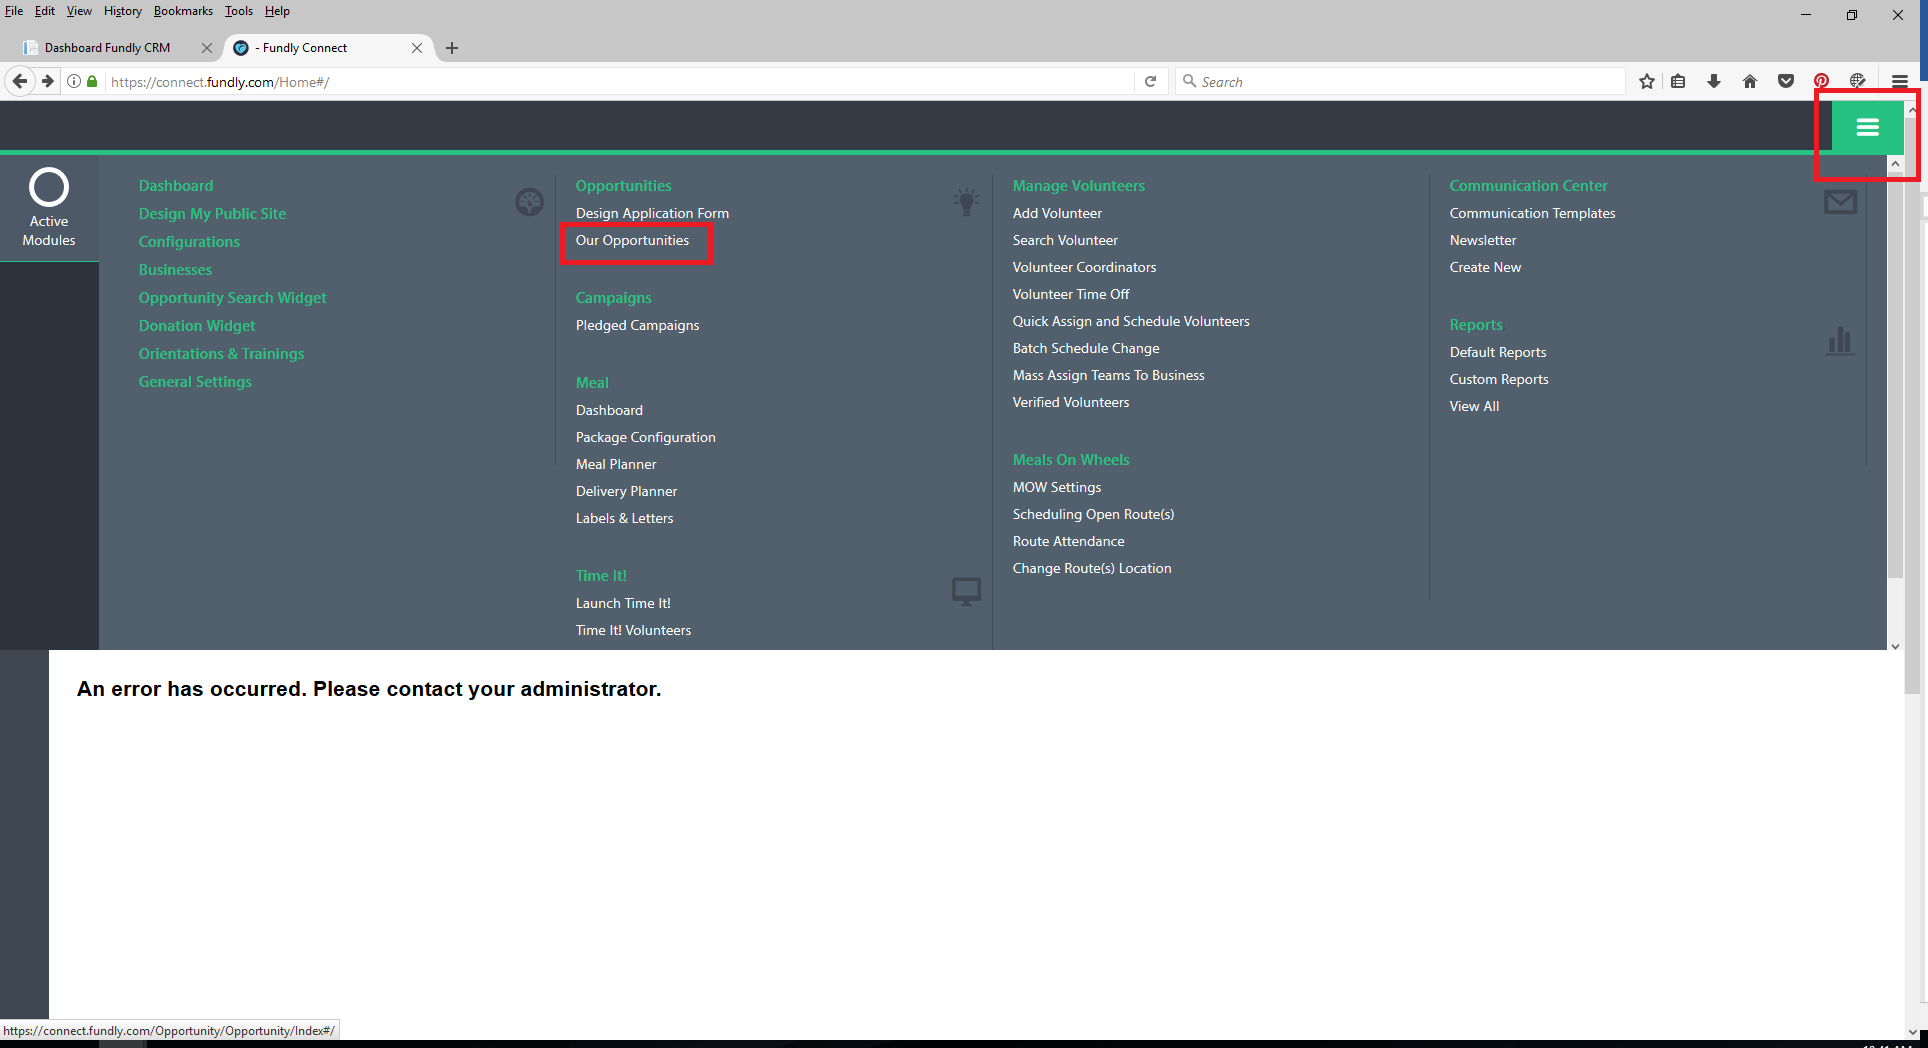
- To get started, log into your Fundly Connect account. From the Dashboard, click on Active Opportunities or from the Main Menu (green button in the upper right hand corner) select Our Opportunities.
- On your active opportunities list, there should be an opportunity called Delivery Angel (if not, contact Fundly Connect support).
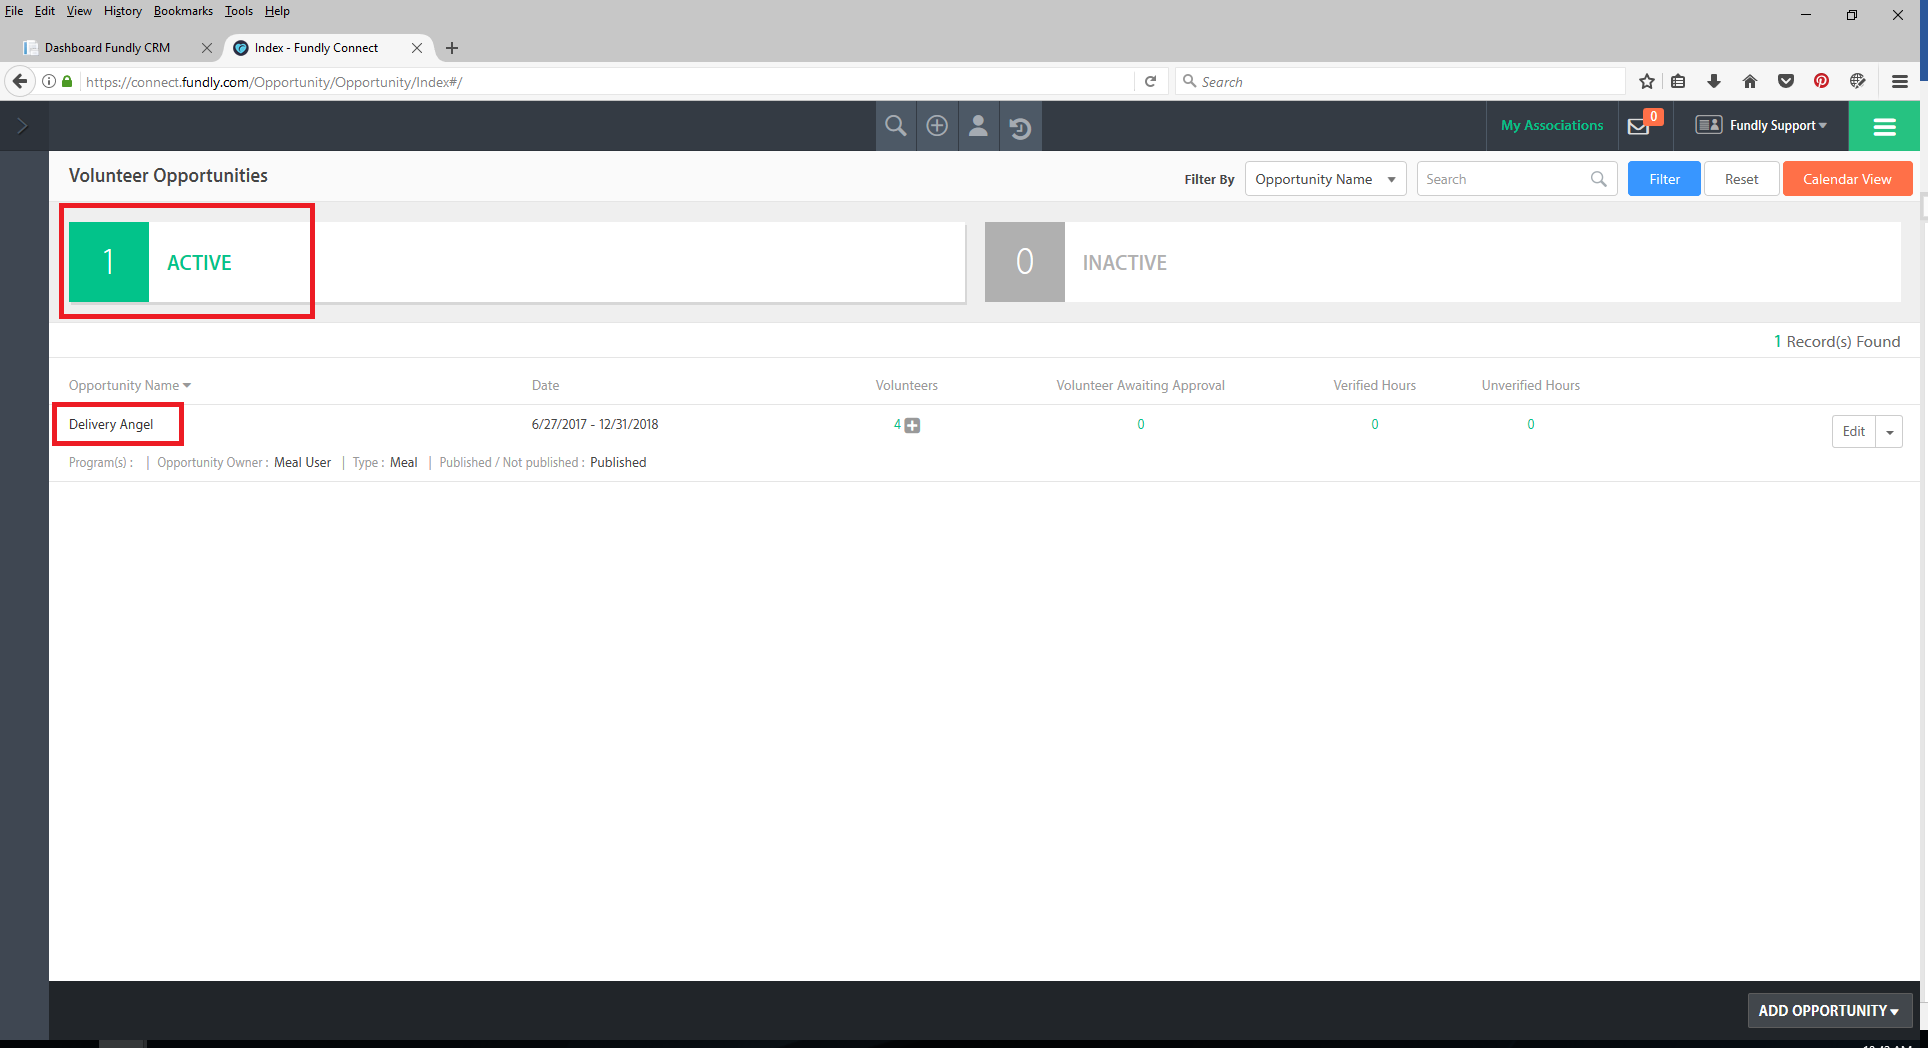
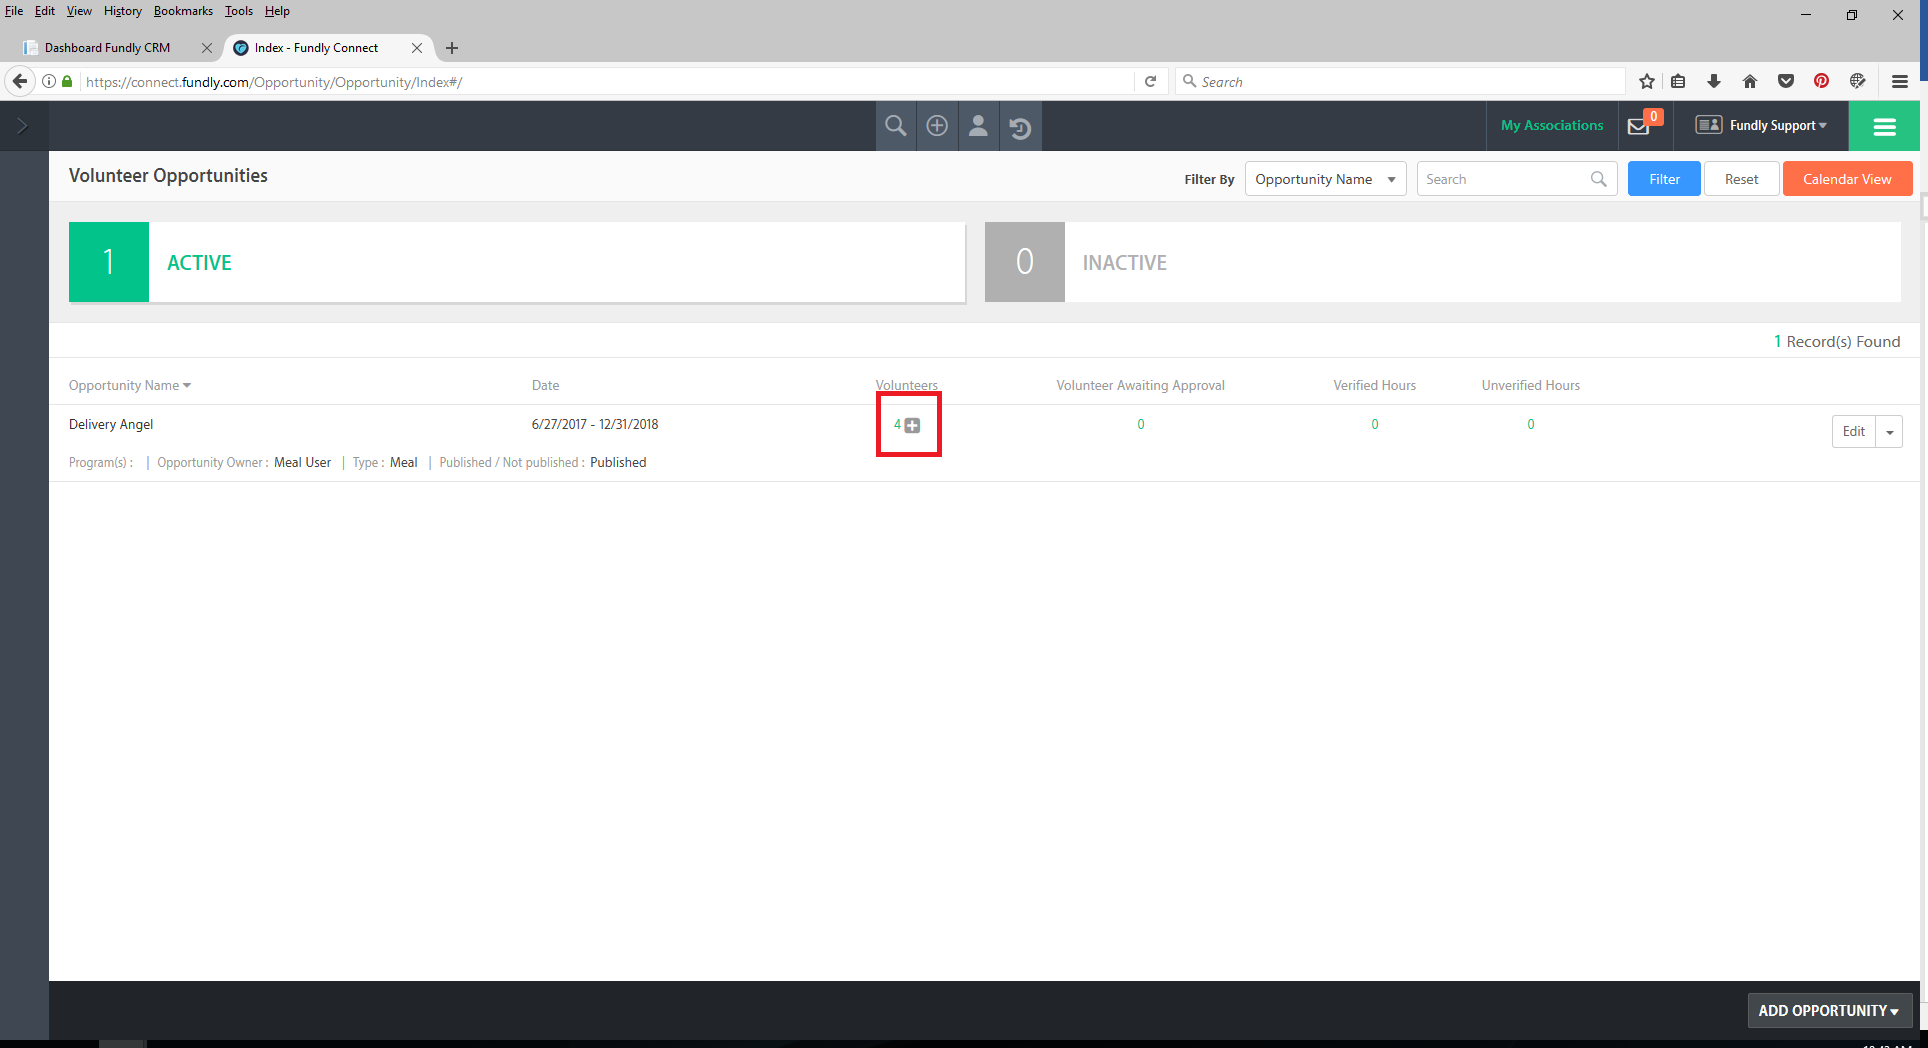
- To view a list of current active Delivery Angels, click the number in the Volunteers column or click on the Opportunity Name or click the drop down menu to the right of the opportunity and select Manage Volunteers.

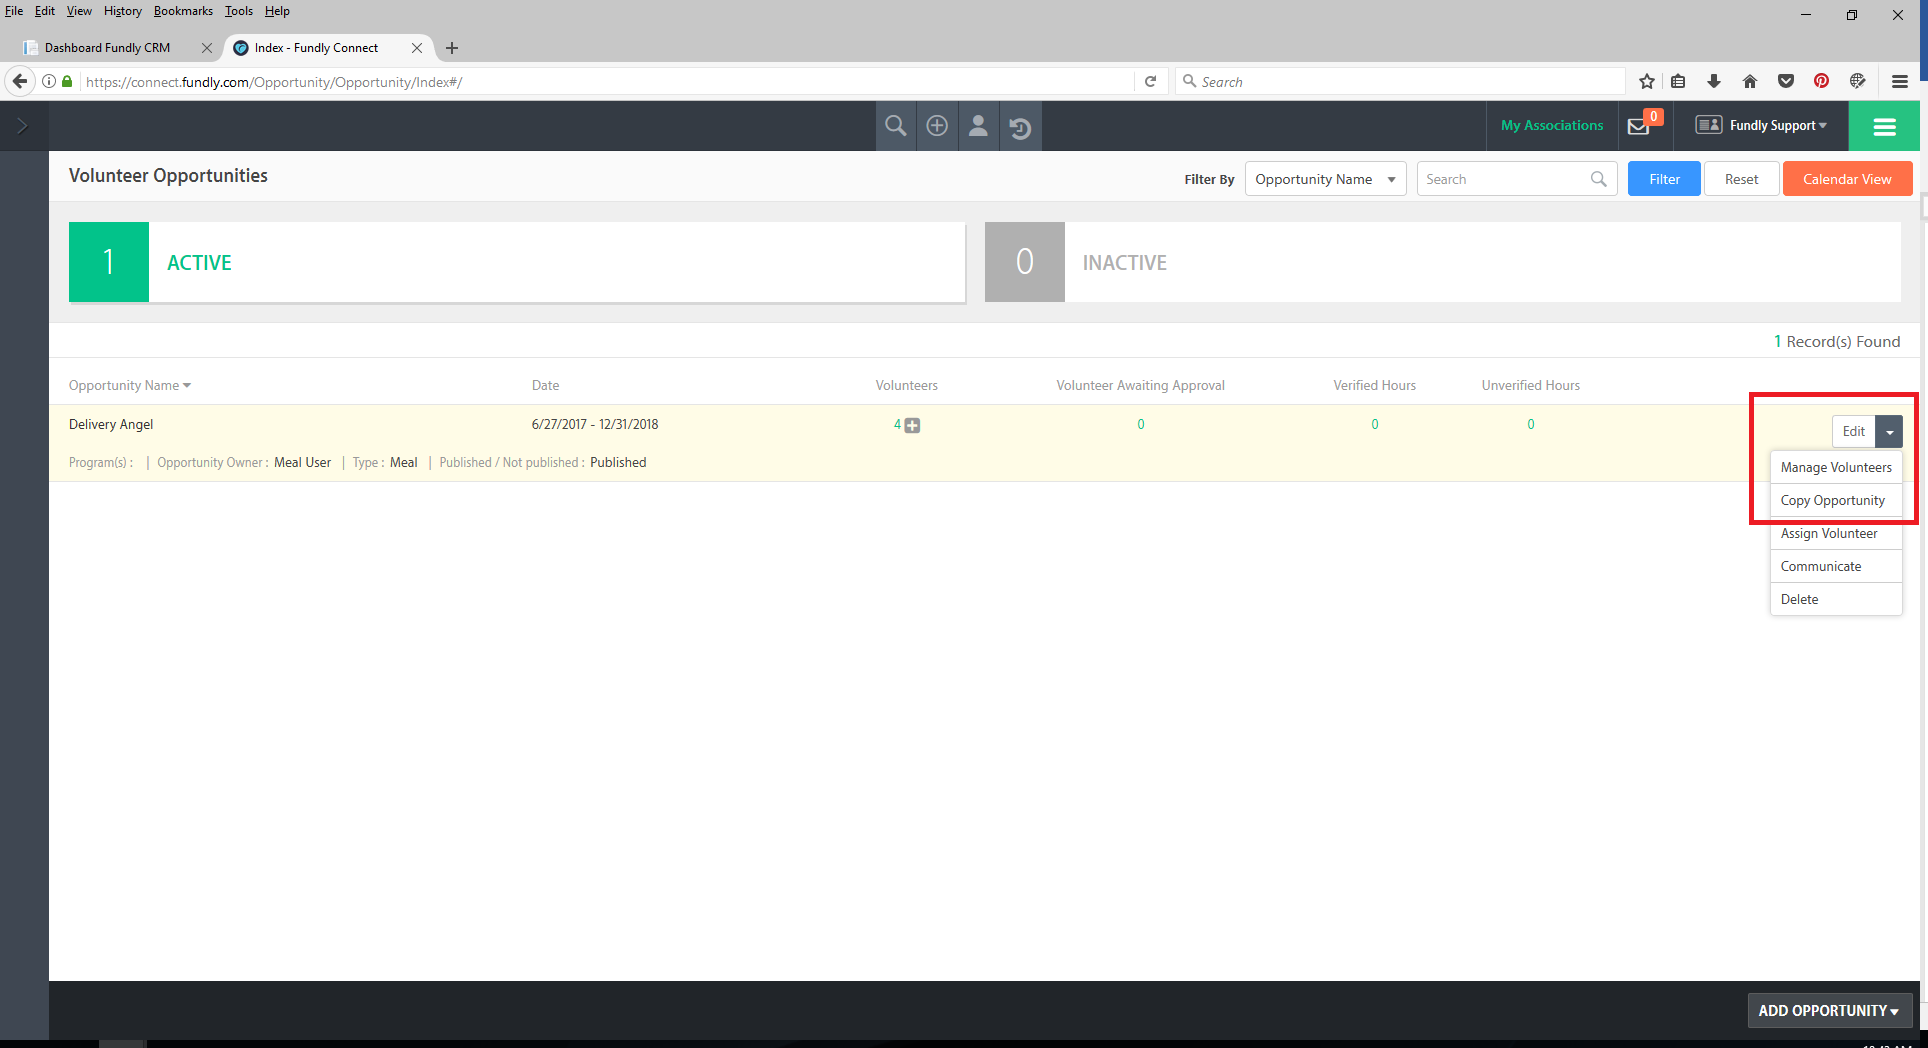
- Use the drop down menu to the right of the volunteer’s name to remove them from the opportunity, to view their schedule and to edit their volunteering schedule. See our tutorials on managing volunteers in Fundly Connect for more information on working with Volunteers.
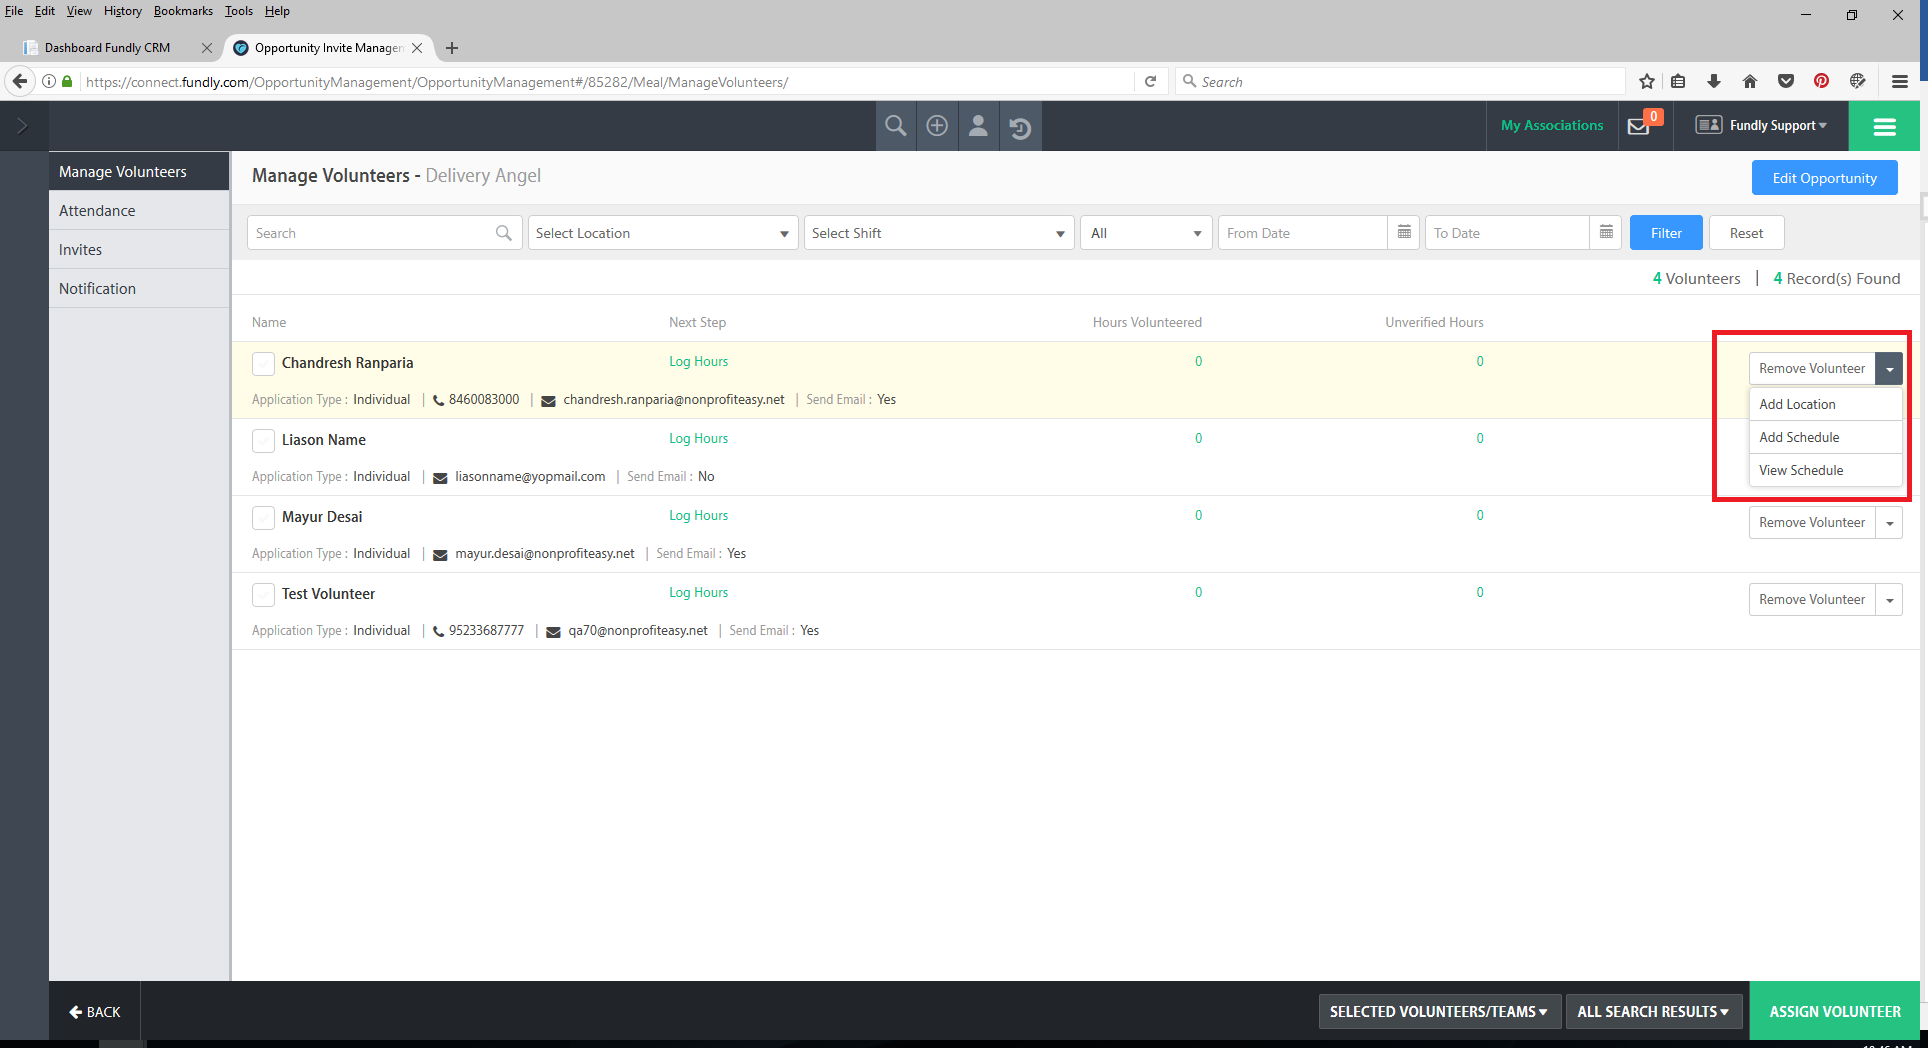
- To add a new Delivery Angel while in Manage Volunteers, click the green Assign Volunteer button in the lower right hand corner of the screen. Volunteers can also be added from the Opportunity Index screen by clicking the “+” button in the Volunteers column or by selecting Assign Volunteer from the drop down menu to the right of the opportunity.


- Start typing the name of an approved volunteer into the box. Select from the list of matching volunteers and then click the Assign Volunteer
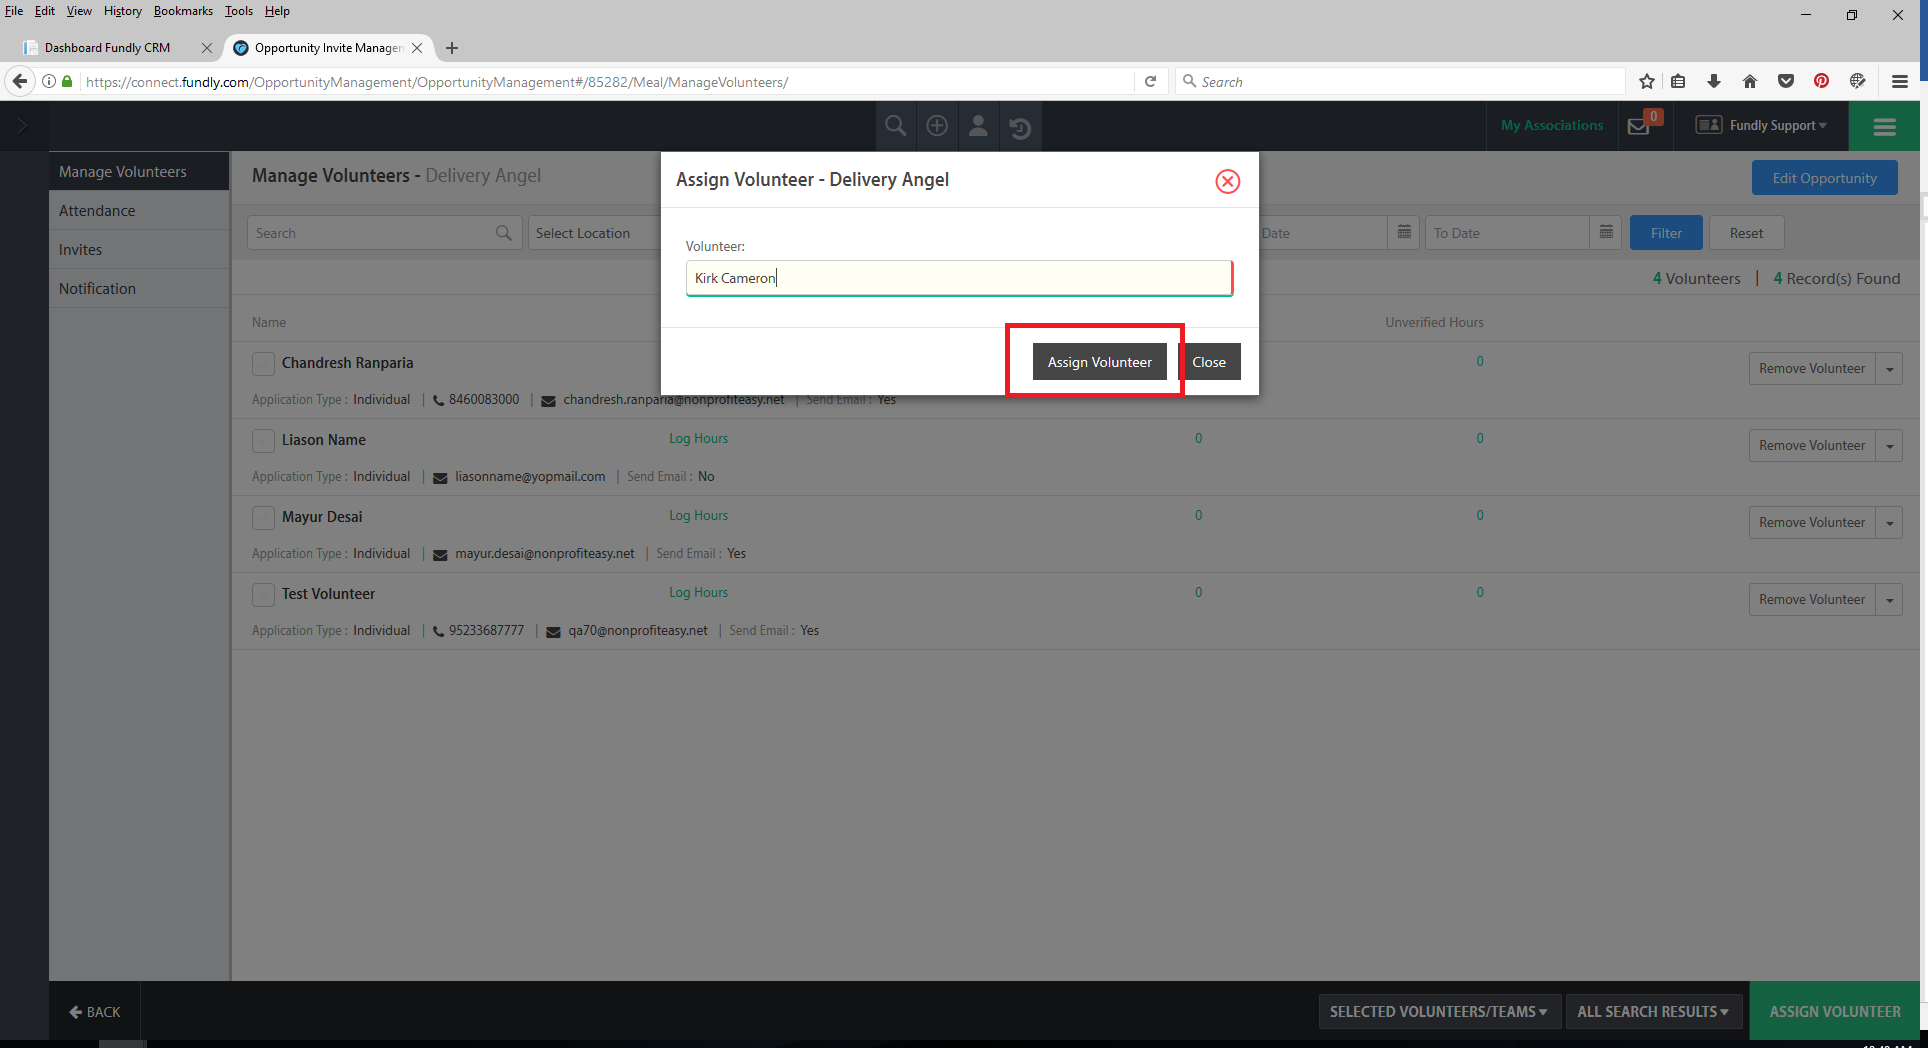
- If the name doesn’t match any existing volunteers, then the Add New Volunteer pop up will appear. Complete the information and click Save.
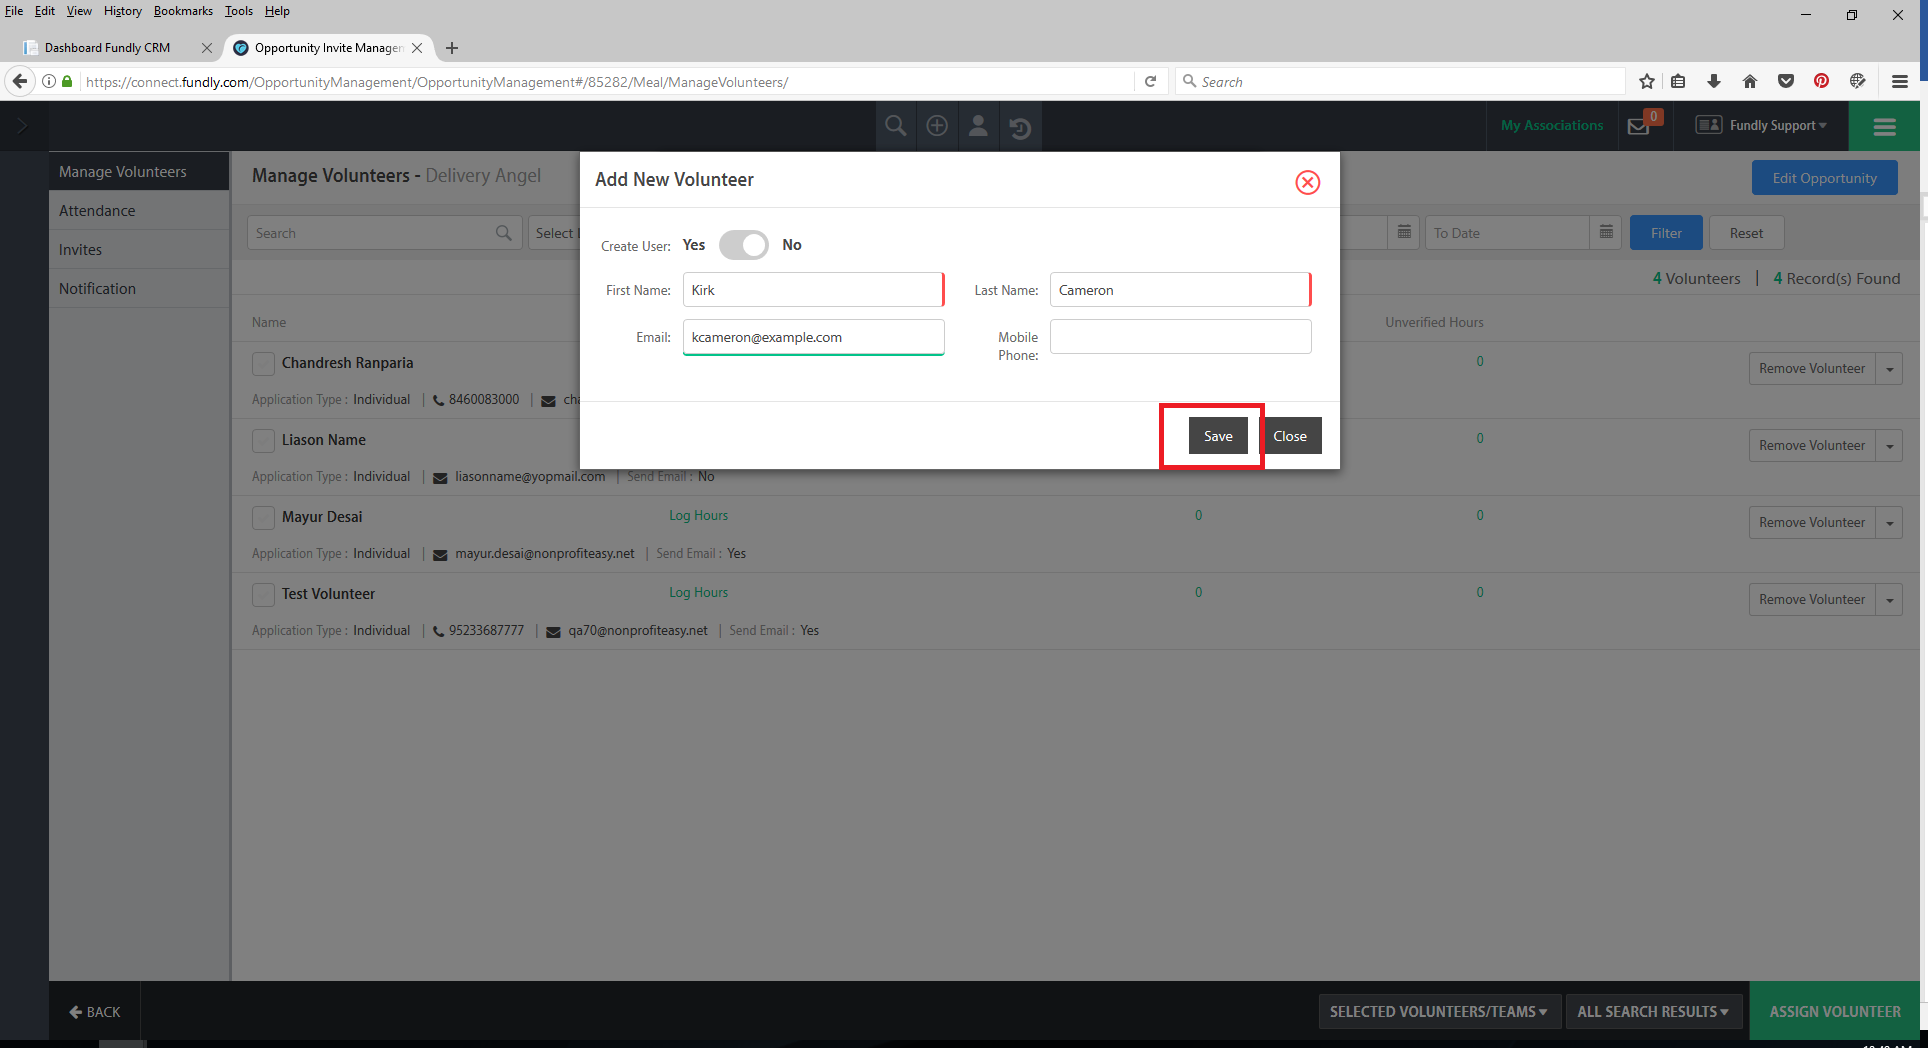
- Add another volunteer or click the Close button to close the Add Volunteer pop up.
- The Volunteer will now appear on the list and is ready to be scheduled. For more information on scheduling volunteers, see this tutorial.
- After scheduling the volunteer (selecting which delivery dates/times they are available), you will be able to select them in the delivery planner and assign routes/deliveries to them. See our Delivery Planner tutorial for more information.
Comments
0 comments
Article is closed for comments.