Grants: Reject Grant
- Once you enter a grant application into your system, it will have a status of "Pre-Approval." This means it is pending a funding decision from the funder (see the tutorial on Add New Grant Application for the steps on how to add a grant application to the system).
- If your grant application is denied/rejected by the funder, then you can change the grant status in your system to reflect this rejection/denial.
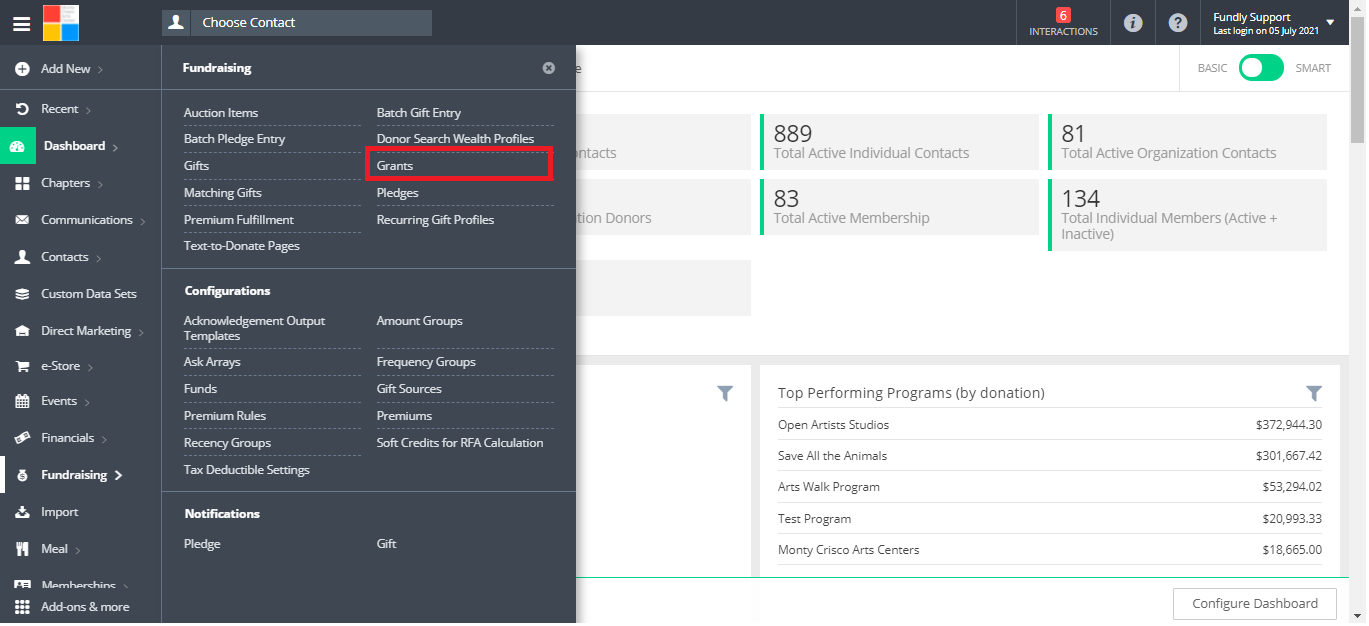
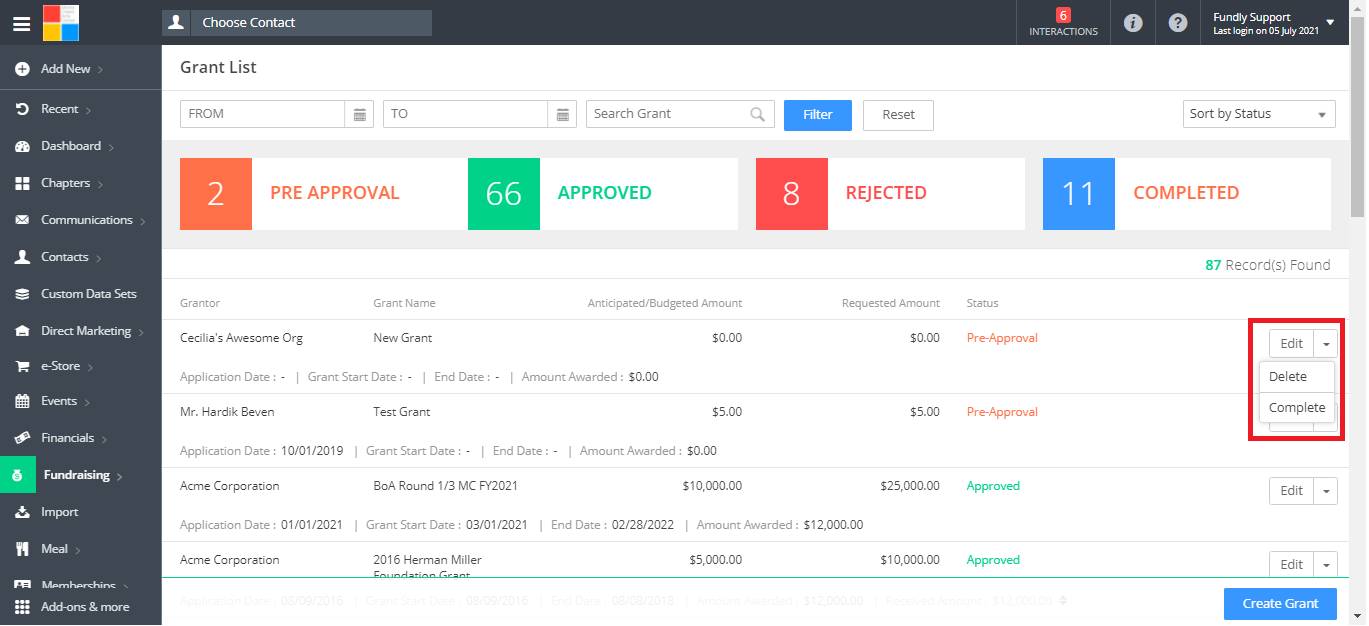
- To get started, from the Main Menu, in the Fundraising Category, select Grants to go to the Grants List/grants index screen.
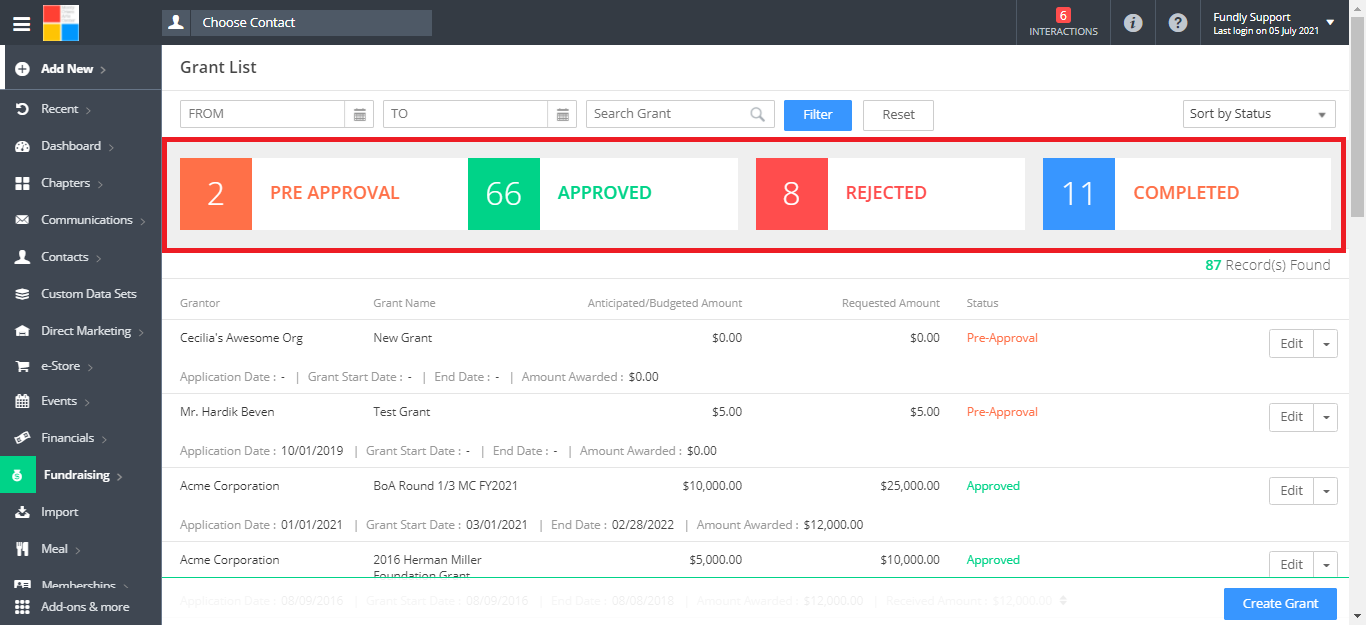
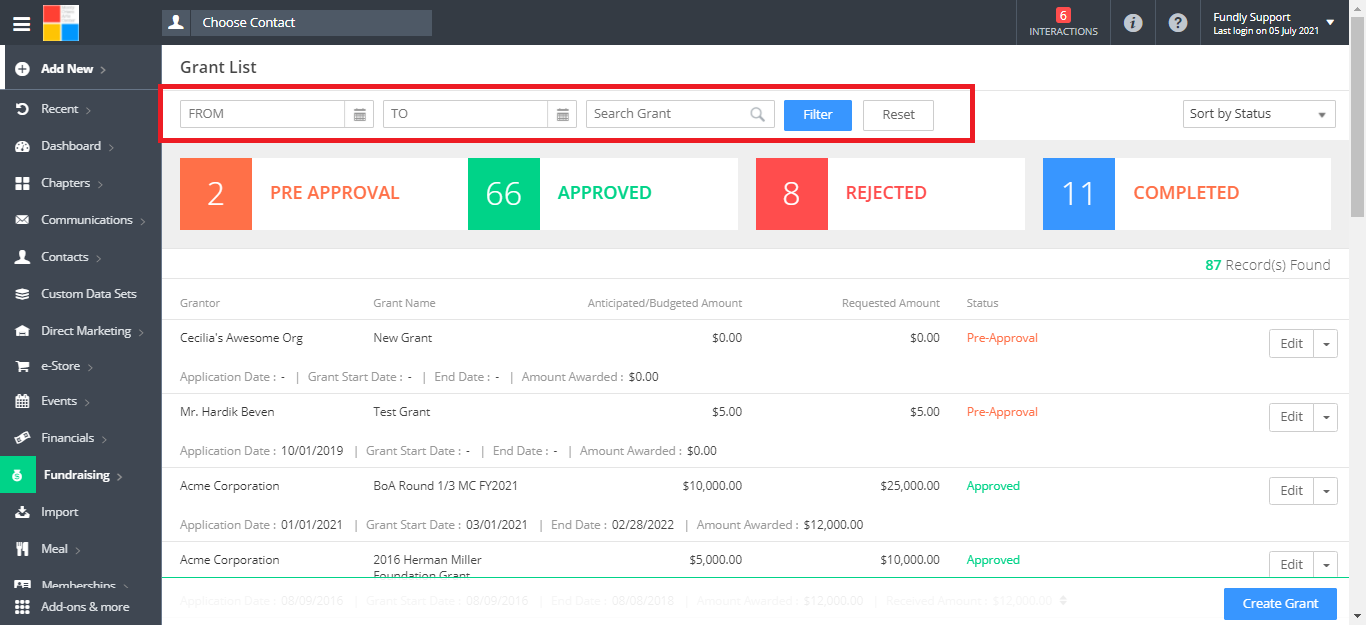
- Find the grant whose status you want to change in the Grant List (note: you can change the status of any grant to rejected - even ones that are Approved or Completed). You can filter the Grant List by clicking on the status buttons at the top of the screen or use the Search Grant field to search by grant name or grantor.
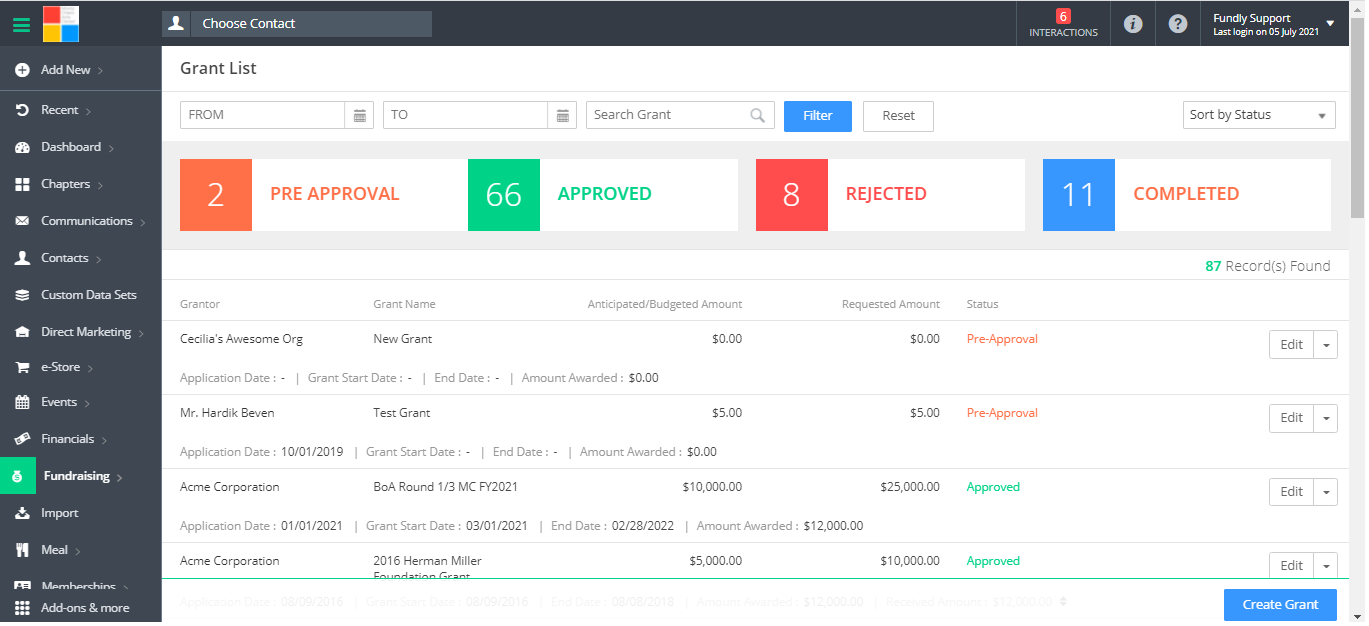
- Once you find the grant application whose status you wish to change, click the drop down to the right of the grant and select Edit.
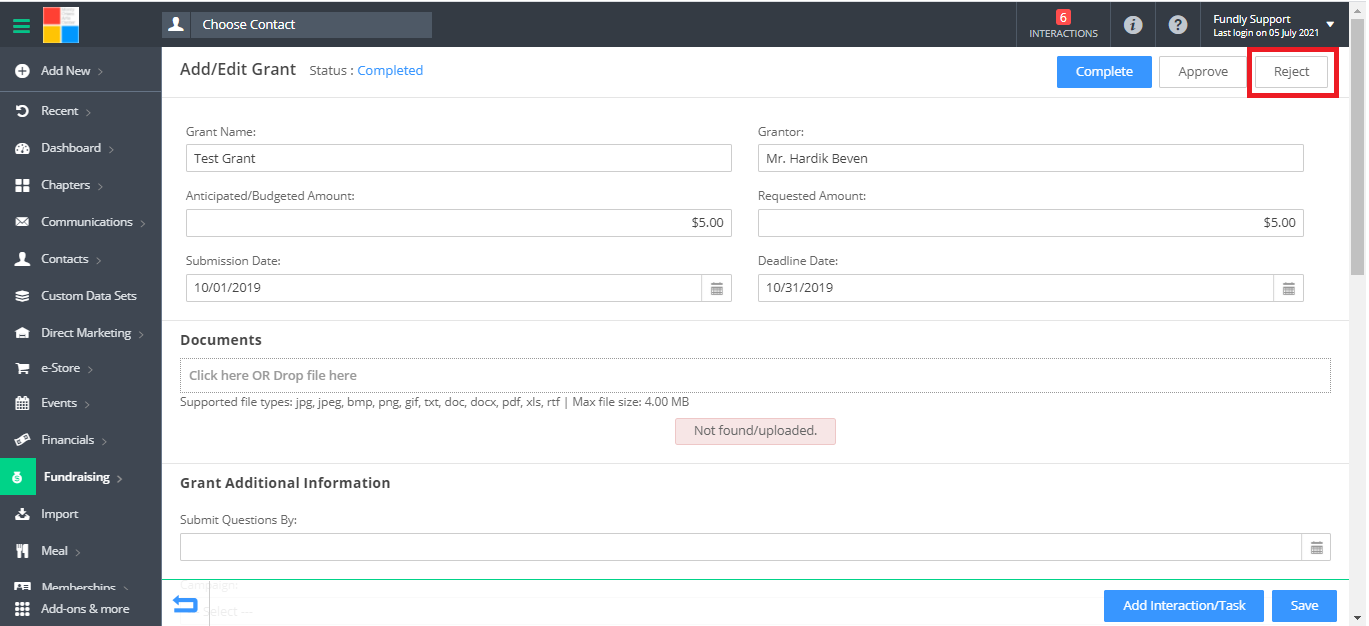
- Click the Reject button in the upper right.
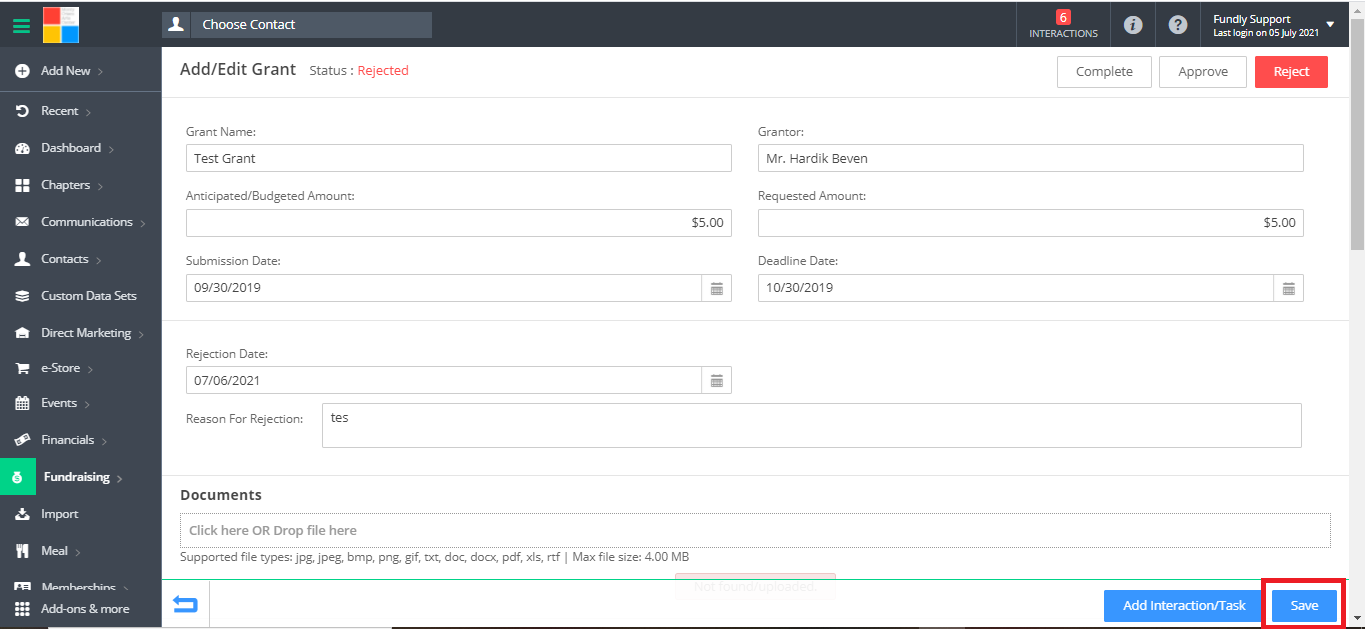
- On the Reject Grant screen, fill in the Rejection Date (required) and the Reason for Rejection (required).
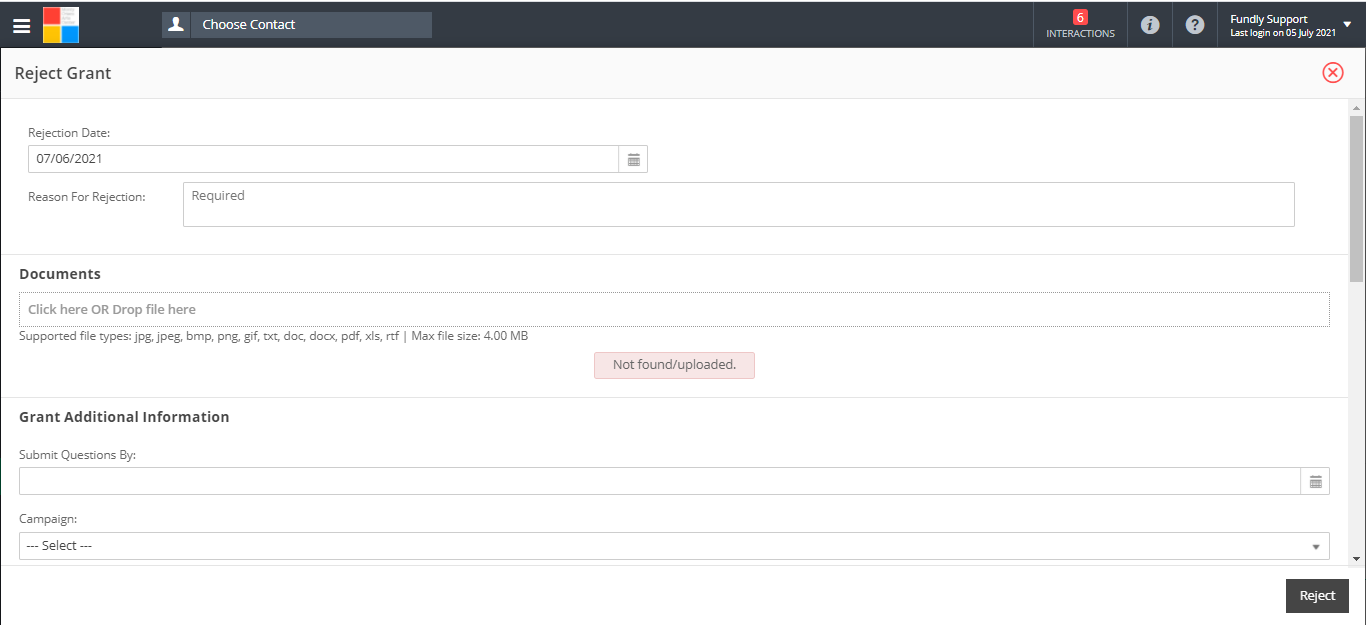
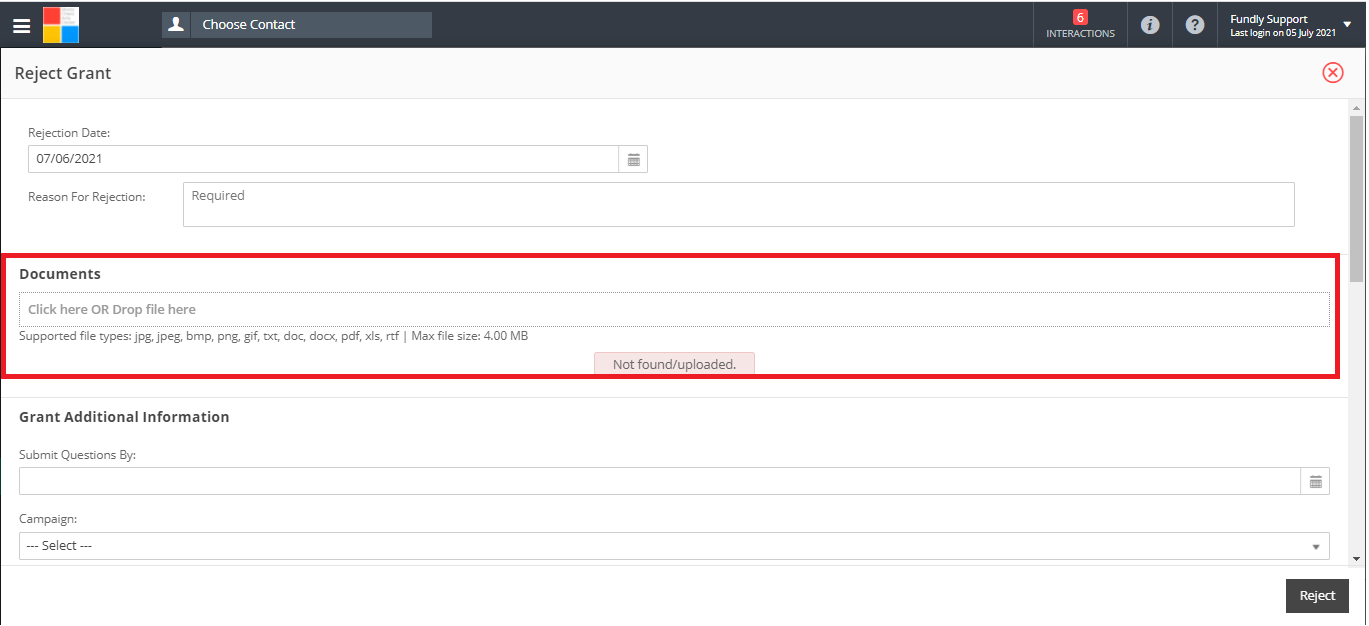
- If applicable, add any documents to the approval (such as a copy of the rejection letter) by dragging the files to the Documents area or by clicking the Documents box and selecting the file from your computer.
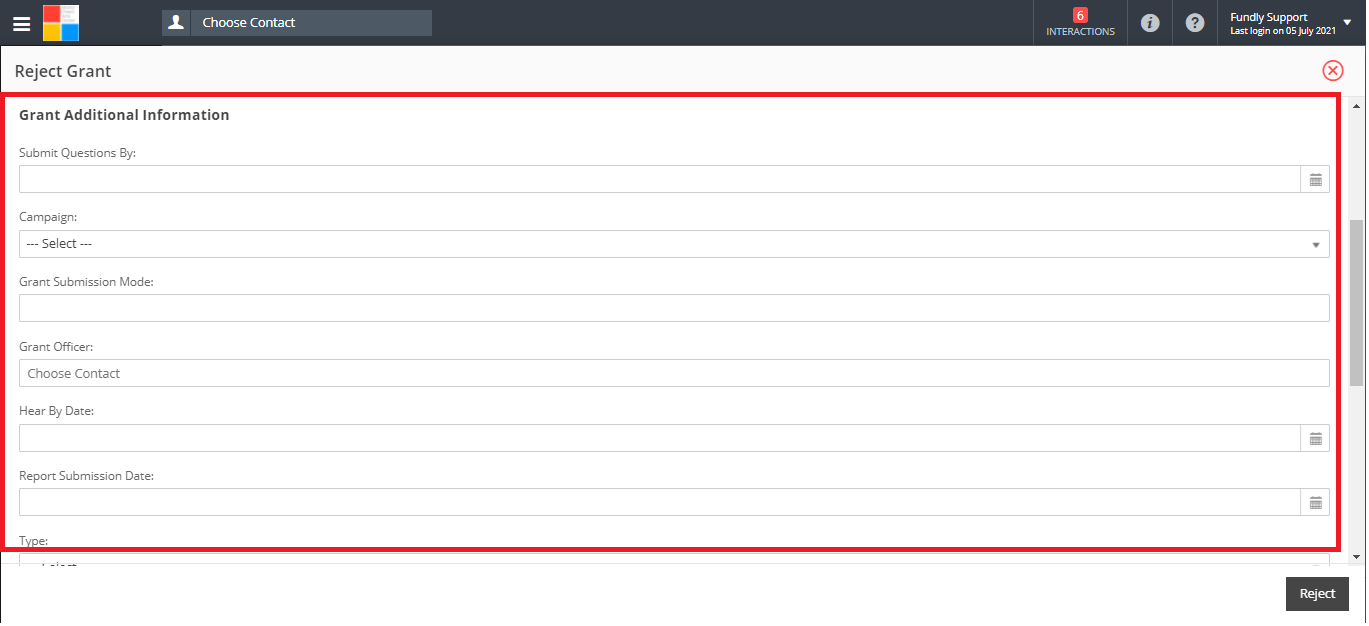
- Update the Grant Additional Information area if applicable (the Grant Additional Information area is a custom data set that you can configure (Main Menu: Configurations: Custom Data Sets: Grant Additional Information) with additional data fields to capture information that there is not other place to put. Out of the box, this area is empty/there are no fields. The fields you see in the screen shot below are simply ones we added to our demo system. Examples of data fields you might want to create/add here include: program officer name, expected response/hearby date, notes, tracking number (for mailed applications or application number if you receive a data stamped receipt from the funder), etc.
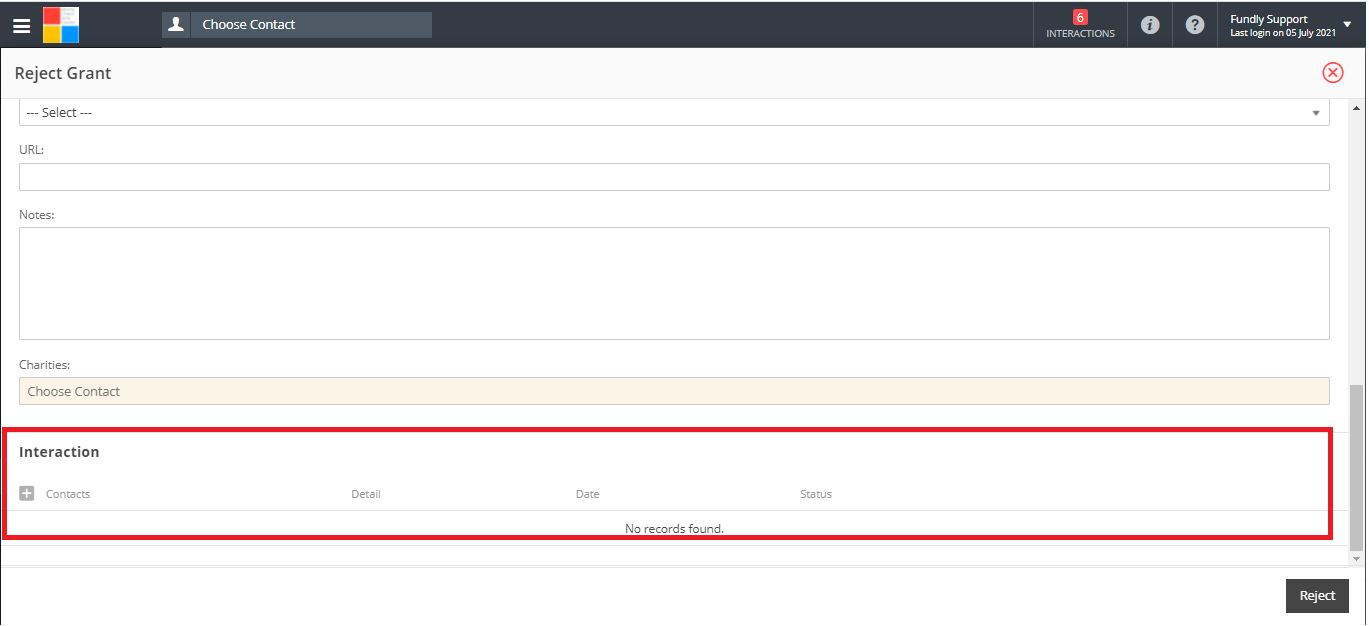
- If you wish to record an interaction or task related to this grant rejection (such as any necessary follow up), you will need to first Save the rejection/finish the rejection process. Then the blue Add Interaction/Task button in the lower right (next to Save) will appear and you can click it to add a task or interaction.
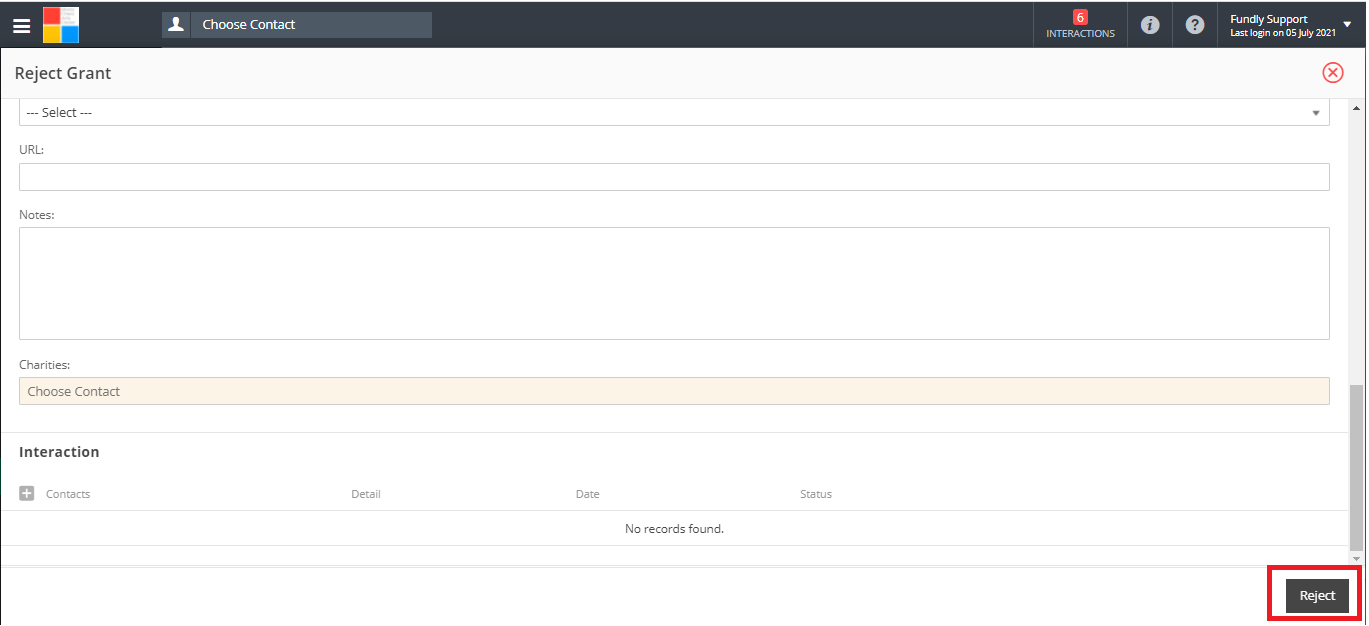
- Once you have completed all relevant information, click Reject in the lower right hand corner. Once a grant's status is changed from Pre-Approval to Approved, Rejected, or Completed it can never be set back to Pre-Approval. However, once approved, grant applications can be edited and the status can be changed from Approved to Rejected (and vice versa).
- The grant's status will change to Rejected and the Reject button in the upper right will have changed to Red.
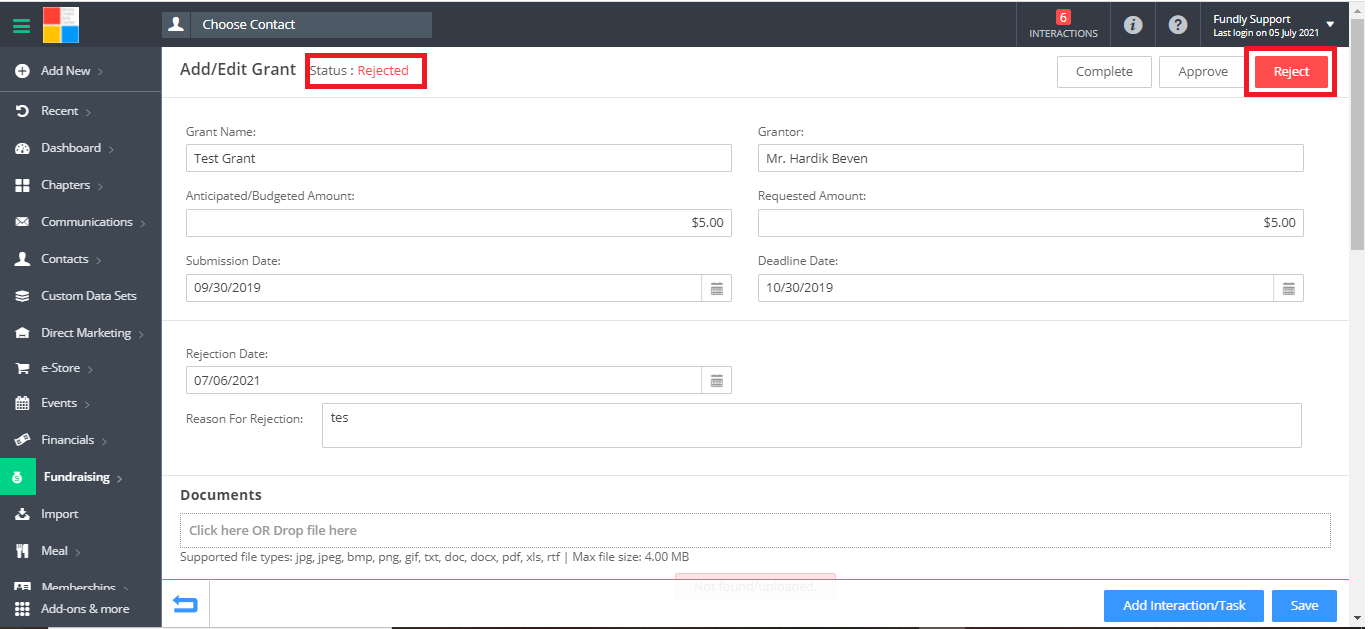
- Click the blue Save button in the lower right to save all changes.
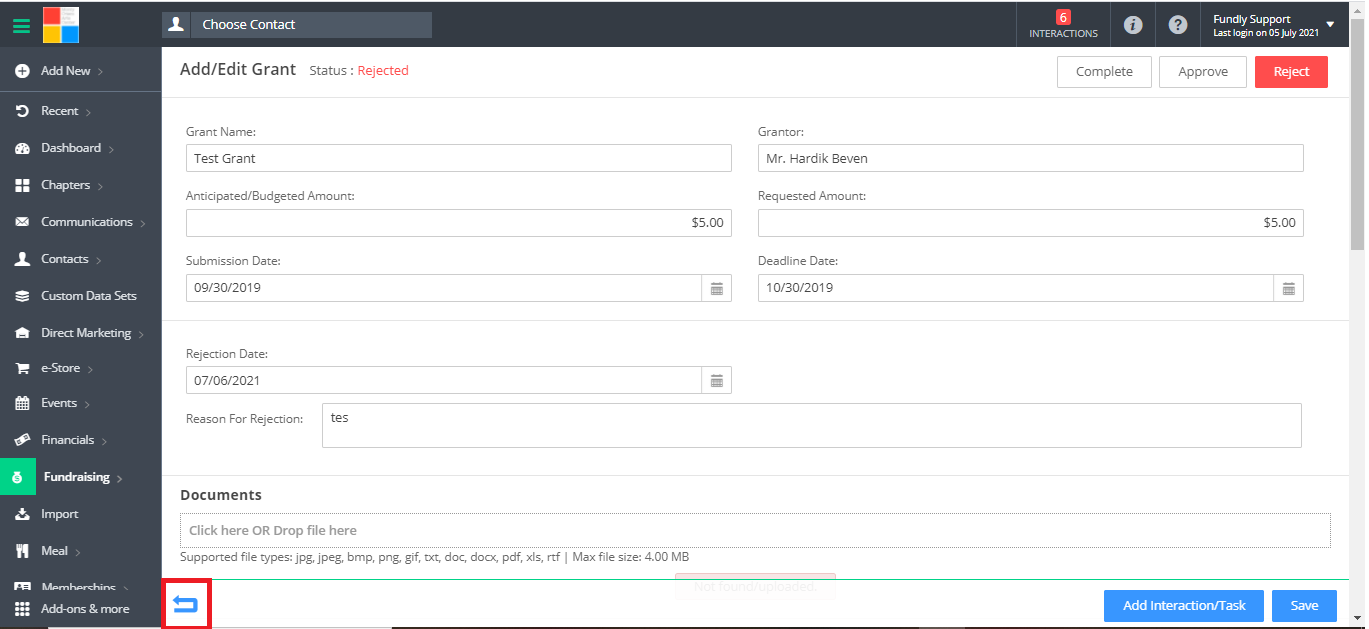
- To exit the grant application and return to the Grant List, click the Back button in the lower left hand corner.
Comments
0 comments
Article is closed for comments.