Grants: Approve Grant
- Once you enter a grant application into your system, it will have a status of "Pre-Approval." This means it is pending a funding decision from the funder (see the tutorial on Add New Grant Application for the steps on how to add a grant application to the system).
- If your grant is approved (awarded), then you can change the grant status in your system to reflect this approval. You will then also be able to record anticipated and received payments.
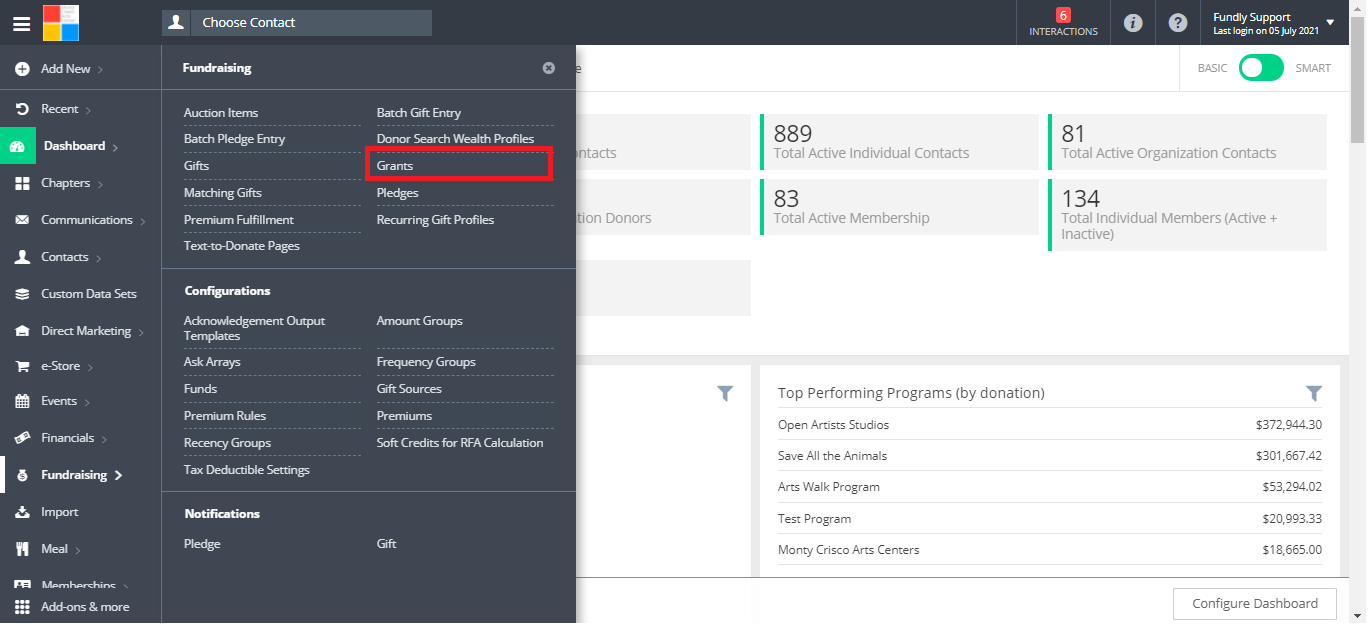
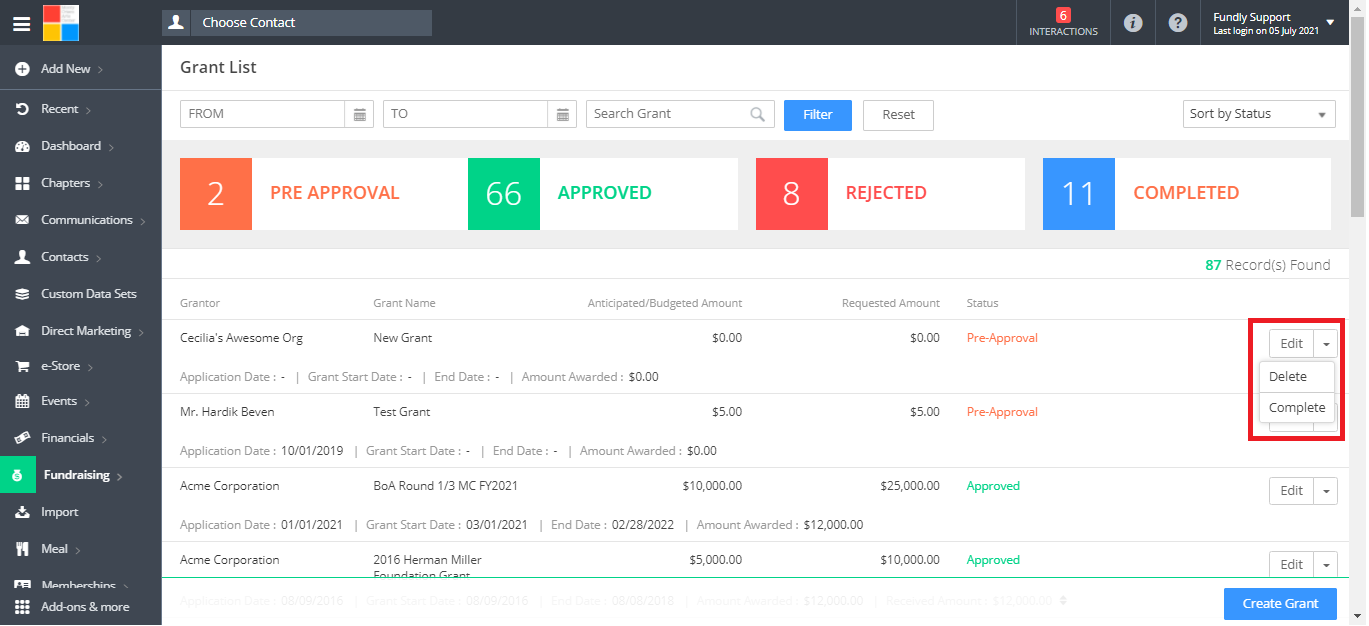
- To get started, from the Main Menu, in the Fundraising Category, select Grants to go to the Grants List/grants index screen.
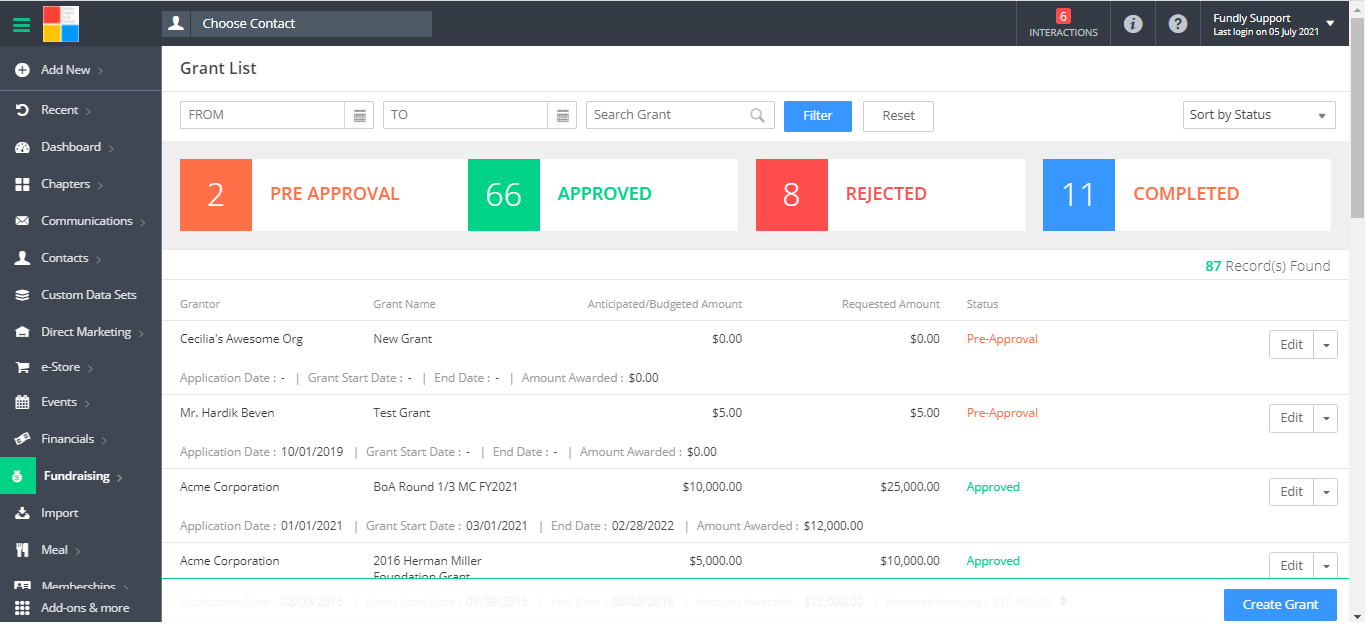
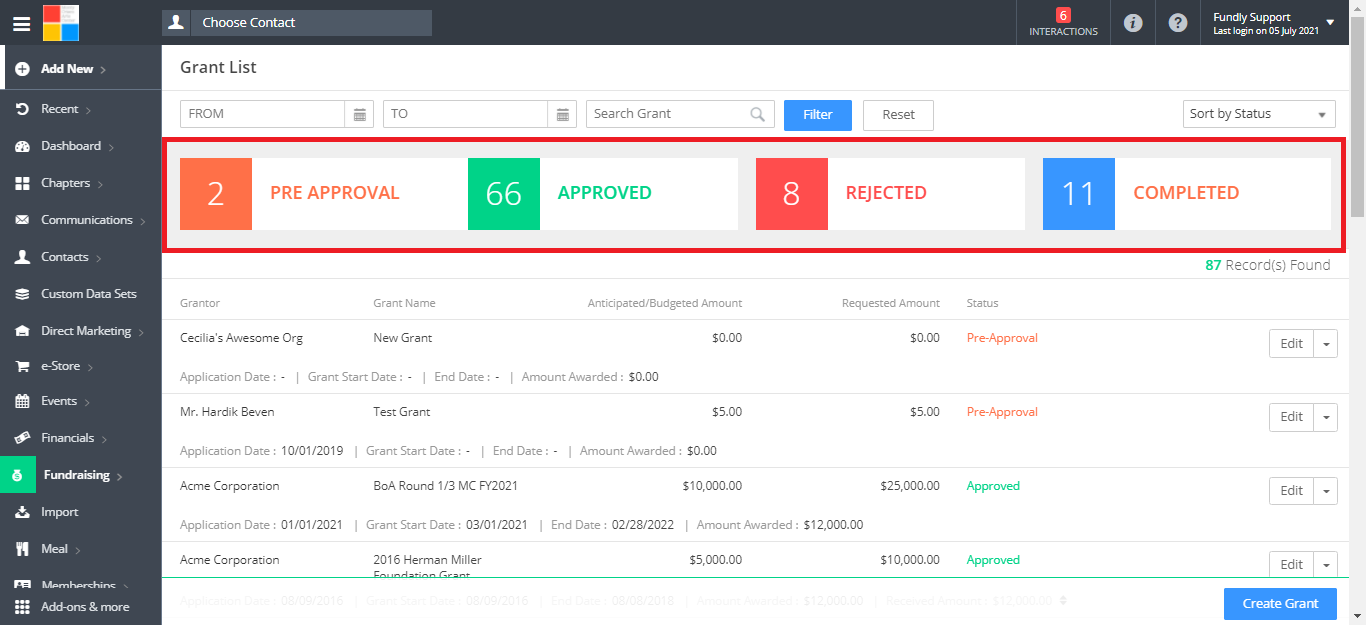
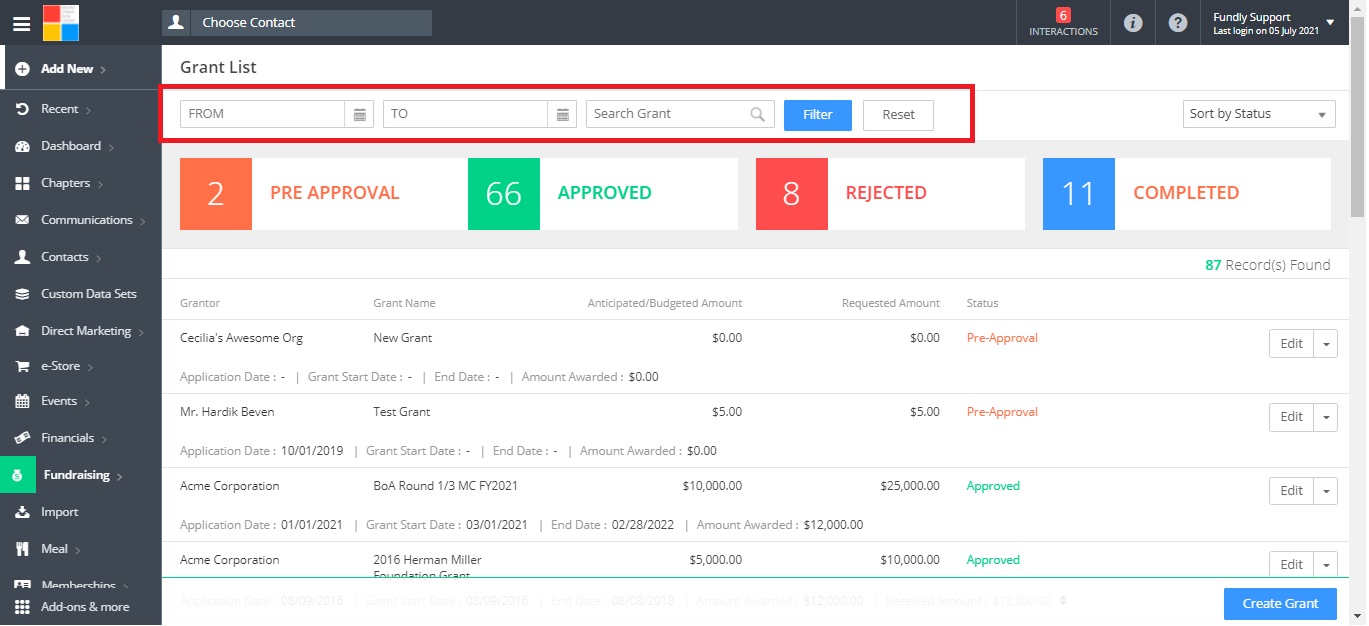
- Find the grant whose status you want to change in the Grant List (note: you can change the status of any grant to approved - even ones that are Rejected or Completed). You can filter the Grant List by clicking on the status buttons at the top of the screen or use the Search Grant field to search by grant name or grantor.
- Once you find the grant application whose status you wish to change, click the drop down to the right of the grant and select Edit.
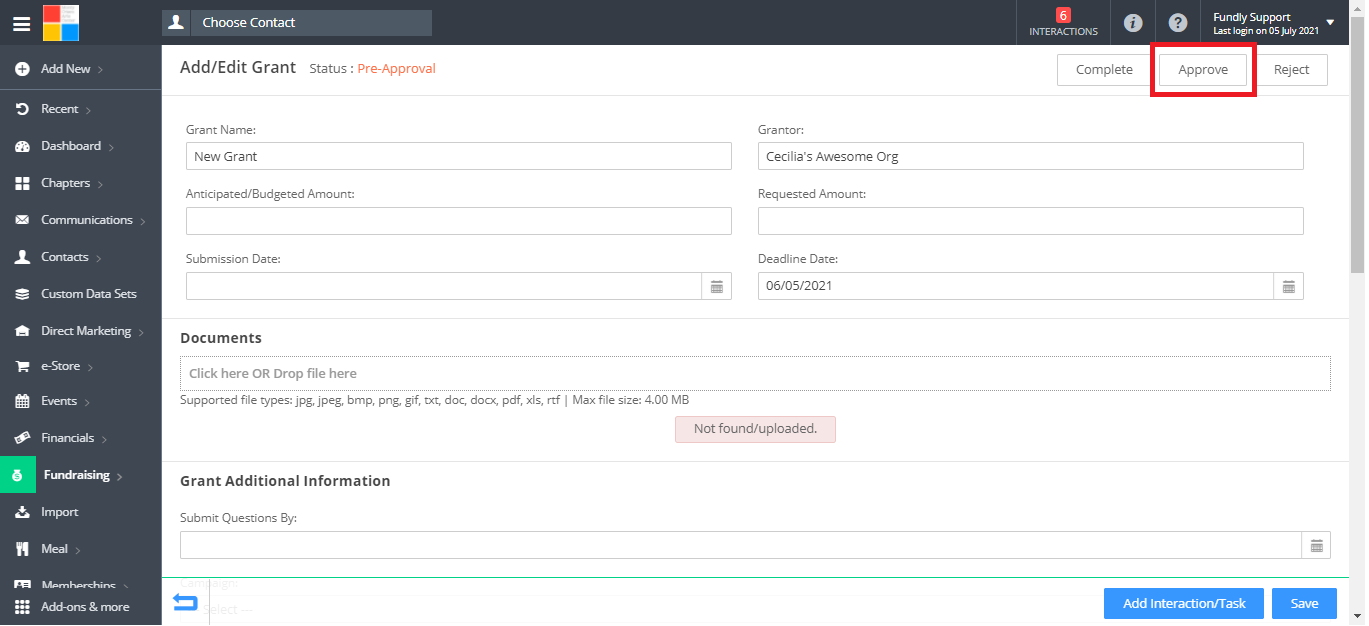
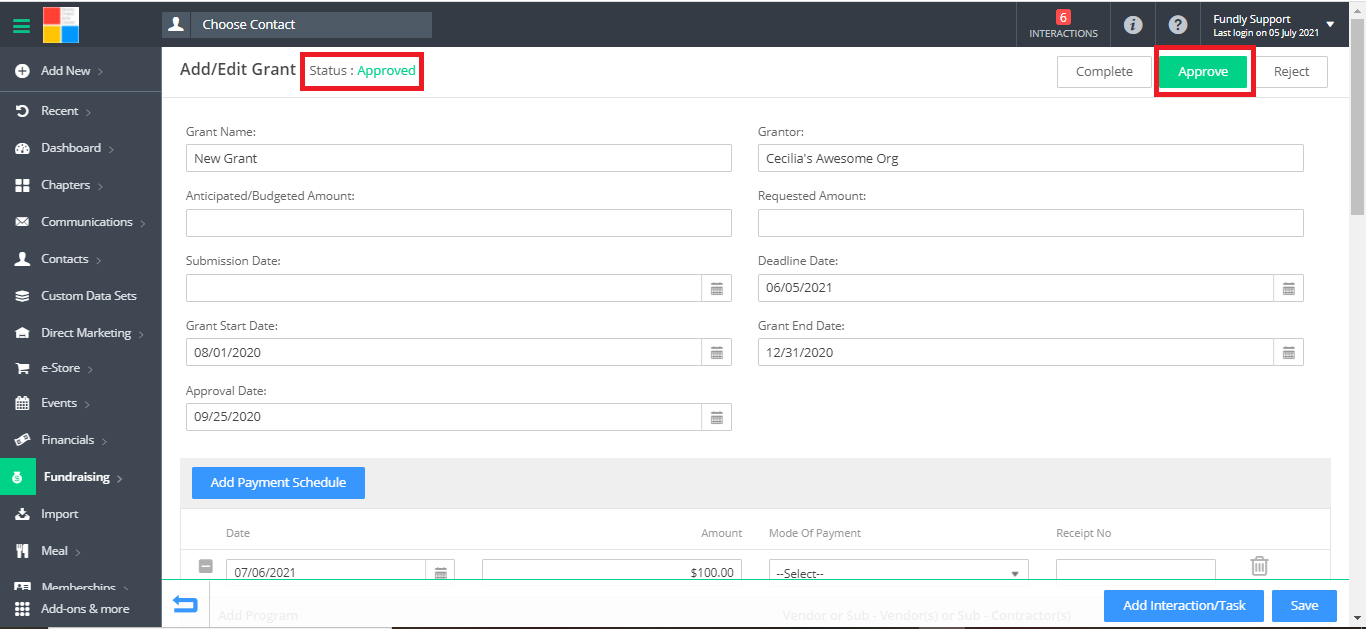
- Click the Approve button in the upper right to change the grant's status to Approved.
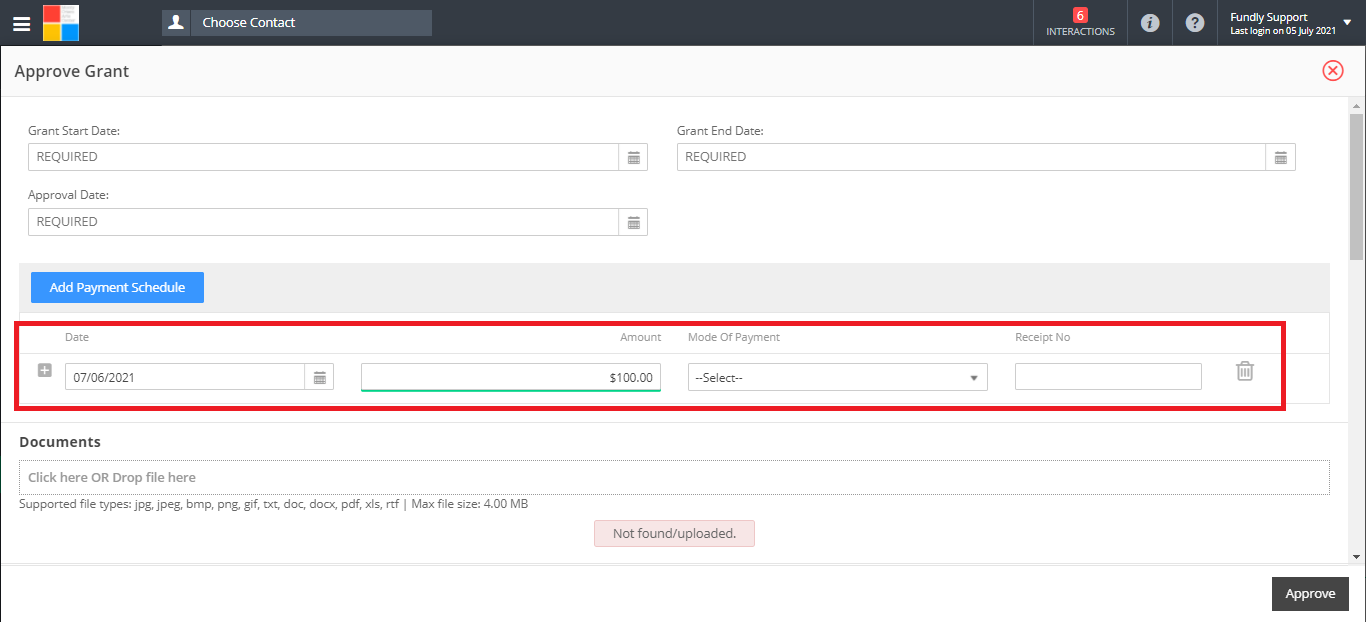
- On the Approve Grant screen, fill in the Grant Start Date (the start of the time period covered by the grant; you can backdate this field if applicable) (required), the Grant End Date (the end of the time period covered by the grant (required), and Approval Date (date when the grant was approved - you can use whatever date you want such as the date you received the approval, the date on the formal award letter, etc.) (required).
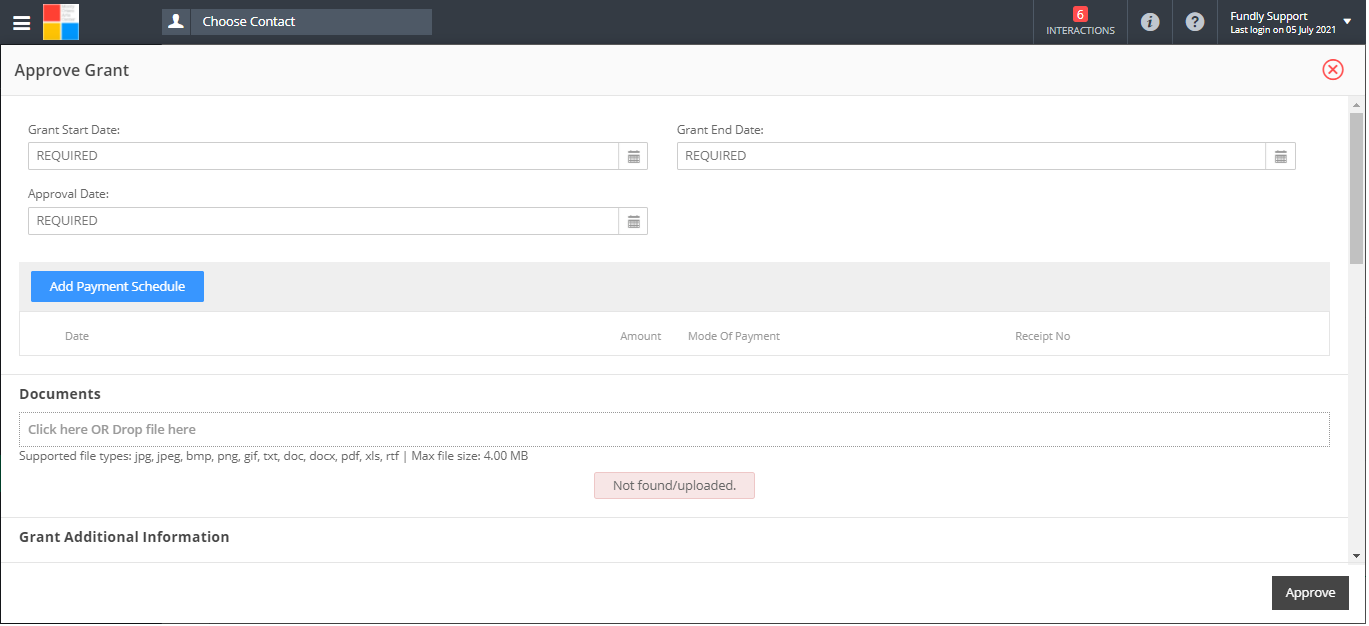
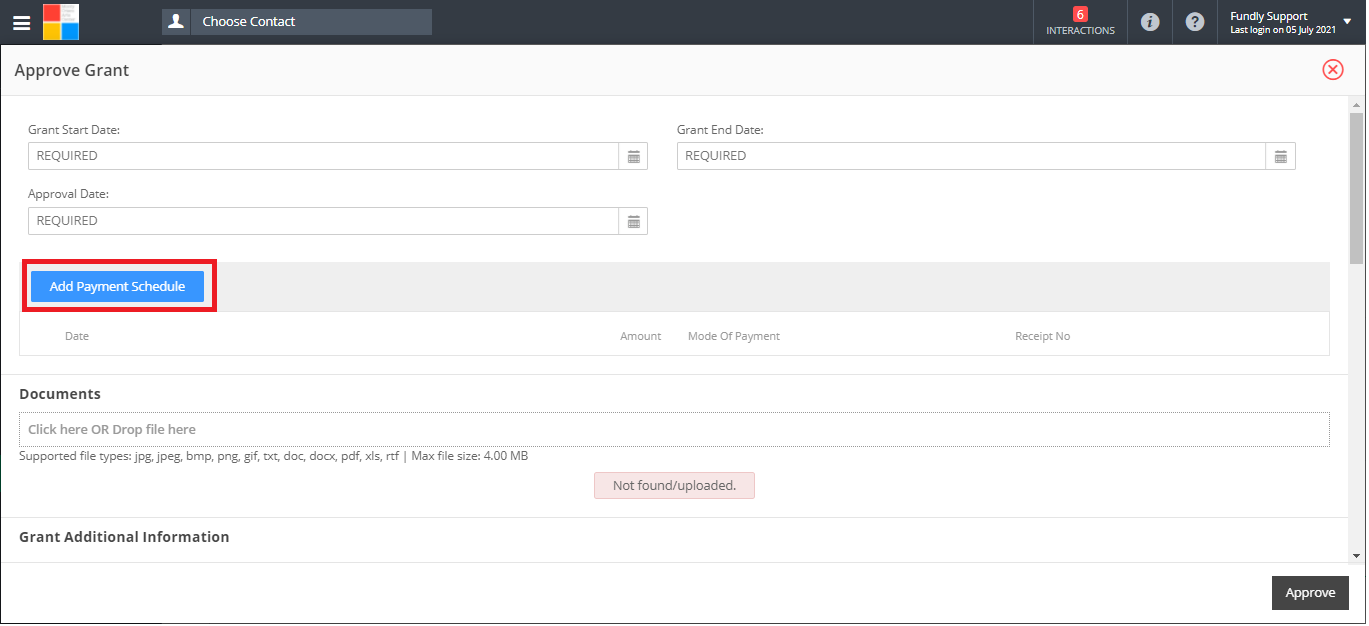
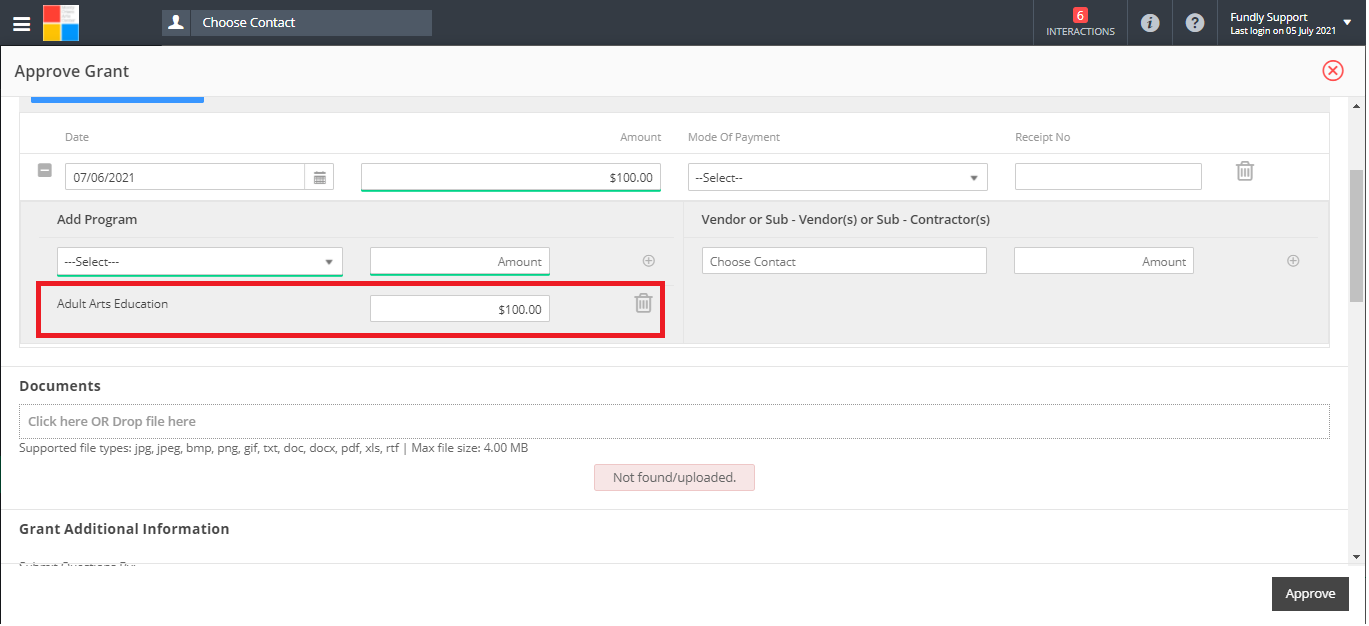
- To indicate the award amount and/or the schedule of anticipated payment(s), click the blue Add Payment Schedule button.
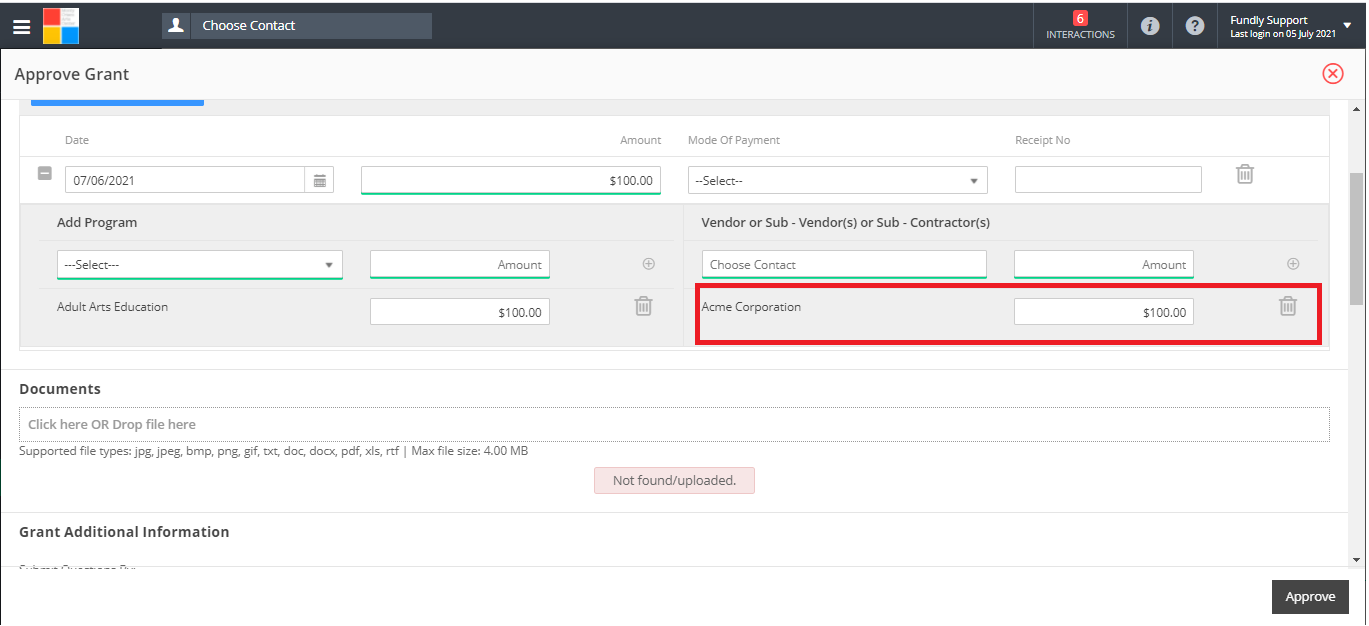
- Specify the Date you expect to receive payment (or did receive payment if it's already been received) and the anticipated Amount of the payment. If the payment has not yet been received, leave Mode of Payment and Receipt No. blank. If payment has already been received, complete these fields as well.
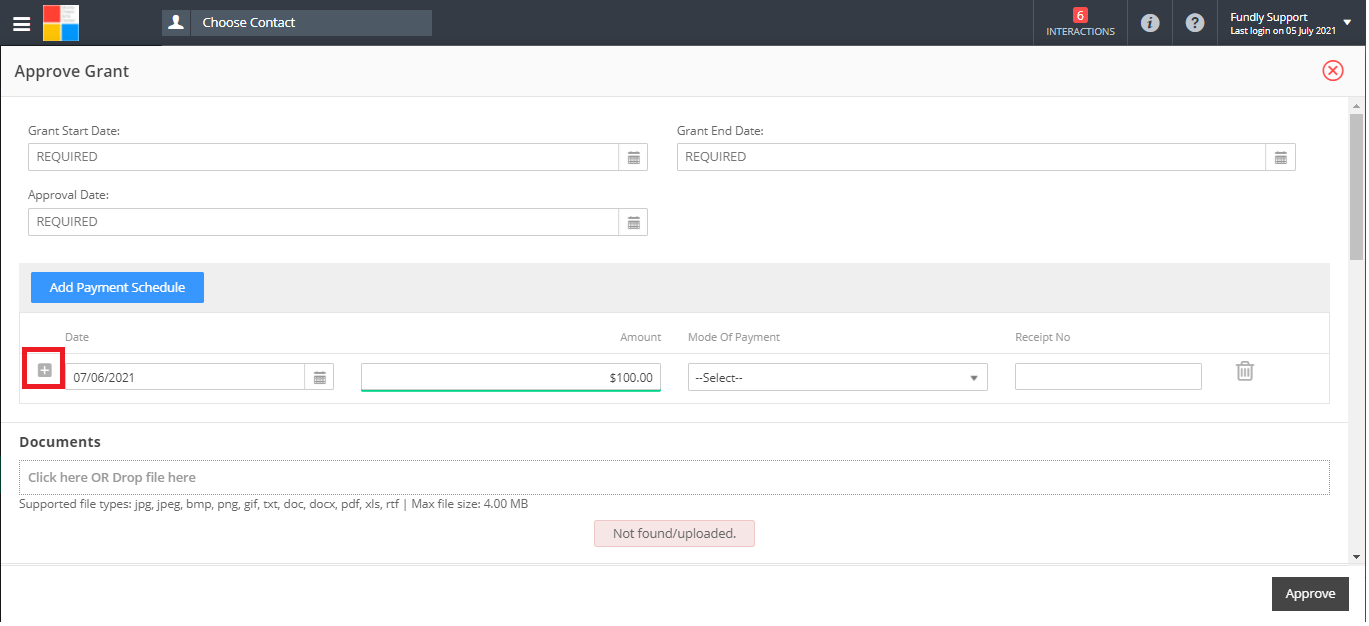
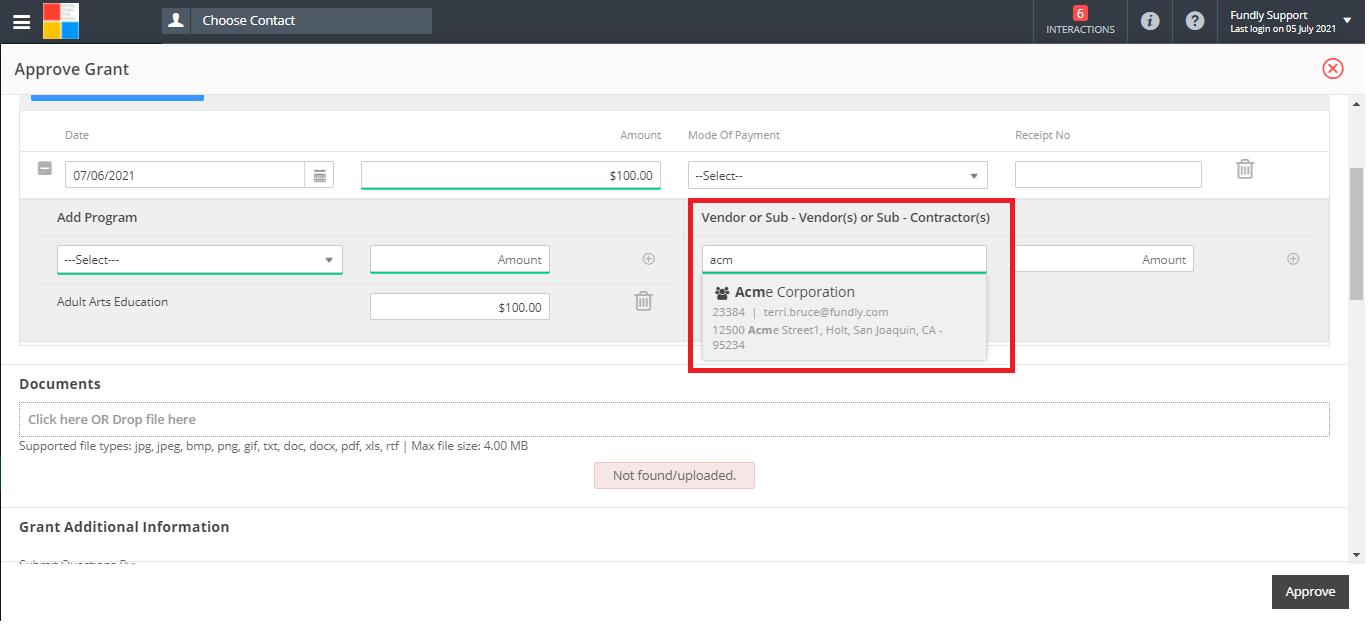
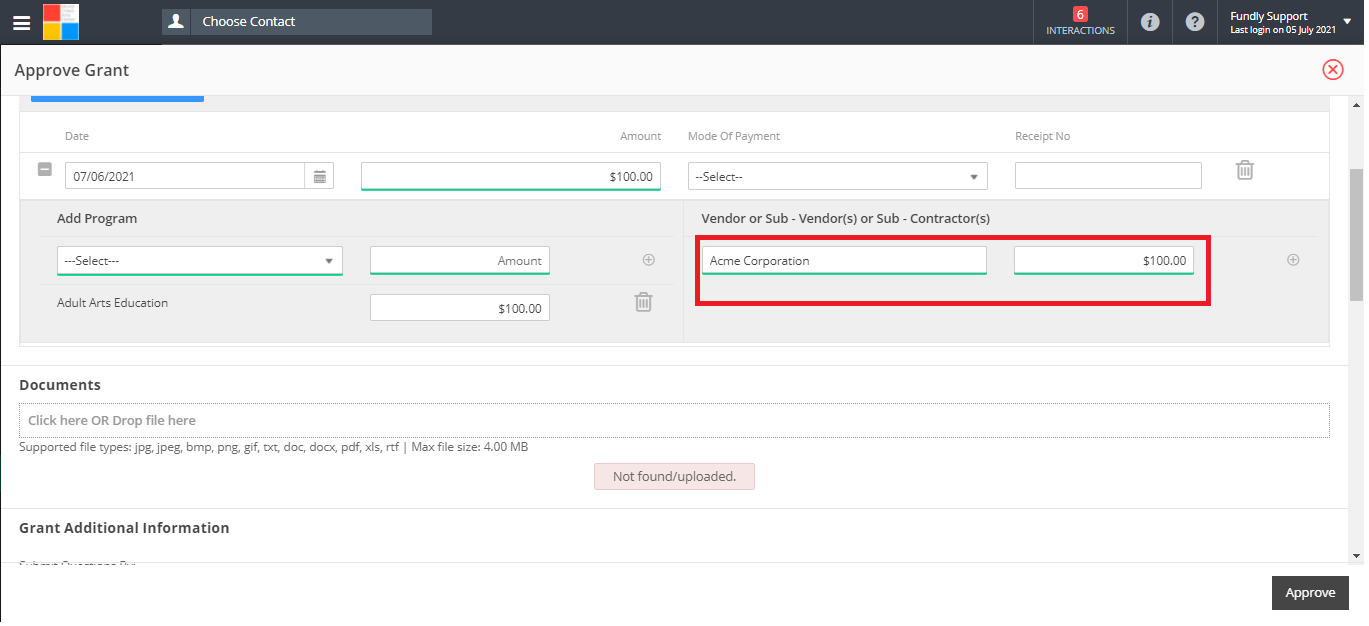
- You may also specify a Program(s) (that the funds will be used for), Vendor(s), or Sub-Vendor(s)/Sub-Contractor(s) related to the grant by clicking on the + button to the left of the payment date.
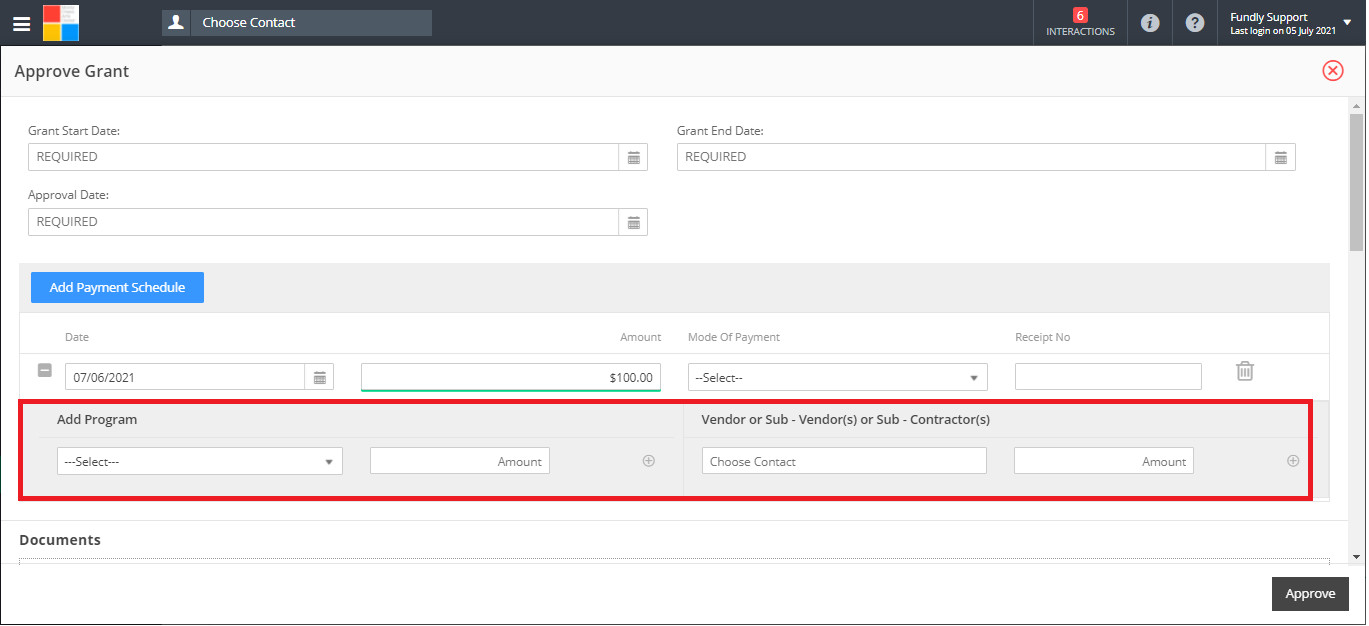
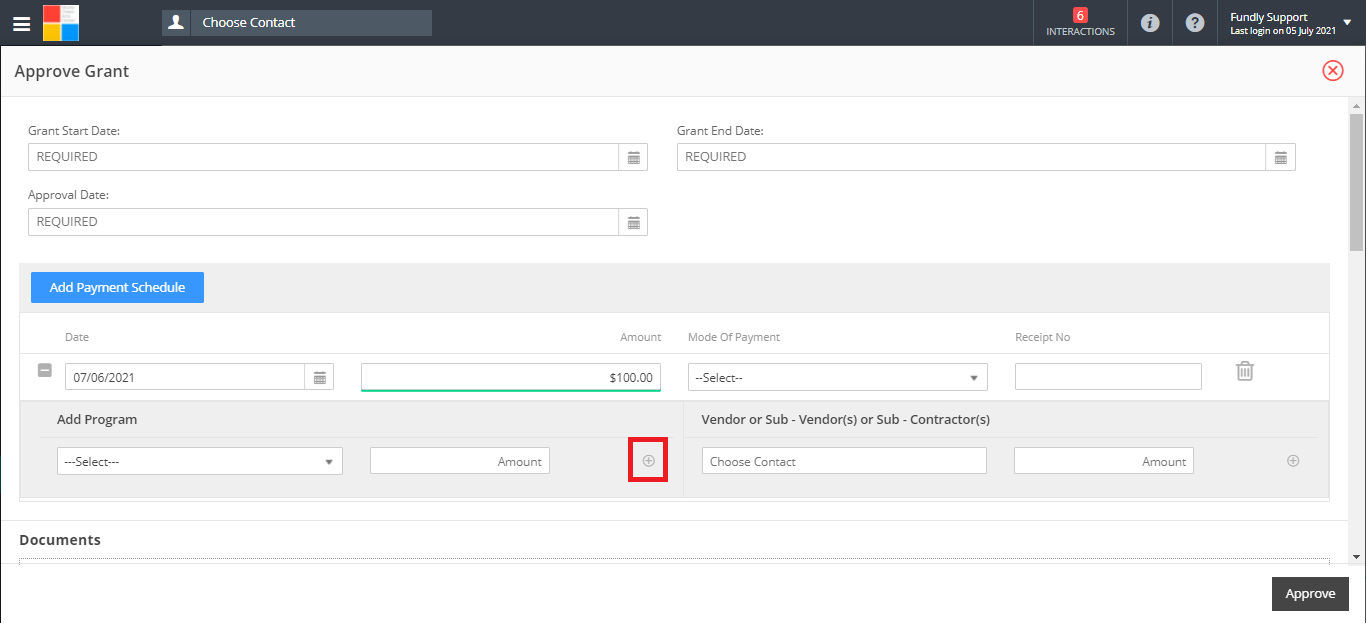
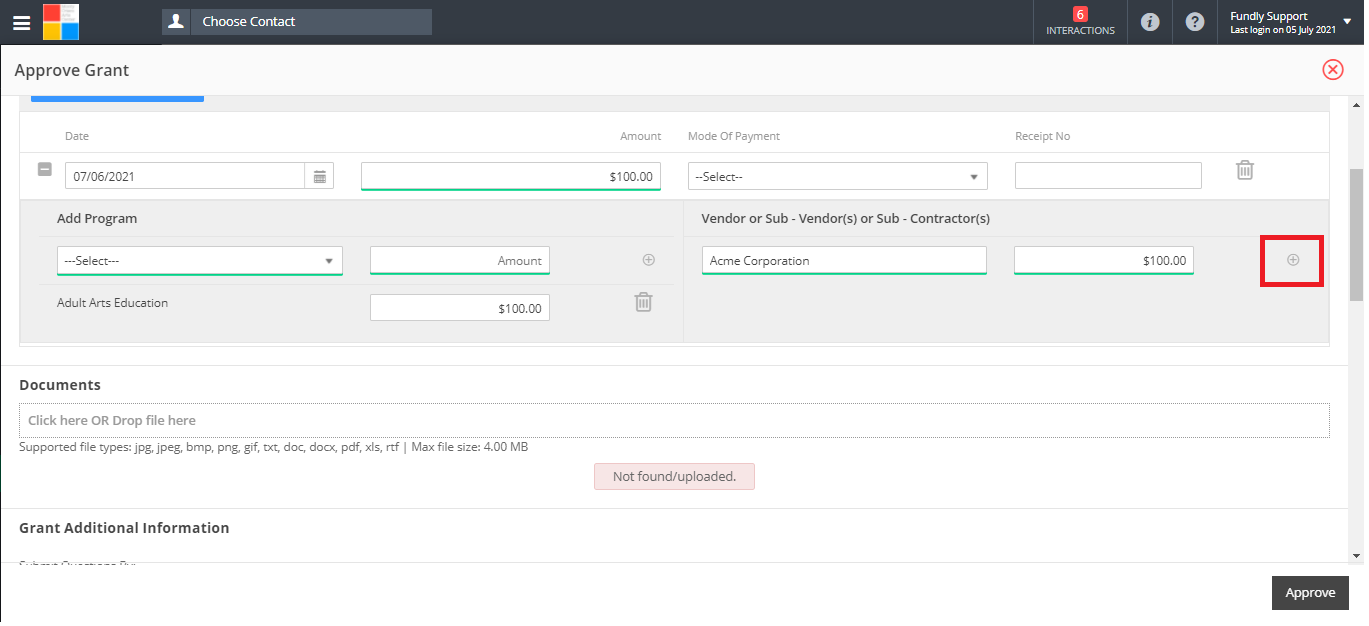
- If Applicable, use the Vendor or Sub-Vender(s) or Sub-Contractor(s) fields to indicate contacts (individuals or organizations) that will be contractors, pass-through recipients, partners, or vendors on the grant (for that specific grant payment). Select the contacts from your system by typing the name in the field and selecting from matching search results or type the name and use the quick add pop up to add the contact "on the fly" if not already in your system and then click the + button to add the contact. Adding a contact in this area of the grant record will apply the Vendor contact type to the contact's record. Repeat these steps as necessary to add all applicable vendors, contractors, sub-contractors, pass-through recipients, and/or partners (to remove a vendor/contractor from the grant, click the trash can to the right of the line item - see the third screen shot below).
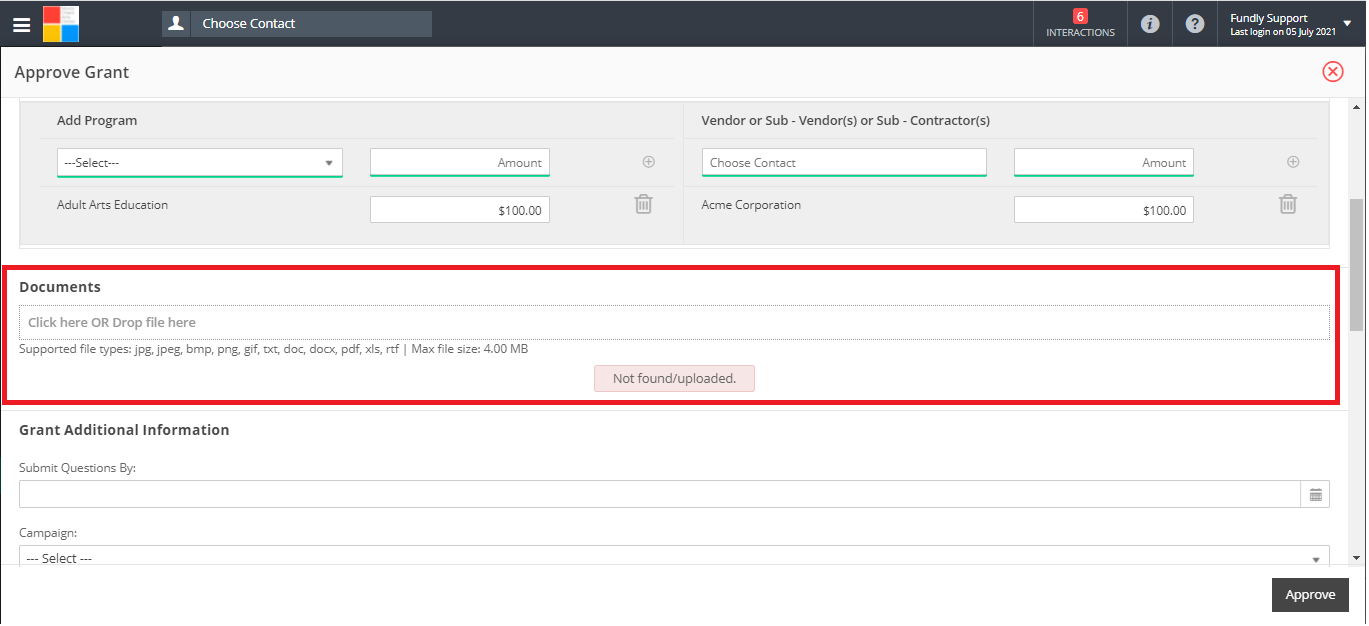
- If applicable, add any documents to the approval (such as a copy of the award letter or check) by dragging the files to the Documents area or by clicking the Documents box and selecting the file from your computer.
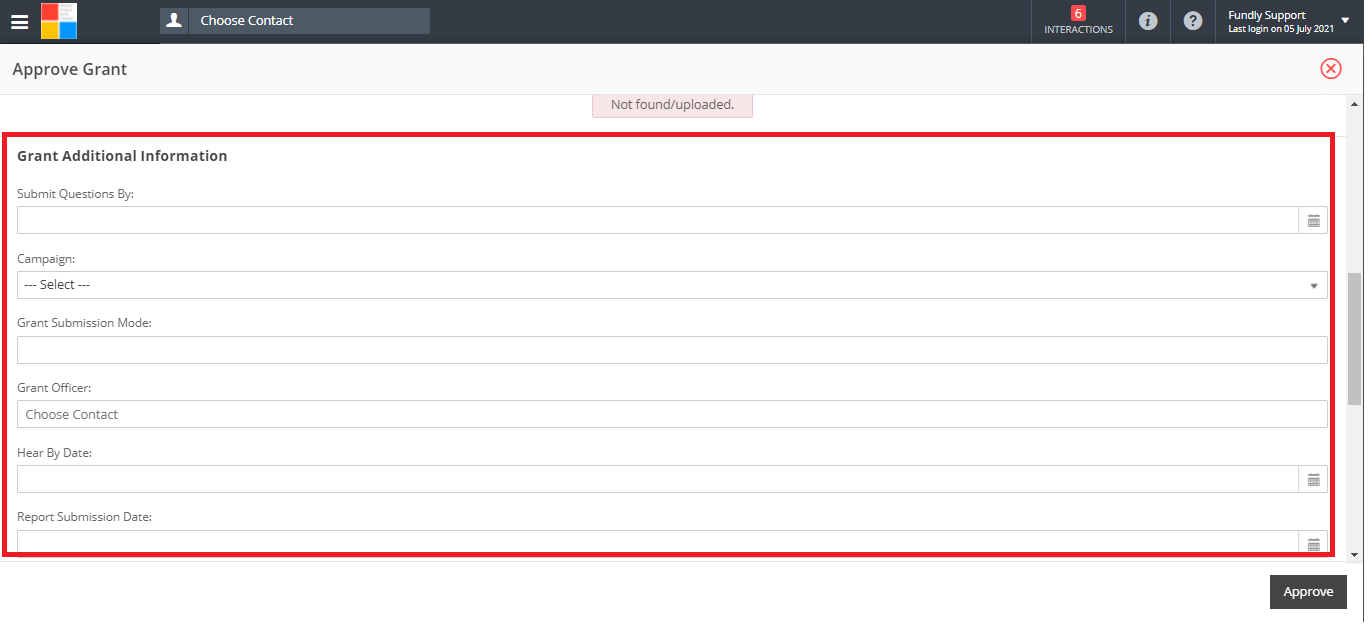
- Update the Grant Additional Information area if applicable (the Grant Additional Information area is a custom data set that you can configure (Main Menu: Configurations: Custom Data Sets: Grant Additional Information) with additional data fields to capture information that there is not other place to put. Out of the box, this area is empty/there are no fields. The fields you see in the screen shot below are simply ones we added to our demo system. Examples of data fields you might want to create/add here include: program officer name, expected response/hearby date, notes, tracking number (for mailed applications or application number if you receive a data stamped receipt from the funder), etc.
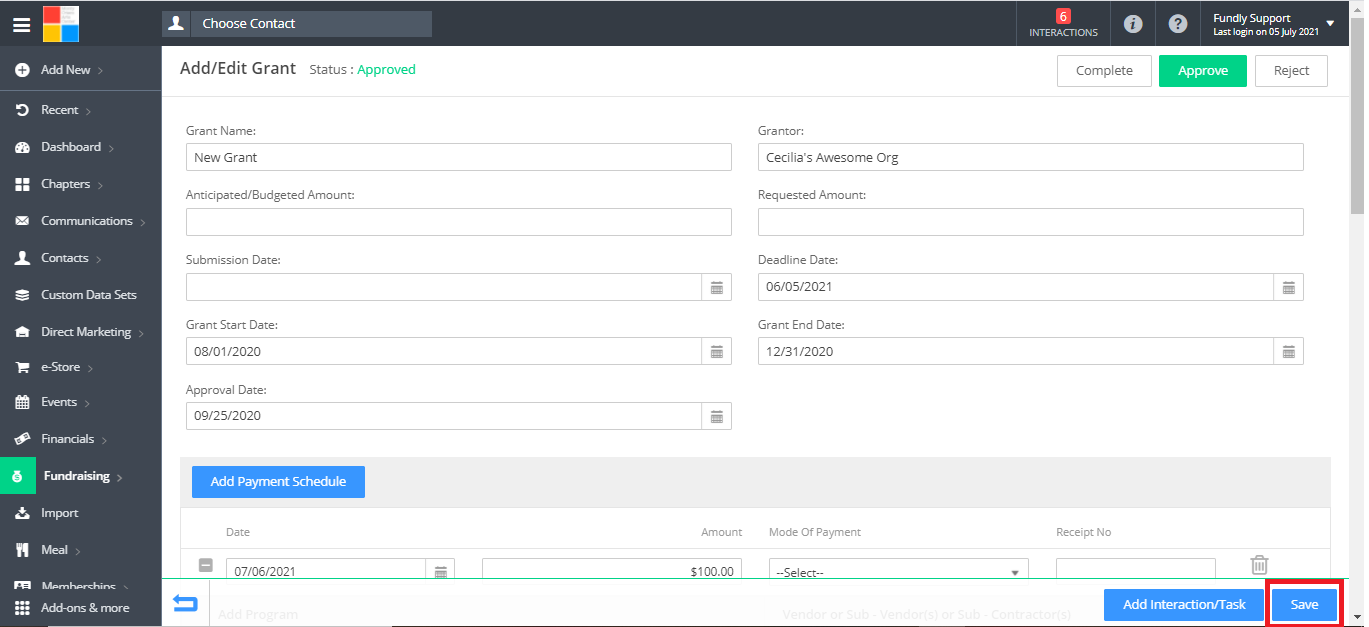
- If you wish to record an interaction or task related to this grant approval (such as the date(s) of status reports due to the funder or the date(s) to submit drawdown requests), you will need to first Save the approval/finish the approval process. Then the blue Add Interaction/Task button in the lower right (next to Save) will appear and you can click it to add a task or interaction.

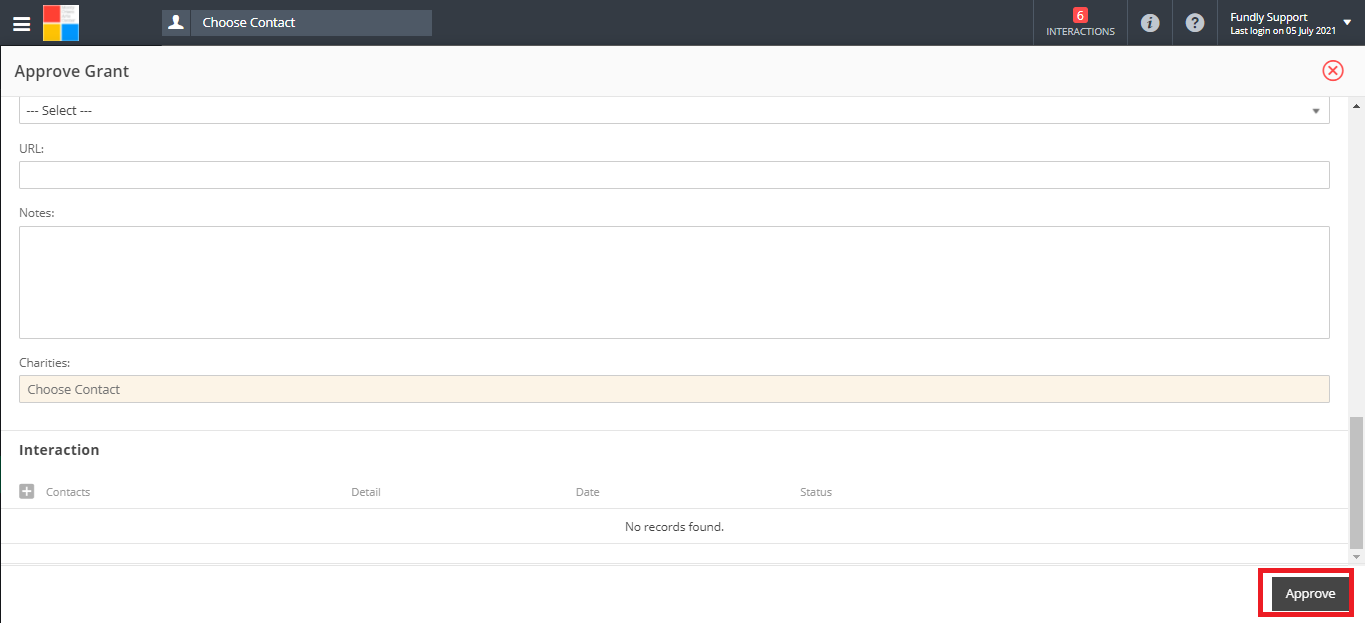
- To complete the approval process click on Approve in the lower right hand corner. Once a grant's status is changed from Pre-Approval to Approved, Rejected, or Completed it can never be set back to Pre-Approval. However, once approved, grant applications can be edited and the status can be changed from Approved to Rejected (and vice versa).
- The grant status will now show as "Approved" and the Approve button in the upper right hand corner will be green.
- Click the blue Save button in the lower right to save all changes.
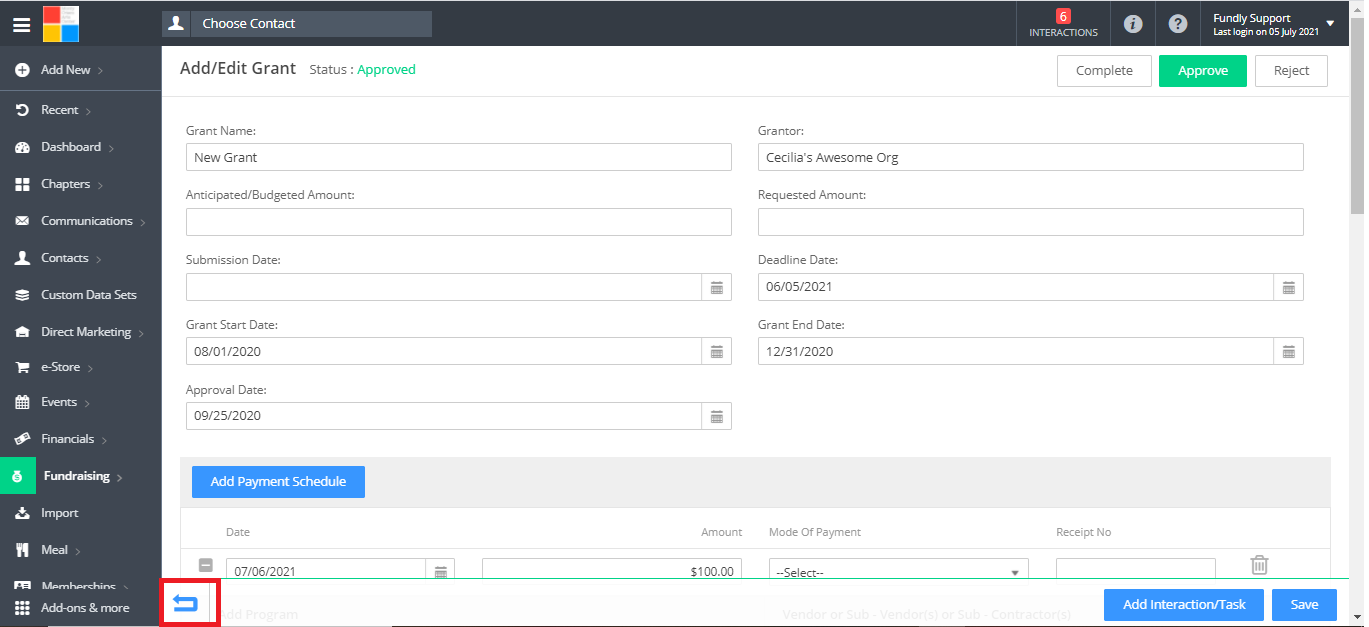
- To exit the grant application and return to the Grant List, click the Back button in the lower left hand corner.
- To record payments/receipt of funds for this an approved grant, see our tutorial on recording grant payments.
Comments
0 comments
Article is closed for comments.