
Account: Users
- This tutorial will cover how to create and manage users within the system.
- Best practice is that everyone using your system (staff, volunteers, board members, etc.) should have their own log-in (no sharing log-ins!). CRM v2 has no limits on the number of users you can have (and you are not charged according to the number of users that you have configured in your system) so there is no reason not to have each user configuring with their own credentials. Furthermore, having each user have their own credentials increases security and makes it easier to identify which person has done what within the system.
- Additionally, when a user leaves your organization or no longer needs access to the system, best practice is to inactivate (NOT DELETE) their log-in credentials (see step #16 below).
- Prior to adding a user, you will need to have the User Role (security permissions group) configured.
- To add a new user, start by clicking on your username in the upper right corner of the screen, and select Account from the drop-down menu that appears.

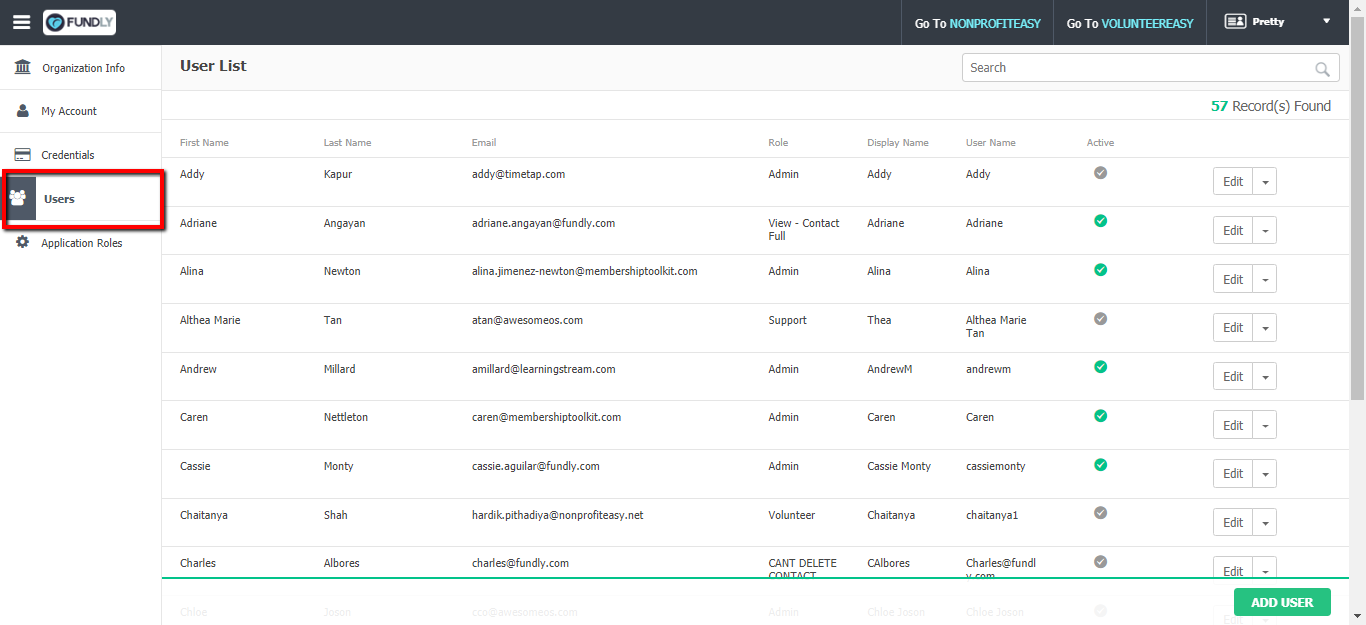
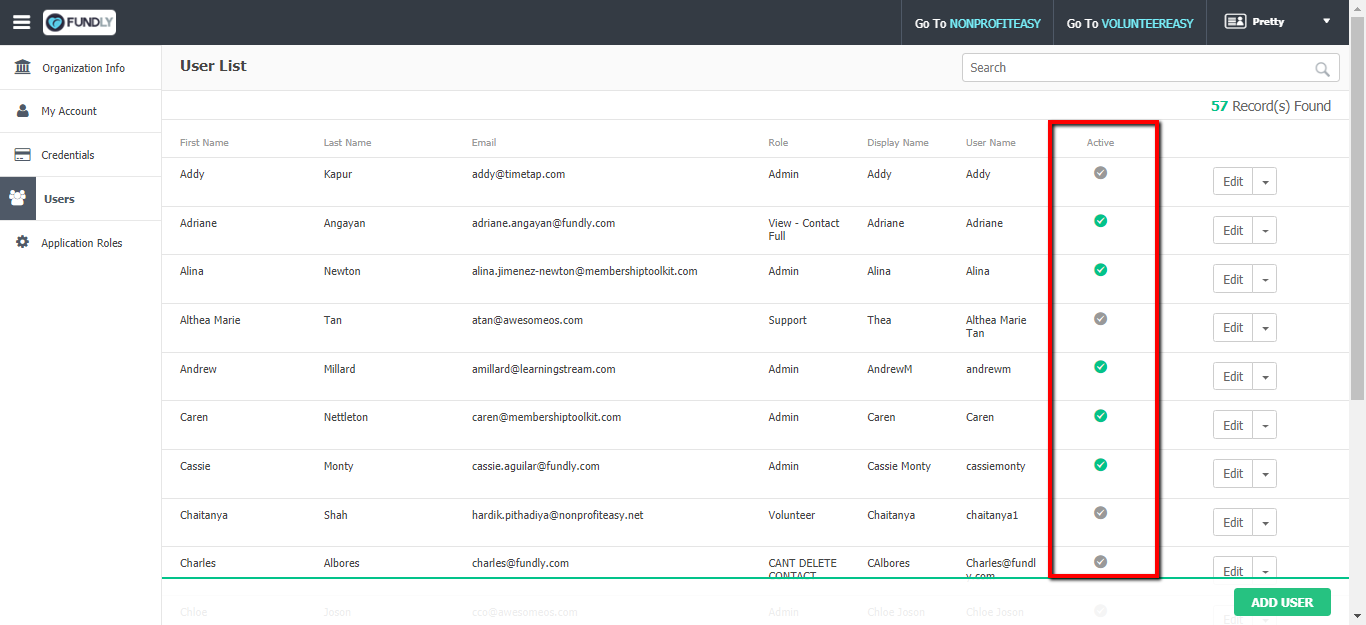
- To see a list of current users, click on Users from the left-hand-side menu.
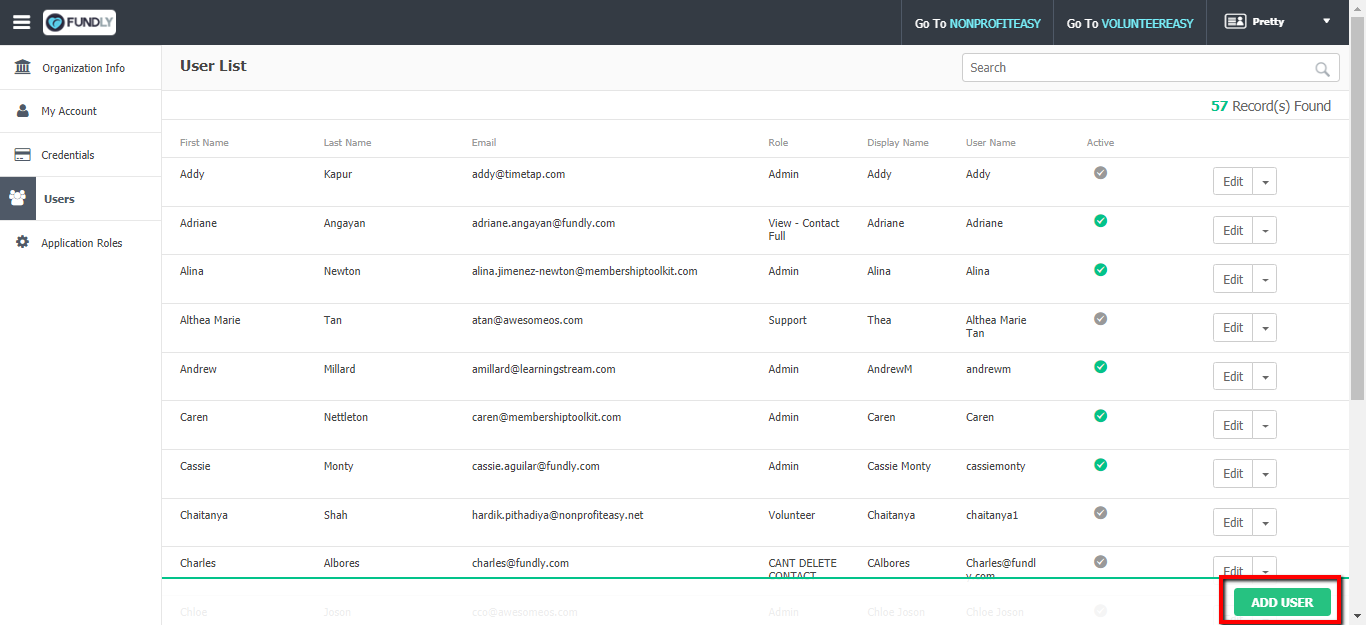
- To create a new user, click on the Add User button in the lower right corner of the screen.
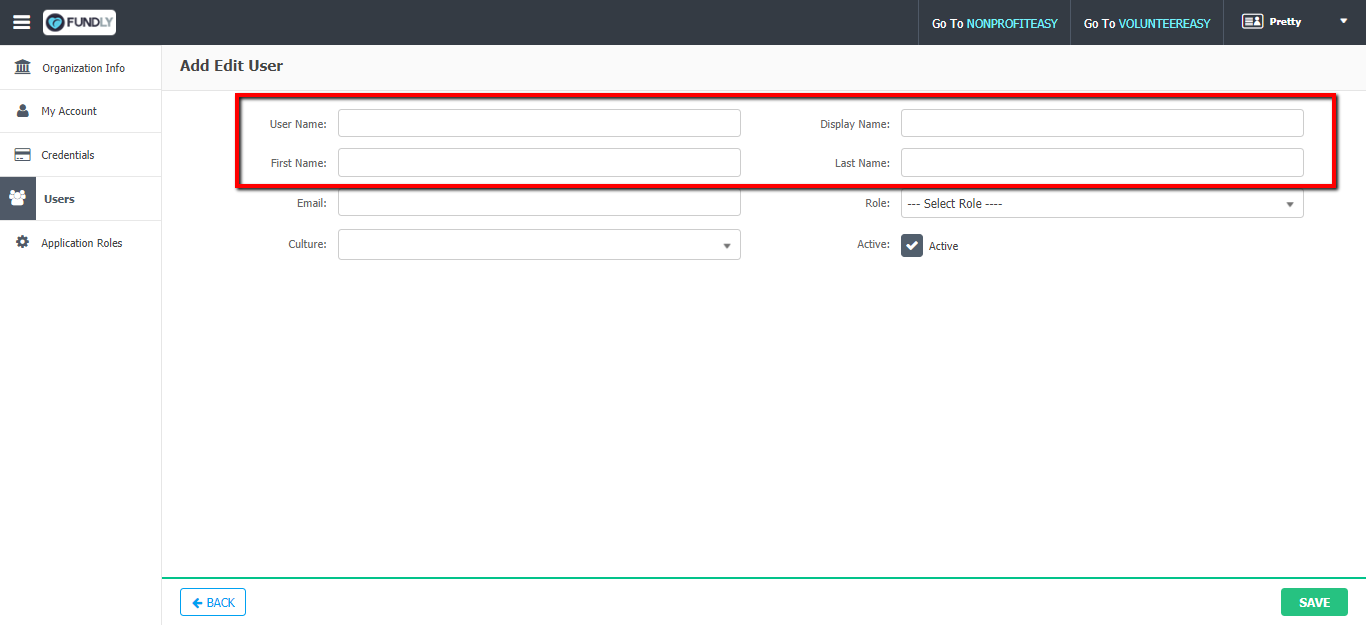
- In the resulting screen, start by indicating the desired Username for the user, as well as their Display, First, and Last name in the indicated fields.
- Next, set their email in the Email field to indicate where to send them notifications and password reset emails.
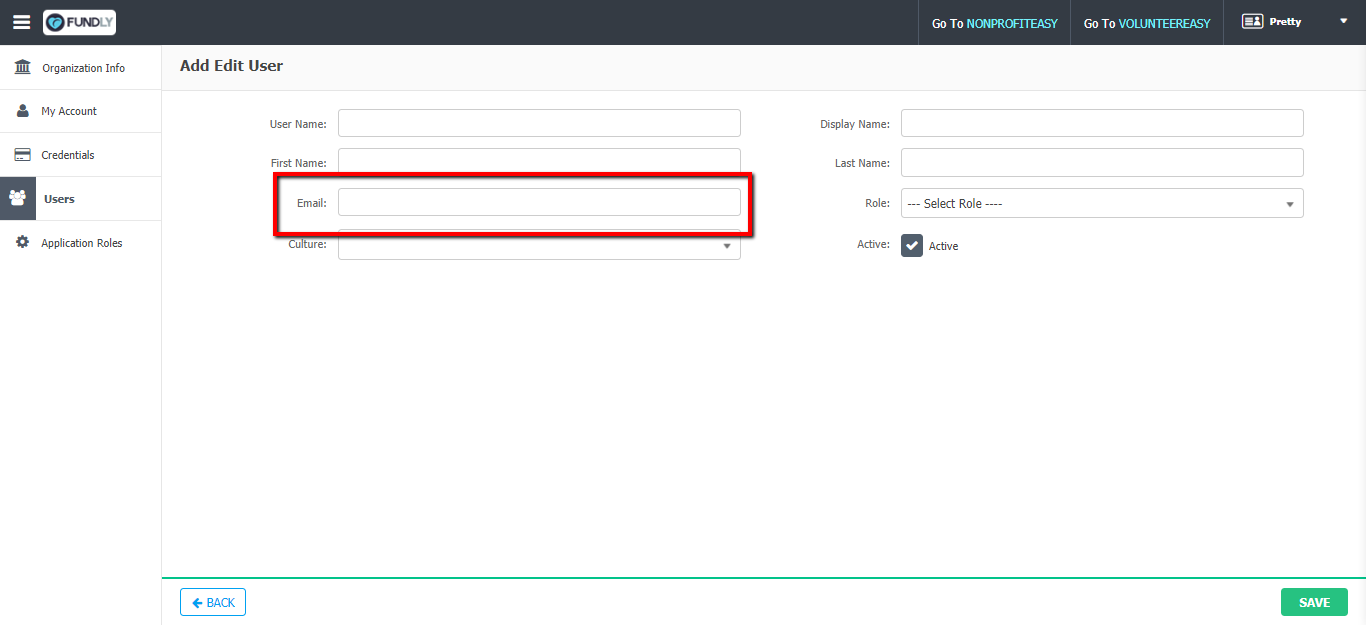
- Lastly, indicate the user role they are to have with the Role field.
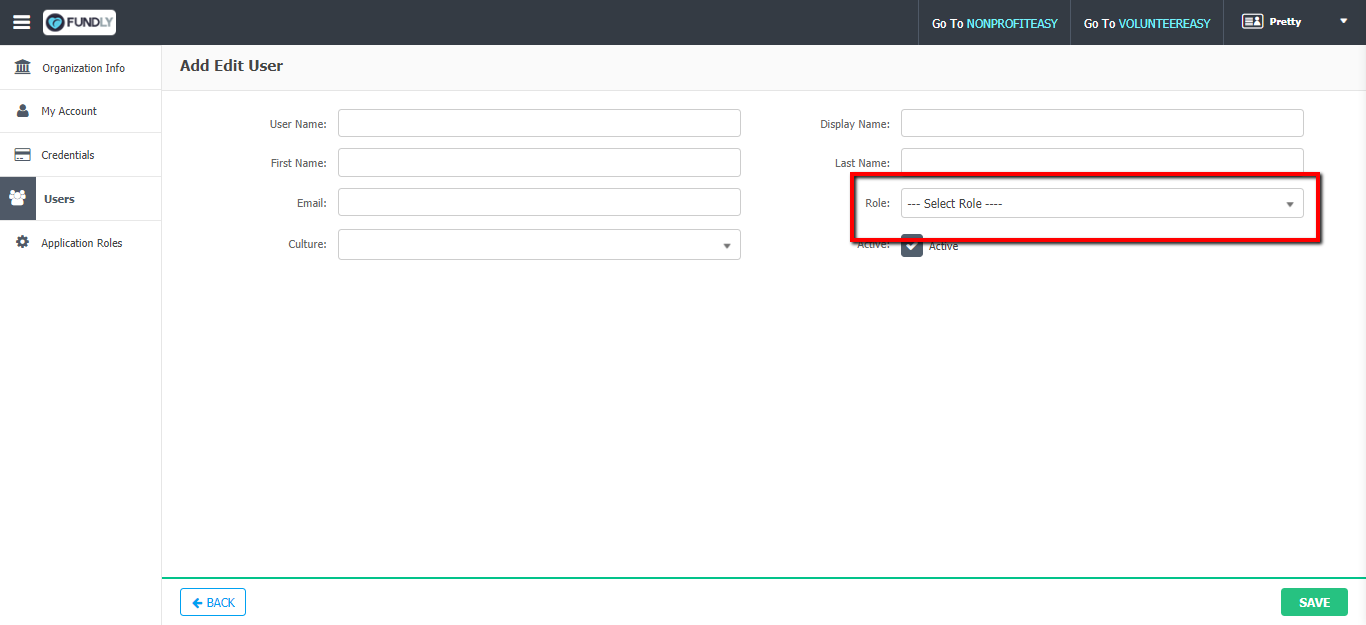
- For more on roles, please see the tutorial on Application Roles.
- The Culture is a required field but you the only option you'll see in the drop down is the one selected upon sign up.

- By default, the User will be set as a Active.

- When you have finished, click the Save button in the lower right corner of the screen.
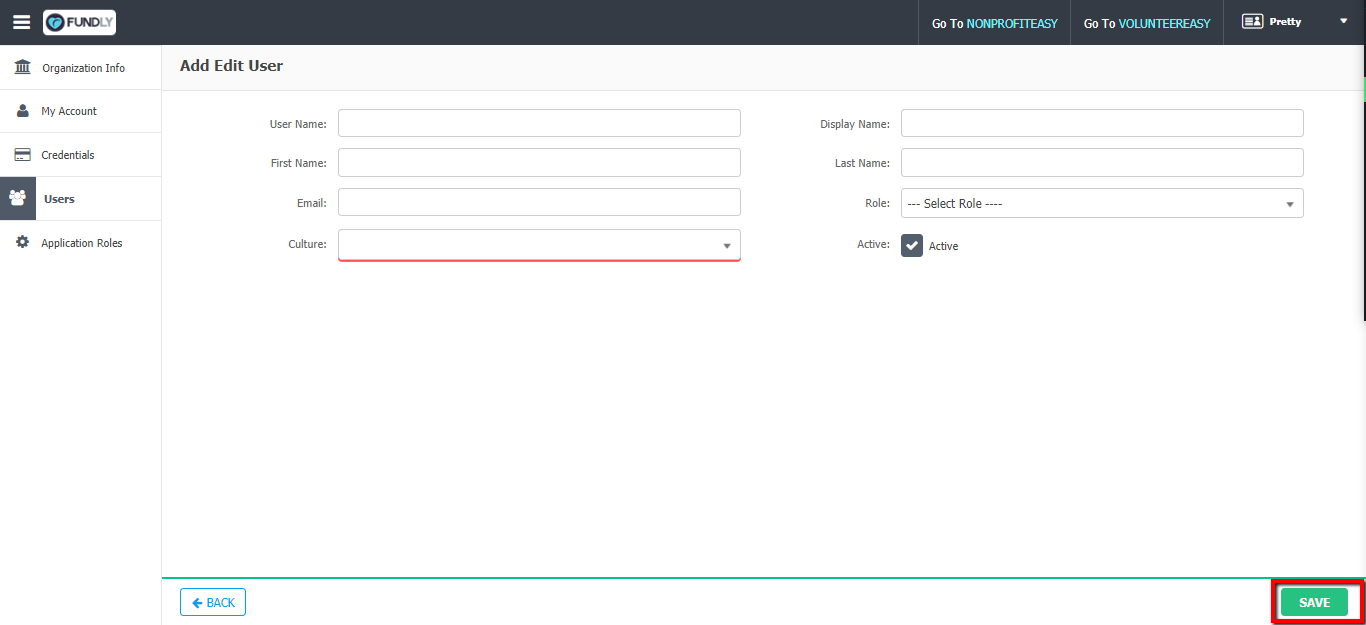
- Upon saving, an activation email will be sent to the email indicated and the user will be able to set their password.

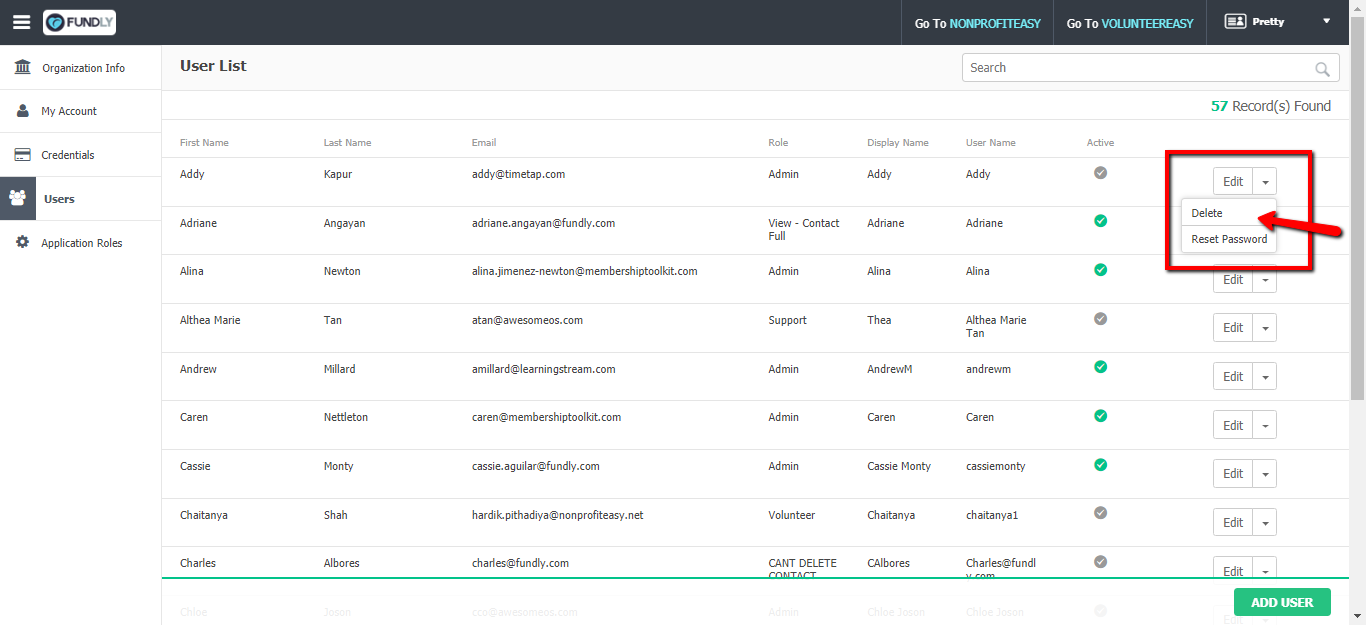
- To edit an existing user, click on the Edit button to the right of that user’s entry.

- To manually send a password reset email for the user, click on the drop-down menu next to Edit and select Reset Password.

- Lastly, to inactivate a user, click on the green check mark under the Active column. It will change to gray, indicating the user's log-in credentials have been inactivated.
- You can also delete a user by clicking on the drop-down next to Edit and click on Delete. HOWEVER, we do not recommend doing this - if you delete a user, their user name is removed from the "Created By" and "Last Updated By" fields of any records where their name is recorded. All that will show in reports in this case, is a 16-digit number/security key, making it impossible for anyone on staff to know who made the changes. As you can have an unlimited number of users in your system and you can inactivate log-ins that are no longer active, there should be no reason to delete log-ins and best practice would be to simply inactive, rather than delete, them.
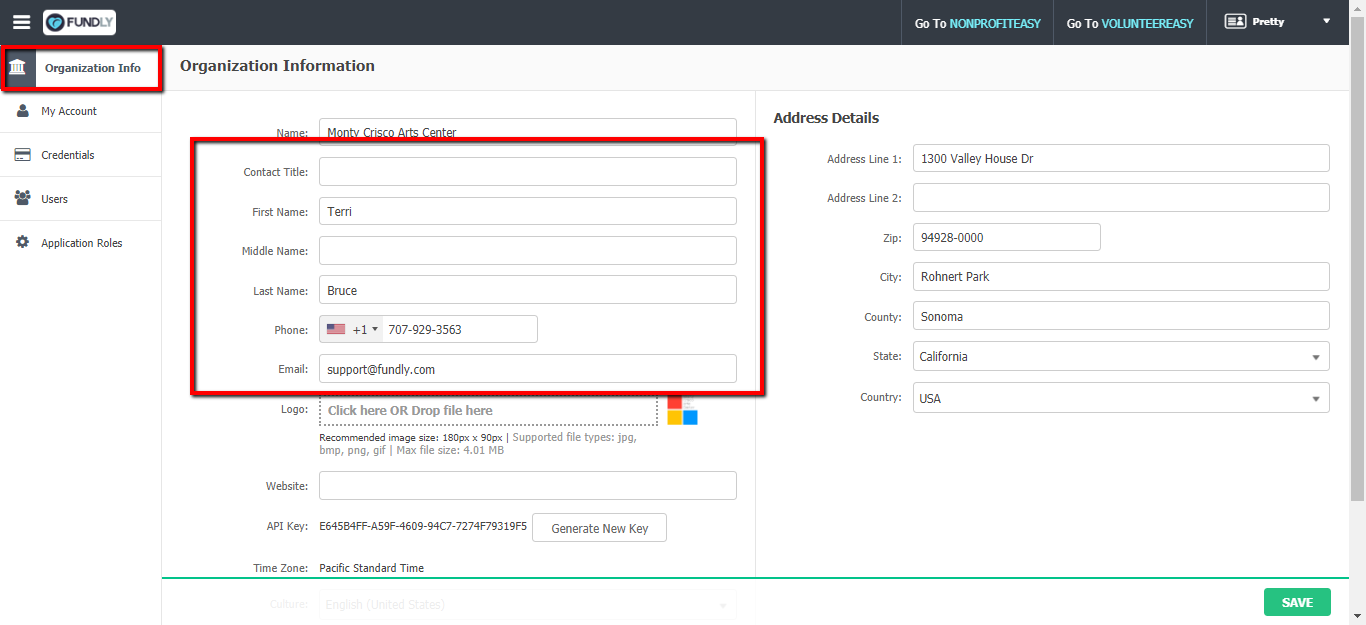
- When inactivating a contact, you may need to update some or all of your internal notifications that they are cc'd on (such as notifications for new online transactions, notifications of new member signups, etc.). Keep in mind that if the person you are inactivating is your current/past system administrator, then you will need to update the system administrator contact information on the Organization Info tab of the Account area to ensure that your new system administrator is getting all of the internal notifications and important communications from CRM.
Comments
0 comments
Article is closed for comments.