
Wordpress Plugins Configurations and Settings Part 2b - Pledges Plugin
- The Pledges Plugin allows you to integrate your CRM with your WordPress Website in order to accept online Pledges.
- The Wordpress plugin is an additional, one-time fee (see this tutorial for pricing). Alternatively, you can use our Pages function (no additional cost). See this tutorial/chart for a comparison of Pages versus WordPress Plugin for Pledges.
- To configure the Pledges WordPress Plugin, log into your Wordpress admin panel. Find the CRM plugin in the left hand menu and click it.
- This will take you to the CRM Plugin admin panel. Which tabs you have here will depend on which plugins you have purchased.
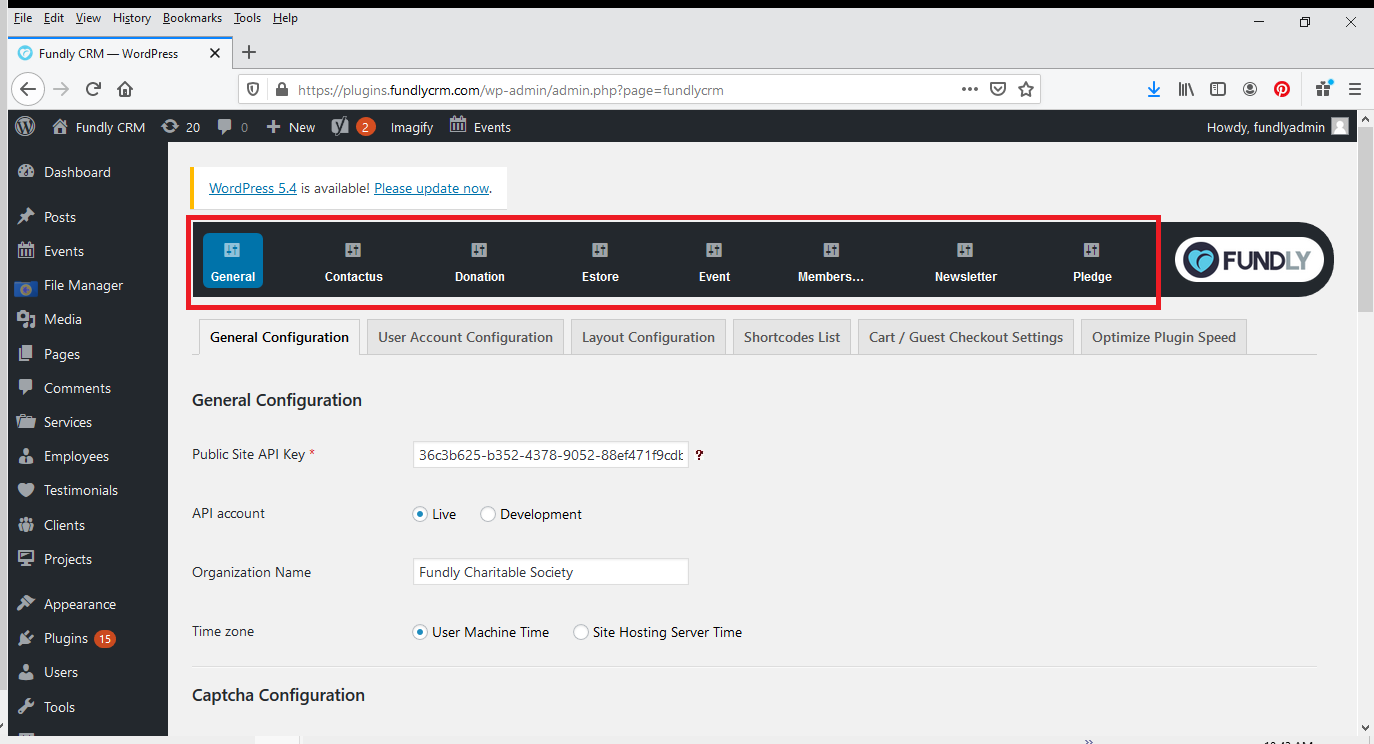
- To configure the Pledges plugin, click on the Pledges tab (be sure to also configure your General tab - see this tutorial for more information on the settings found on the general tab).

- The Pledges plugin has two sub tabs: Pledge Pages and Settings.
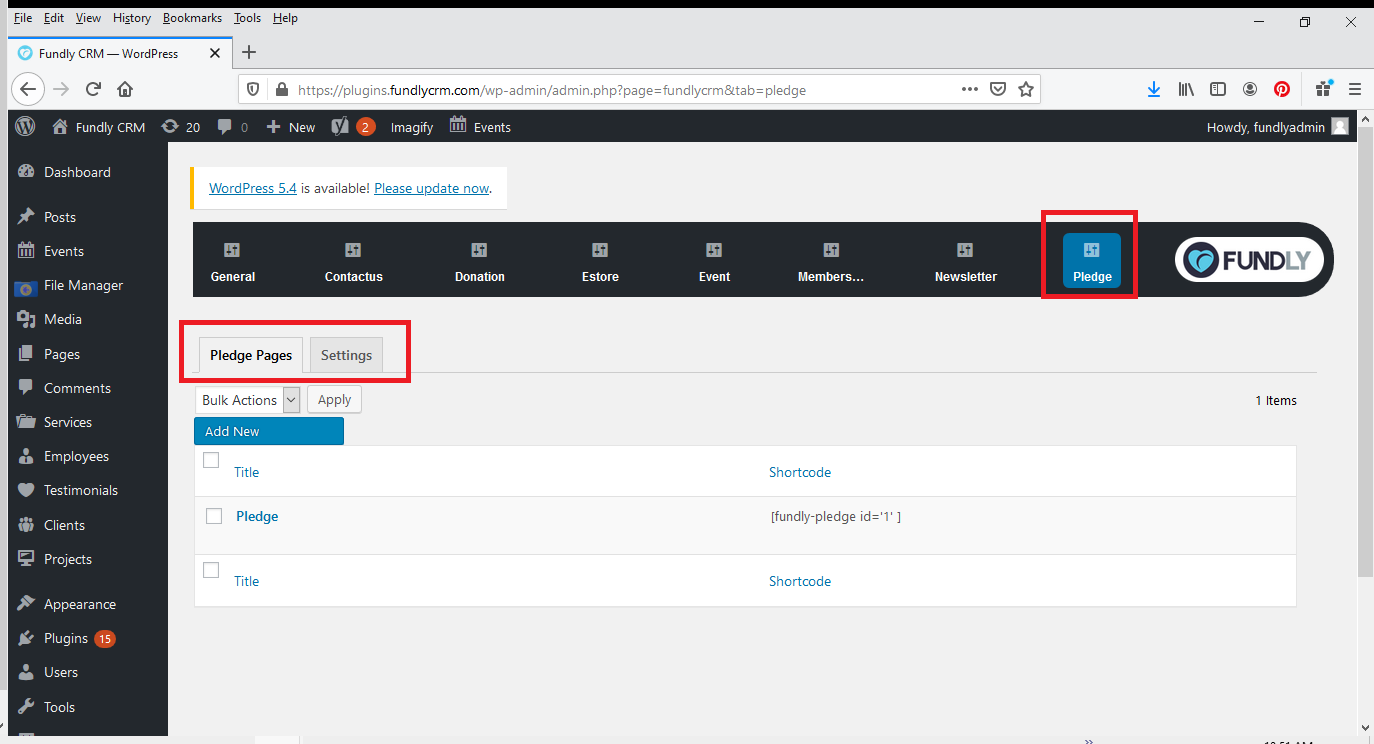
- The Pledge Pages sub-tab is where you configure your pledge page(s) that will be presented to donors on your website.
- The Settings sub-tab is where you configure the meta settings shared by all of your Pledge pages.
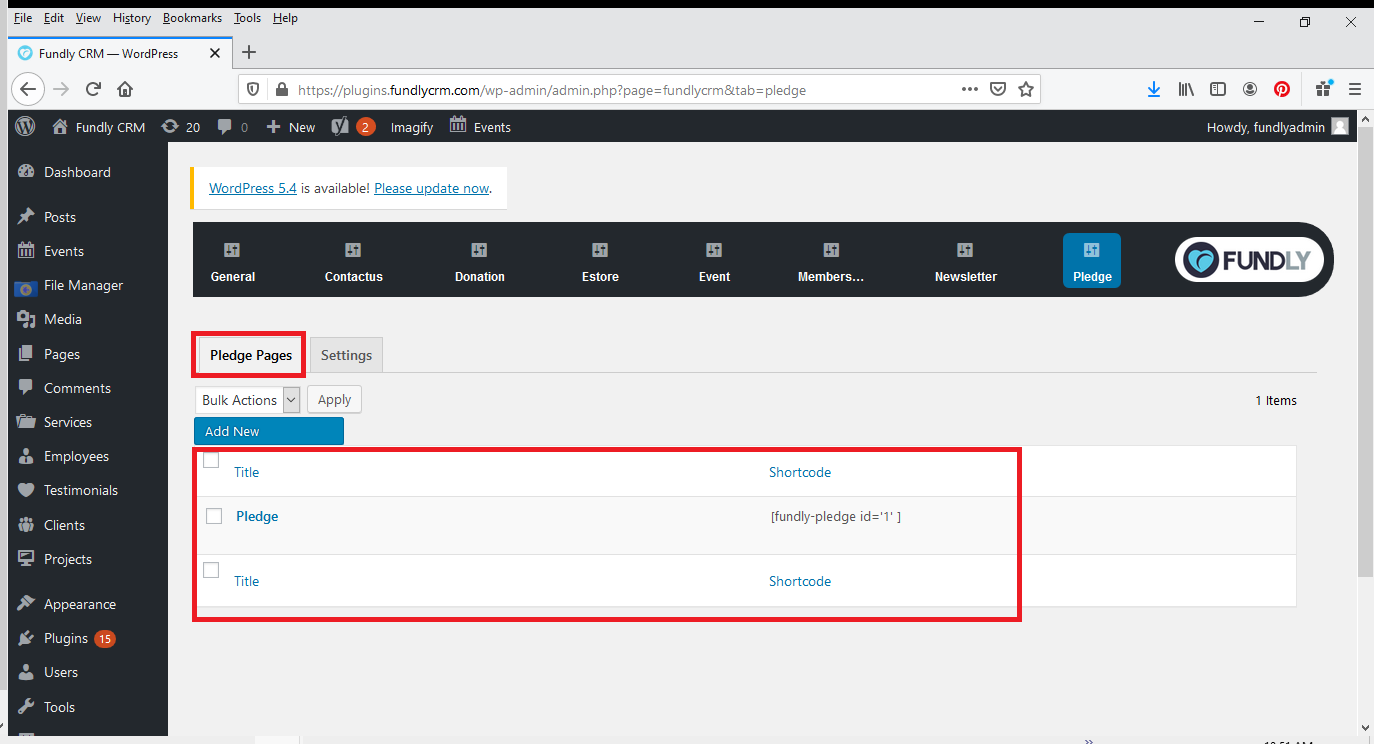
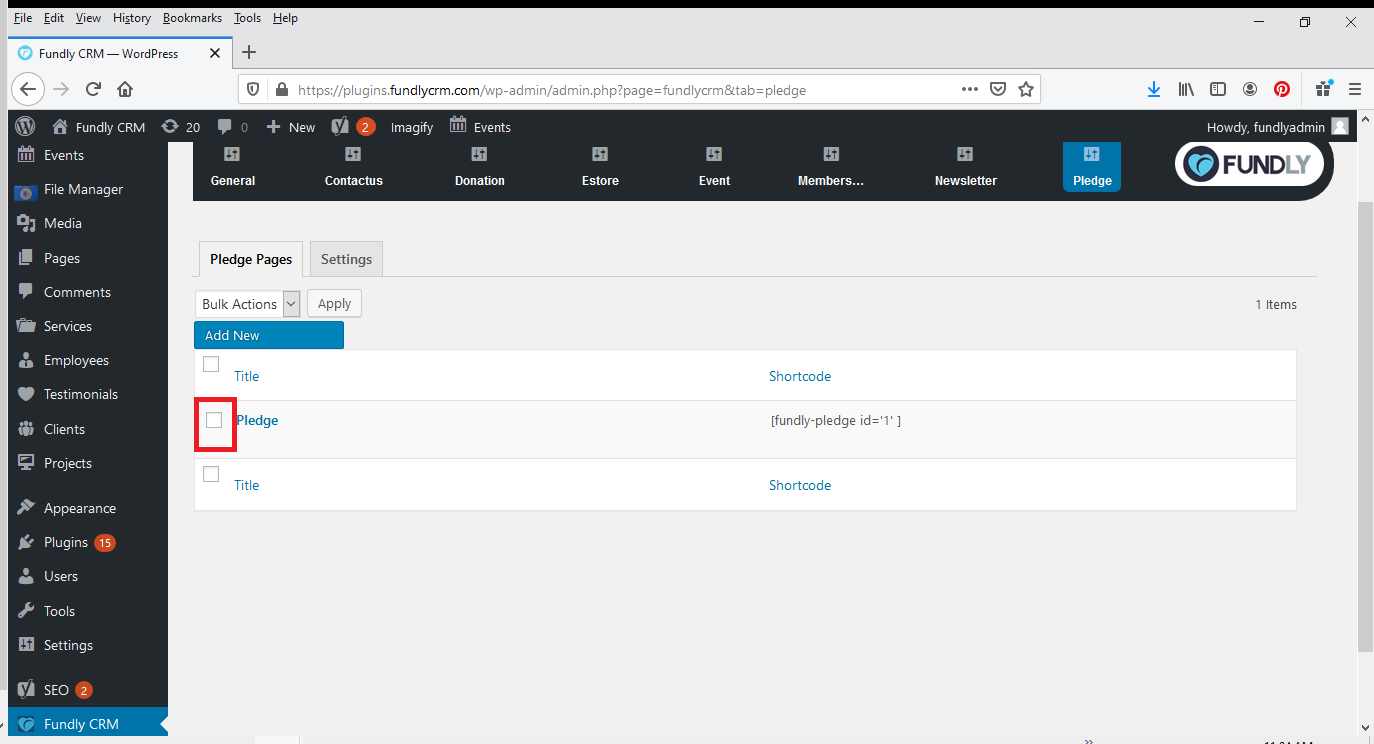
- To get started, click on the Pledges Pages sub-tab. Here you will see a list of any Pledge pages you have configured. You can sort the items on this page by Title or Shortcode by clicking the appropriate column header.
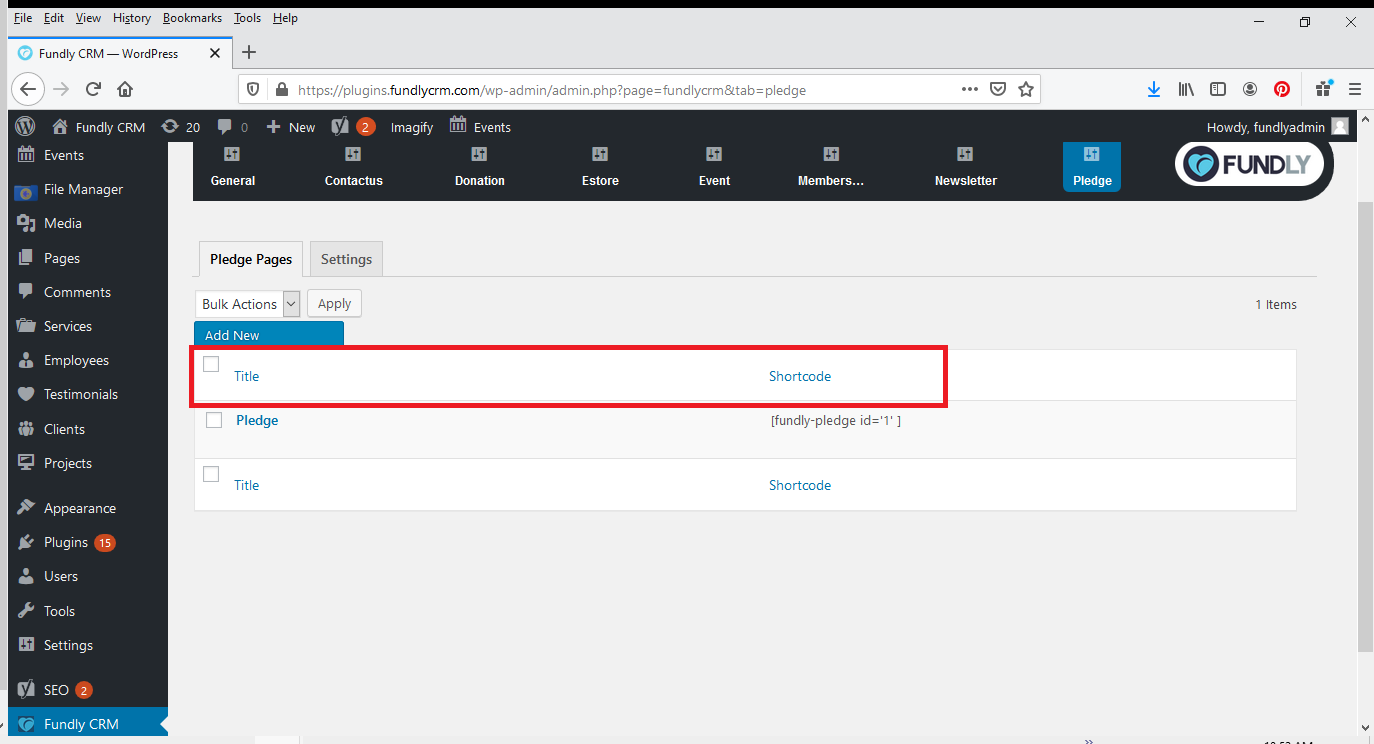
- You can edit any page by hovering over the page title and selecting Edit.

- You can delete any page by hovering over the page title and selecting Delete. You can also delete in bulk by clicking the white box to the left of the page title and then selecting Delete from the bulk action drop down and then clicking Apply.
OR

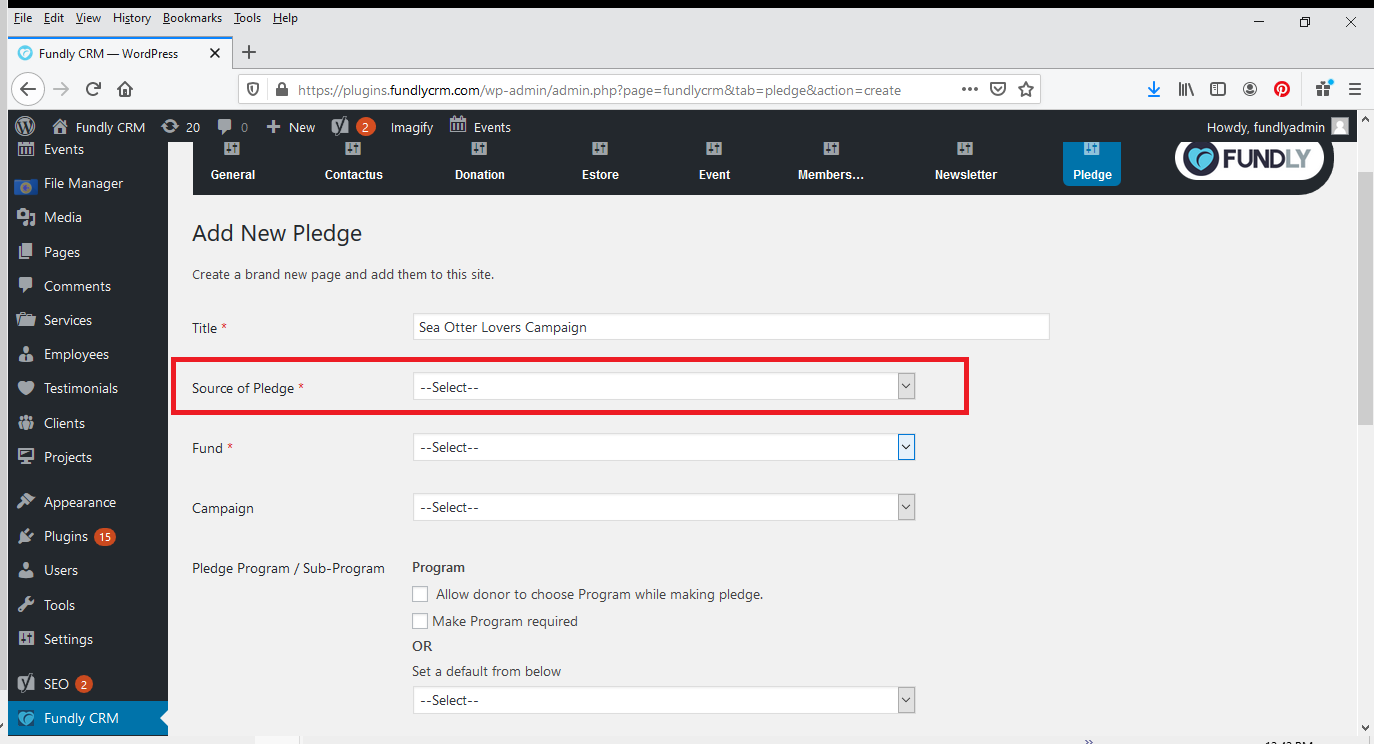
- To add a new pledge page, click the blue Add New button at the top of the screen.
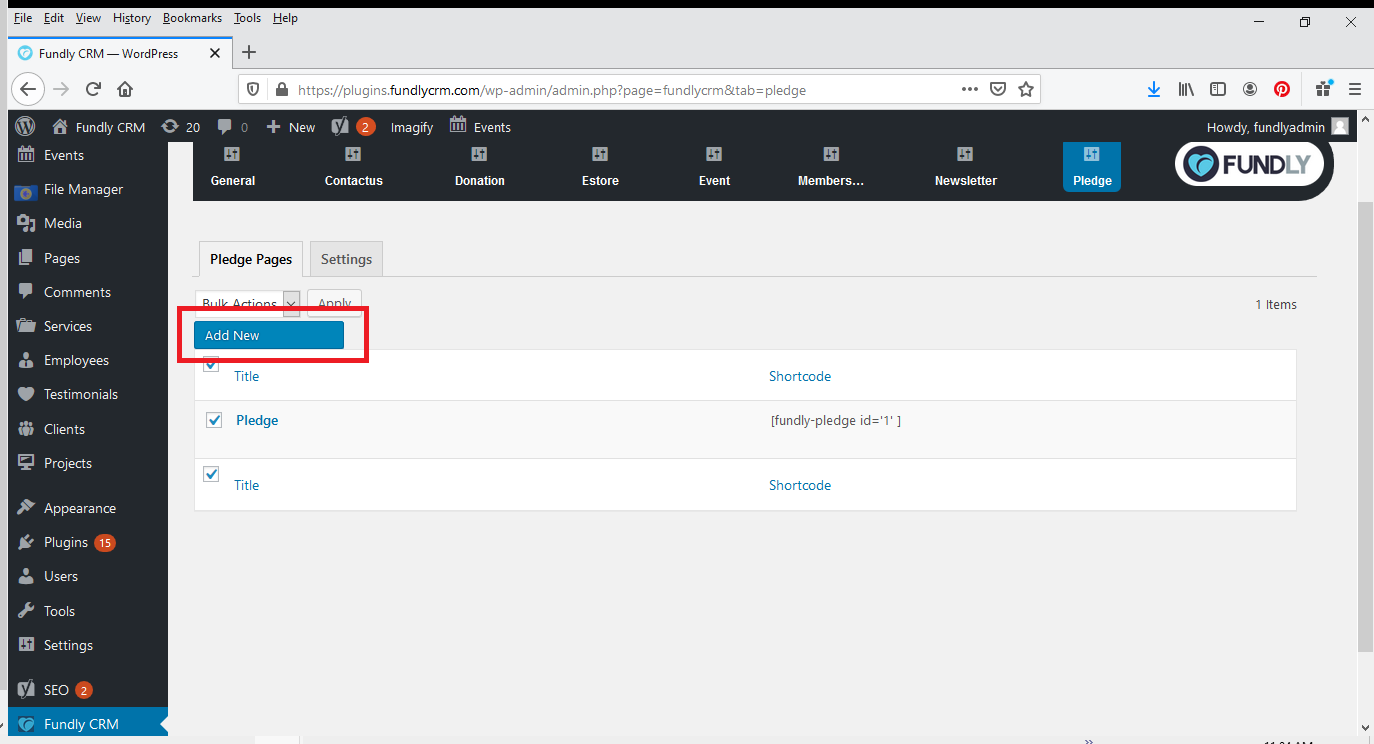
- This will take you to the Add New Pledge Page screen.
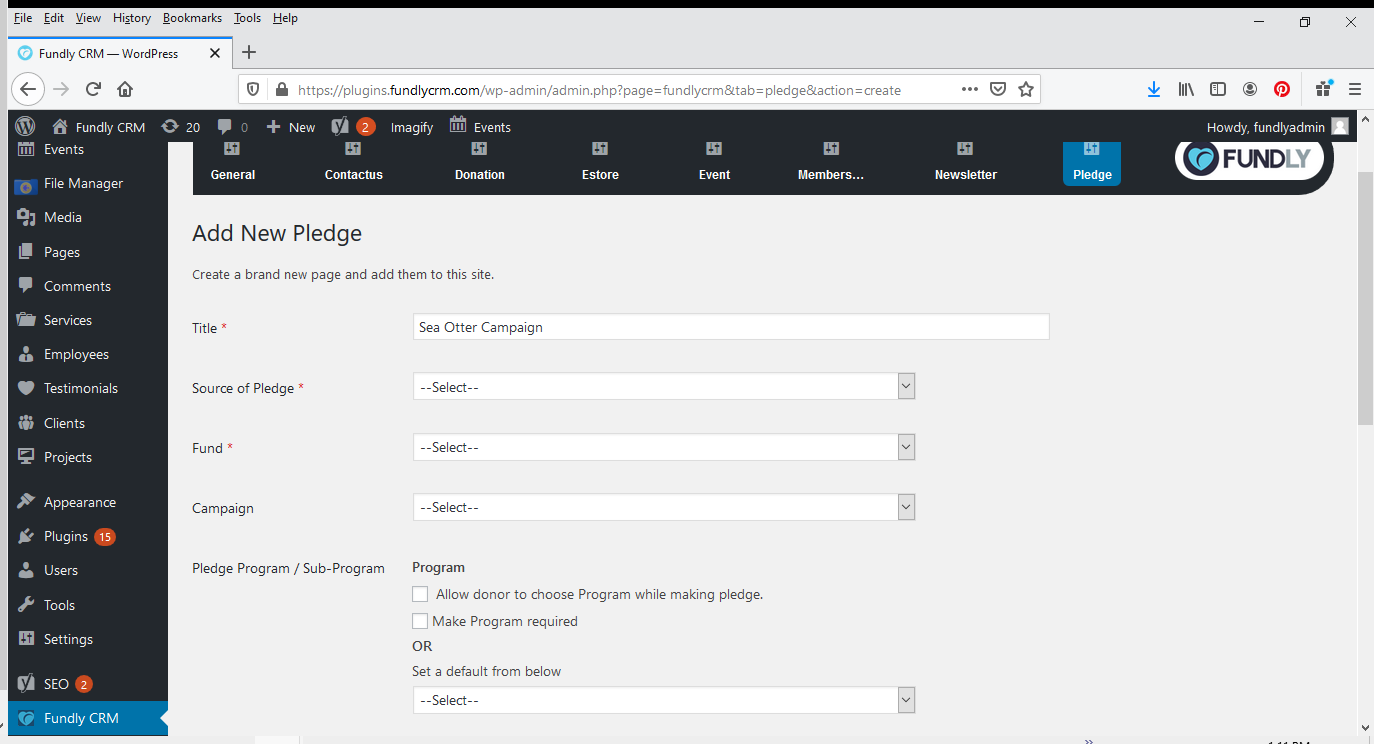
- Start by giving your new Pledge page a Title. This title will appear in the Pledge menu on your published website and will appear at the top of the published page.
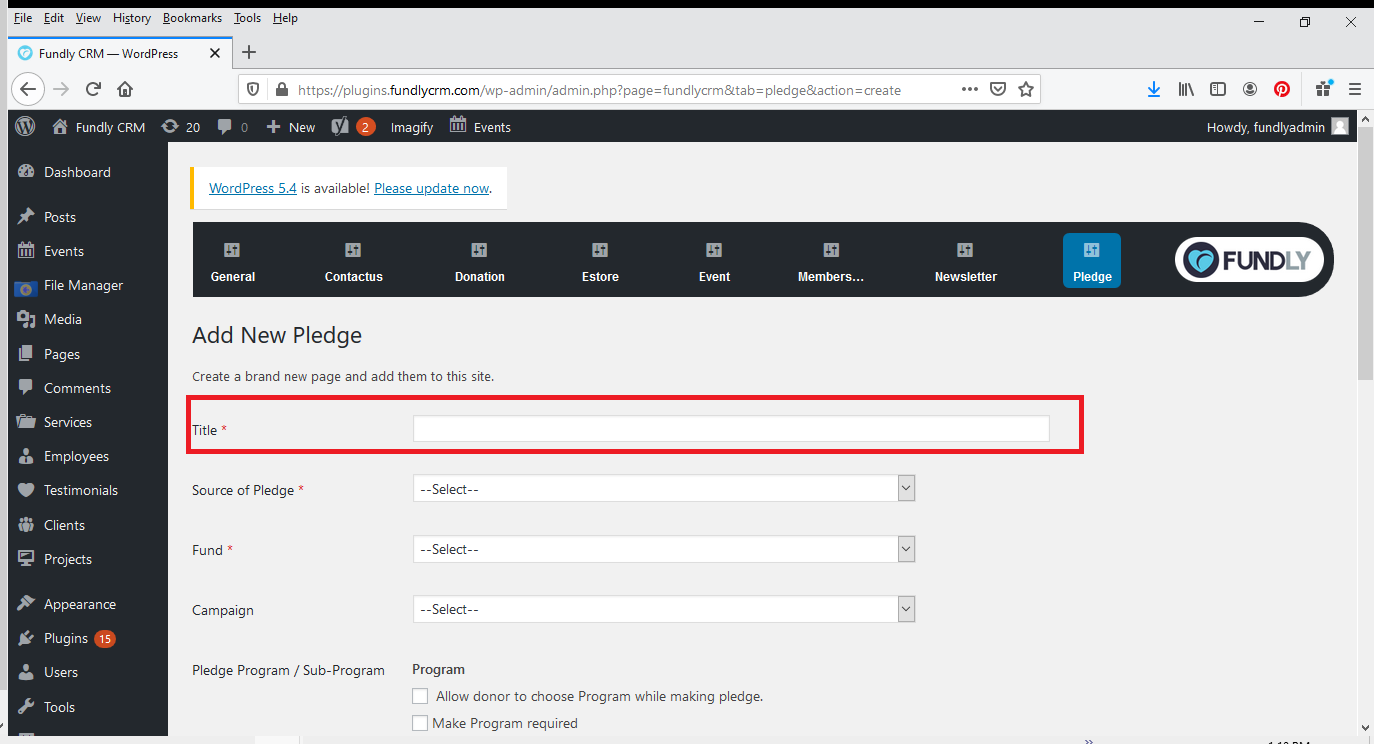
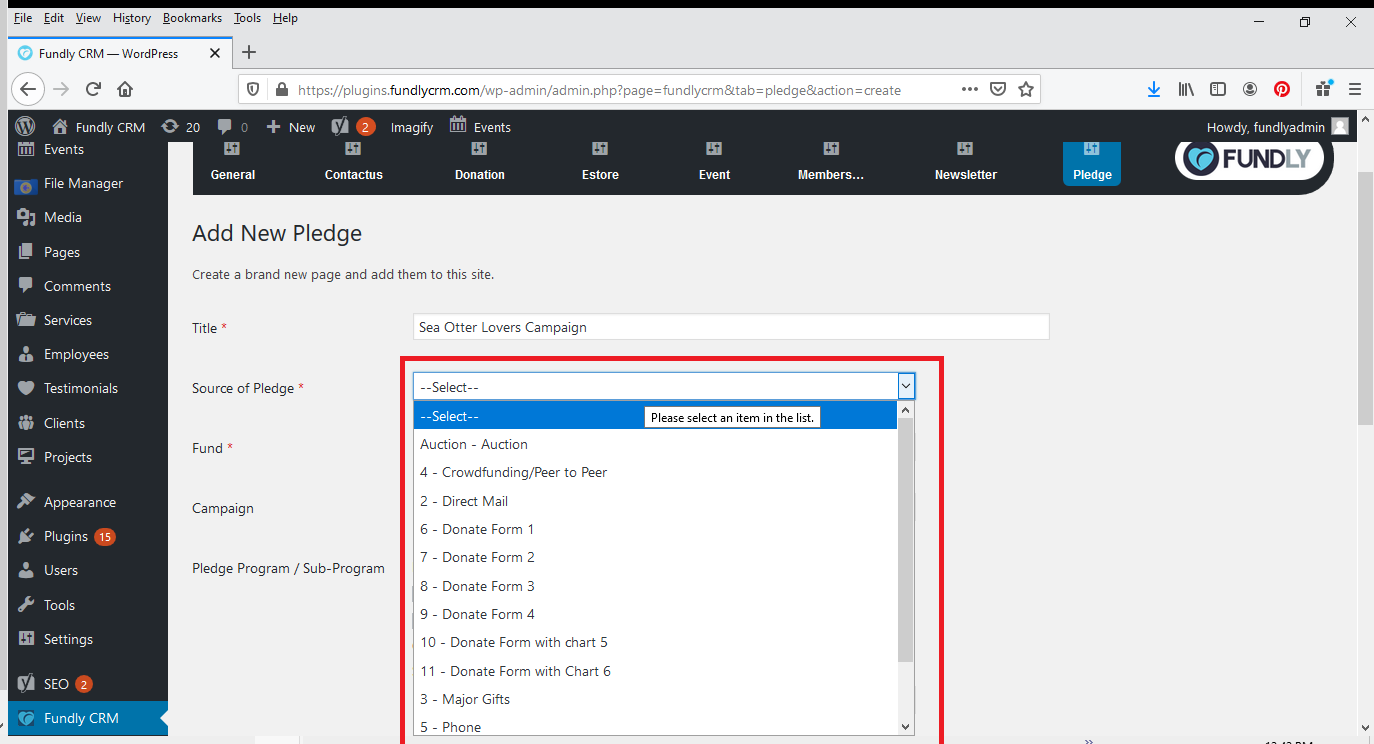
- The Source of Pledge field selects the value that will populate the Gift Source field for every Pledge that comes in via this Pledge page. The field is required. The values shown in the drop down list come from your CRM - Main Menu: Fundraising: Configurations: Gift Source.
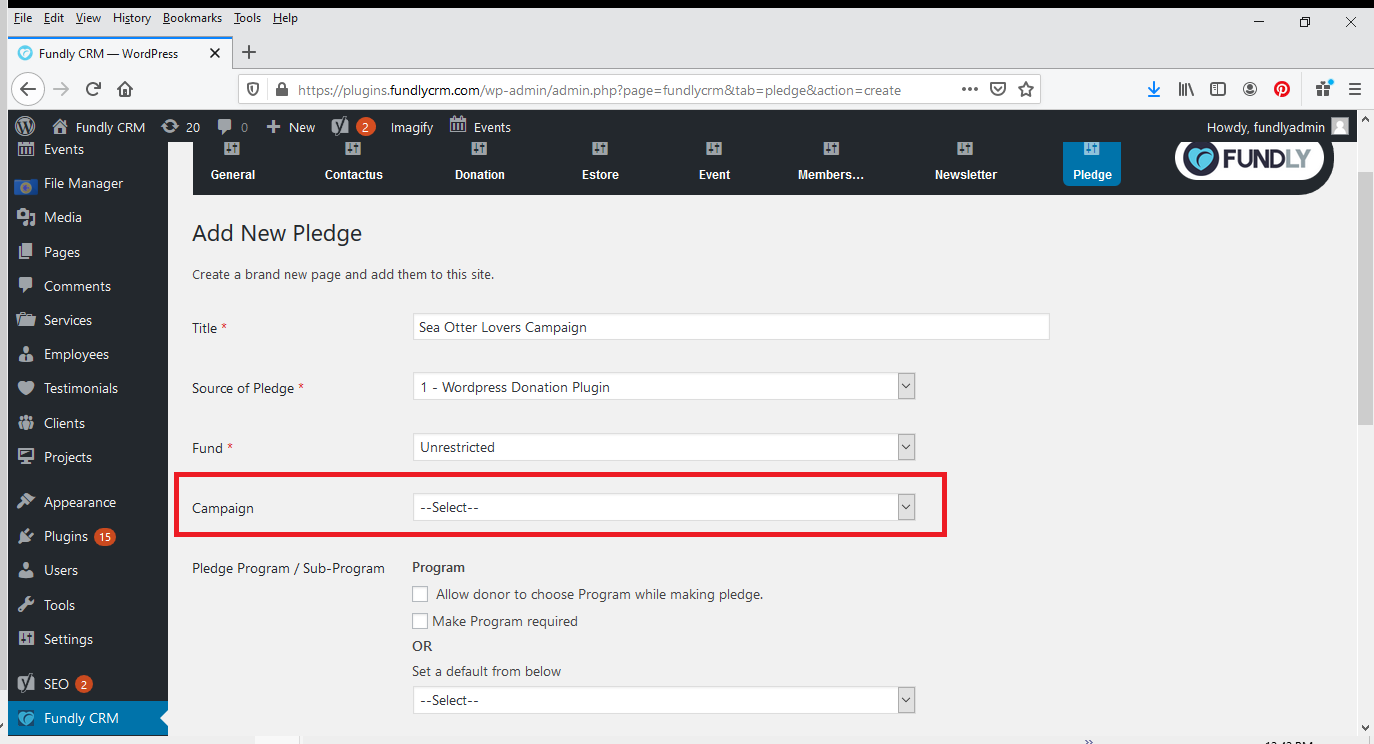
- The Fund field selects the value that will populate the Fund field for every Pledge that comes in via this Pledge page. This field is required. All Pledges coming in via this page will have the same fund assignment. You cannot select multiple funds or allow users to select the fund. The values shown in the drop down list come from your CRM - Main Menu: Fundraising: Configurations: Funds.


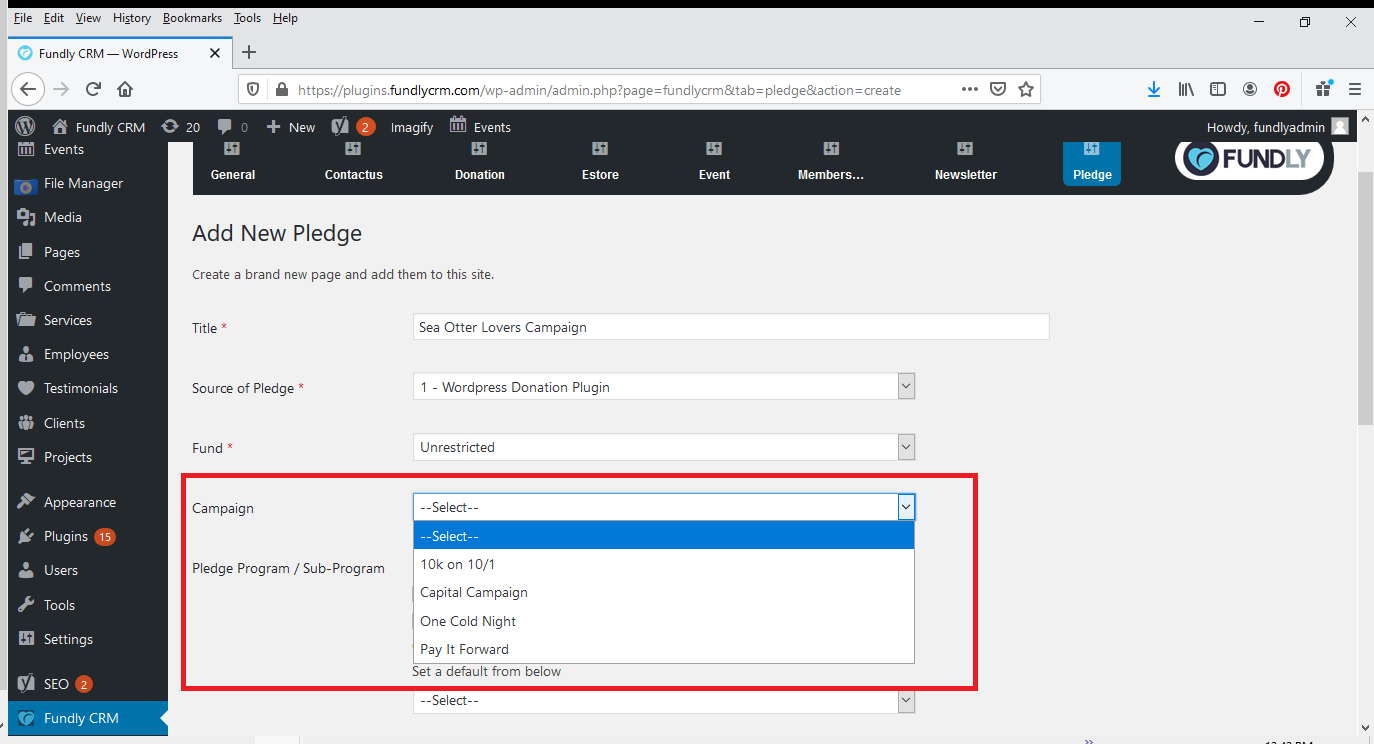
- The Campaign field selects the value that will populate to the Campaign field for every Pledge that comes in via this Pledge page. This field is optional. The values shown in the drop down list come from your CRM - Main Menu: Fundraising: Configurations: Campaigns.
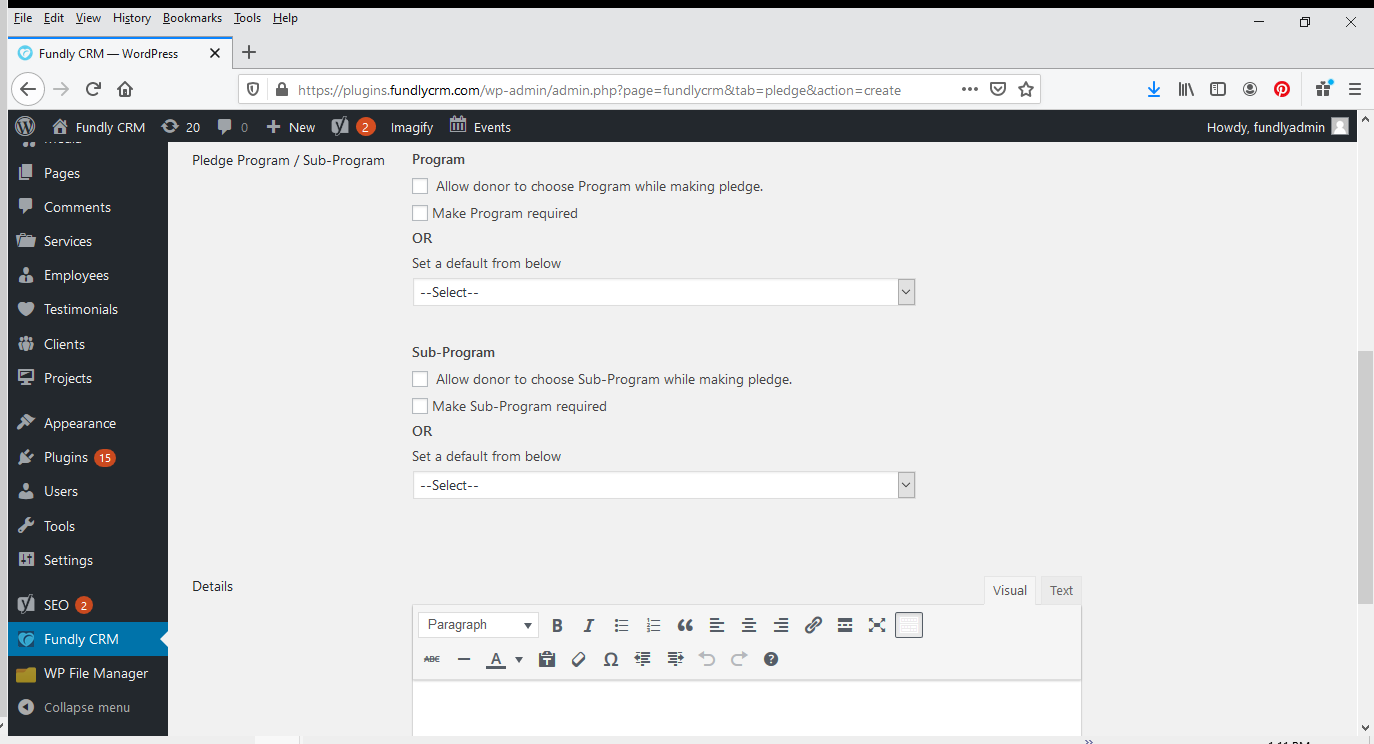
- The Pledge Program /Sub-Program field allows you to earmark donations coming in through this pledge page to a particular program/sub-program OR to allow your donors/pledge makers to earmark their donations to a particular program. This field is optional.
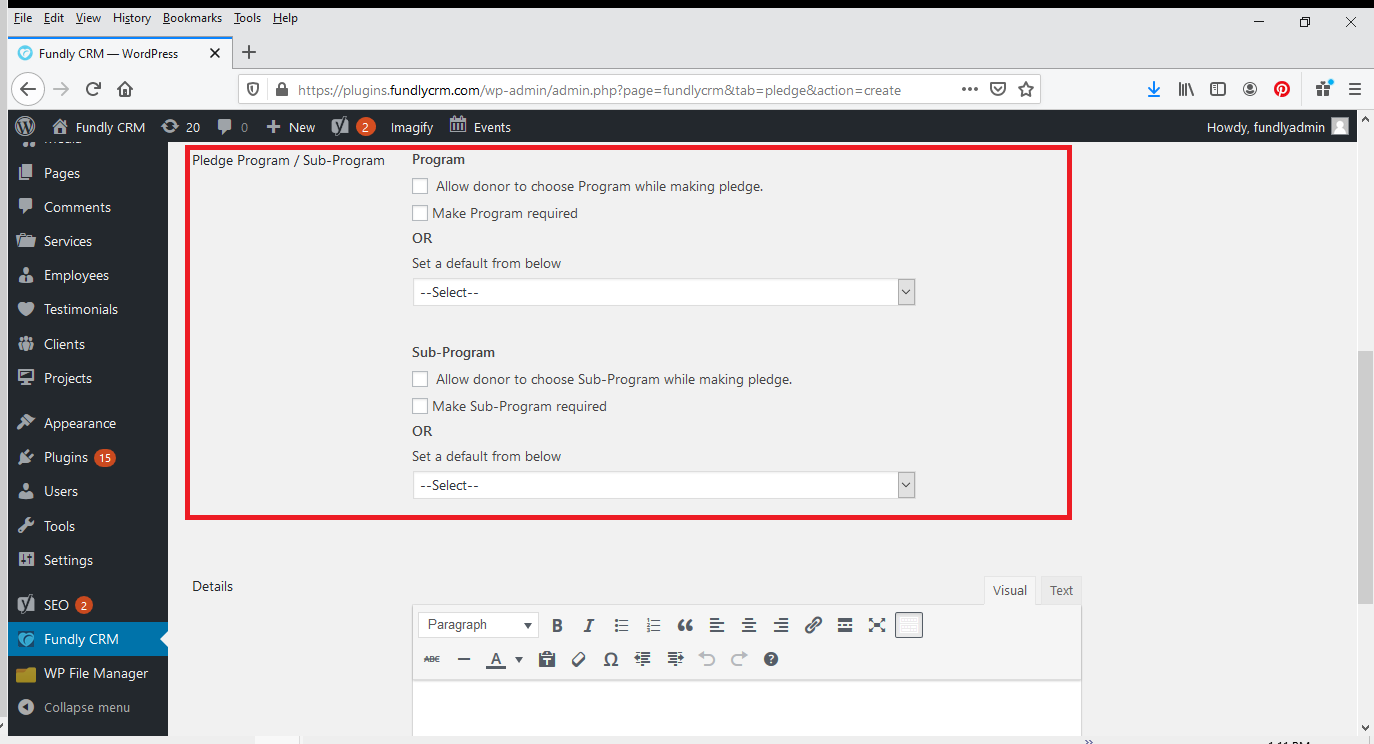
- If you want to earmark every pledge made via this particular page to a particular program or sub-program, select from the drop down list(s) (please note: to select a sub-program, you must first select a program; the linked sub-programs will then populate to the sub-programs drop down and you can select the appropriate sub-program.
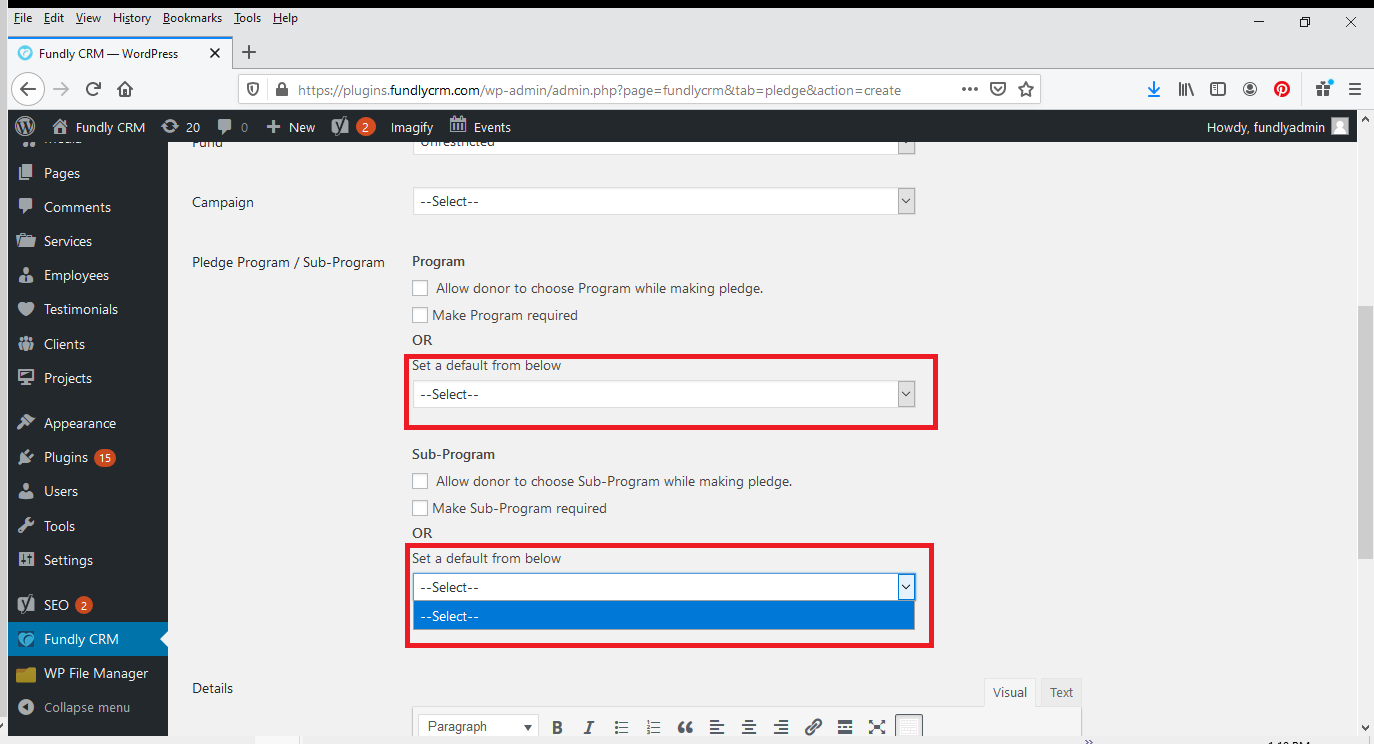
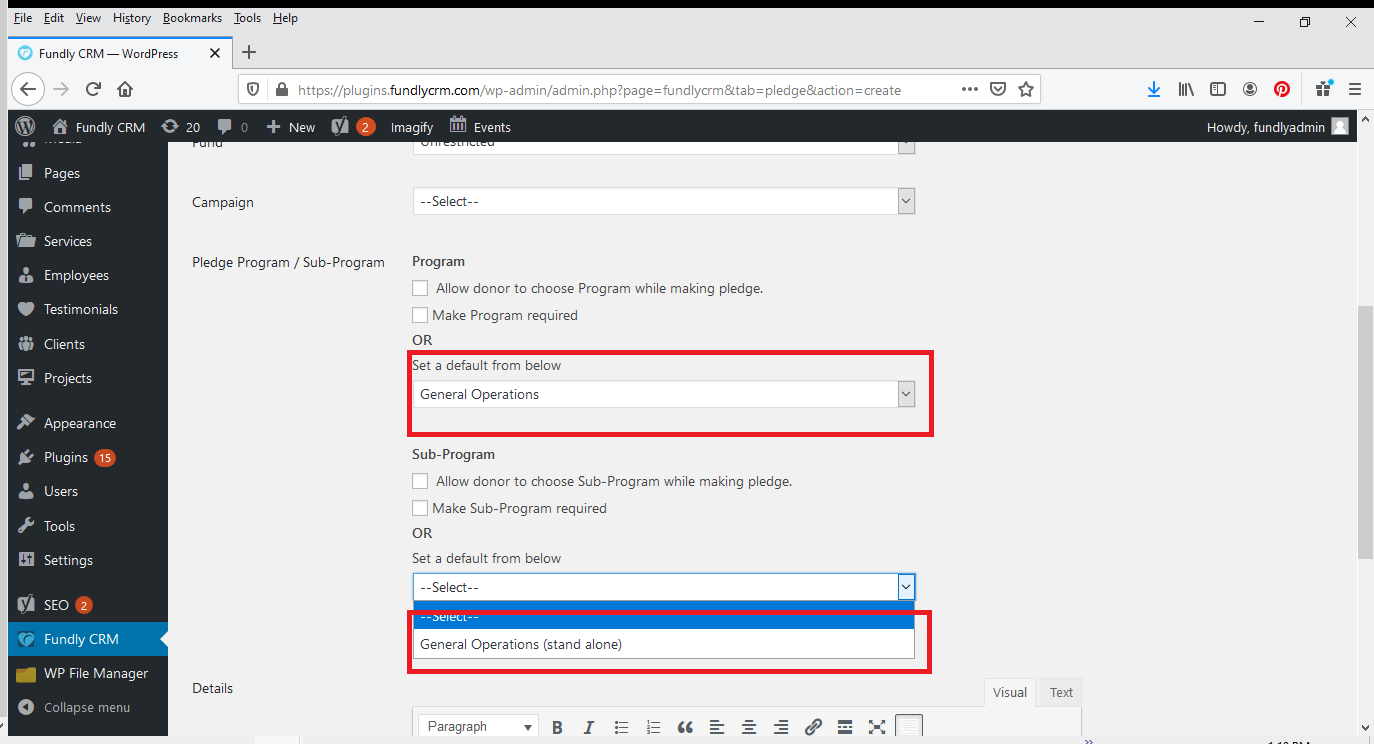
- If you want to earmark every pledge made via this particular page to a particular program or sub-program, select from the drop down list(s) (please note: to select a sub-program, you must first select a program; the linked sub-programs will then populate to the sub-programs drop down and you can select the appropriate sub-program.
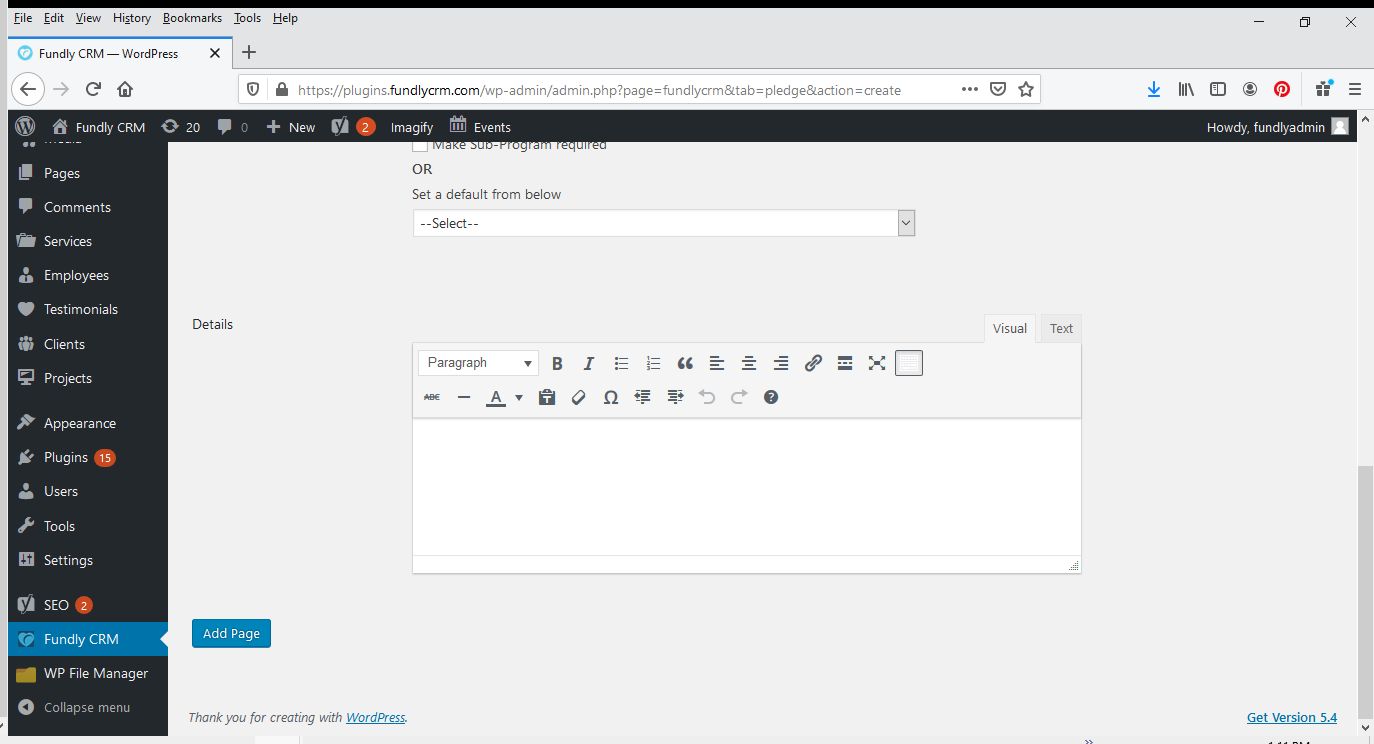
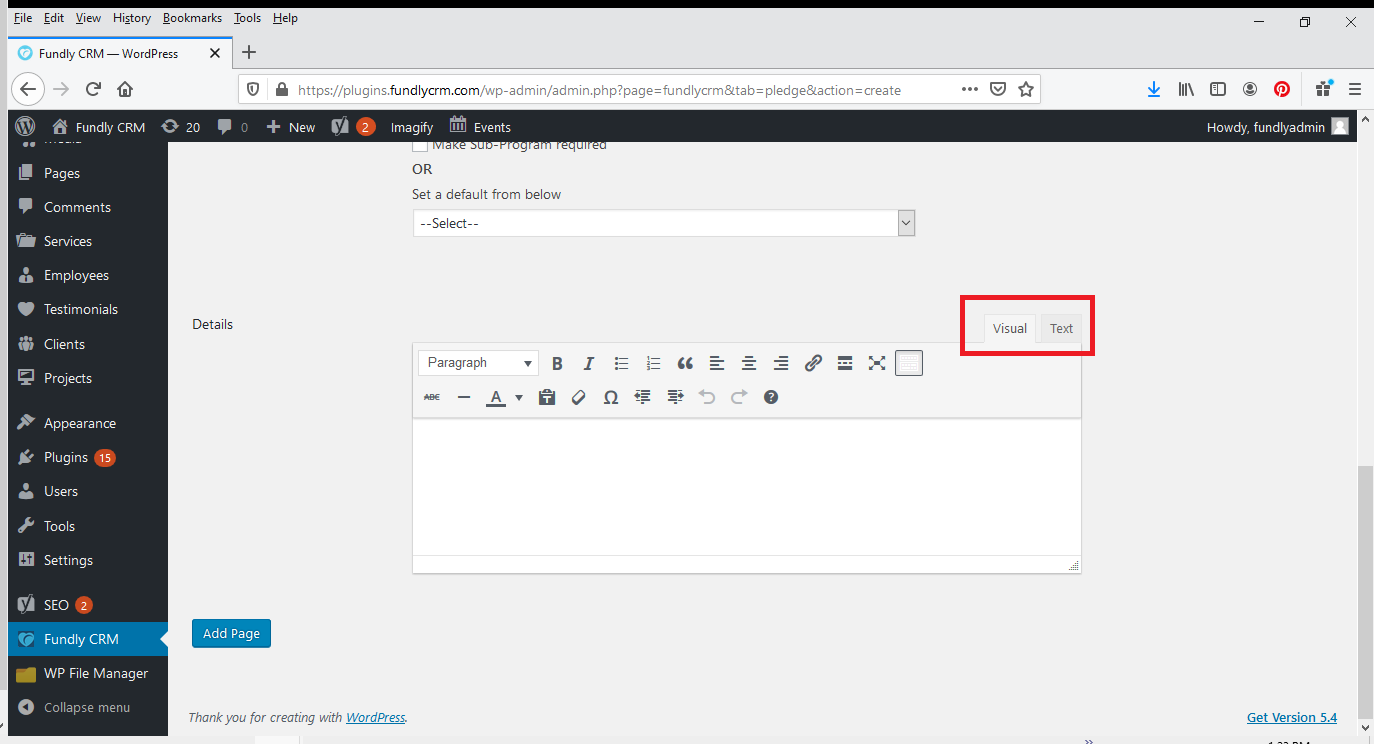
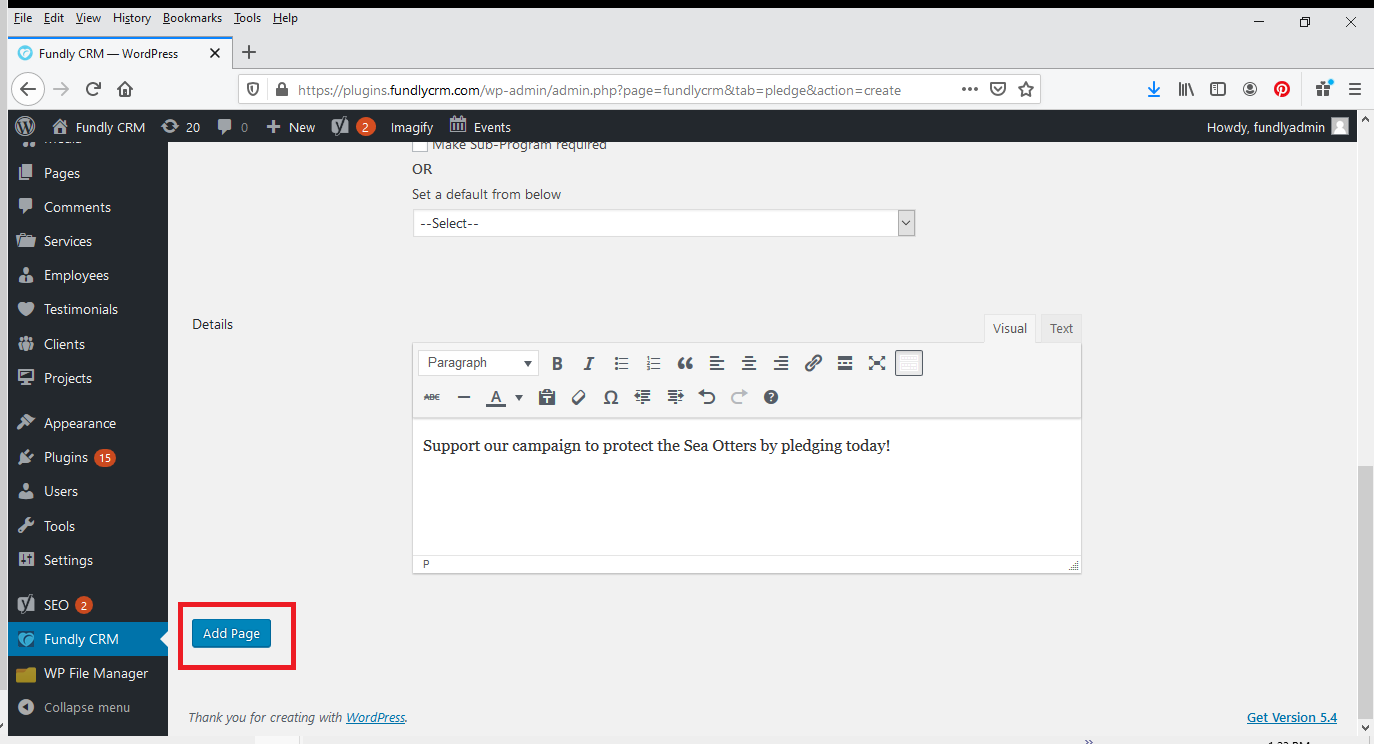
- The Details field provides a place for you to provide more information to donors about what their Pledge will be used for. The details will appear at the top of the page, below the image (if any image used/included). You can toggle between the Visual and HTML ("Text") editor tabs.
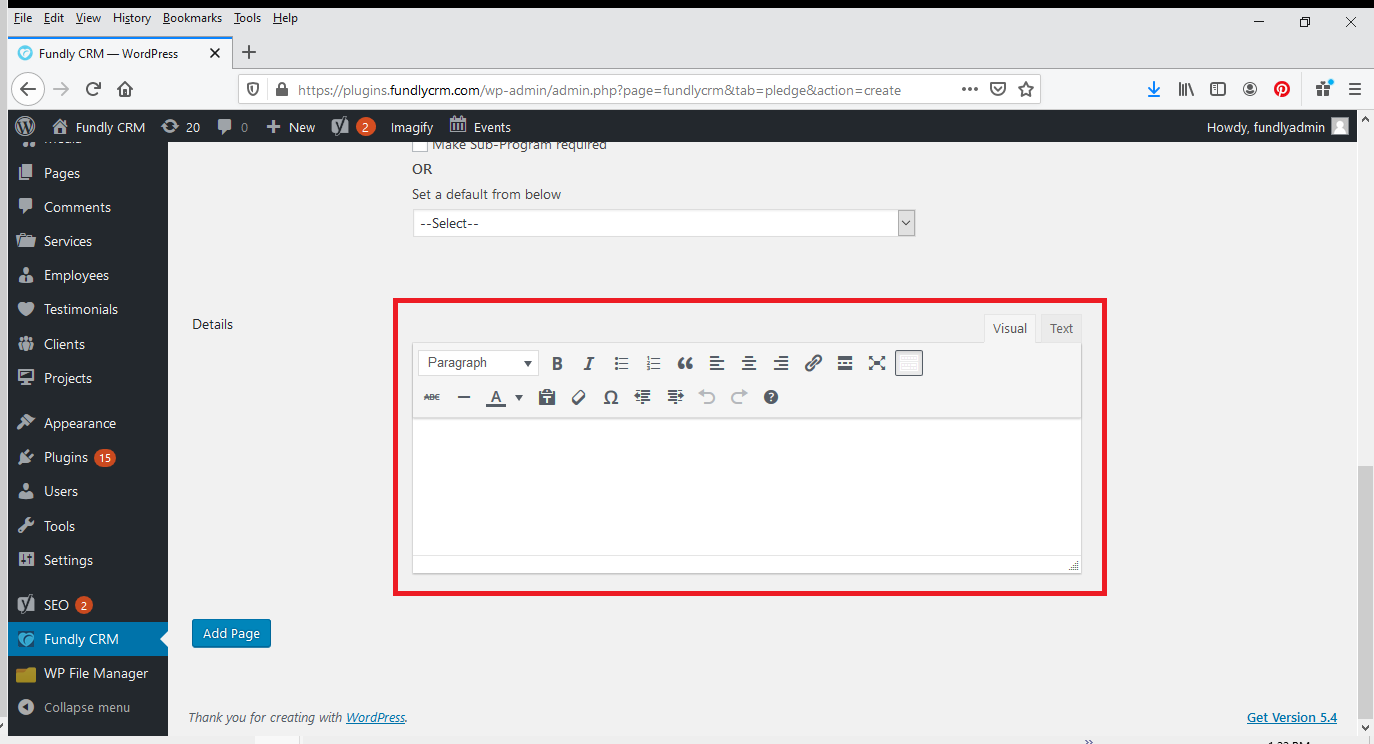
- Click the blue Add Page button at the bottom of the screen to save your changes.
- If you want to add the page to any of your website menus, view this WordPress tutorial on updating/creating menu items: https://www.wpbeginner.com/beginners-guide/how-to-add-navigation-menu-in-wordpress-beginners-guide/
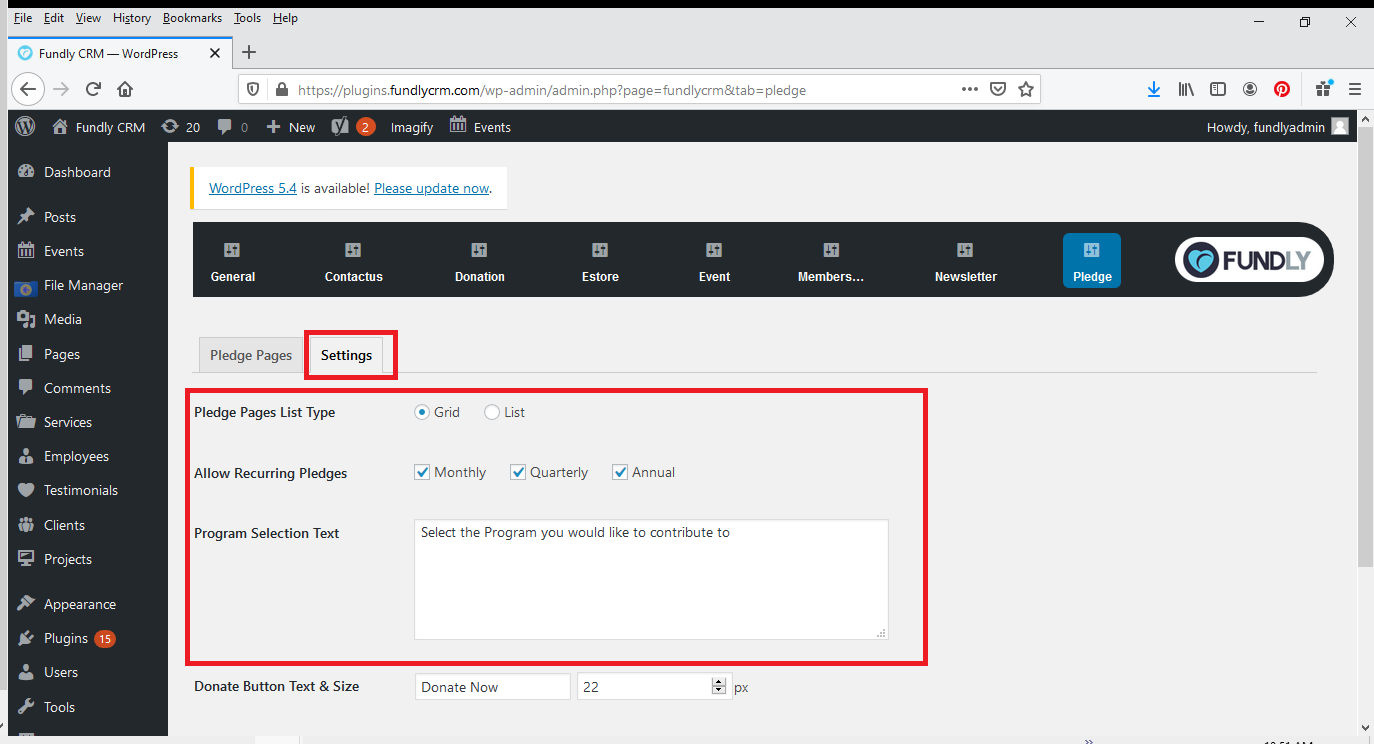
Settings Sub-Tab
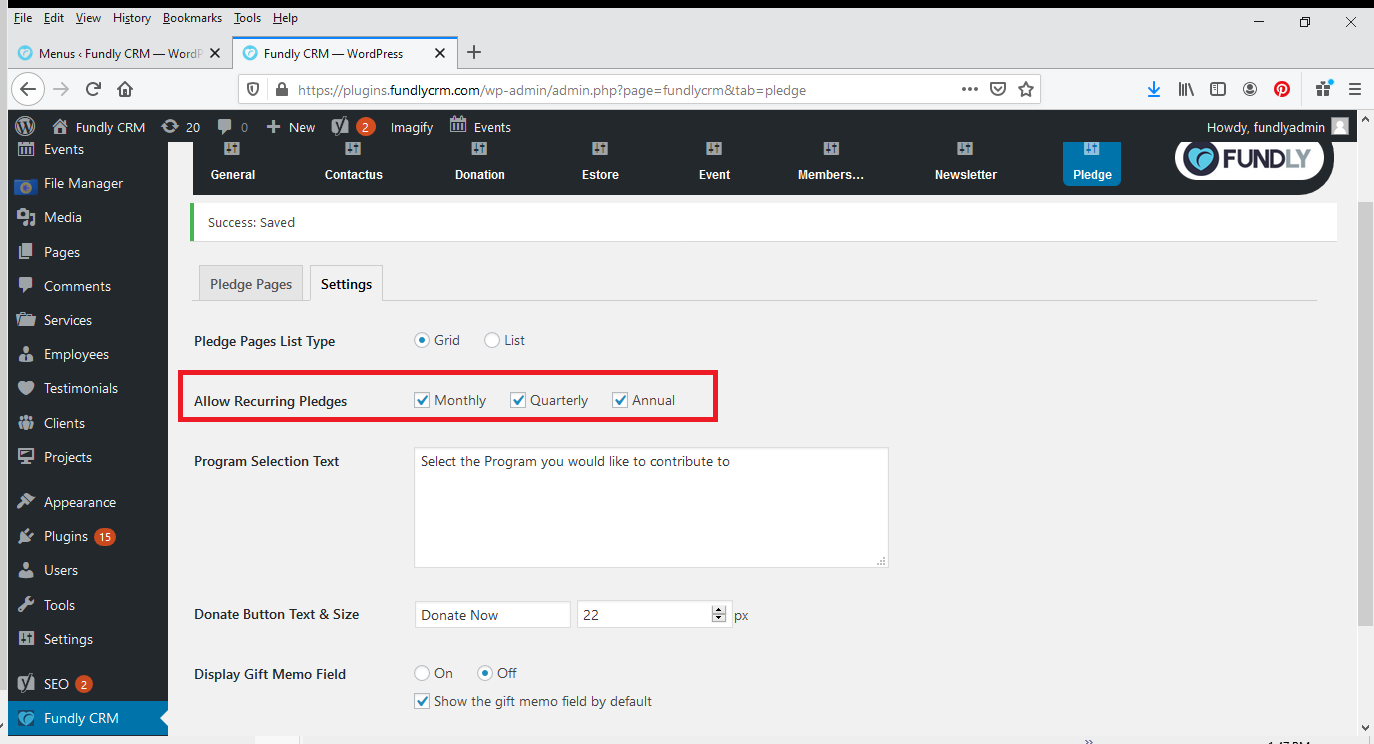
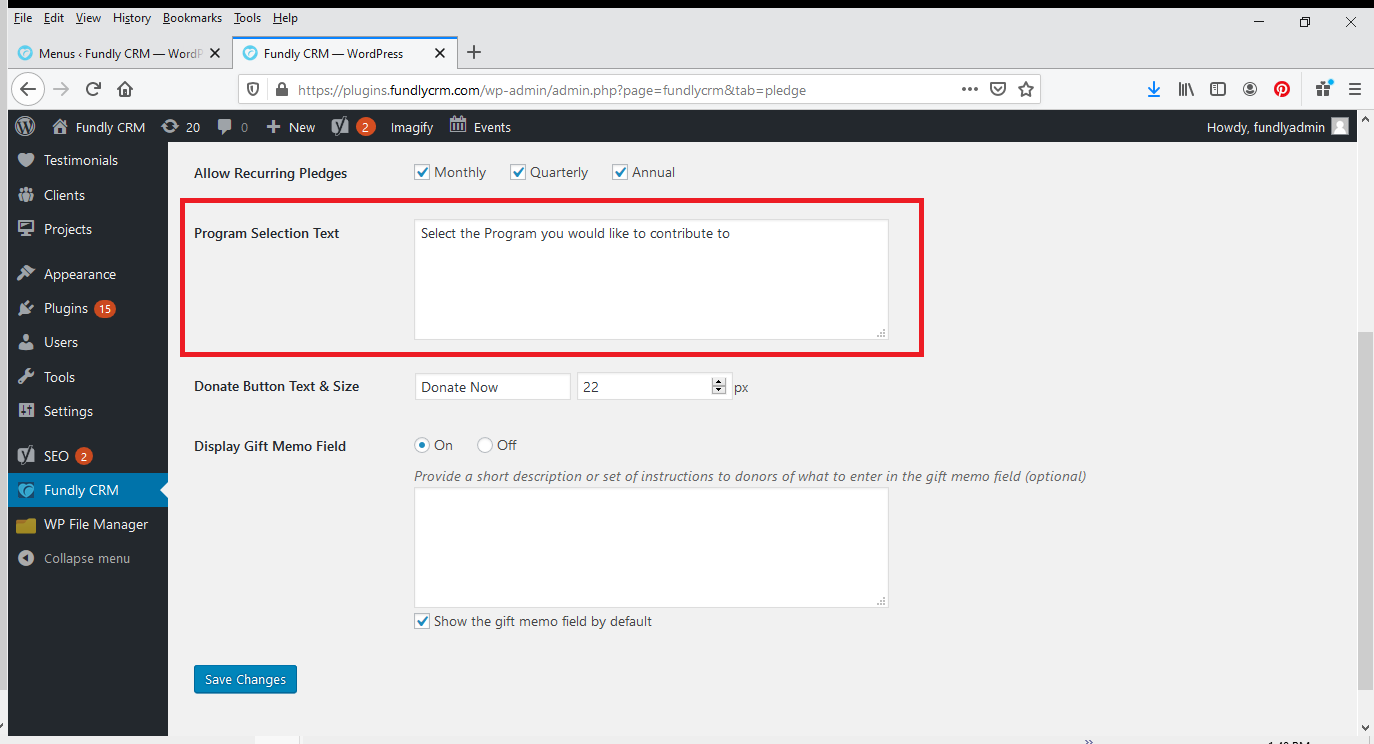
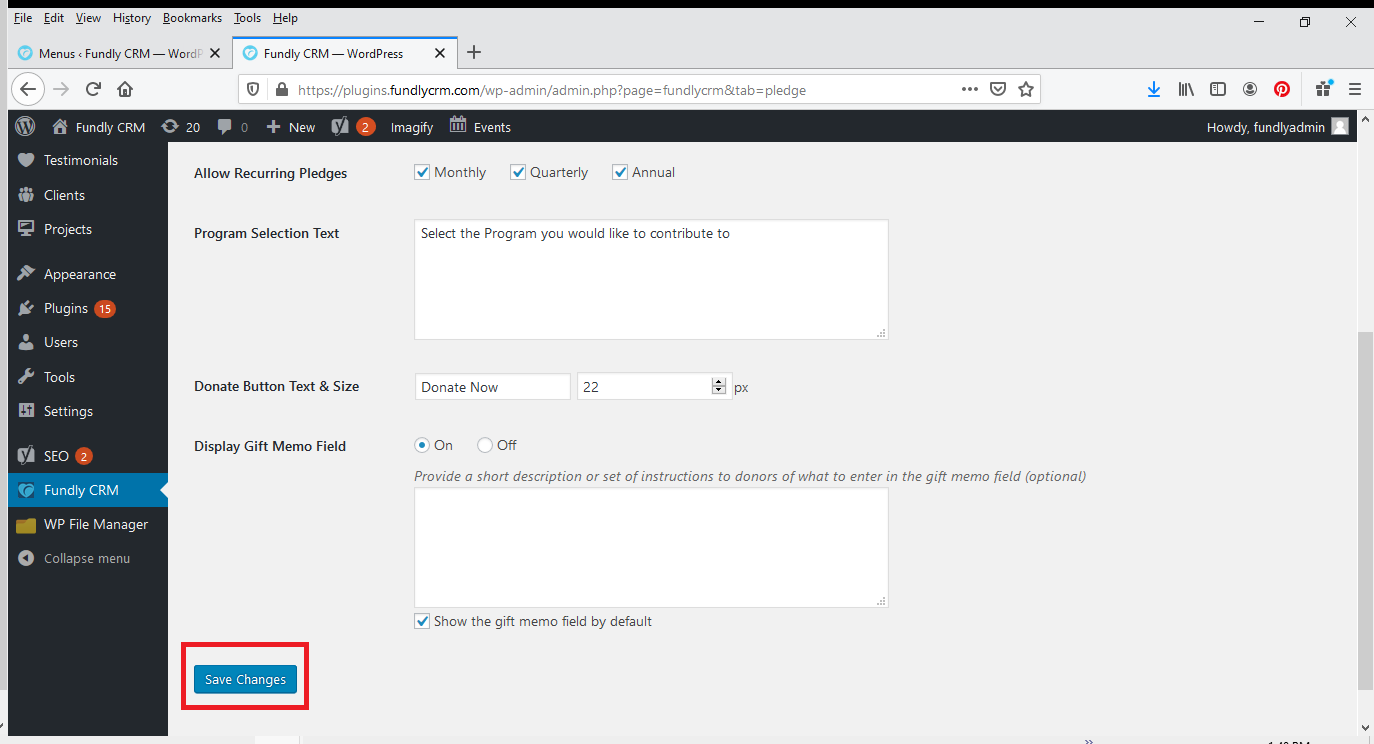
- This tab controls the overall/meta settings for your donation pages. The settings here apply to all of your donation pages(Image).
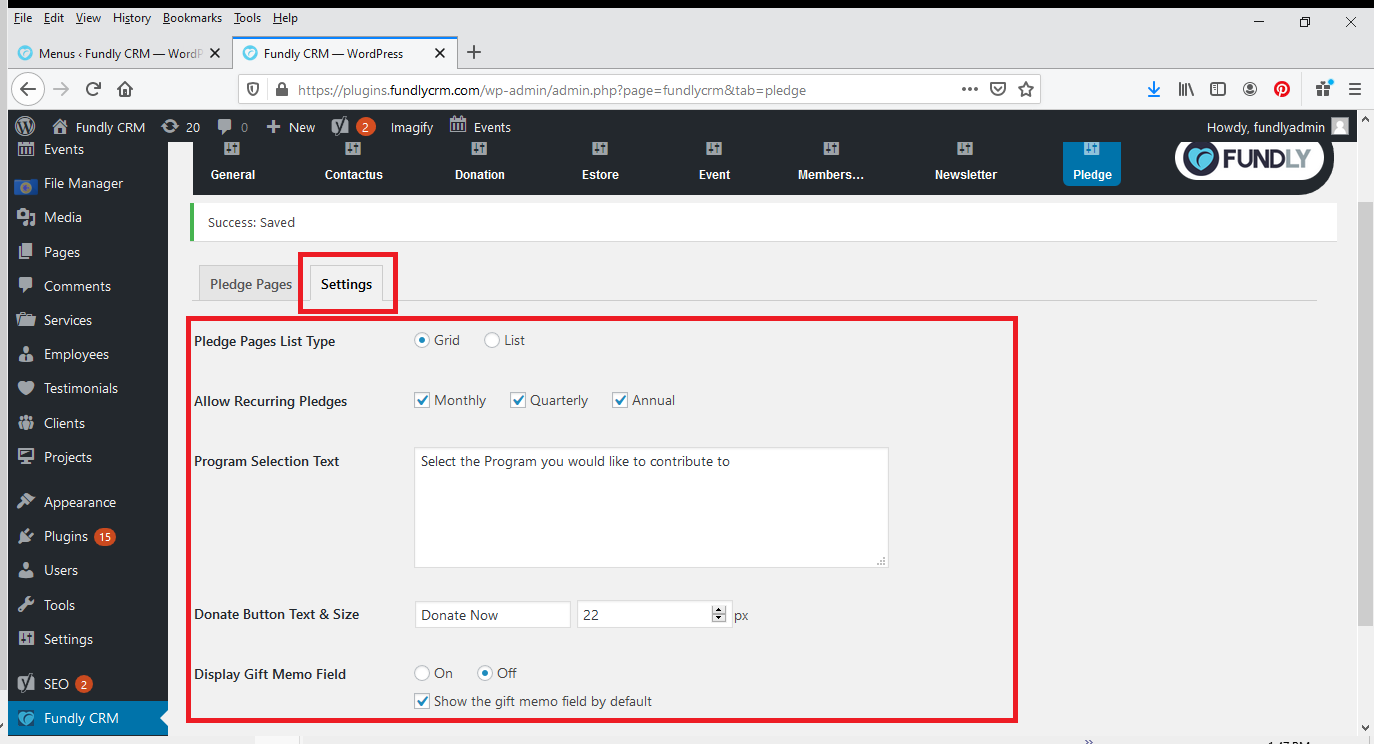
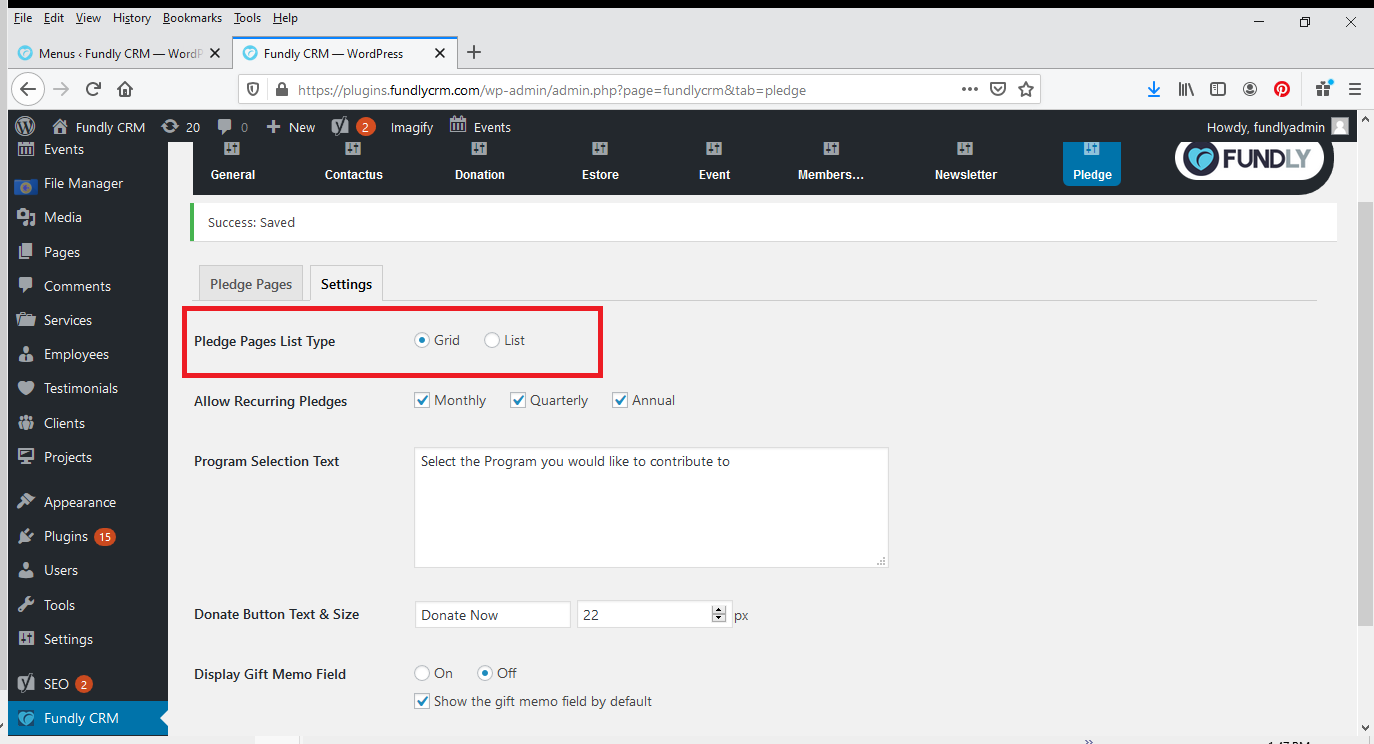
- Pledge Pages List Type controls if your Pledge pages are listed by default as a grid or a list on the Pledge pages index page (on our demo website, if the user clicks Pledge from the main menu, they are taken to our list of Pledge pages).
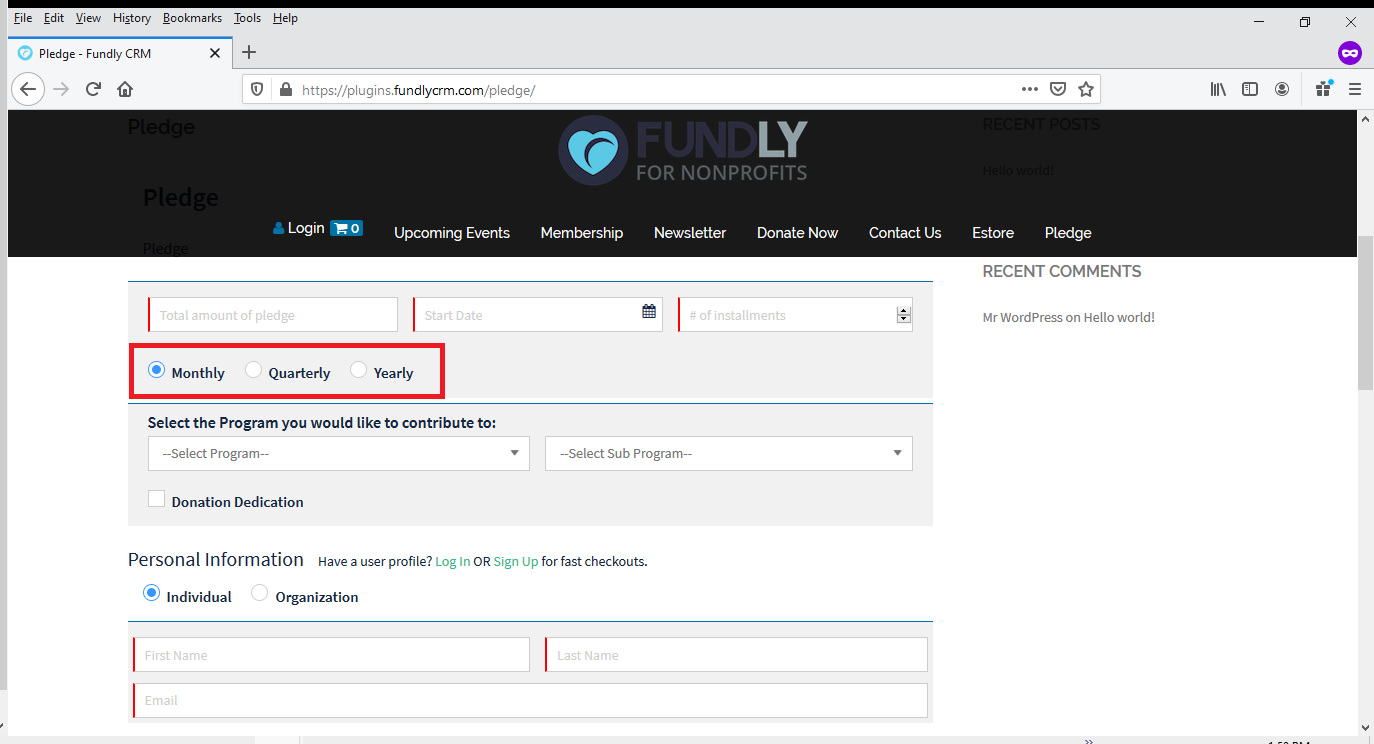
- Allow Recurring Pledges lets you set whether or not to allow your donors make recurring Pledges (Pledges that will automatically be charged to their credit card on a set schedule) and if so, which intervals you will allow users to select.
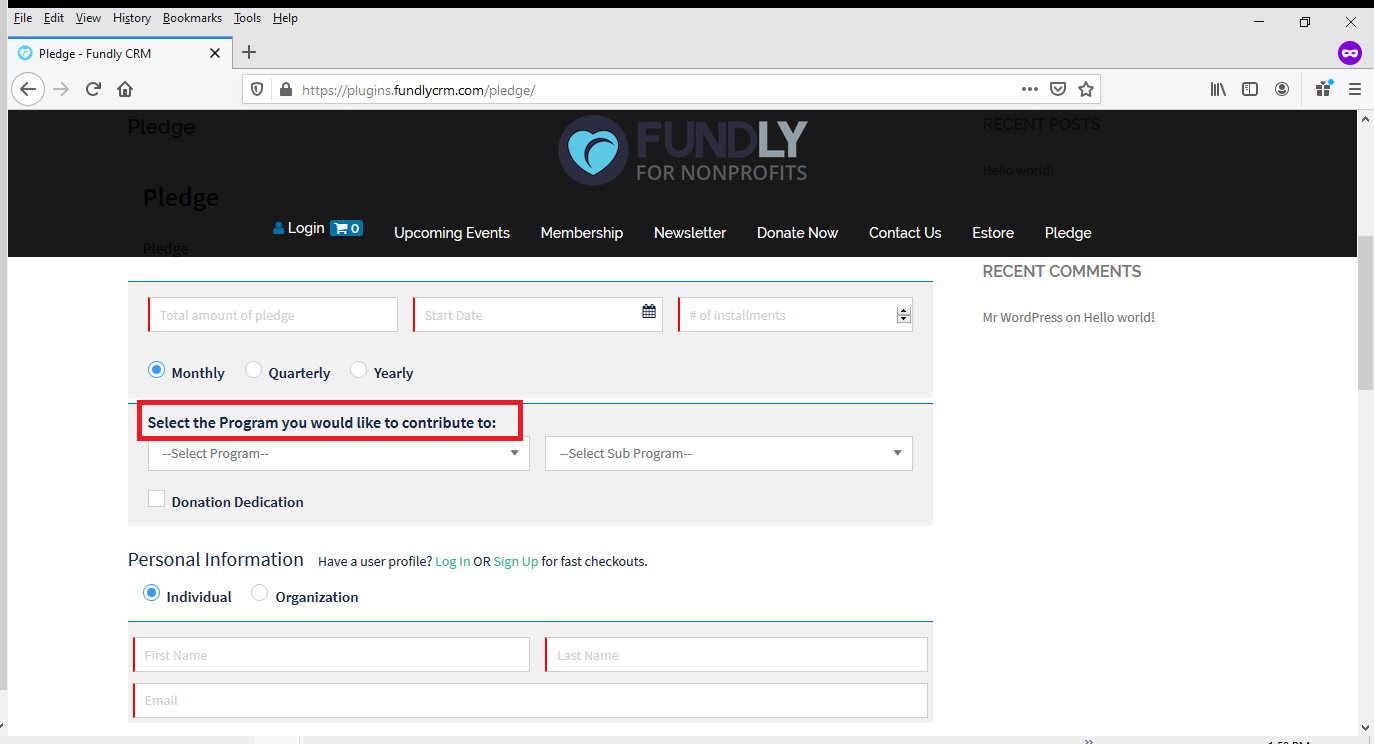
- Program Selection Text - if you have allowed users to select which program or sub-program their Pledge will be earmarked to on any Pledge Pages - this is the text that will display providing the user with instructions on what the program select drop down does.
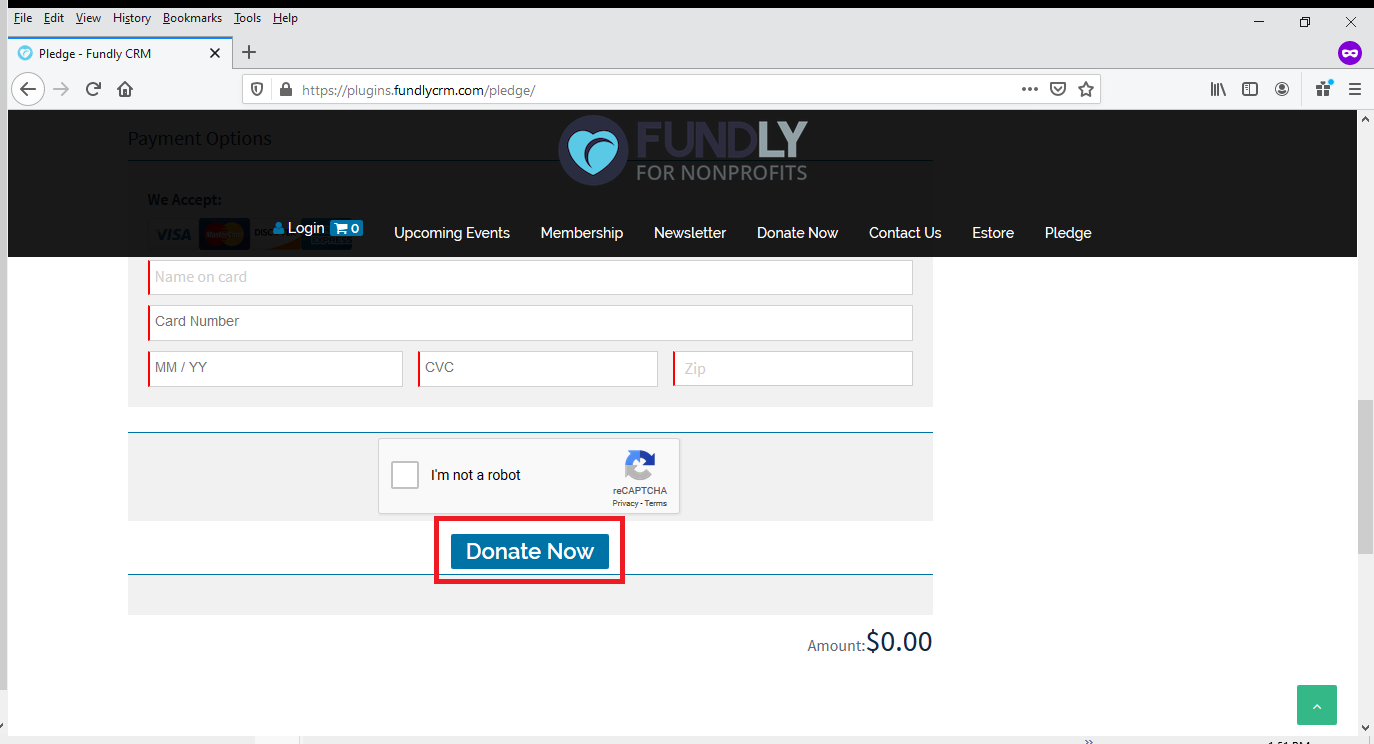
- Donate Button Size and Text controls the size and label of the Donate button at the bottom of the screen on Pledge pages (the button the user clicks to make their Pledge). On non-direct Pledge pages, user will be presented with the standard Check Out or Add to Cart buttons.
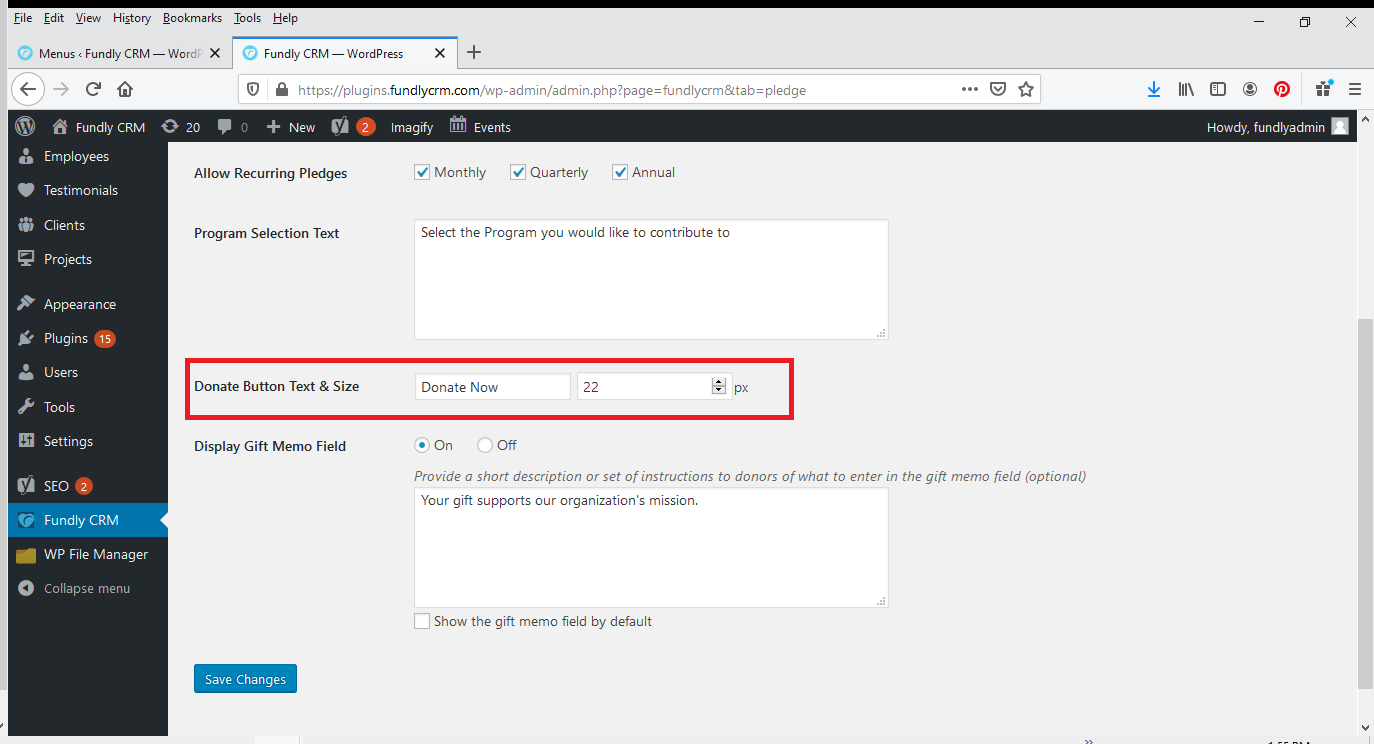
- Display Gift Memo field sets whether or not you present the donor with a gift memo field for them to add a note about their Pledge. If you set this to "Off" no gift memo field will be present. If you set it to "On," you will have the option to display it be default or to hide it and user has to check a box to display it.


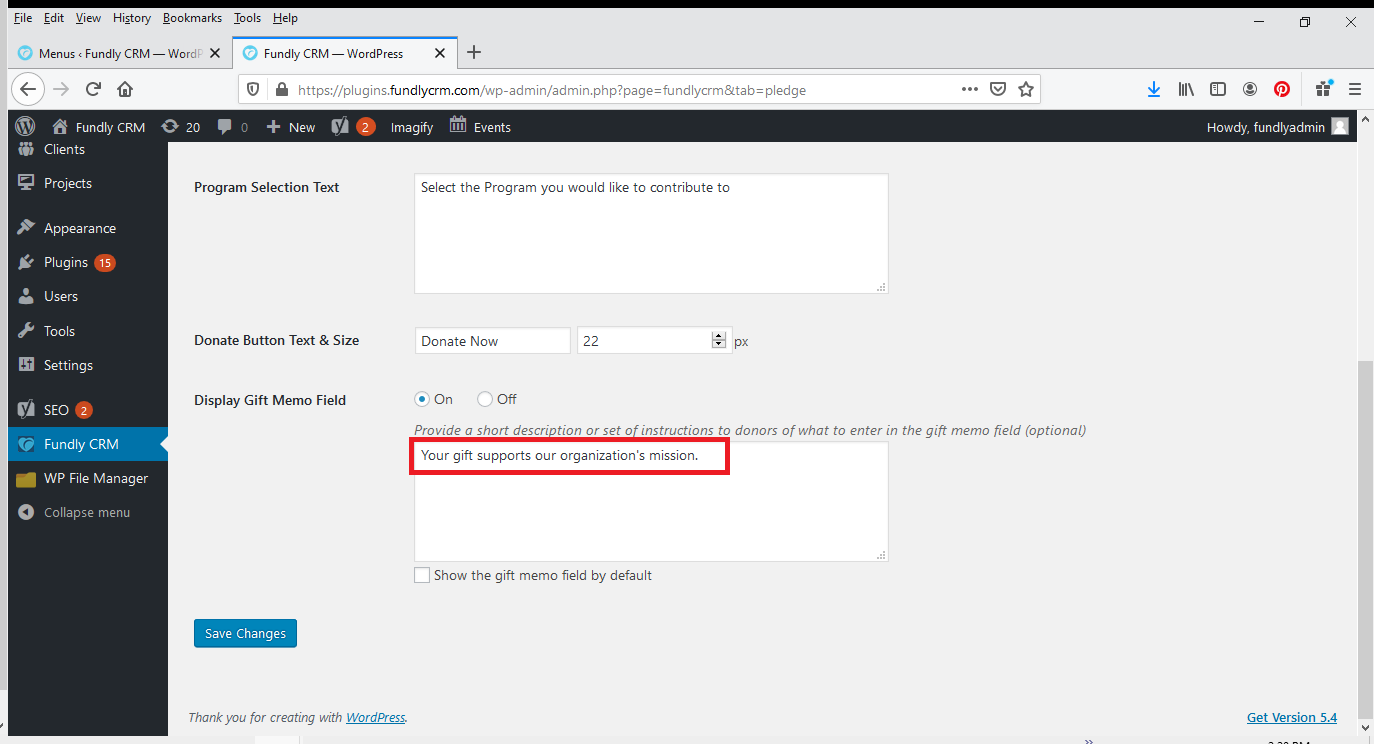
- The short description to describe what the gift memo field is for allows you to provide instructions to the user on what you would like them to add to the gift memo field (if you want to collect specific data or ask a specific question). It is optional to add text here - if no text is added the user will just be presented with a blank memo field to write whatever they want in.

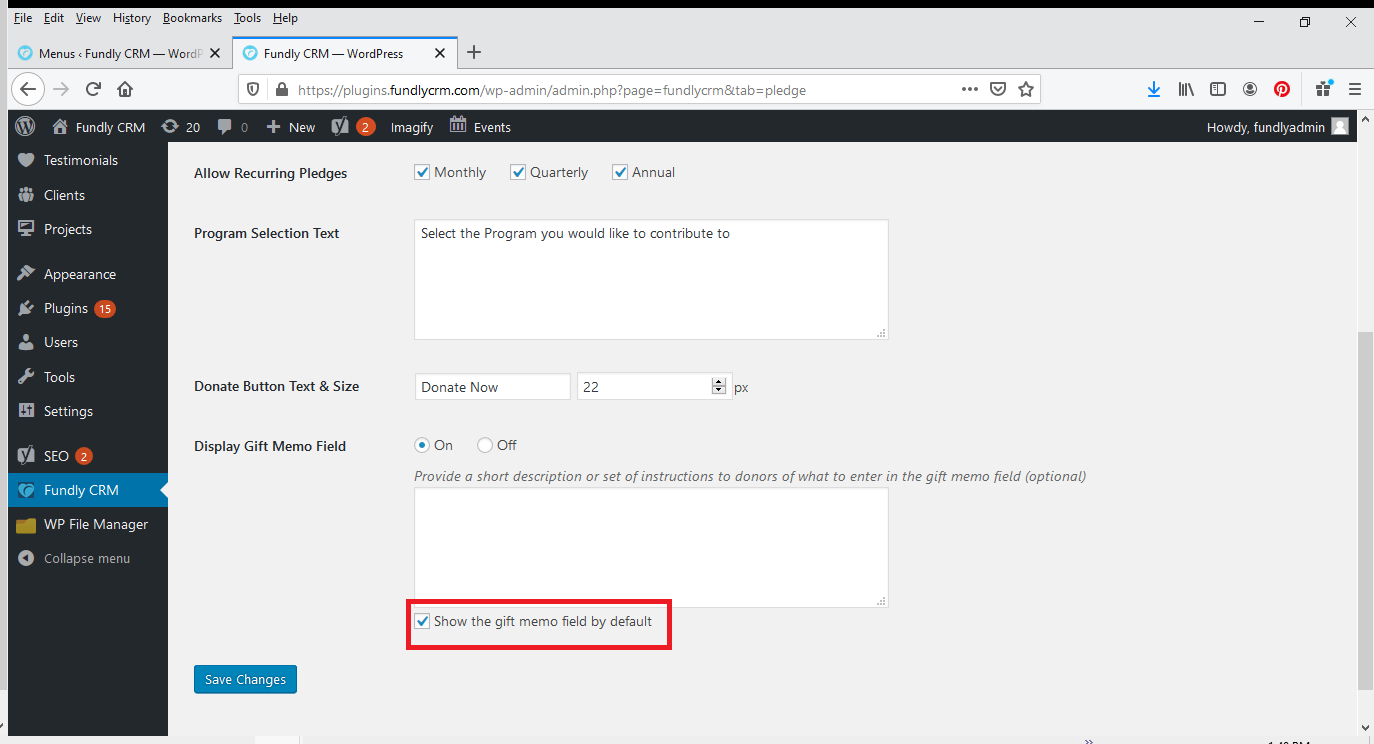
- The Show the Gift Memo Field by Default check box allows you to display the memo field by default. Otherwise, if this box is not checked, the donor must check a box on the Pledge field to expose/display the memo field.(3 images 1 fron back end and 2 from front end)
- After making any changes on this page, click the blue Save Changes button at the bottom of the screen.
Comments
0 comments
Article is closed for comments.