Wordpress Plugins Configurations and Settings Part 2a - Donation Plugin
- The Donation Plugin allows you to integrate your CRM with your WordPress Website in order to accept online donations.
- The Wordpress plugin is an additional, one-time fee (see this tutorial for pricing). Alternatively, you can use our Pages function (no additional cost) or our Donation Widget function. See this tutorial/chart for a comparison of Pages versus WordPress Plugin versus Widget for donations.
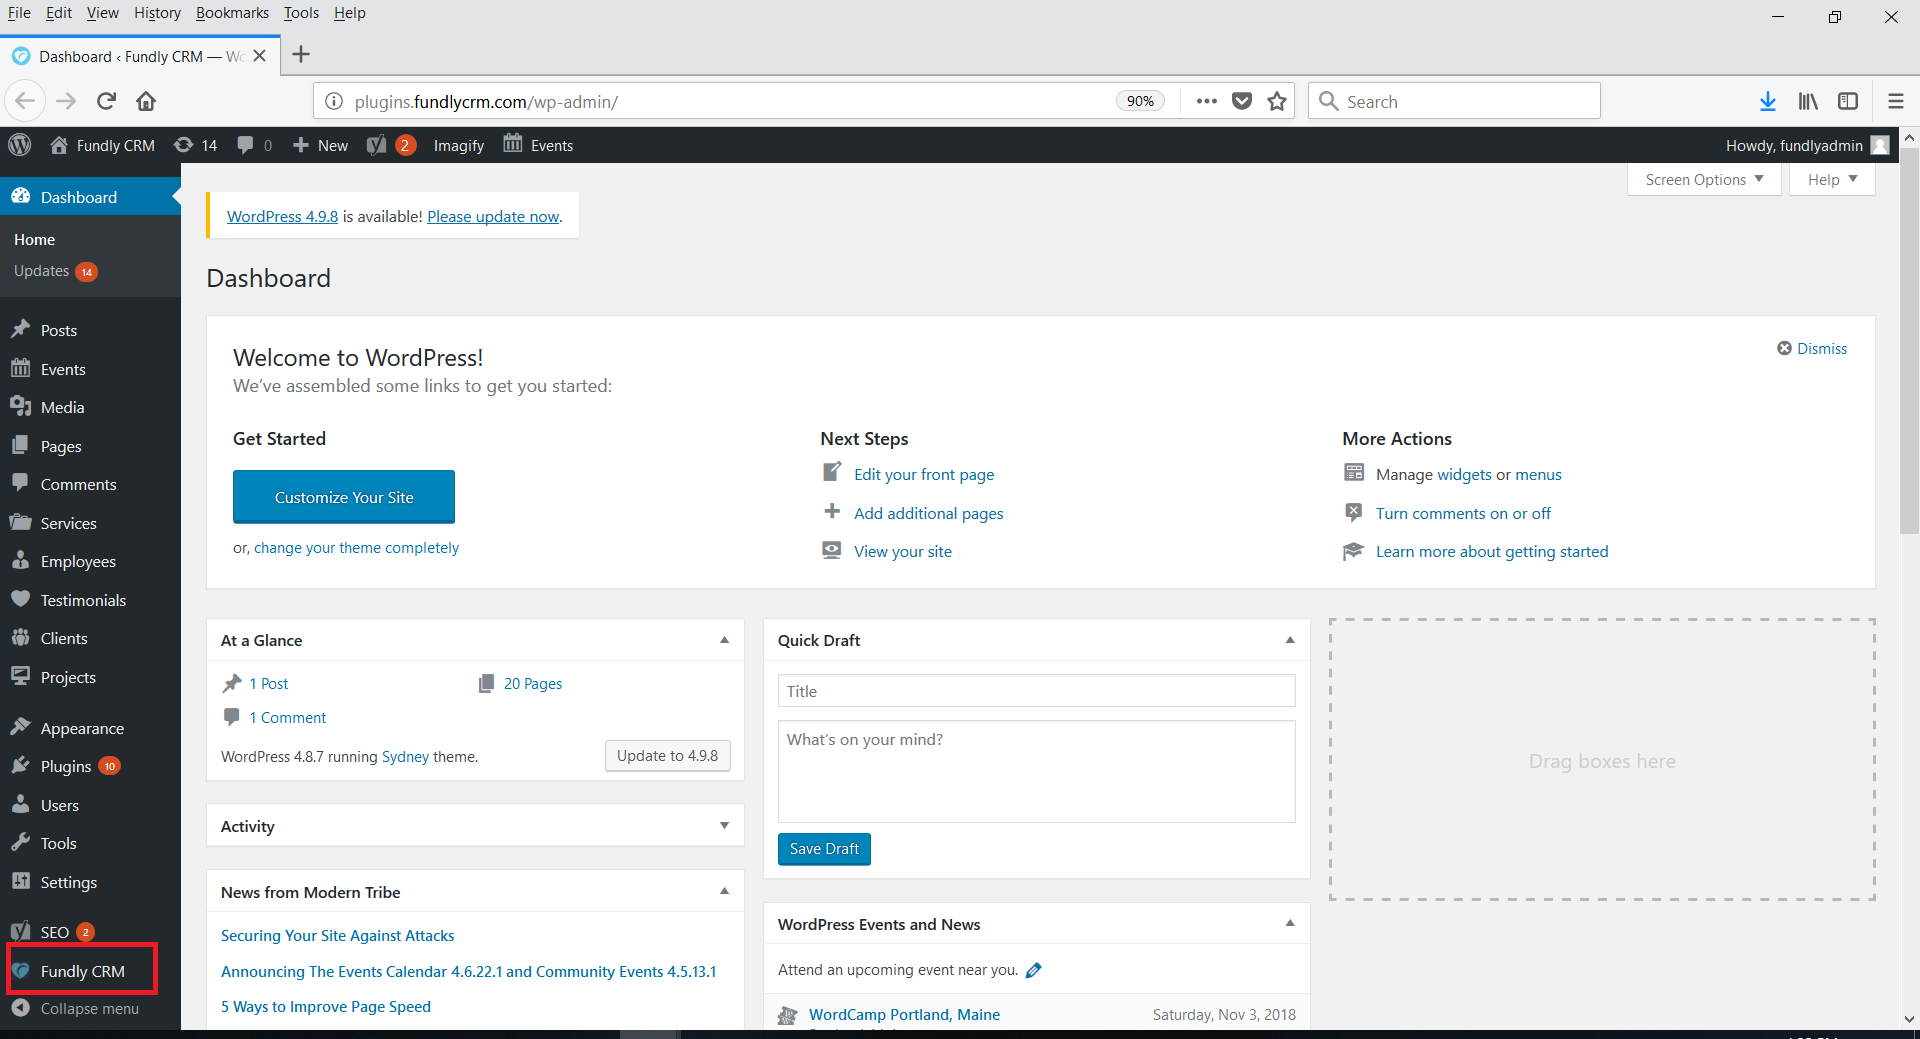
- To configure the Donations WordPress Plugin, log into your wordpress admin panel. Find the CRM plugin in the left hand menu and click it.
- This will take you to the CRM Plugin admin panel. Which tabs you have here will depend on which plugins you have purchased.

- To configure the donation plugin, click on the Donation tab (be sure to also configure your General tab - see this tutorial for more information on the settings found on the general tab).

- The donation plugin has two sub tabs: Donation Pages and Settings.
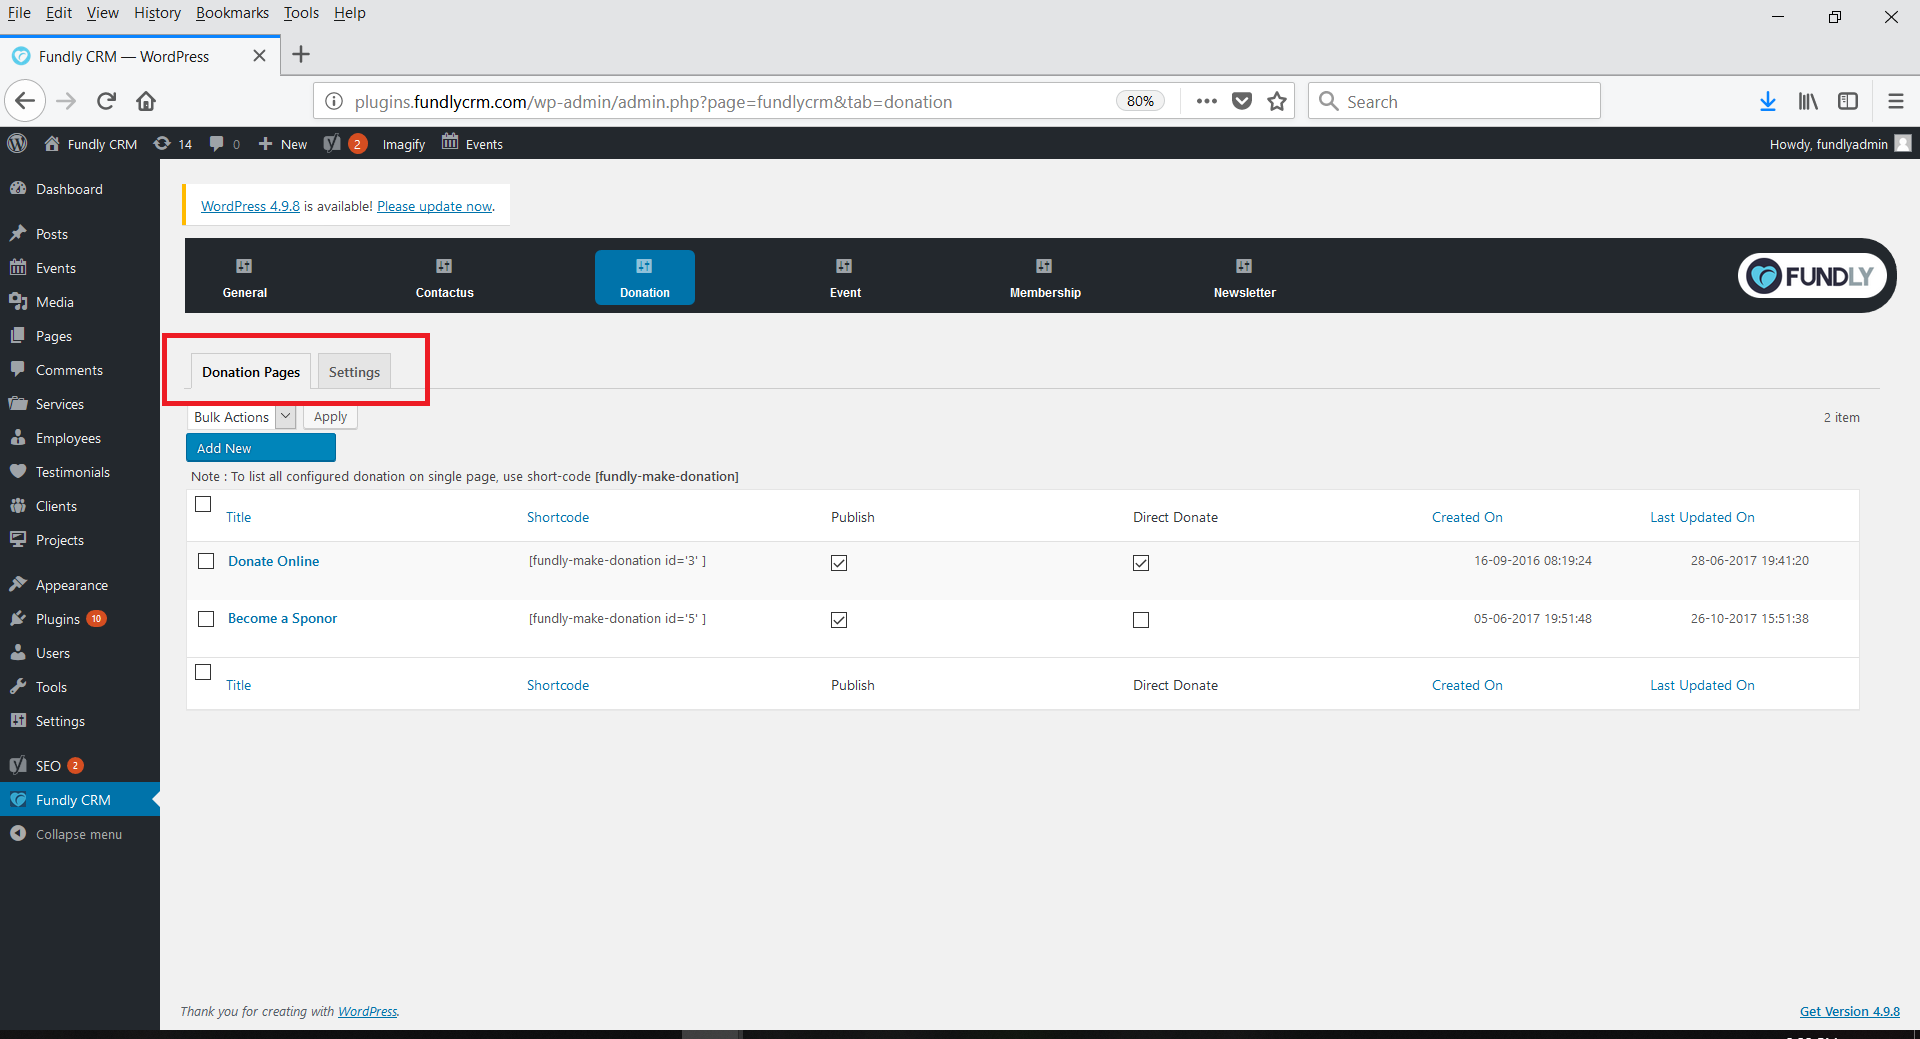
- The Donation Pages sub-tab is where you configure your donation page(s) that will be presented to donors on your website.
- The Settings sub-tab is where you configure the meta settings shared by all of your donation pages.
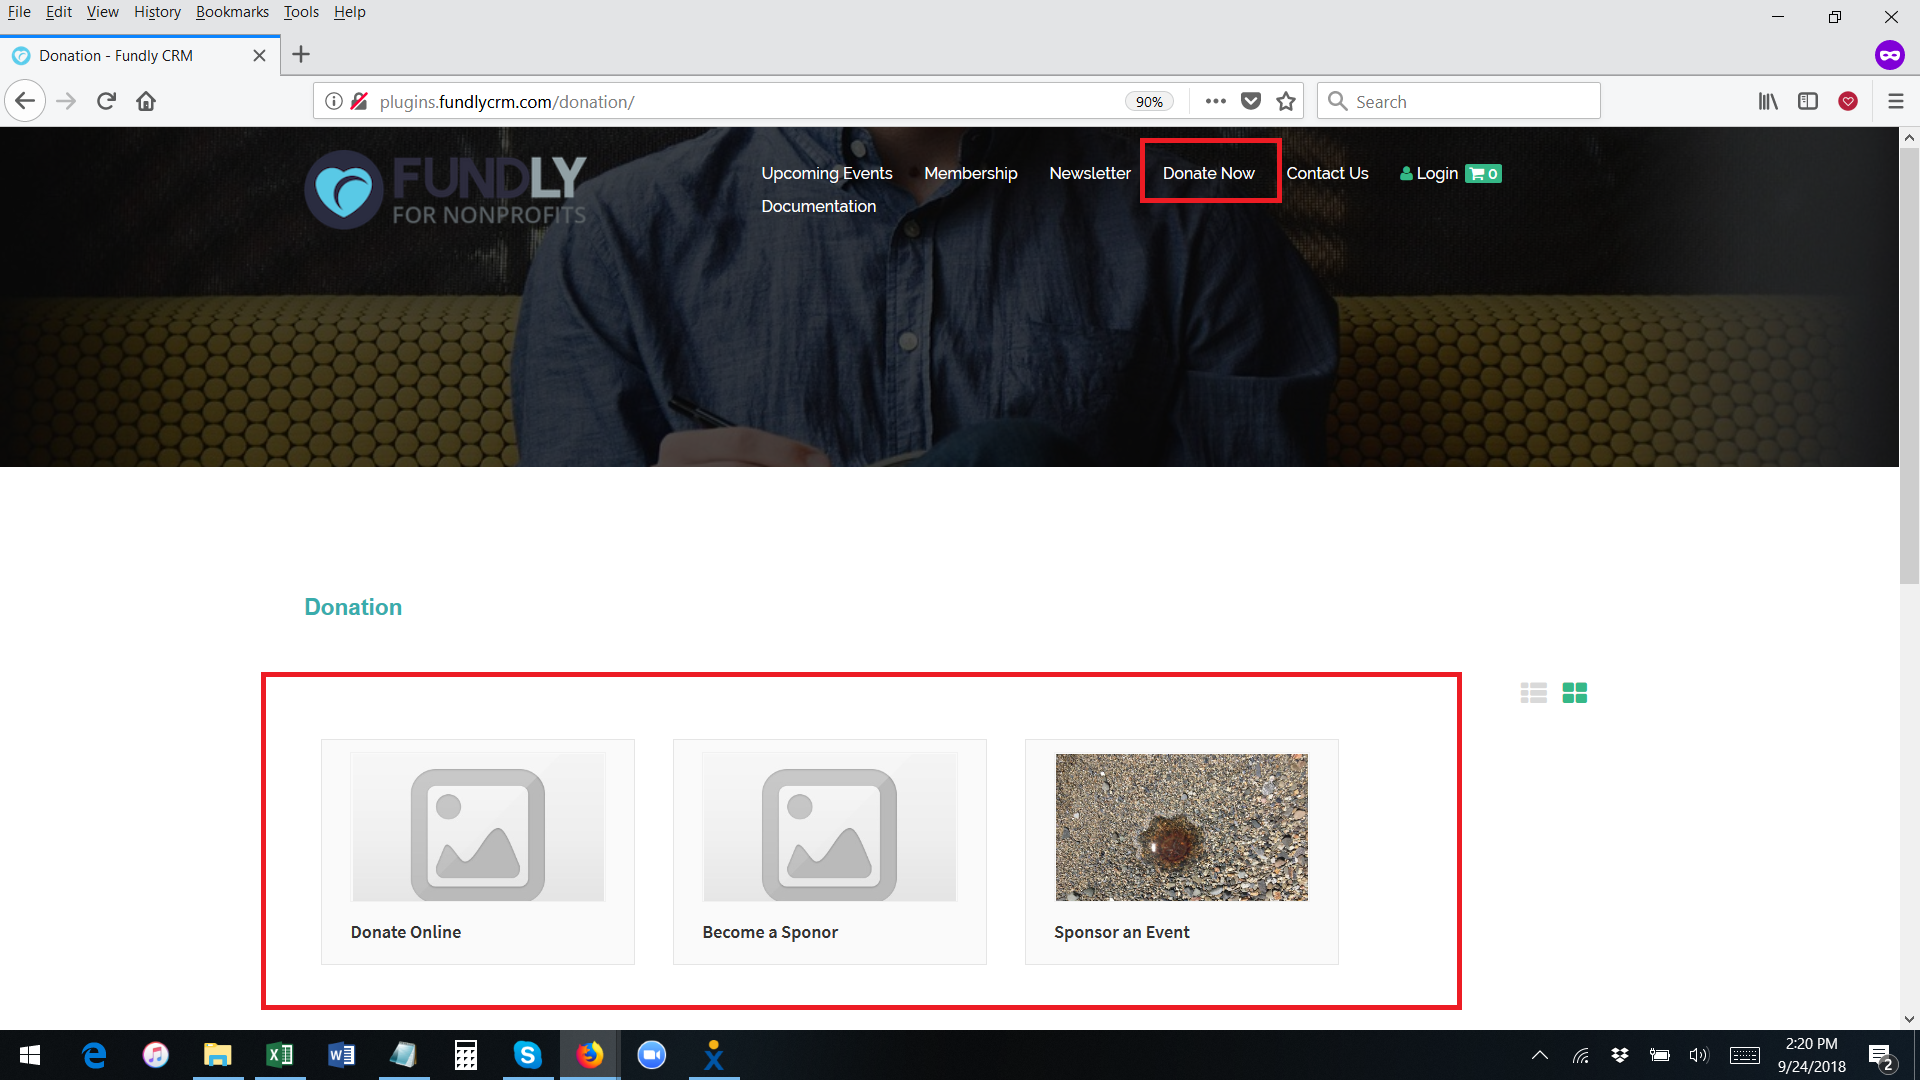
- To get started, click on the Donation Pages sub-tab.
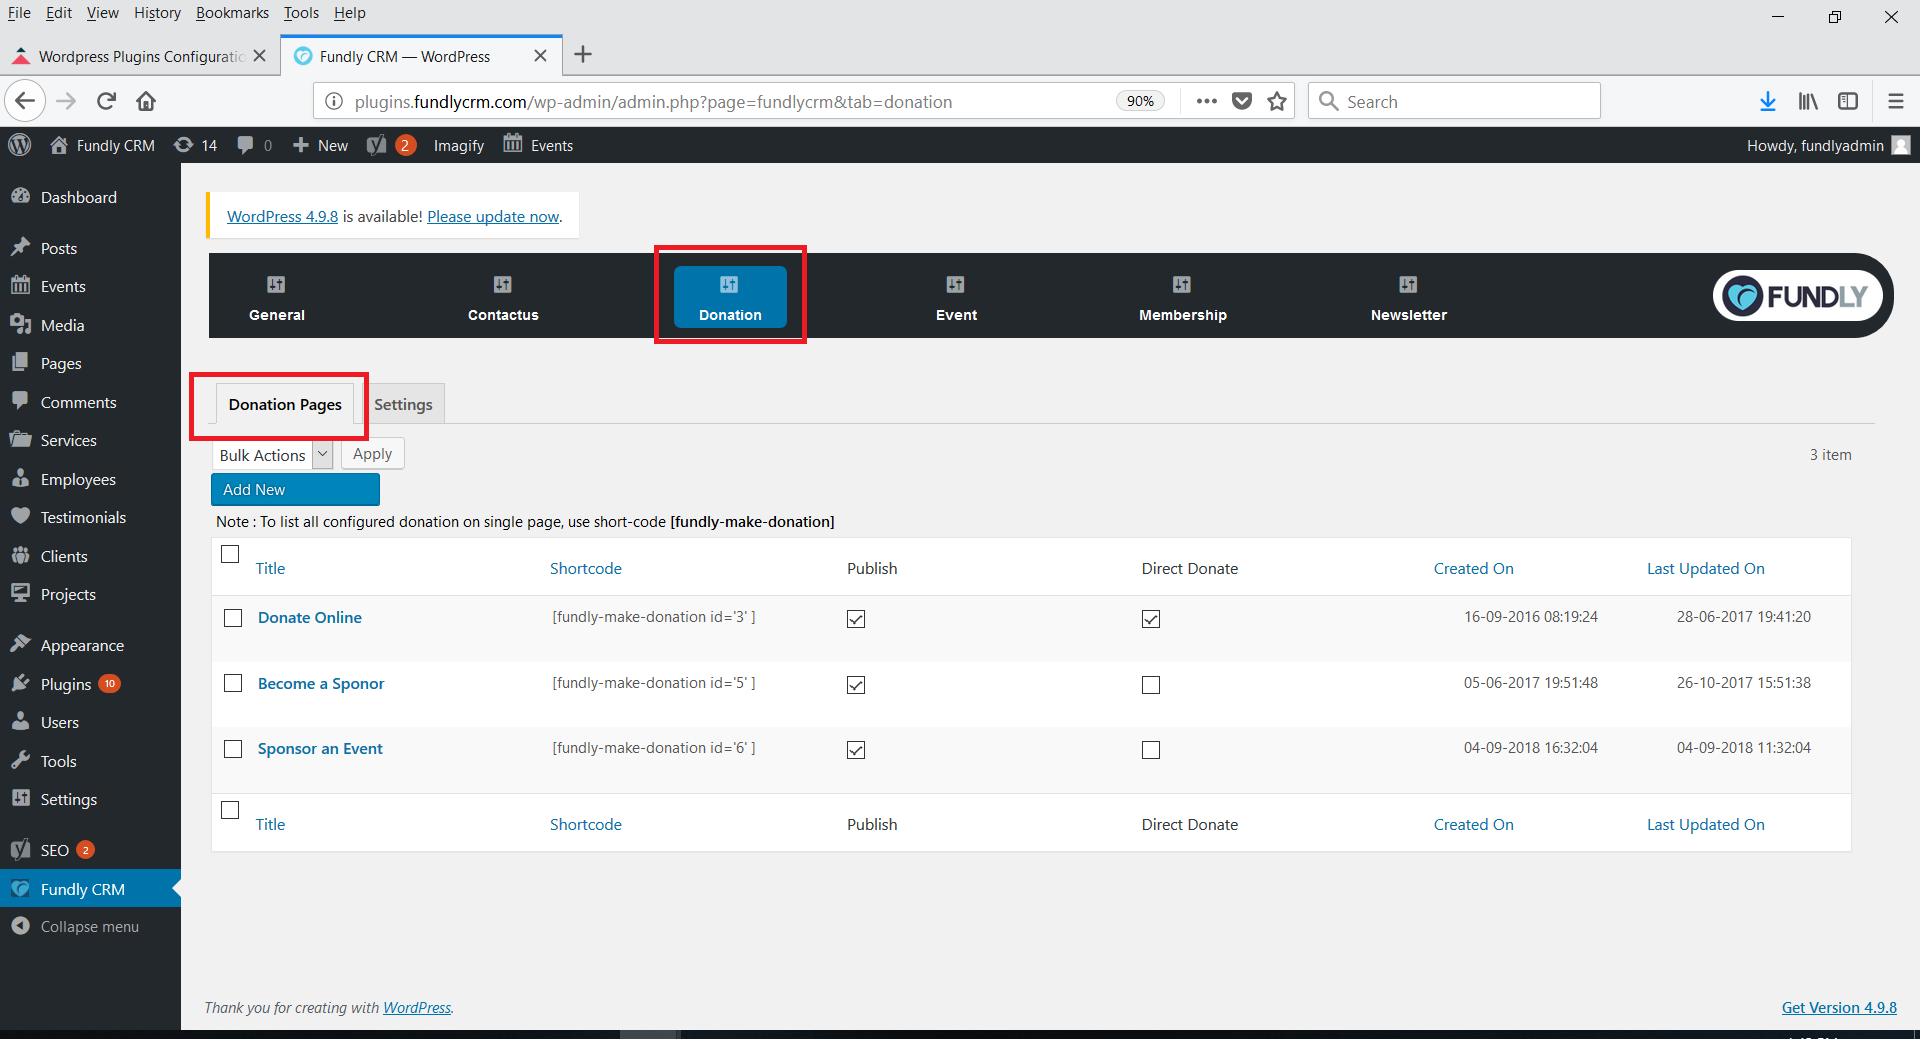
- Here you will see a list of any donation pages you have configured. You can sort the items on this page by Title, Shortcode, Created On date, and Last Updated On date by clicking the appropriate column header.
- You can edit any page by hovering over the page title and selecting Edit.
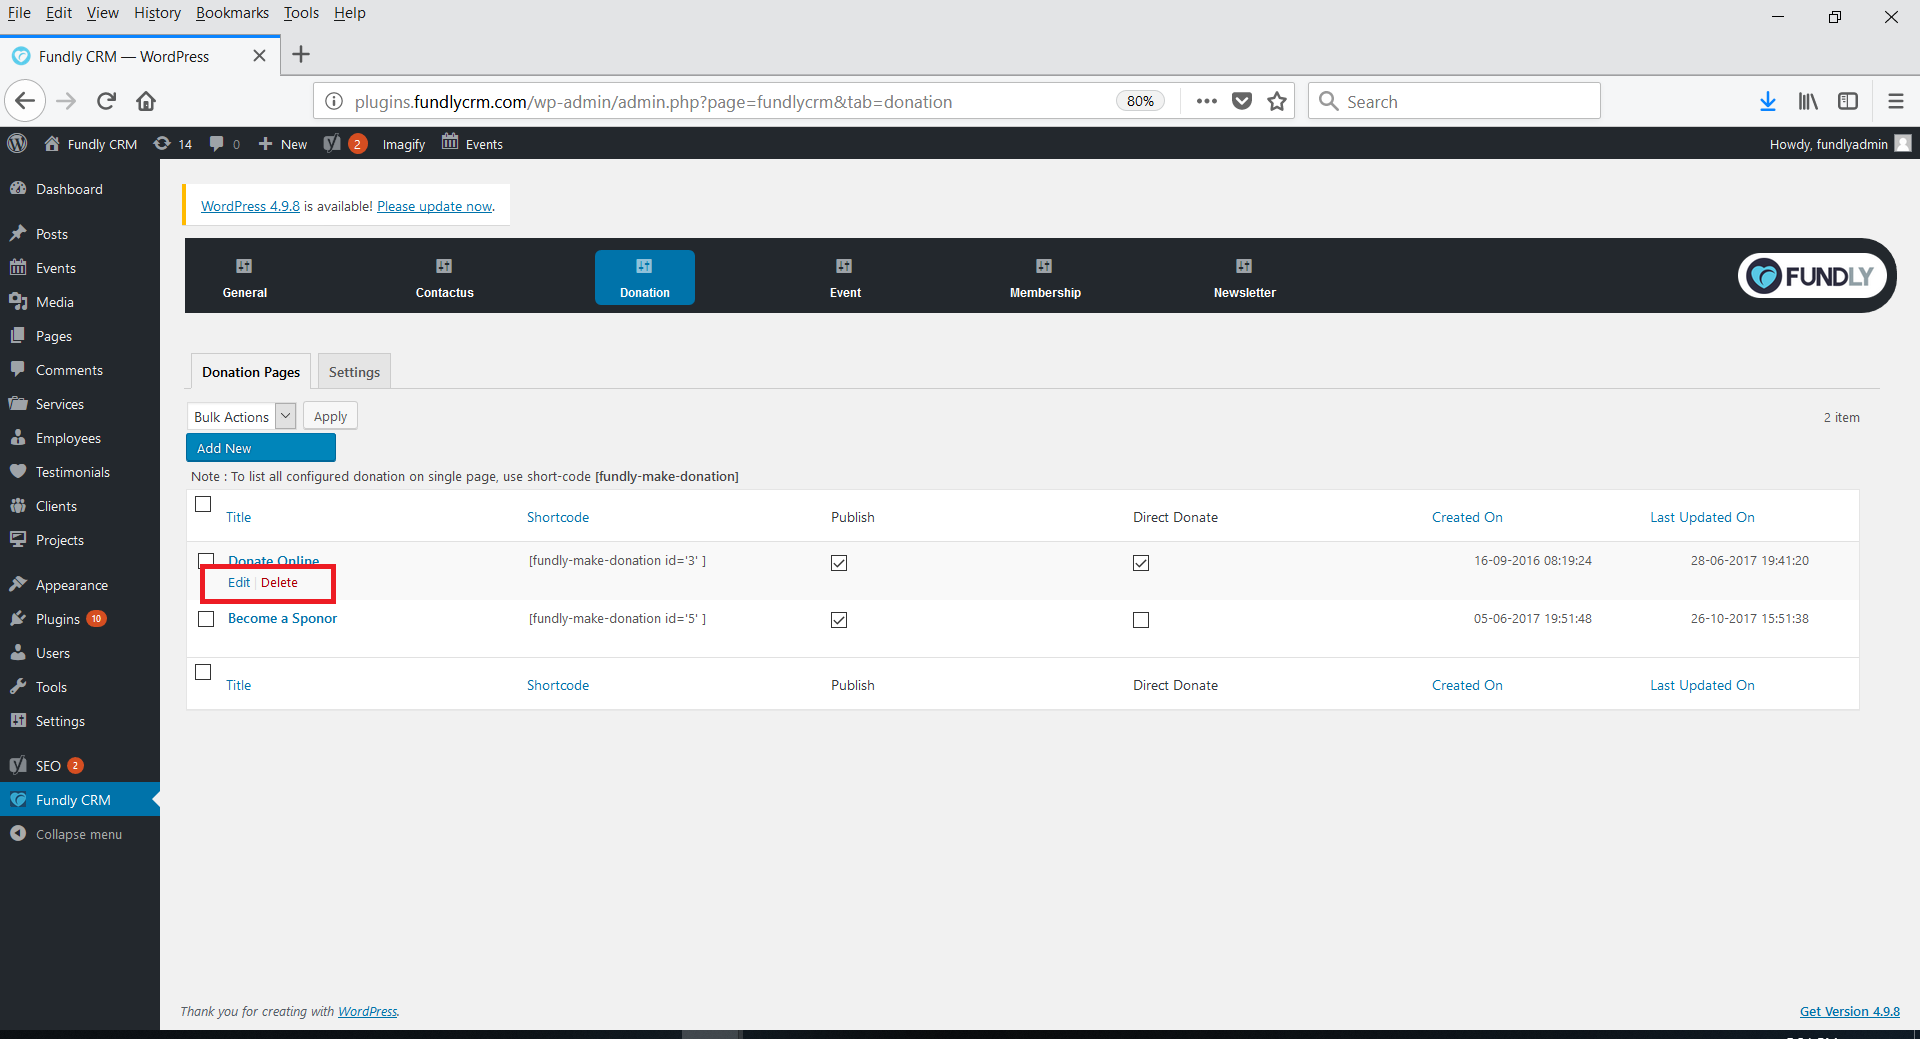
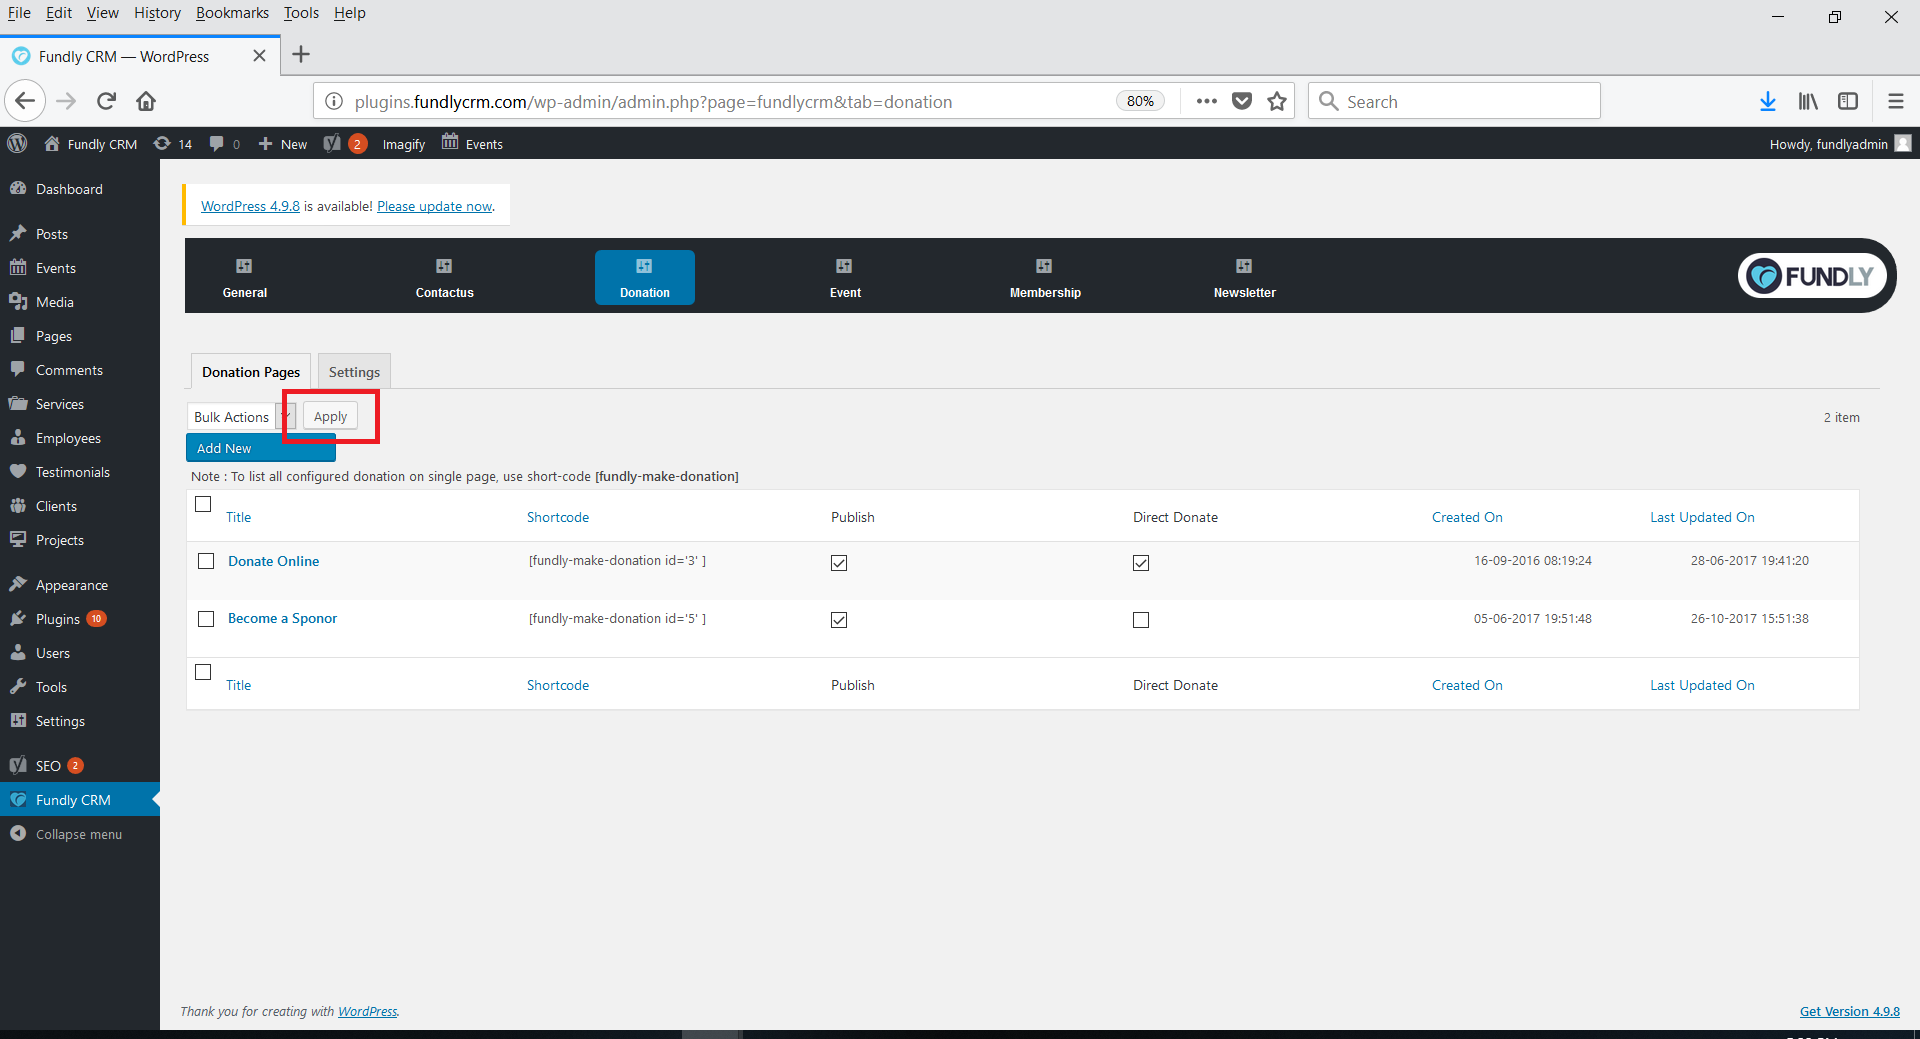
- You can delete any page by hovering over the page title and selecting Delete. You can also delete in bulk by clicking the white box to the left of the page title and then selecting Delete from the bulk action drop down and then clicking Apply.
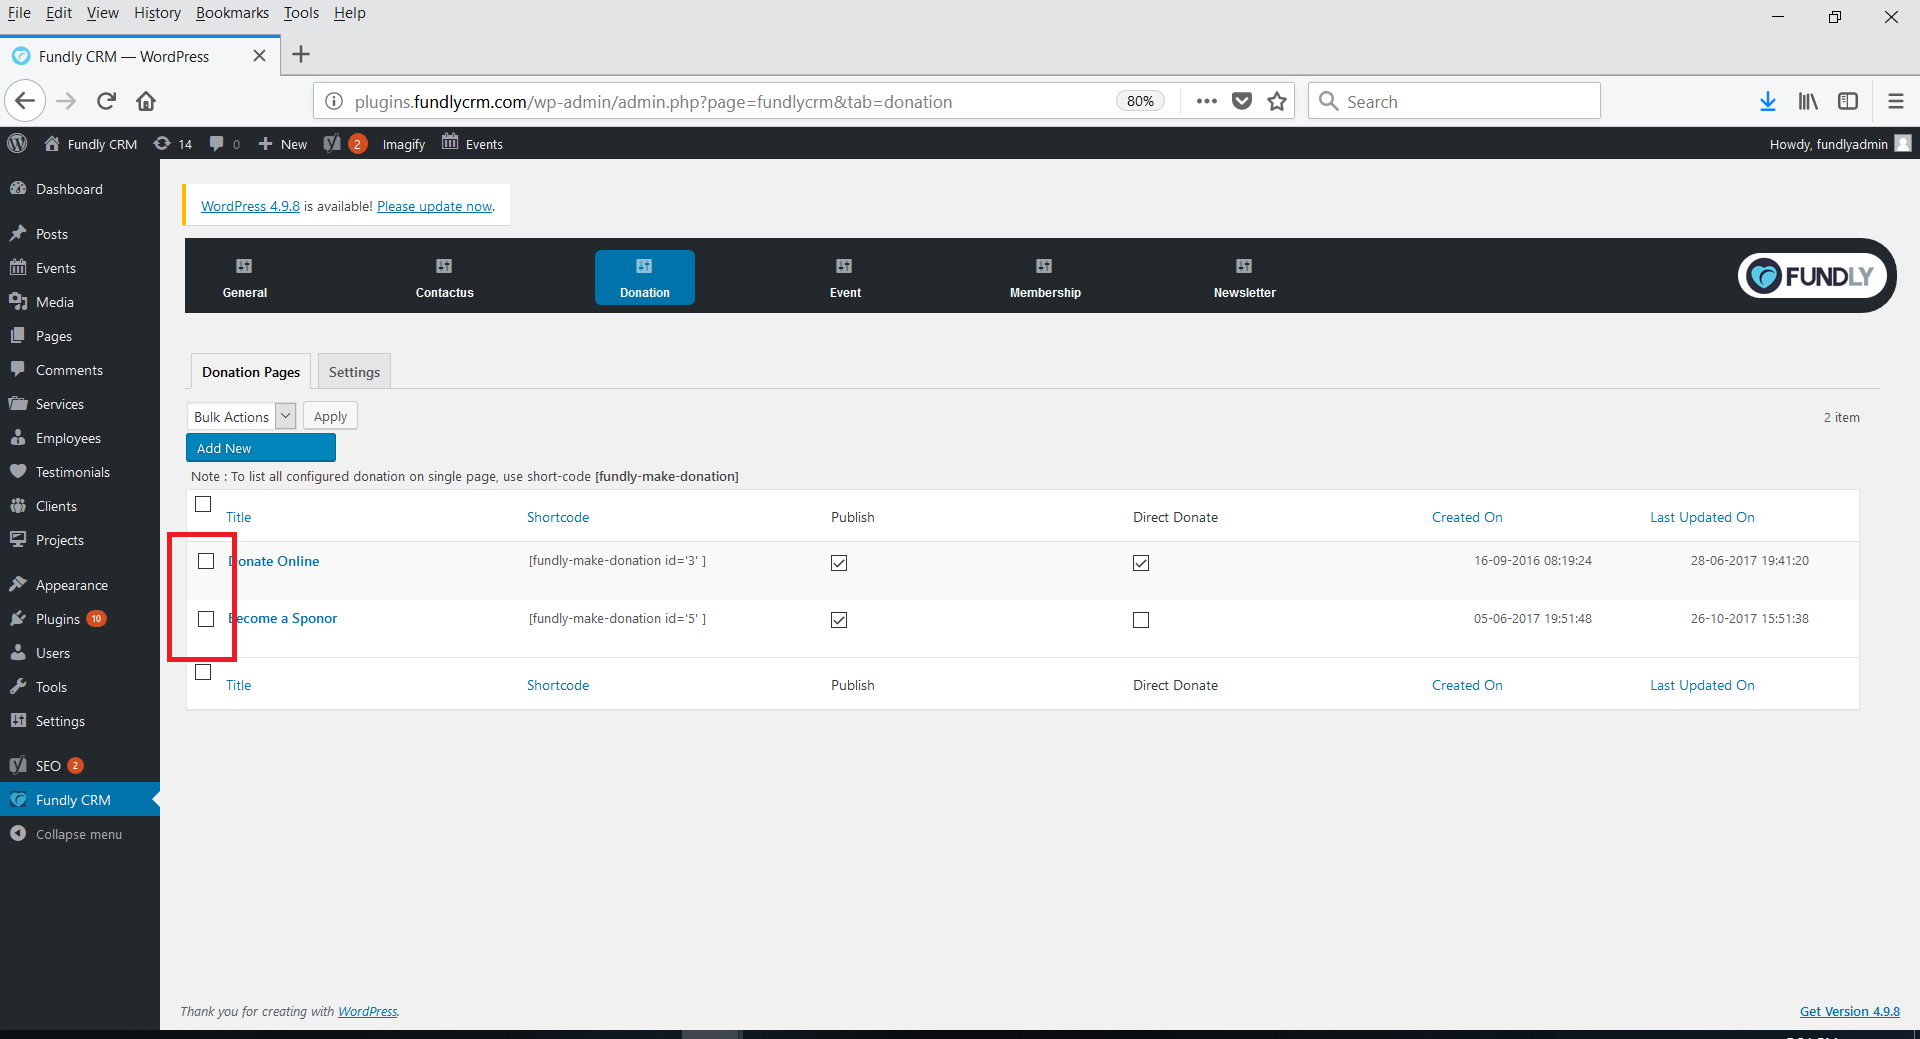

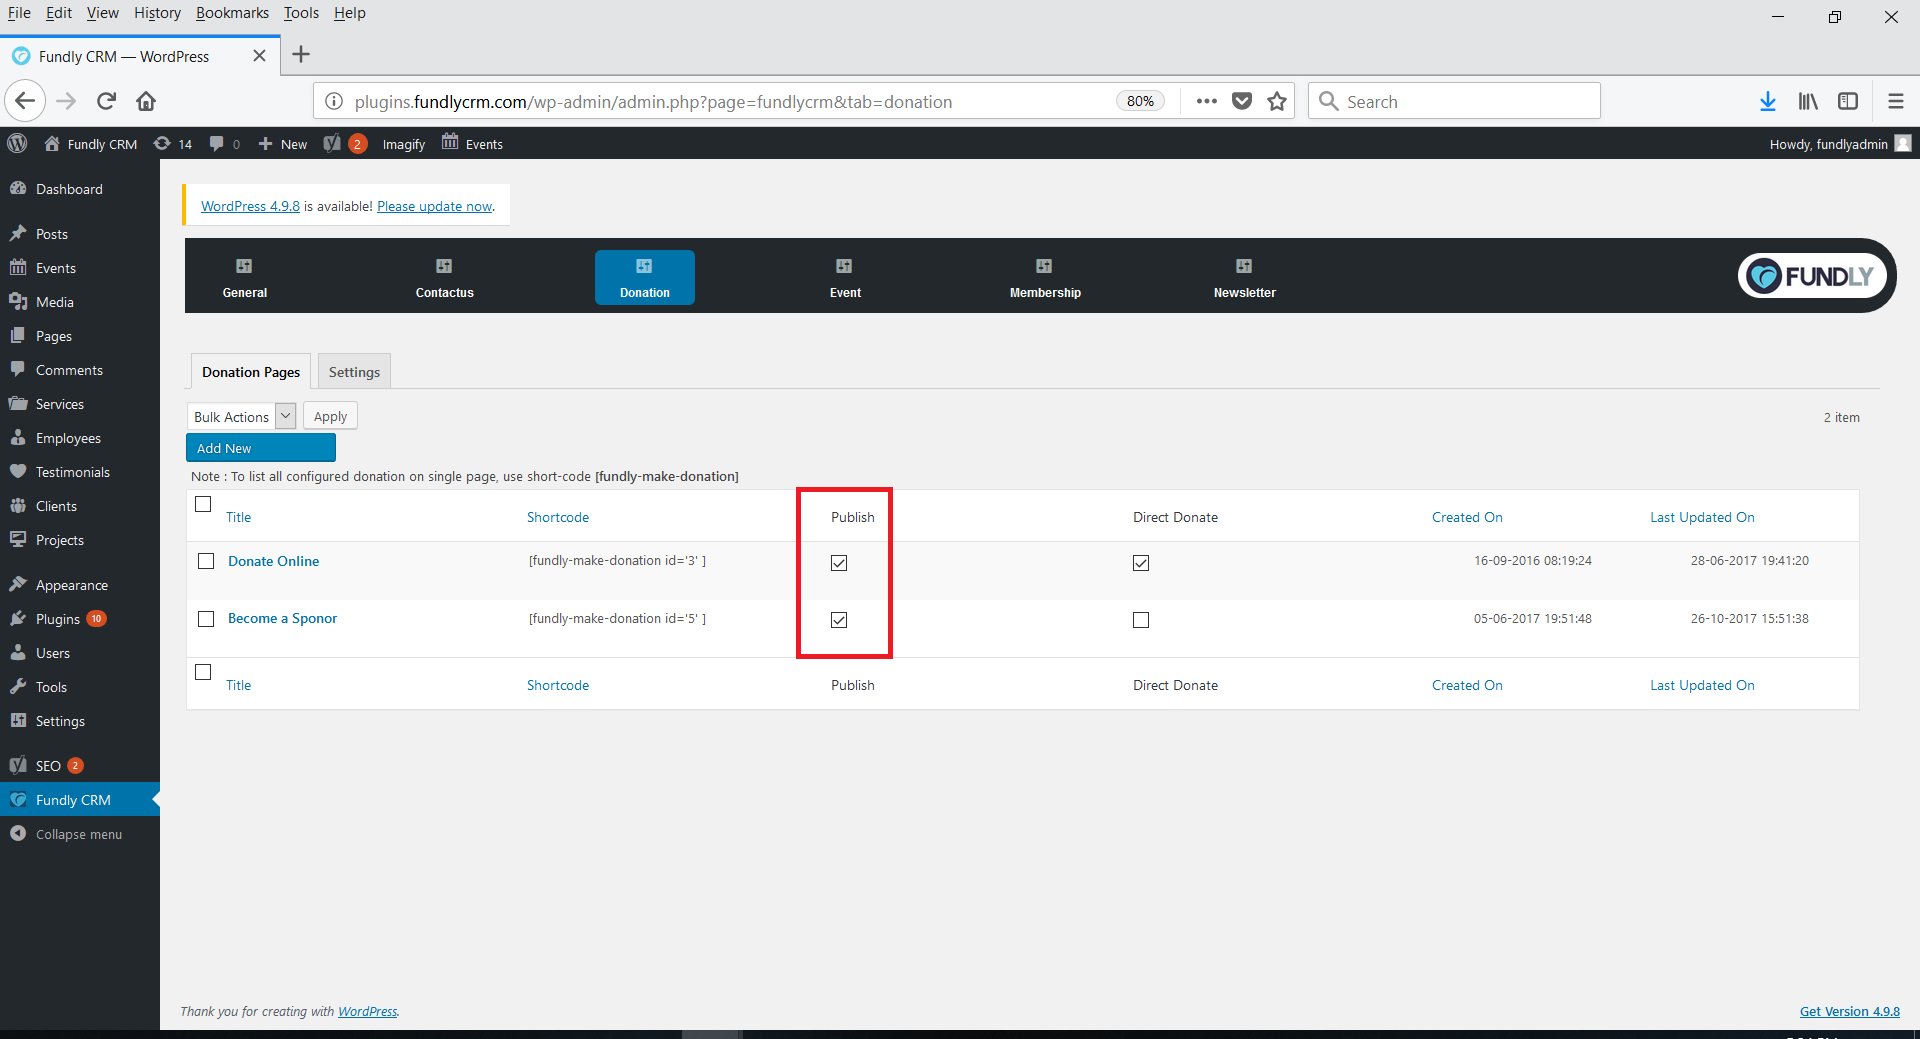
- To publish/unpublish (archive/hide) any donation page, check/uncheck the white box in the Publish column.
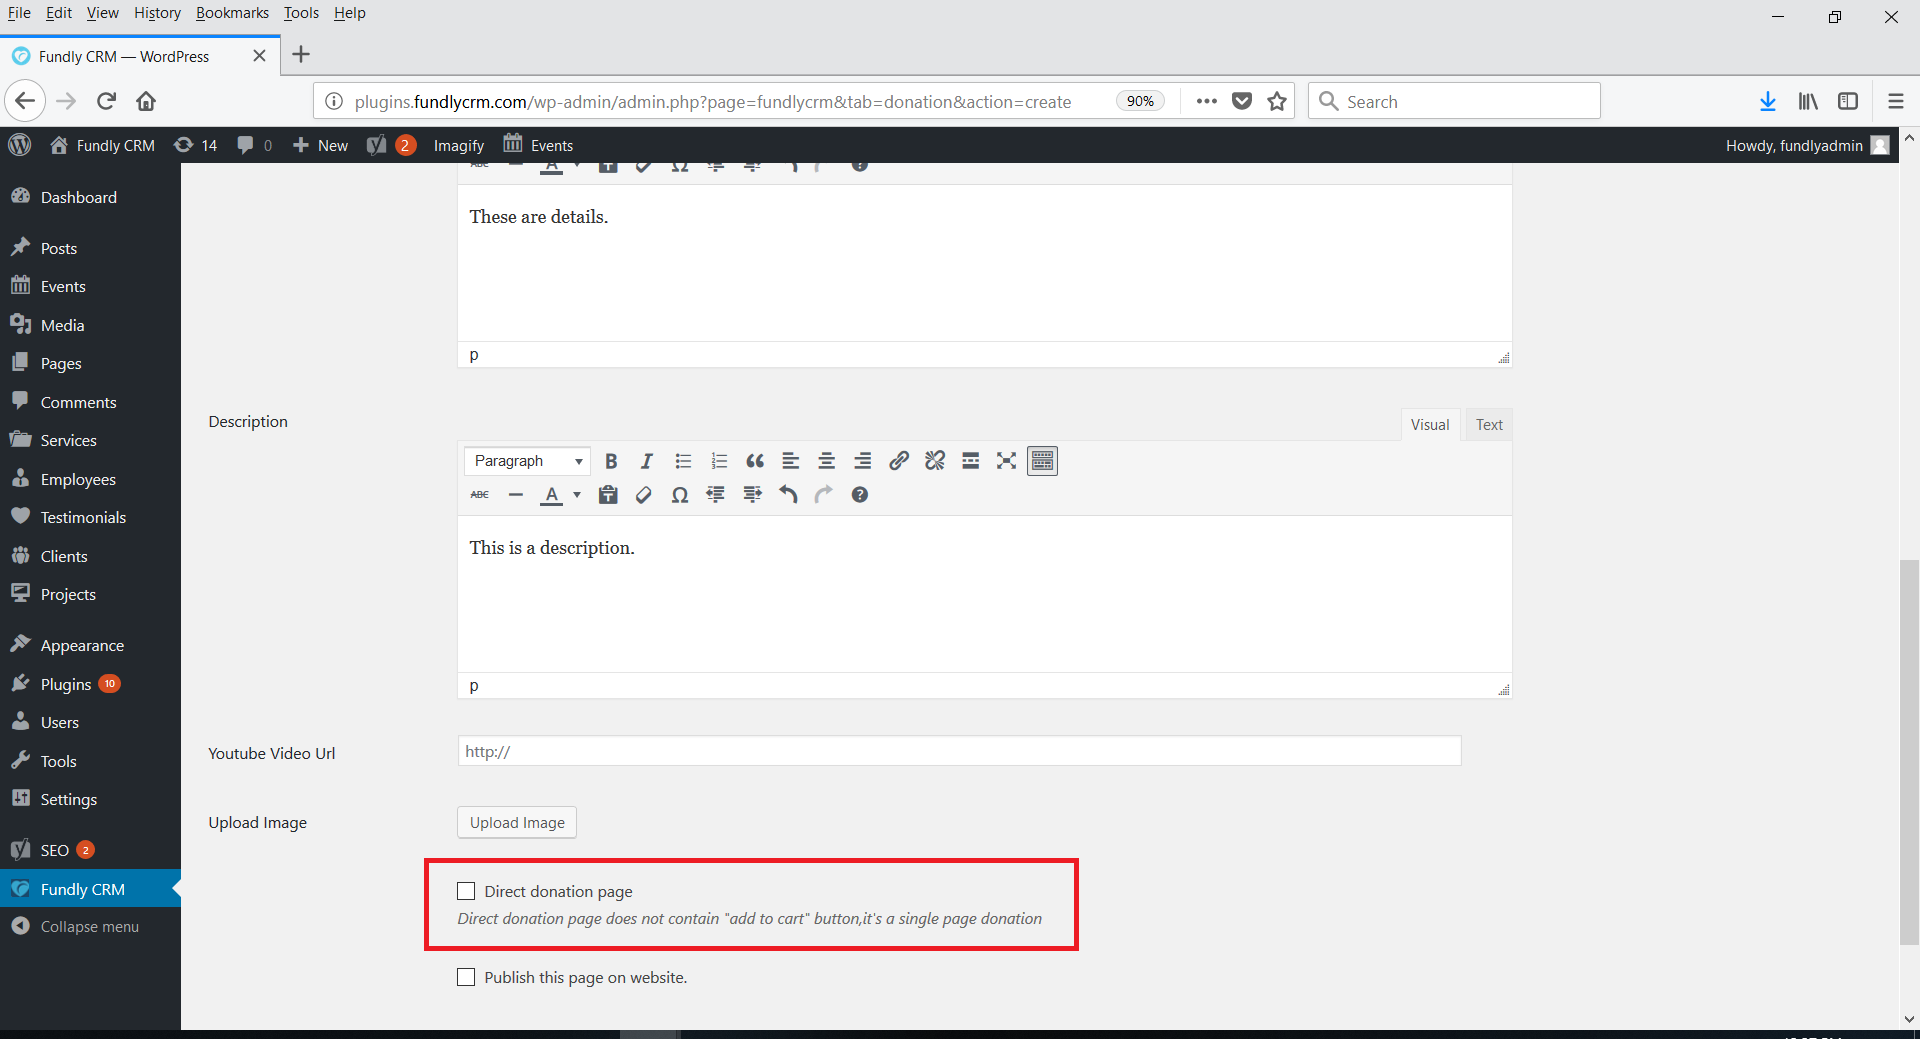
- If you wish to allow direct donation on a donation page, which hides the "add to cart" option and takes user directly to the check out page when they select a donation amount (for faster/more streamlined check out), check the white box in the Direct Donate column.

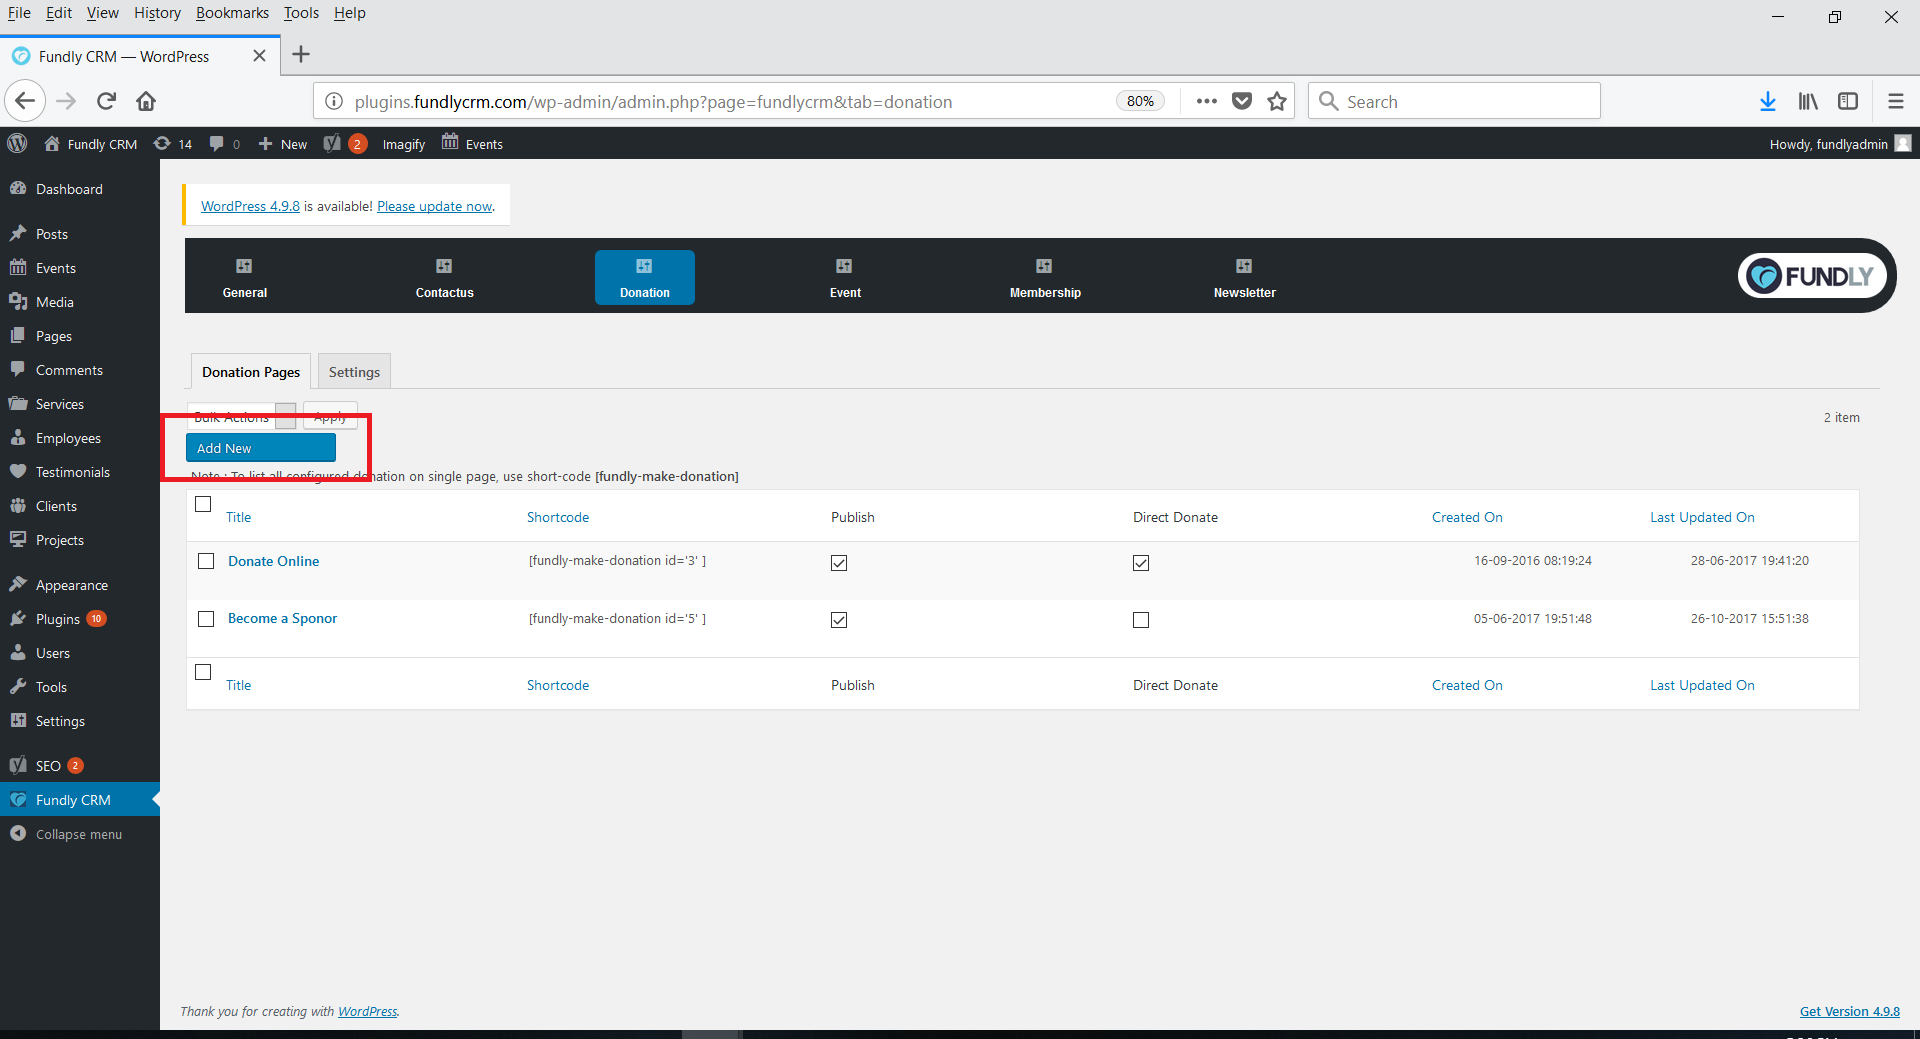
- To add a new donation page, click the blue Add New button at the top of the screen.
- This will take you to the Add New Donation Page screen.
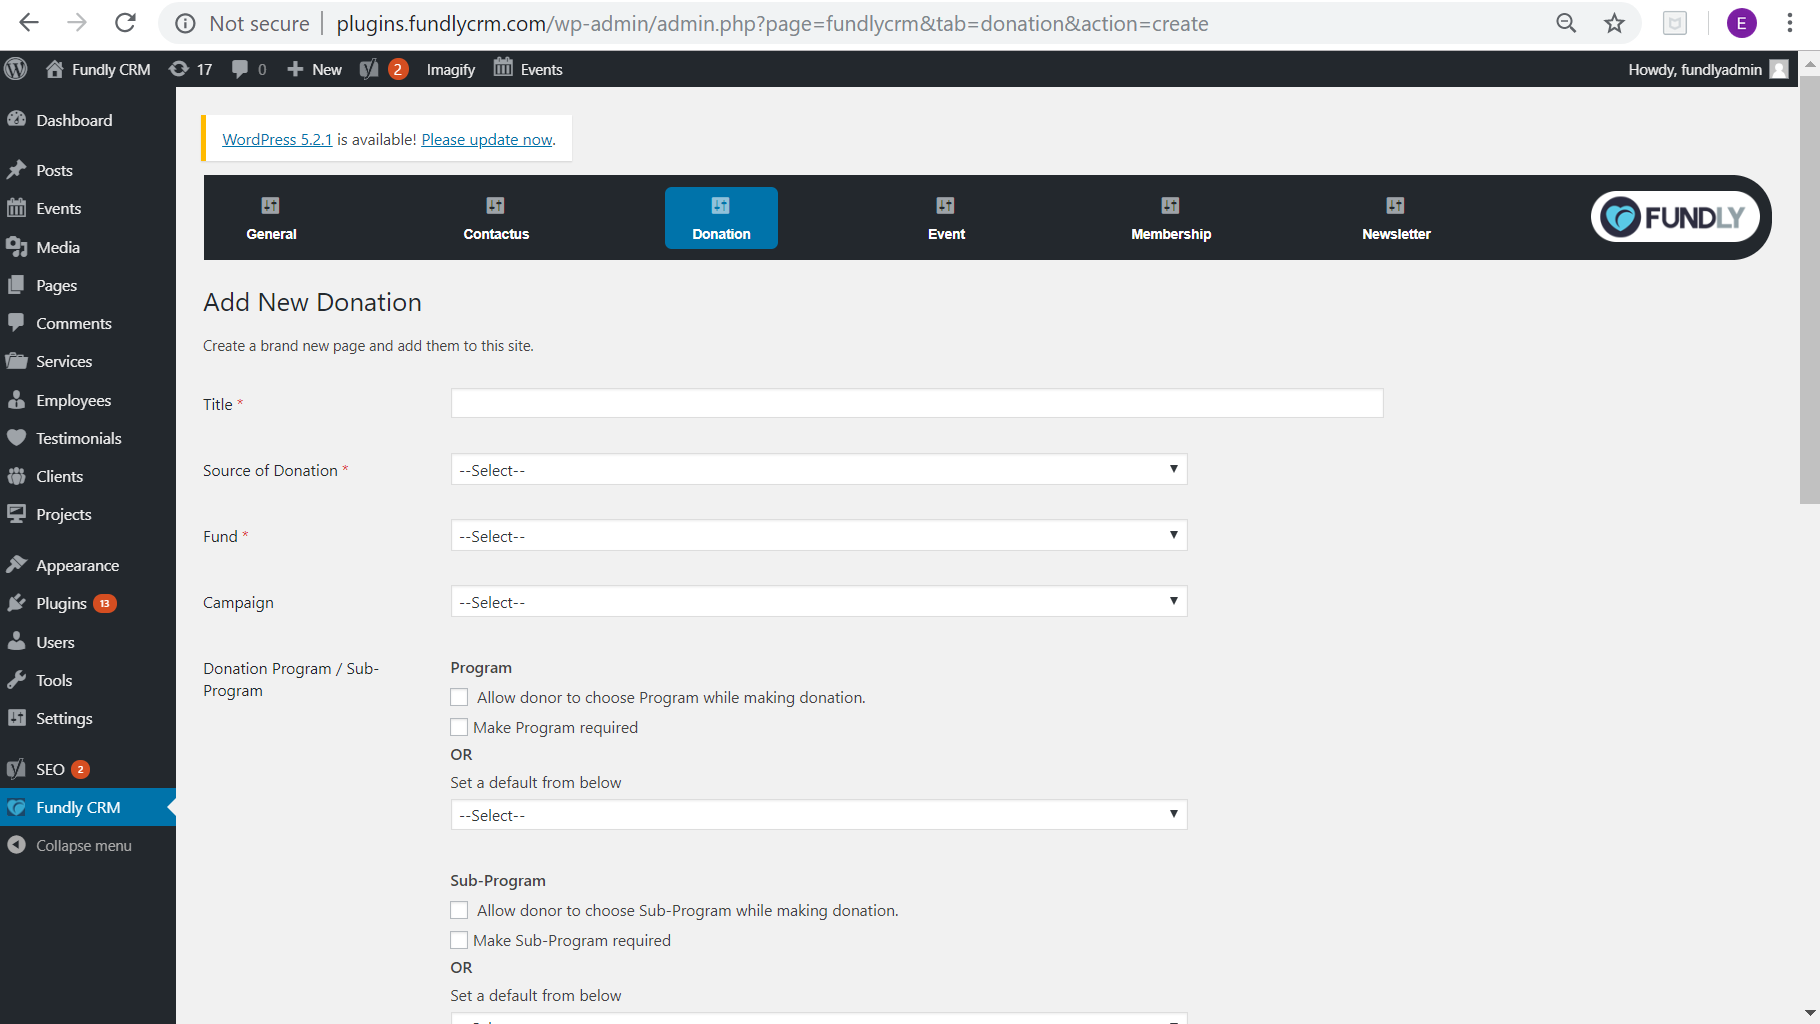
- Start by giving your new donation page a Title. This title will appear in the Donate menu on your published website and will appear at the top of the published page.
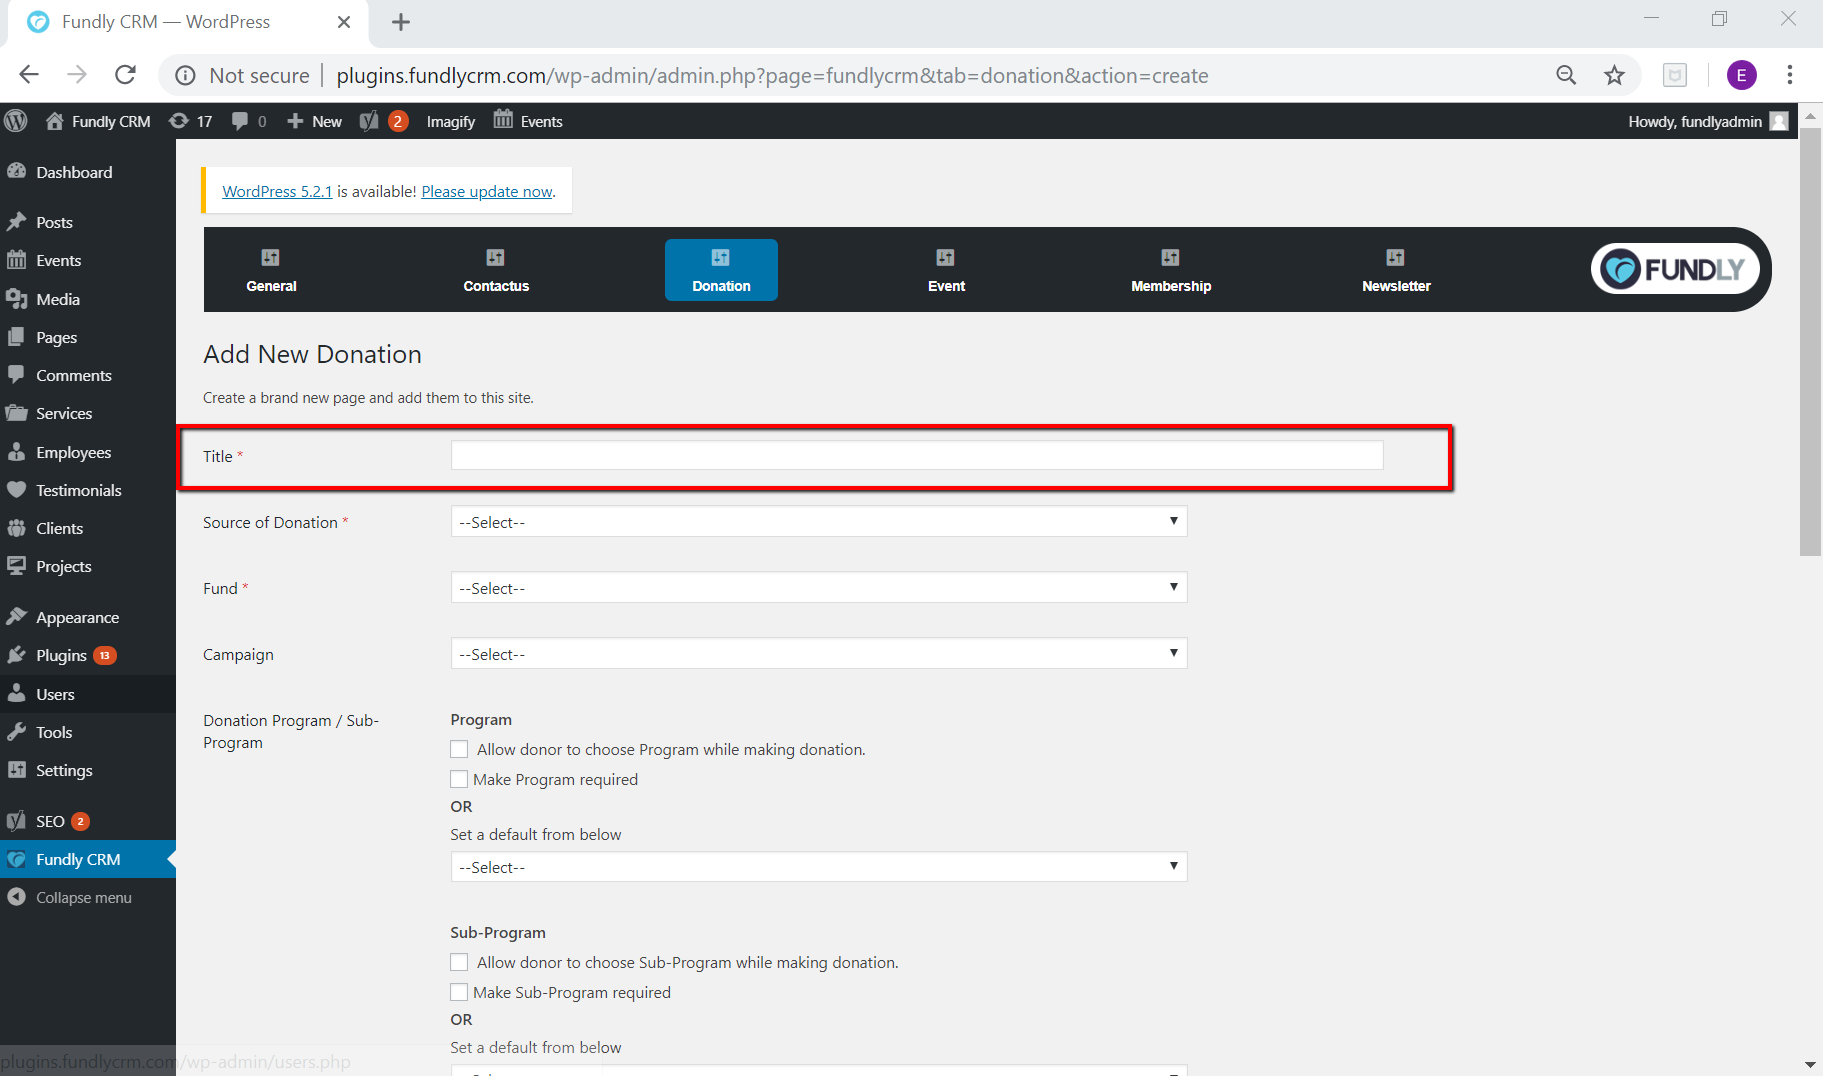
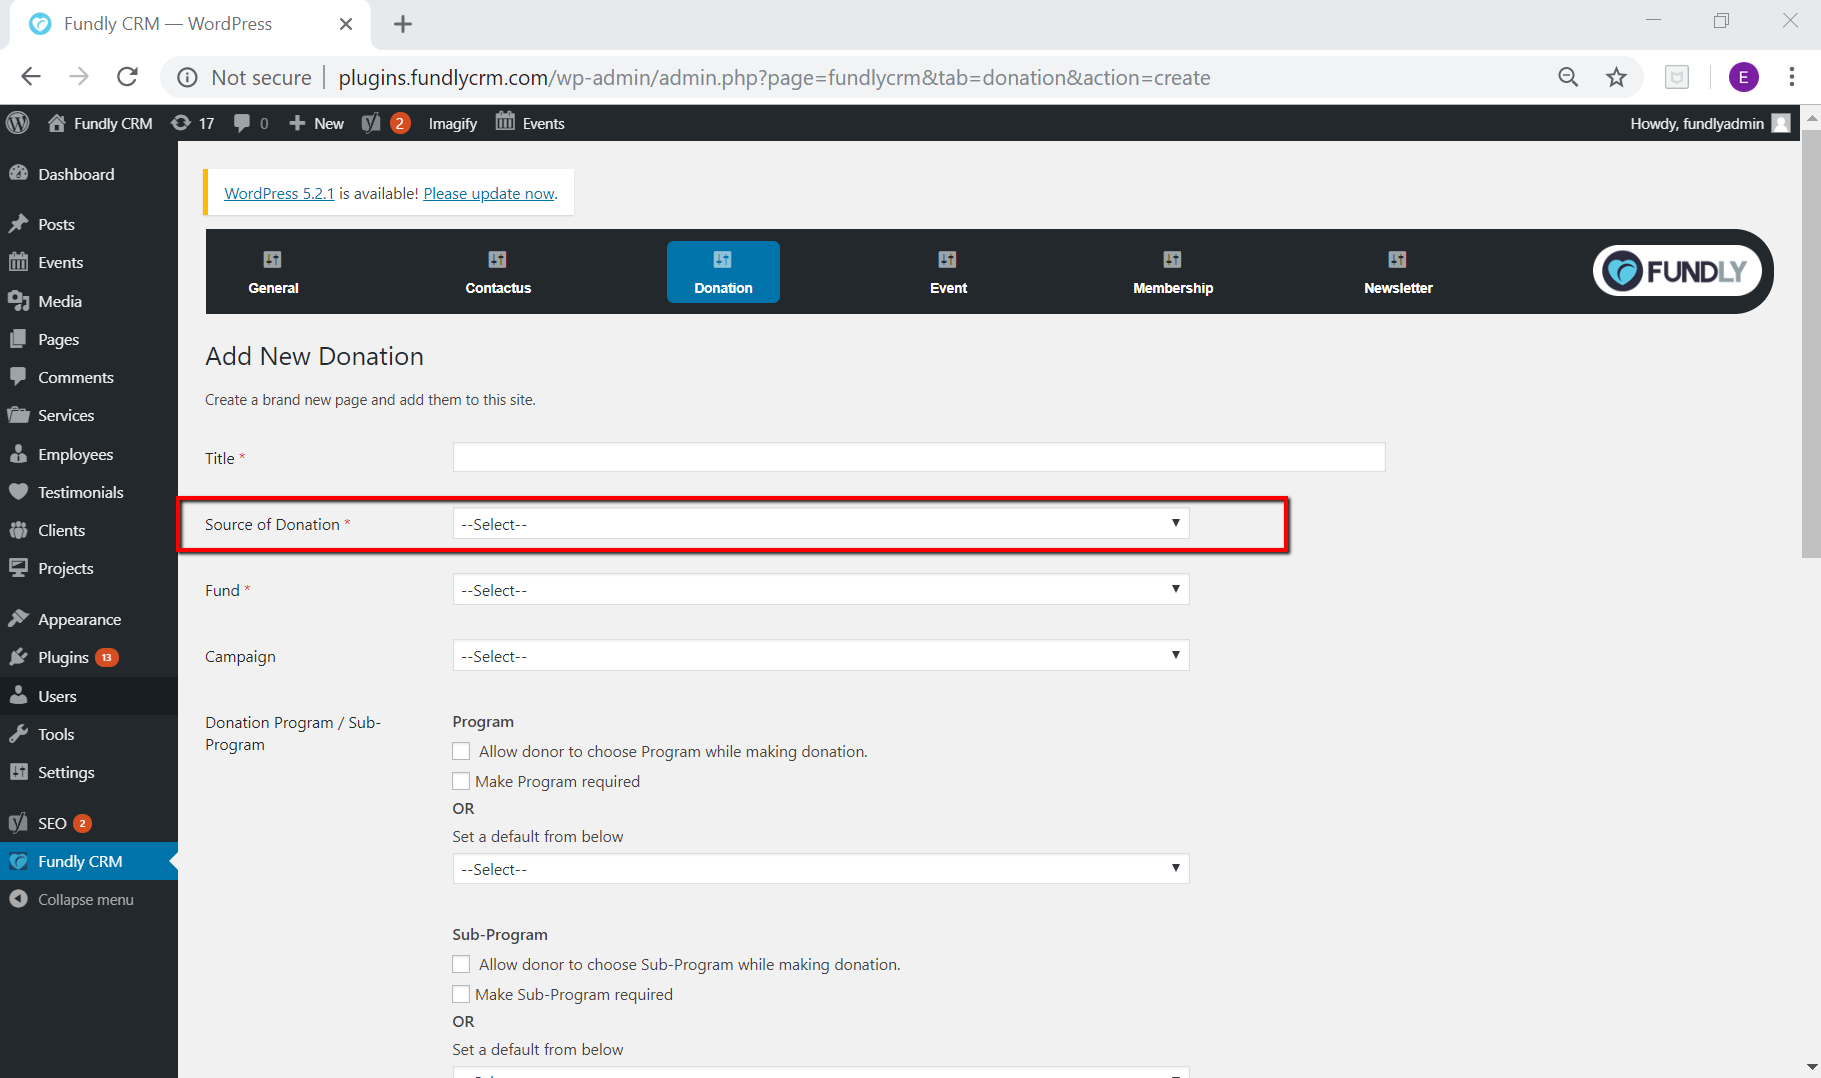
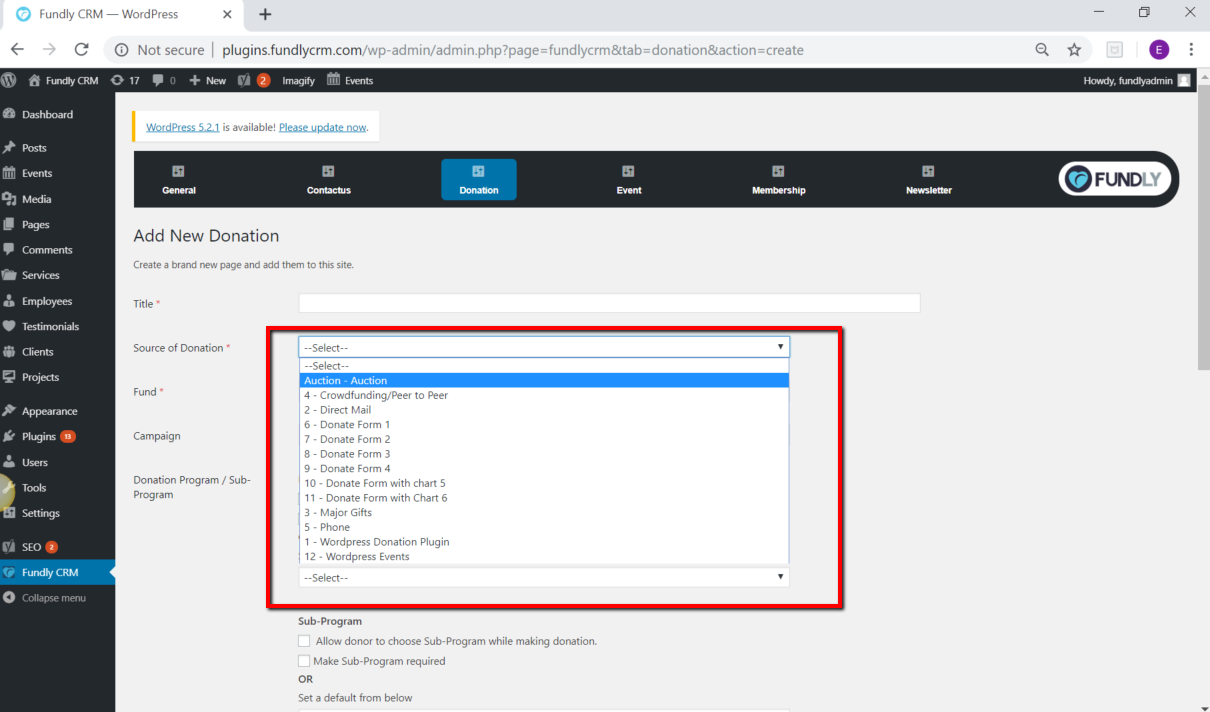
- The Source of Donation field selects the value that will populate the Gift Source field for every donation that comes in via this donation page. The field is required. The values shown in the drop down list come from your CRM - Main Menu: Fundraising: Configurations: Gift Source.
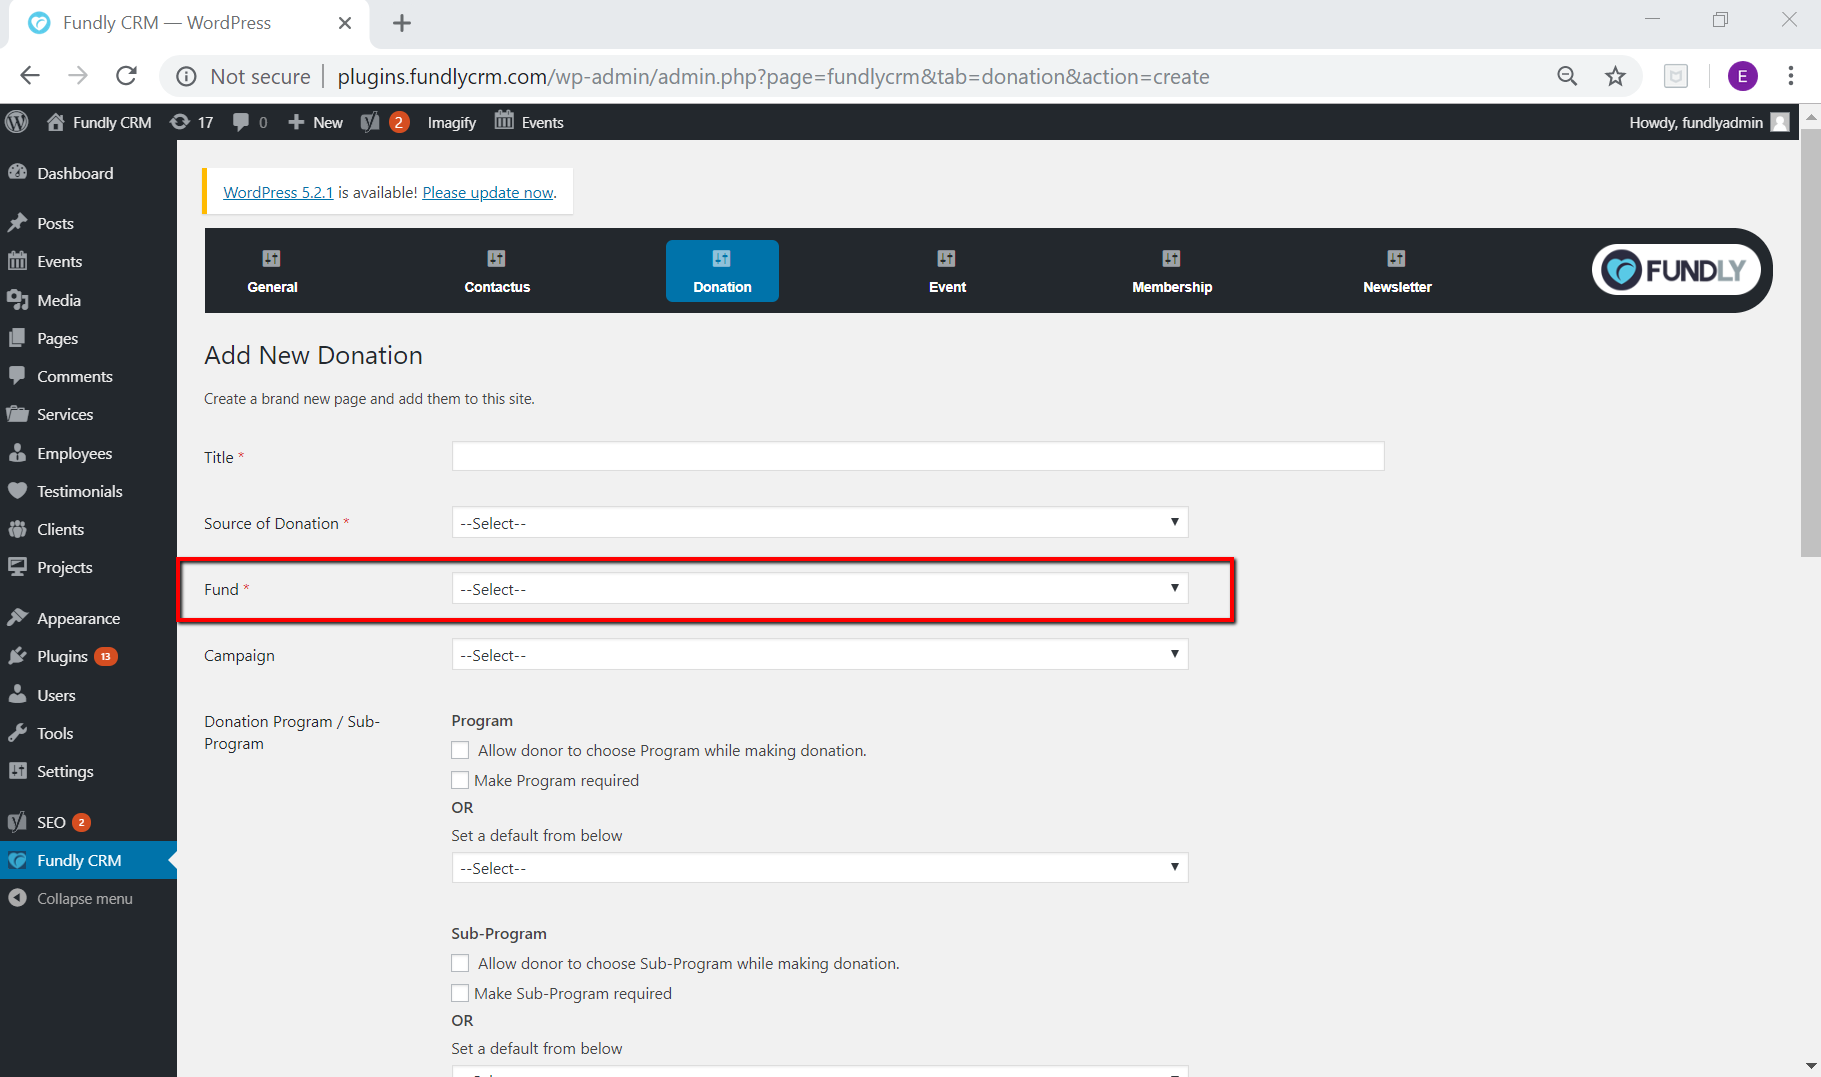
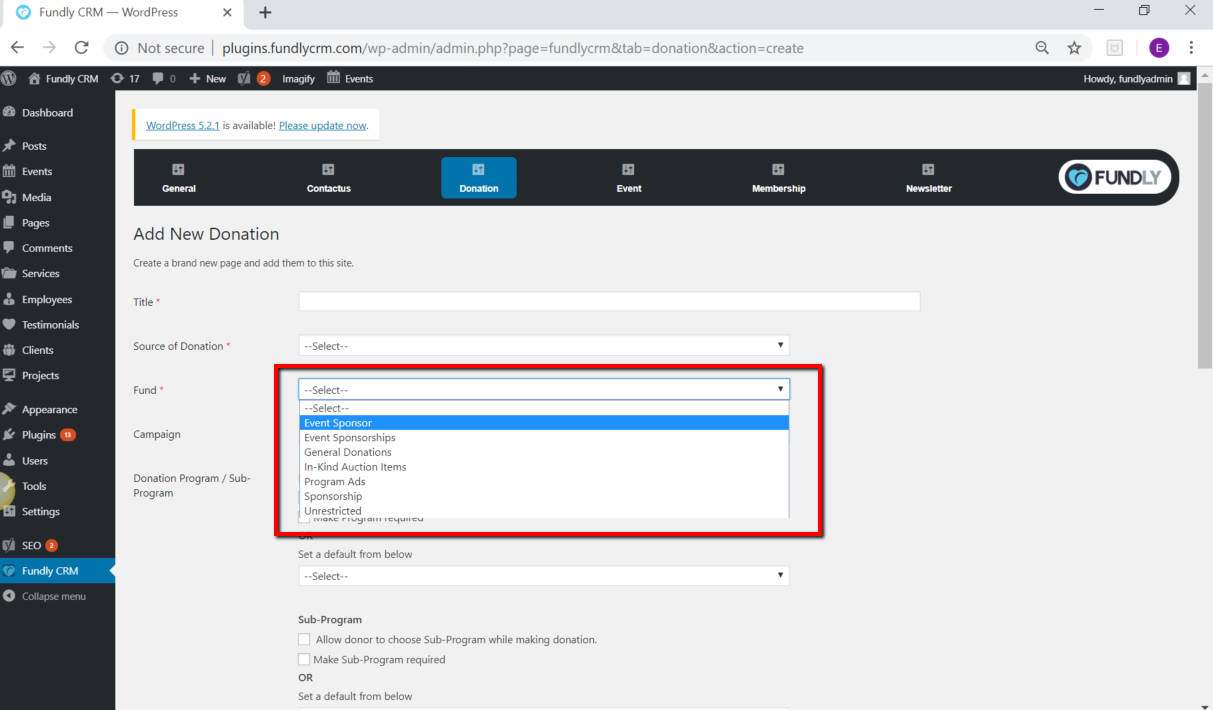
- The Fund field selects the value that will populate the Fund field for every donation that comes in via this donation page. This field is required. All donations coming in via this page will have the same fund assignment. You cannot select multiple funds or allow users to select the fund. The values shown in the drop down list come from your CRM - Main Menu: Fundraising: Configurations: Funds.
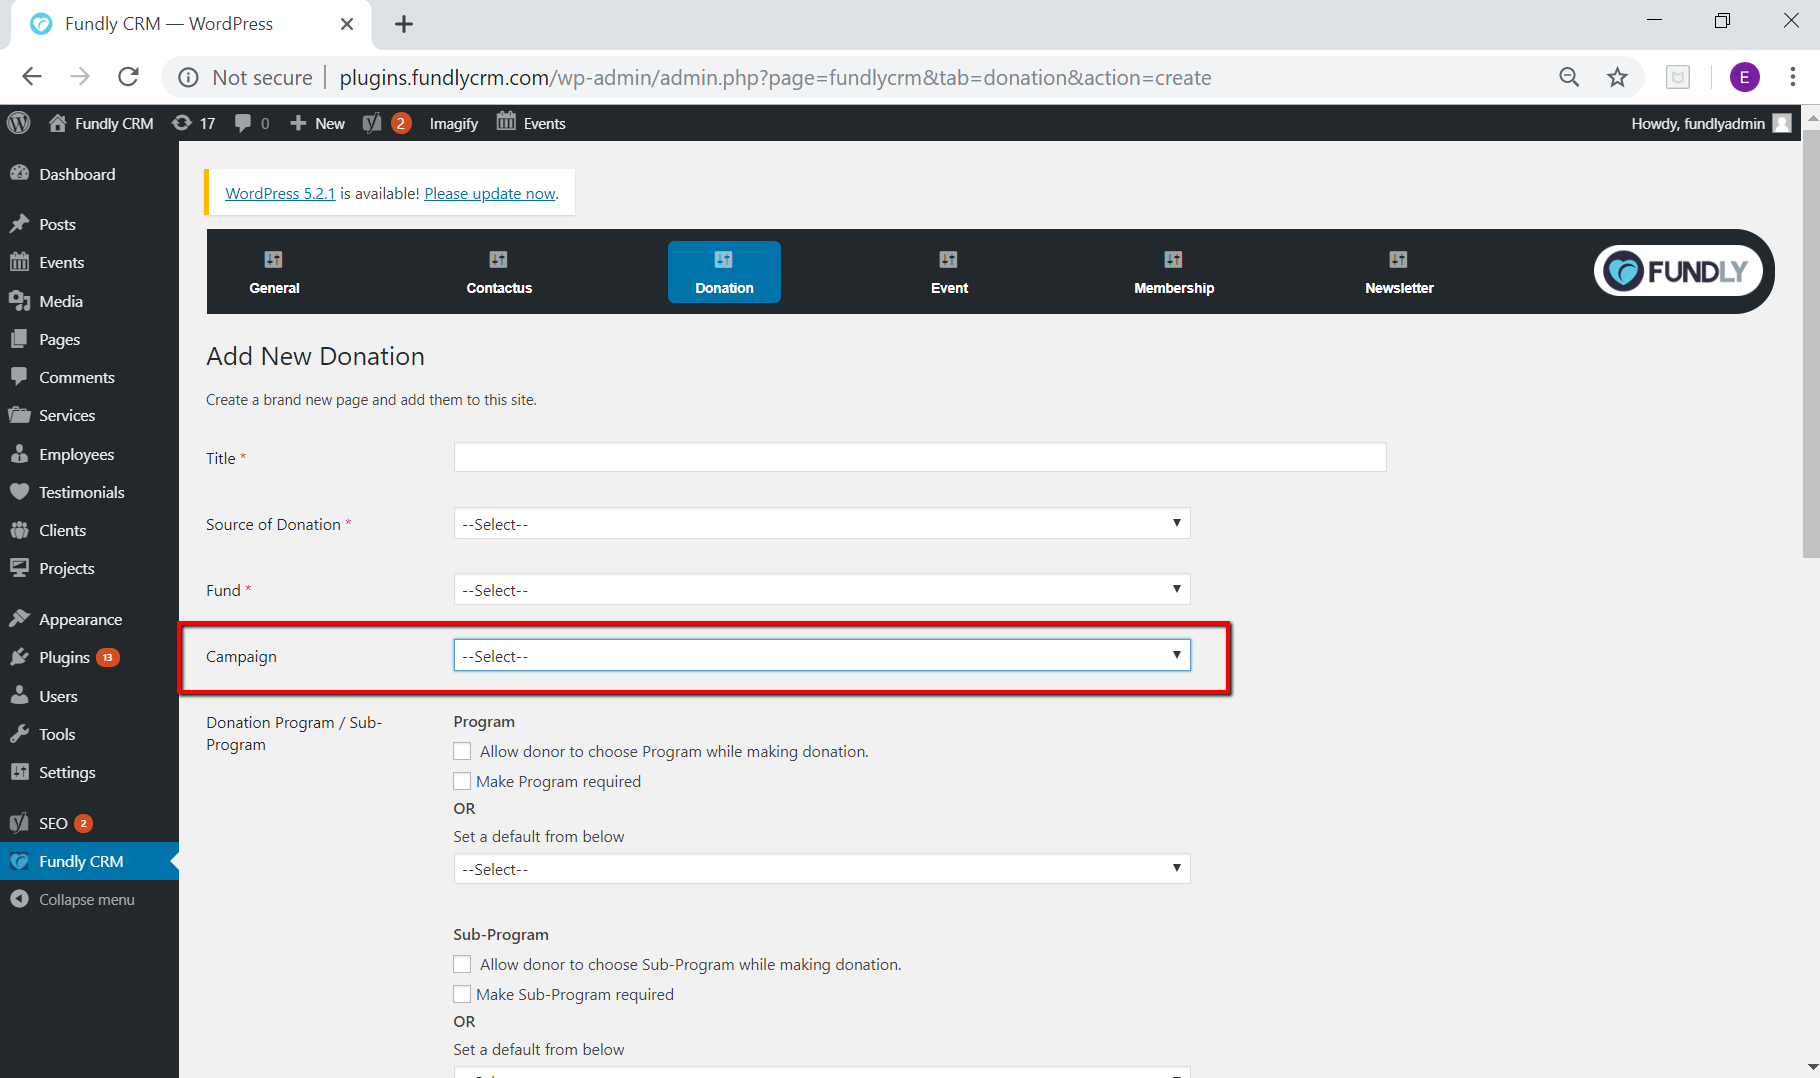
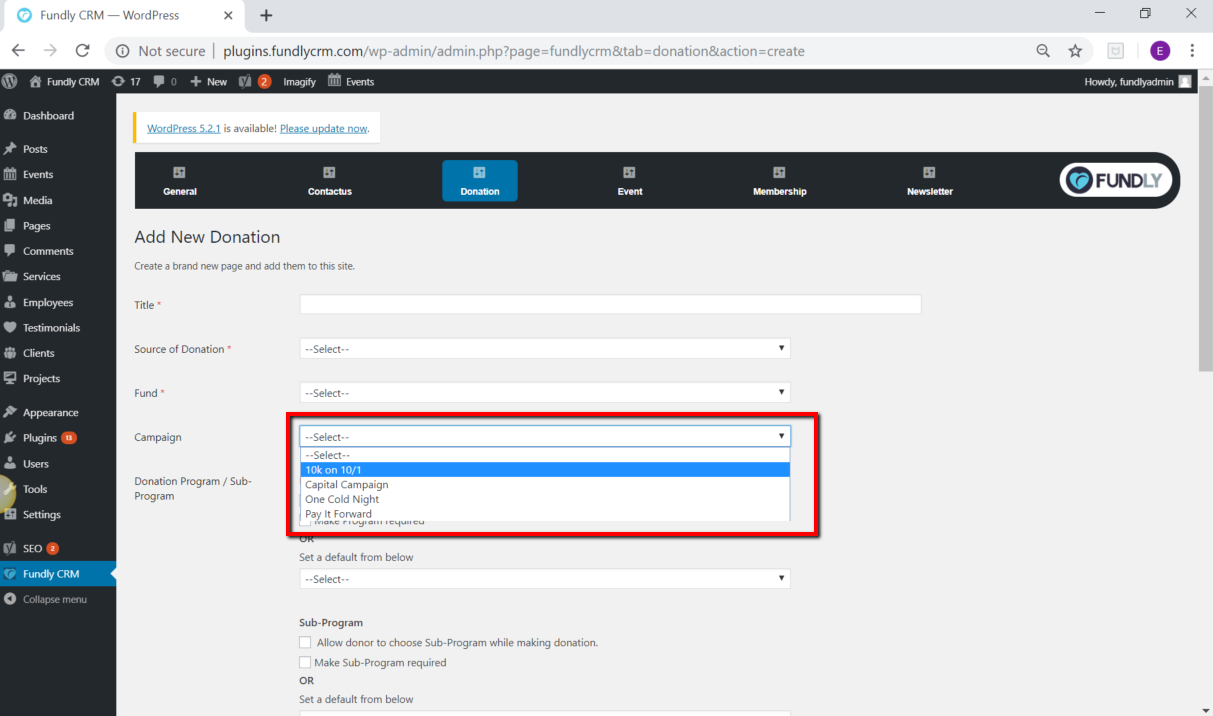
- The Campaign field selects the value that will populate to the Campaign field for every donation that comes in via this donation page. This field is optional. The values shown in the drop down list come from your CRM - Main Menu: Fundraising: Configurations: Campaigns.
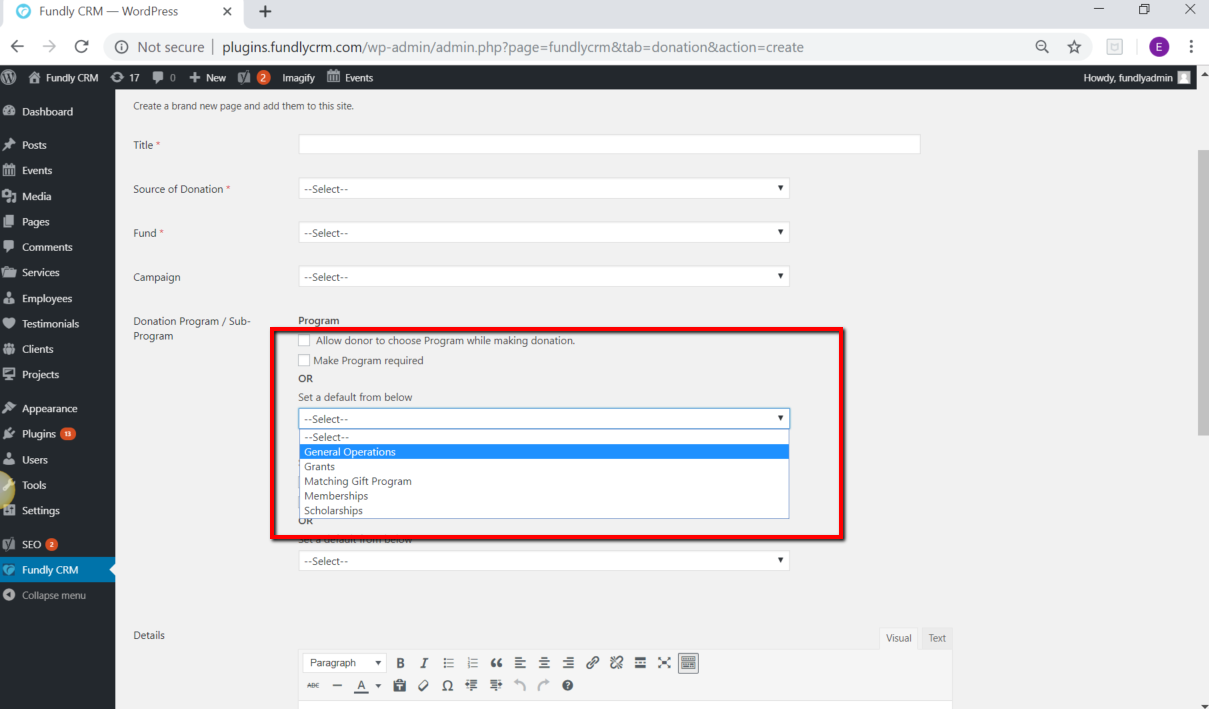
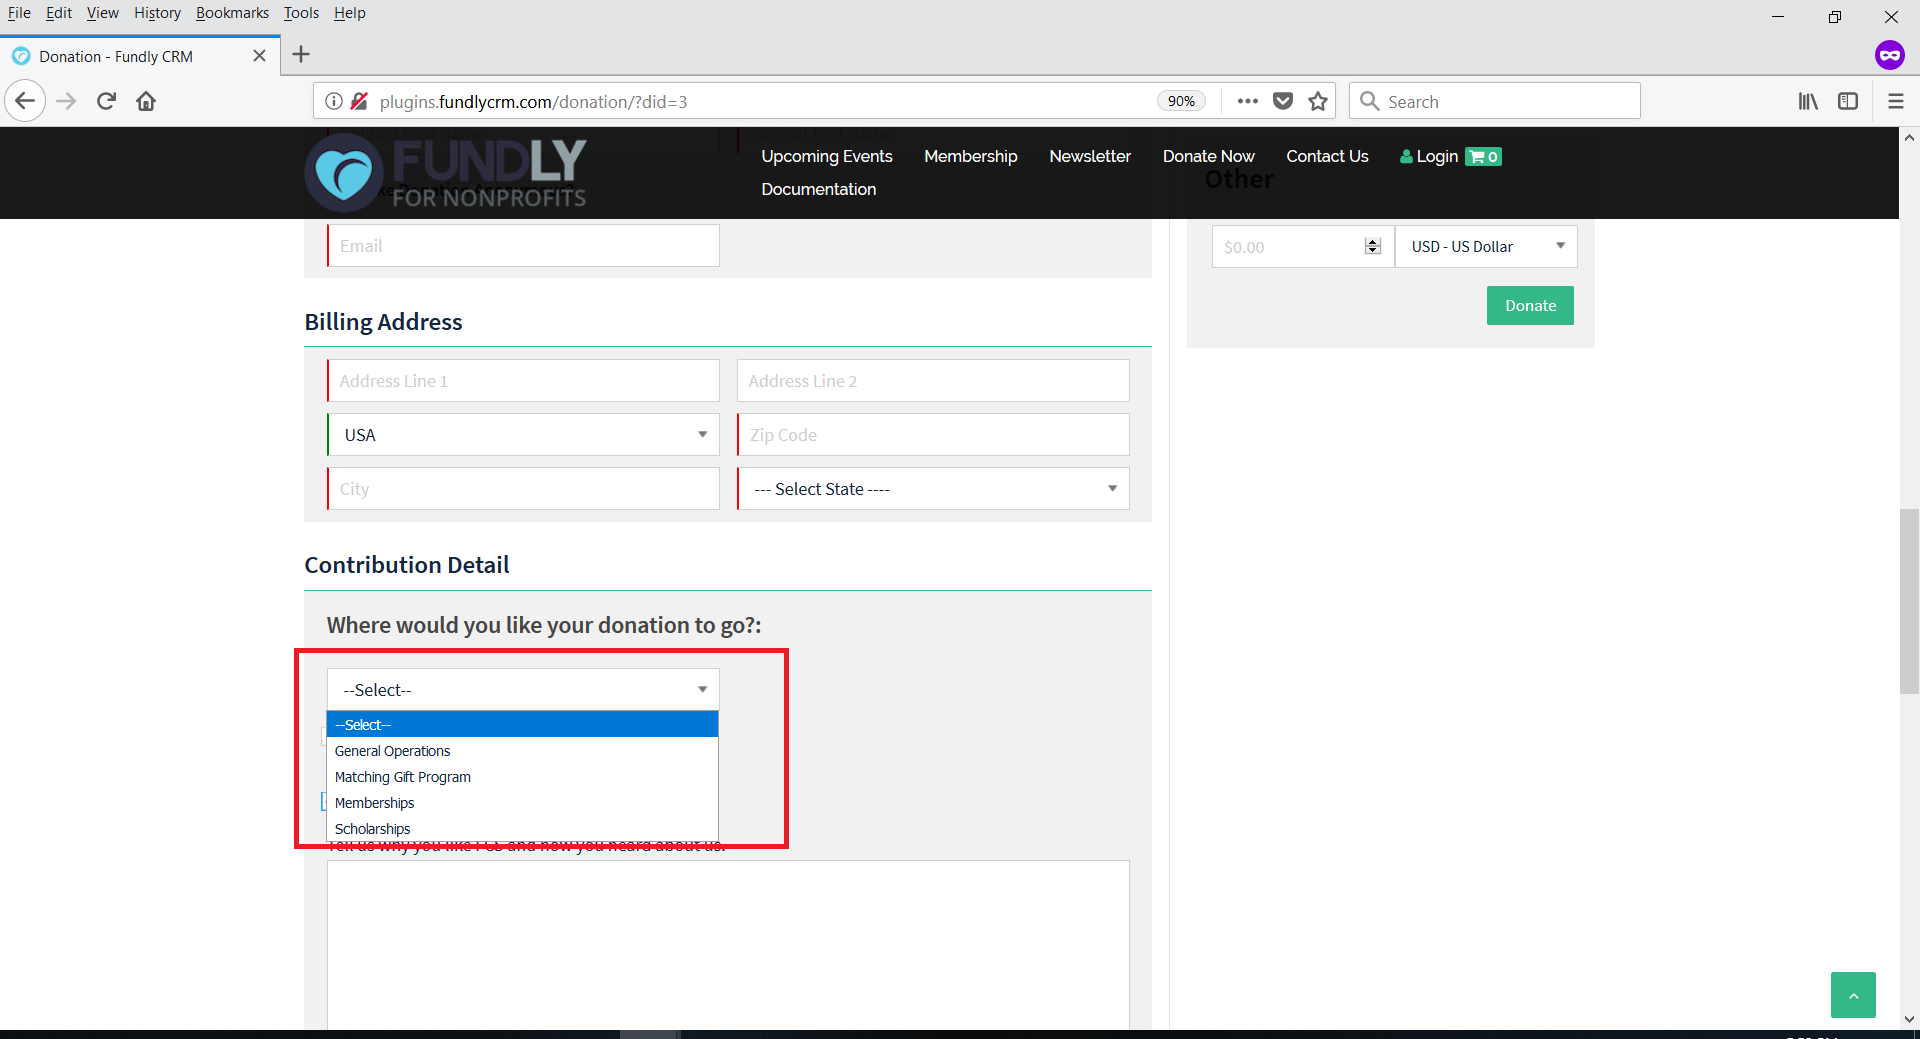
- Allow donor to choose Program check box and Allow donor to choose sub-program check box - these will give the user the option to select a program to earmark their donation to. The value selected here will populate the Program field for every donation that comes in via this donation page. It is optional to include a program and it's optional whether or not you allow users to select the program and/or sub-program. Some organizations prefer to control earmarking of donations to programs themselves; others allow their donors to select from among their programs; some do neither and do not earmark donations to programs at all. The values that populate in these two drop downs come from your CRM - Main Menu: Fundraising: Configurations: Programs. For the settings here, you can either:
- Leave the check box unchecked and do not select any item from the drop down. In this case, no program will be assigned to the donations that come in via this page.
- Leave the check box unchecked and select an item from the drop down list. This will auto assign every donation made via this page with the same program designation.
- Check the check box and do not select any item from the drop down list. This allows donors to select which program they want to earmark their donation to.
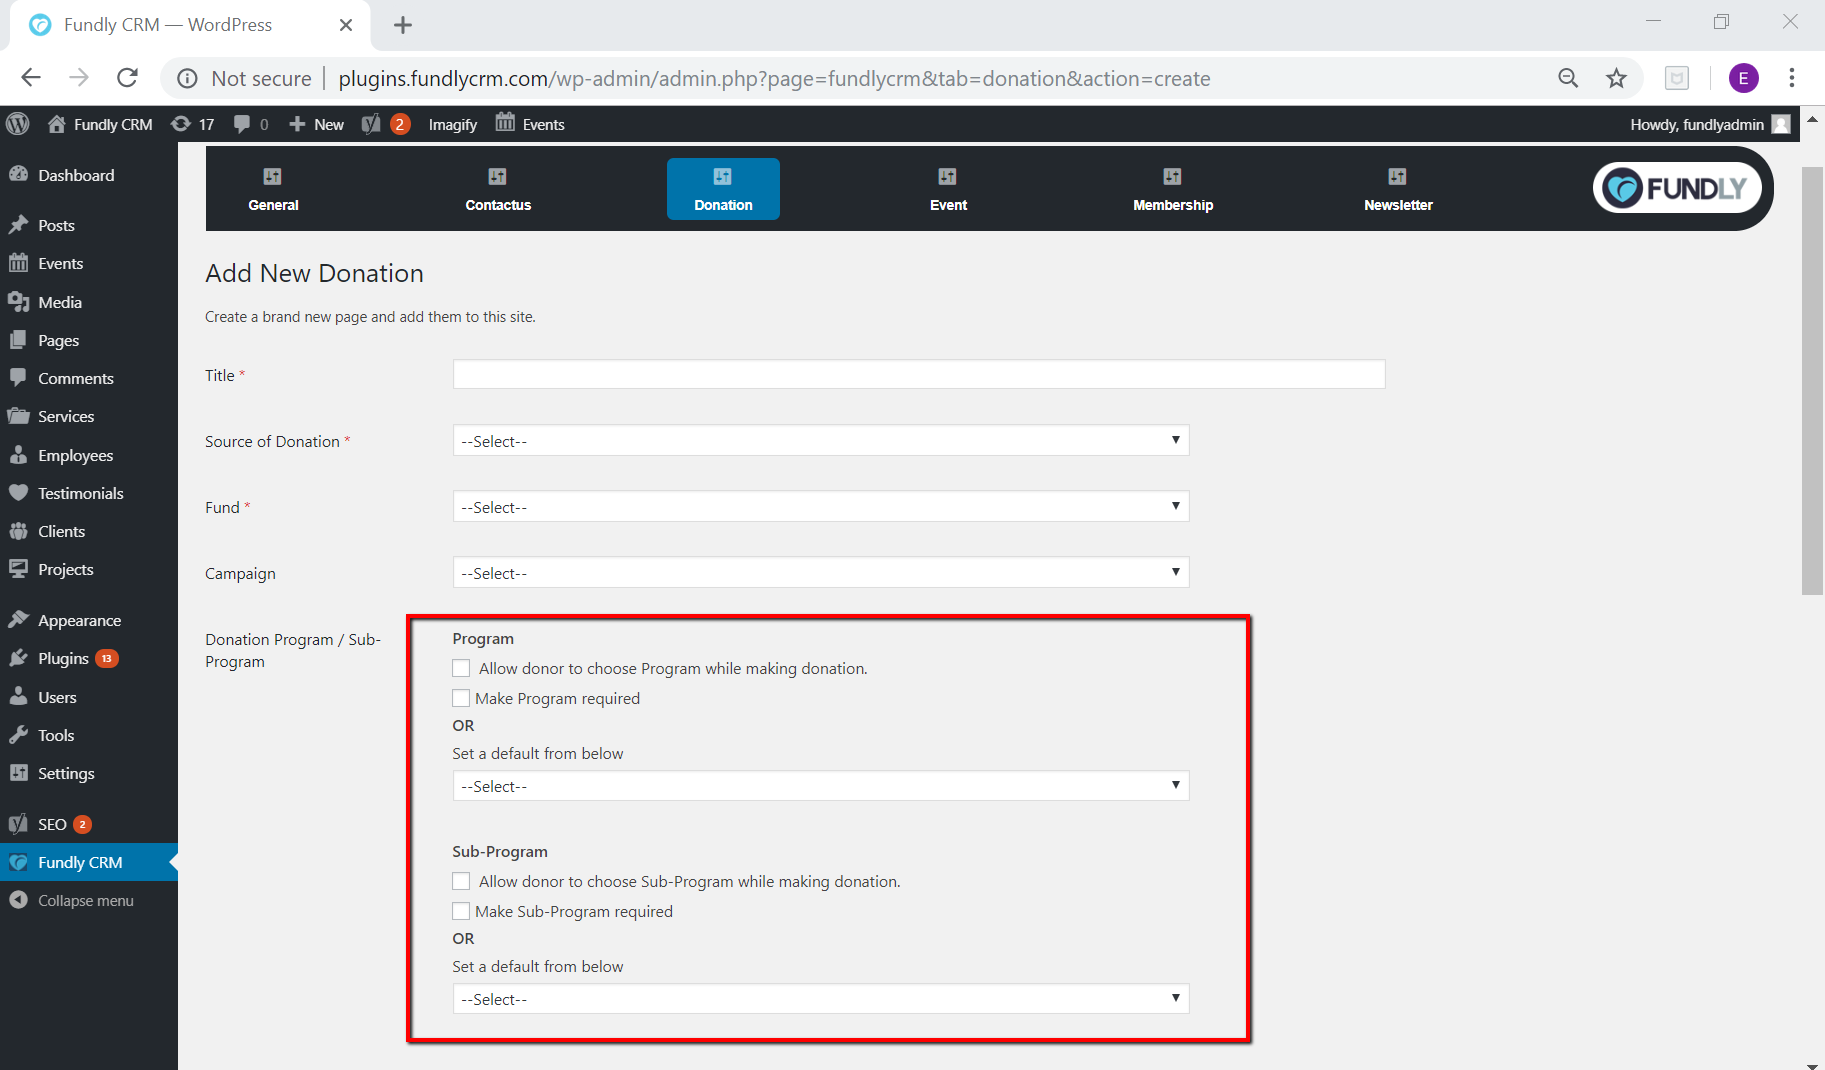
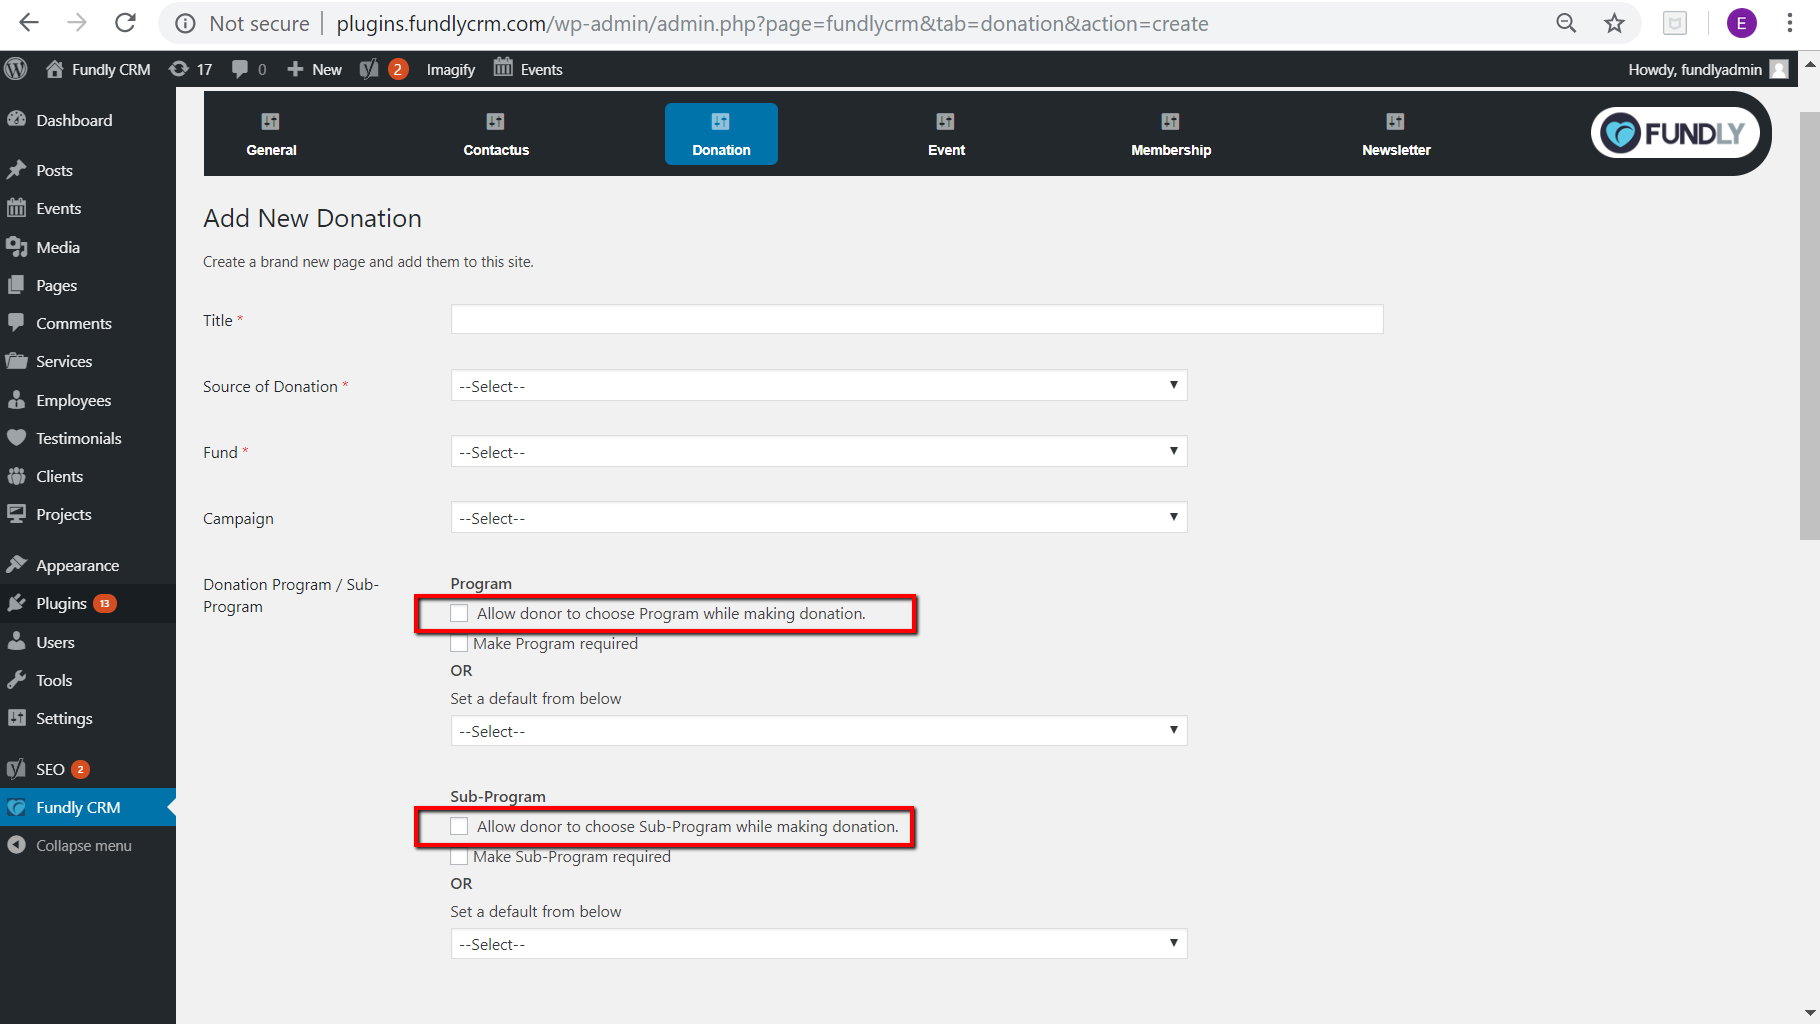
- Repeat the above steps for sub-programs as well - if you want to earmark donations to a particular sub-program or allow users to earmark donations to a sub-program, select the appropriate settings.
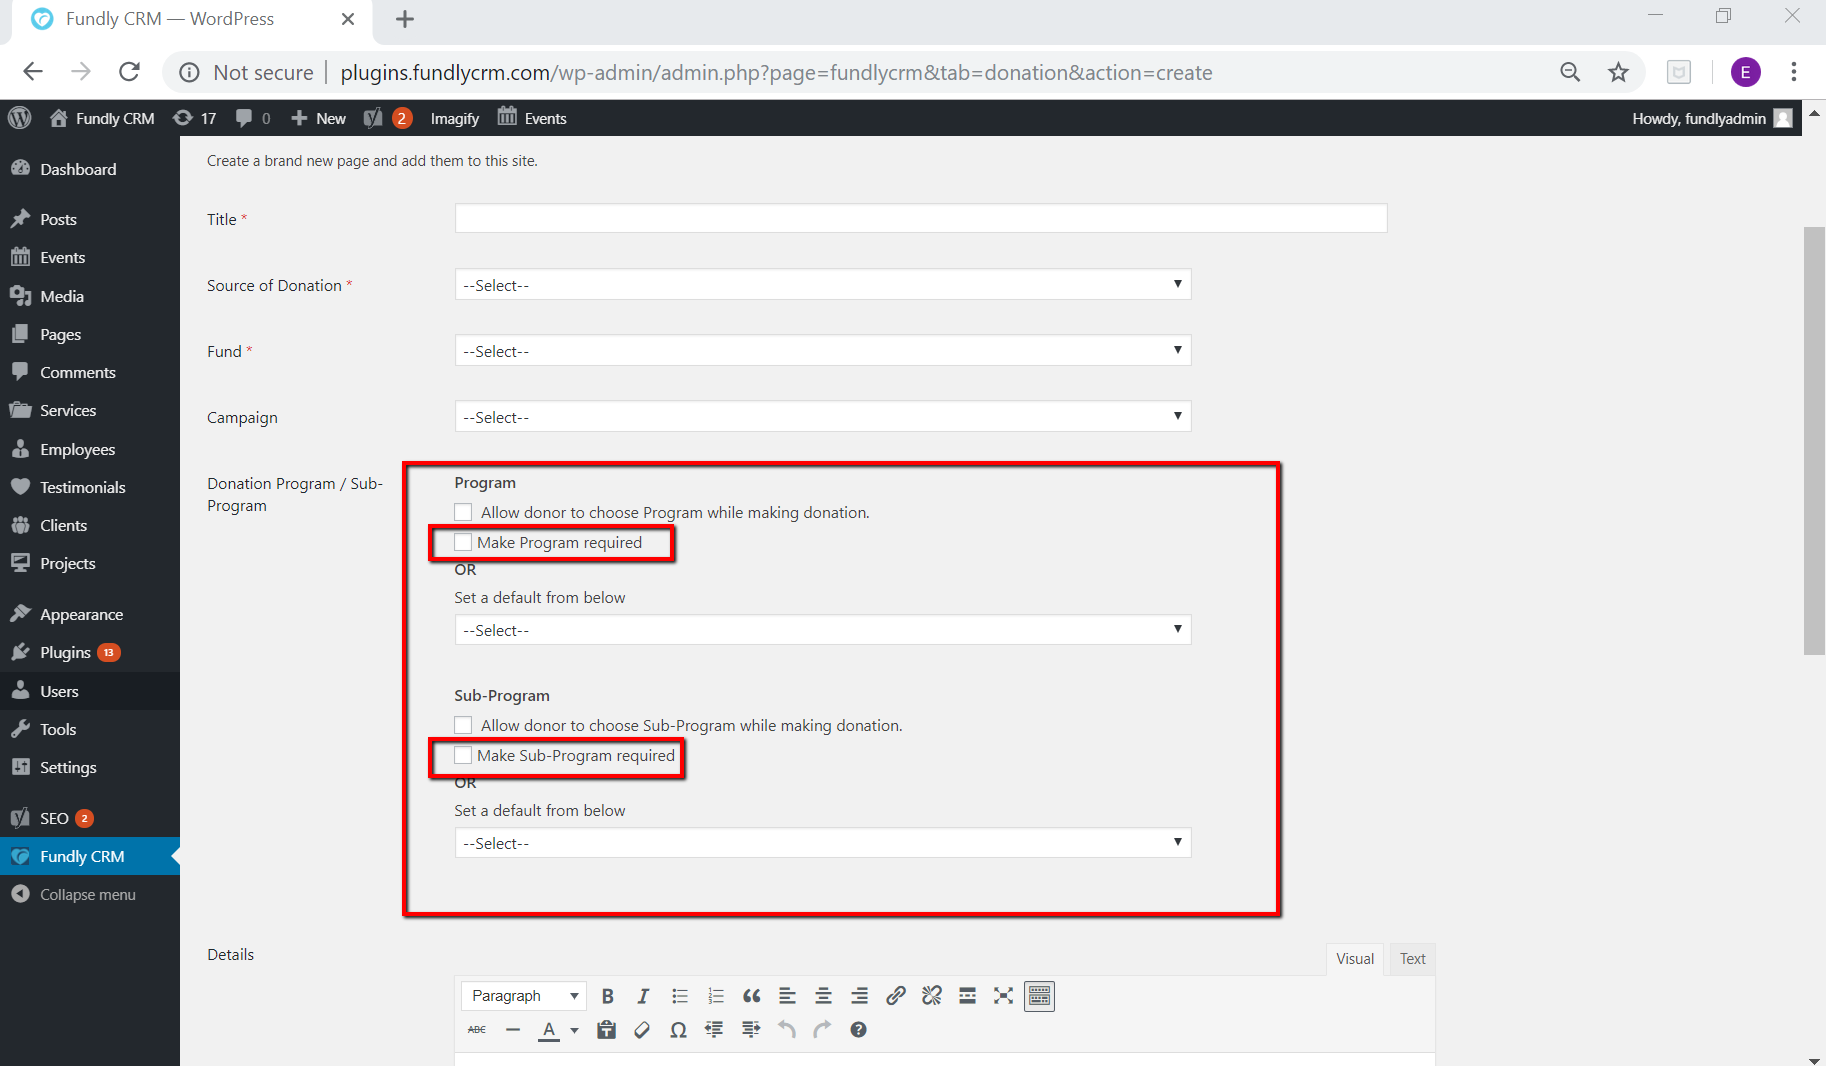
- Make Program required check box and Make Sub-program required check-box- when the Allow donor to choose Program while making donation and/or Allow donor to choose Sub-Program are selected, these settings will require, or not require clients to select a Program and/or Sub-program while making donations online. For these settings, you can:
- Leave both check boxes unchecked and users will not be required to select a program/sub-programs when donating.
- Check the box for both and users will be required to select a program and sub-program when donating online. (Initially, all programs and sub-programs will populate in the Program and Sub-program fields. Once the user selects a Program, only the sub-programs of that selected Program will populate in the Sub-program fields, but if there are no sub-programs under that program, the sub-program drop-down will be automatically hidden. In cases when users directly select a sub-program, the associative program will be auto-selected).
- Check only the box for Make Program Required and users are only required to select a program, and can still donate online whether there is a sub-program selected or not.
- Check only the Make Sub-program required box and users will be required to select a sub-program if the selected program has one or more sub-programs under it. (Please note that a program will still be required in this setting. When users select a sub-program directly, its main program will be auto-selected, and if the program selected has no sub-programs, the sub-program field will be hidden).
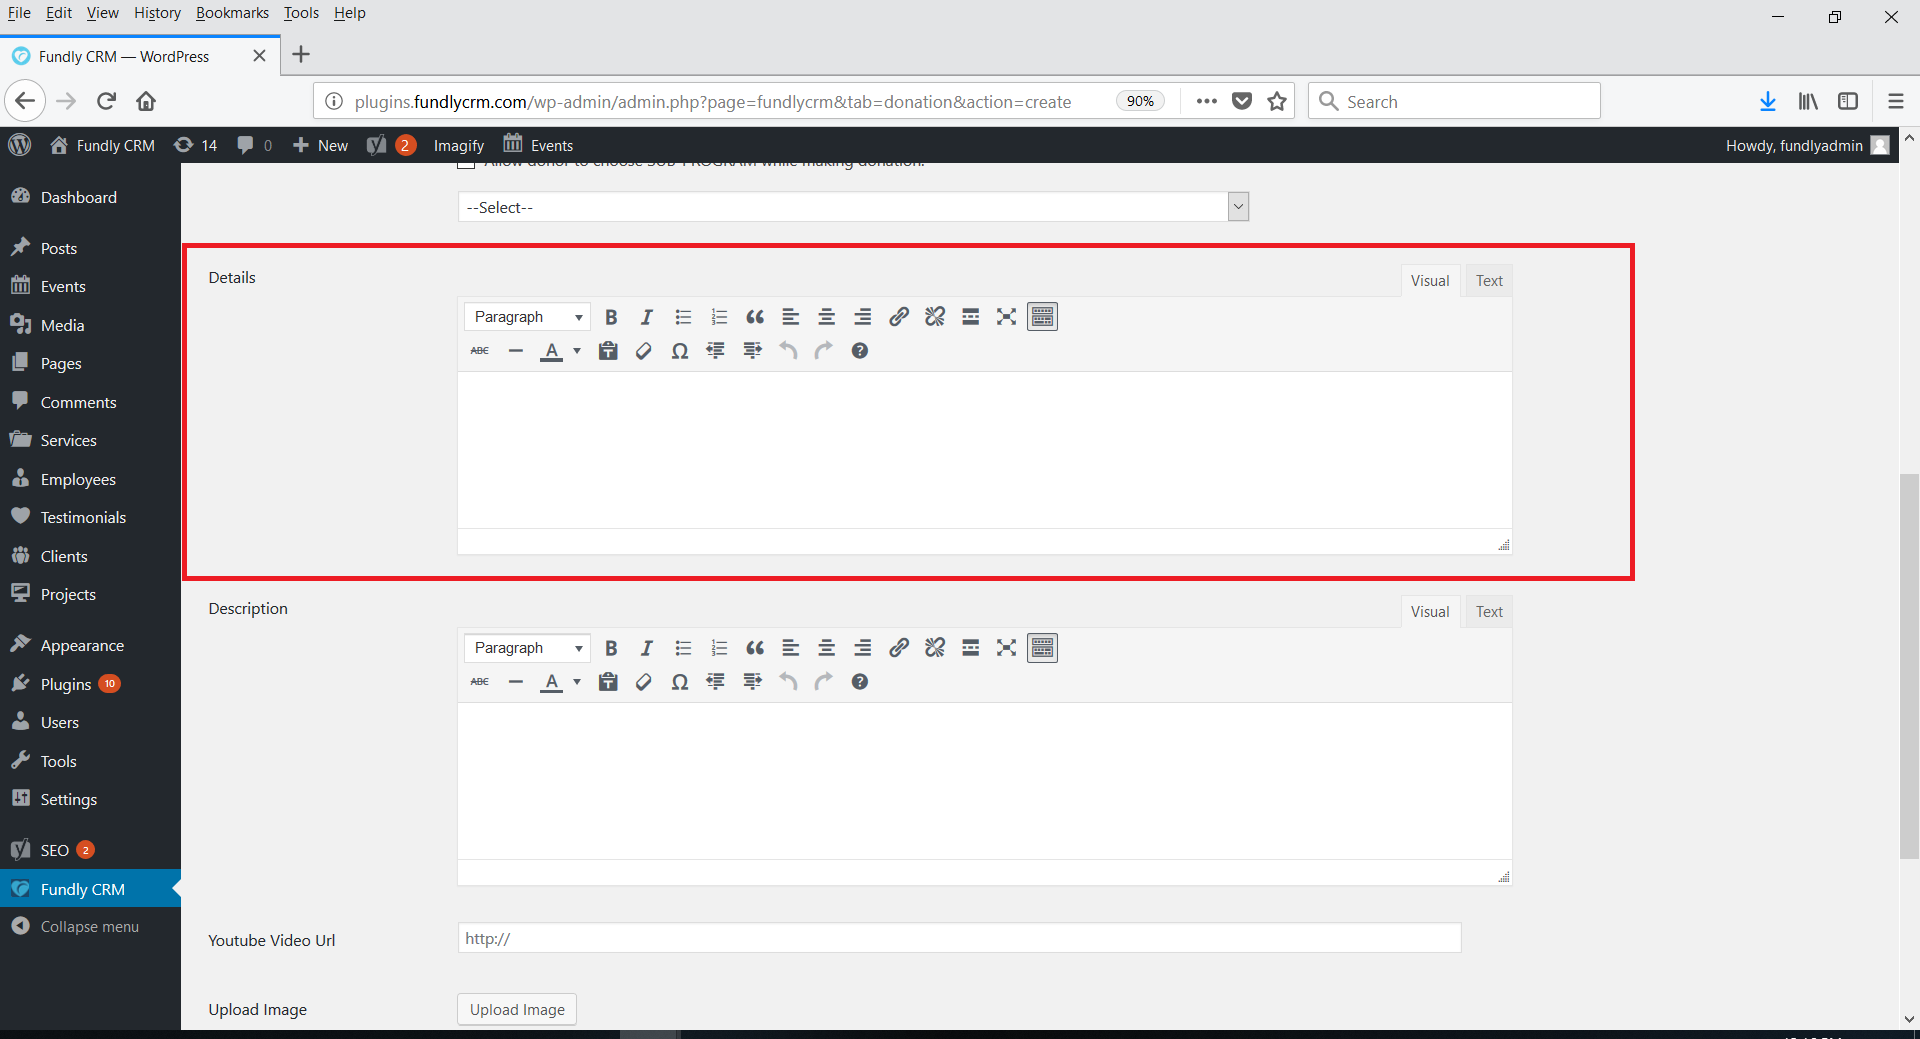
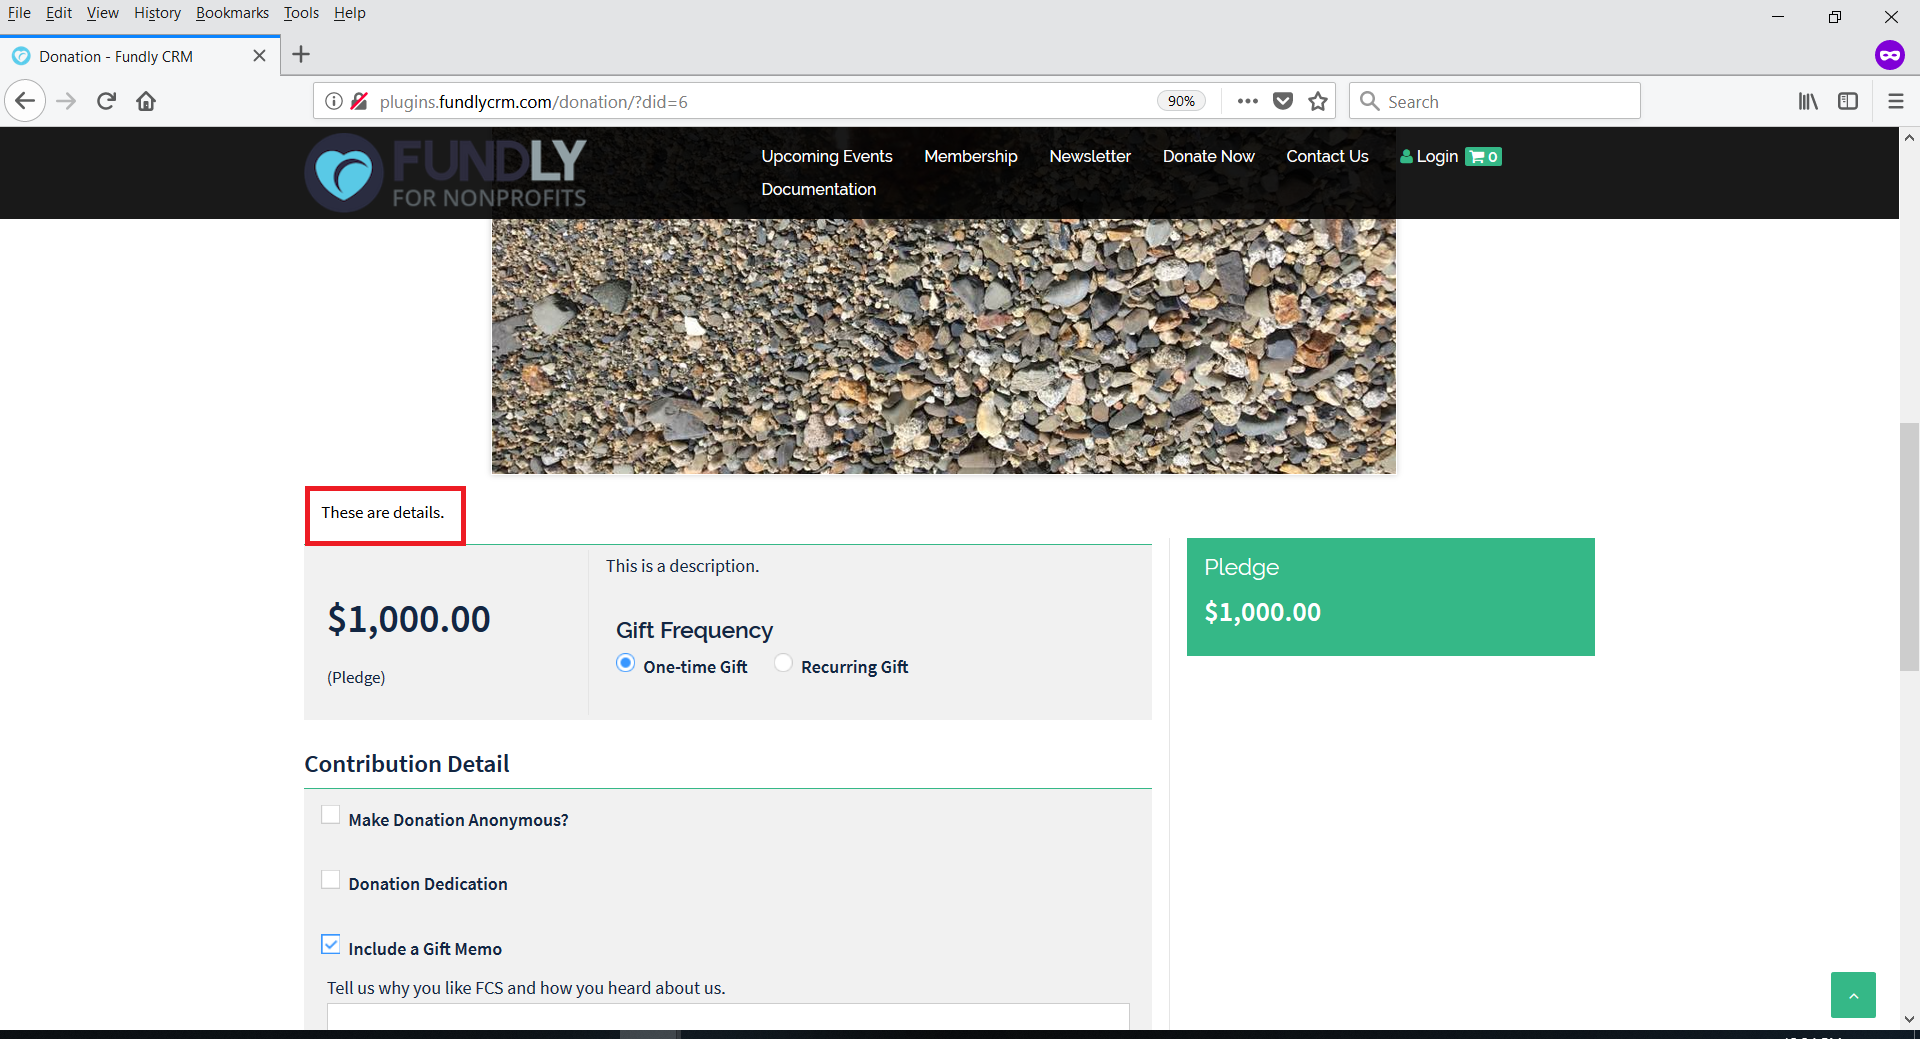
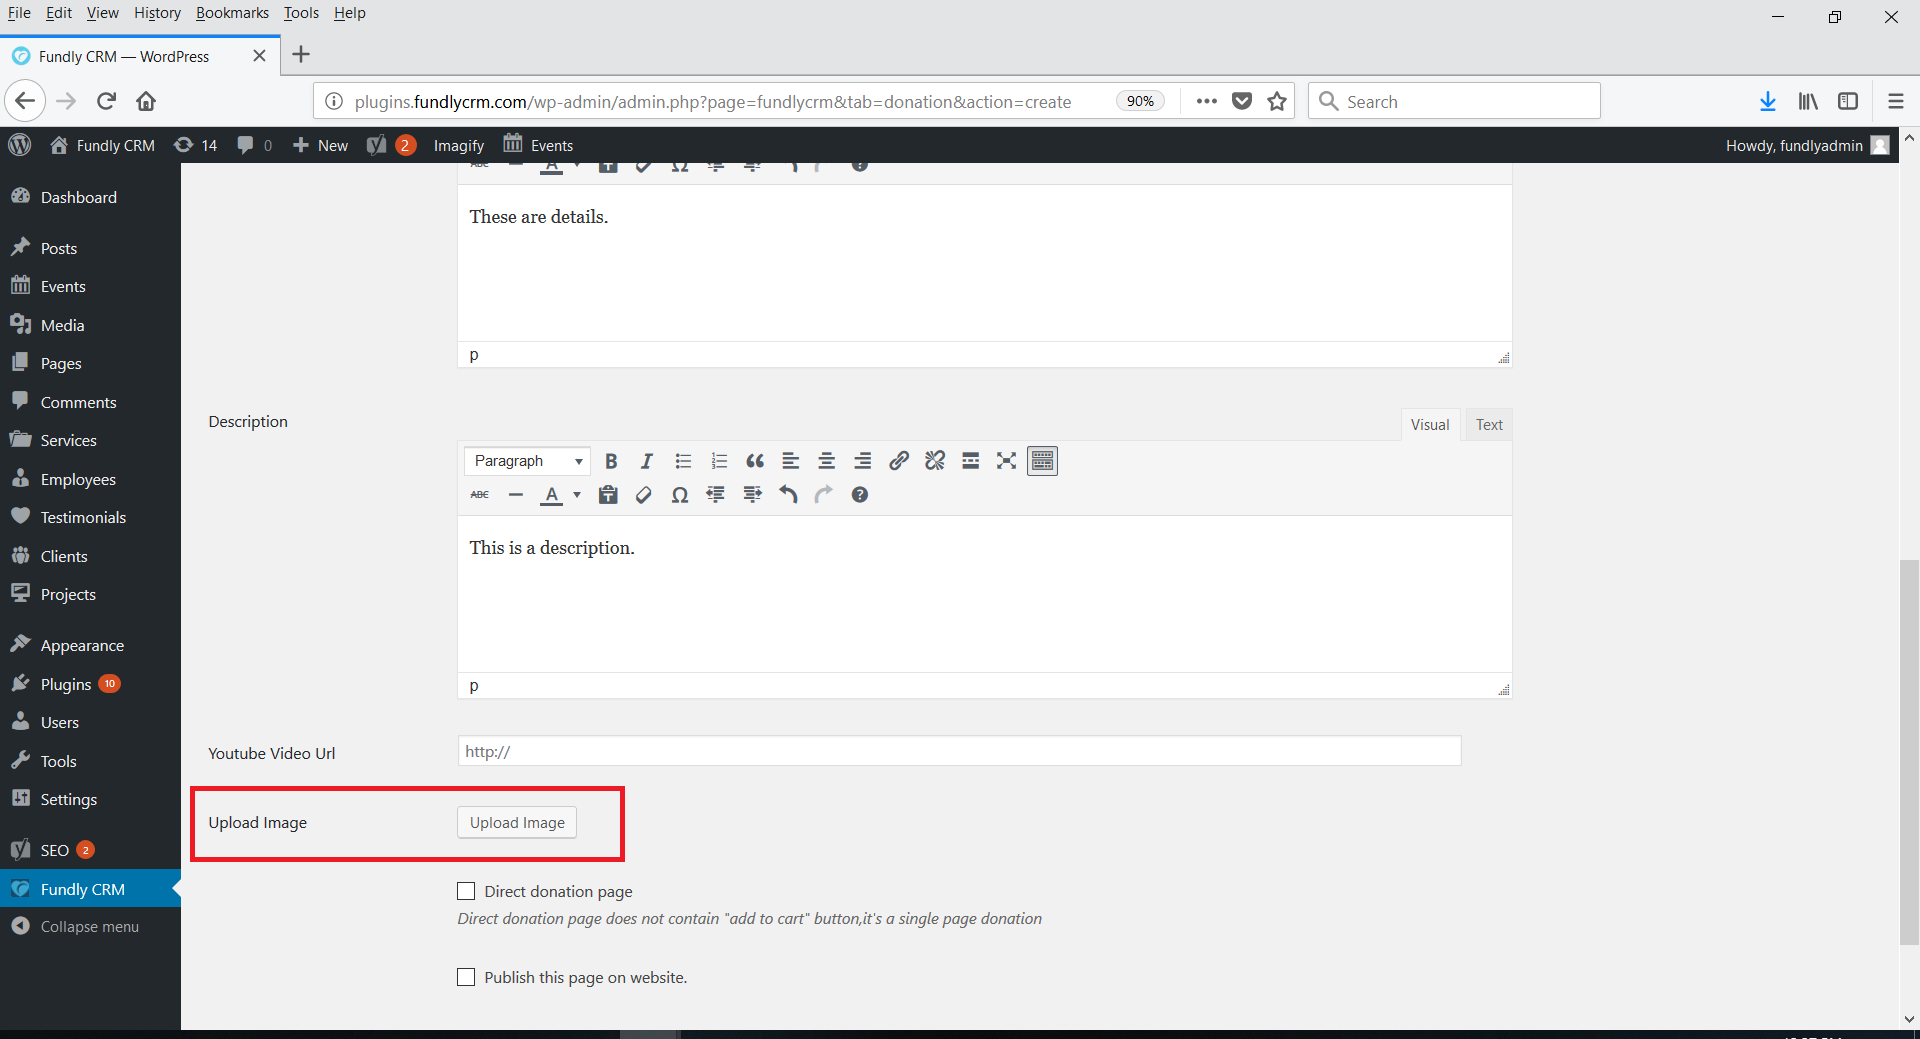
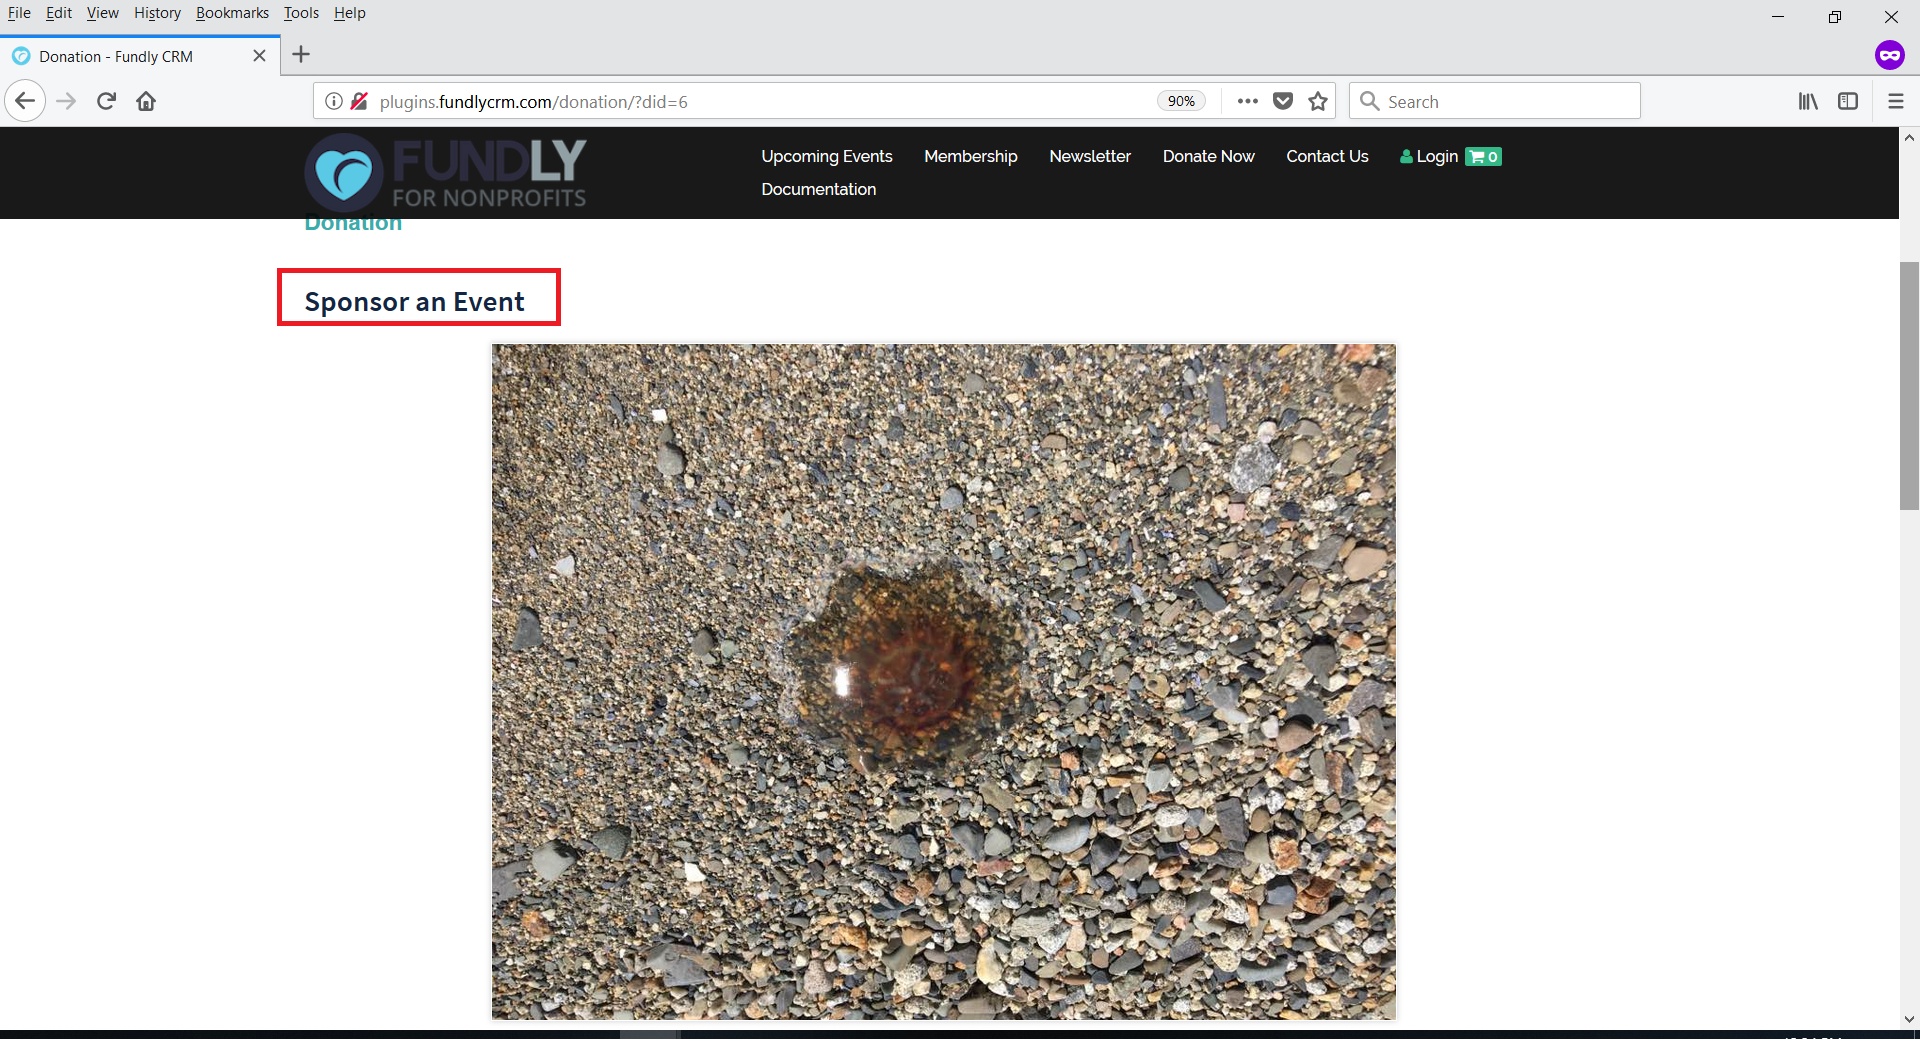
- The Details field provides a place for you to provide more information to donors about what their donation will be used for. The details will appear at the top of the page, below the image (if any image used/included).
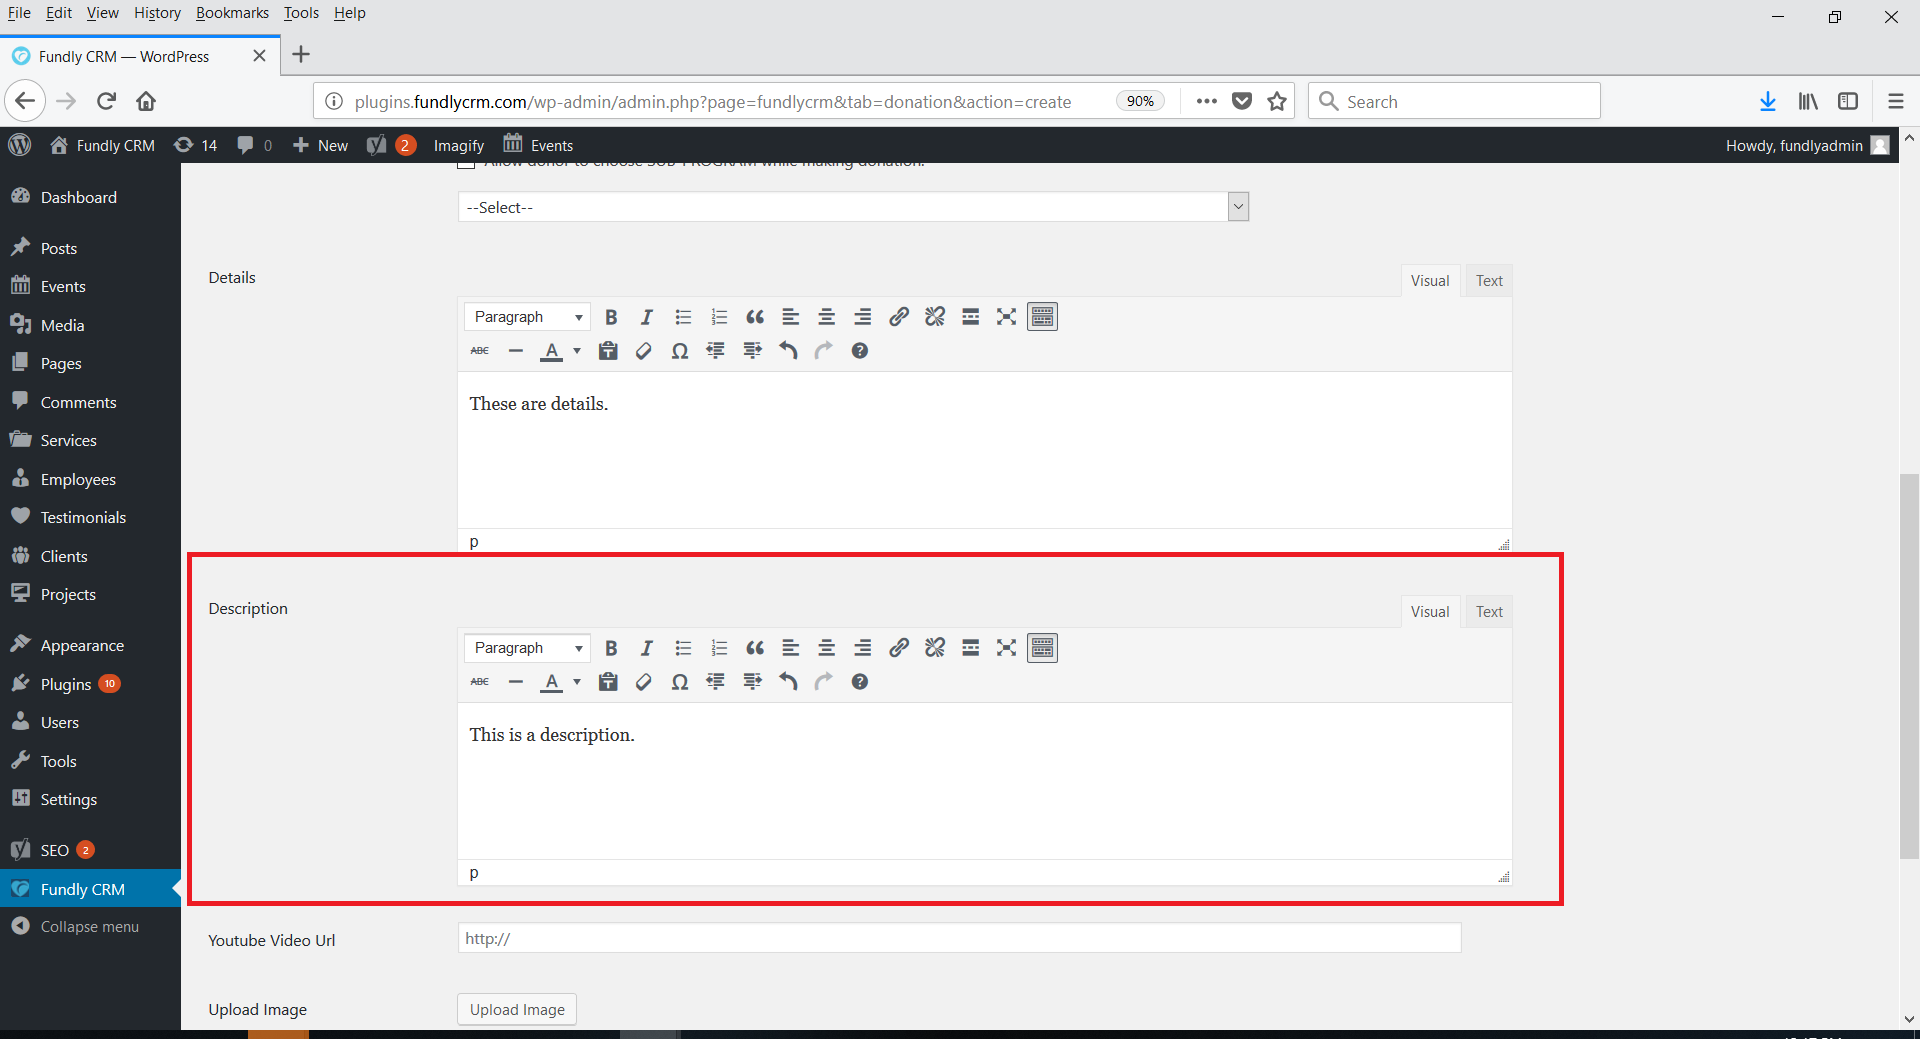
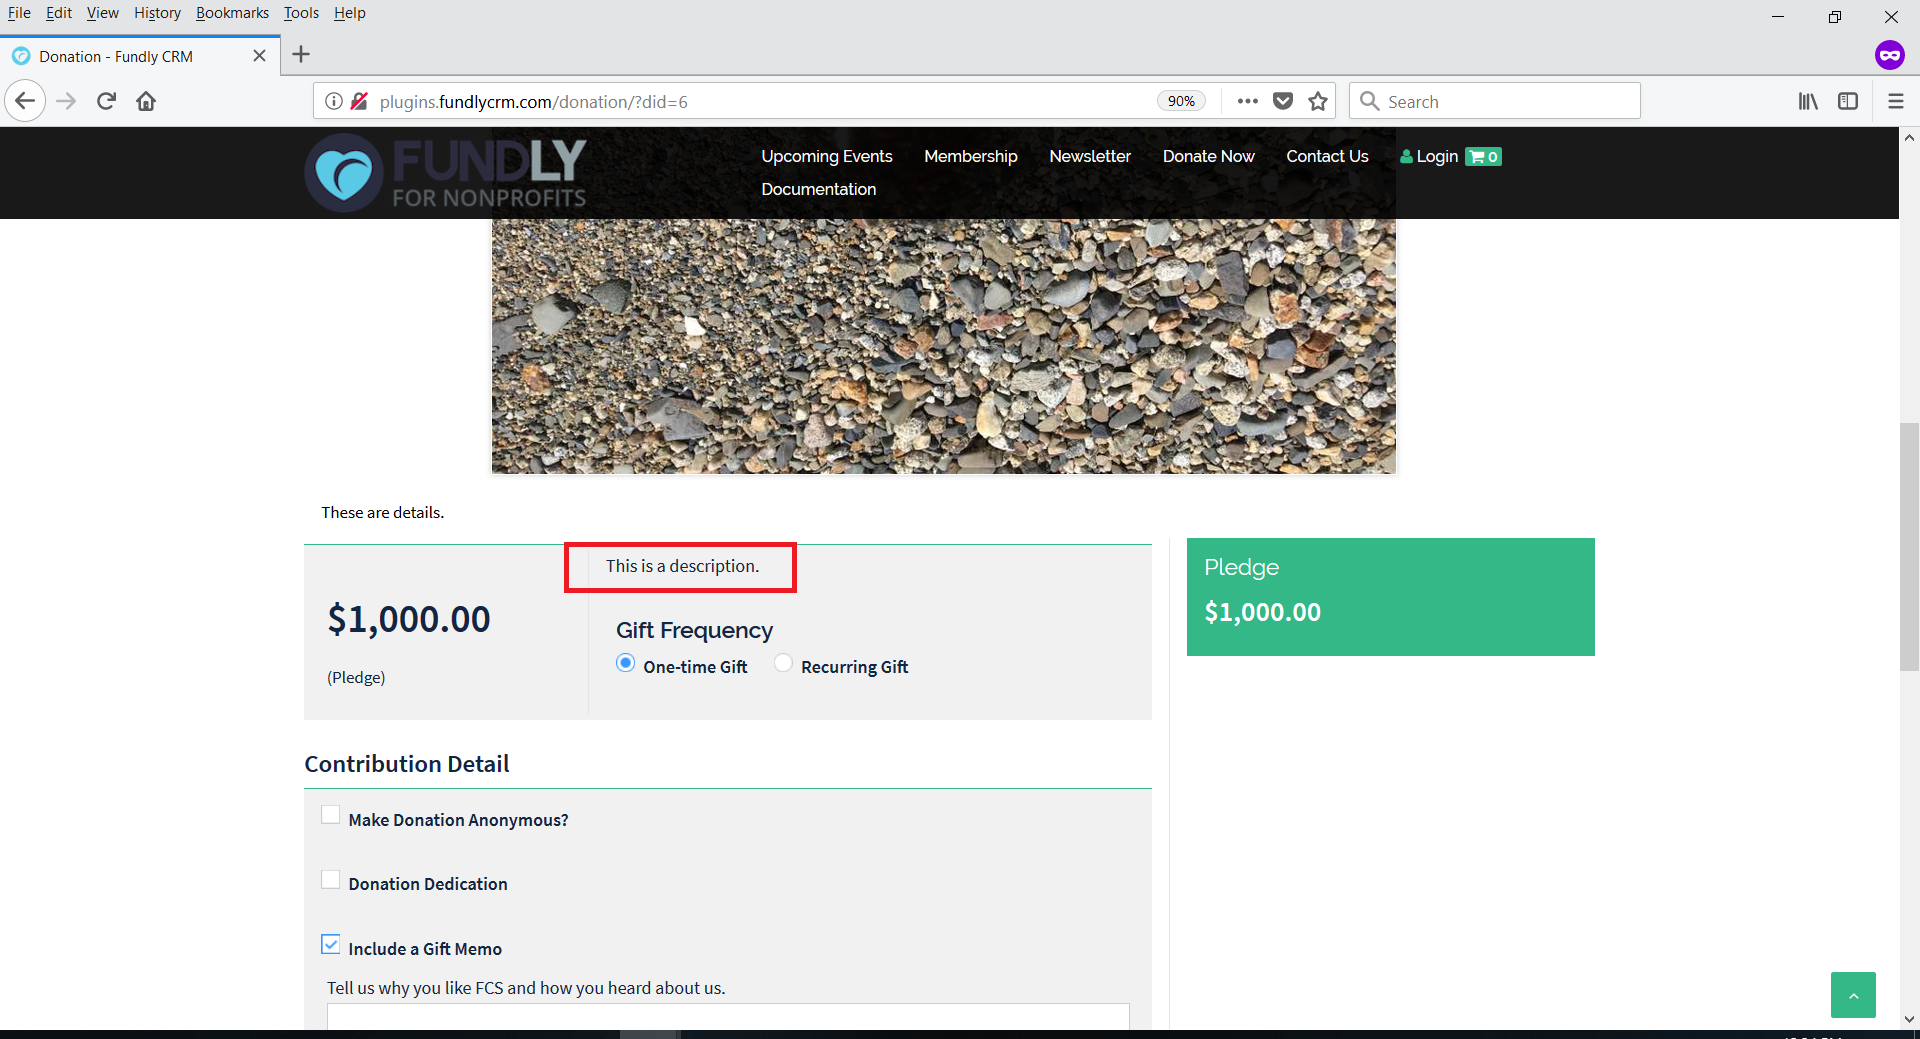
- The Description field provides a place for you to provide more information to donors about the details of the specific donation ask amounts. The description will appear at the top of the ask array/ask amounts box.
- Youtube Video URL provides a place for you to link to a video that will show on your donation page.

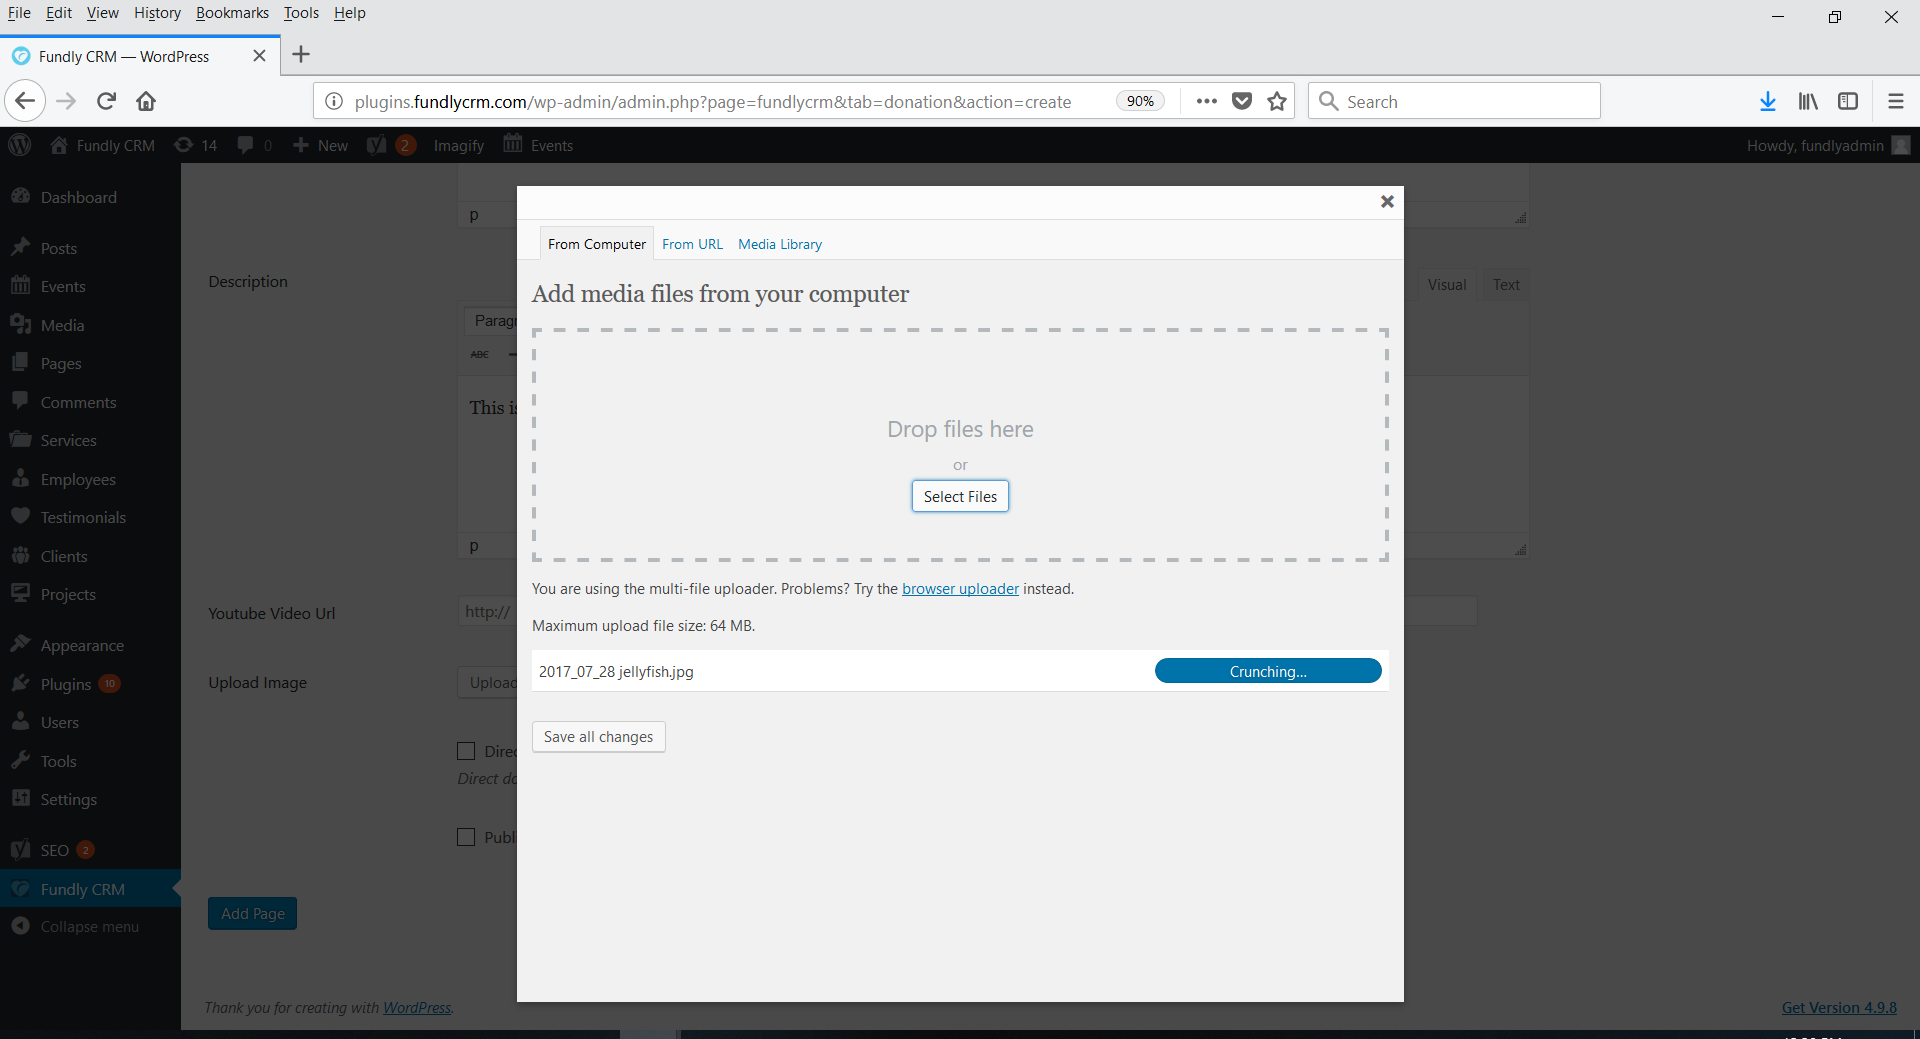
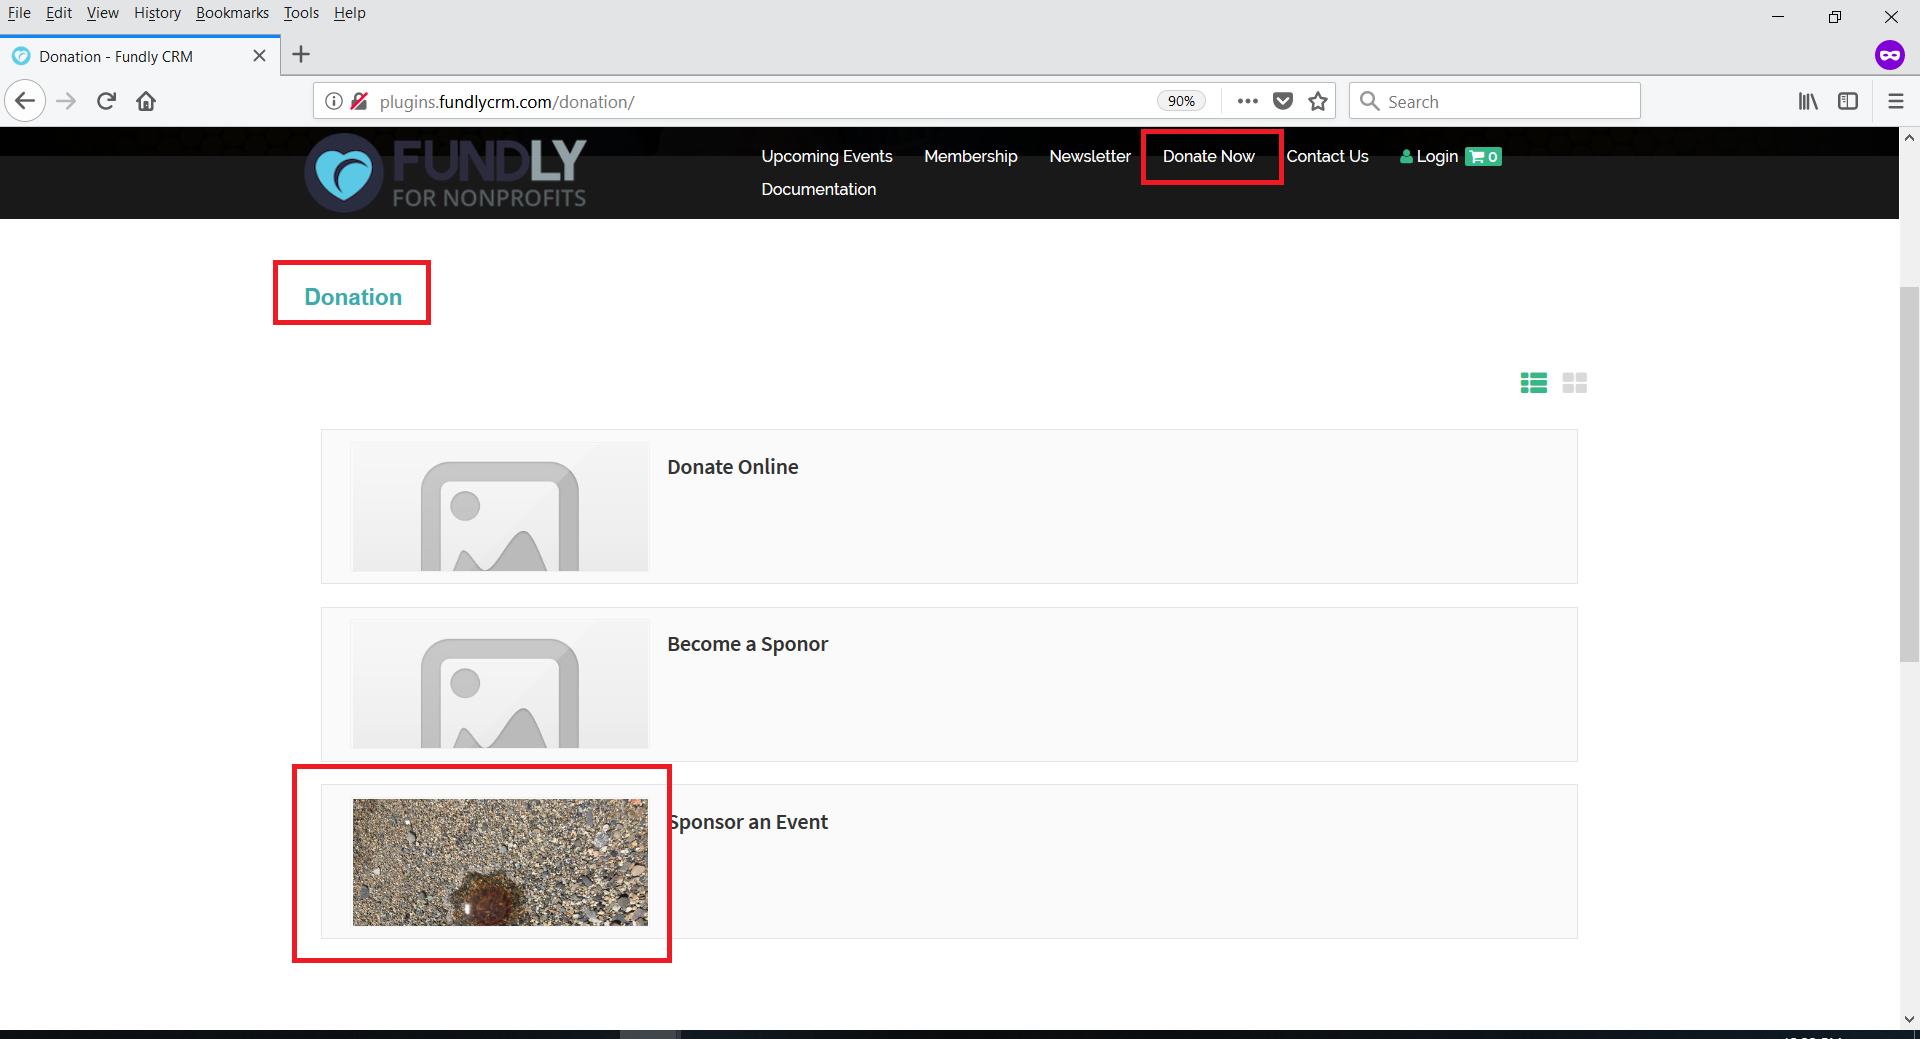
- Upload Image - this allows you to upload a image to appear at the top of your donation page. The image will also appear on the index page that lists all your donation pages (when users click "donate" from the main menu).

- Direct Donation Page sets whether or not this page allows direct donations (users will not be presented with an option to "add to cart" and continue shopping. Instead, they will be taken directly to the check out page as soon as they select a donation amount. This can also be set on the donation pages tab/index page (the direct donate check box column).
- Check the the Publish this page on website check box to make the donation page live/to publish it to your website. You can also toggle the page live/published or unpublished from the Donation Pages index list.
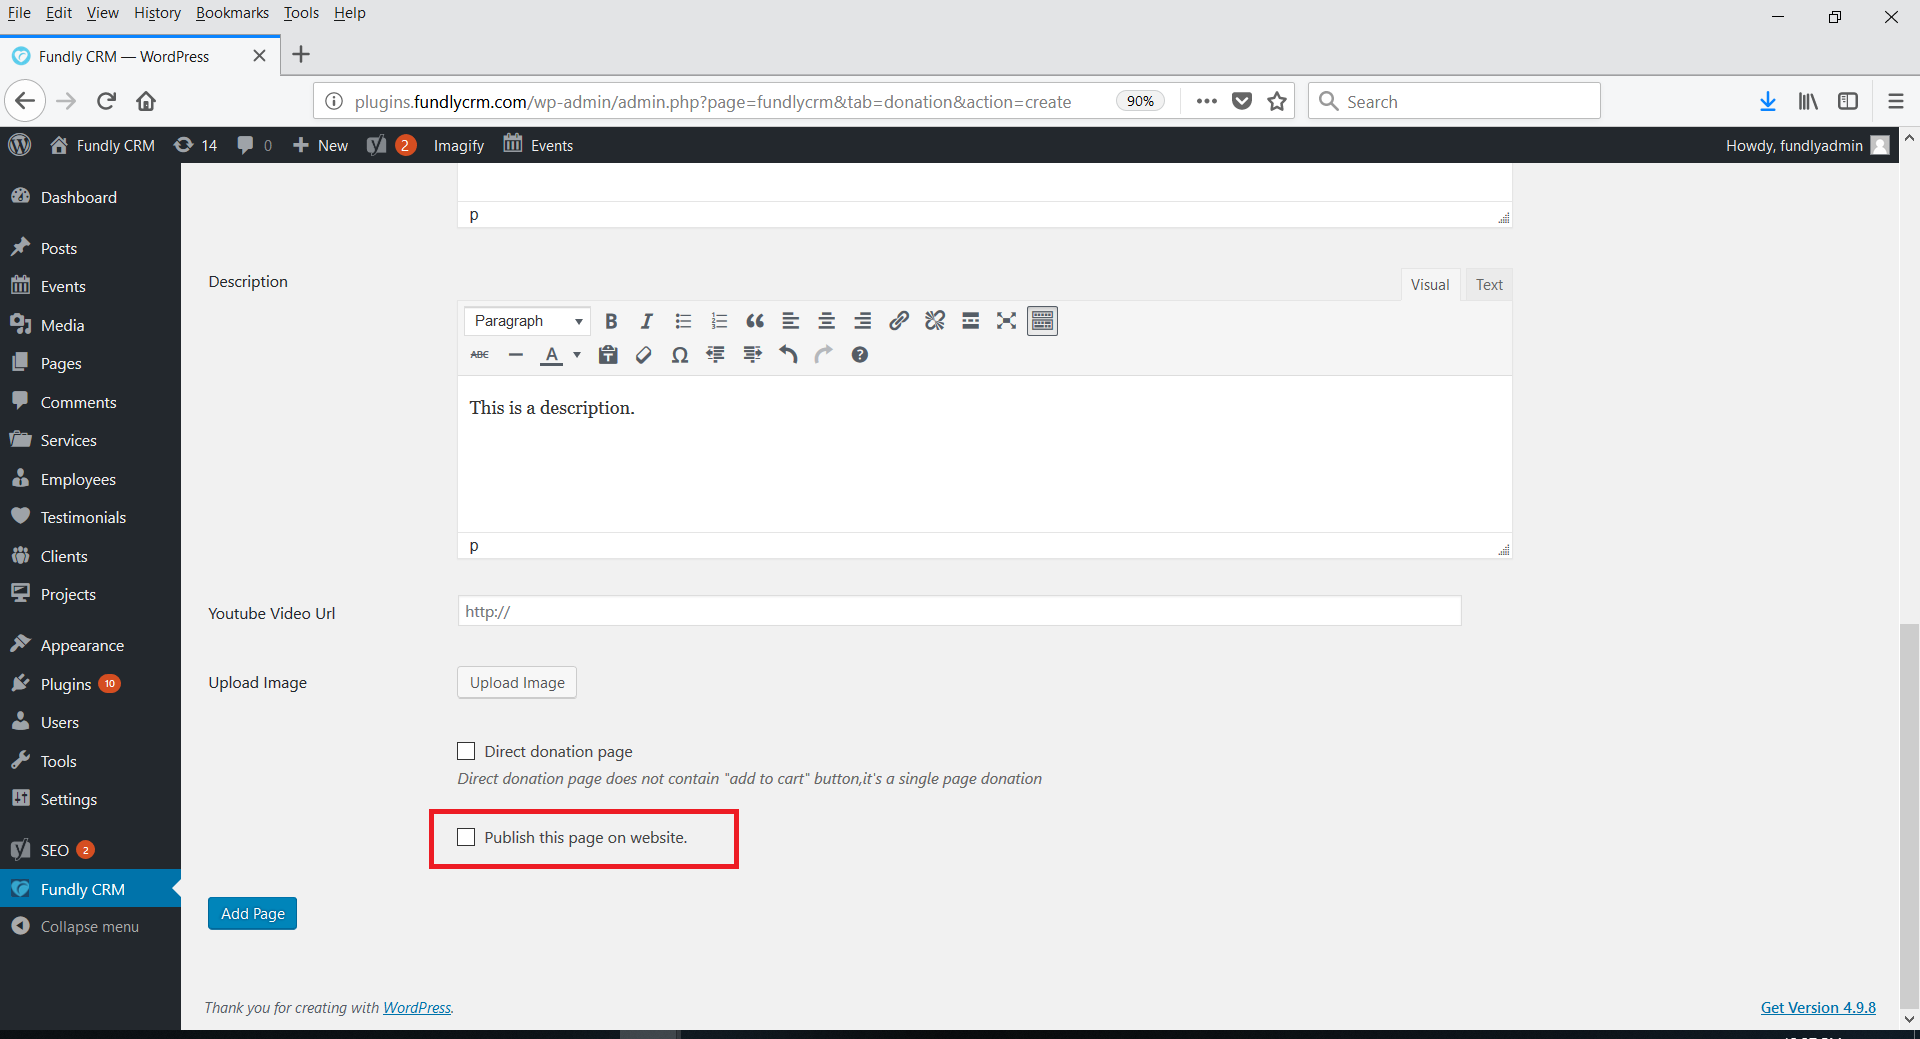
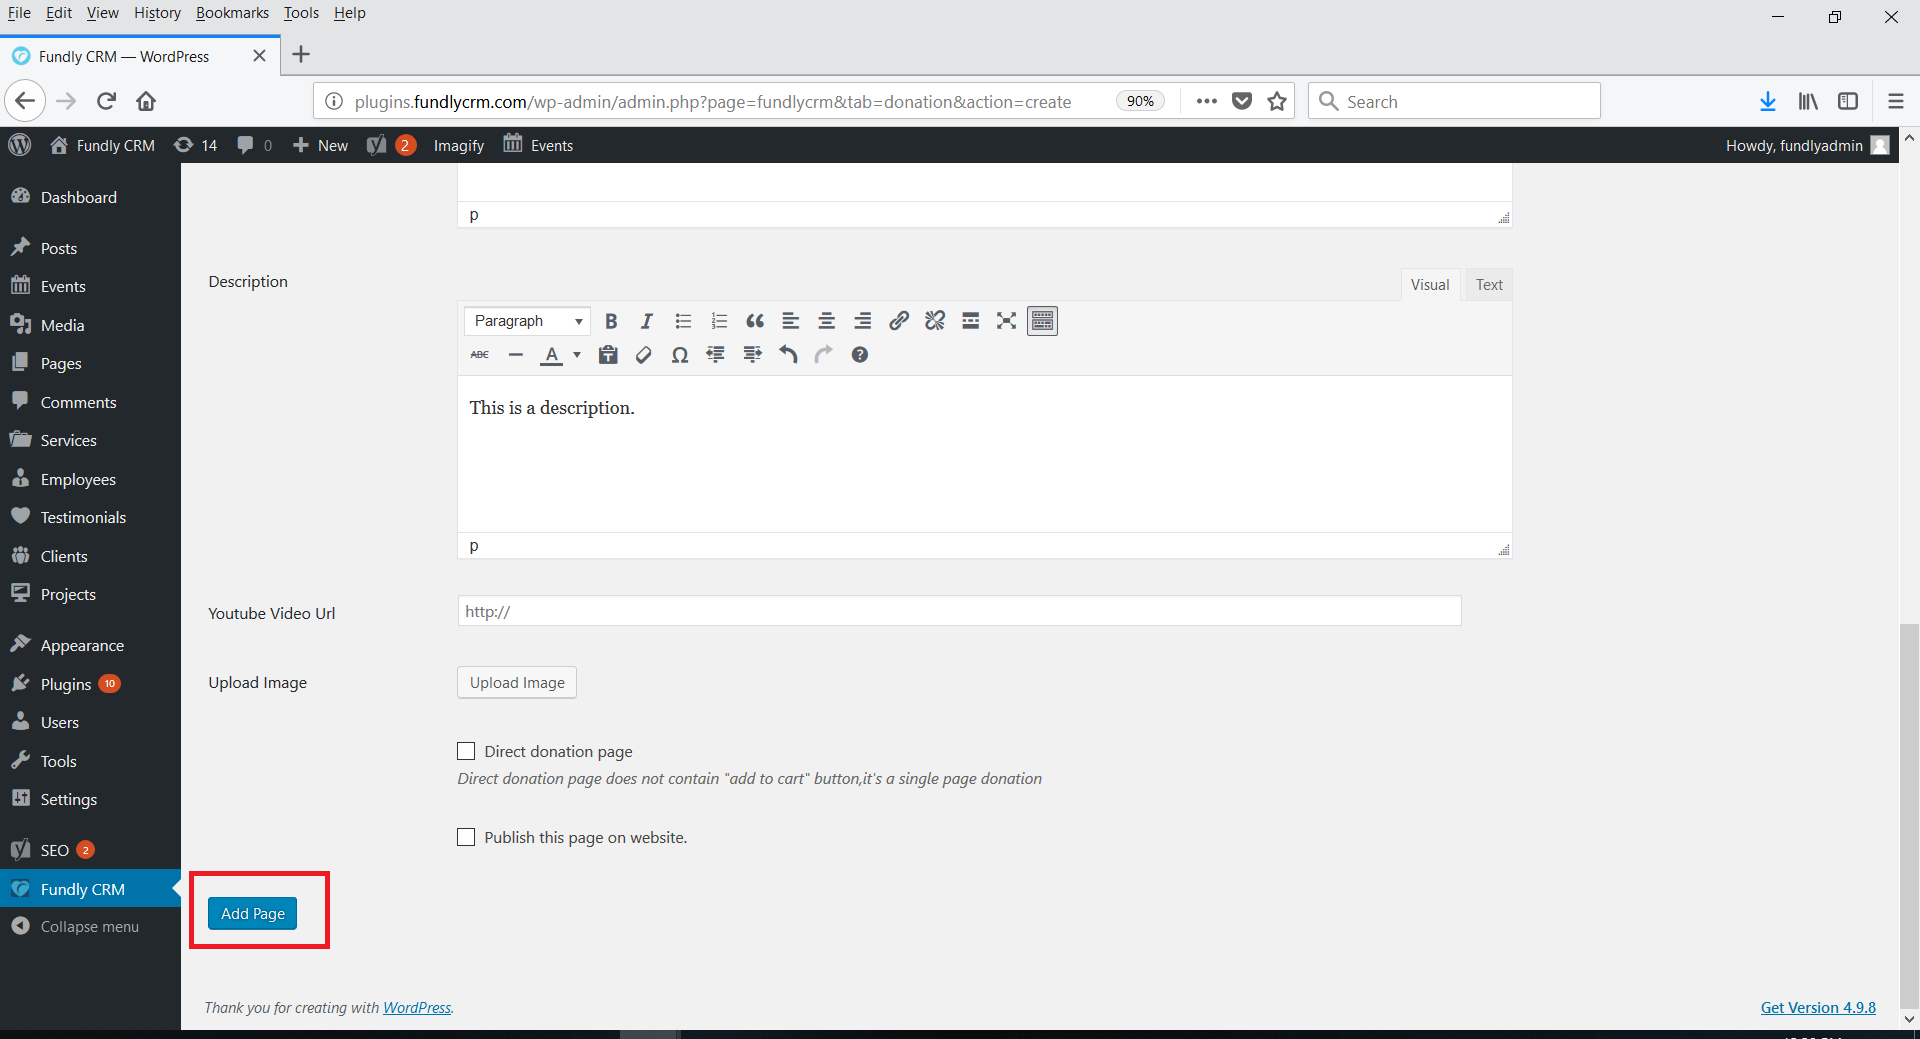
- Click the blue Add Page button at the bottom of the screen to save your changes.
- If you want to add the page to any of your website menus, view this WordPress tutorial on updating/creating menu items: https://www.wpbeginner.com/beginners-guide/how-to-add-navigation-menu-in-wordpress-beginners-guide/
Settings Sub-Tab
- This tab controls the overall/meta settings for your donation pages. The settings here apply to all of your donation pages.

- Donation Pages List Type controls if your donation pages are listed by default as a grid or a list on the donation pages index page (on our demo website, if the user clicks Donate Now from the main menu, they are taken to our list of donation pages).
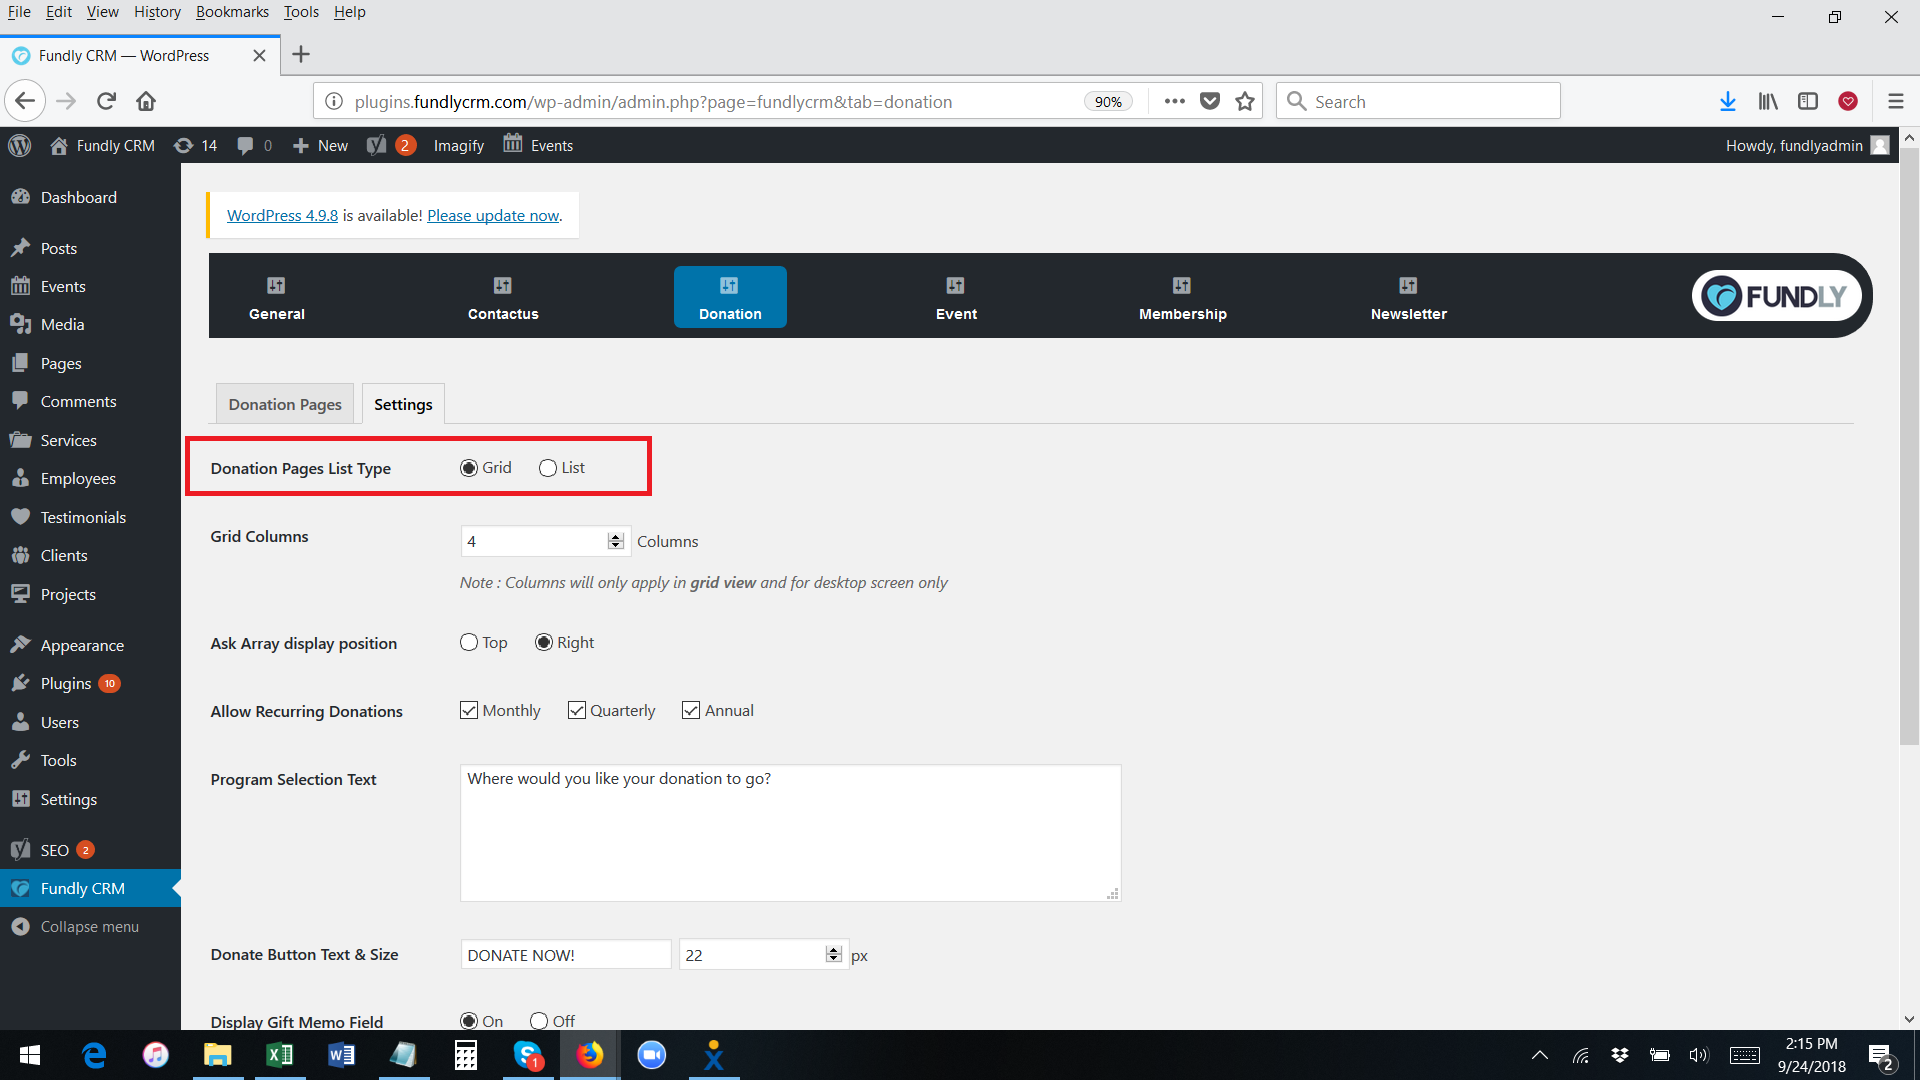
- However, users can toggle the grid/list view themselves from the buttons/options in the upper right.

- If you select grid, a second setting option will appear, letting you set the # of columns in your grid.

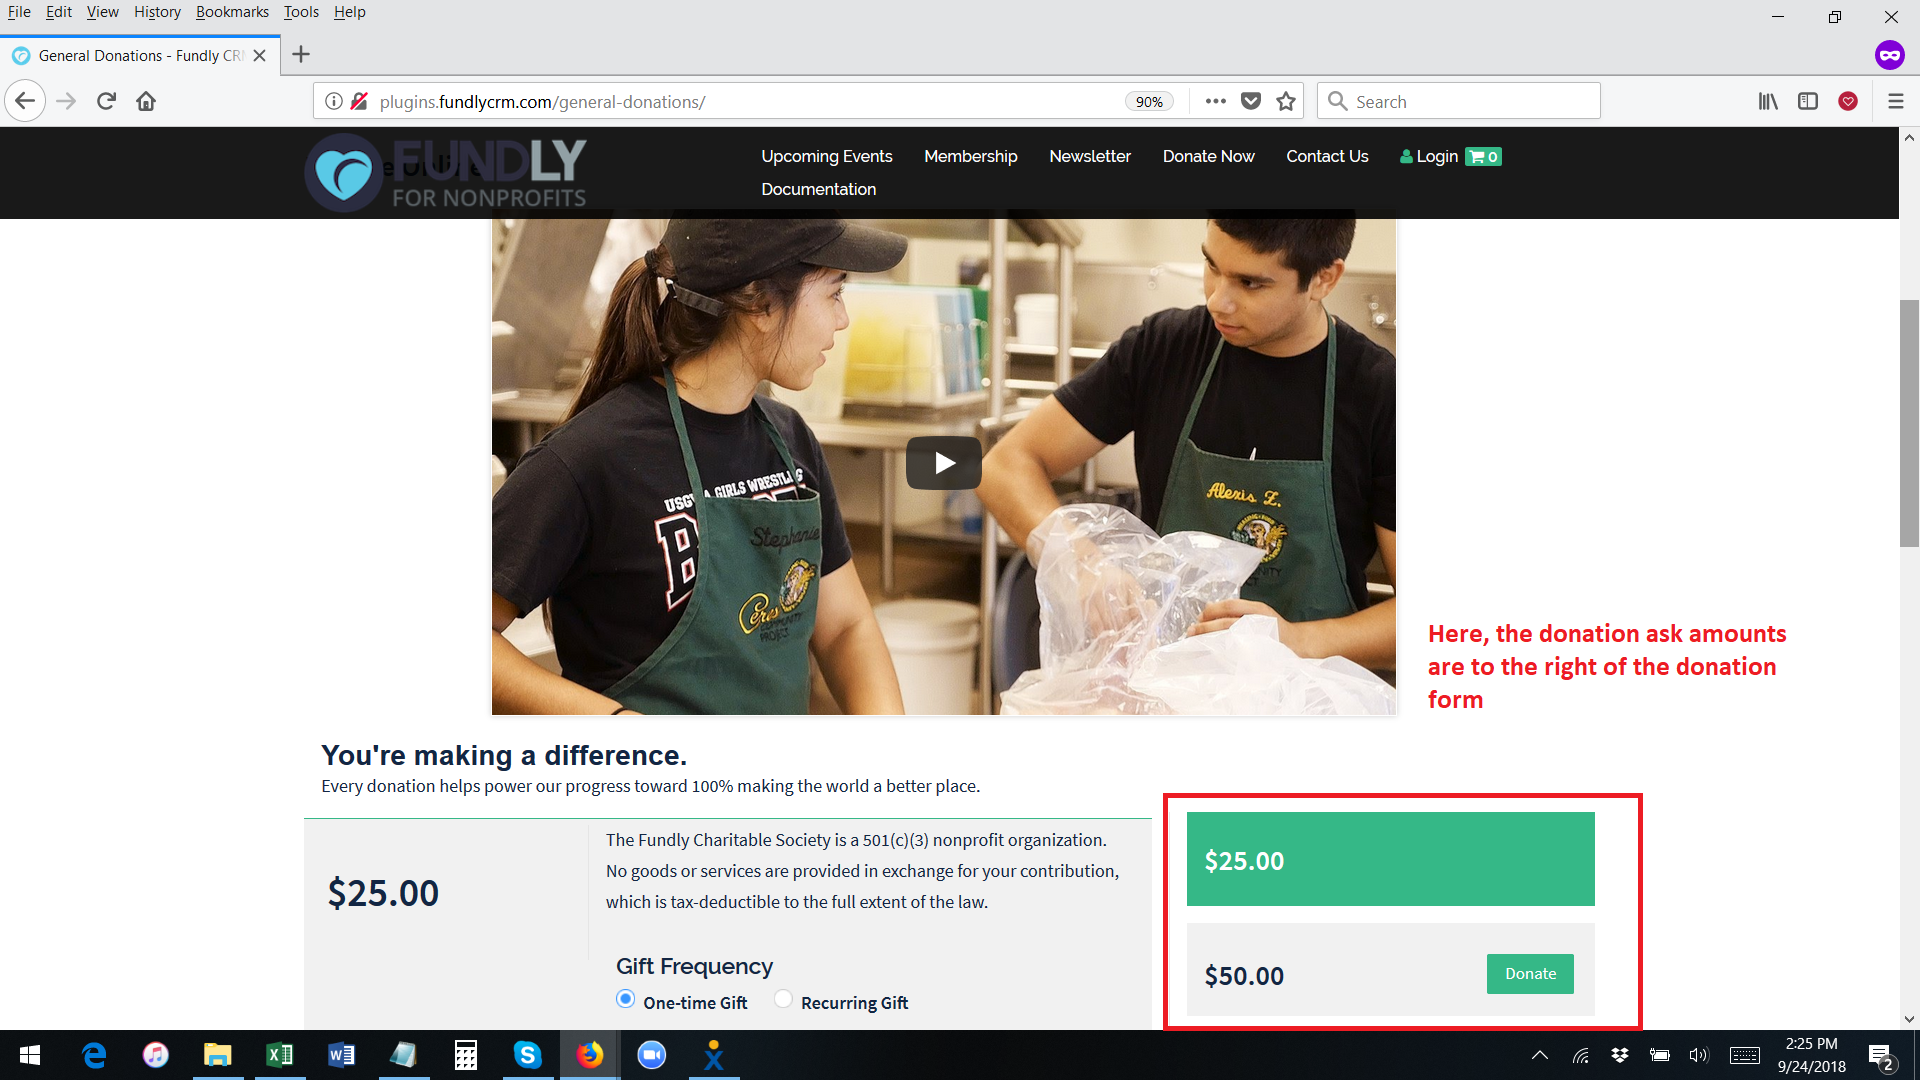
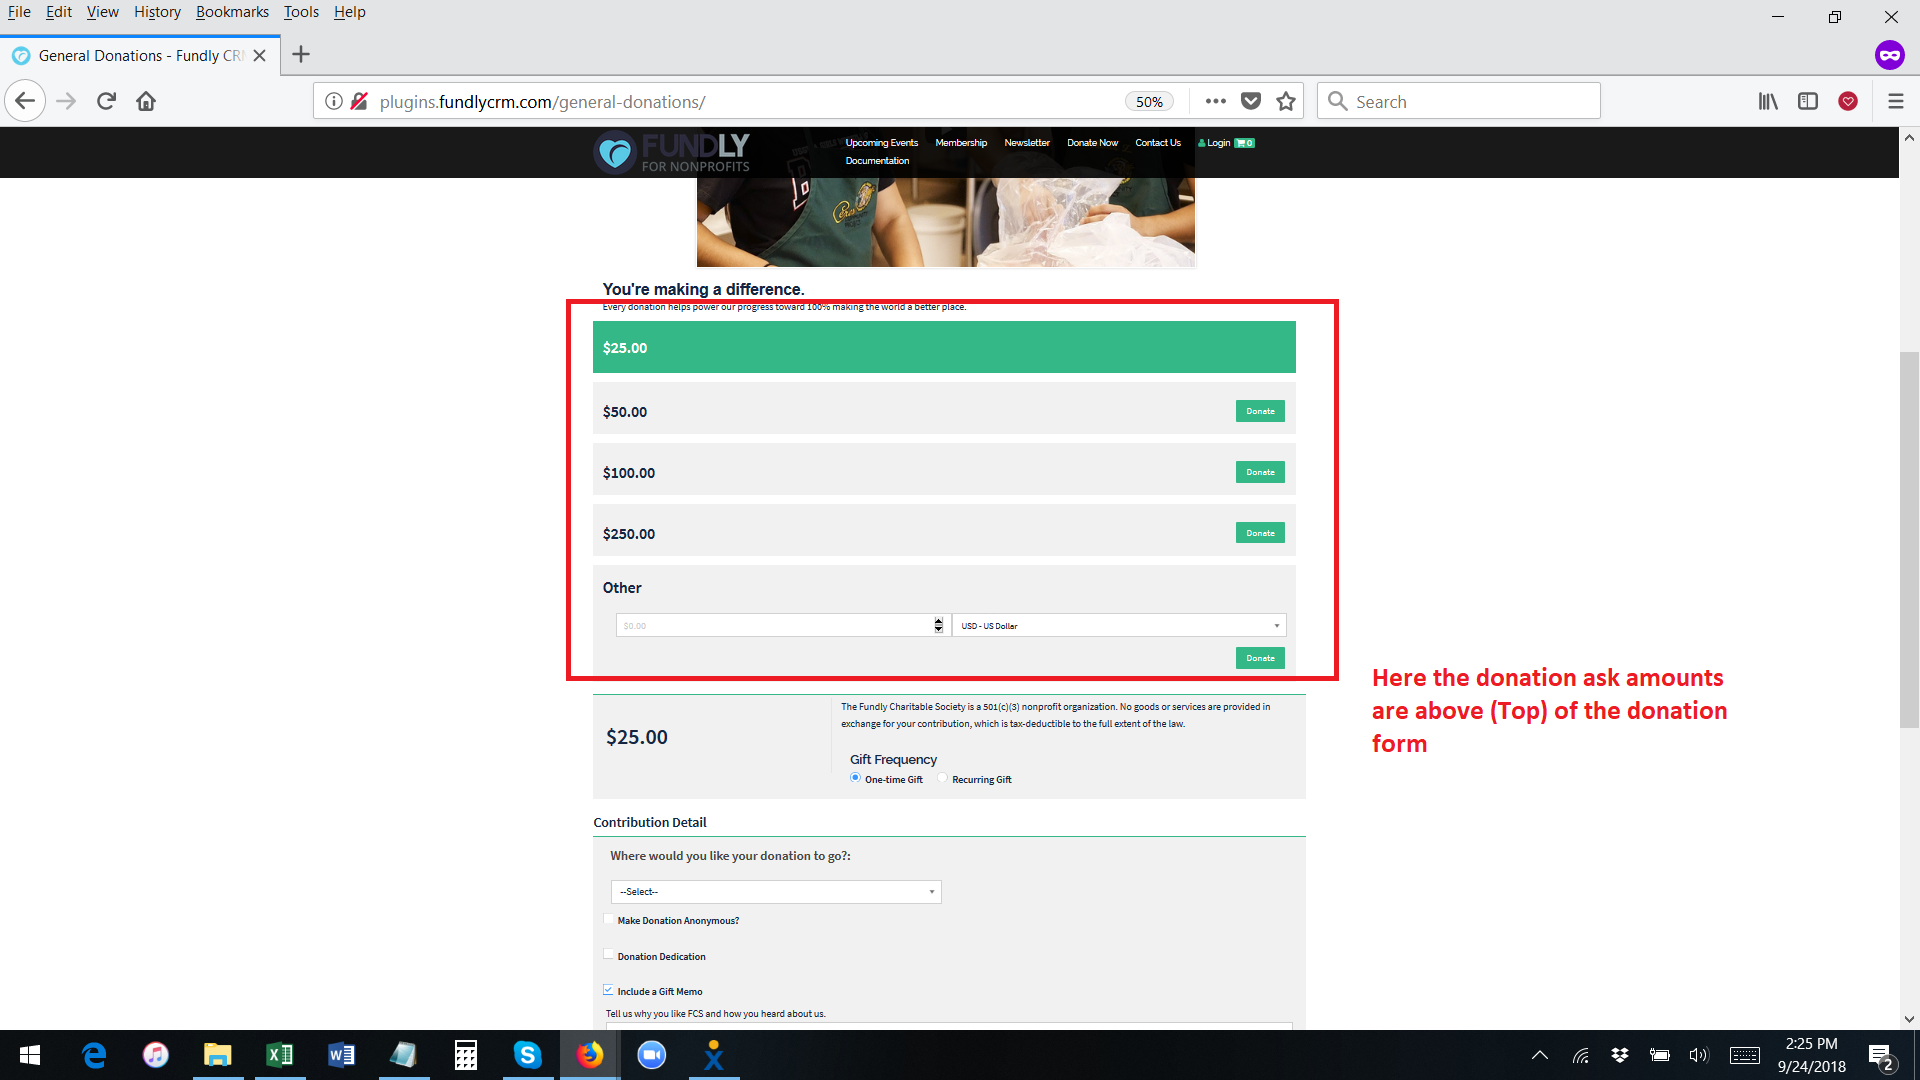
- Ask Array Display Position lets you set if the donation ask amounts appear above (Top) the donation form or to the right of it.

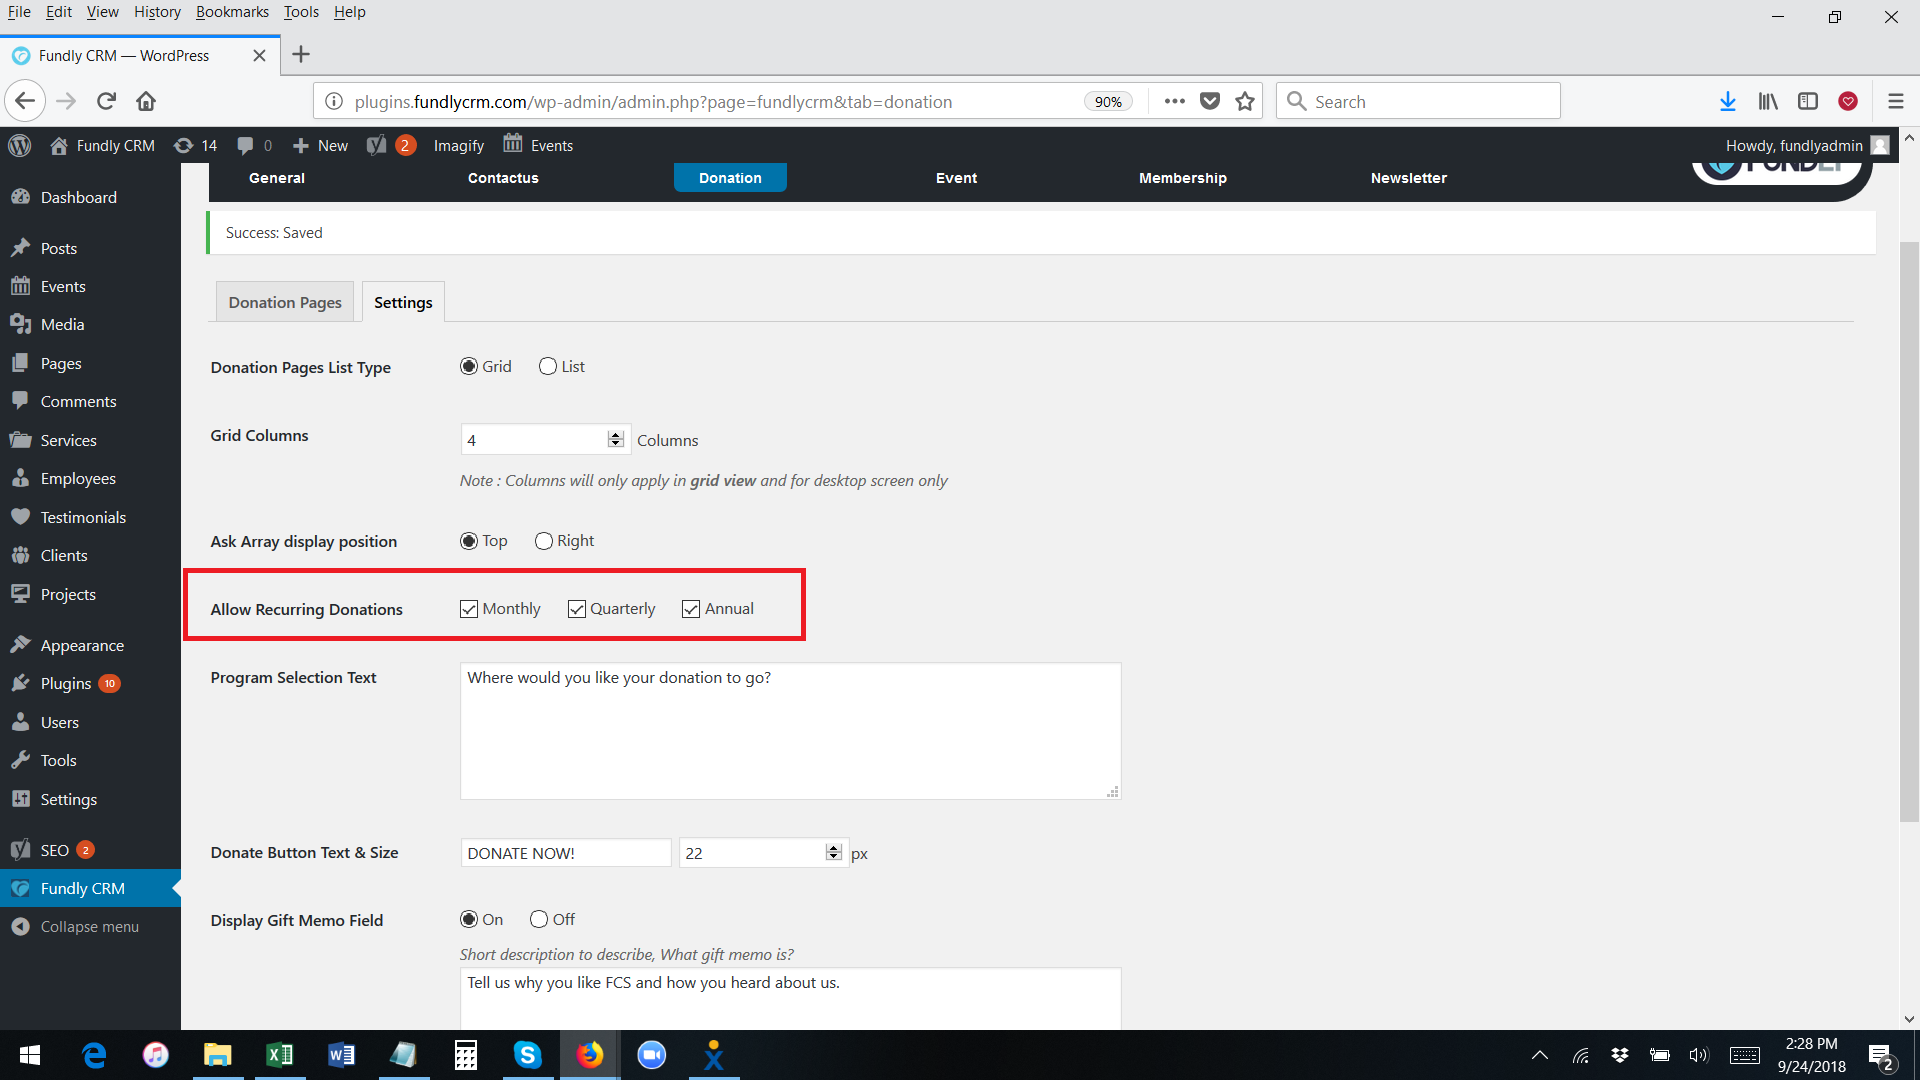
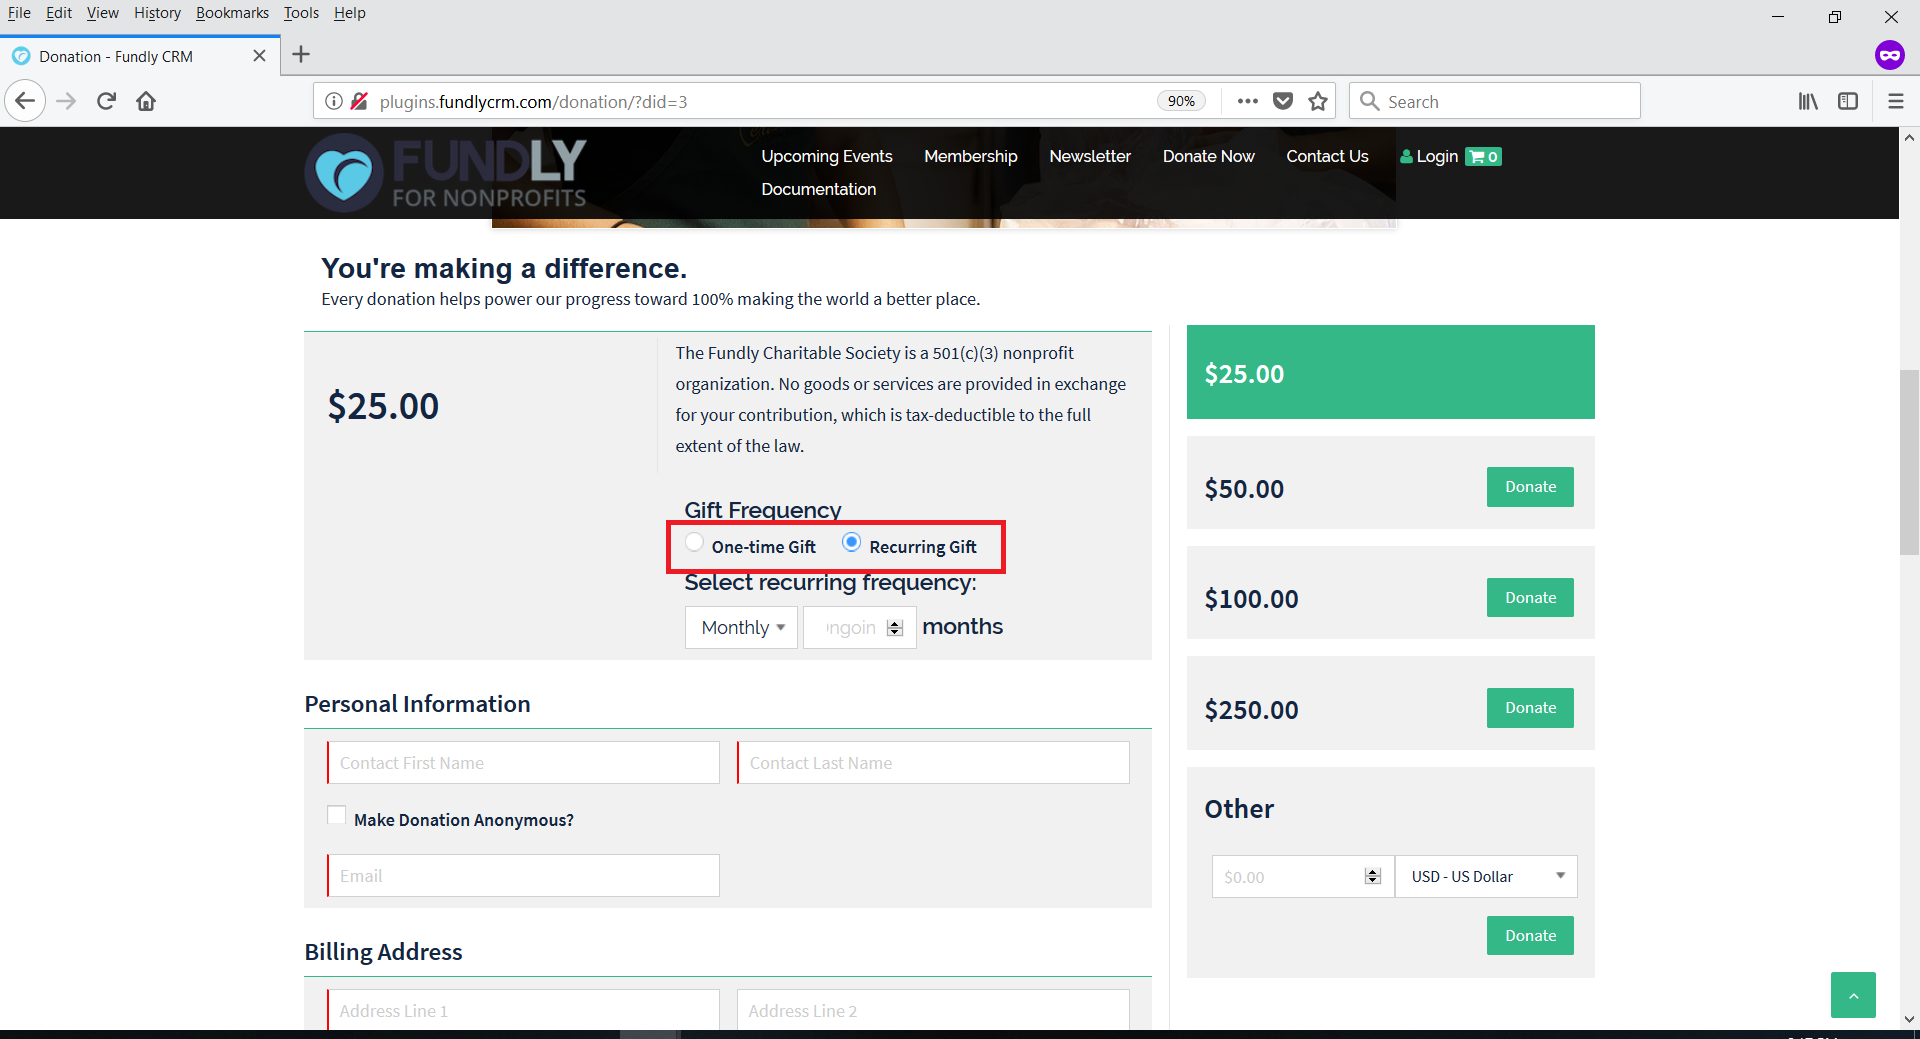
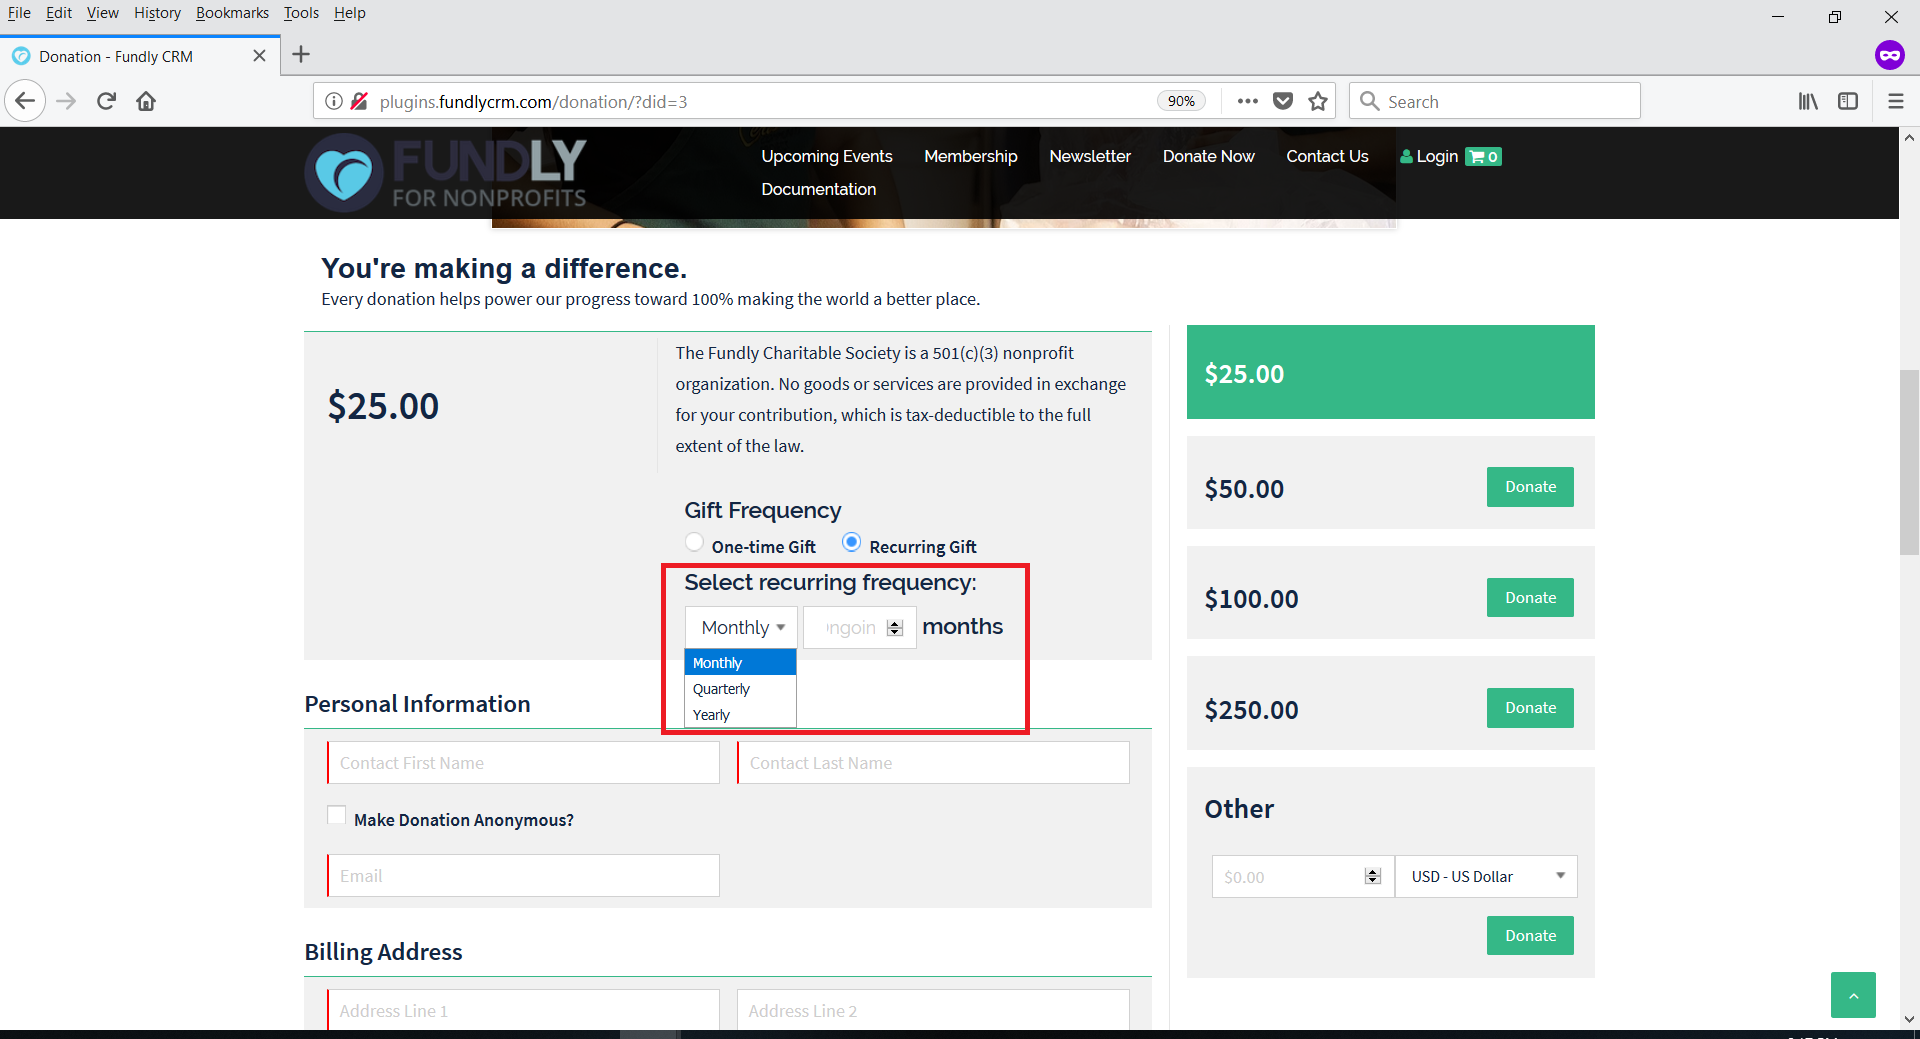
- Allow Recurring Donations lets you set whether or not to allow your donors make recurring donations (donations that will automatically be charged to their credit card on a set schedule) and if so, which intervals you will allow users to select.
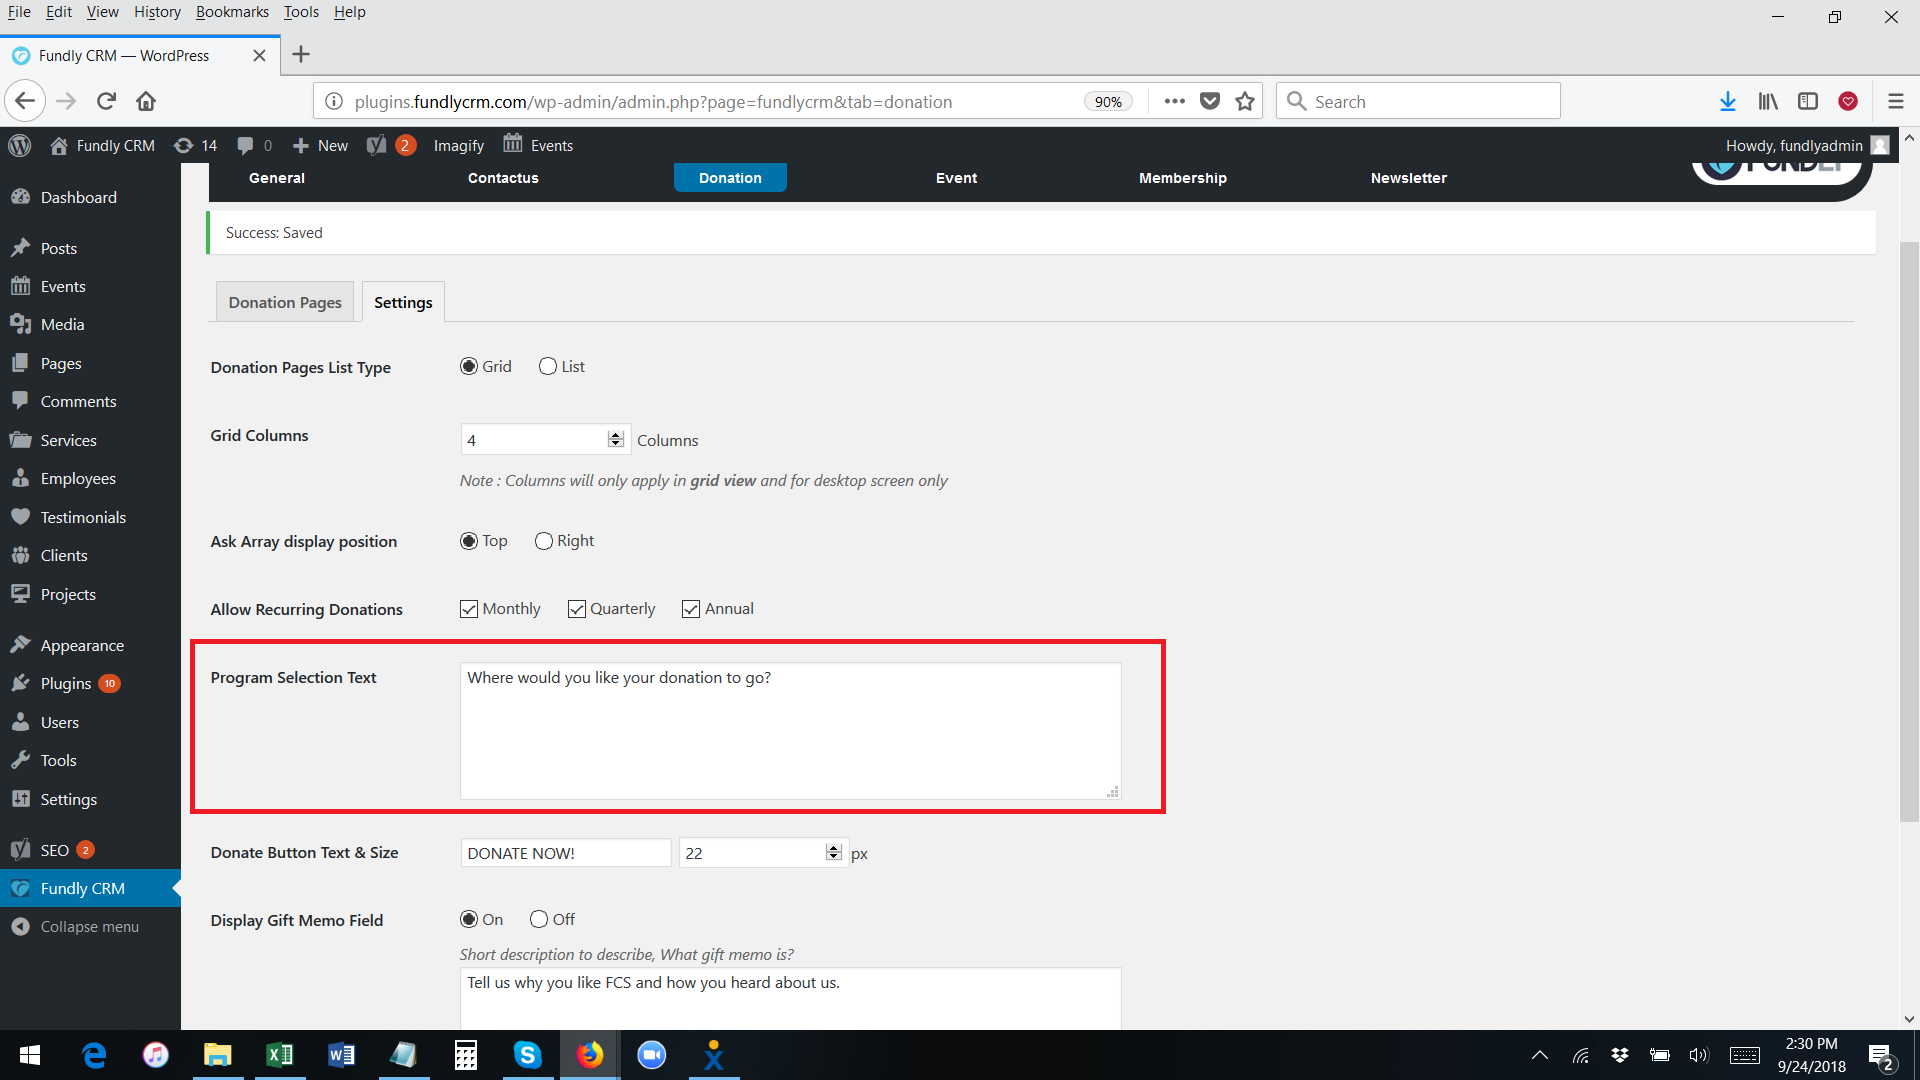
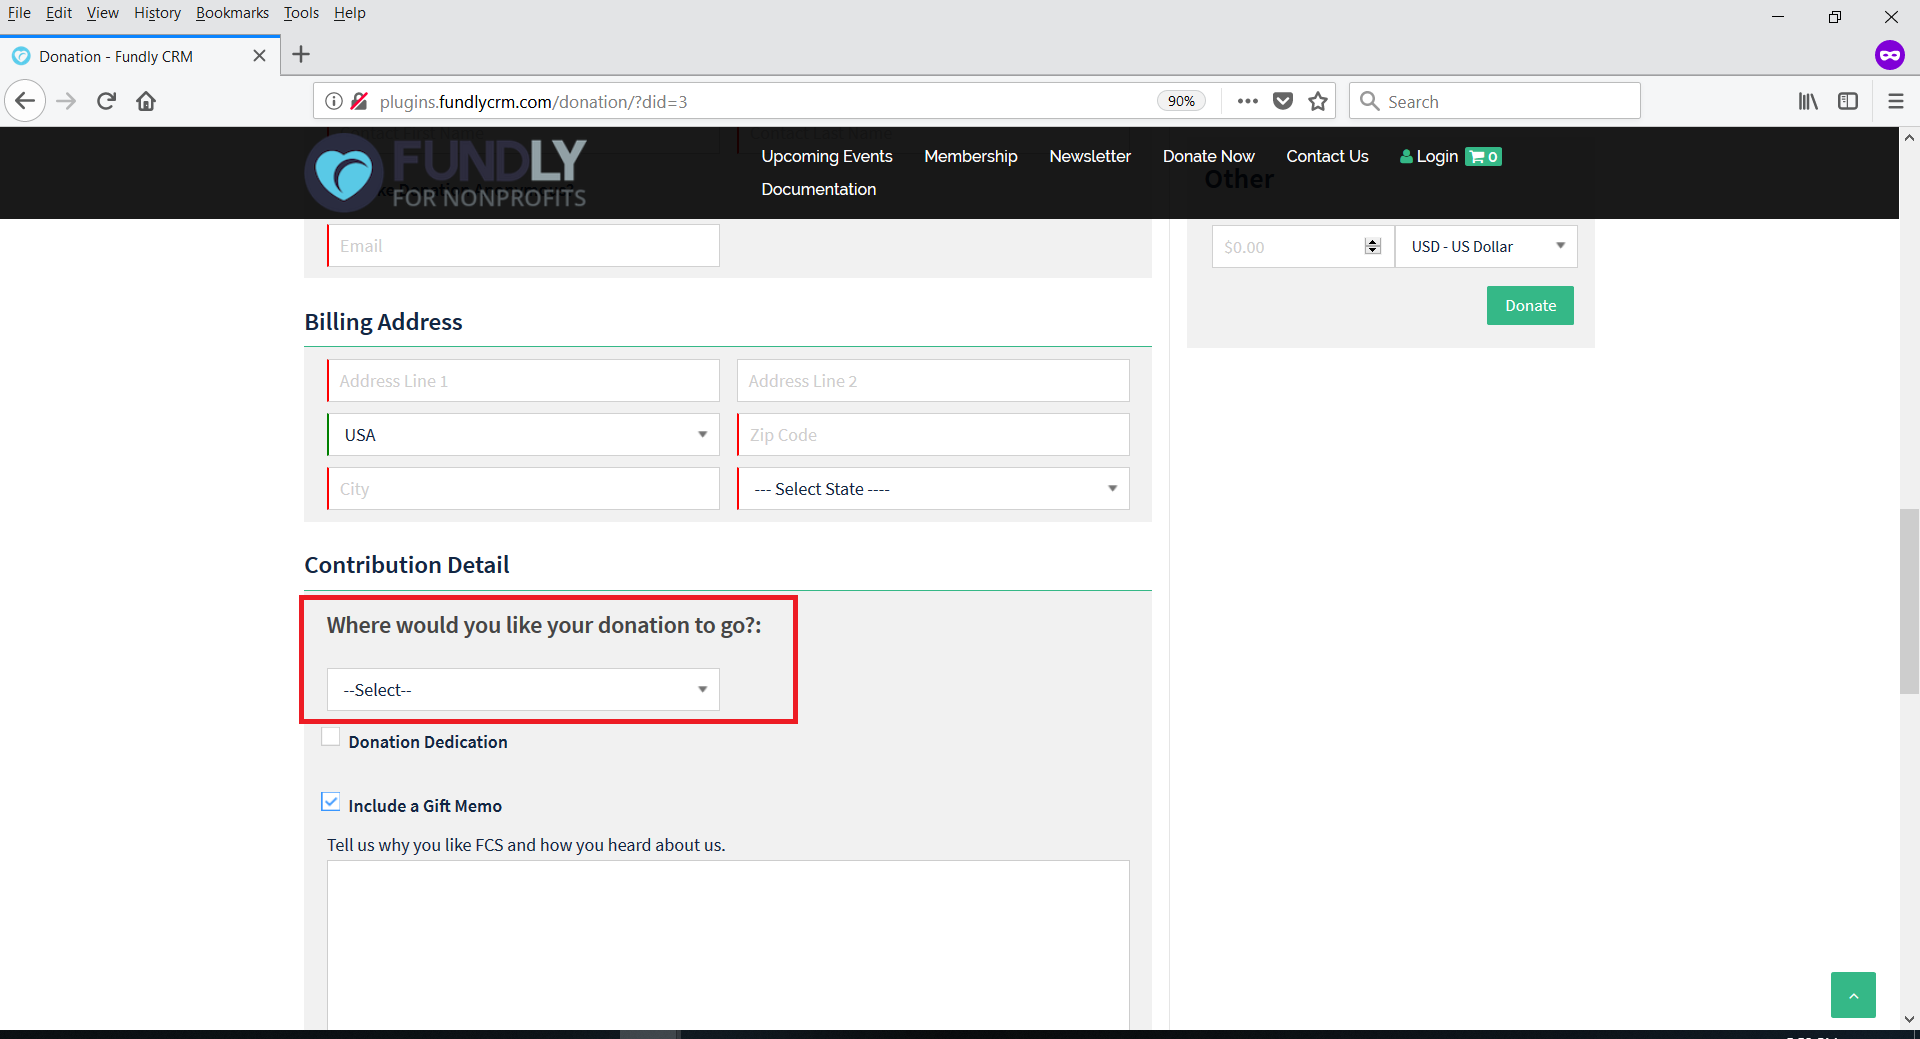
- Program Selection Text - if you have allowed users to select which program or sub-program their donation will be earmarked to on any Donation Pages (see above steps #21 and #22) - this is the text that will display providing the user with instructions on what the program select drop down does.
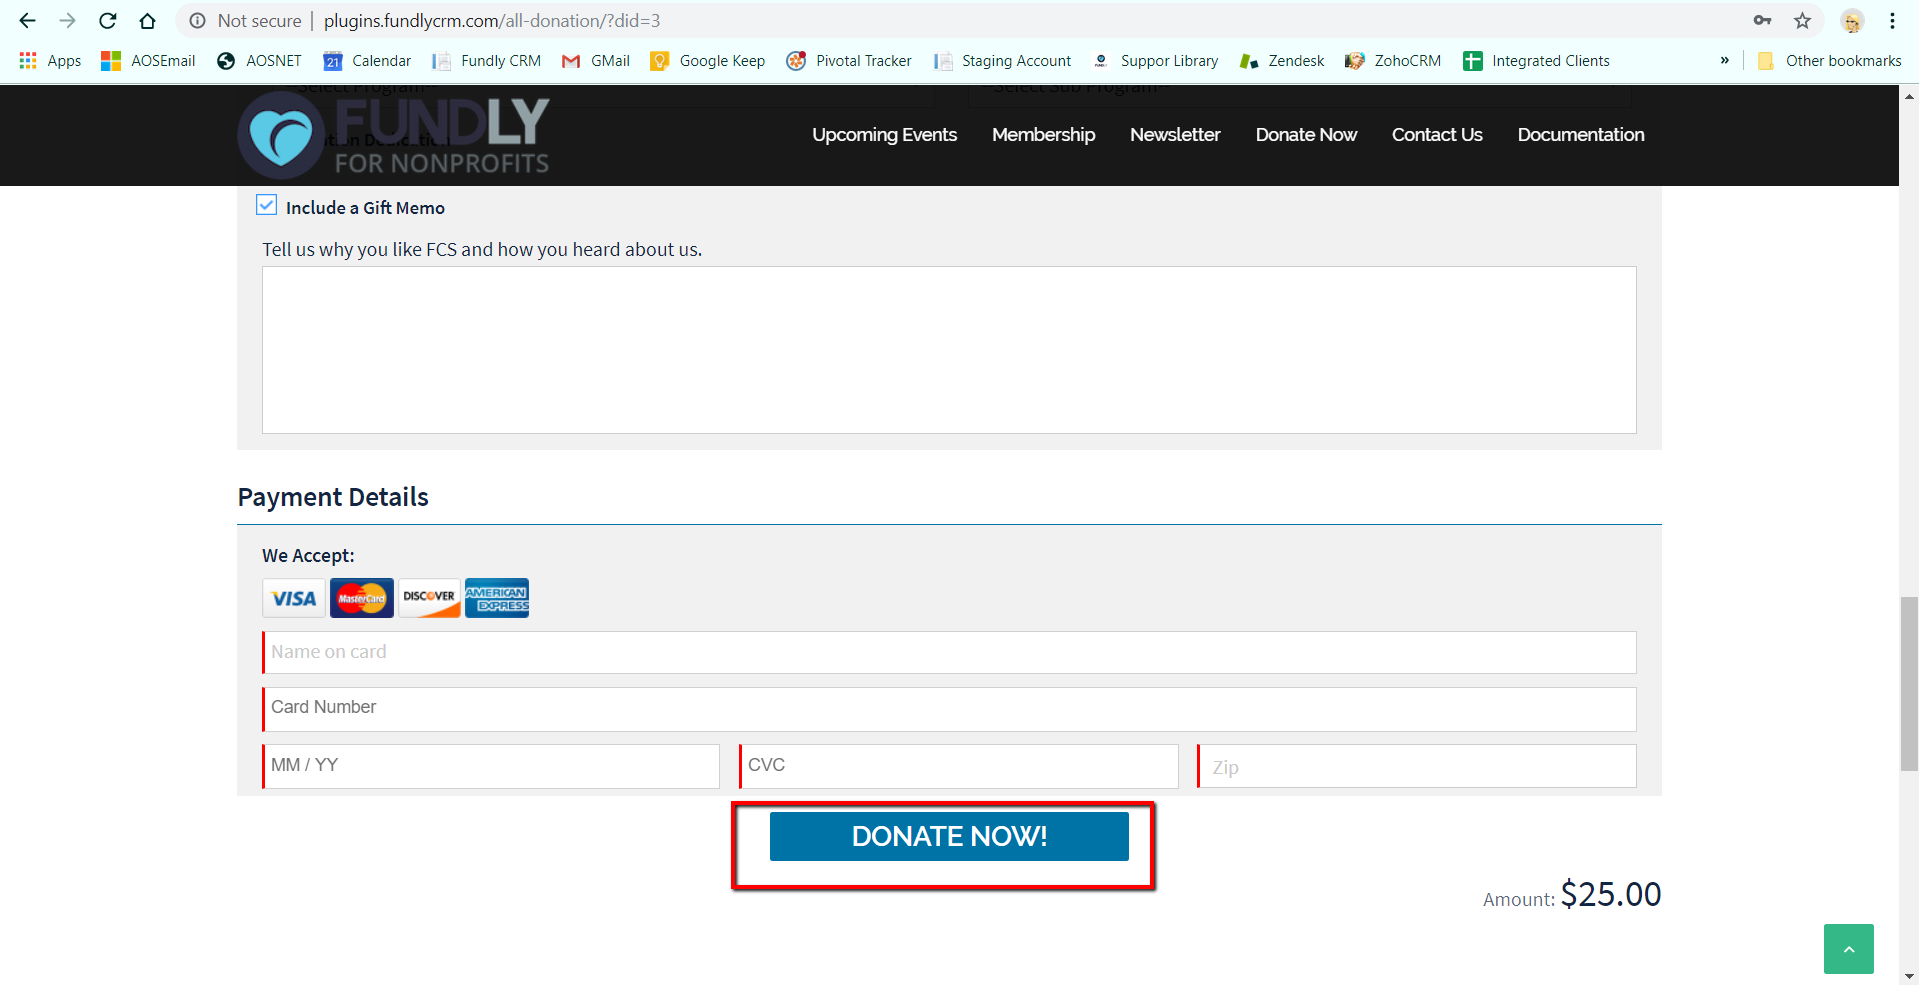
- Donate Button Size and Text controls the size and label of the Donate button at the bottom of the screen on Direct Donation pages (the button the user clicks to make their donation). On non-direct donation pages, user will be presented with the standard Check Out or Add to Cart buttons.

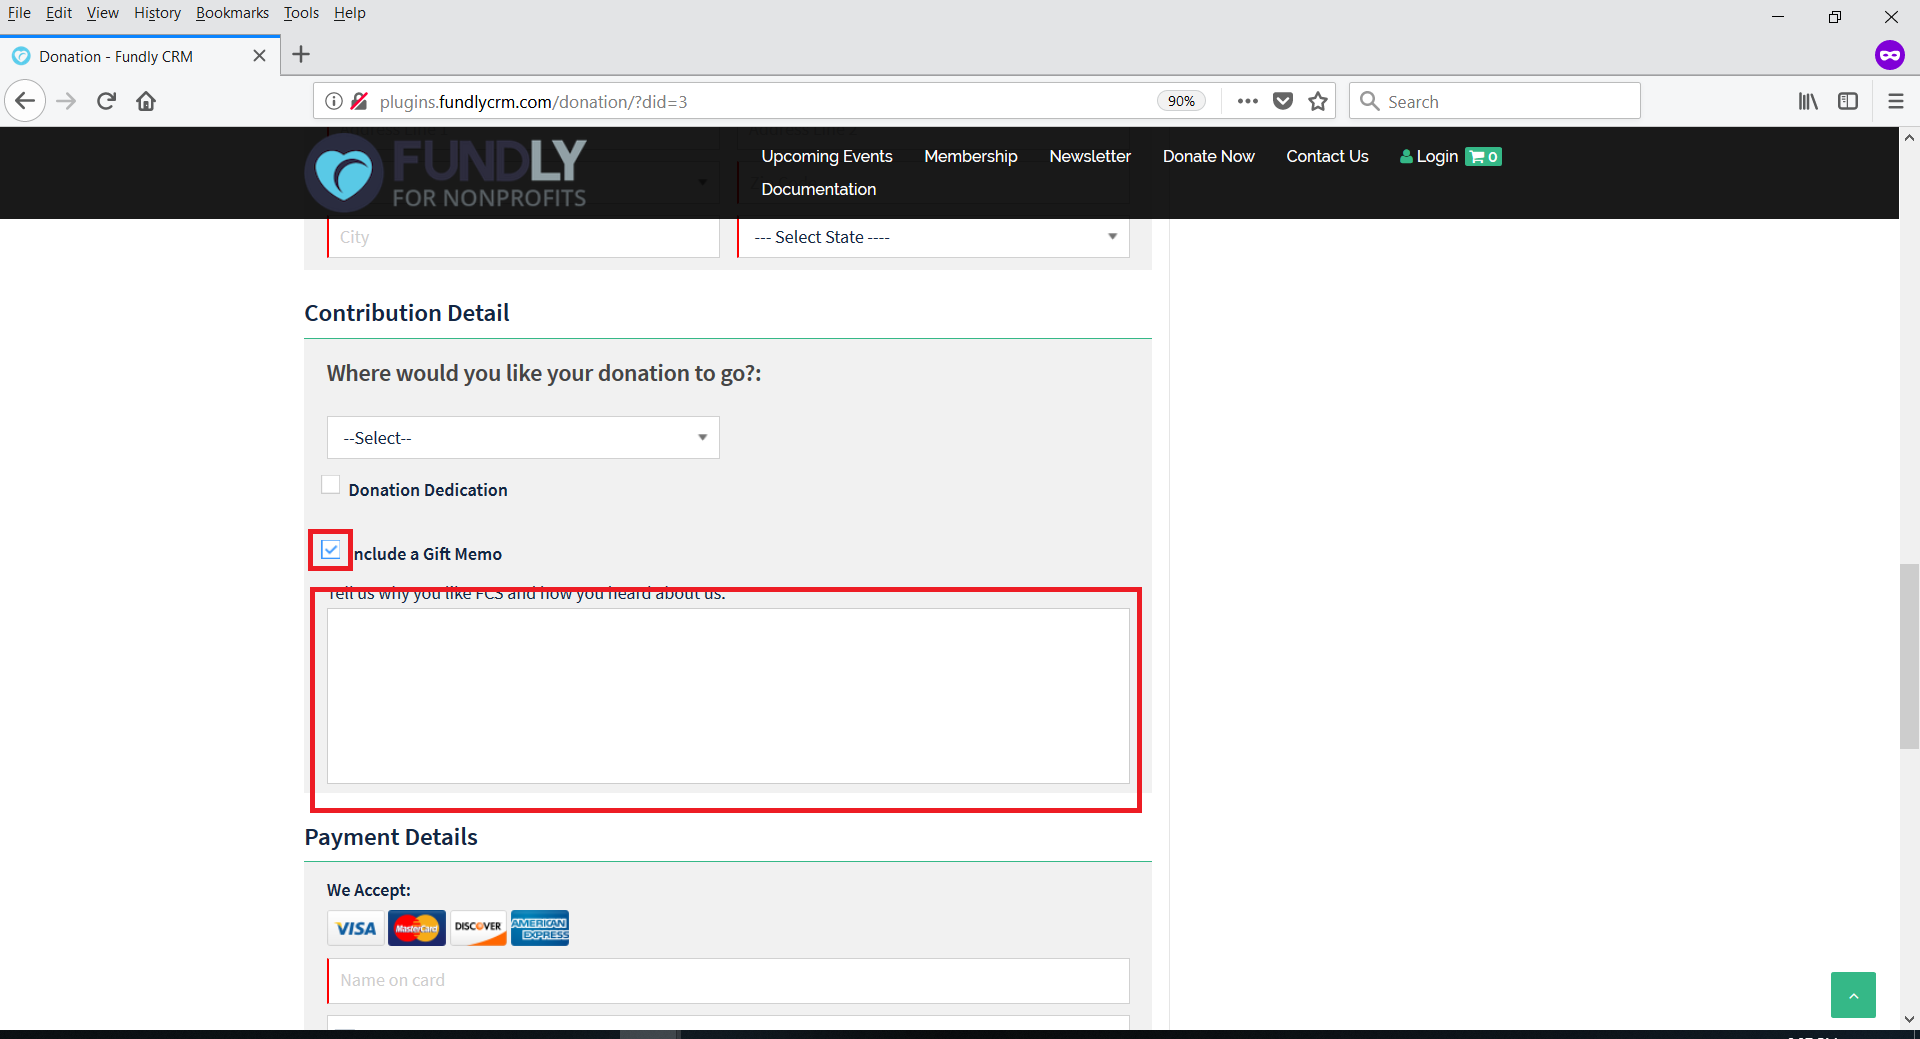
- Display Gift Memo field sets whether or not you present the donor with a gift memo field for them to add a note about their donation.
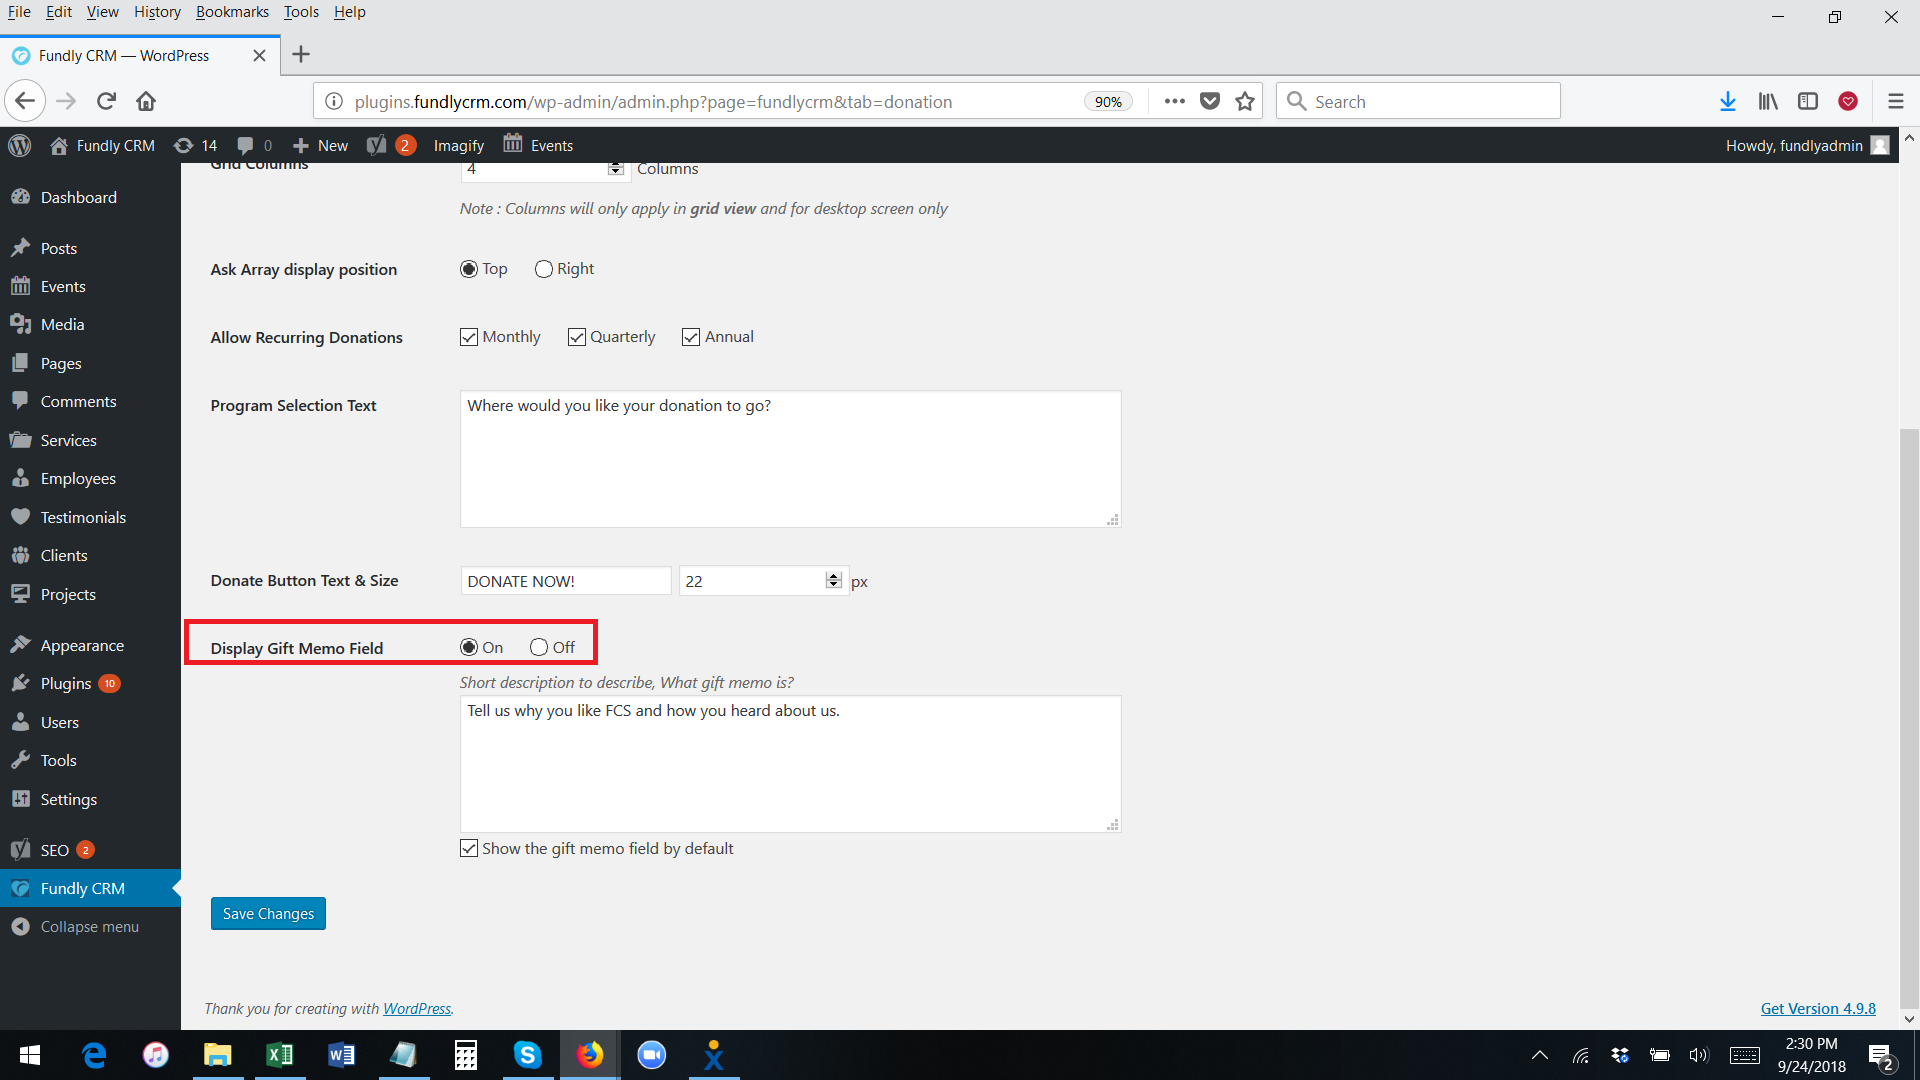

- The short description to describe what the gift memo field is for allows you to provide instructions to the user on what you would like them to add to the gift memo field (if you want to collect specific data or ask a specific question). It is optional to add text here - if no text is added the user will just be presented with a blank memo field to write whatever they want in.
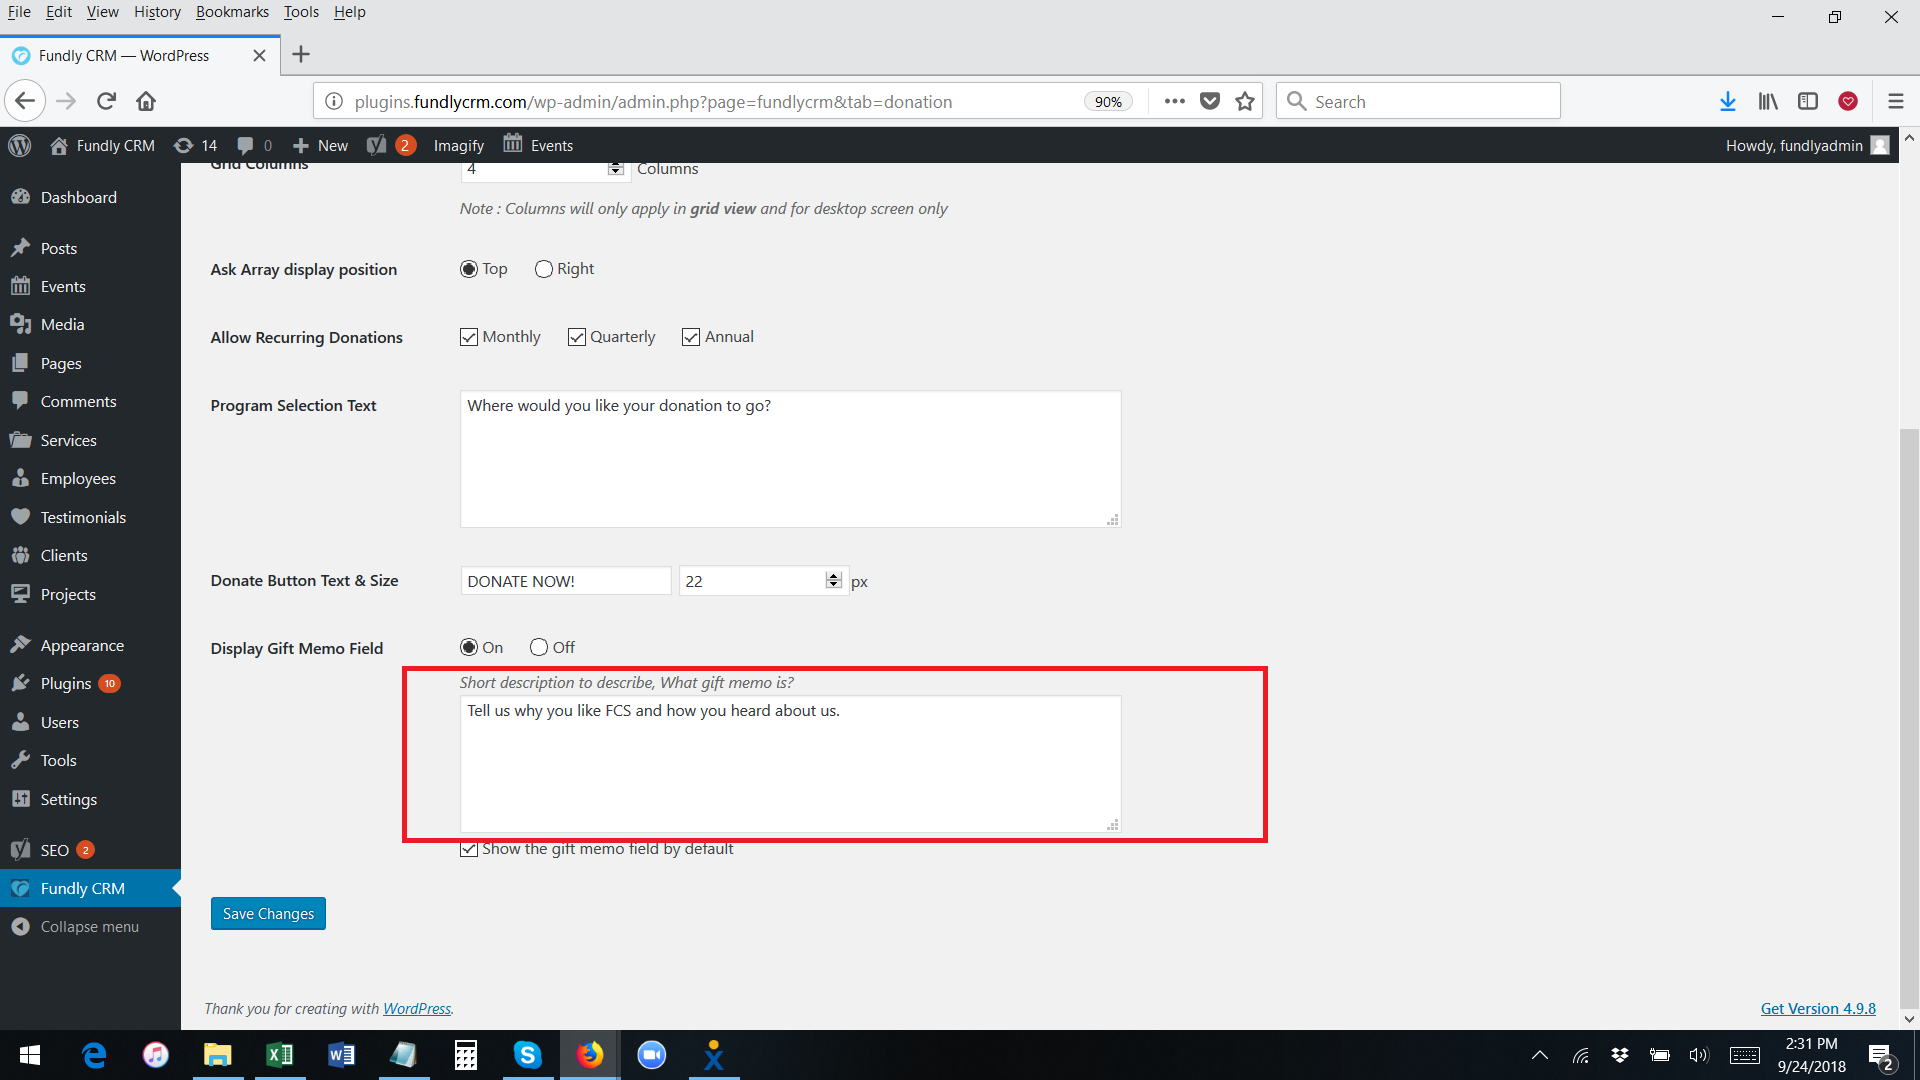

- The Show the Gift Memo Field by Default check box allows you to display the memo field by default. Otherwise, if this box is not checked, the donor must check a box on the donation field to expose/display the memo field.


- After making any changes on this page, click the blue Save Changes button at the bottom of the screen.

Comments
0 comments
Article is closed for comments.