
Wordpress Plugins Configurations and Settings Part 1 - General Tab (for all plugins)
- Regardless of which Plugins(s) you have purchased, all of them come with a general tab (one general tab for all of the CRM plugins installed) that controls the meta account settings (access the CRM Plugin control panel by logging into your WordPress admin panel and then find the CRM plugin in the left hand menu/list and click on it).
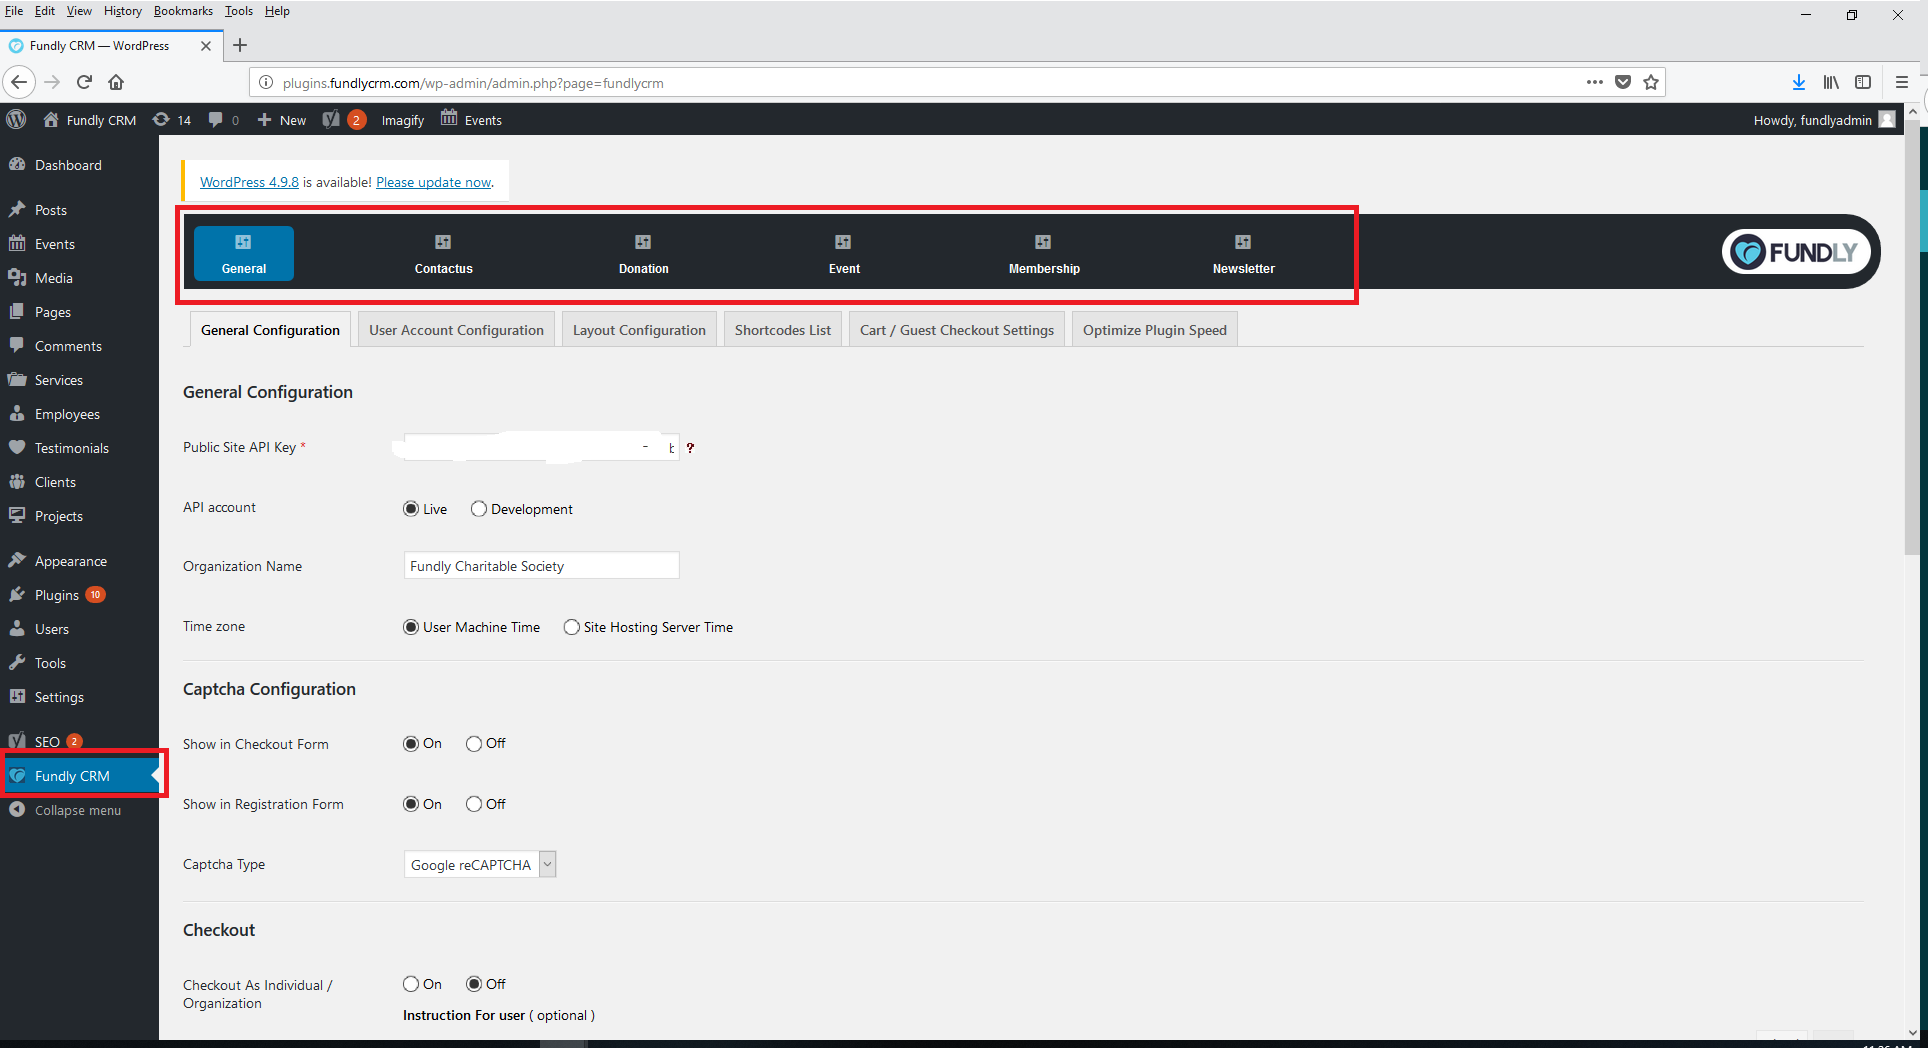
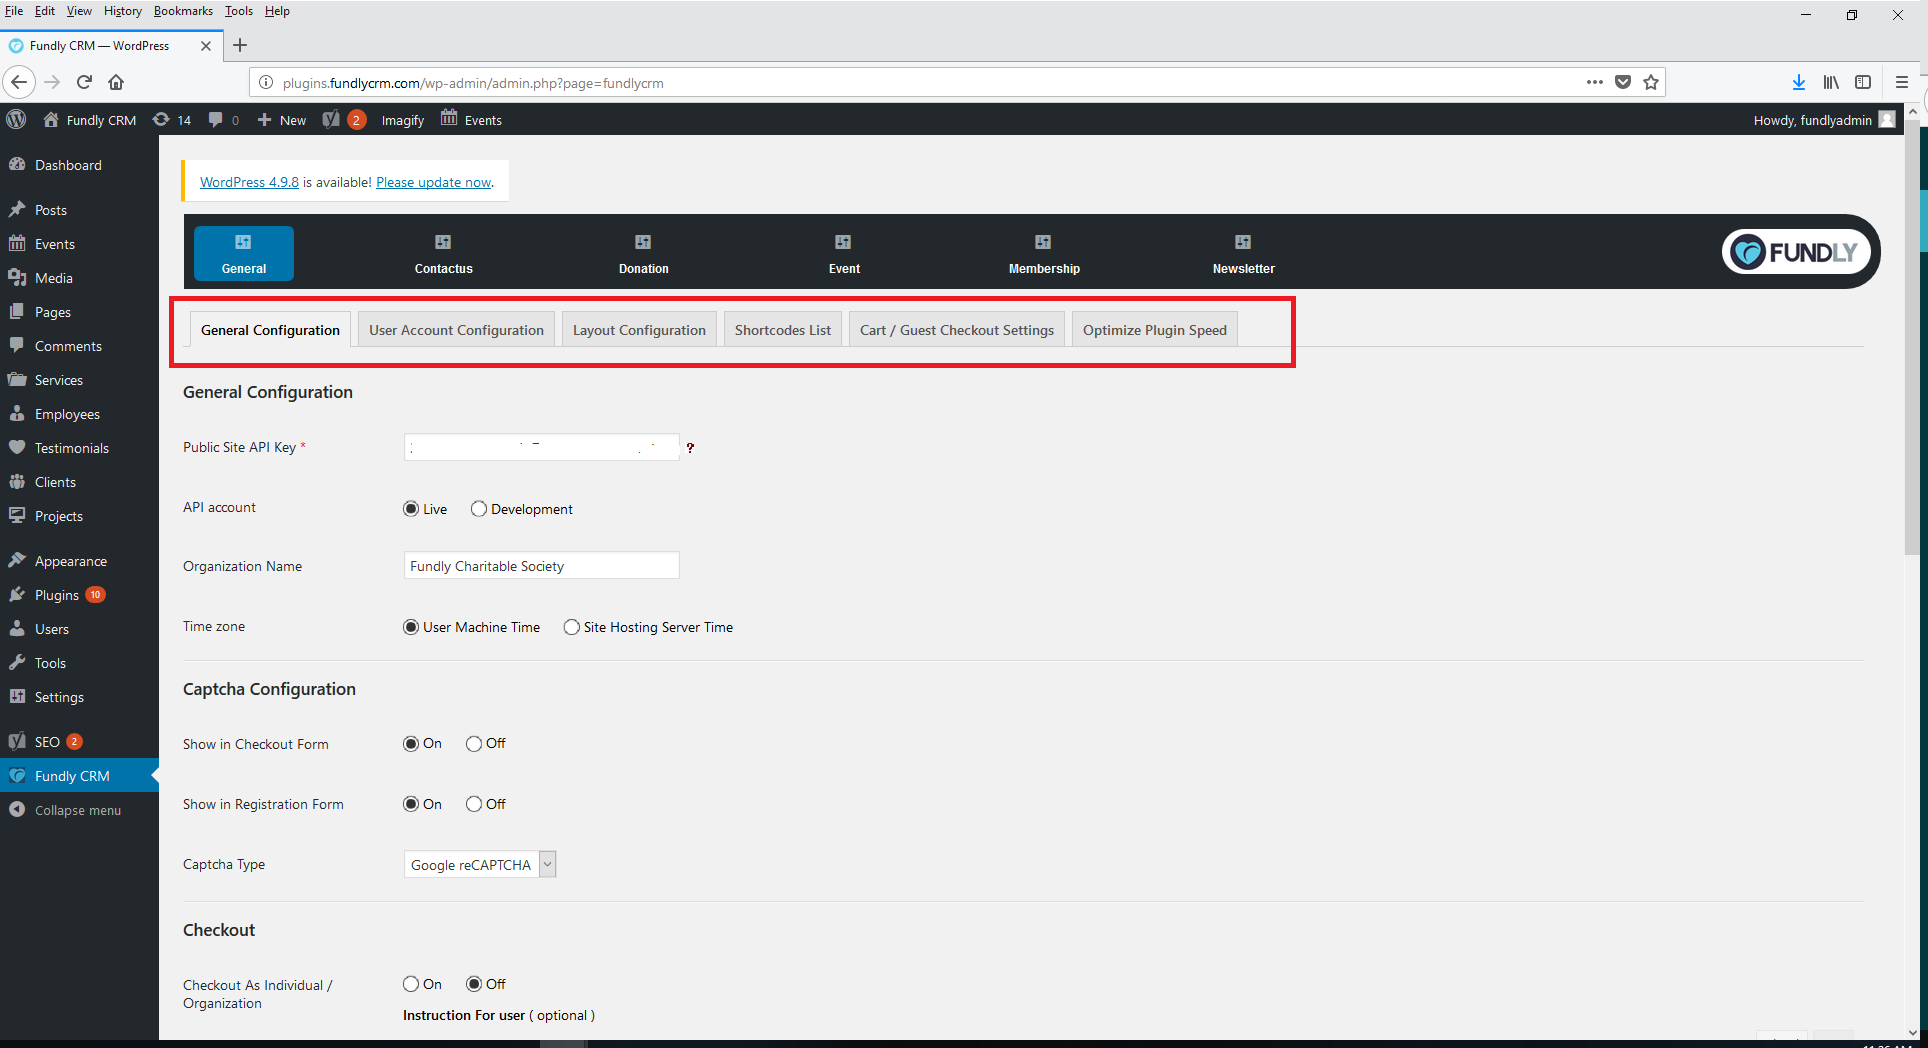
- The General Tab has 6 sub-tabs:
-
General Configuration
-
User Account Configuration
-
Layout Configuration
-
Short Code List
-
Cart/Guest Checkout Settings
-
Optimize Plugin Speed
-
General Configuration Sub-Tab
This tab will allow you to control some of the General Setup requirements for your CRM Plugins.
General Configuration
- Public Site API Key - To connect your CRM database to the Wordpress plugins you must copy your CRM Account's Public Site API Key. Please follow the steps below to find your Public Site API Key.
- Log in to your CRM Account

- Click the Account menu in the upper right hand corner (your user name) and select Account from the dropdown.

- On the Organization Info Tab, copy the API Key

- Log in to your CRM Account
- Paste the copied key into the CRM Wordpress Plugin field Public Site API Key

- Click Save Changes at the bottom of the page.
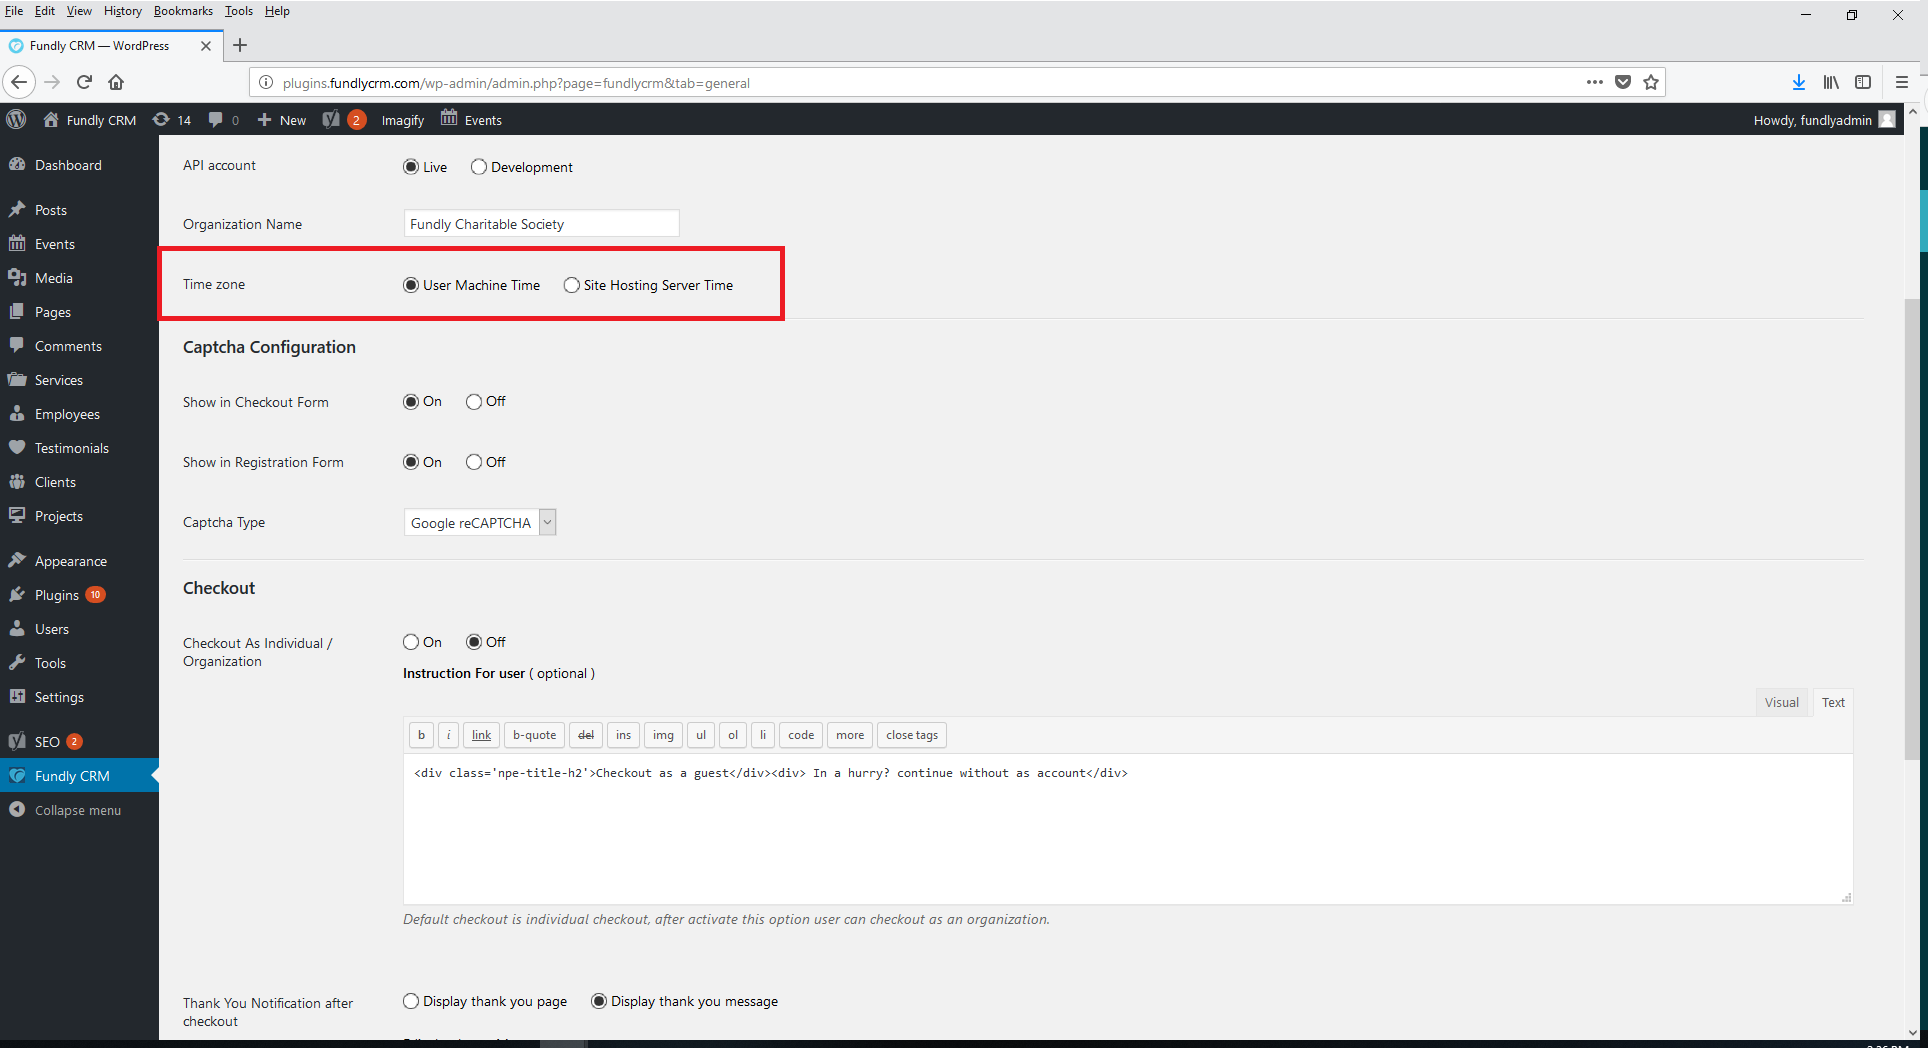
Time Zone (part of the General Configuration section)
- The time zone setting will allow you to set whether online transactions and date/times on your Plugin produced pages use the users time zone/settings (User Machine Time) or your site's time zone/settings (Site Hosting Server Time).
Captcha Configuration
- In order to protect your registration forms, cart checkouts, and login creation from robot testing, we highly recommend that you keep the Captcha verifications on all forms. Please select one of our available Captcha Options (Please Note: The Newsletter Form Plugin and Custom Form Plugin have their own Captcha settings as well).
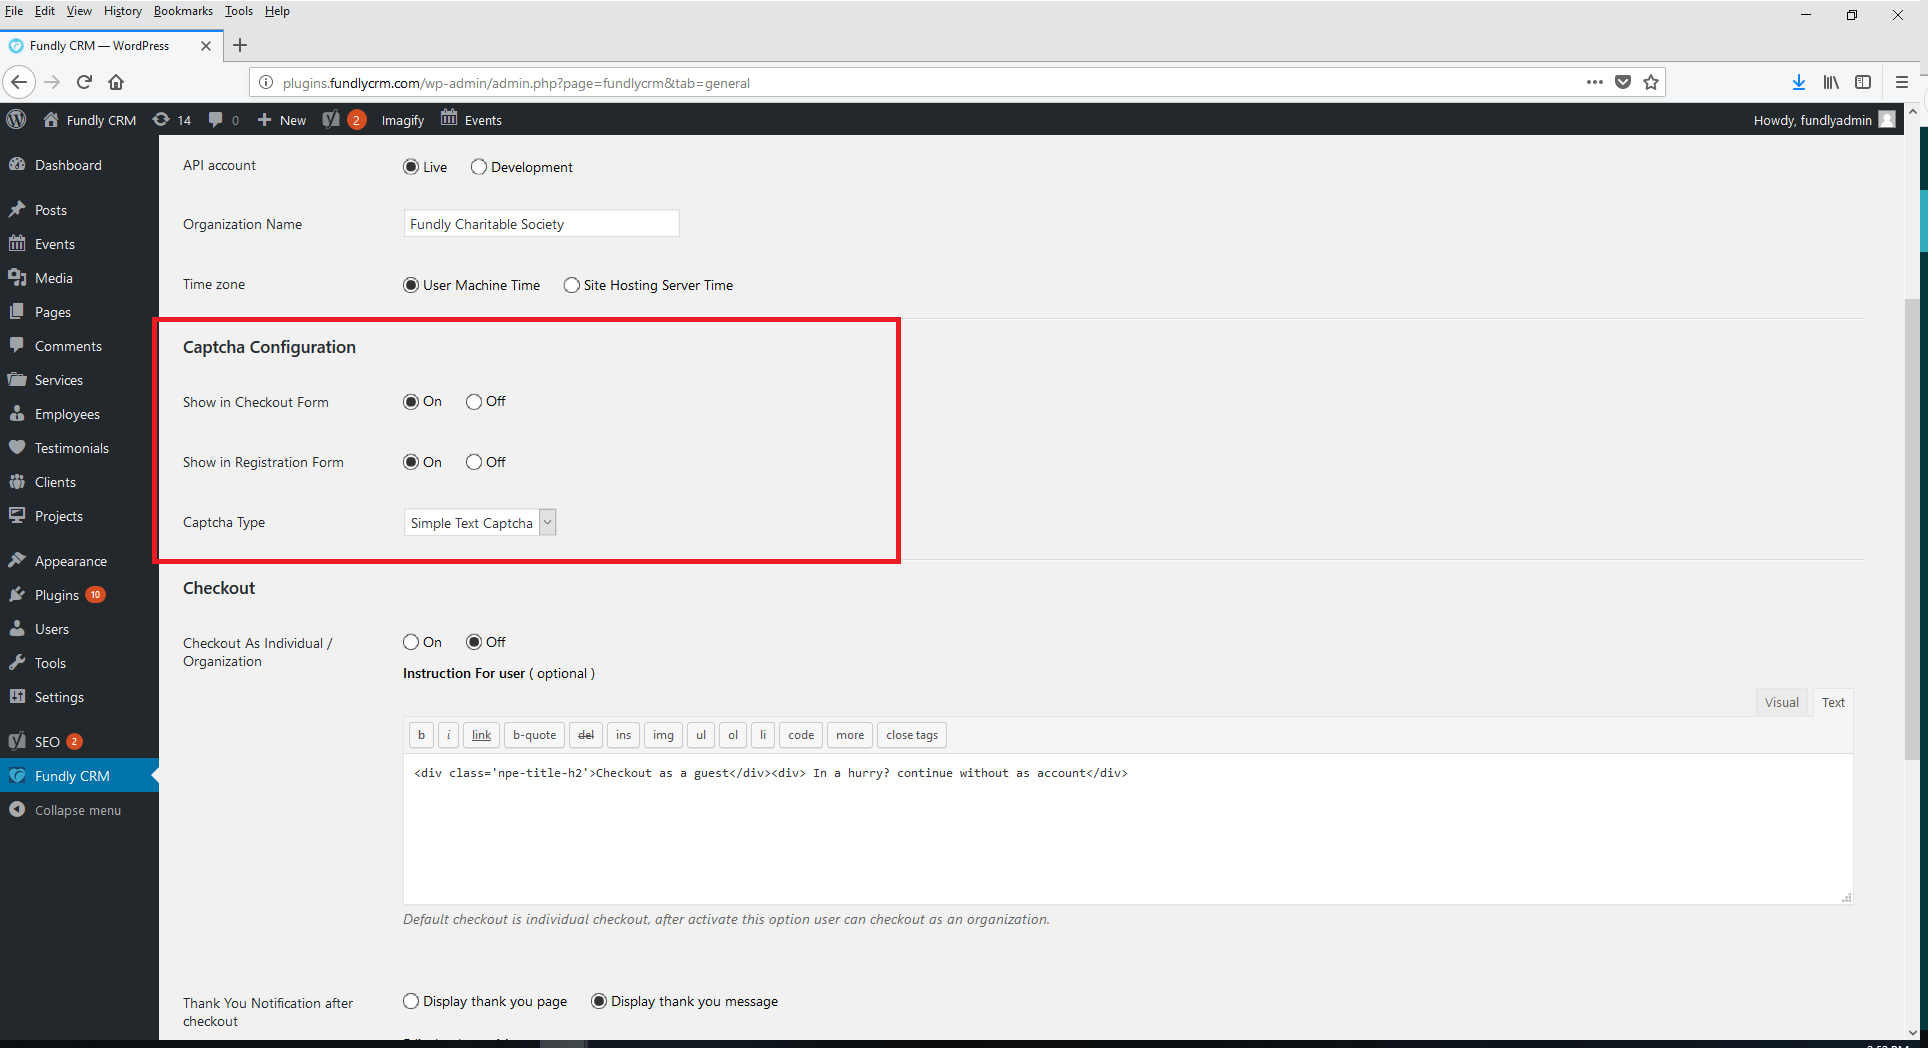
- There are two Captcha types to select from: Google Captcha and Simple Text Captcha.
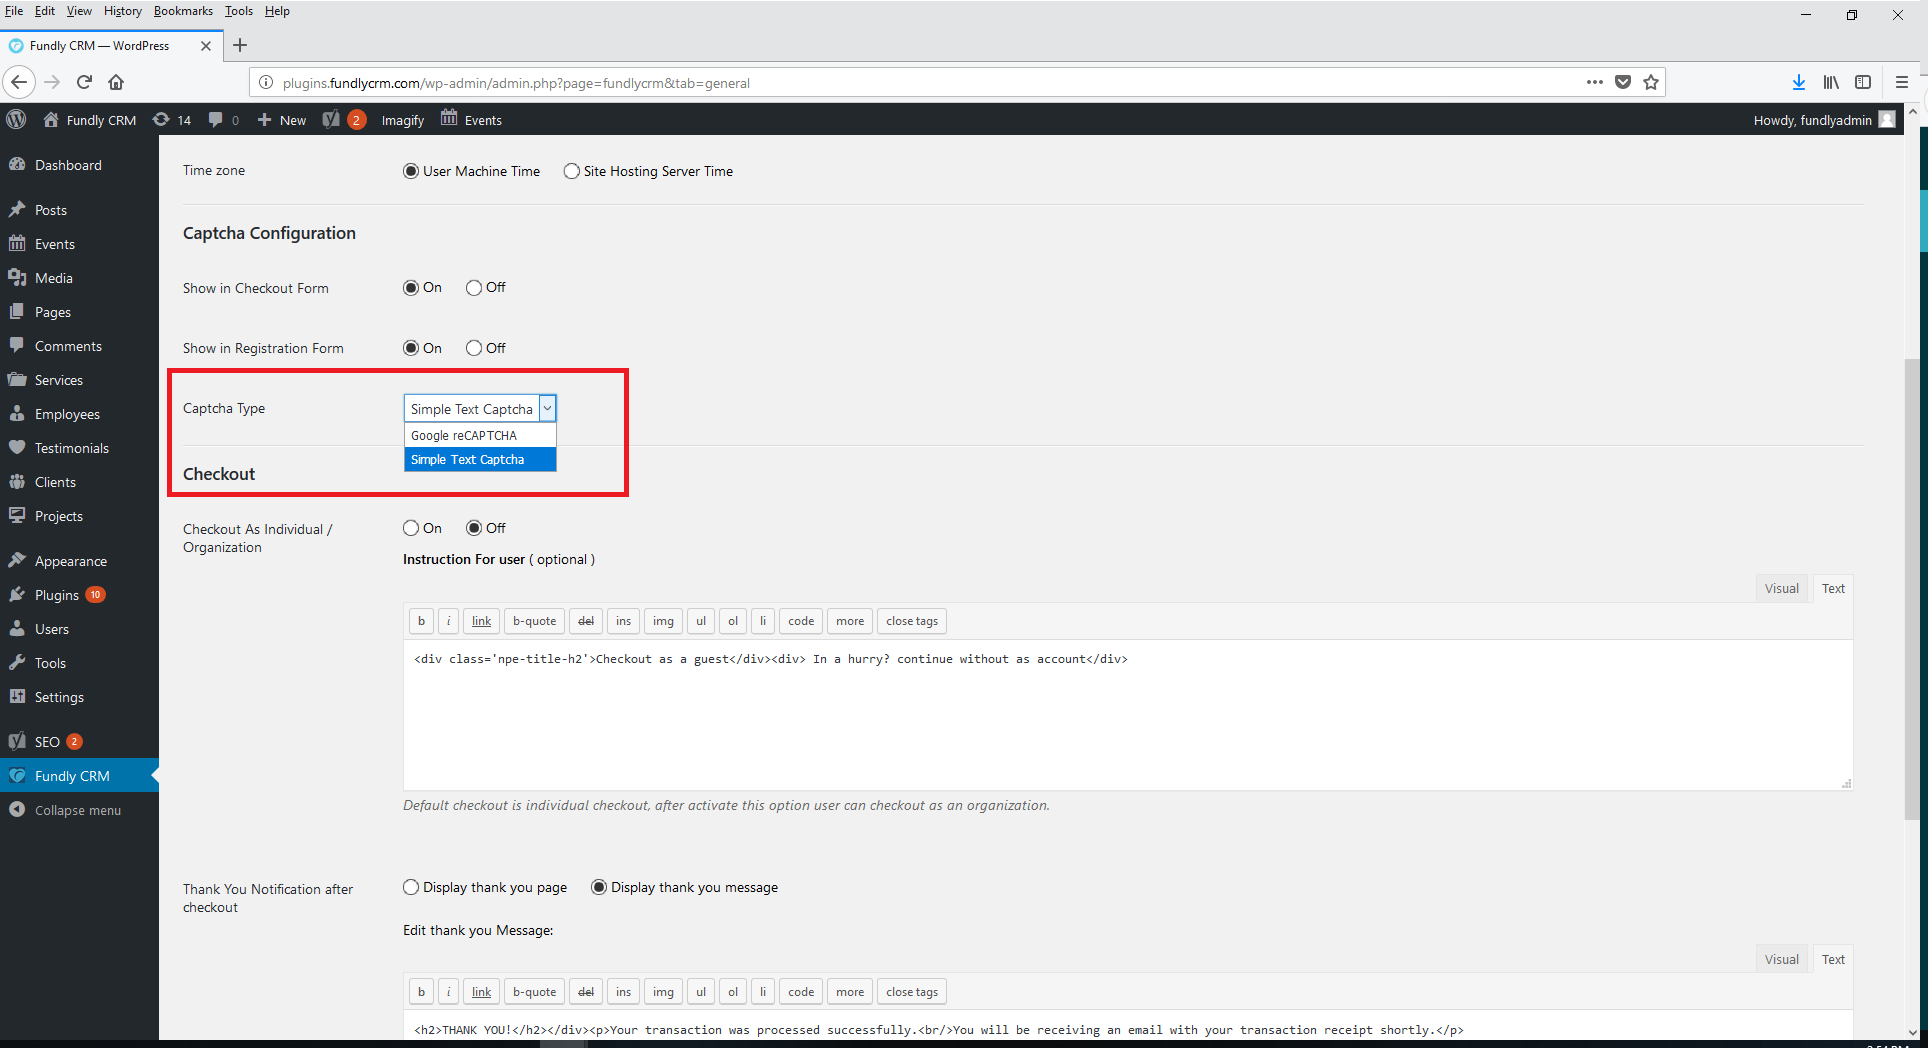
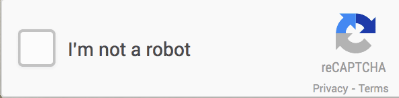
- Google ReCaptcha - this Captcha checker simply has the user check a box to indicate they are not a bot/are human. Click Here to see how it works.
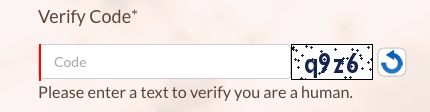
- Simple Text Captcha - this is a Captcha checker that only requires the user to enter the text as shown. It is a common Captcha, but it is less secure than Google's ReCaptcha.
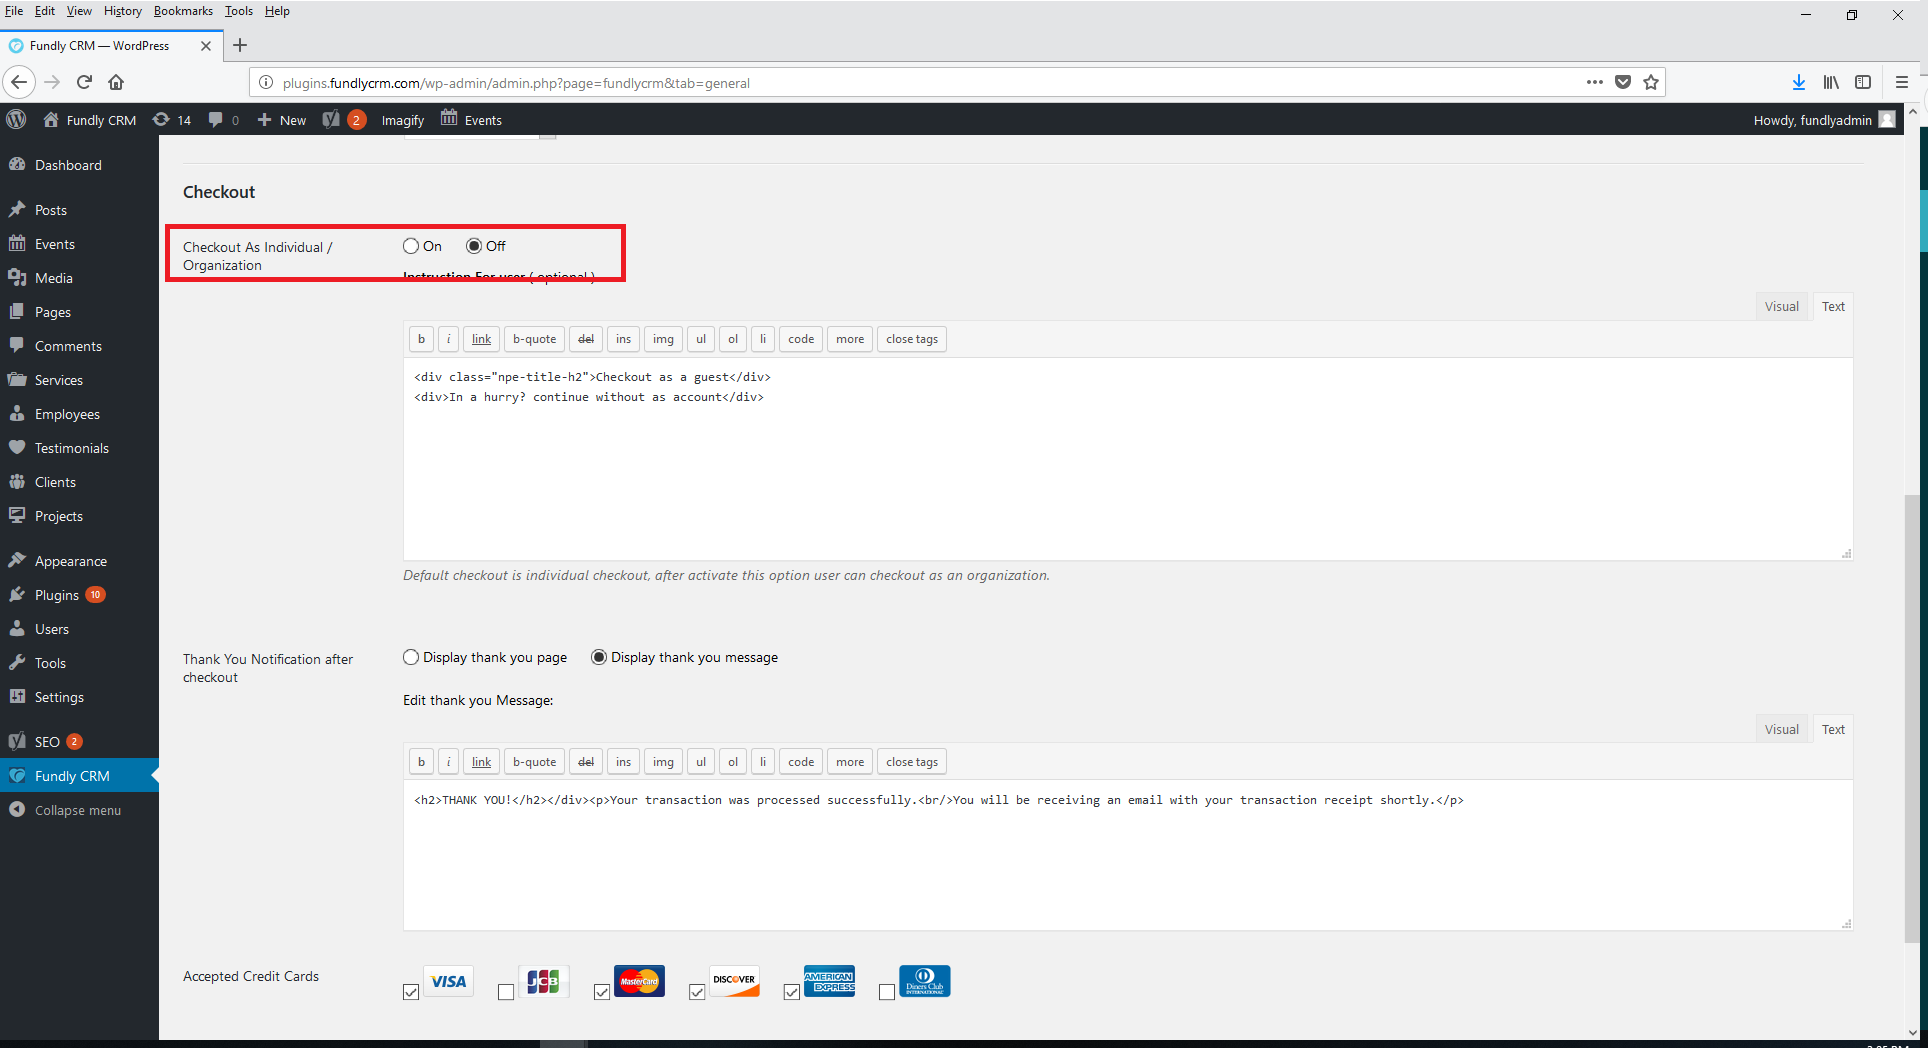
Checkout
- This section allows you to set the options that you would like to be available for user checkouts through the plugin.
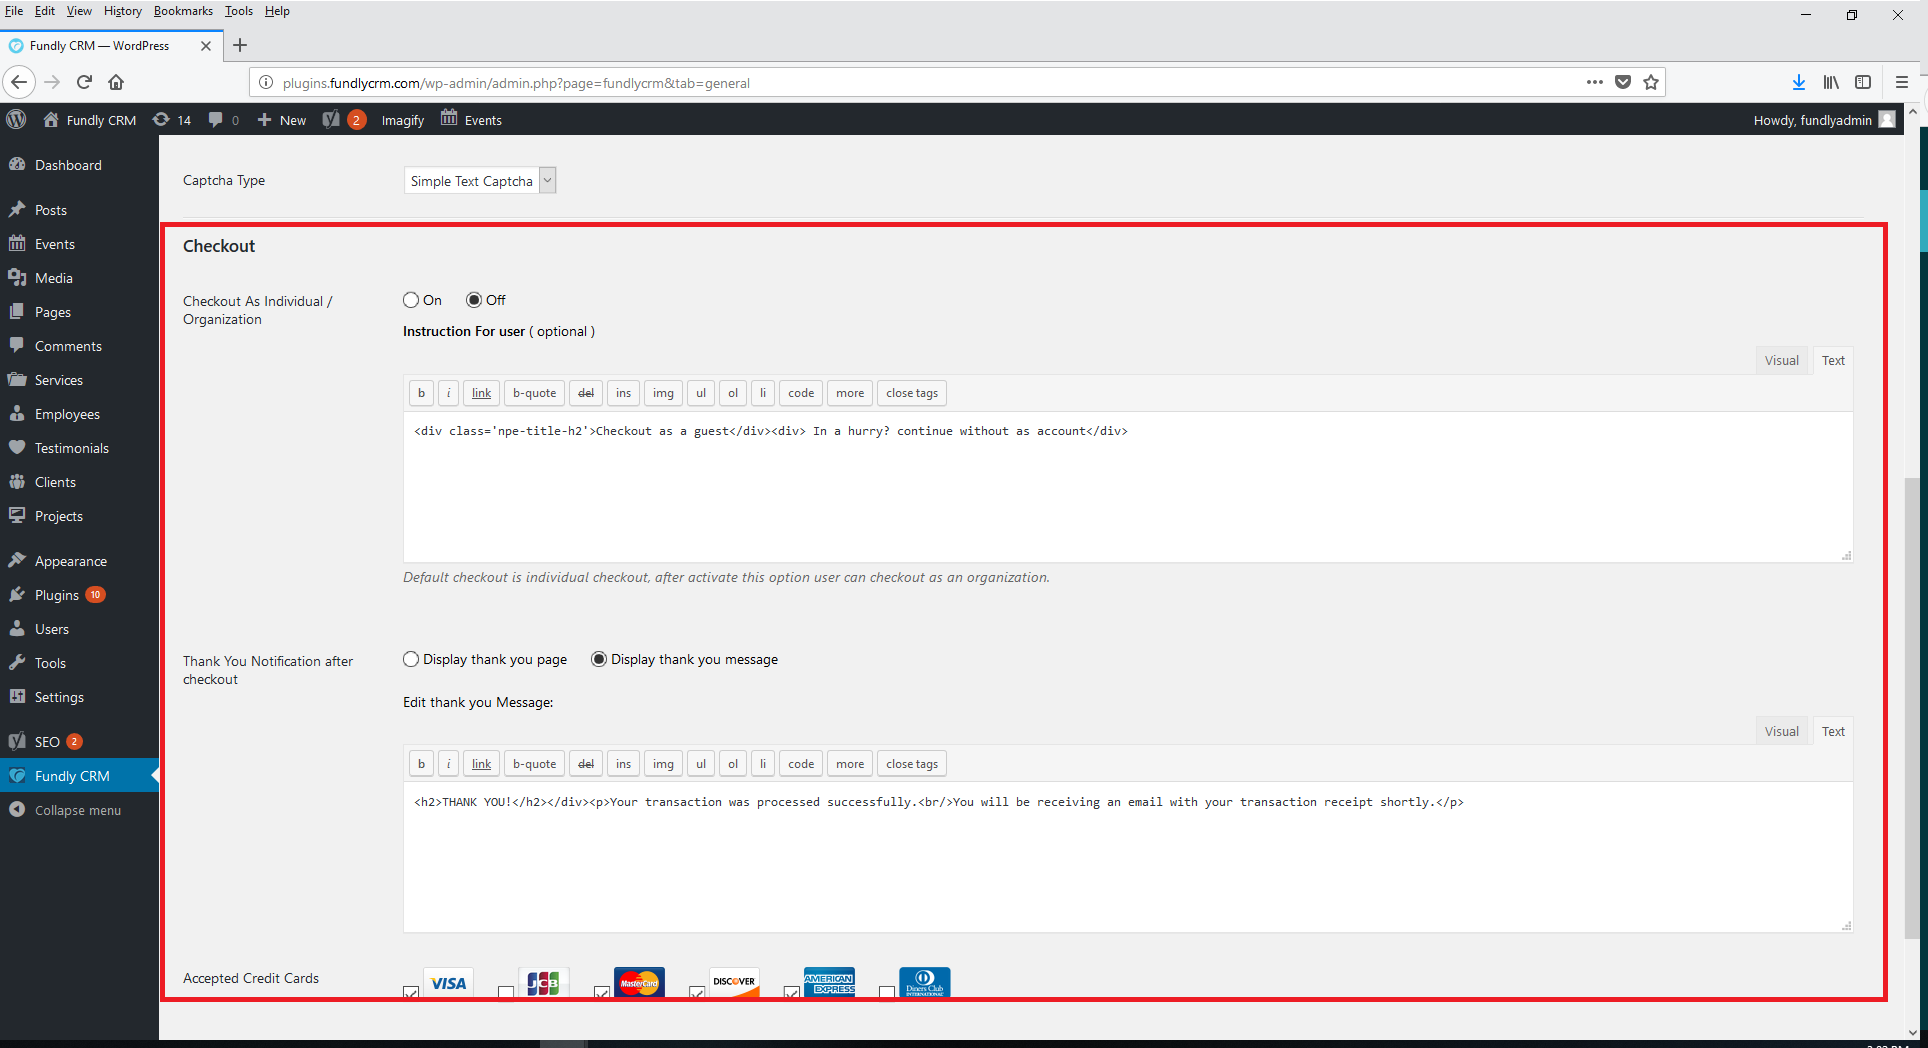
- Checkout As Individual / Organization - allows user the option to check out as an individual or an organization. If this is set to "Off," then only check out as an individual will be allowed (Please Note: Allowing Guest Check Out is set on the Cart / Guest Checkout Settings sub-tab).
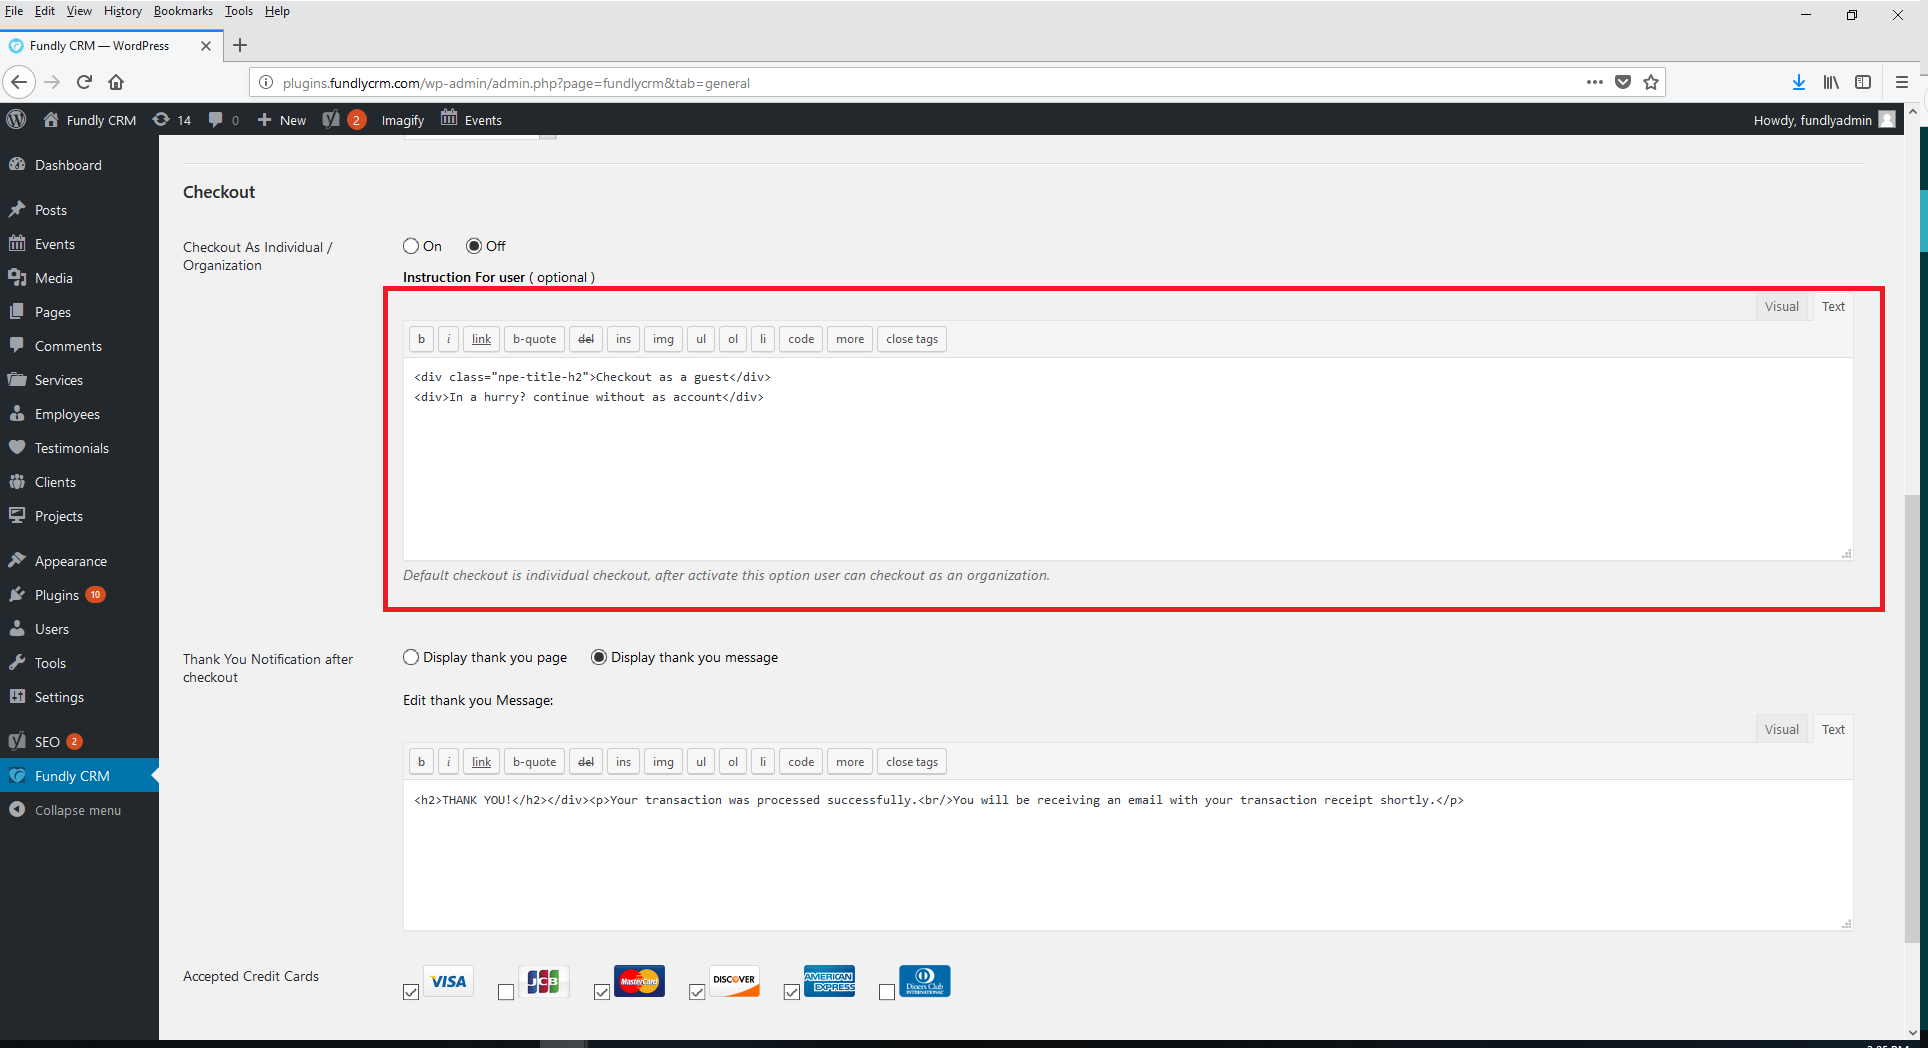
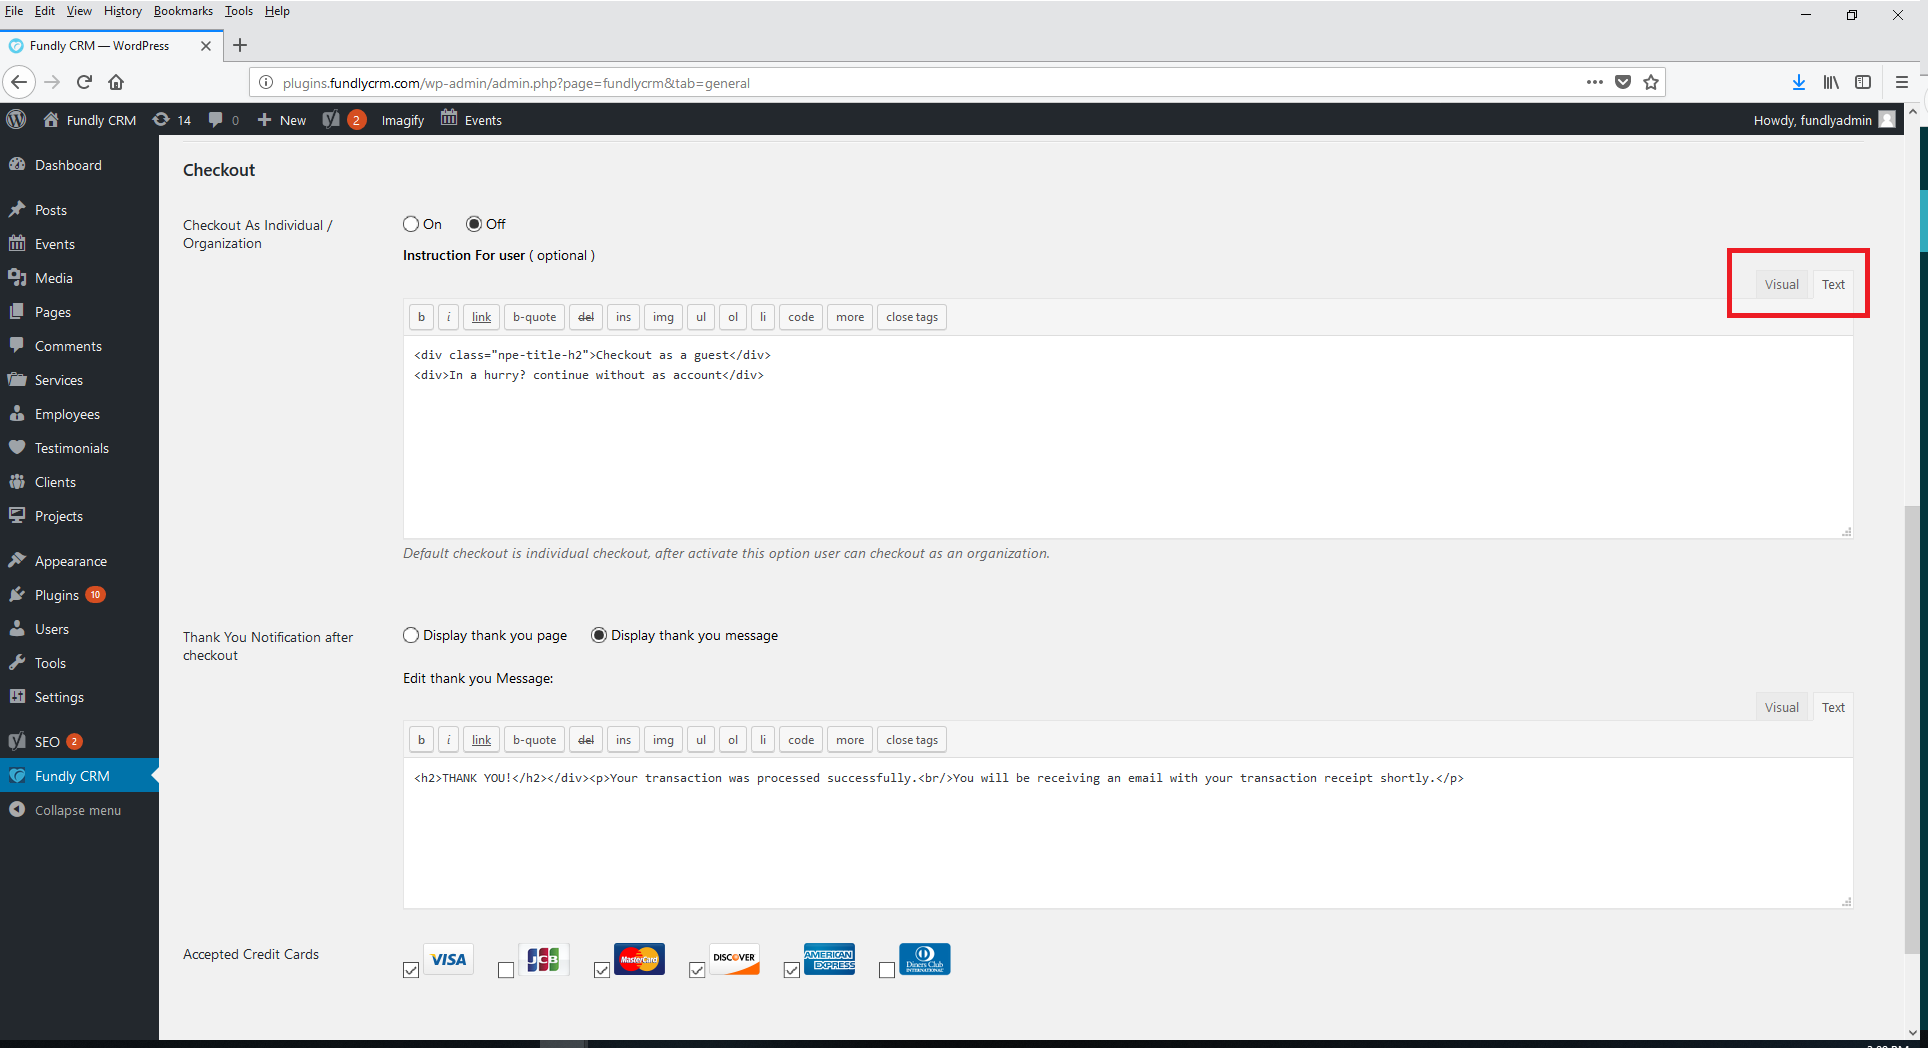
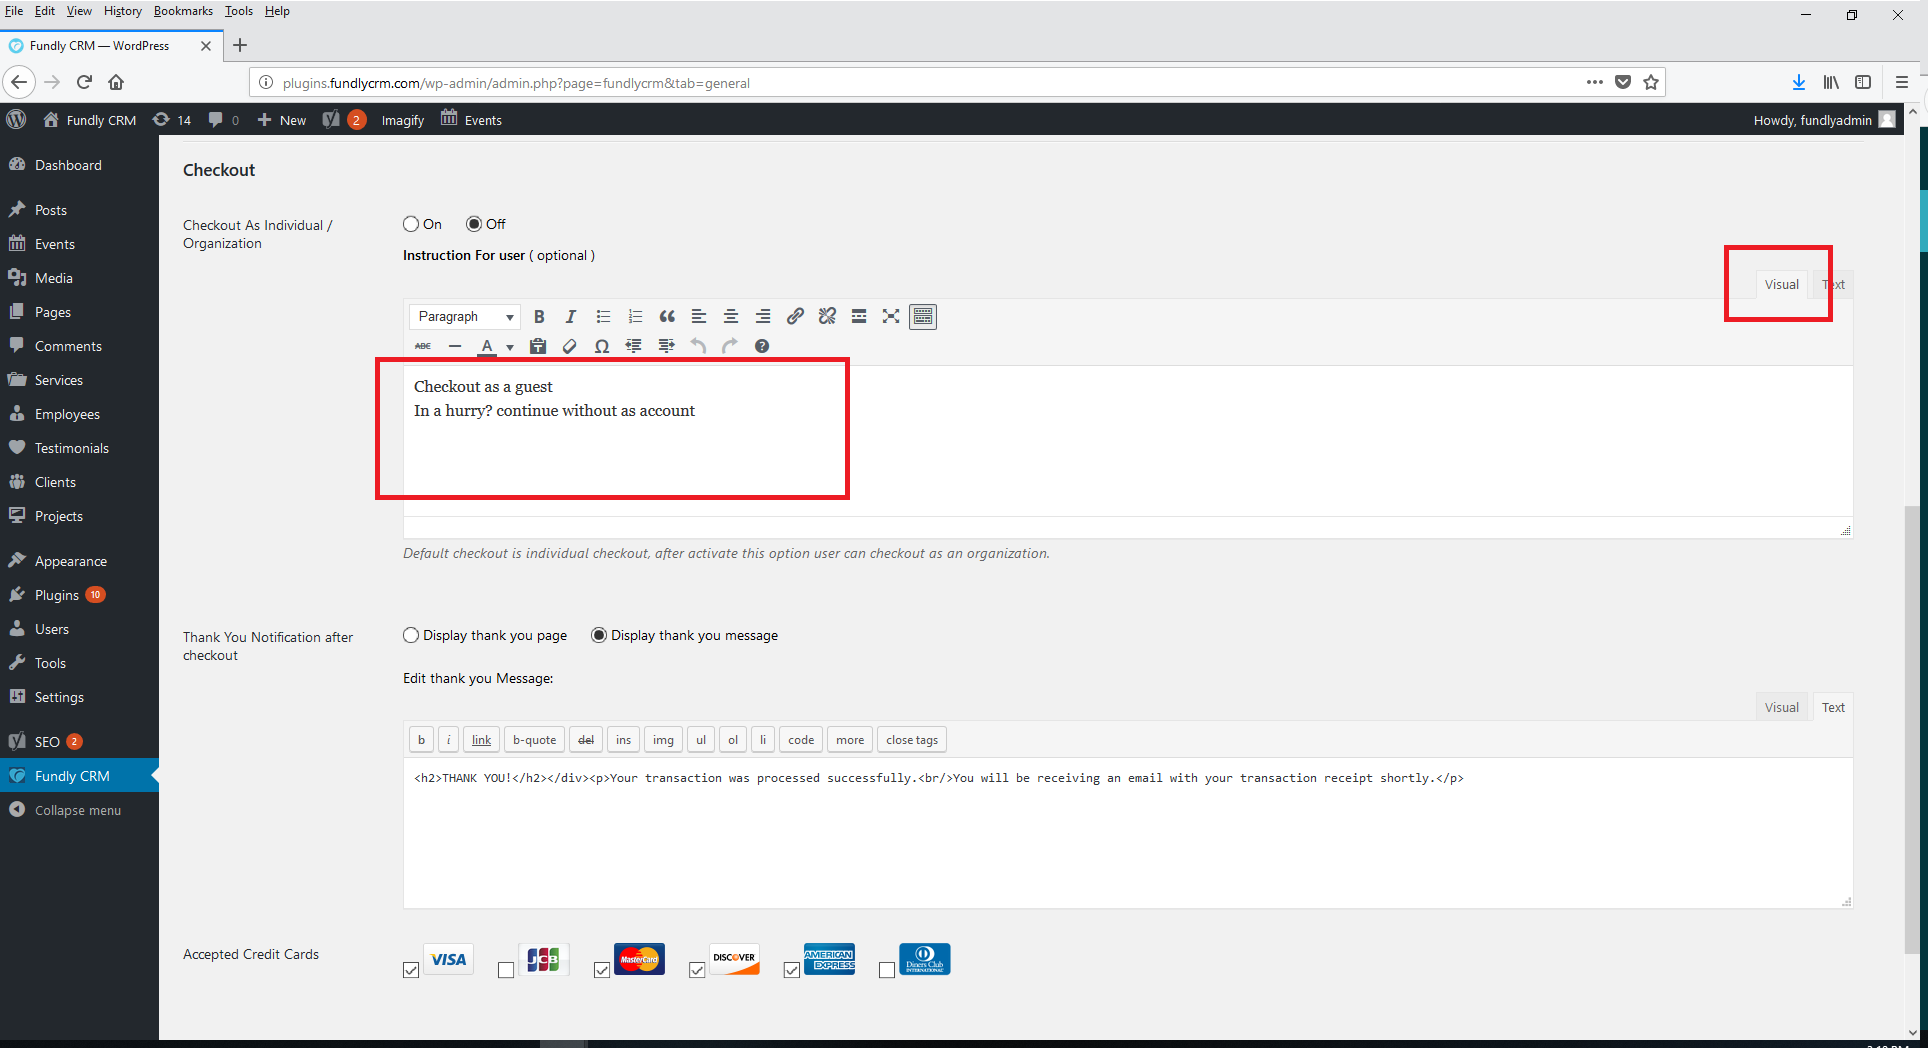
- You can provide general Instructions to users in the Instruction for user field. This is optional - you can leave it blank. The Visual / Text toggle on the right lets you toggle between seeing the html mark up and the final/formatted output.
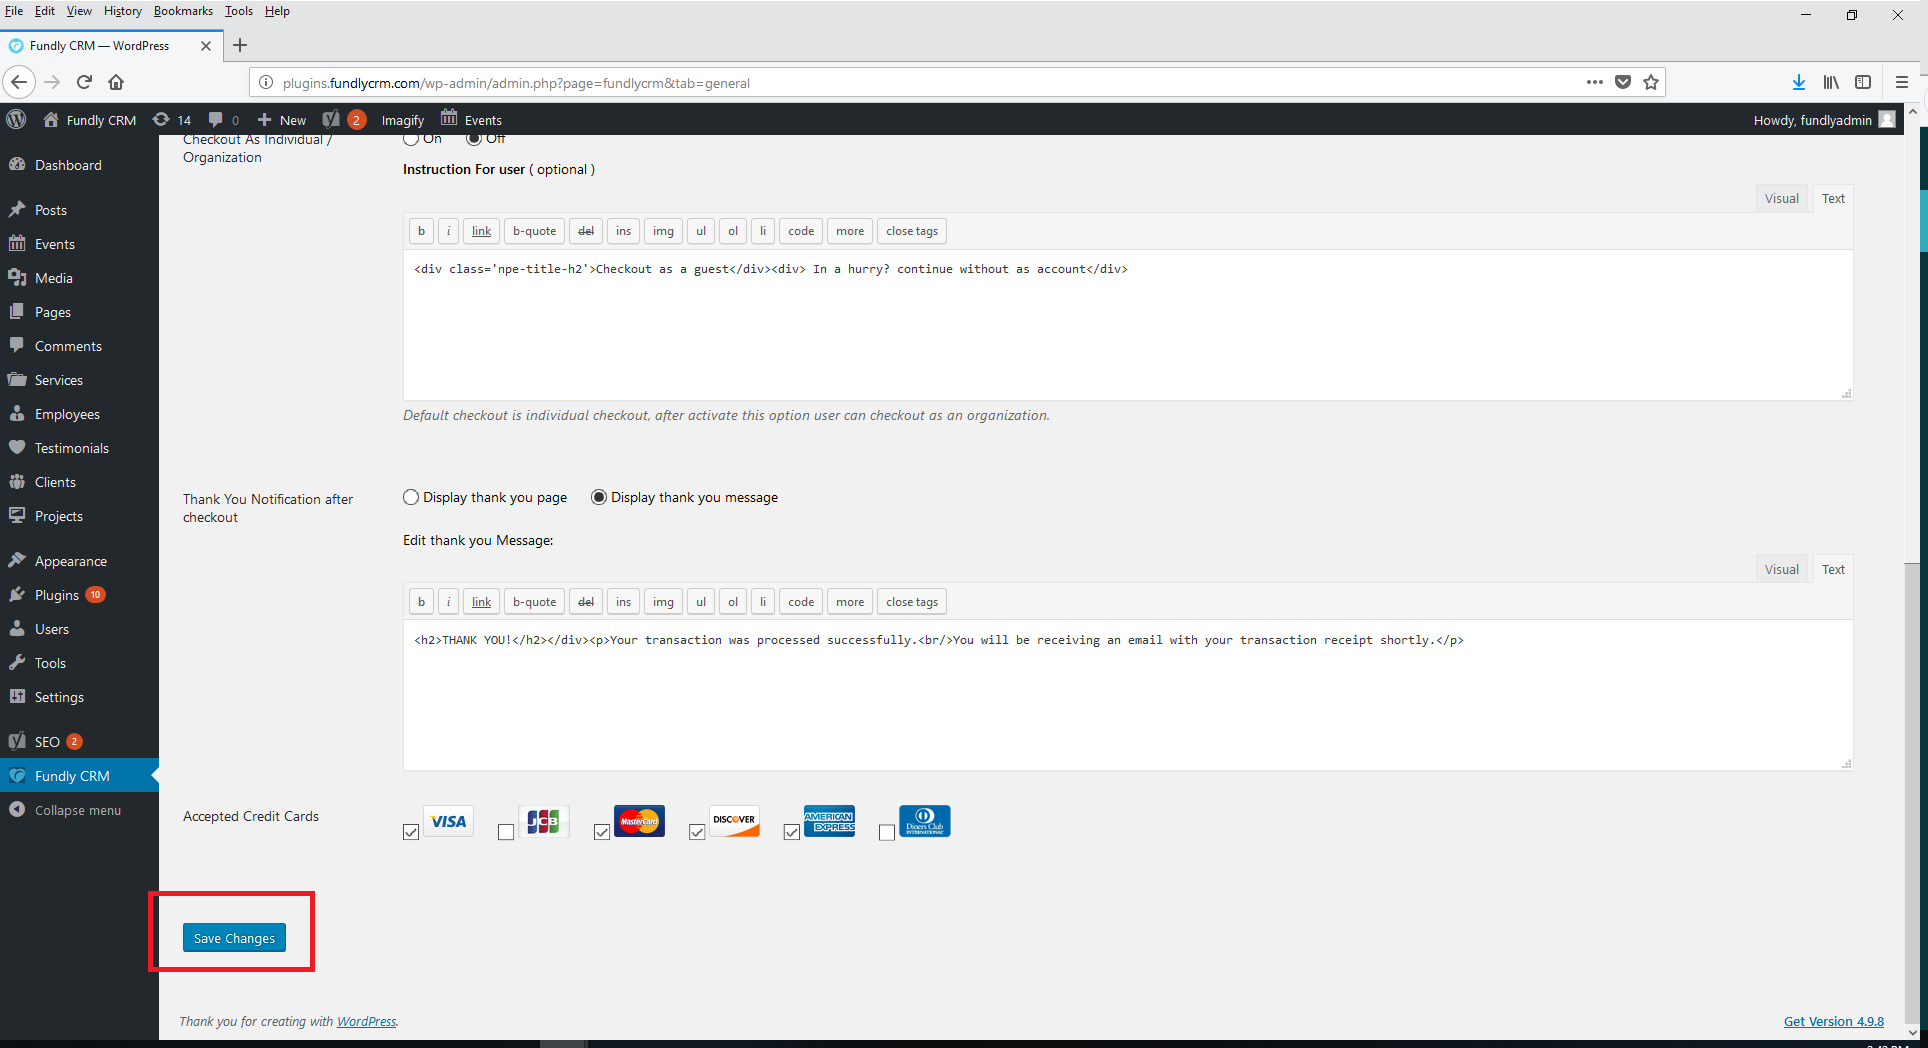
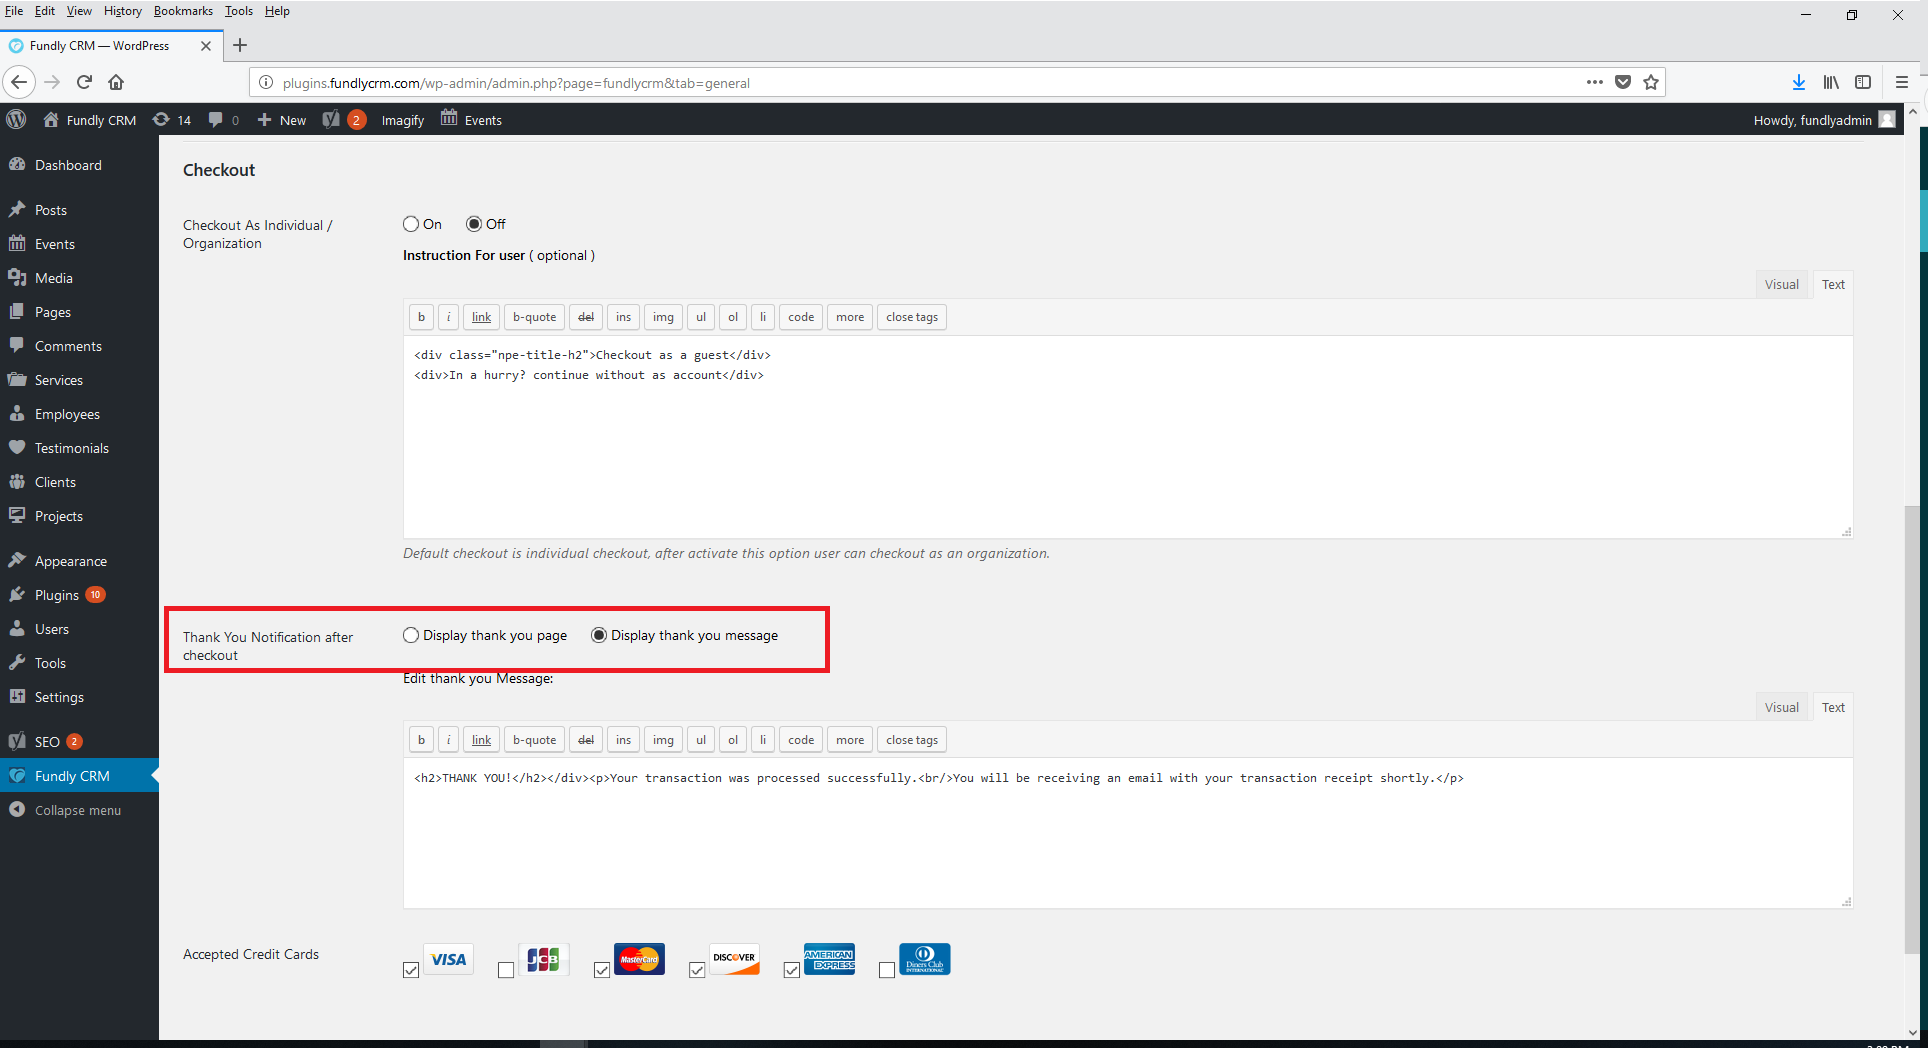
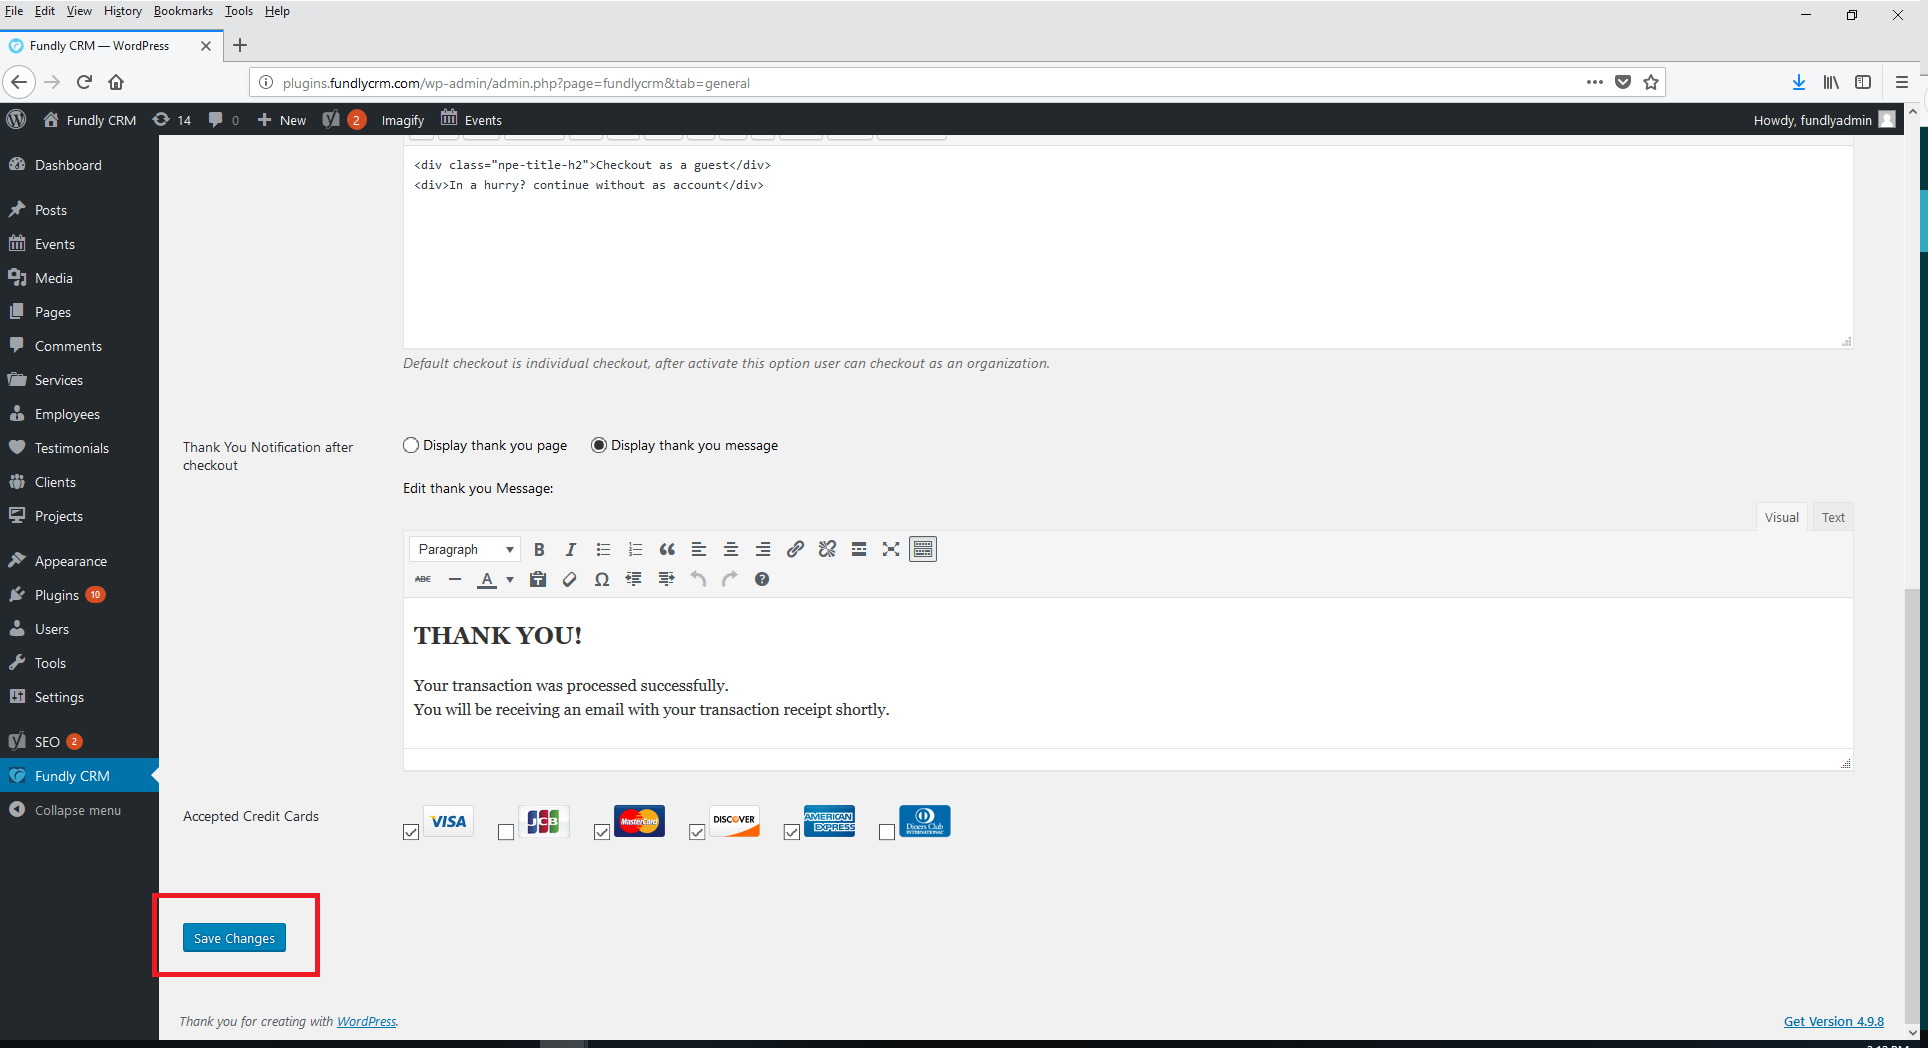
- Thank You Notification After Checkout - you can either create a Wordpress page to redirect to after successful online transactions through the plugin or you can opt to simply display an onscreen message to notify the user that their transaction has been completed.
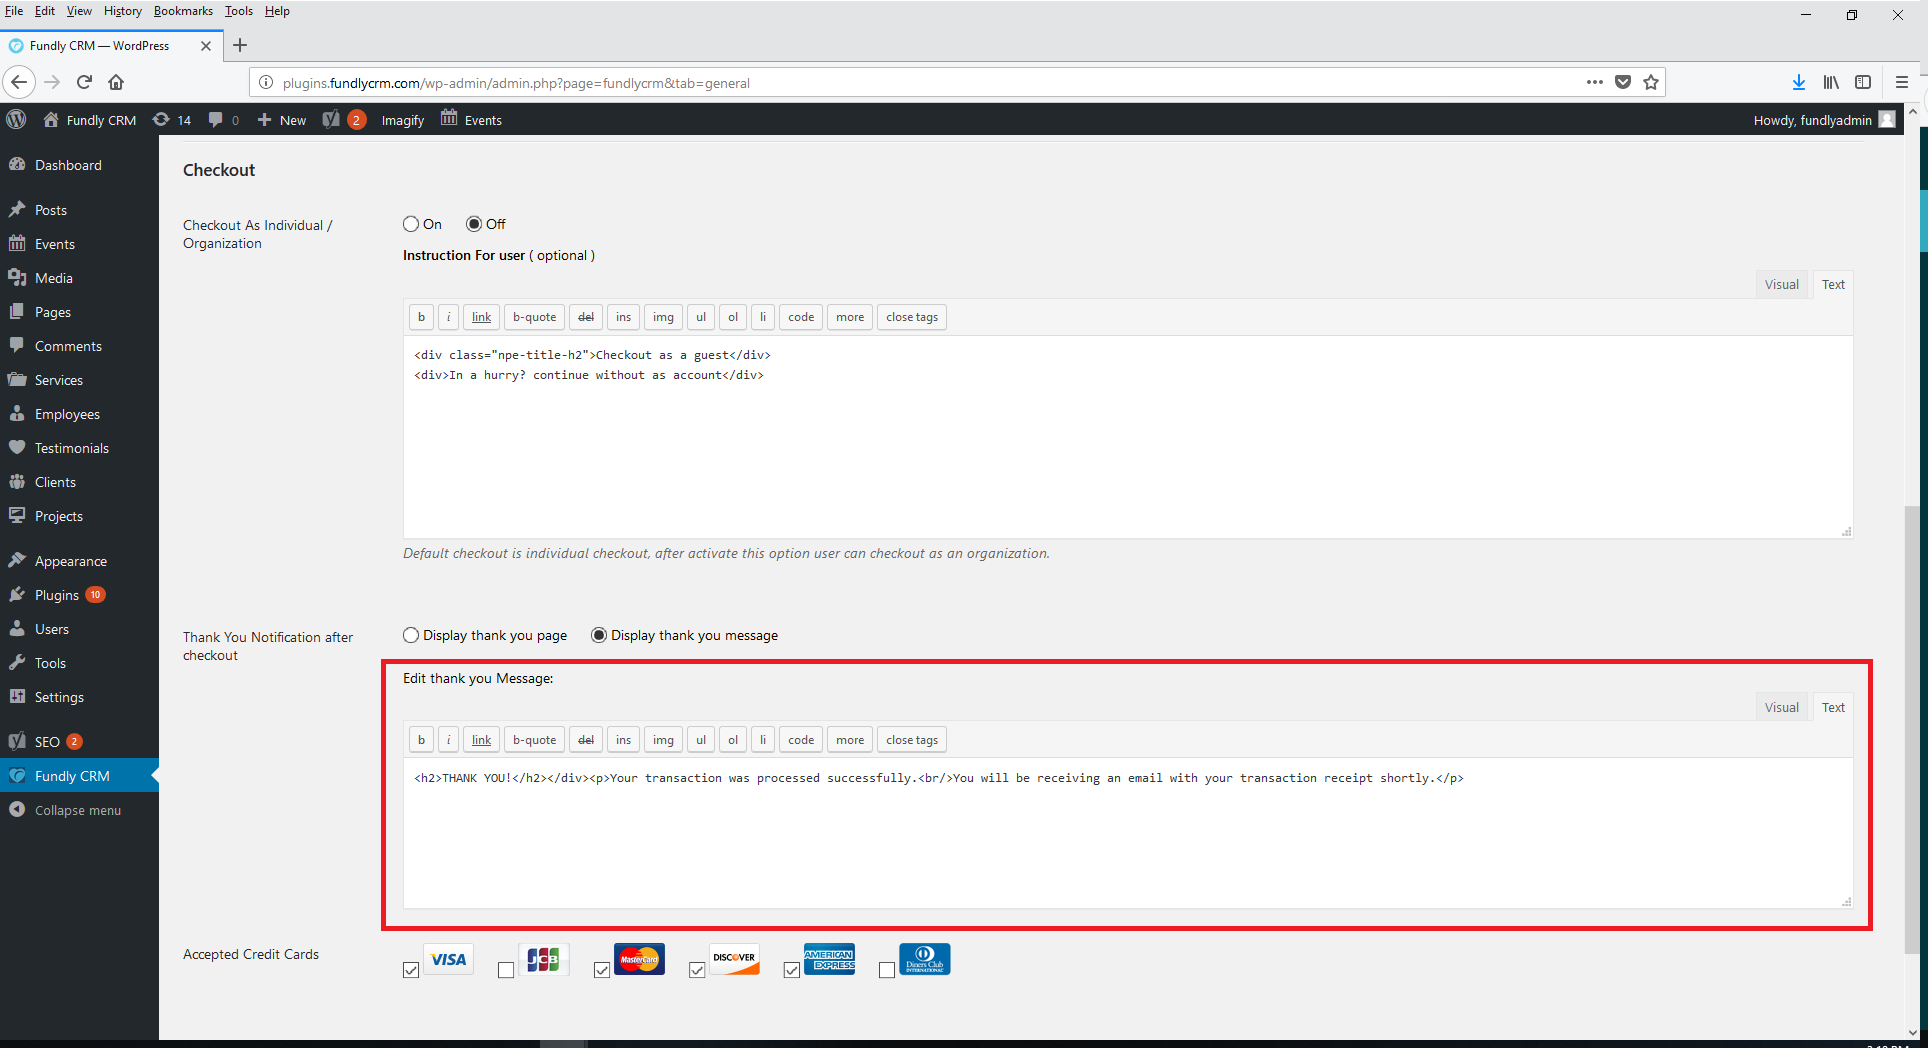
- If you opt to display thank you message, you can configure the message in the box provided. Use the Visual/Text toggle to switch between seeing the html mark up and the final/formatted output.


- Accepted Credit Cards - the Cards listed are all of the credit cards accepted by Stripe. If you like to not show that you accept all of these cards, simply uncheck the box by the associated credit card type. Some organizations may choose not to accept American Express cards due to a higher processing rate.
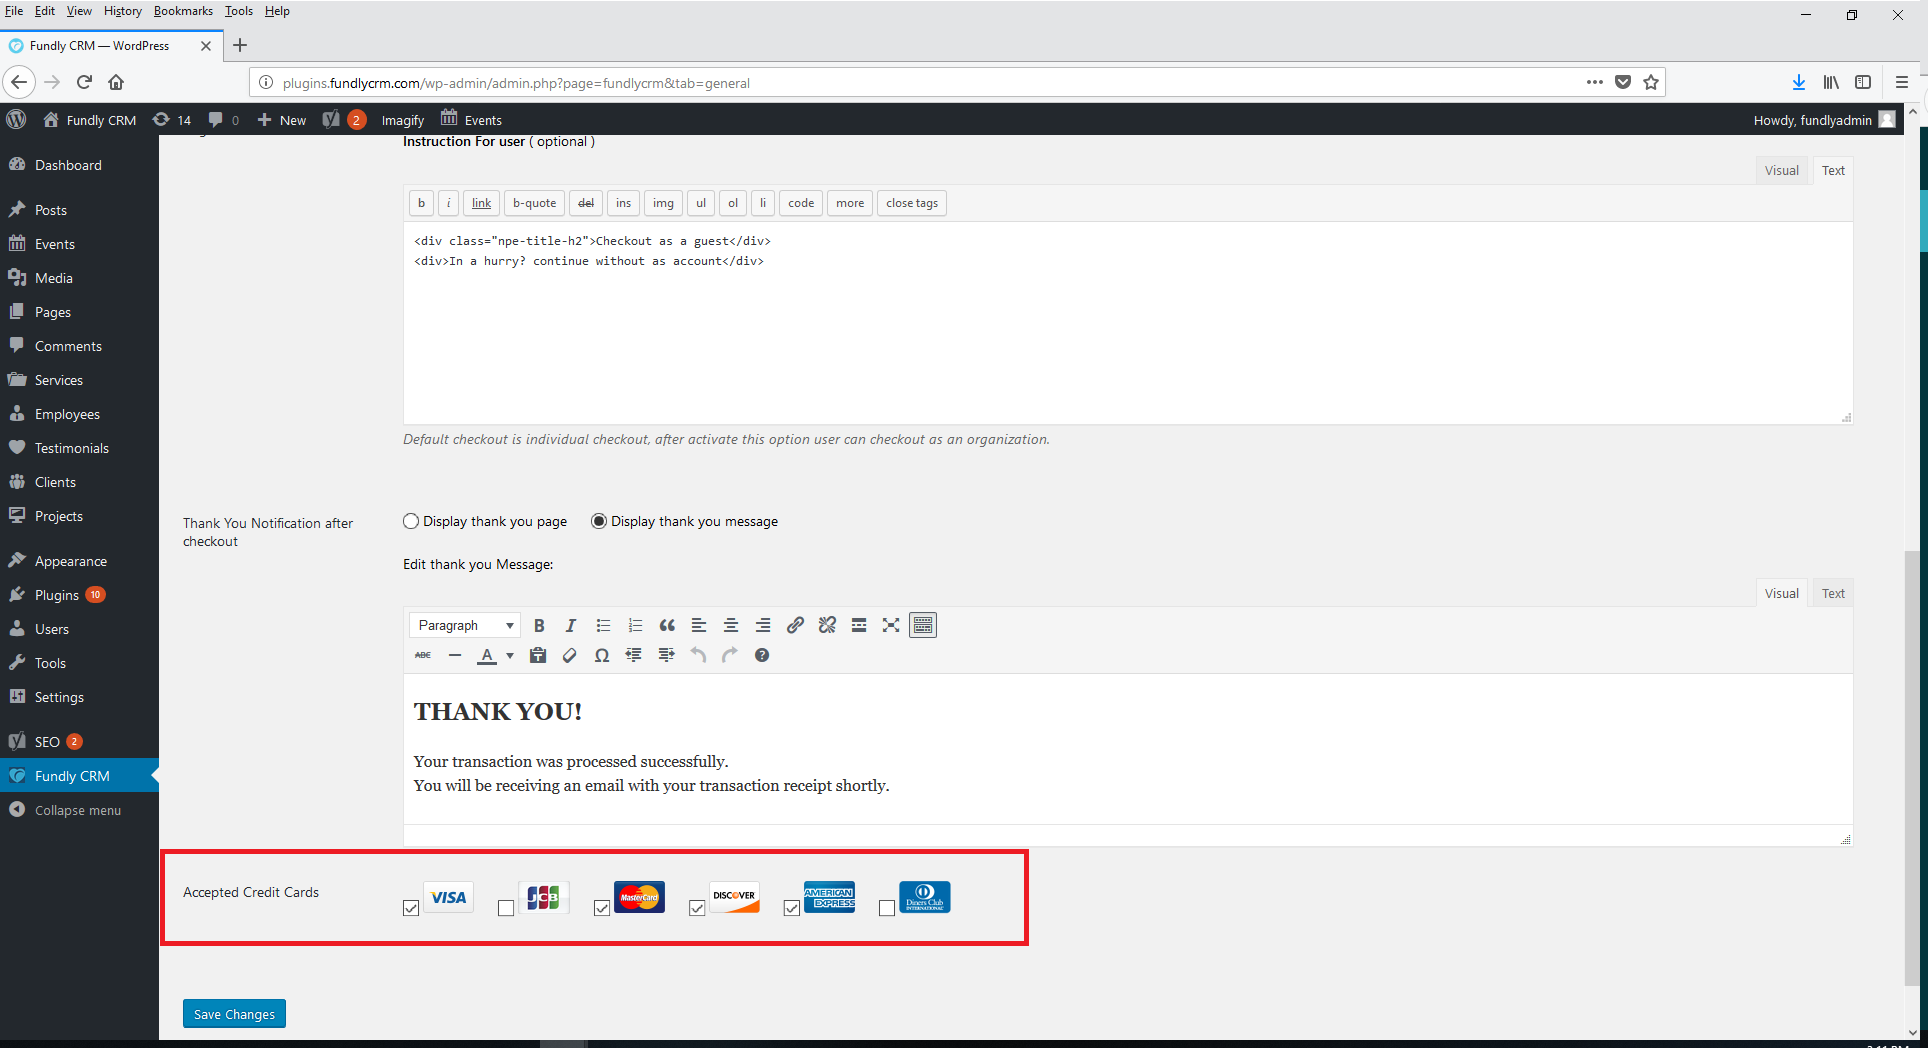
- After making any changes to this screen, be sure to click the blue Save Changes button at the bottom of the screen.
User Account Configuration
This tab controls the settings related to your contacts being able to create and log into public profiles on your website. Creating and logging into public profiles allows the system to recognize front end users as contacts/members/past donors and also to update their basic contact information that is stored in your CRM themselves.
WordPress User
This section controls whether or not to allow a "single sign on" option between WordPress public profiles and NPE public profiles. If you have a "logged in" section of your public-facing website and use the WordPress users/public profiles plug-in to manage those accounts/usernames & passwords, toggling this setting to "On" allows those users to log into their NPE public profile with the same username and password as their WordPress public profile username and password. Toggling this "Off" means that NPE public profile users will need to create a separate/distinct username and password for their NPE public profile.
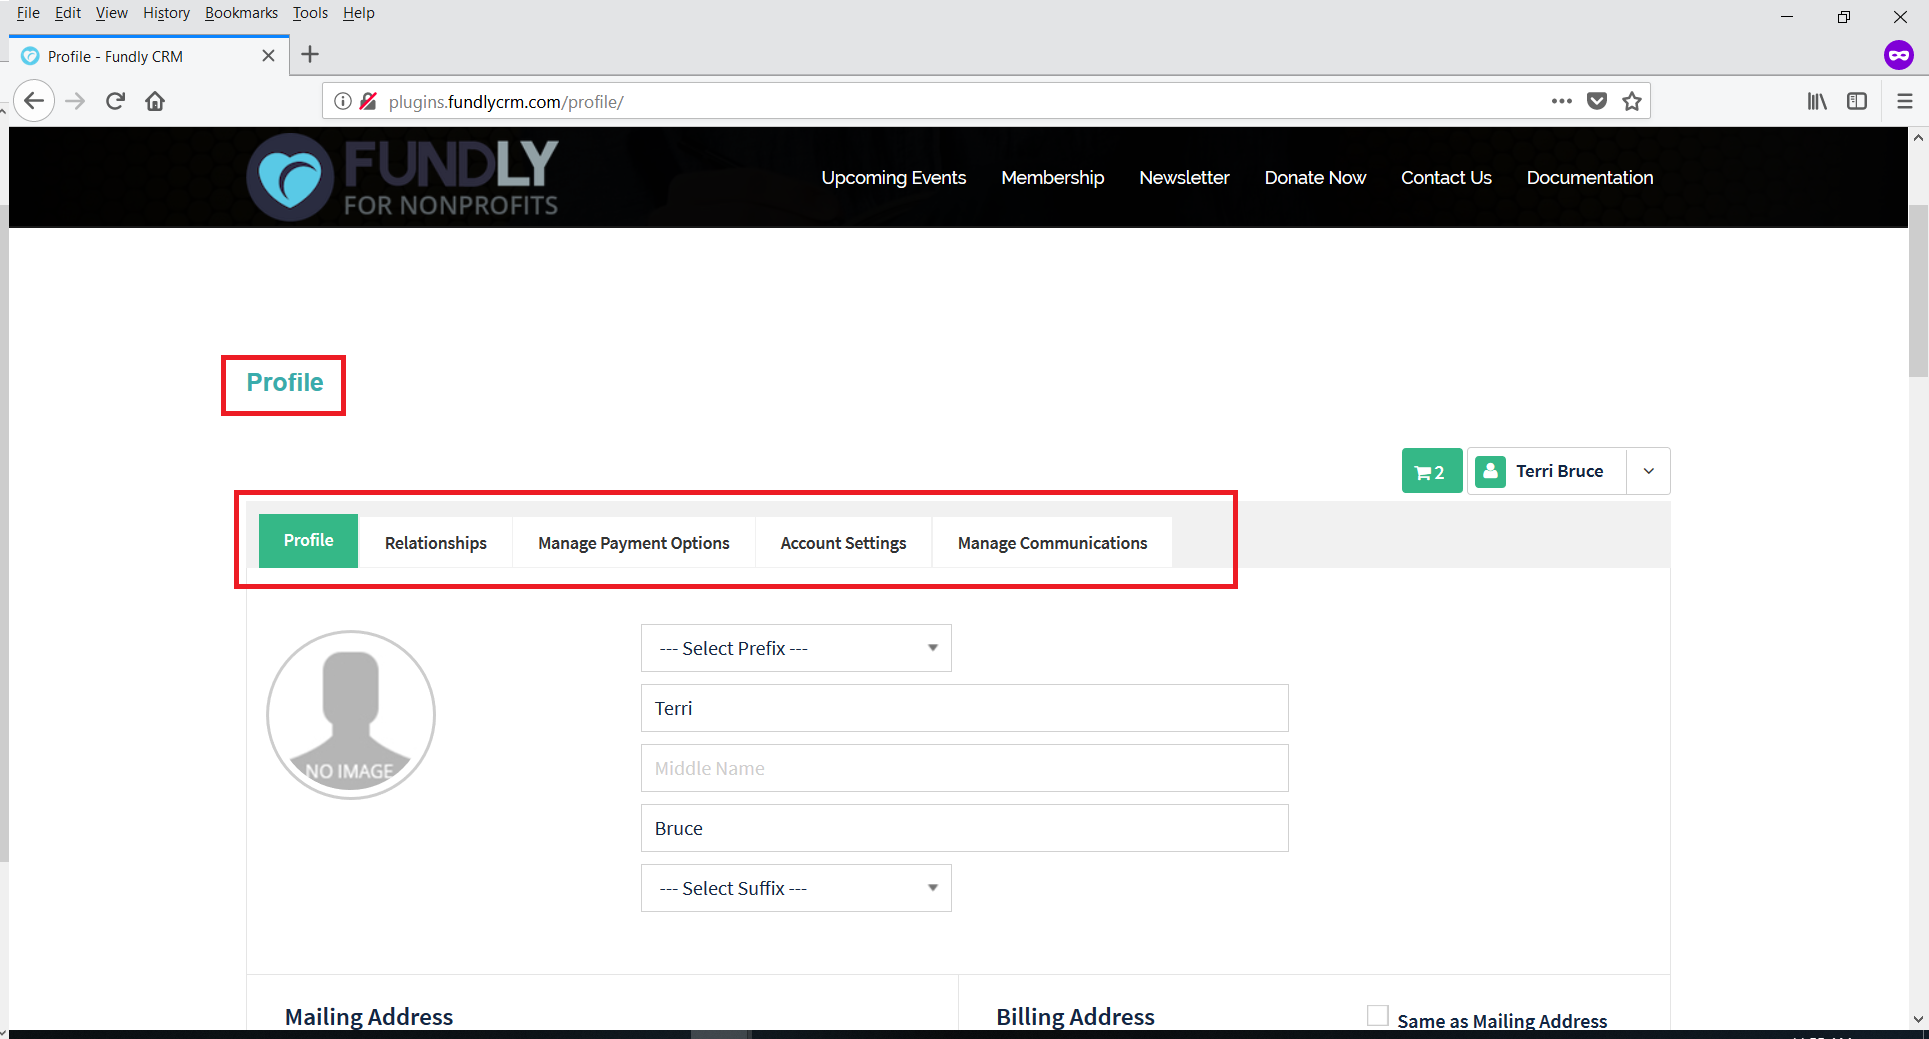
Profile Tabs Show/Hide
This section controls the tabs in the "My Profile" section of the online public profiles/user accounts.
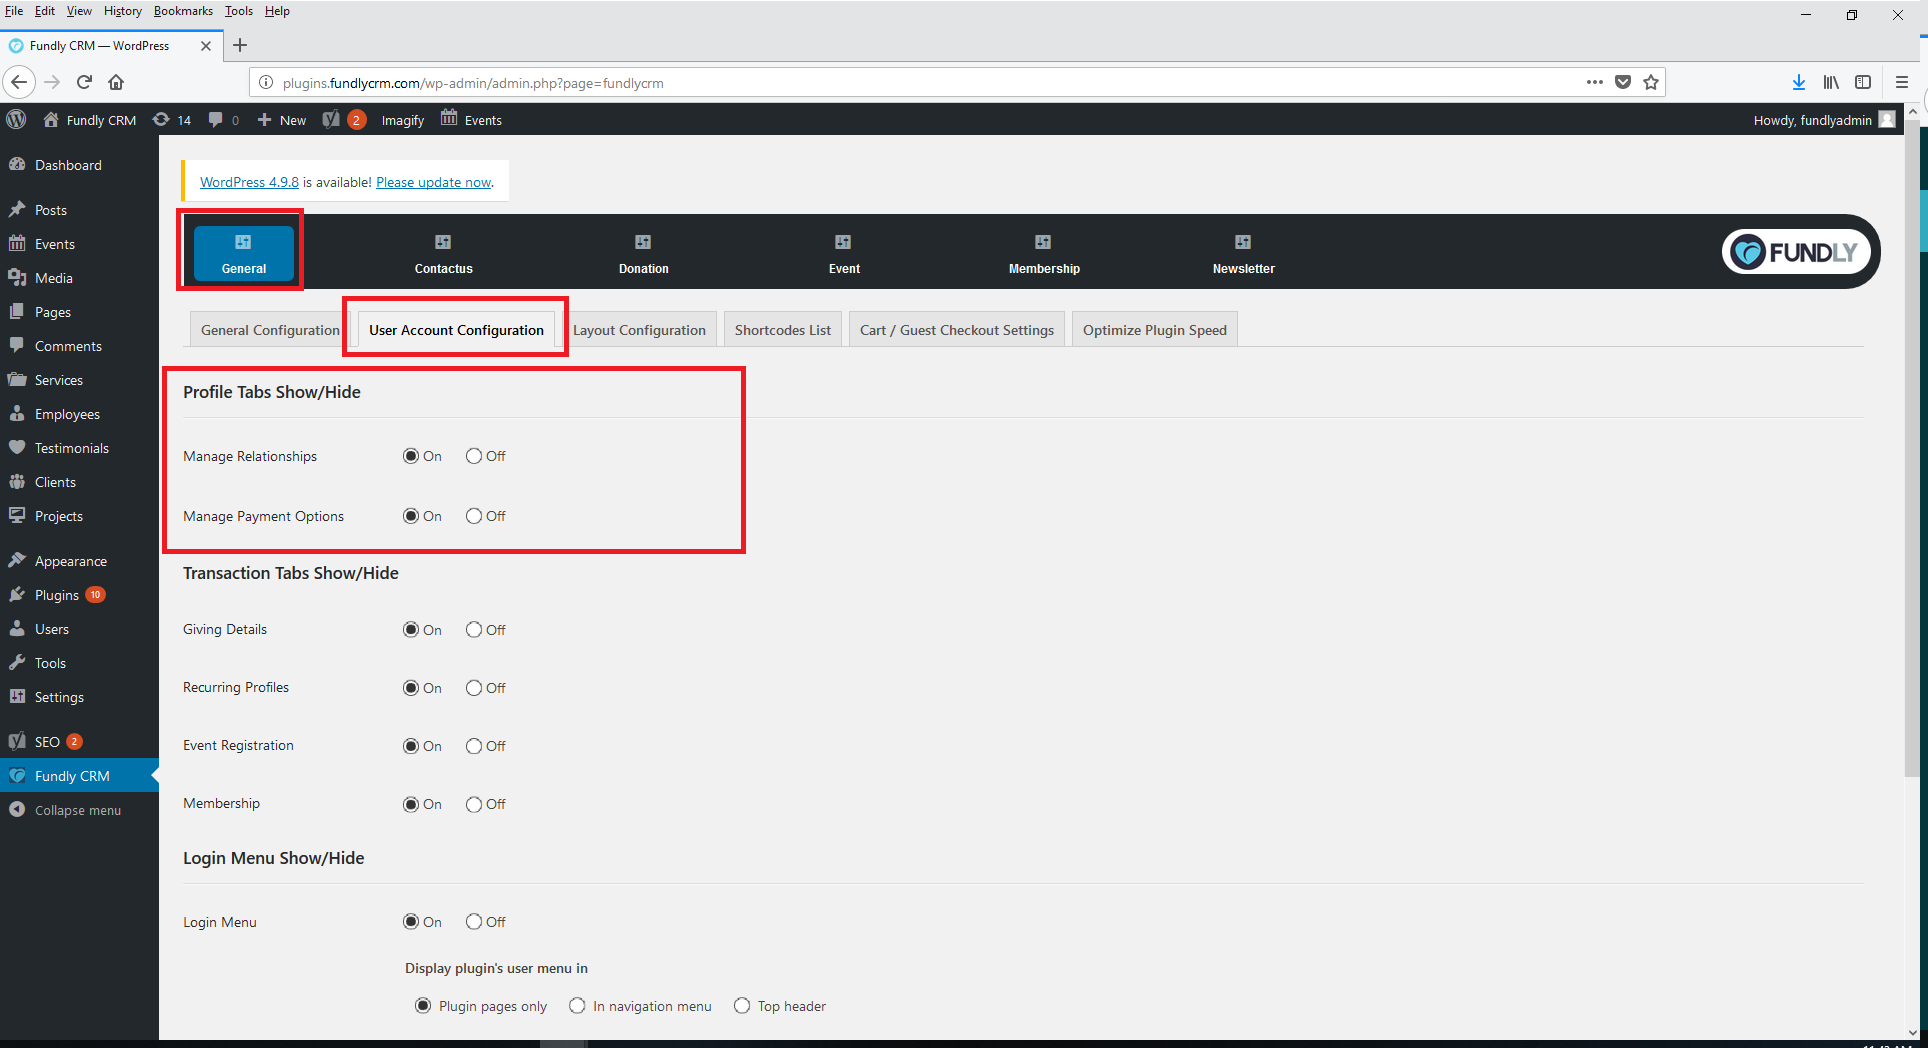
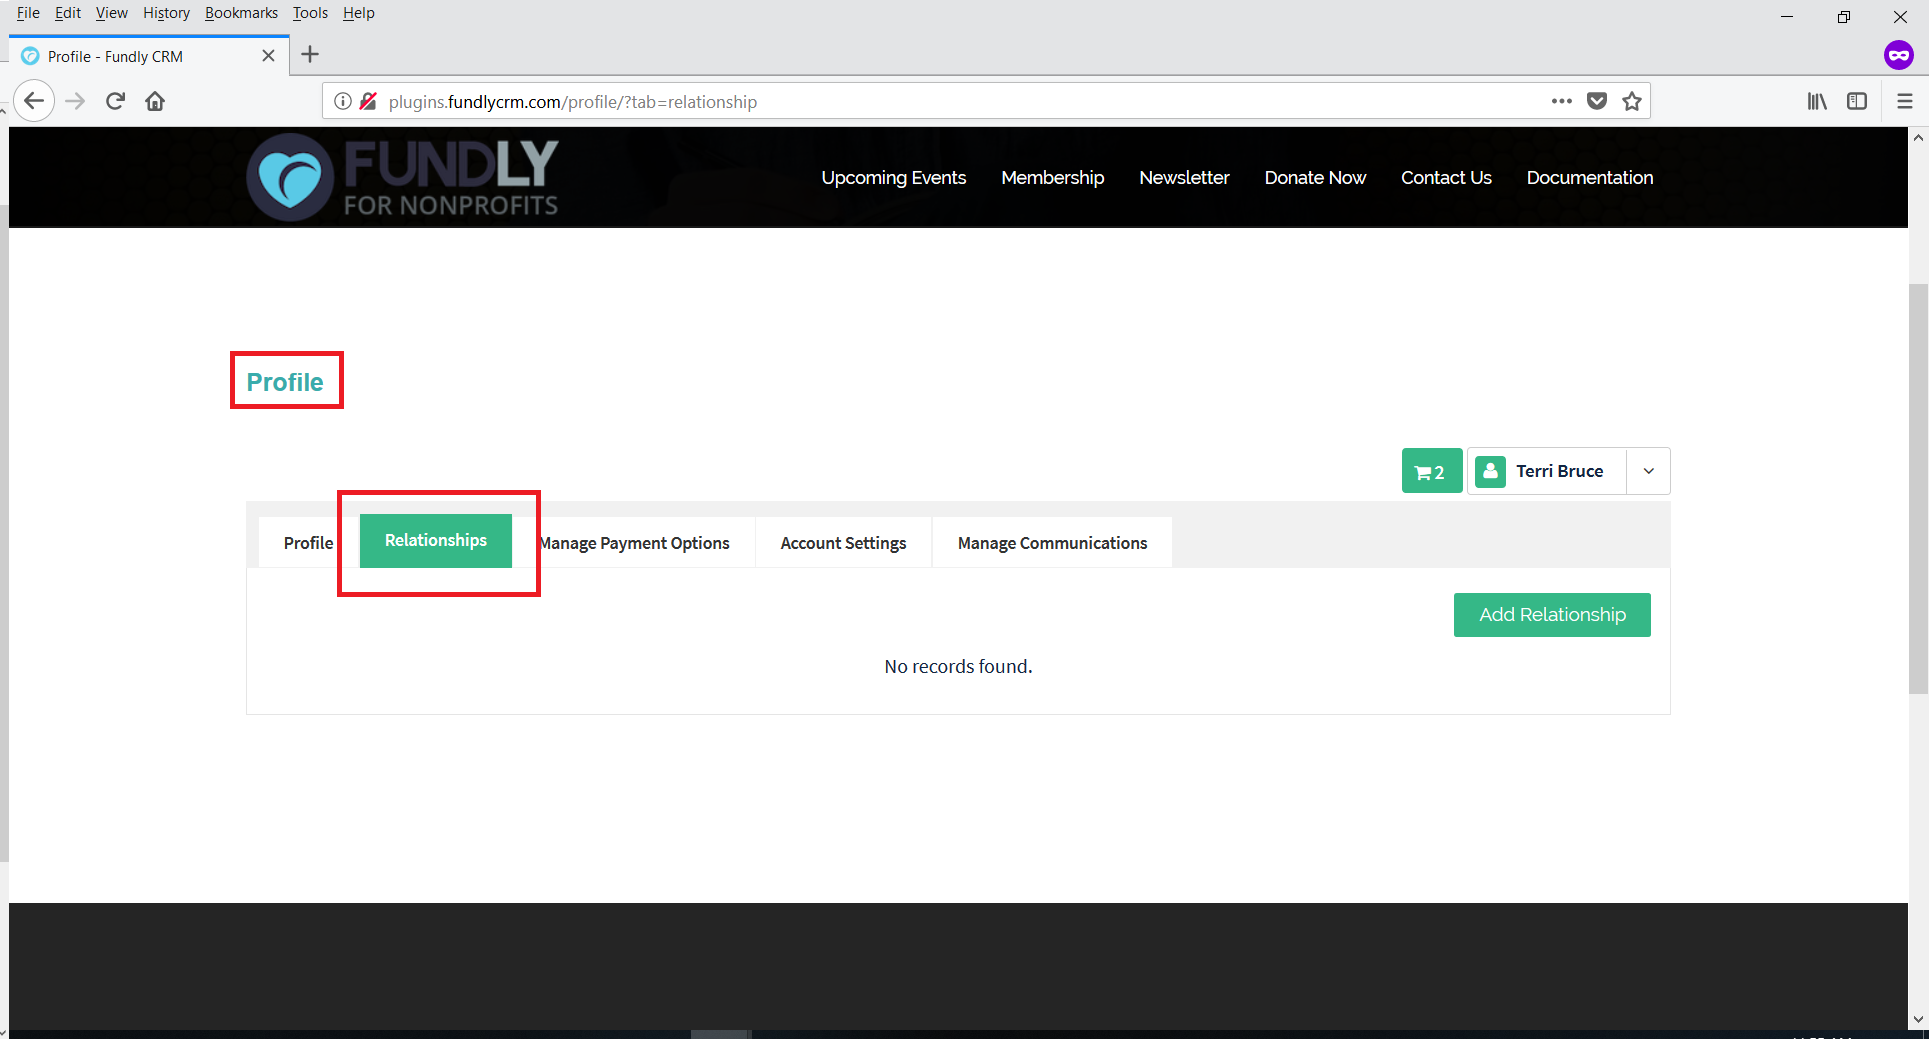
- Manage Relationships sets whether users can create and manage relationships from within their public profile. Turning this on allows users to add and manage family relationships (spouse/partner, child, parent, sibling, etc.) stored in your CRM via their public profile.
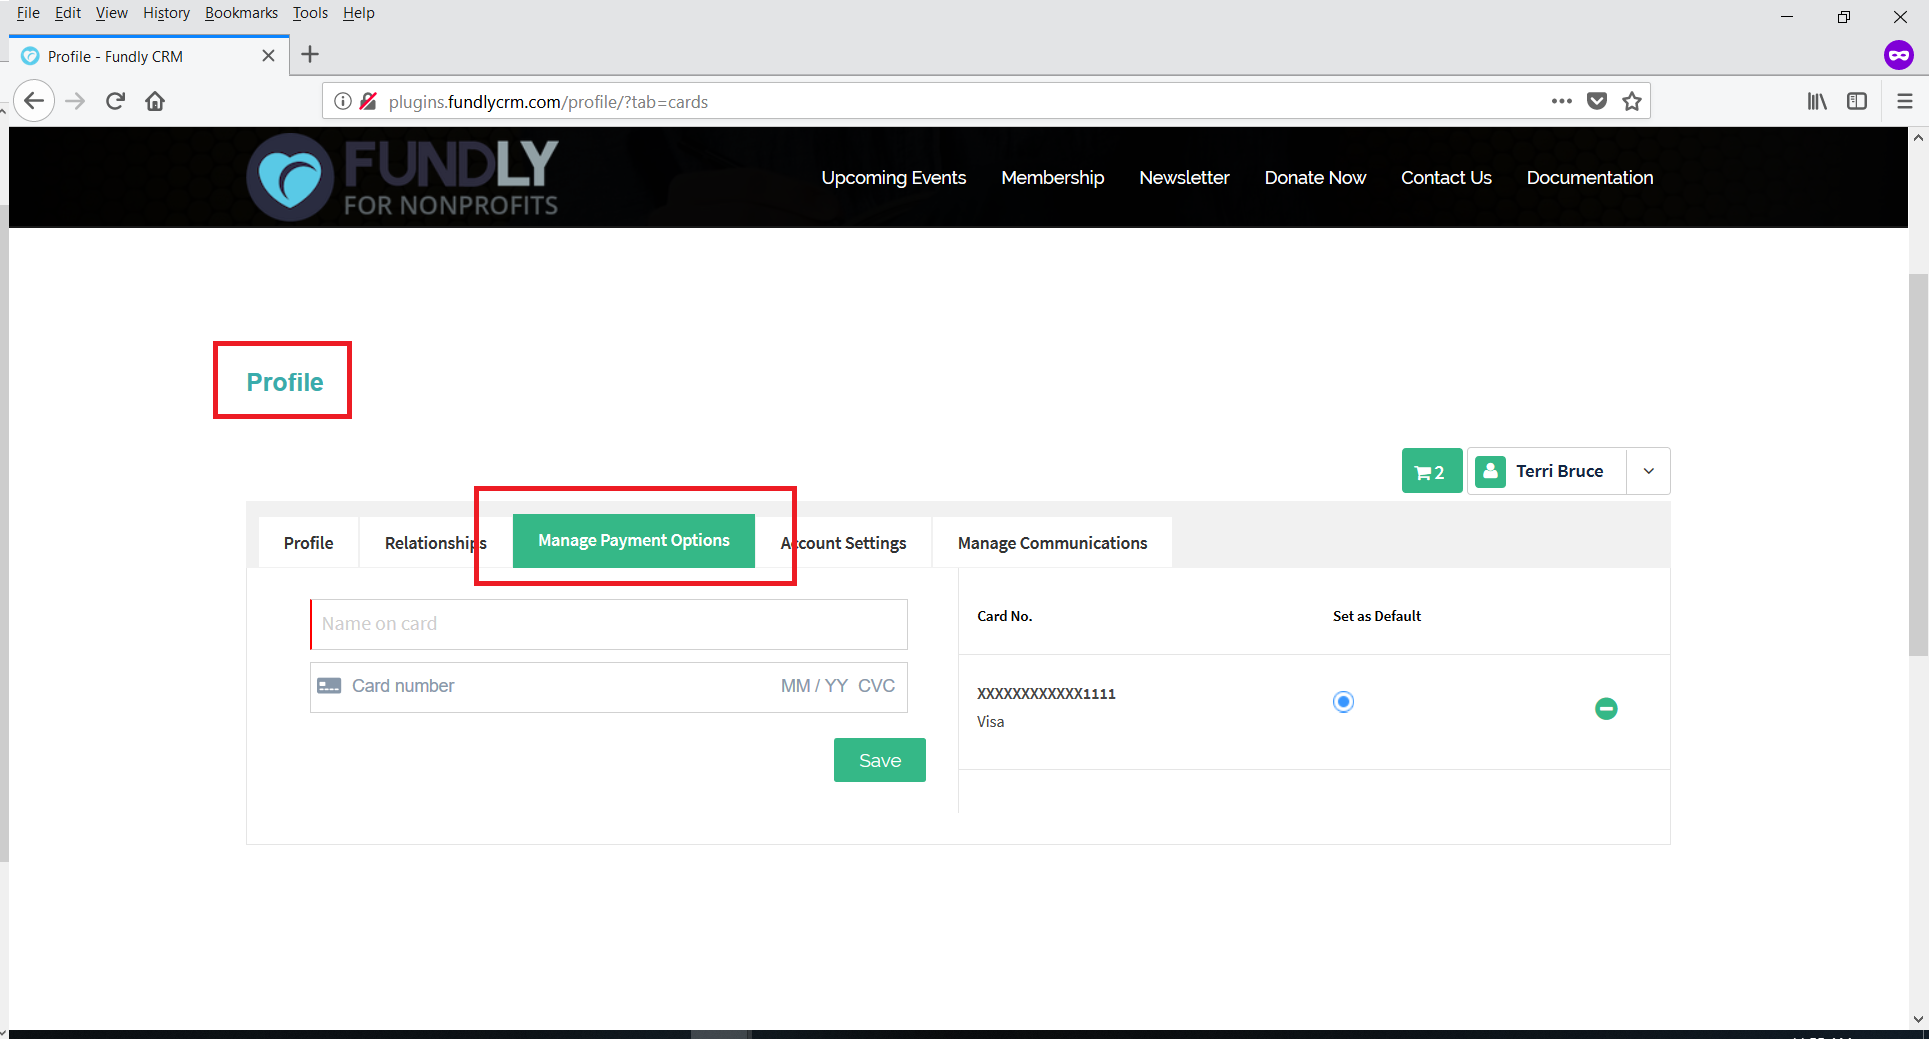
- Manage Payment Options - allow the user to save payment options (save a credit card #/manage saved cards) through their user profile.
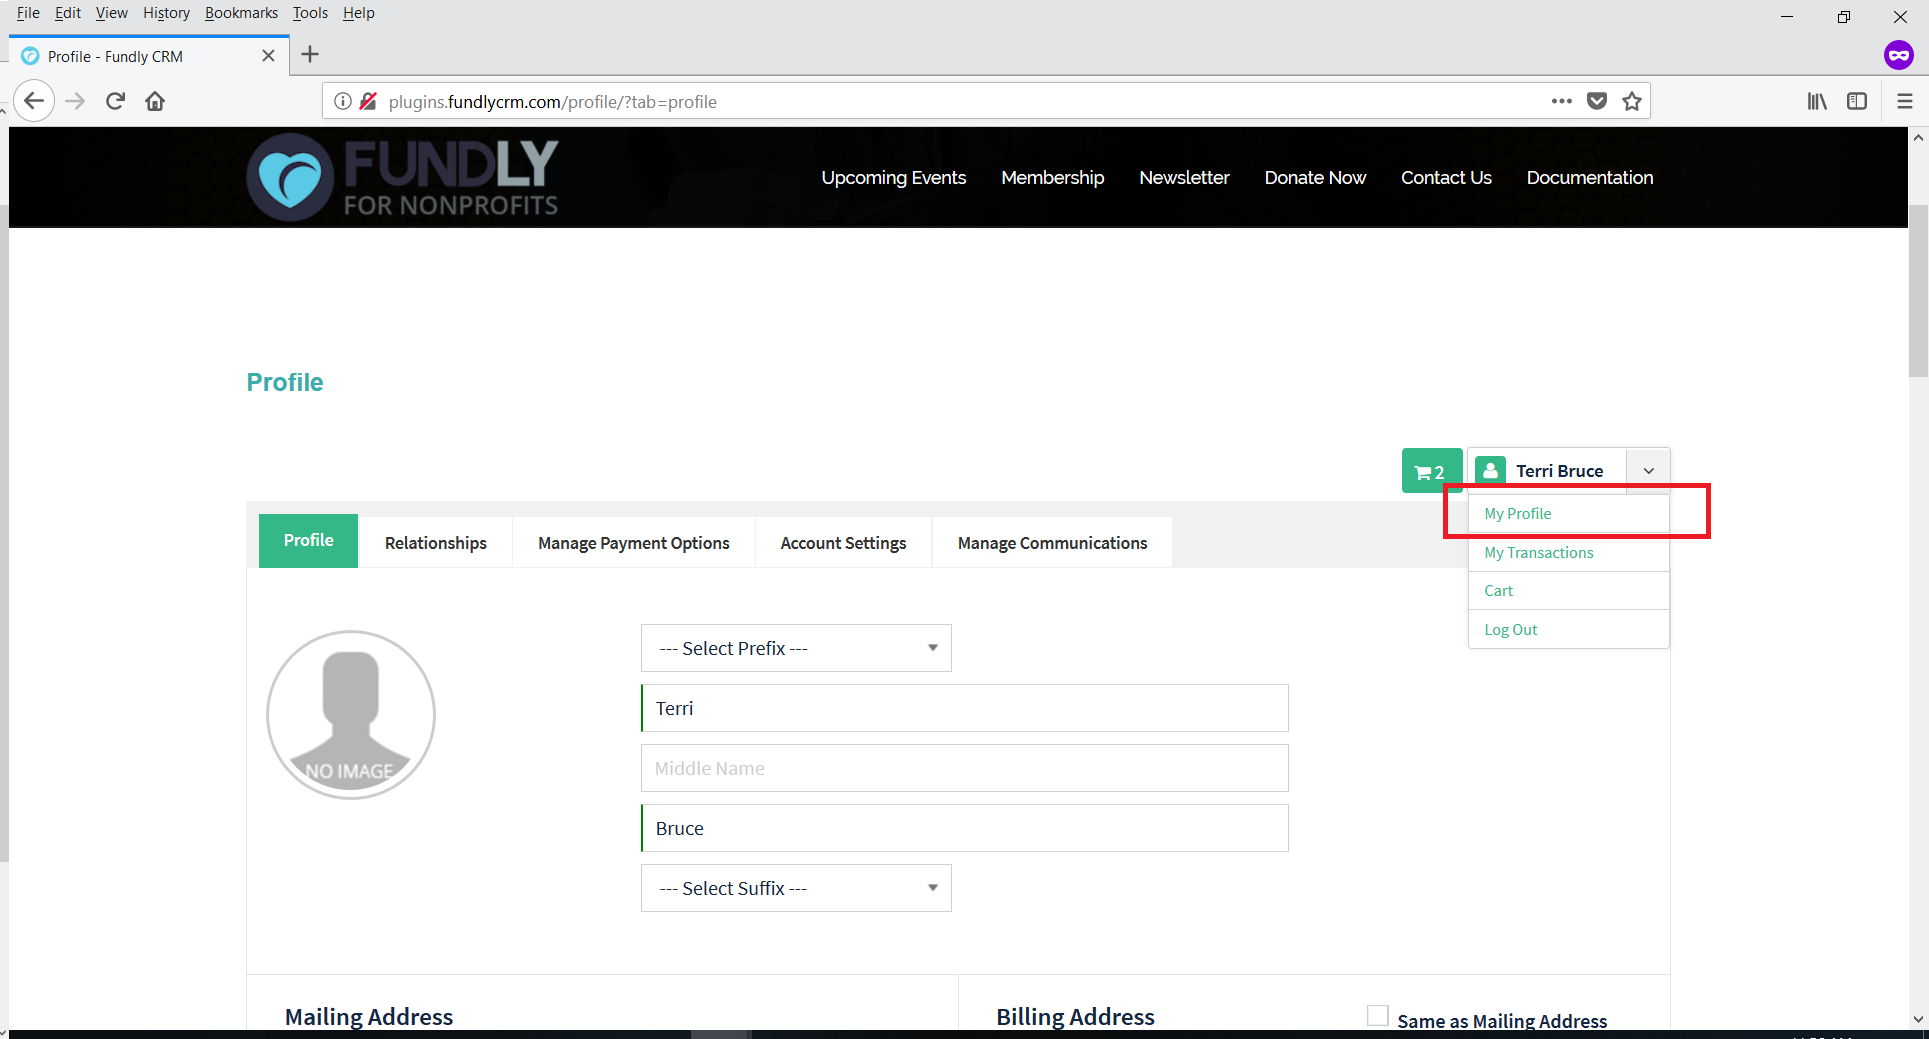
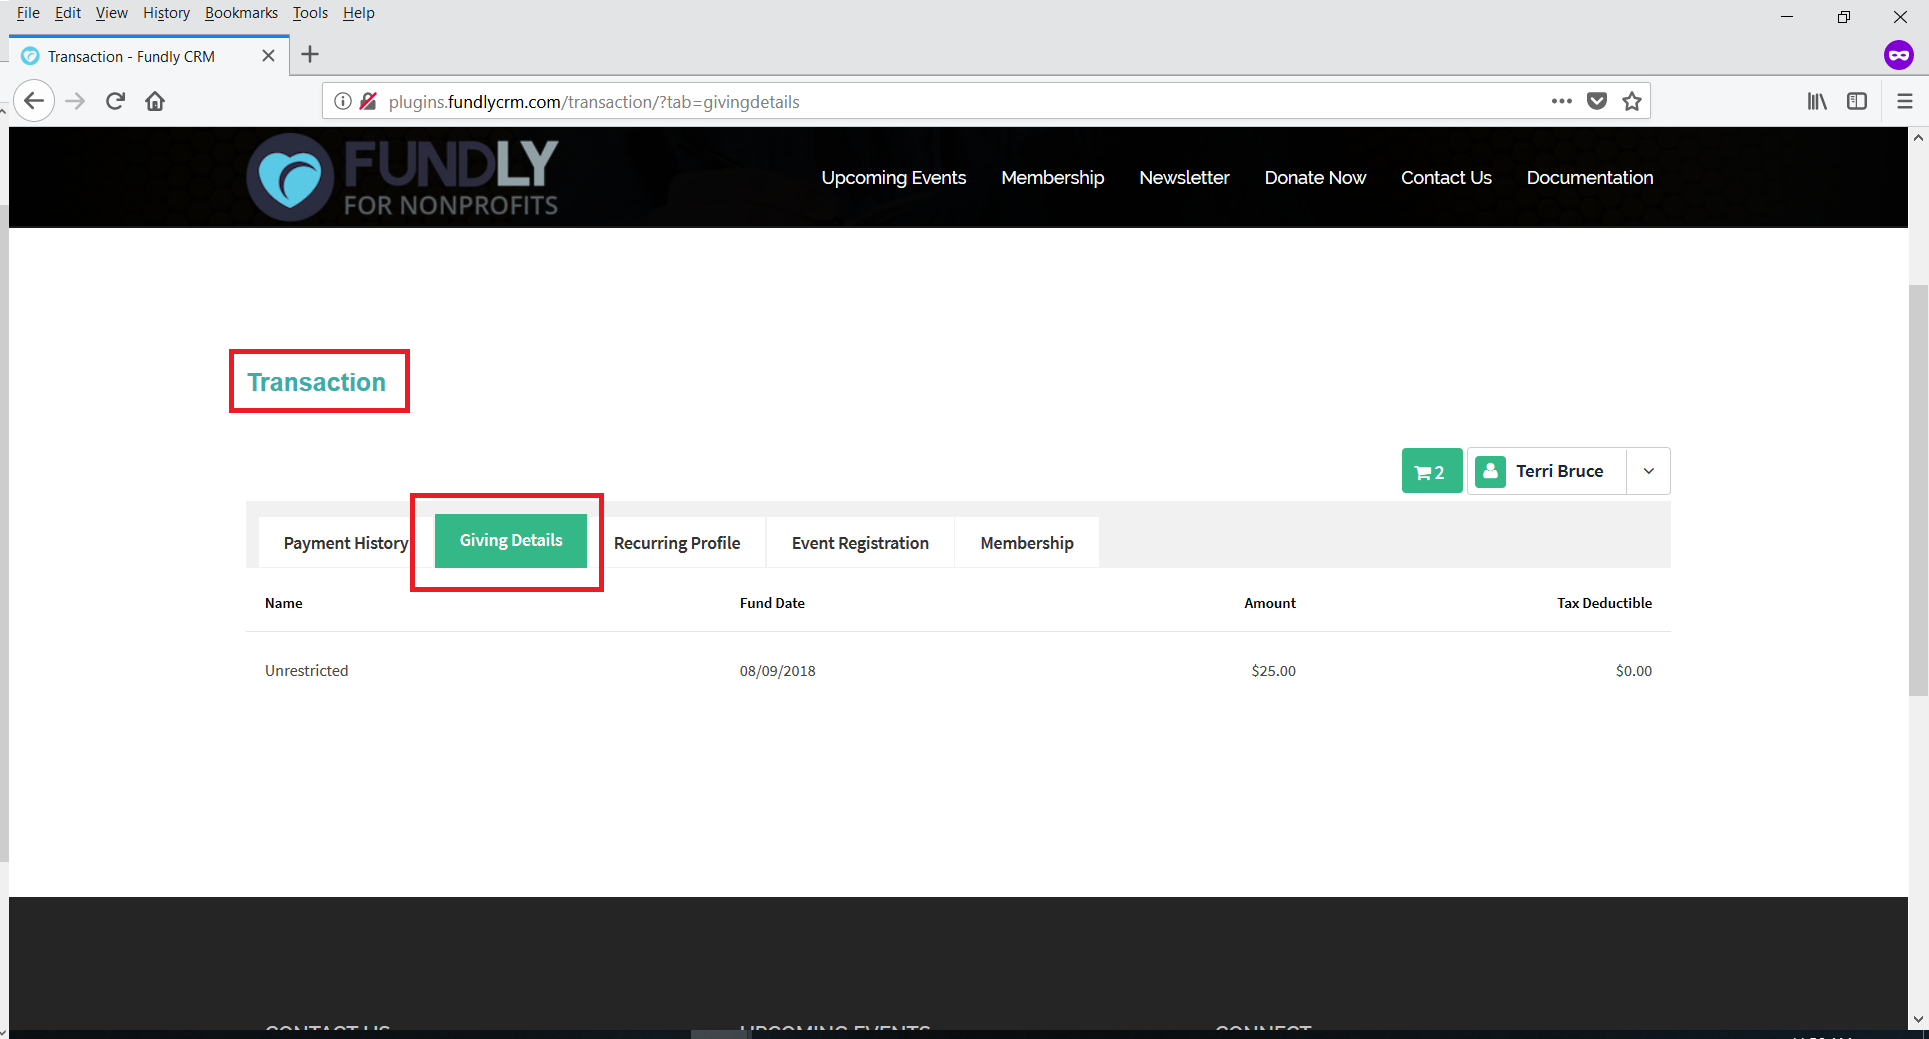
Transaction Tabs Show/Hide
This section controls the tabs on the "My Transactions" section of the online public profiles/user accounts.

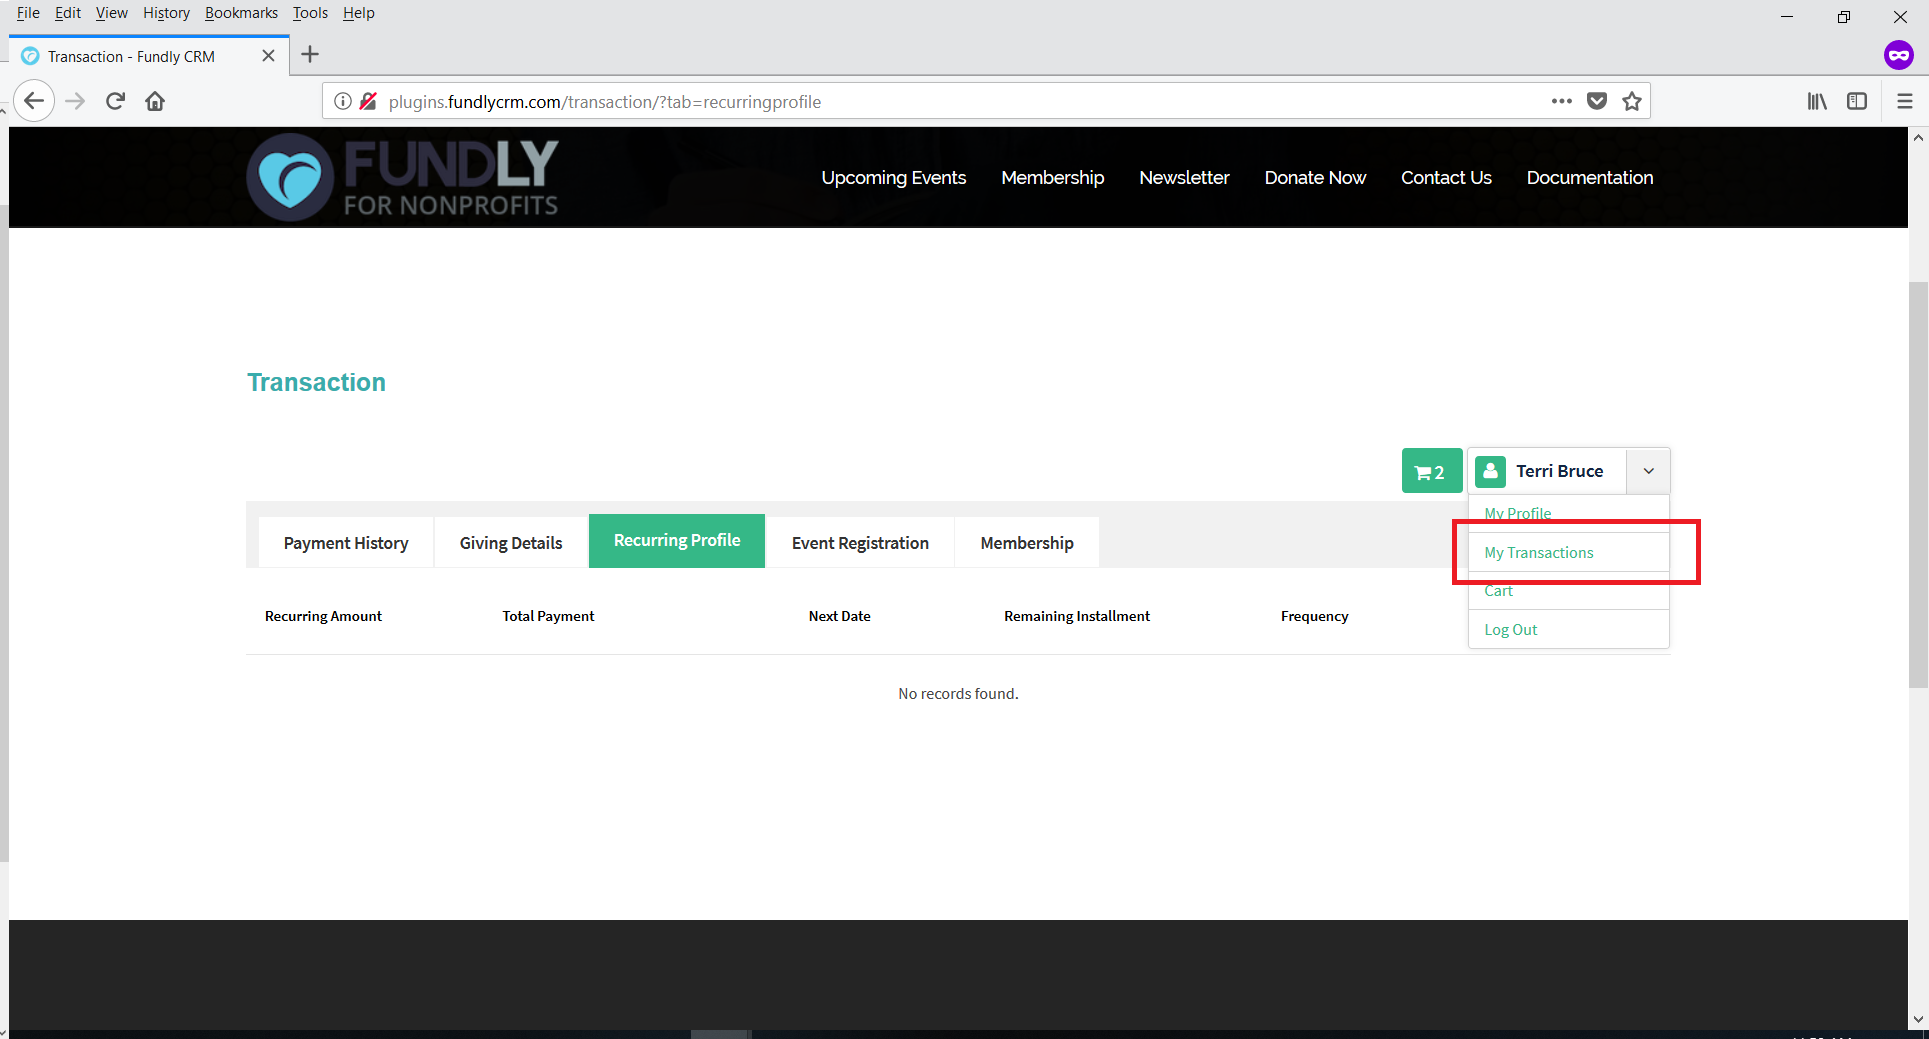
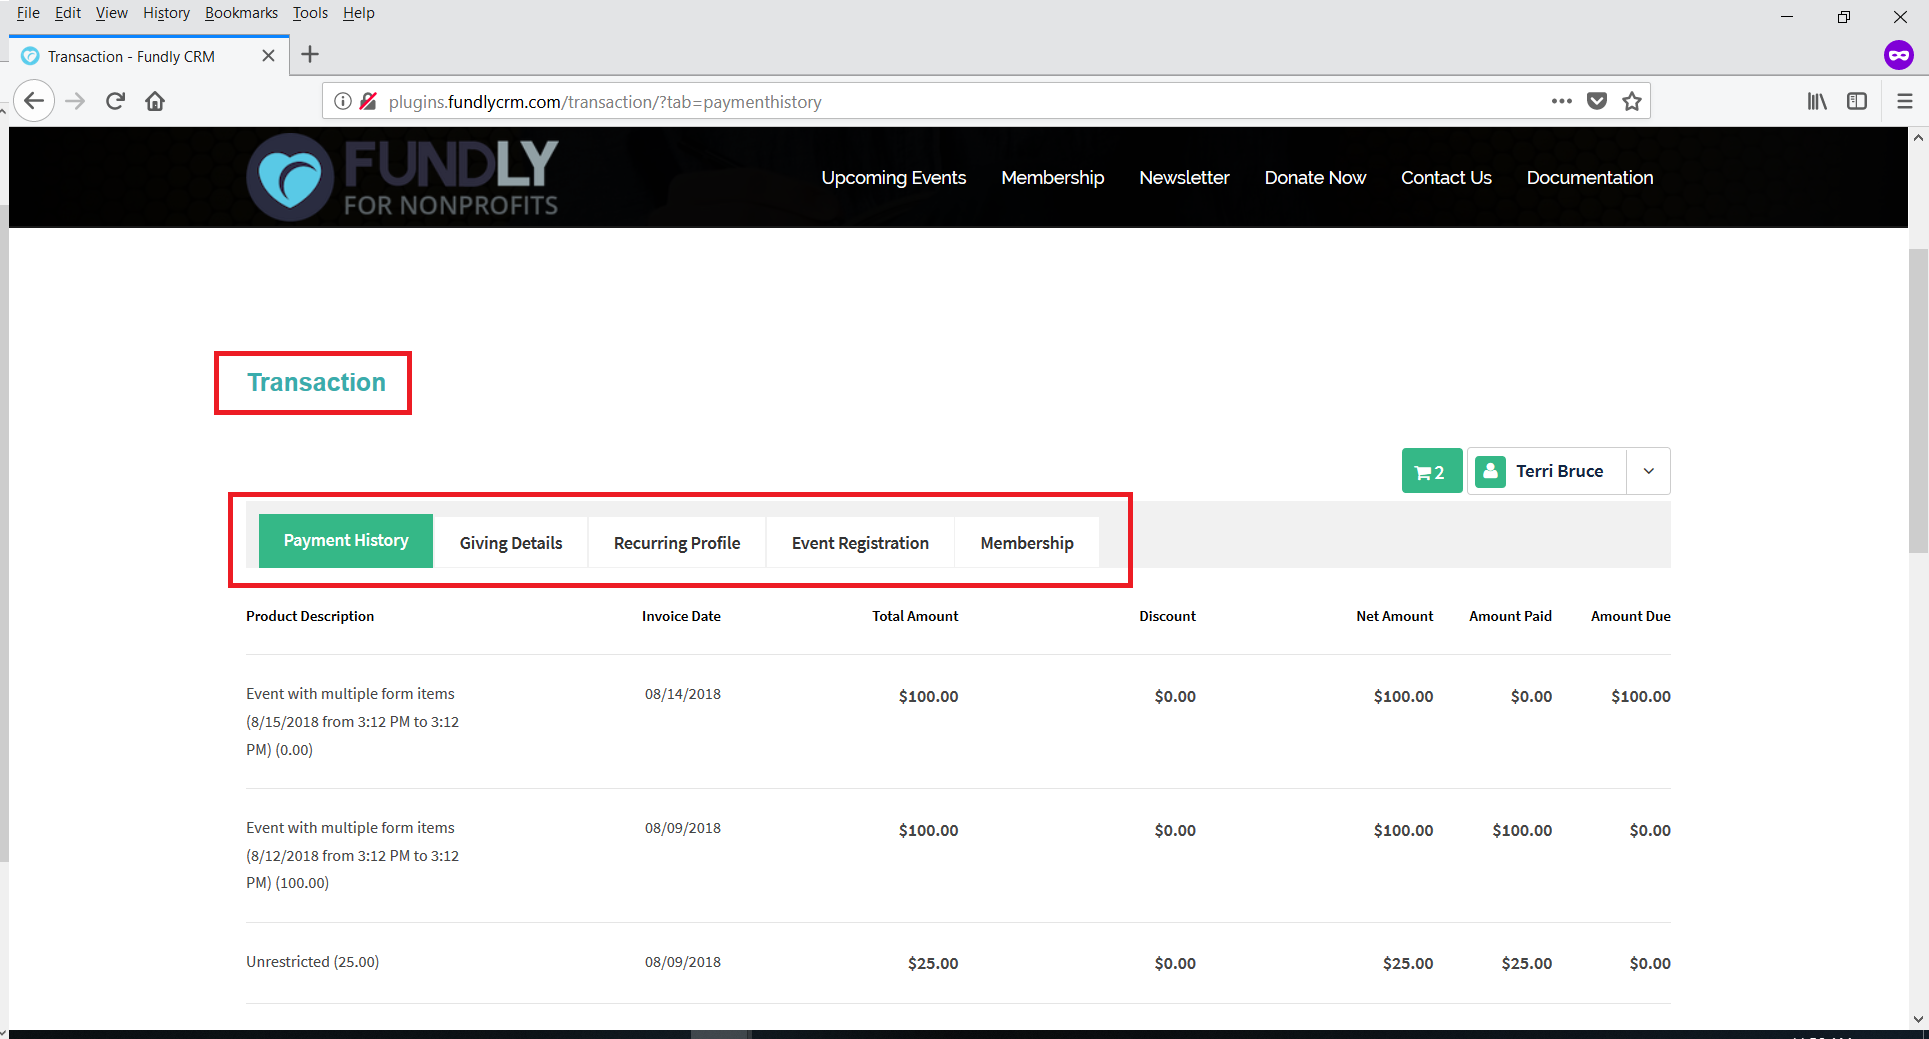
- Giving Details - allow the user to see their past giving history. Turning this on shows the giving details tab in the user profile/account;turning it off hides this tab.
- Recurring Profiles - allow the user to manage their recurring donor (gift) profiles. Turning this on shows the recurring profiles tab in the user profile/account; turning it off hides this tab.

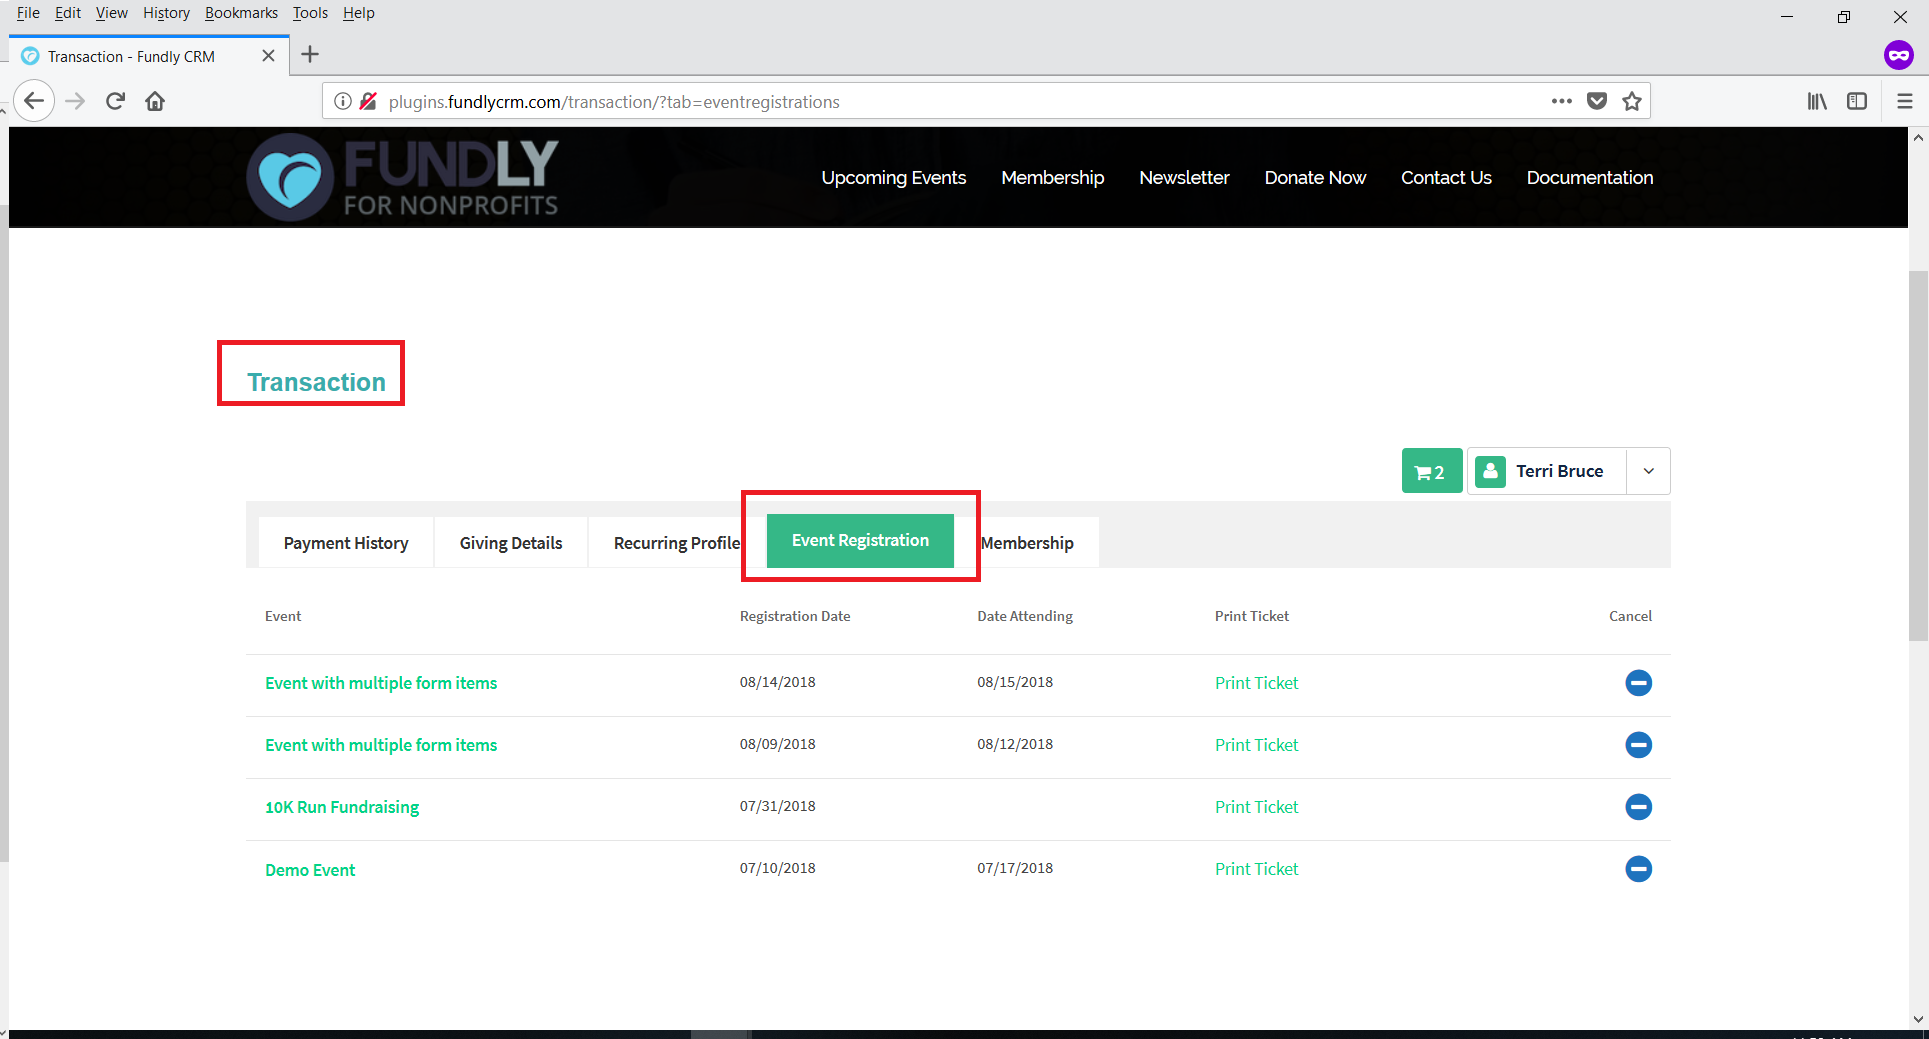
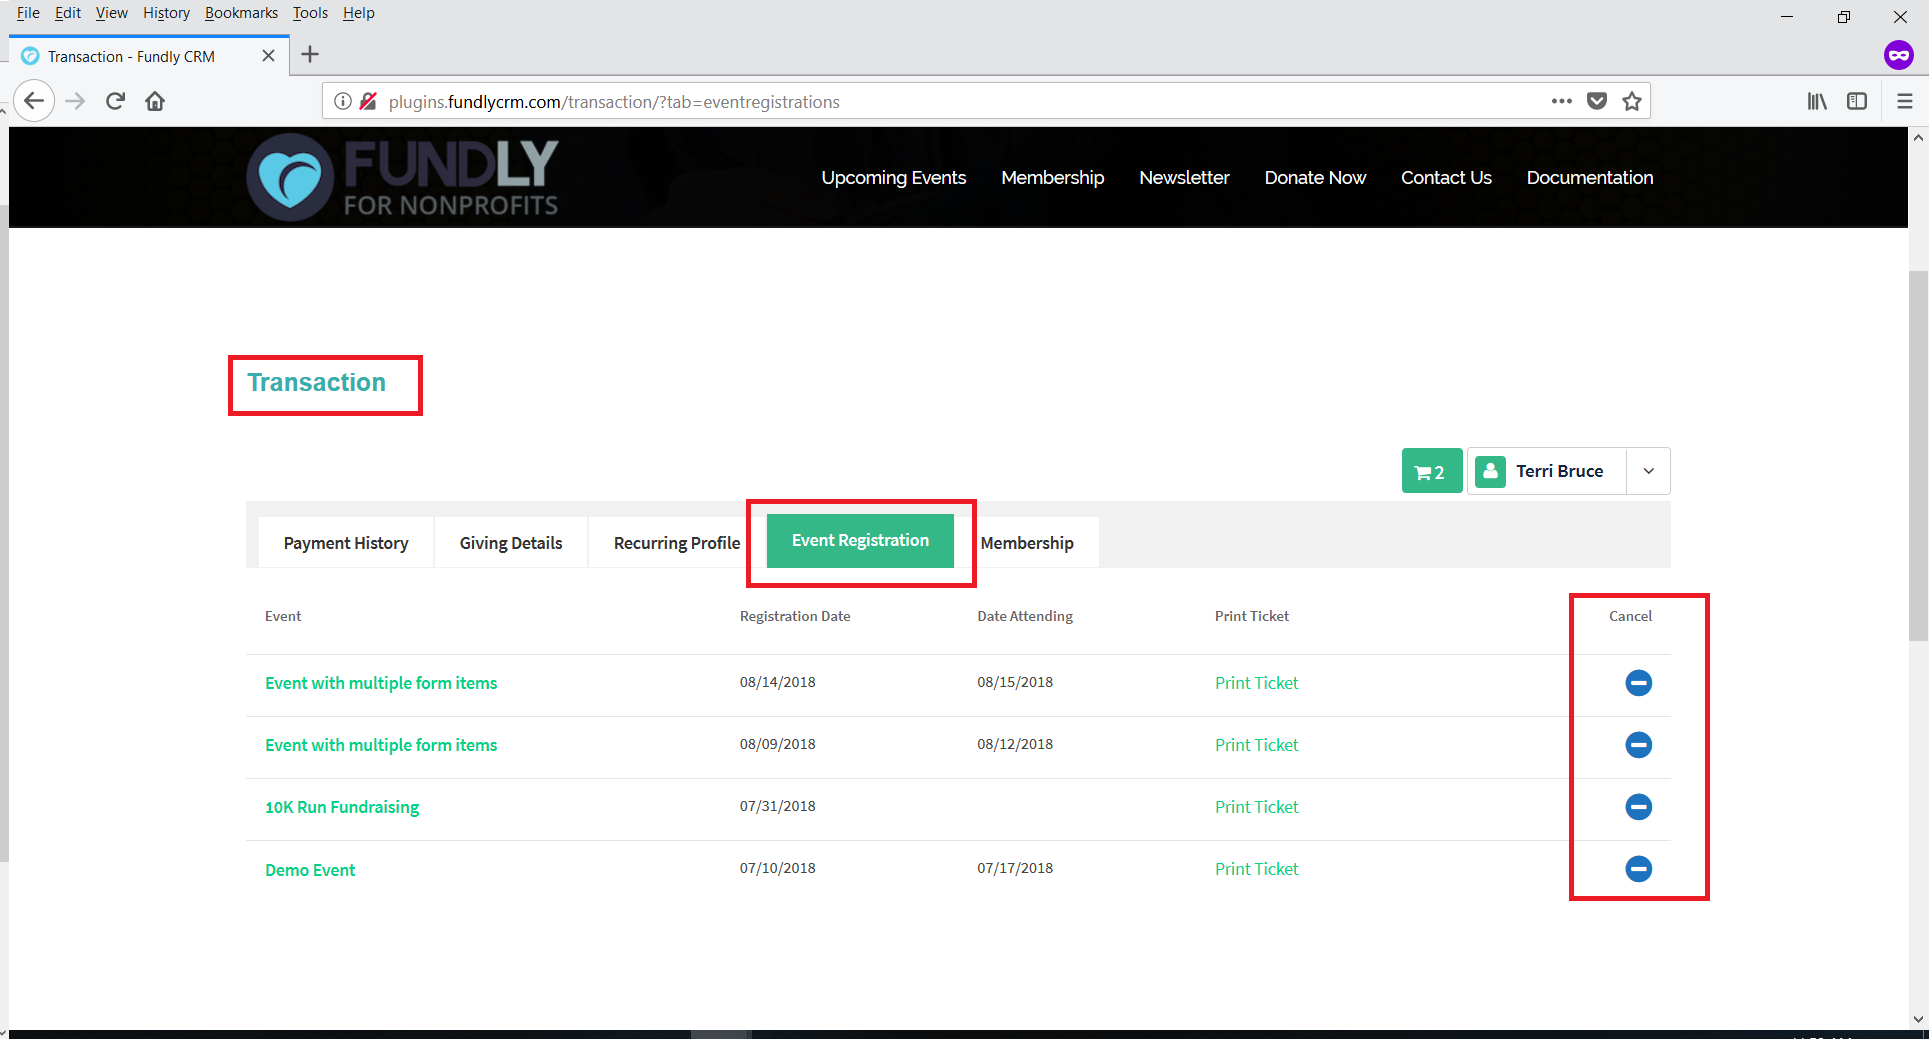
- Event Registration - allow the user to view their upcoming and past event registrations and to cancel upcoming event registrations. Turning this on shows the recurring profiles tab in the user profile/account; turning it off hides this tab.
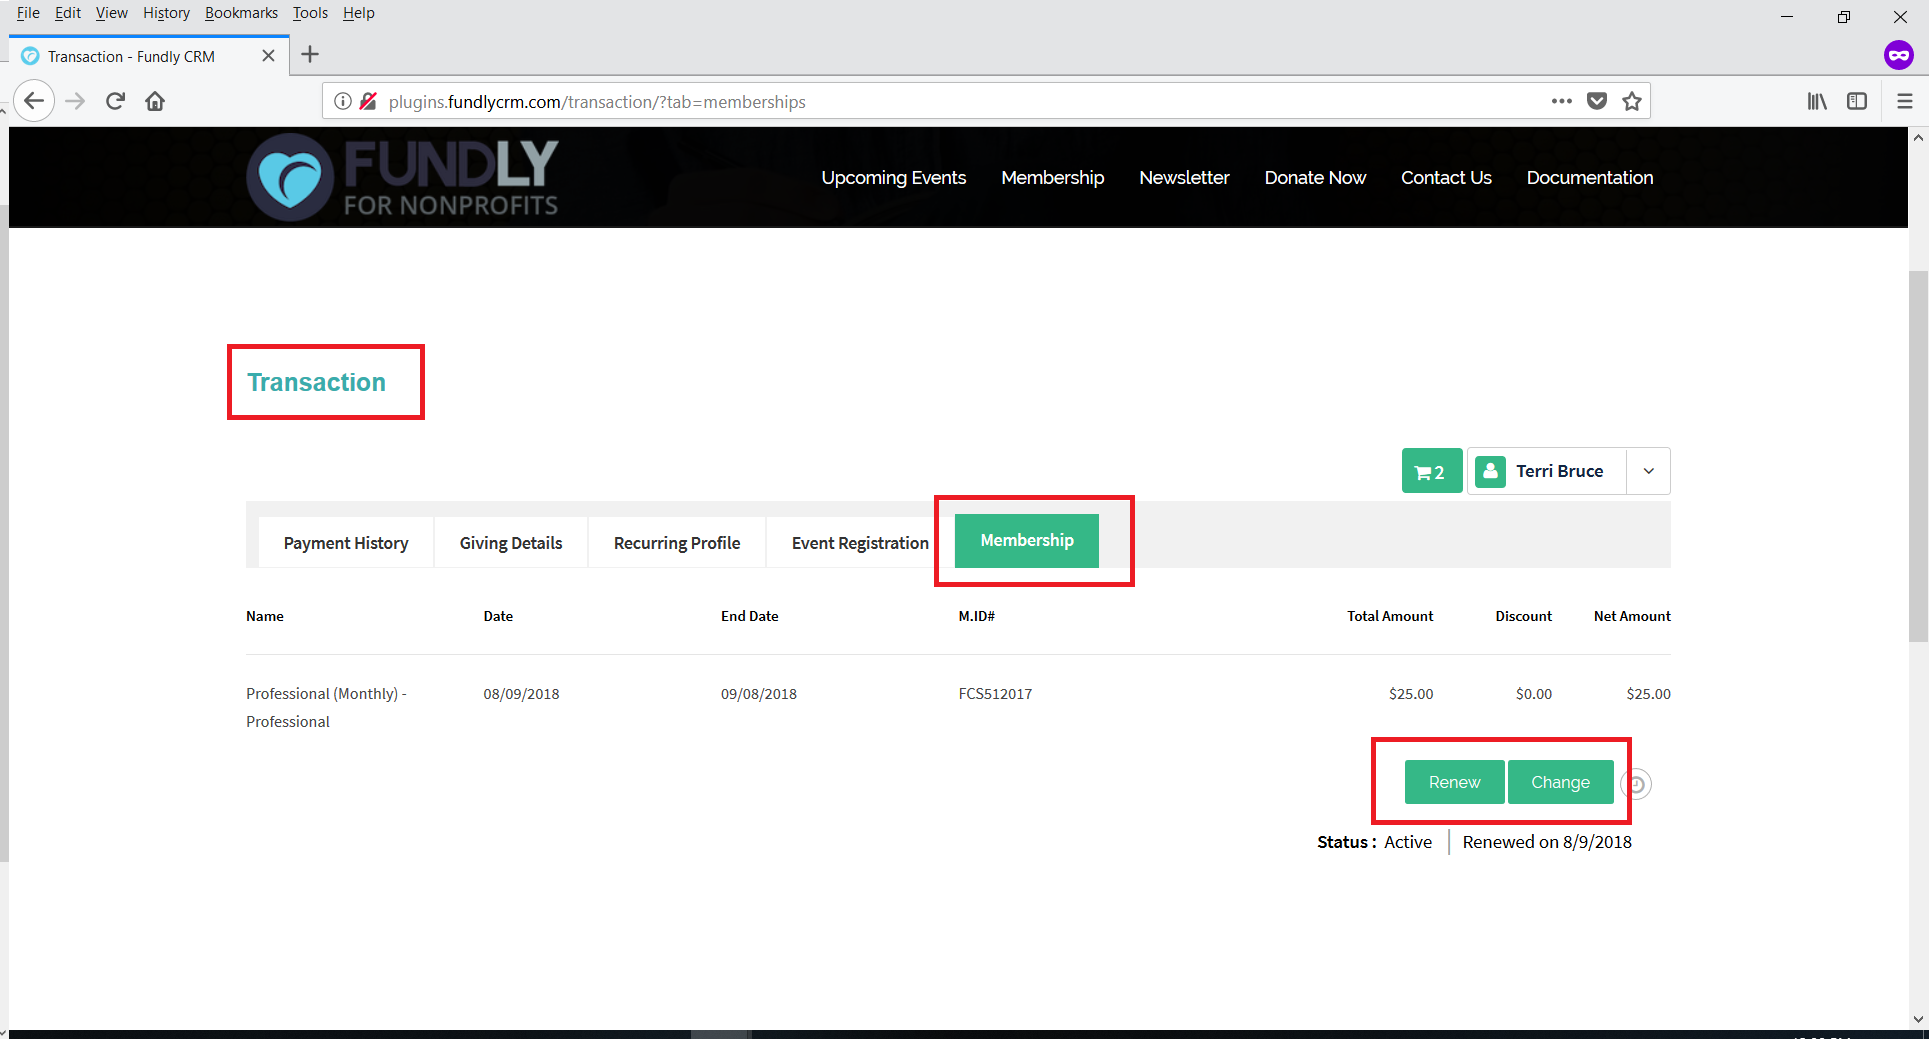
- Membership - allow the user to view/manage their membership profiles. Turning this on shows the recurring profiles tab in the user profile/account; turning it off hides this tab.
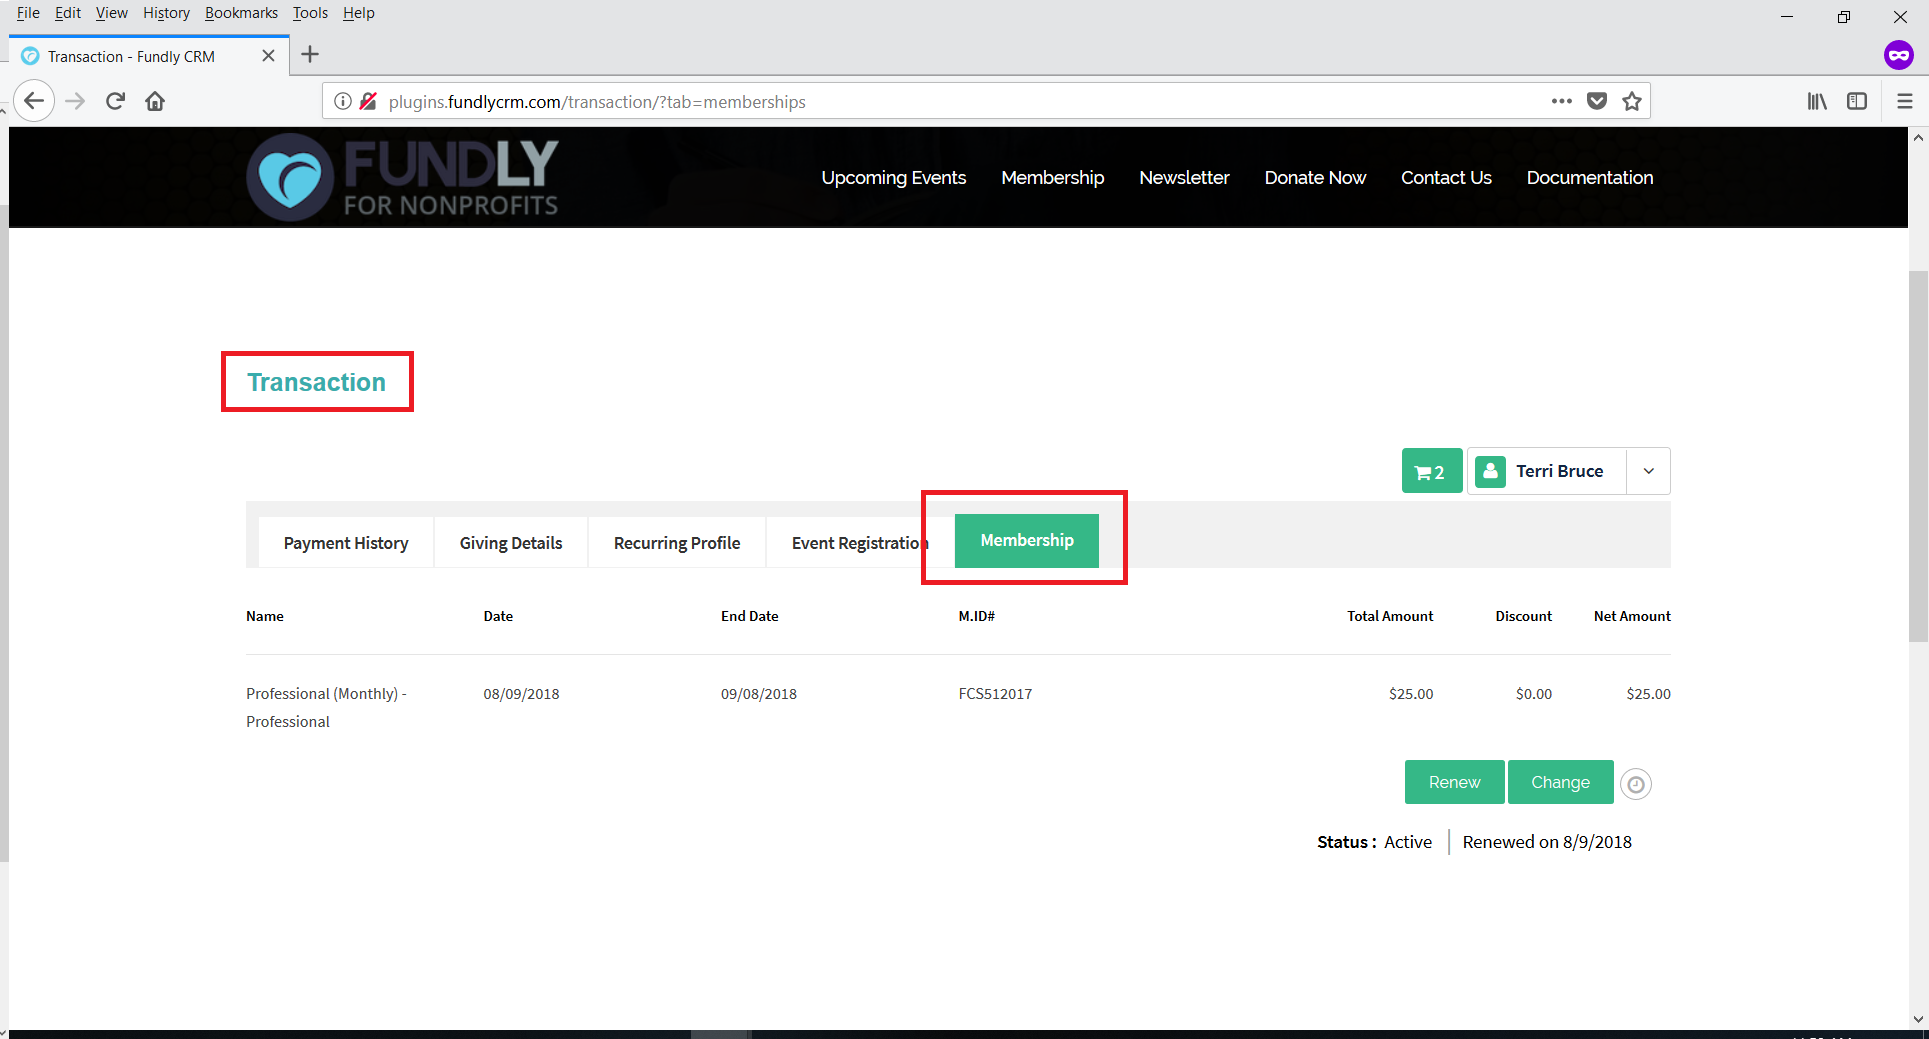
Login Menu Show/Hide
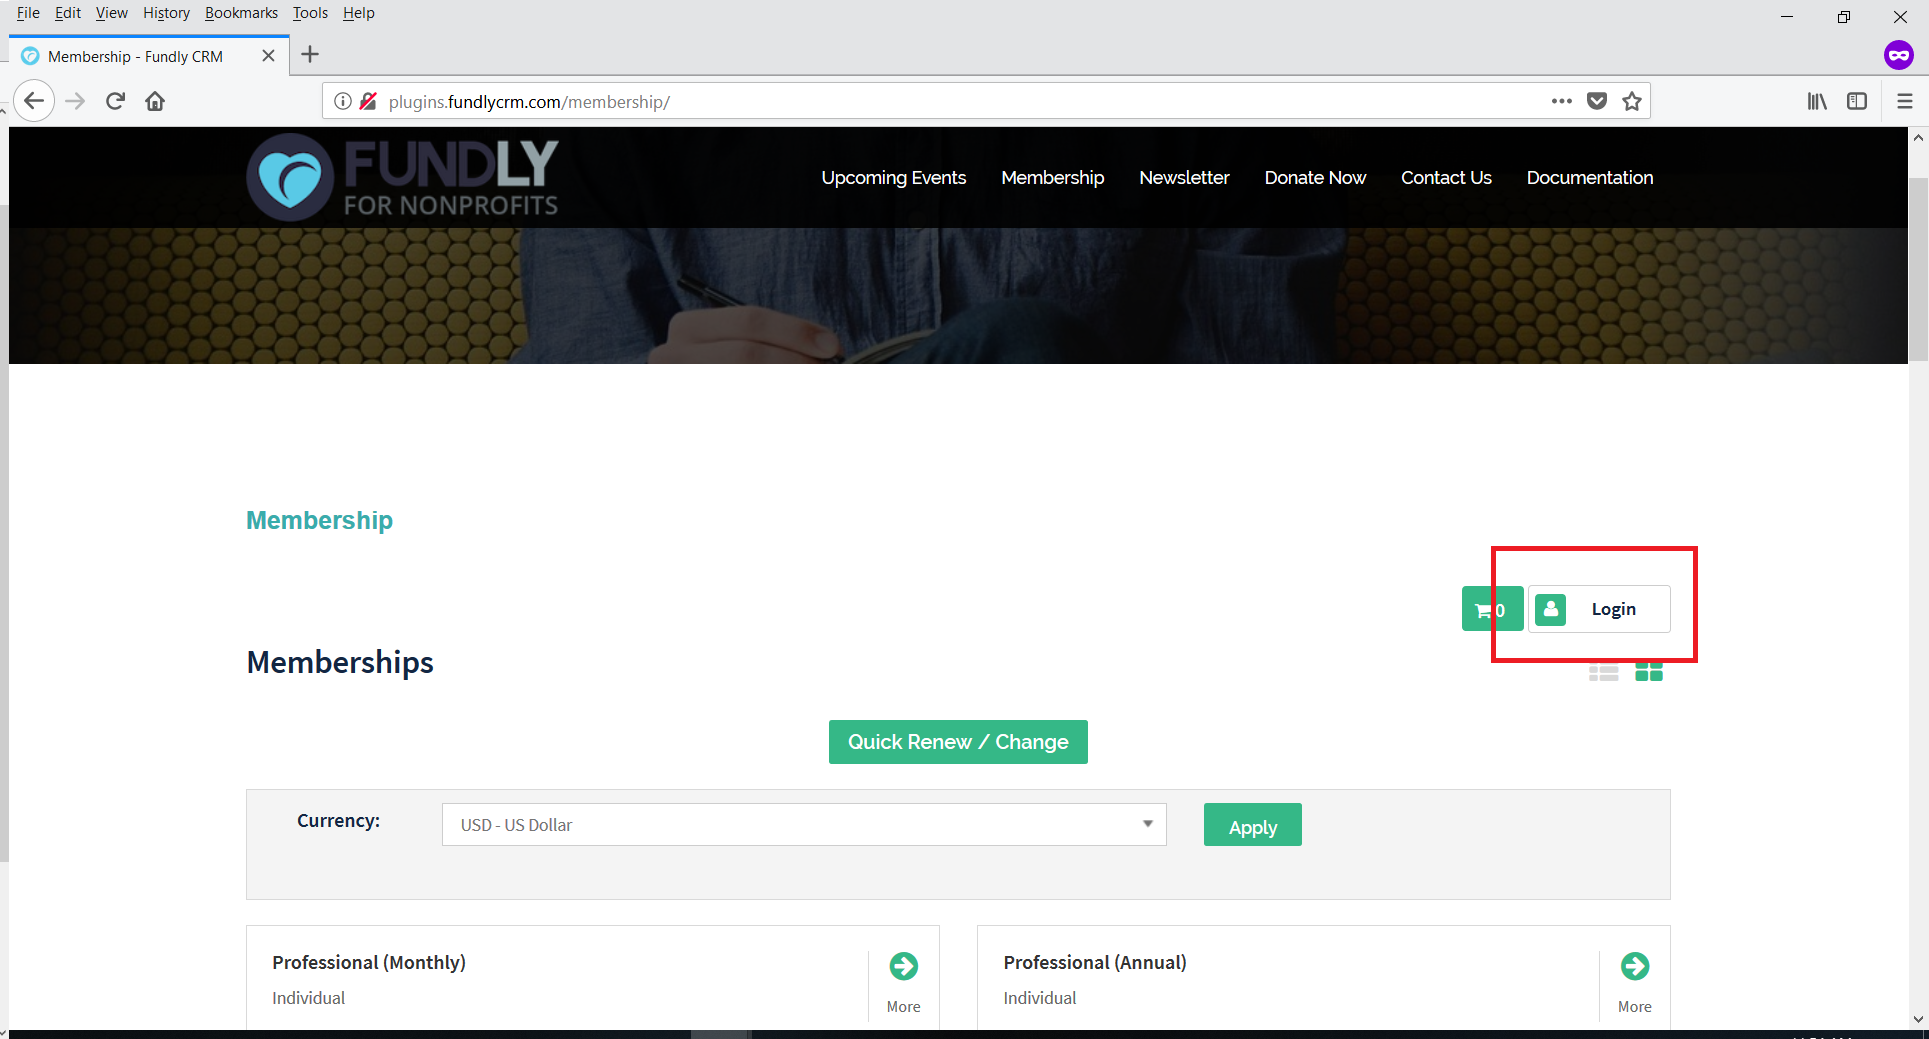
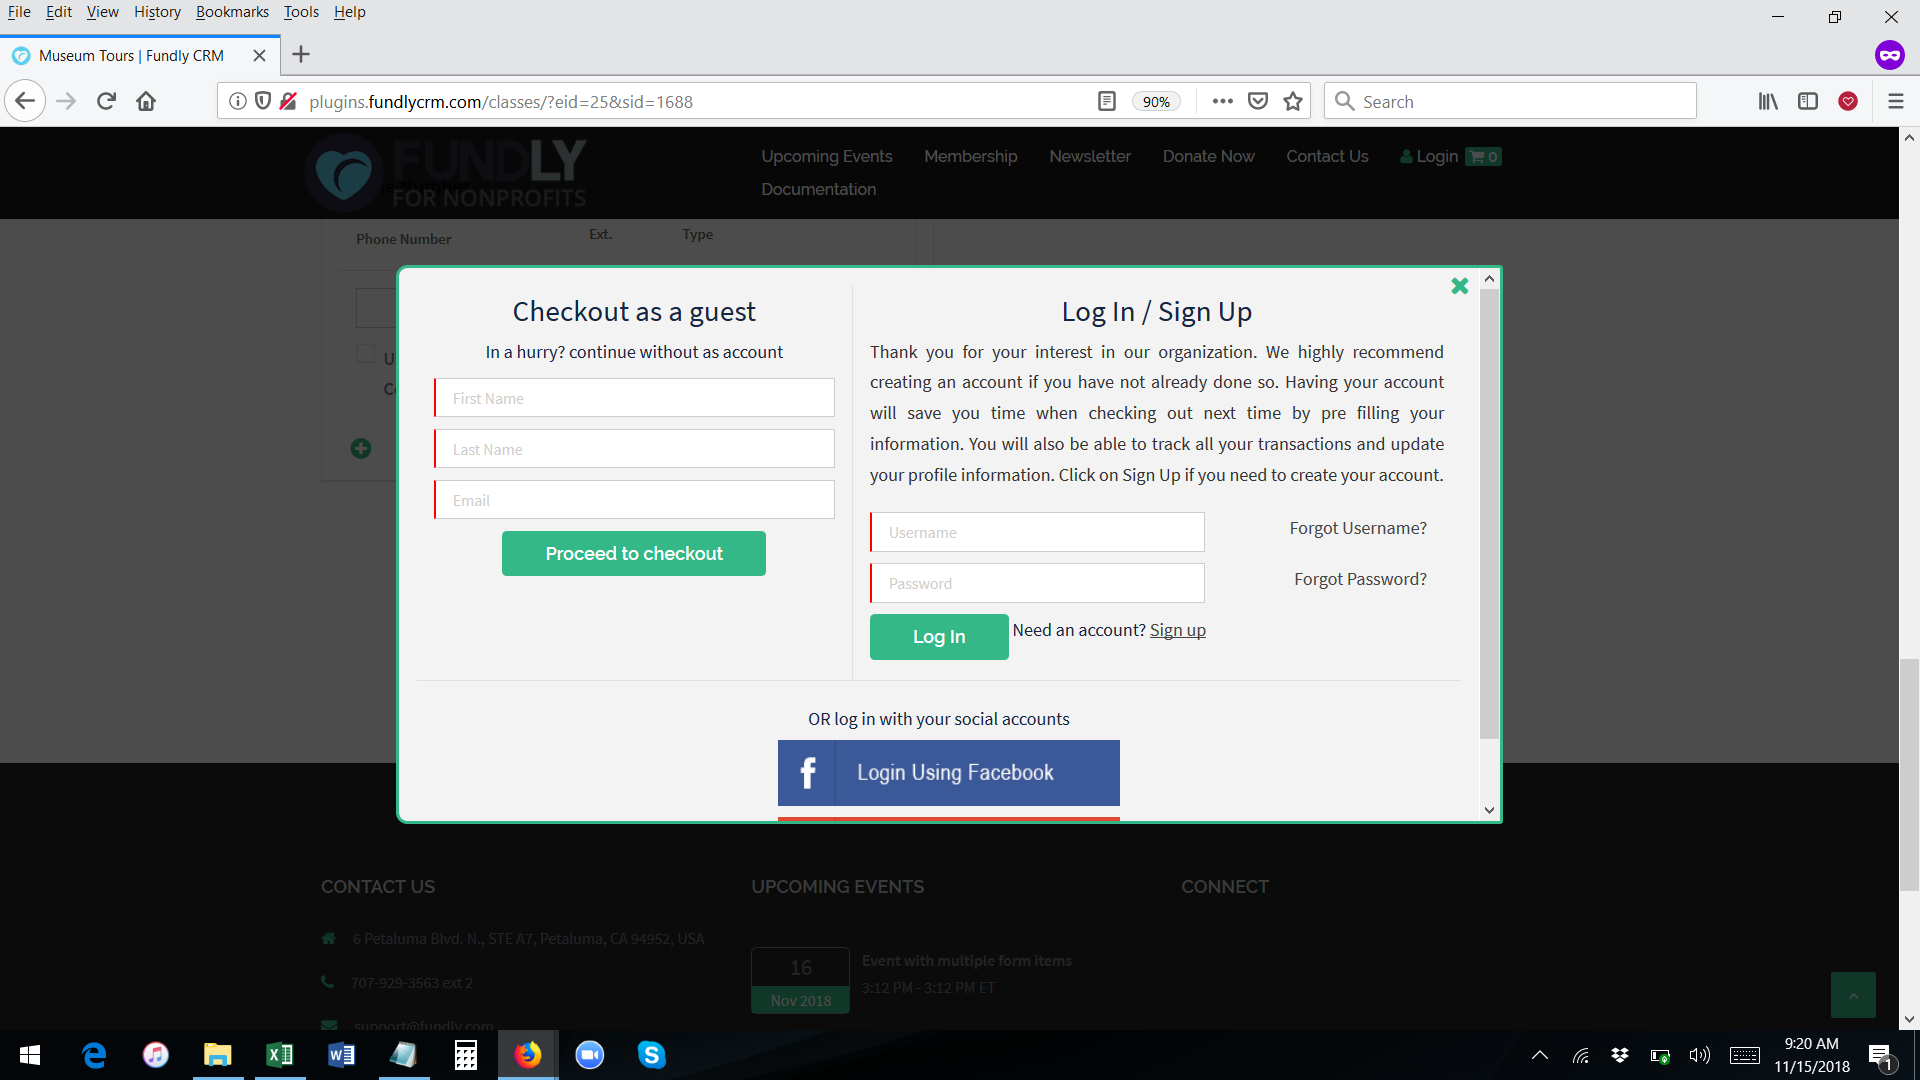
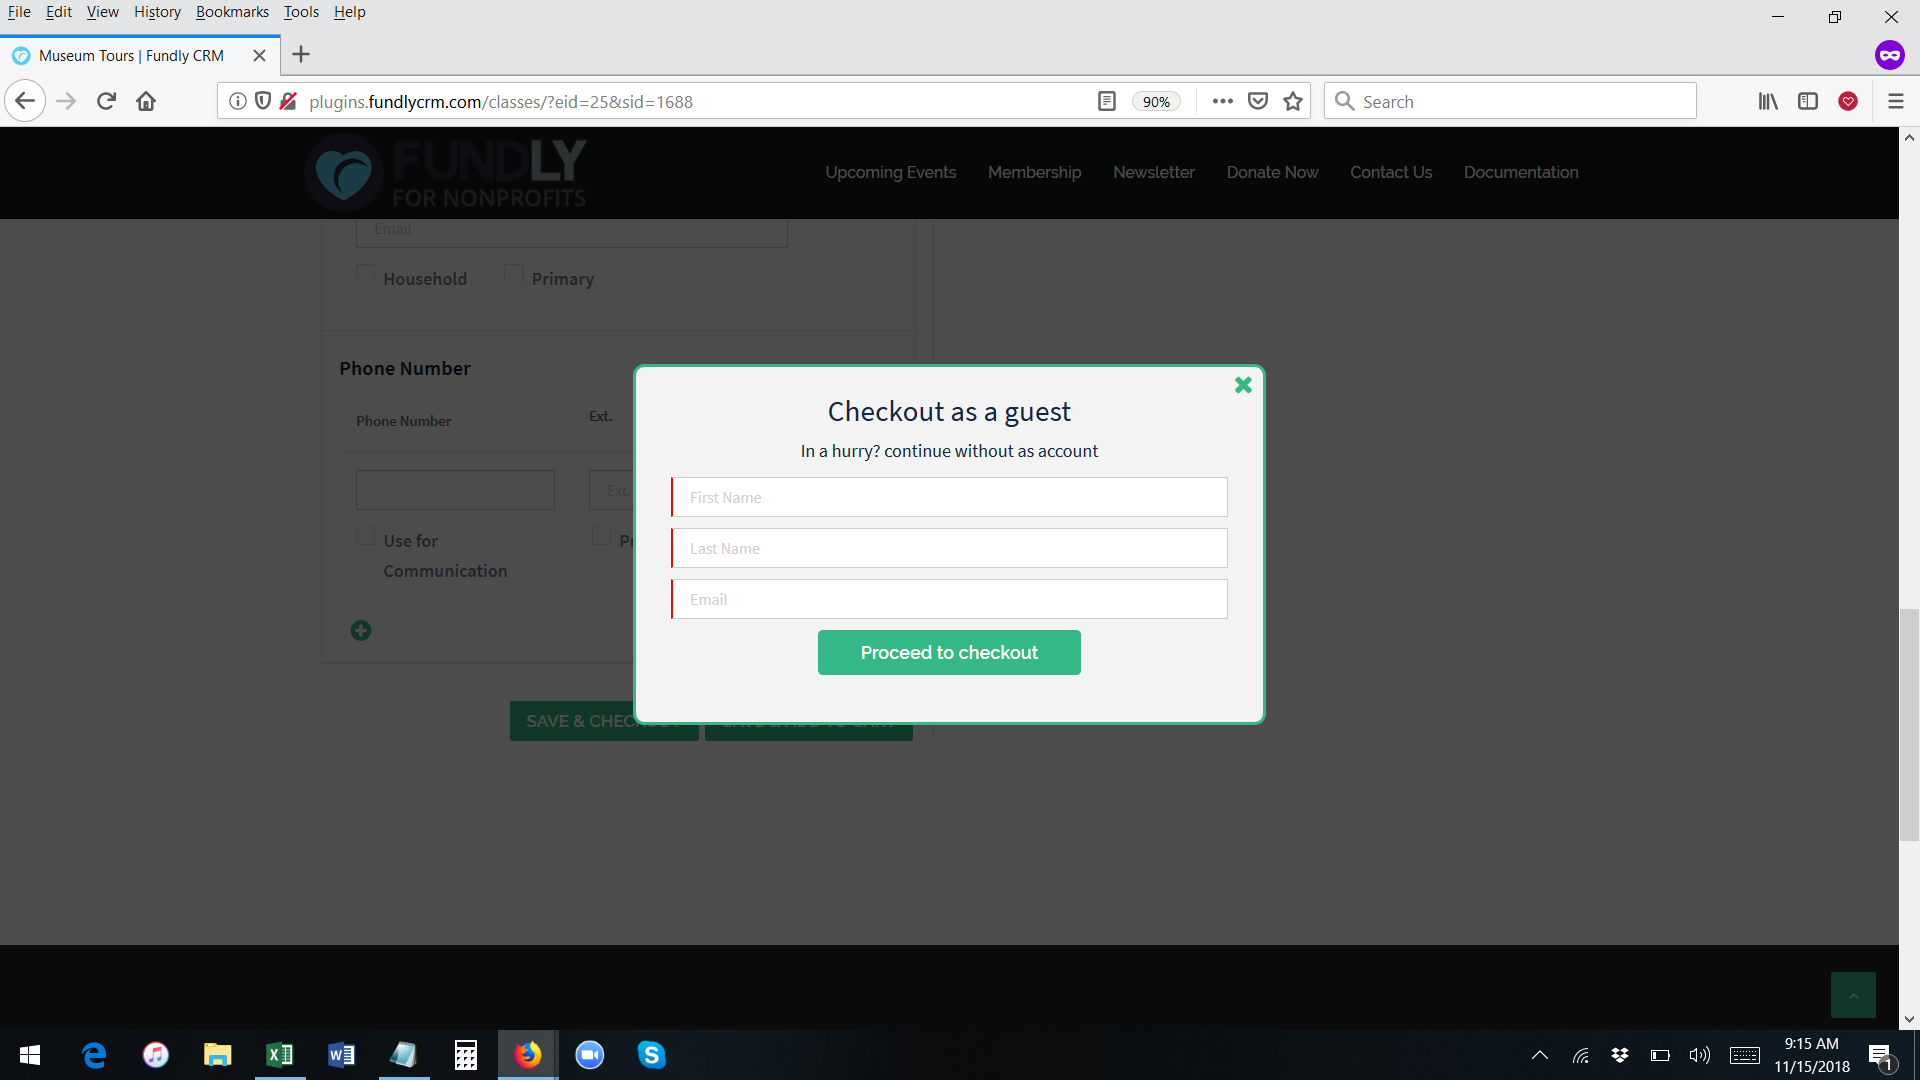
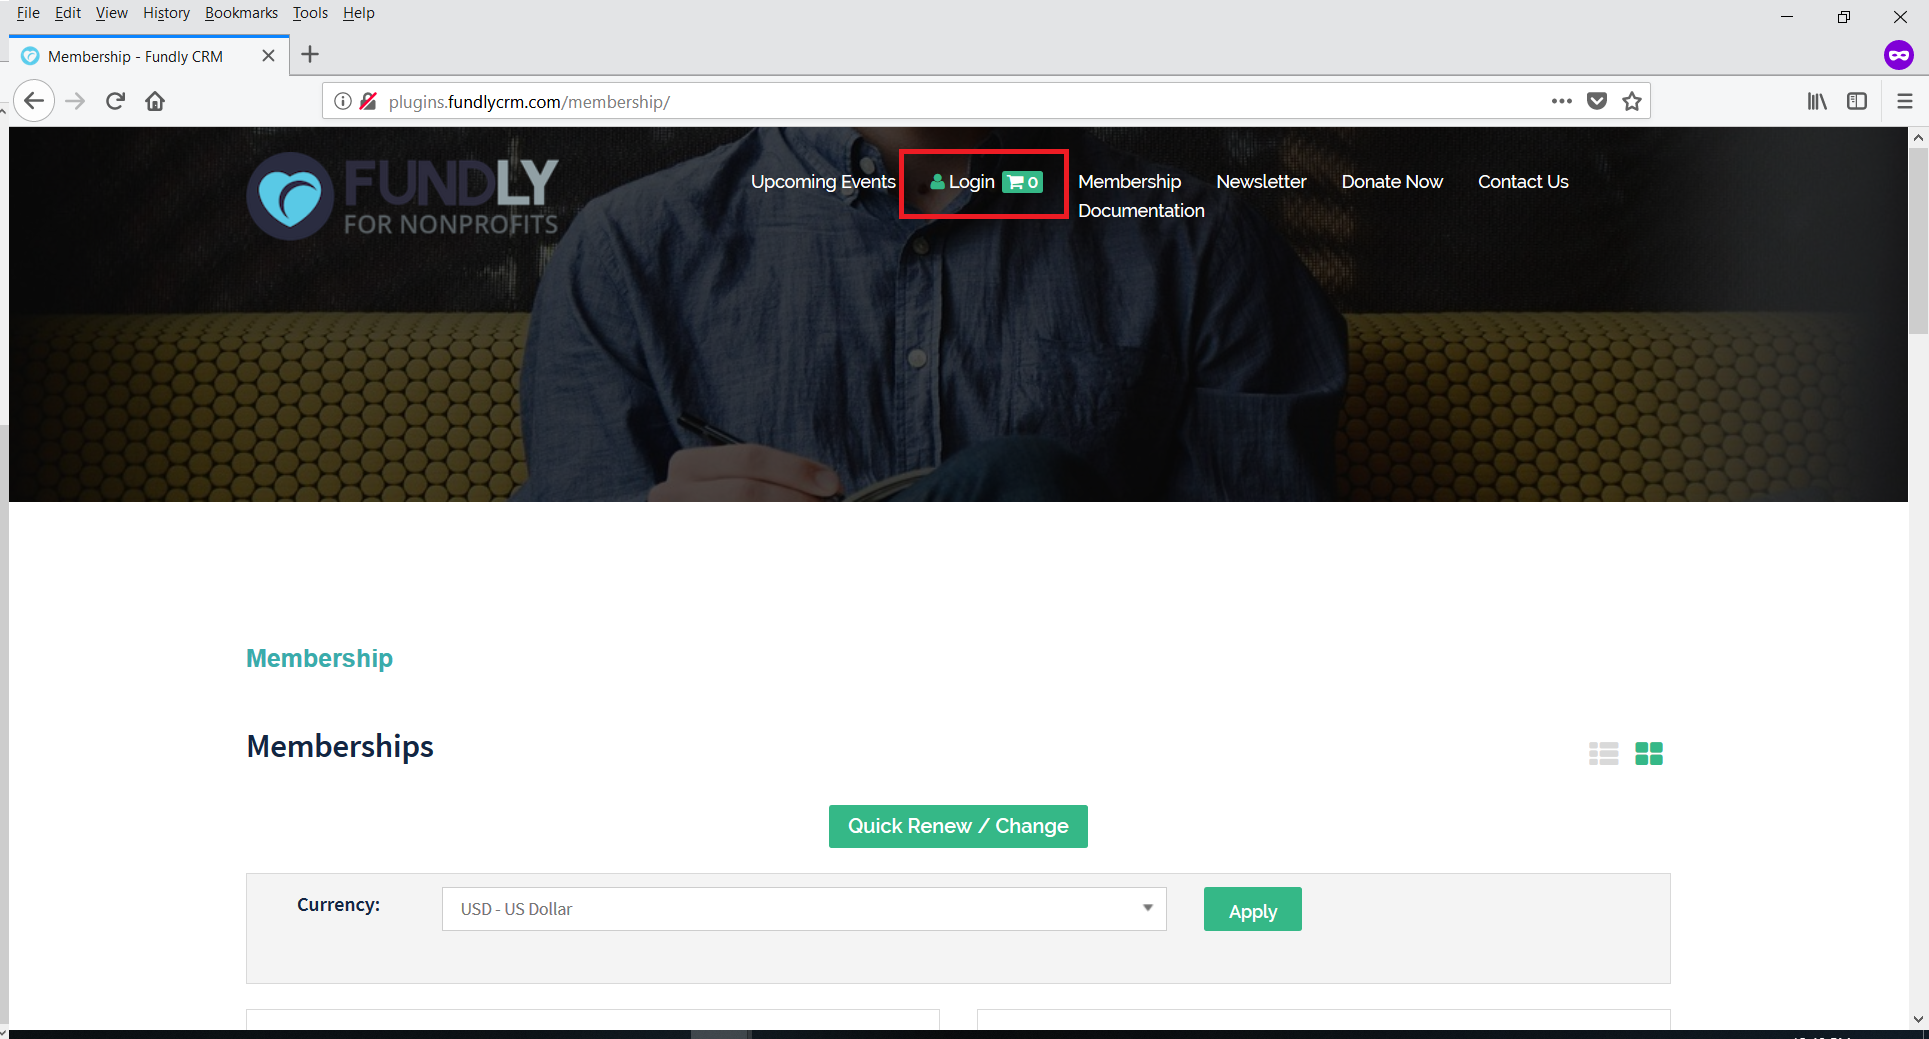
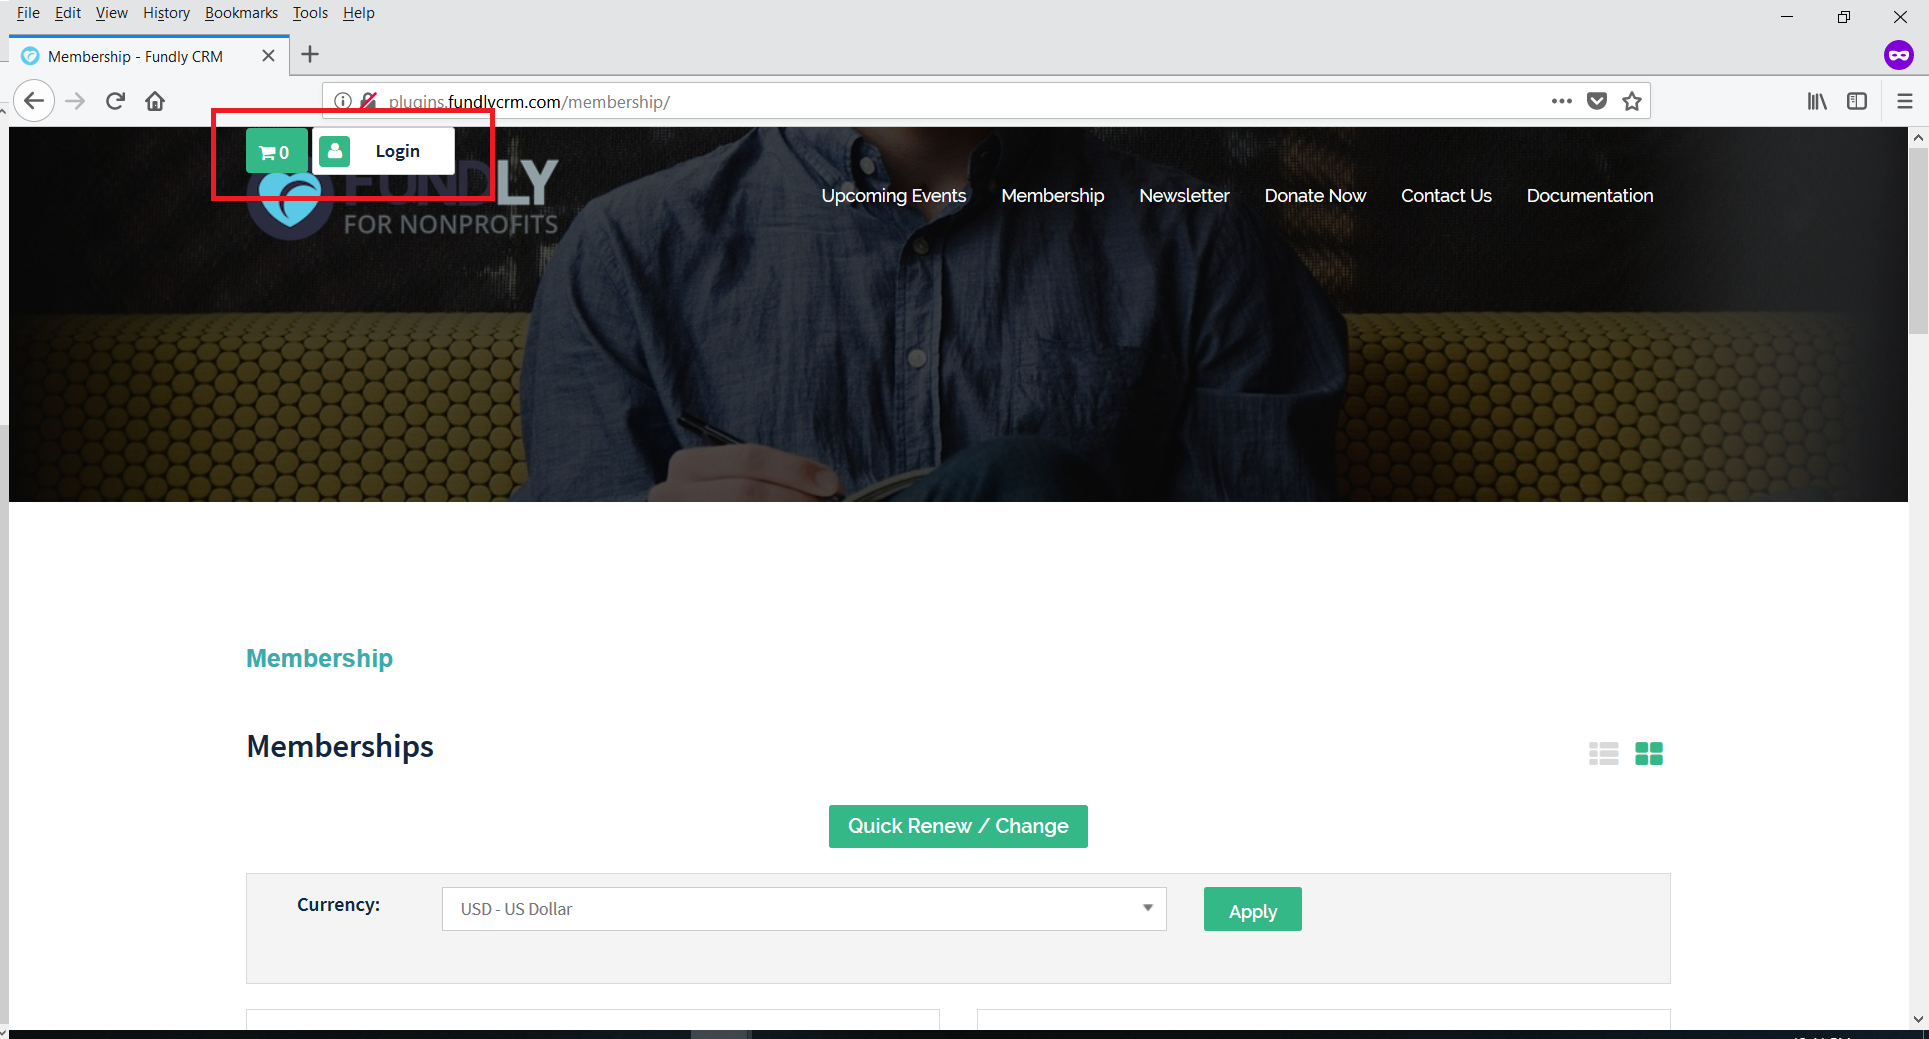
- Login Menu - if you would not like to display the Login option (that is, if you don't want your contacts to be able to create or manage public profiles/user accounts), toggle the radio button to Off. If you turn the log in option off, not only will the Login menu/option be hidden, but the pop up box that fires when users go to check out for events and memberships (when they haven't logged in prior to checking out) asking the user to choose whether to log in or proceed as a guest will only have the guest check out option (the pop up box will still appear/fire and user must fill in their name and email to proceed). In the two screen shots of the guest check out pop up box below, the first shows what it looks like with the login option turned ON and the second shows it with the login option turned OFF.
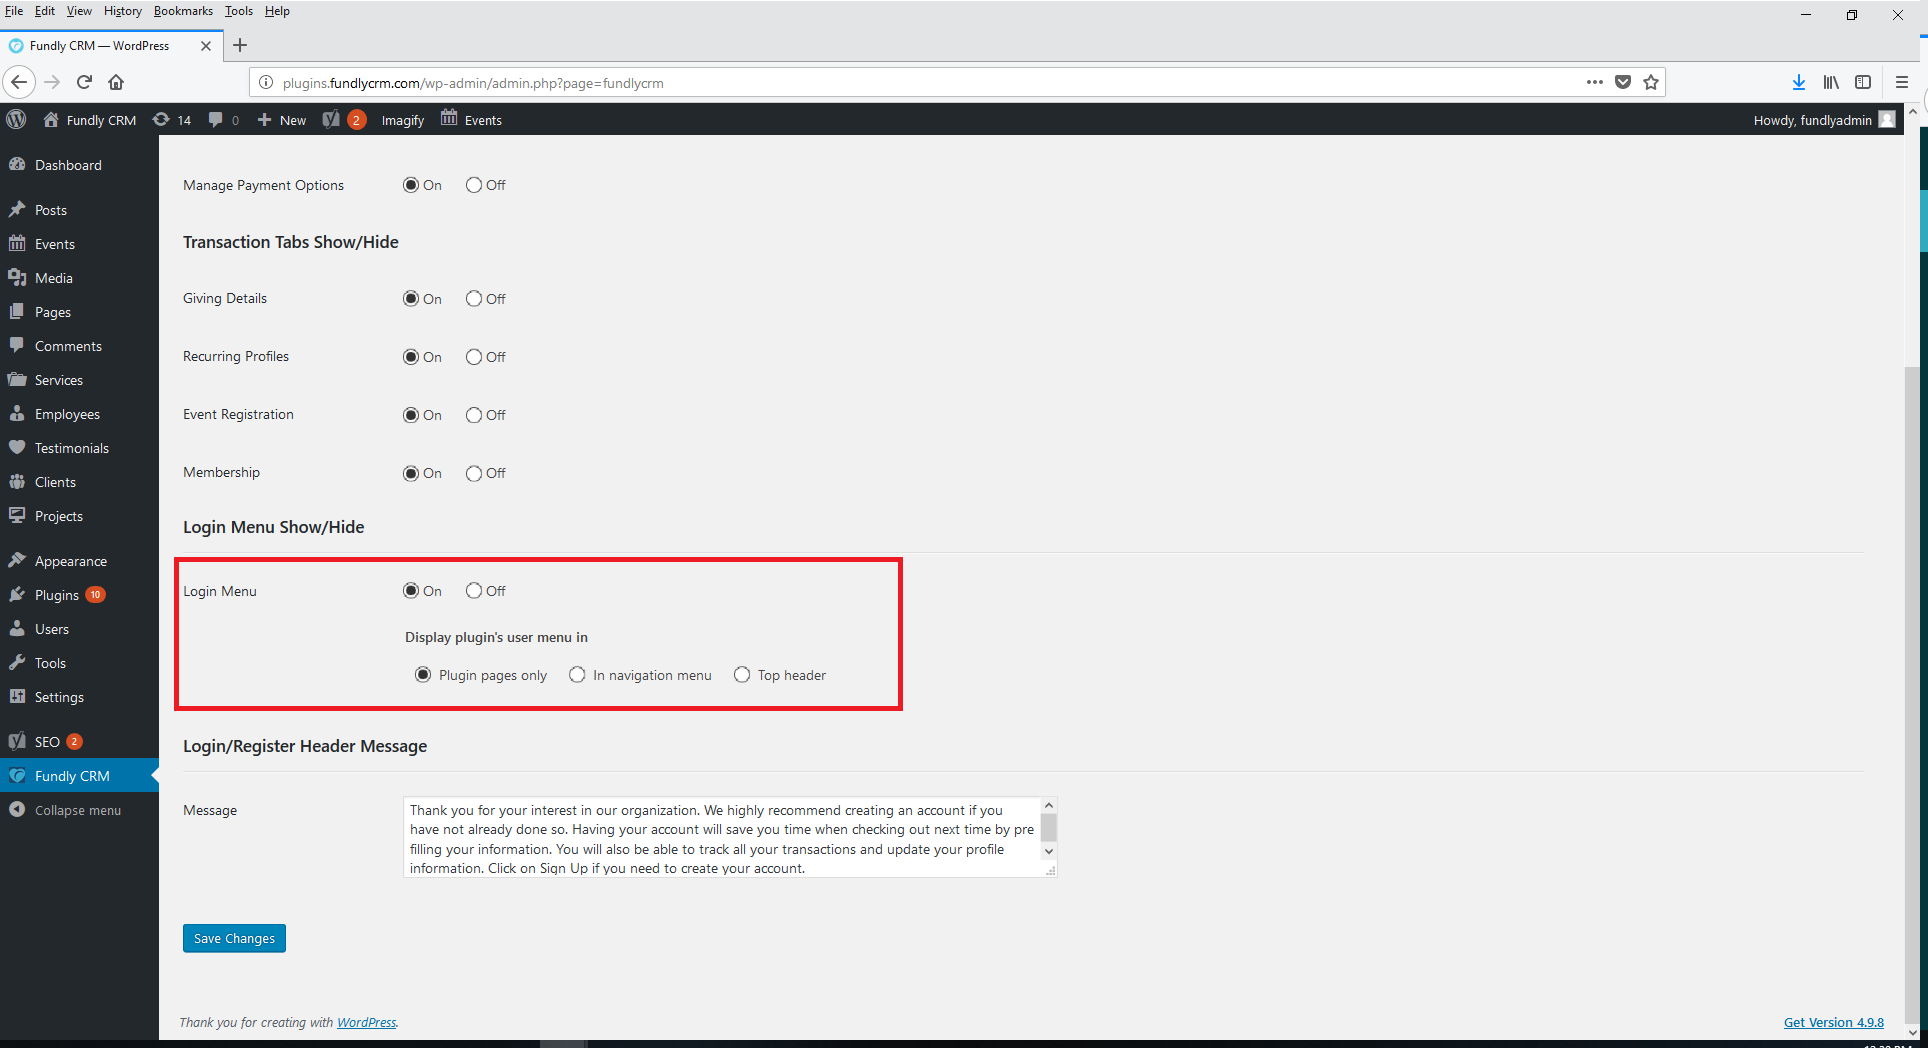

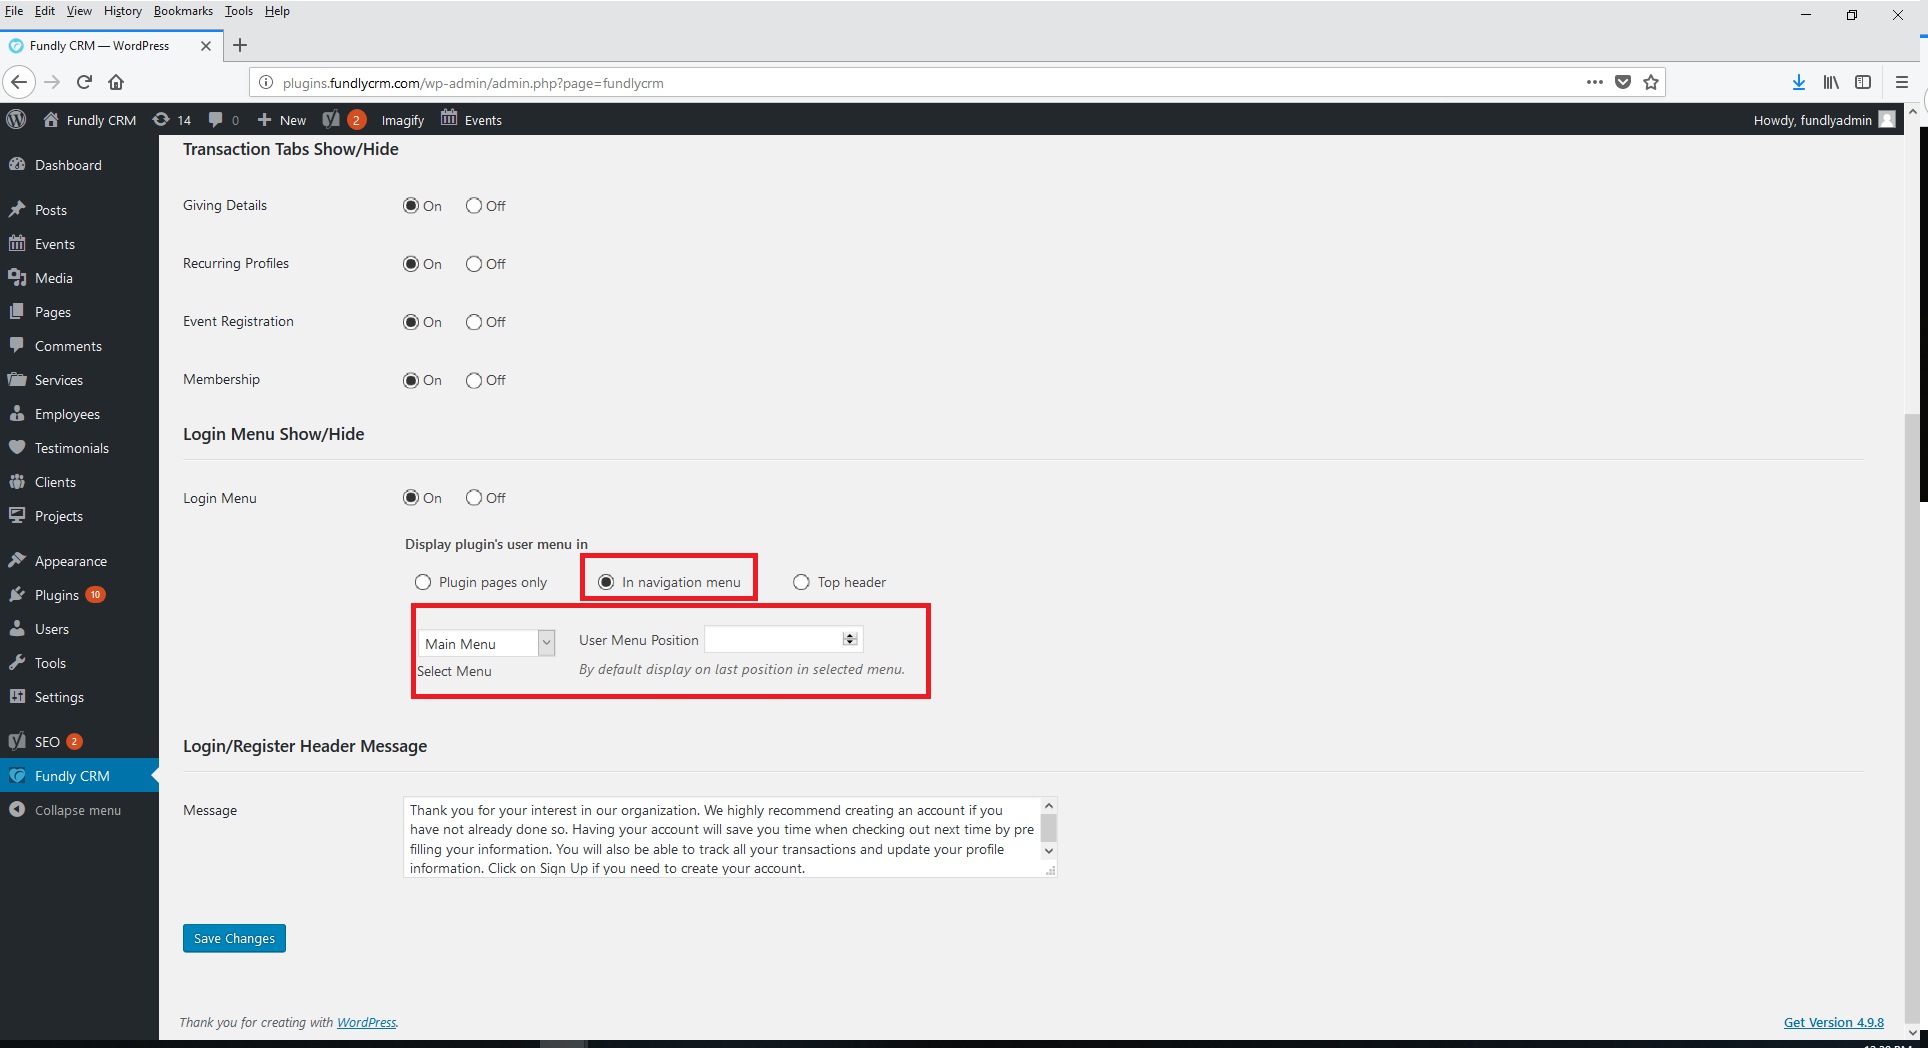
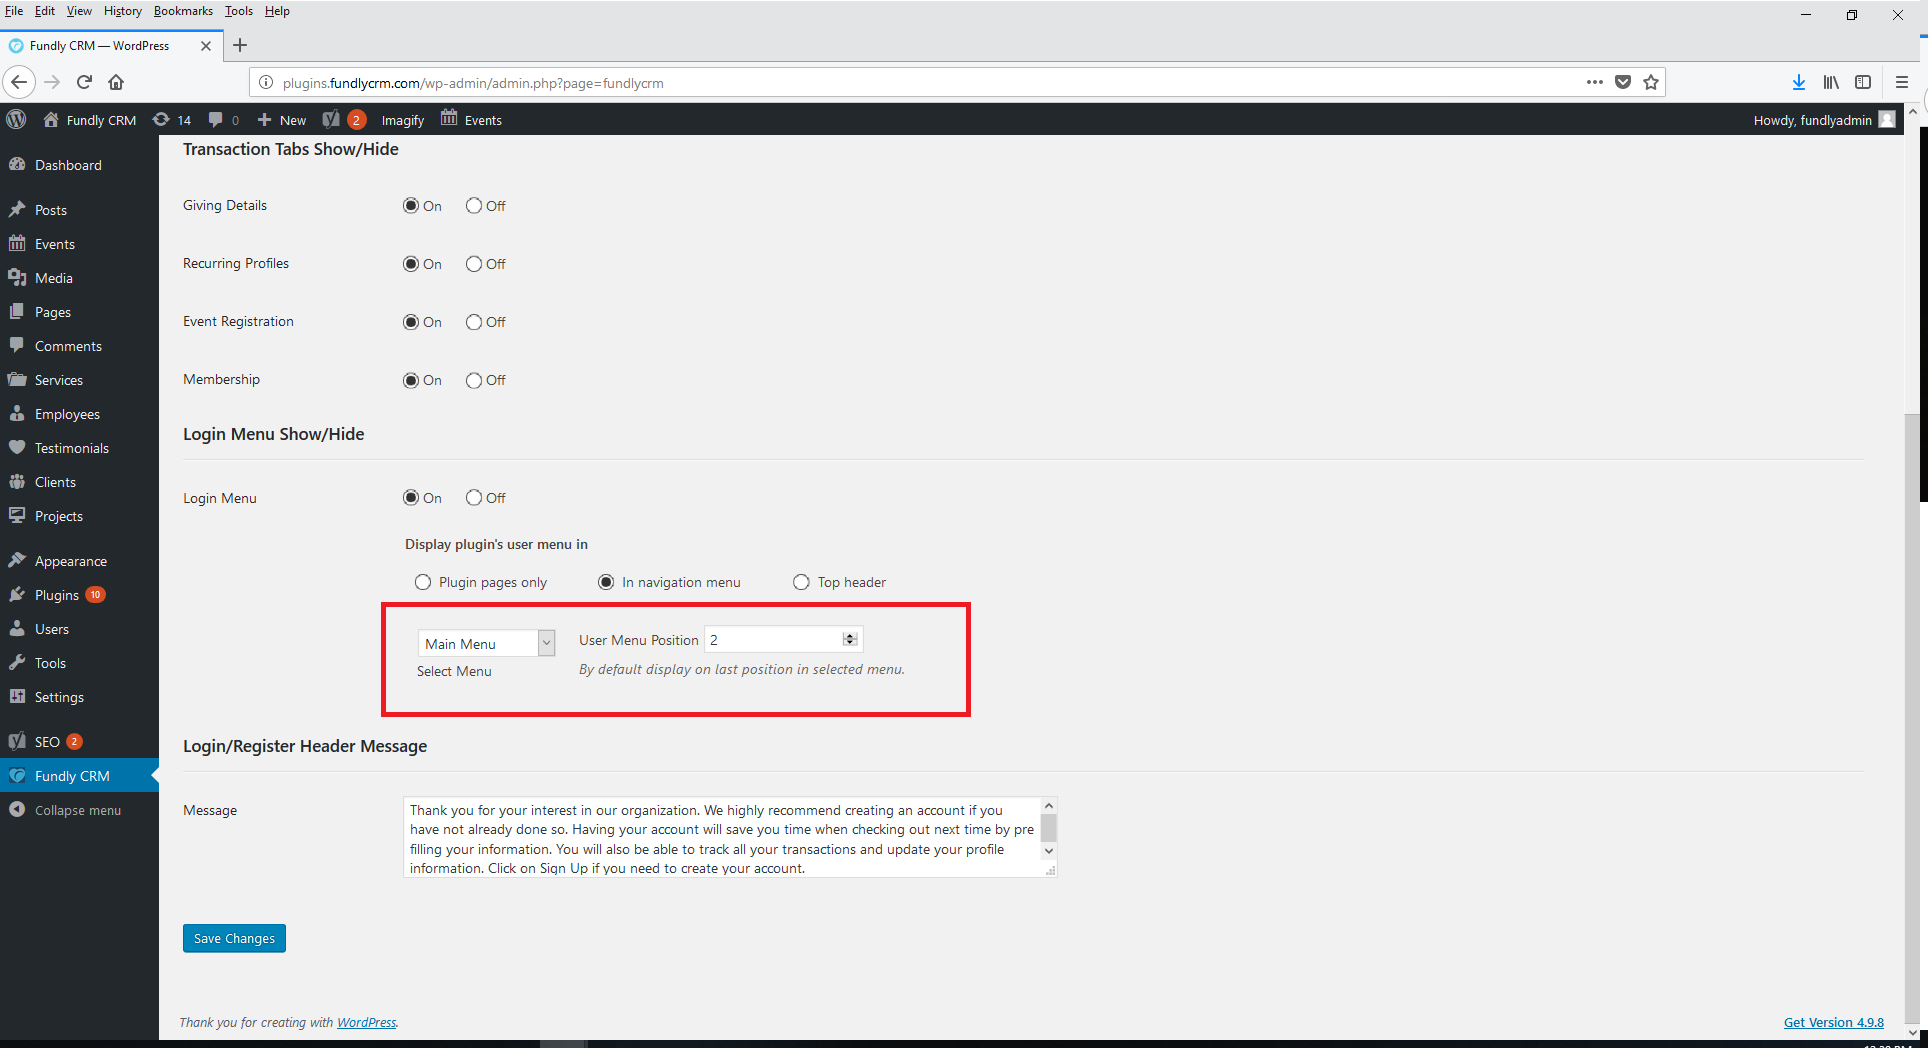
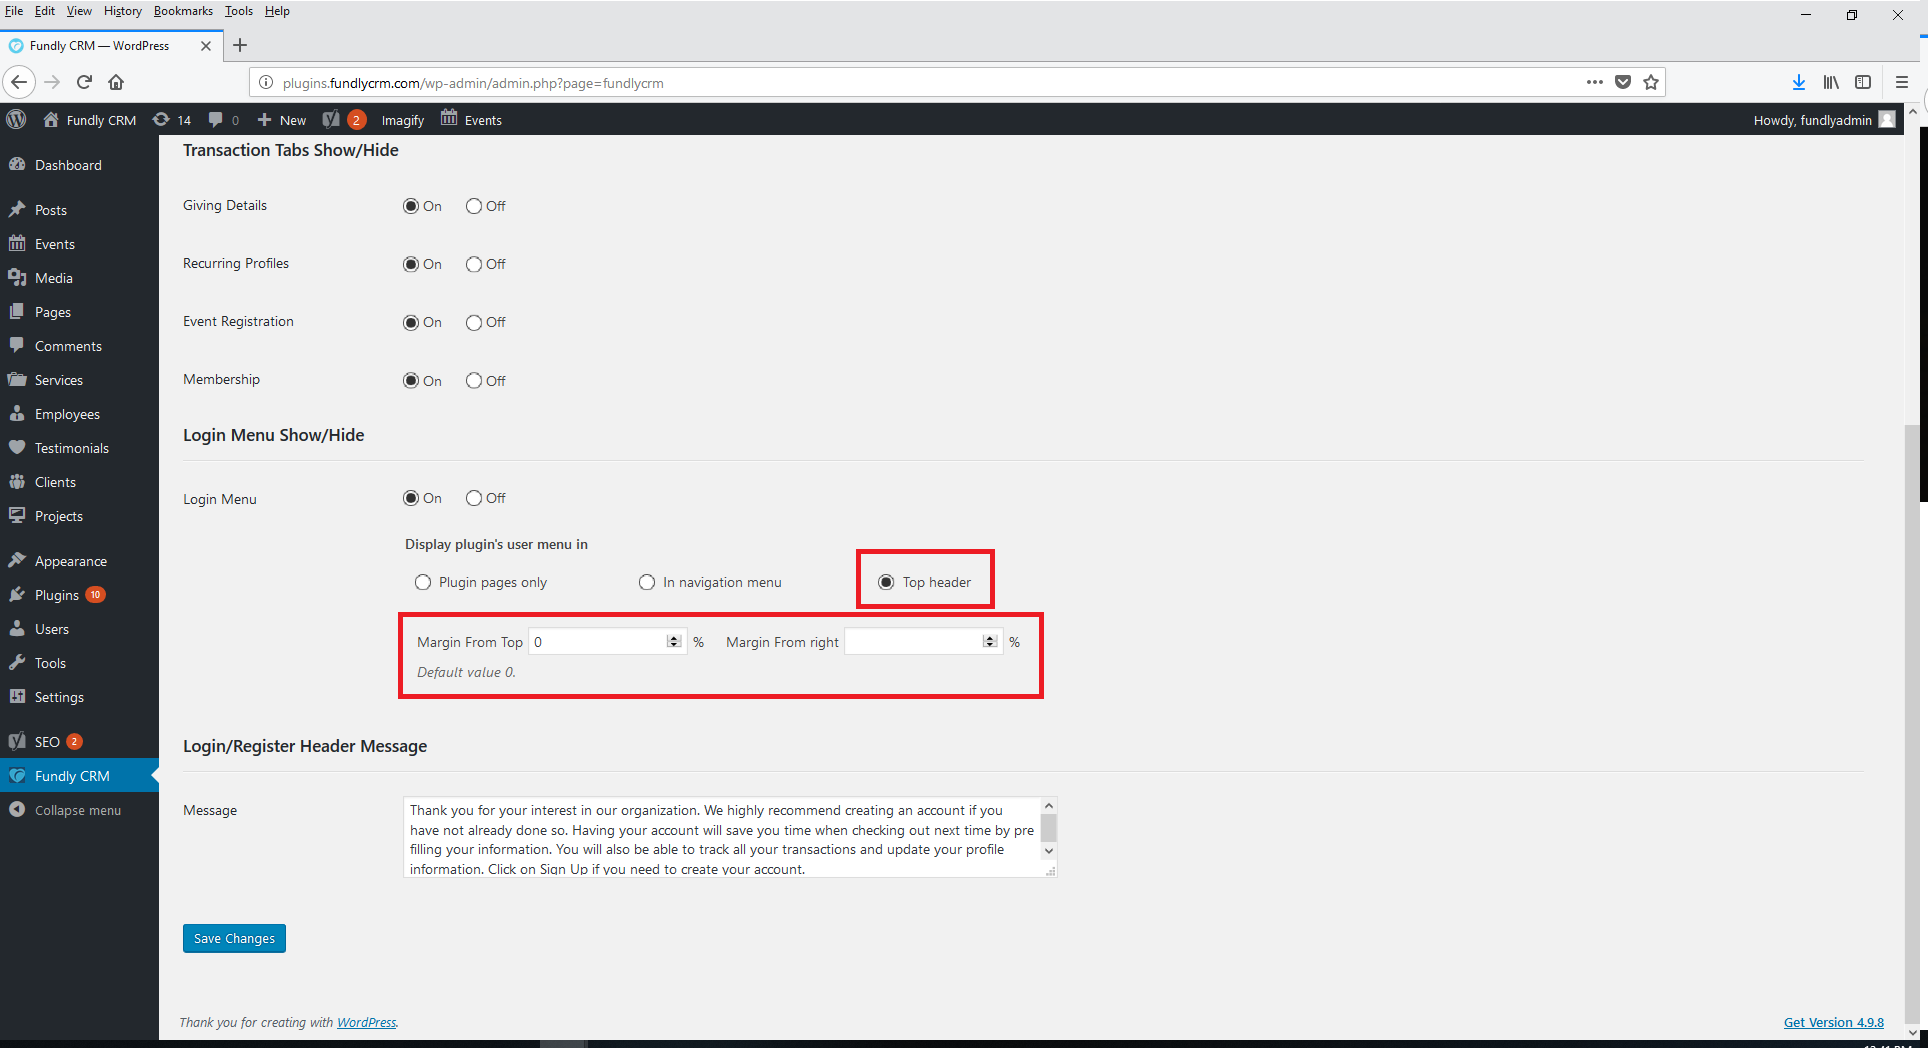
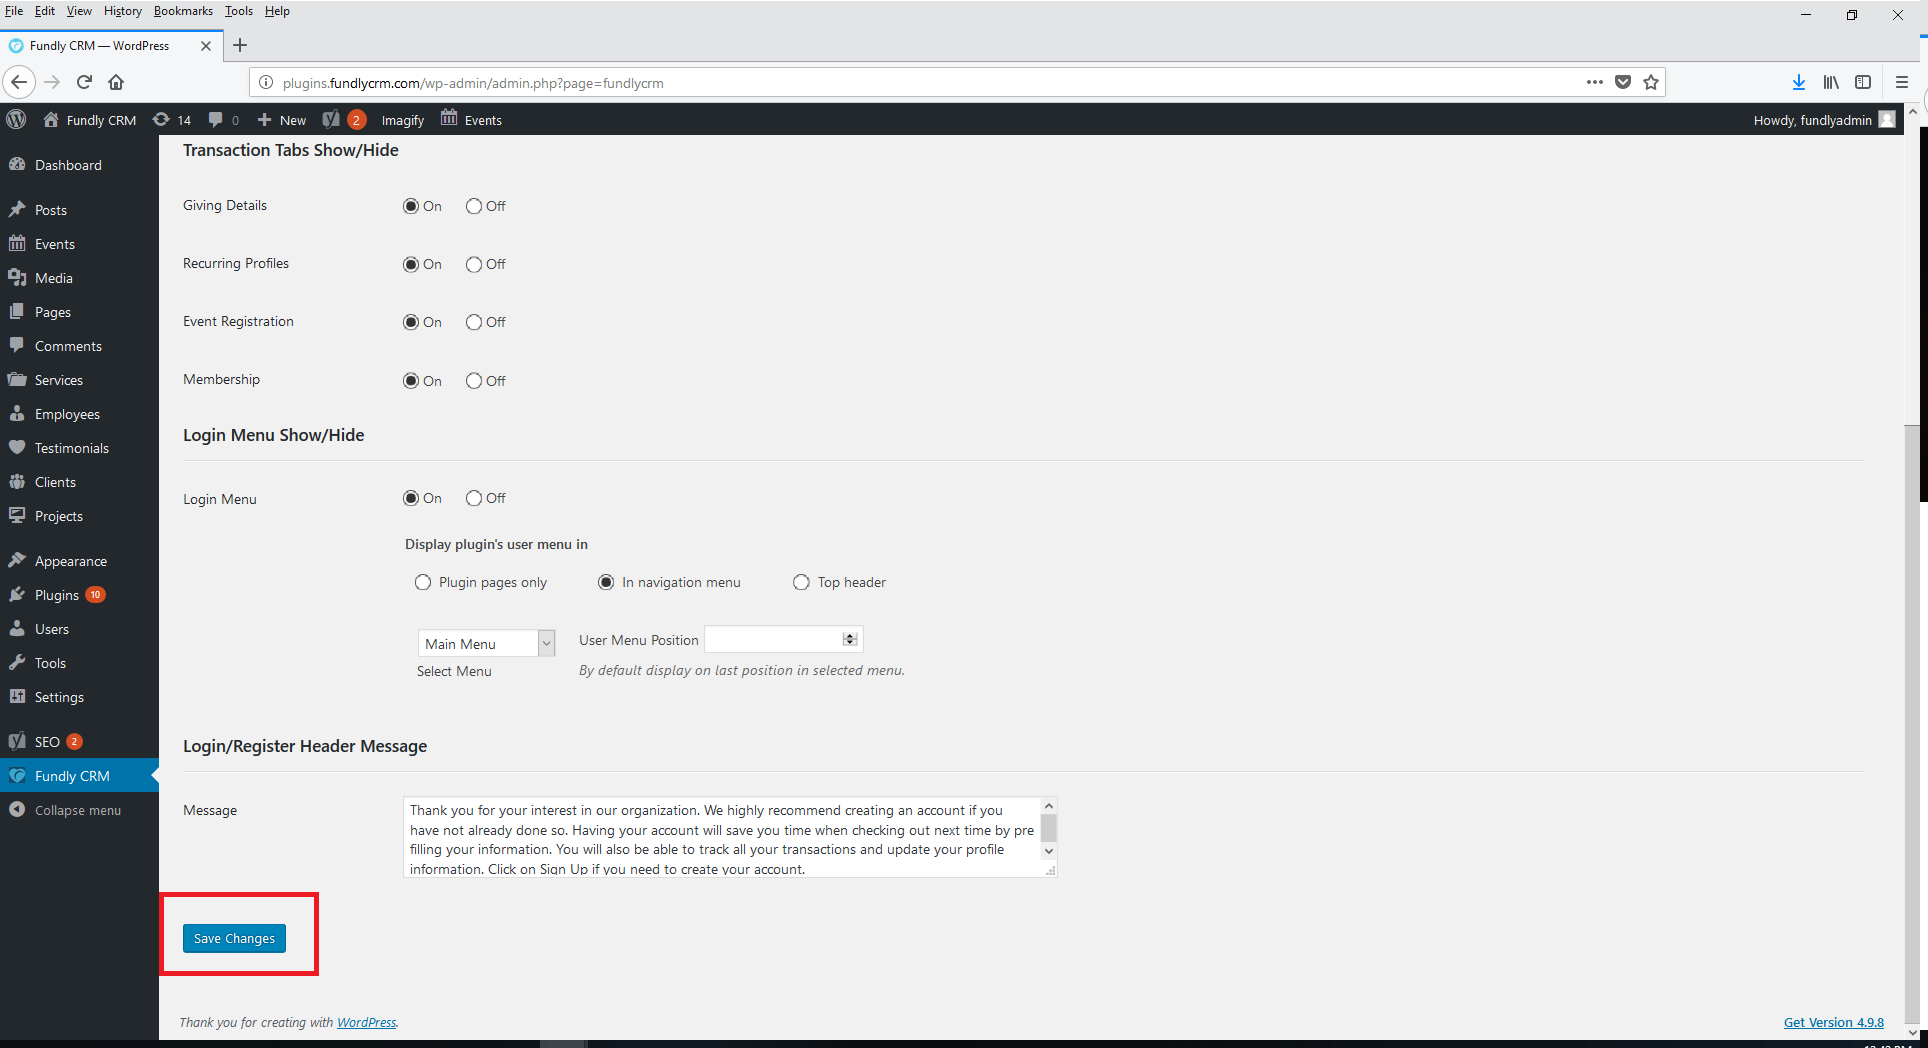
- Display plugin's user menu in - this option controls where on your website/webpages the "login" option appears.
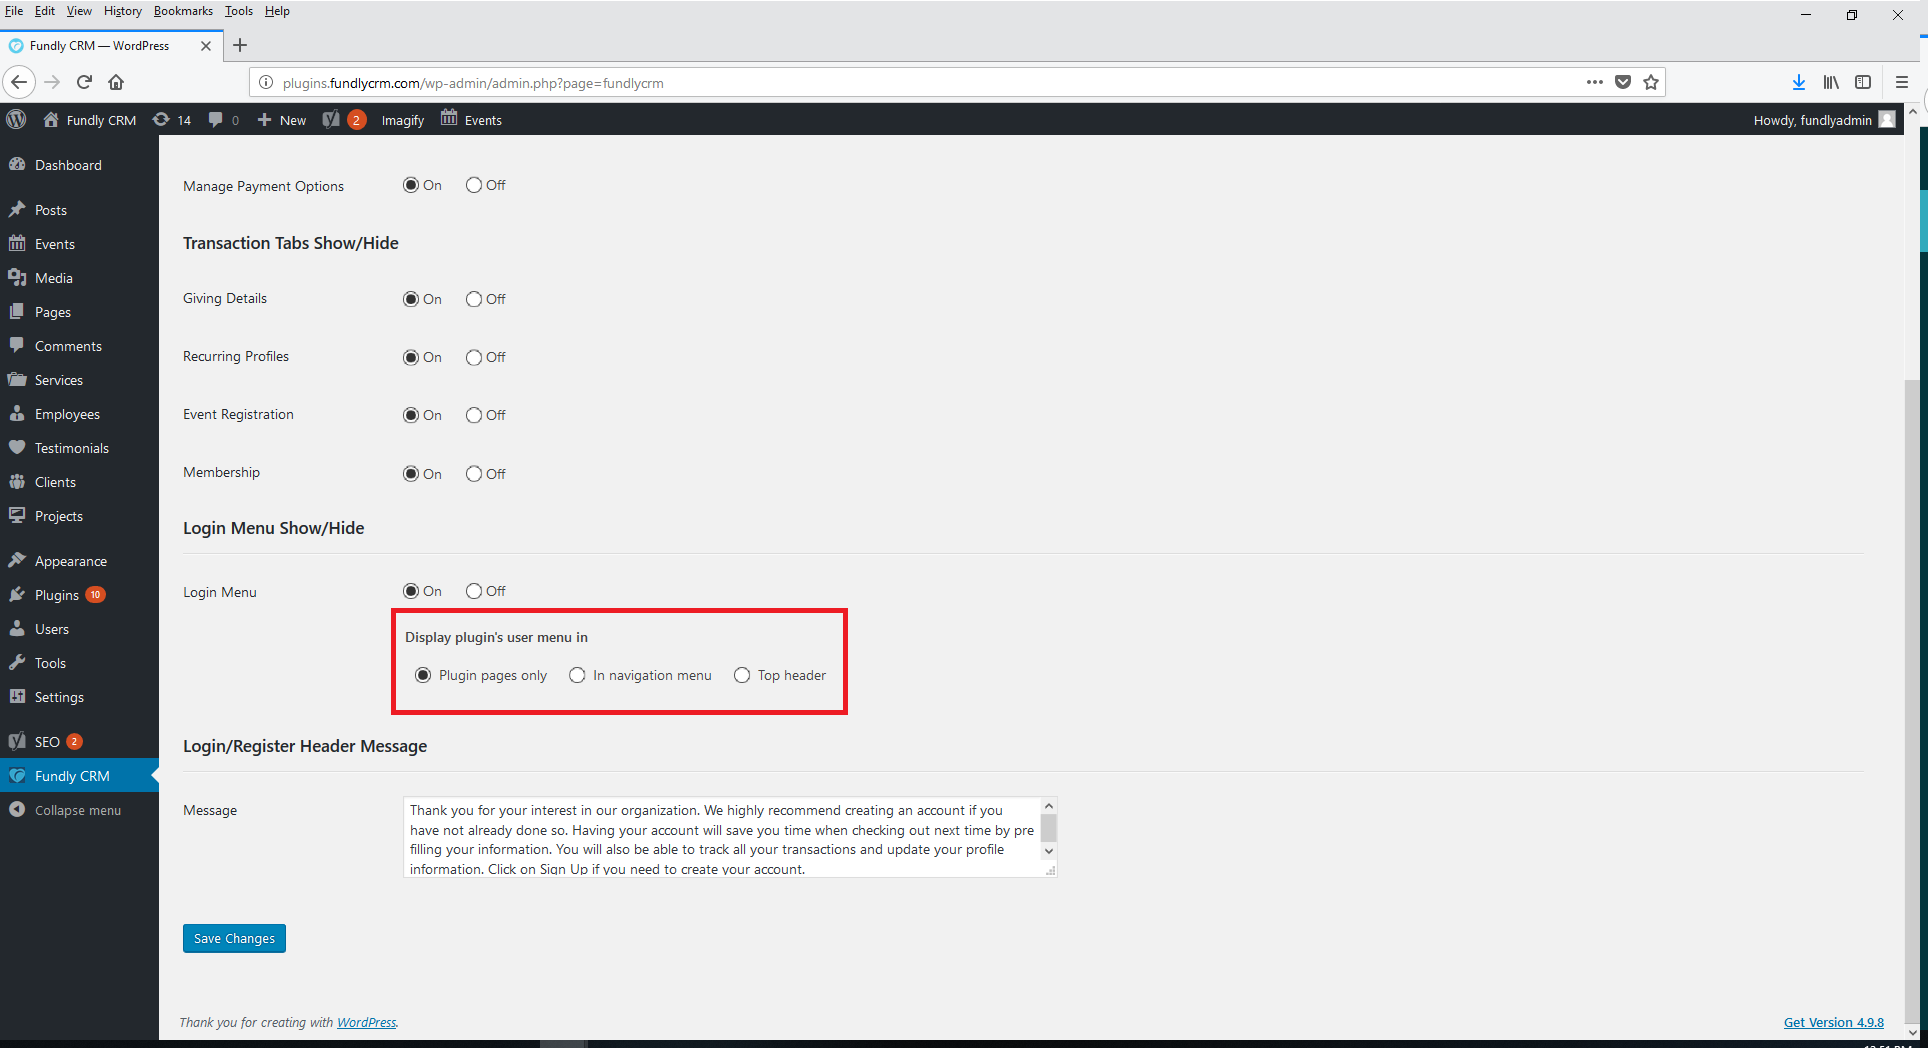
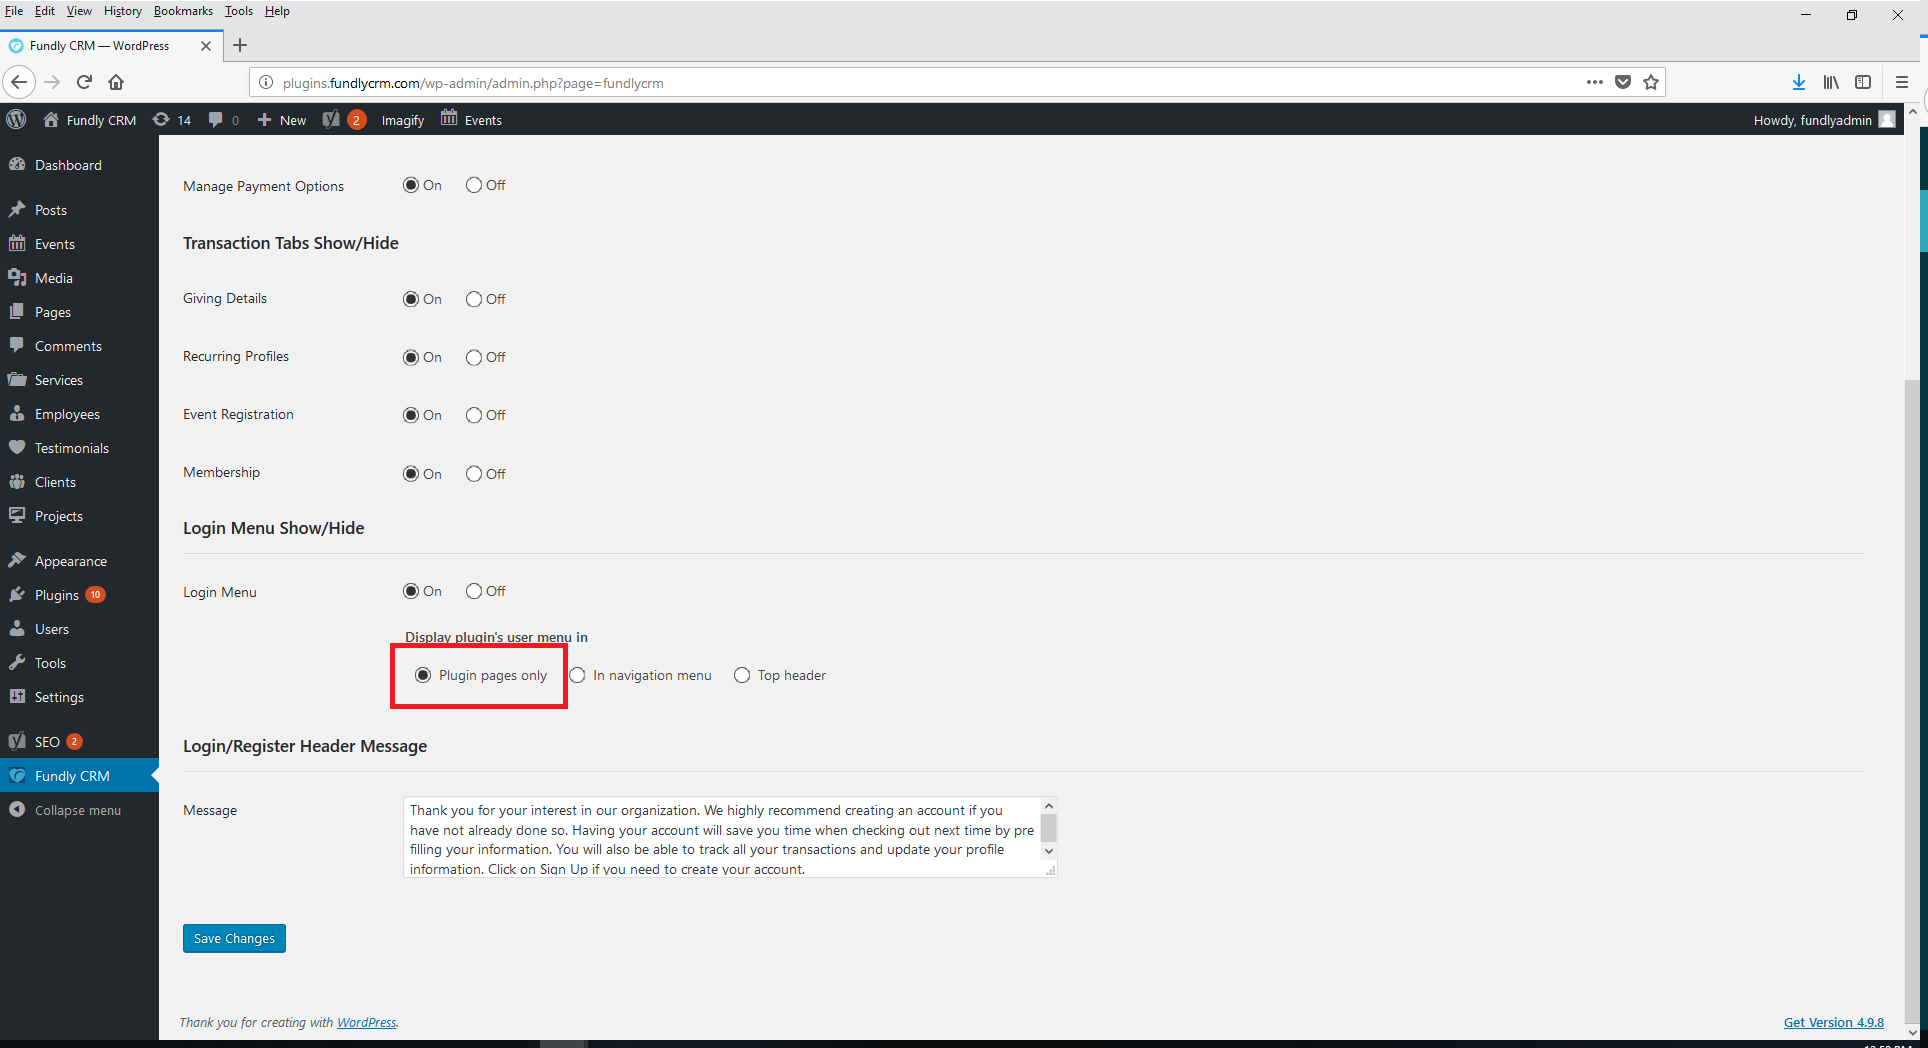
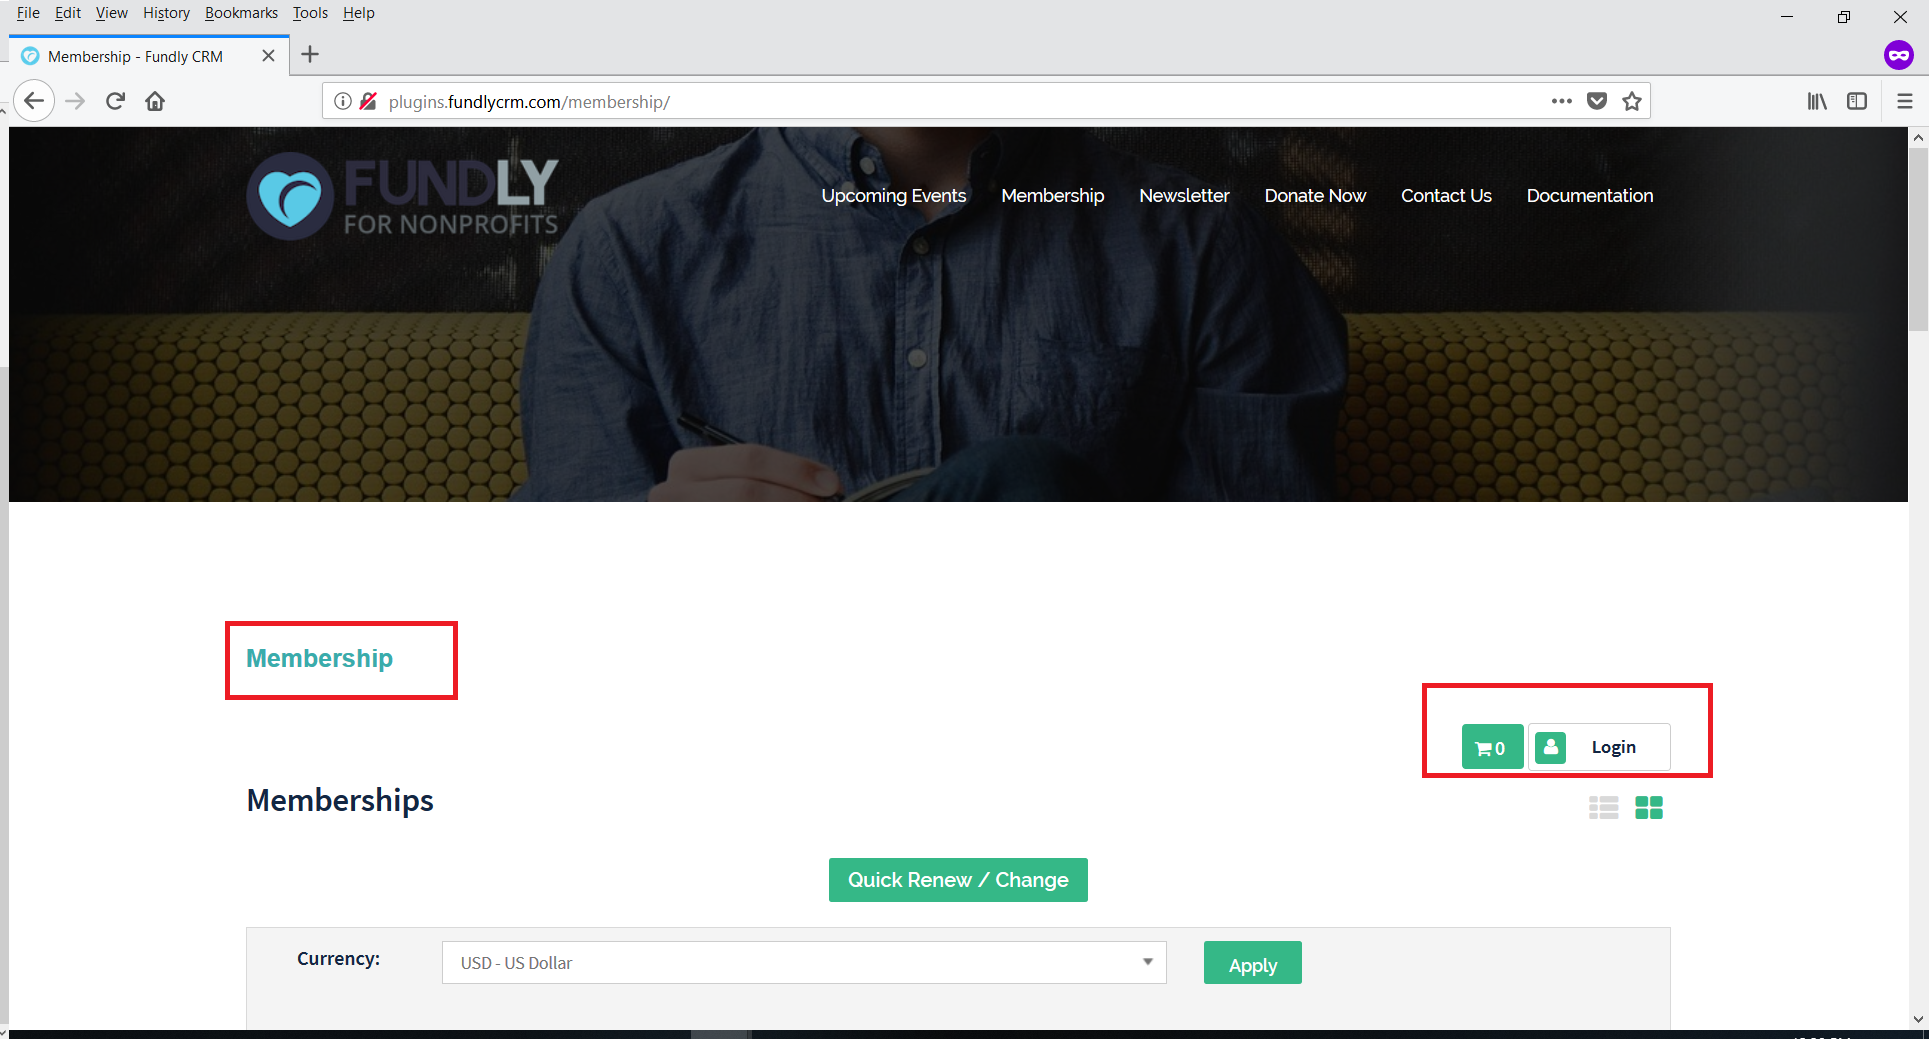
- Plugin pages only means that the login button only appears on pages controlled by a CRM plugin (event calendar and event detail pages, membership index page, and donation page(s)).
- In navigation menu means that the login button will appear as an item on your main menu.

- Top header means that the system will display a header at the top of the page that has the login and cart buttons.
- Plugin pages only means that the login button only appears on pages controlled by a CRM plugin (event calendar and event detail pages, membership index page, and donation page(s)).
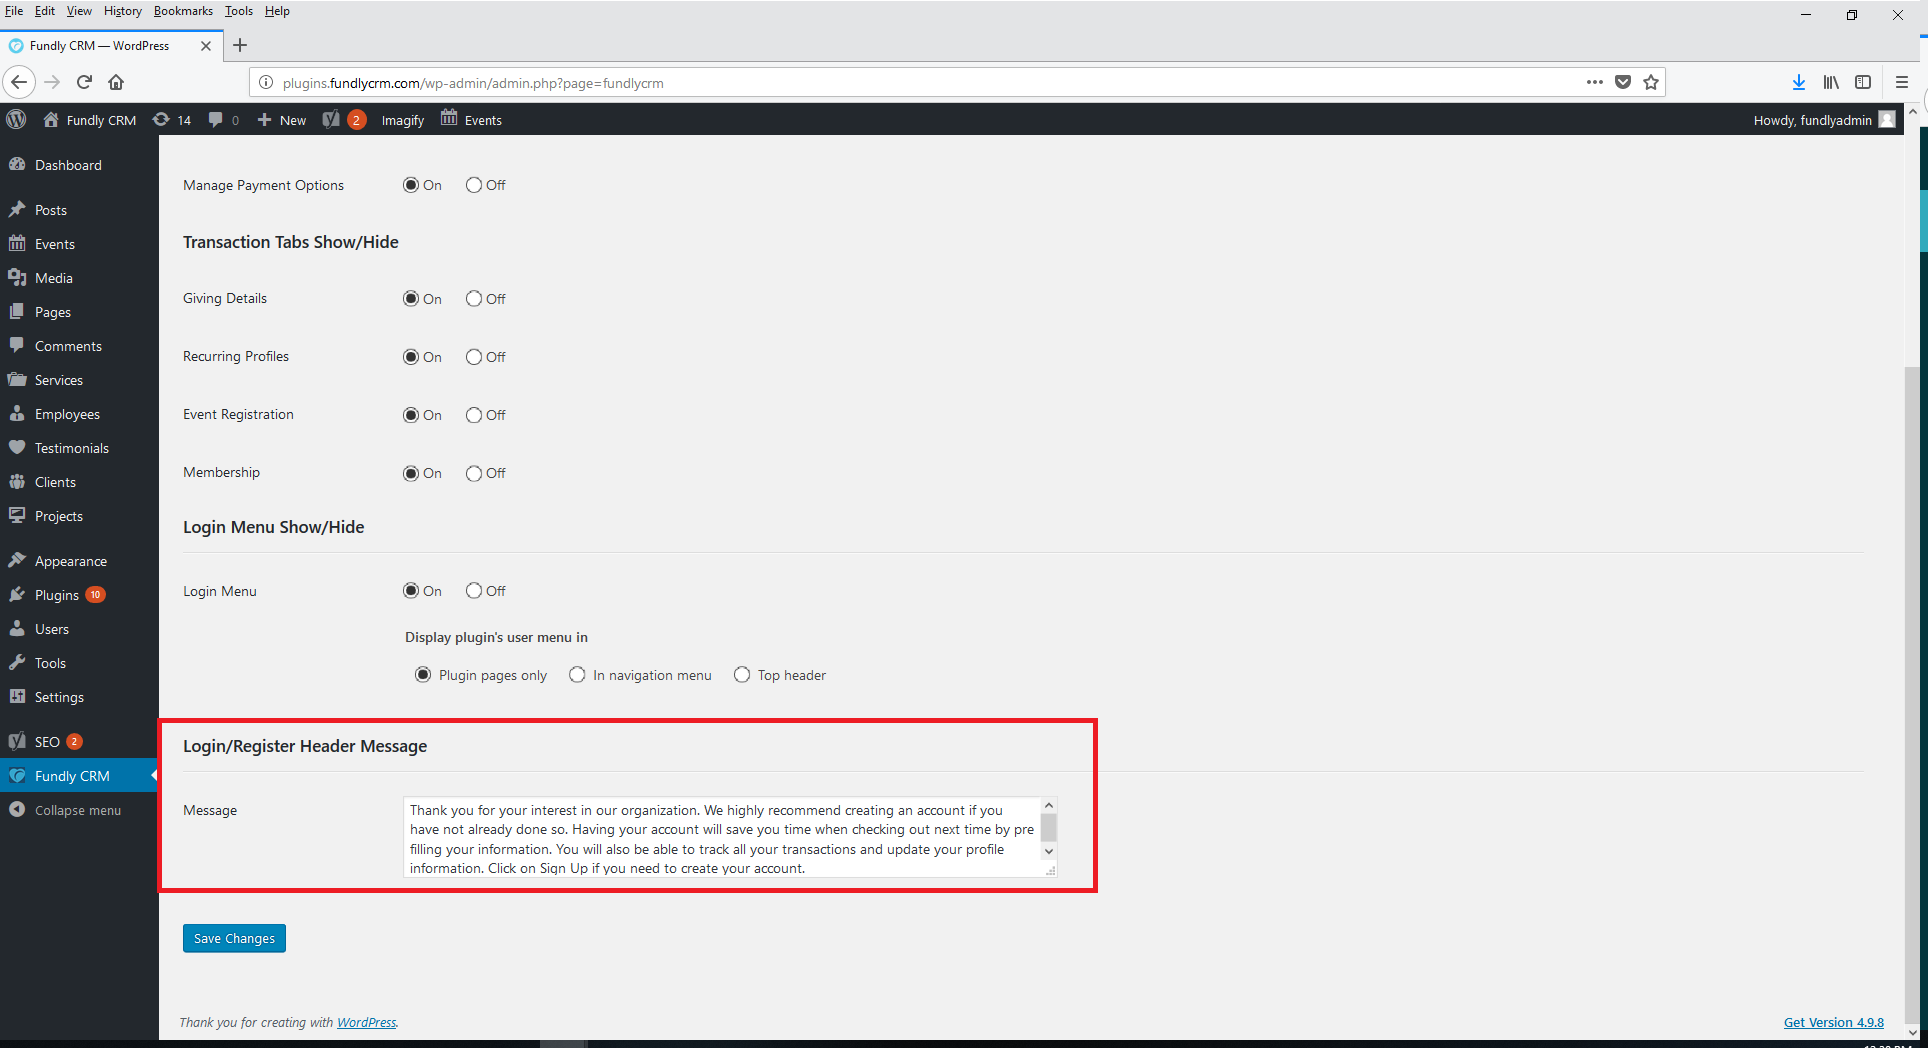
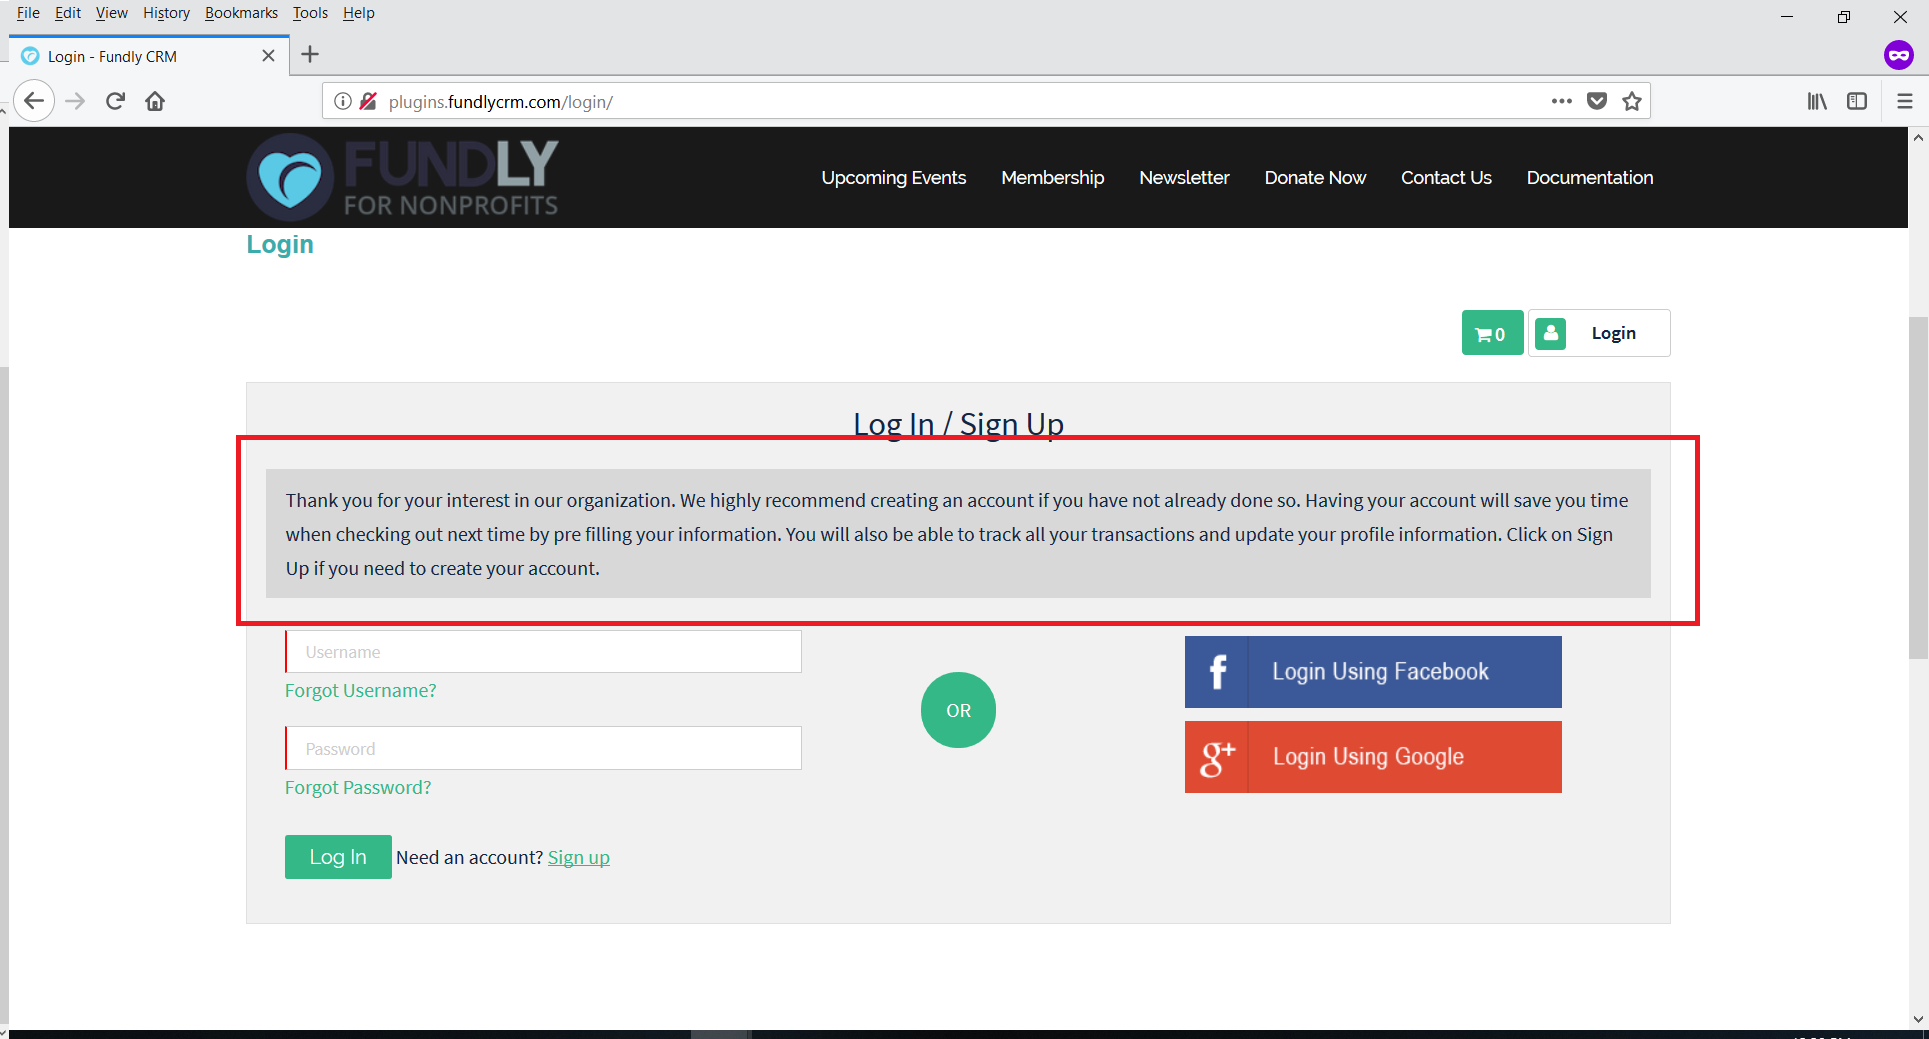
Login/Register Header Message
- This section controls the message appeared on the Login Page/the page users are directed to when they click Login on your site. This text/message can be used to explain the benefits of creating a log in or instructions that creating a login is mandatory (if you've firewalled certain pages behind a login requirement).
After making any changes to the User Account Configuration sub-tab, be sure to click the blue Save Changes button at the bottom of the page.
Layout Configuration

Generally, our developer will install and style the plugin so they match the current theme of your site, but in the case that you would like to edit the styling of the plugins, it can be done here.
- Font Style
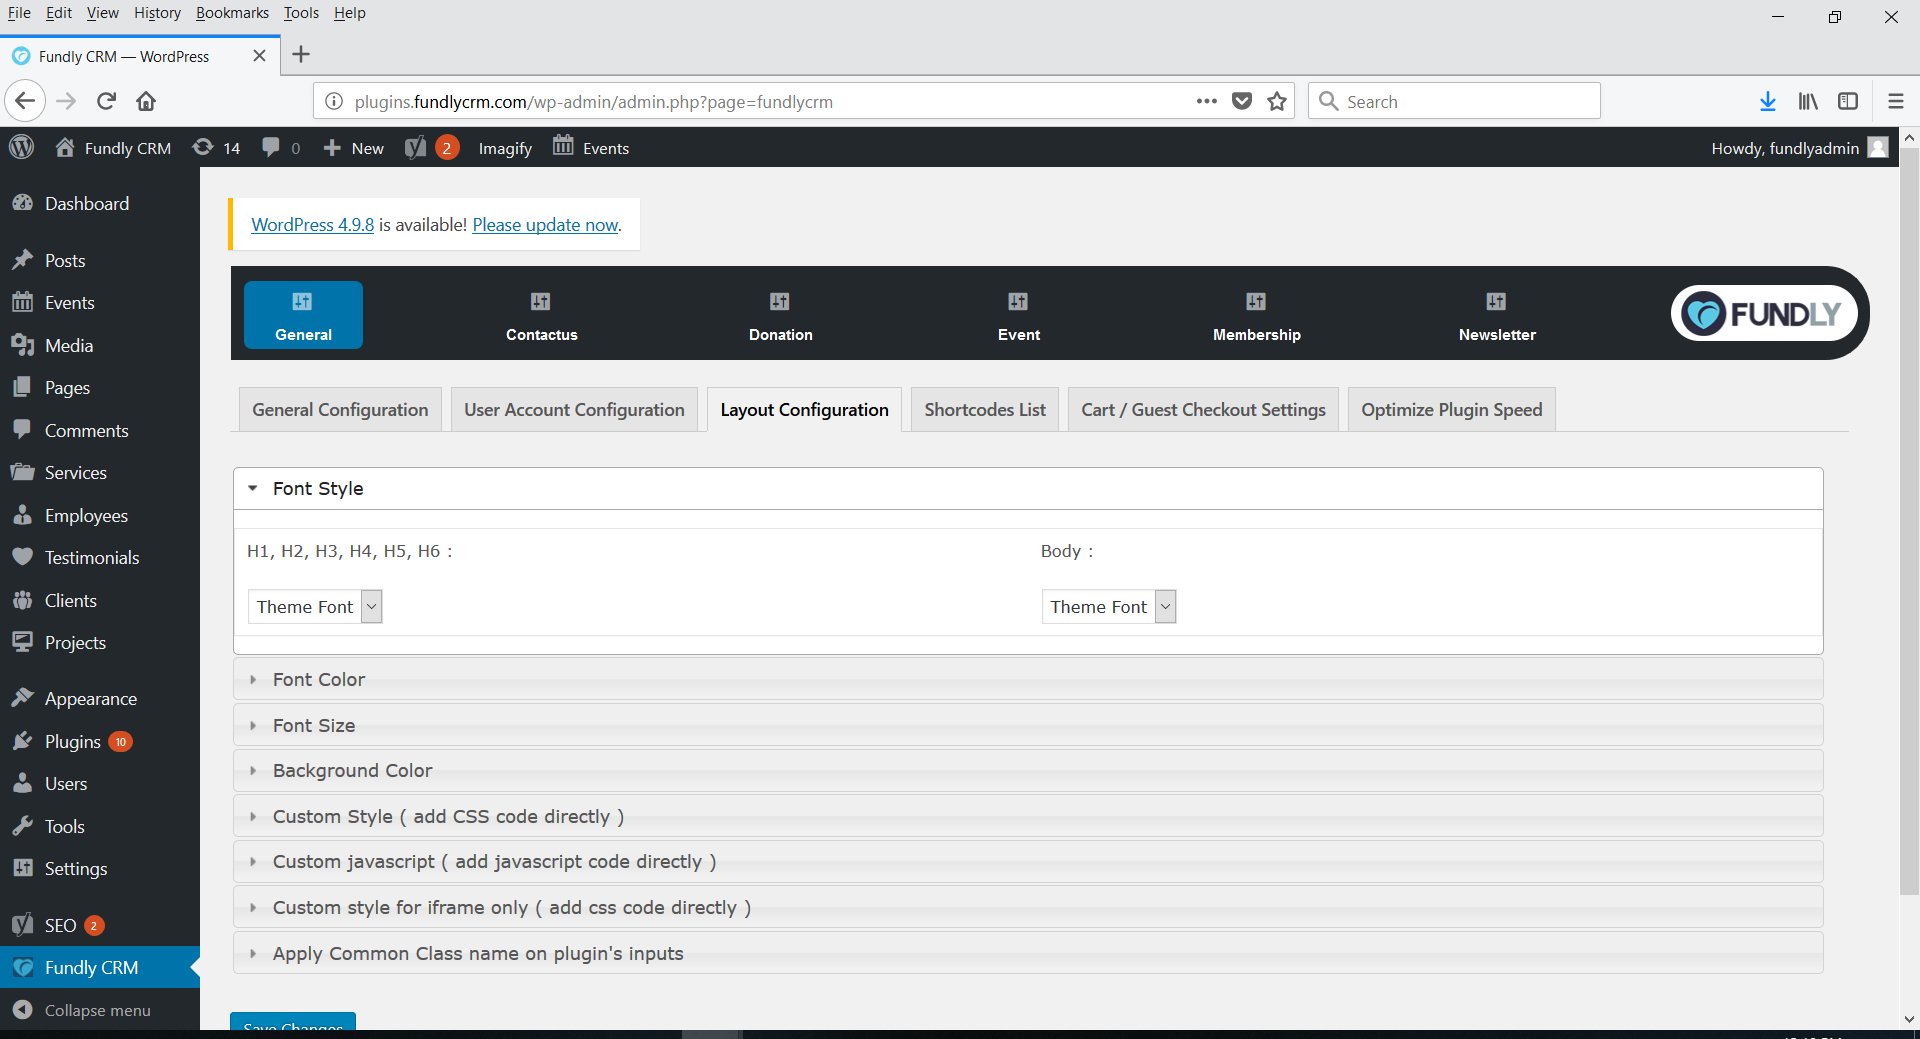
- Font Color

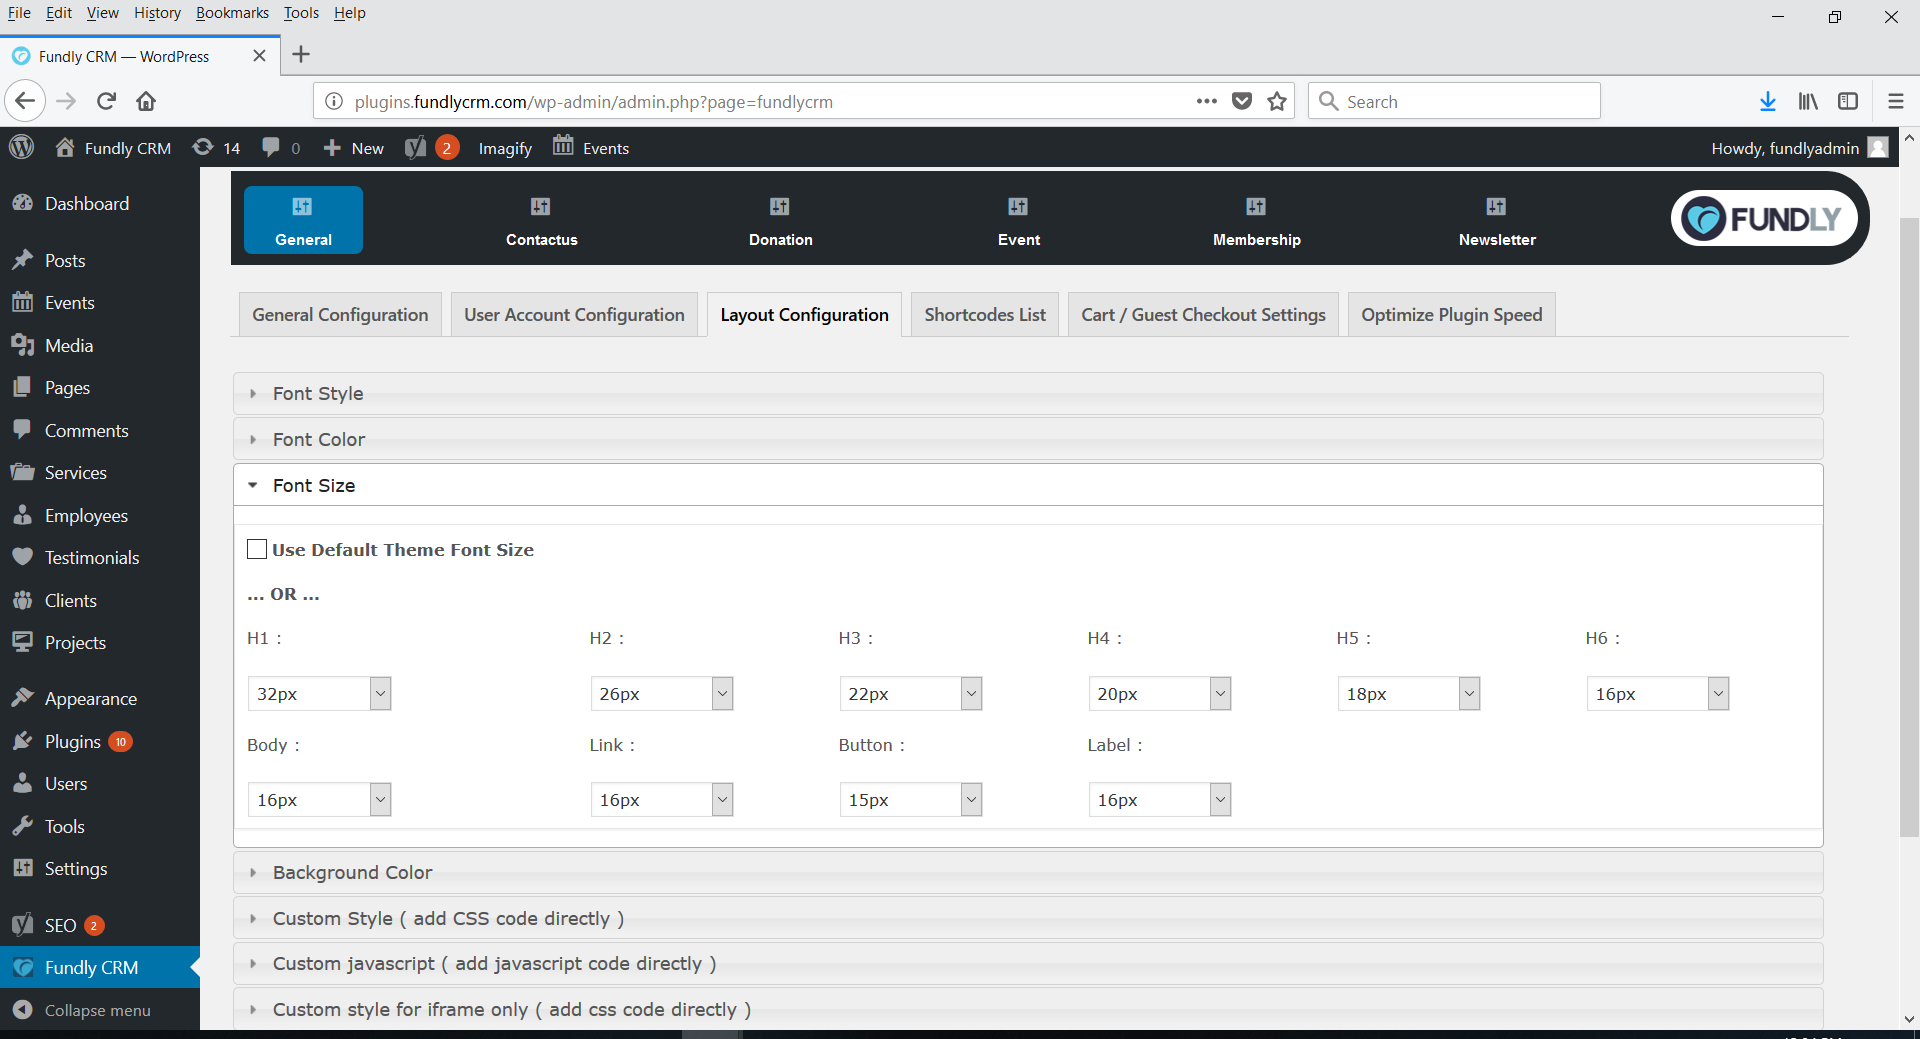
- Font Size
- Background Color

- Custom Style
If you know CSS code, or if you have web developer for your website, they will be able to write their own CSS code to override the styling of the CRM Plugin.

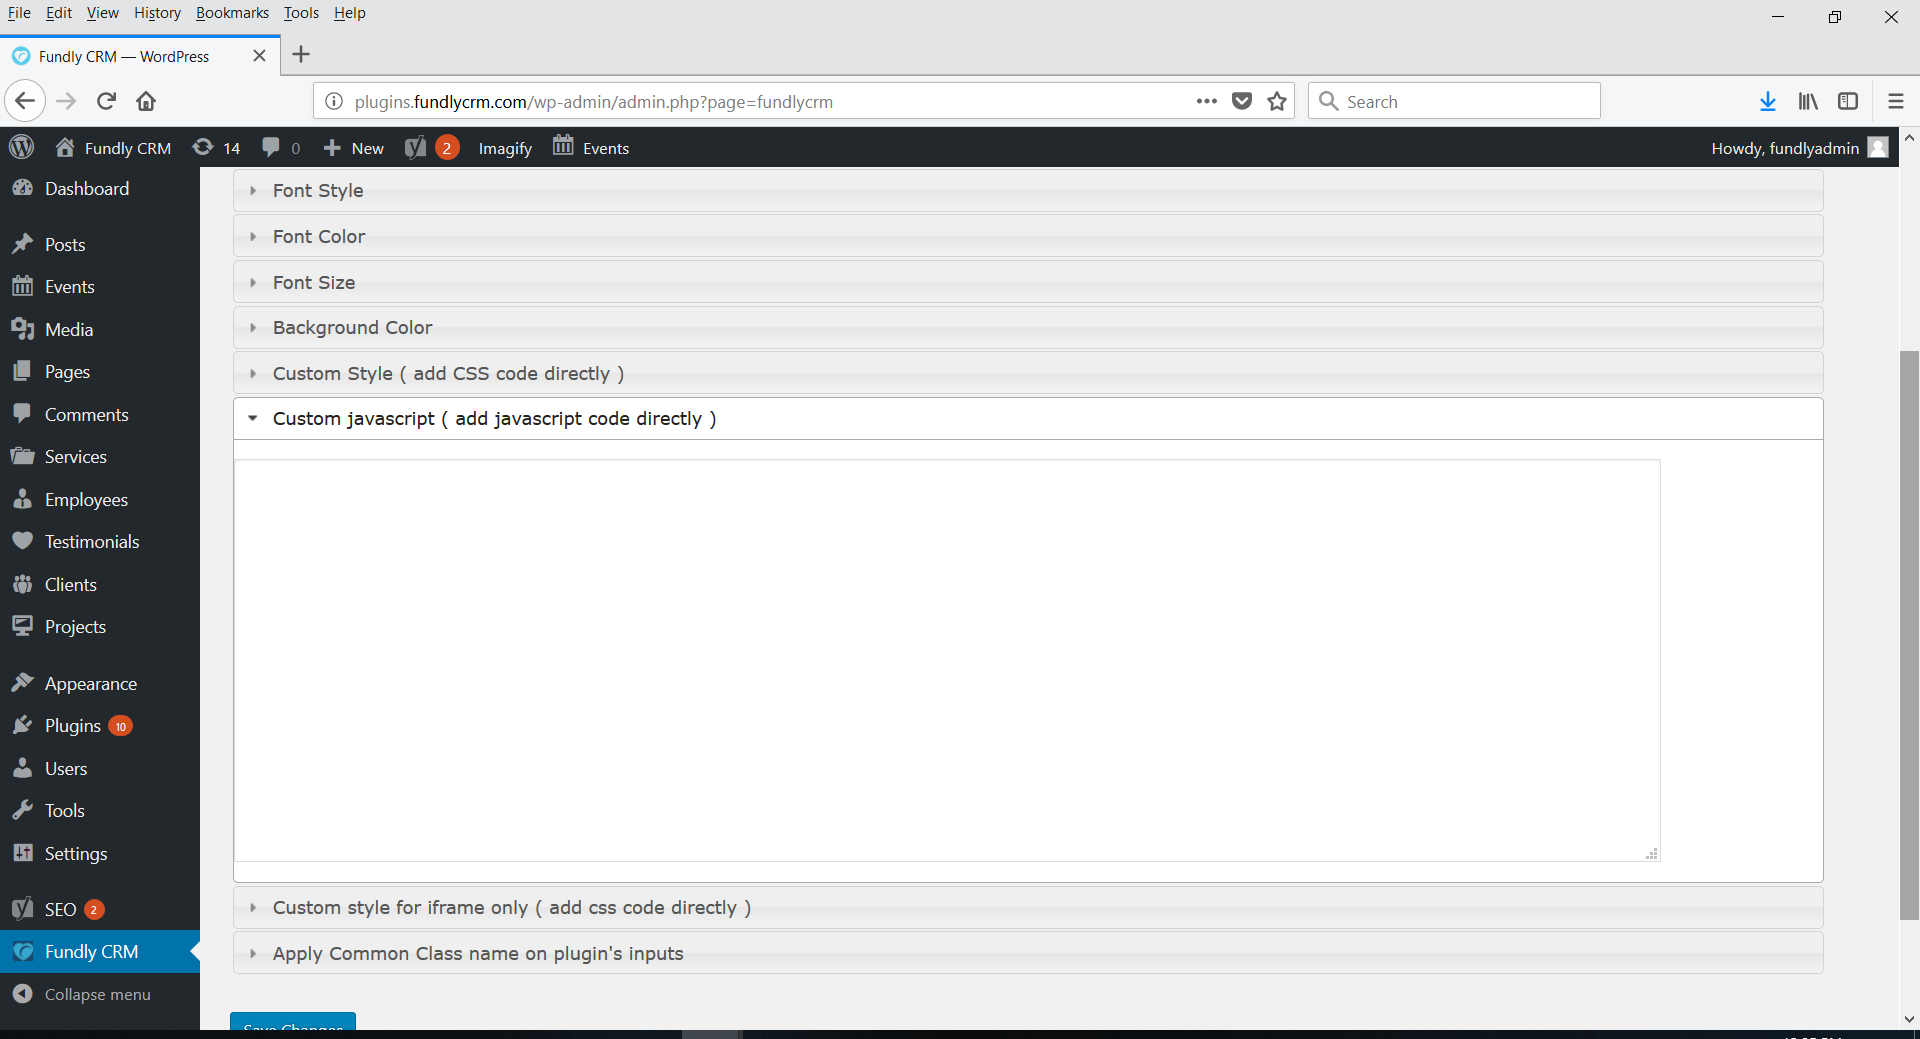
- Custom Javascript
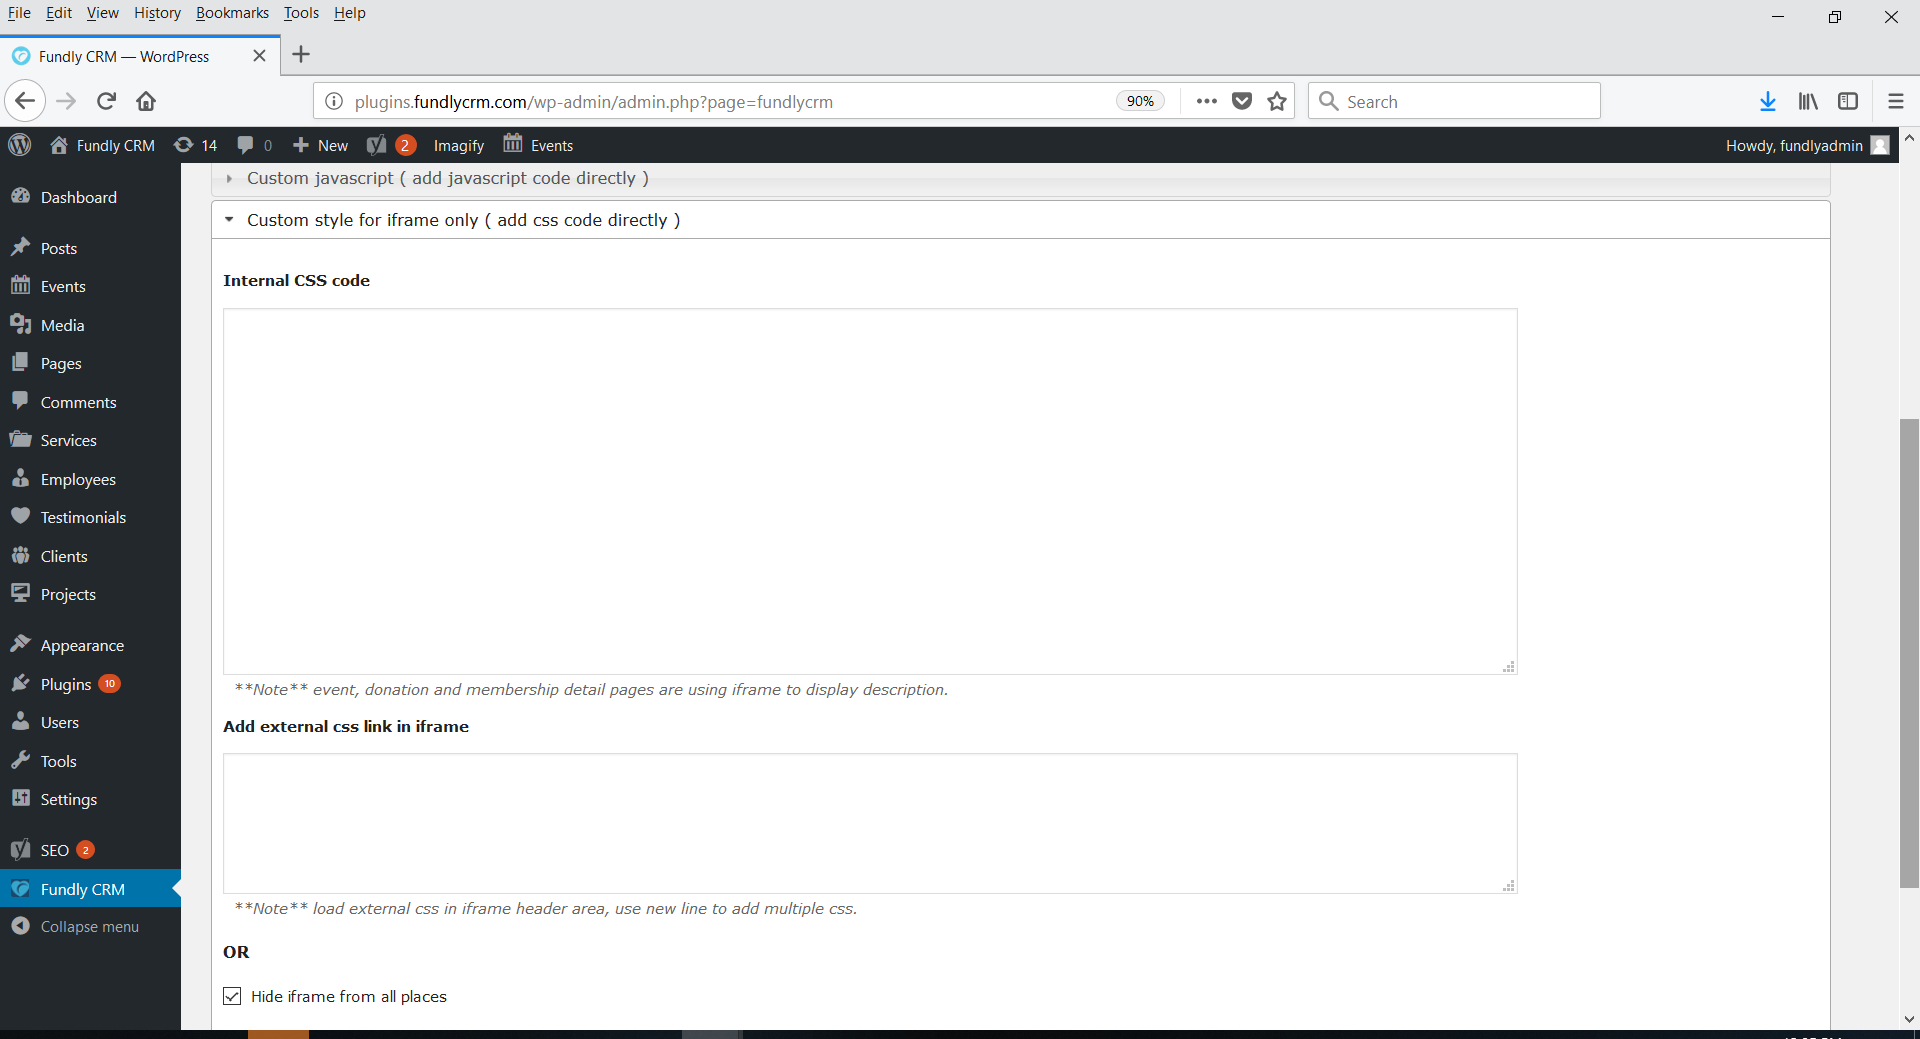
- Custom Style for iframe Only
- Apply Common Class Name
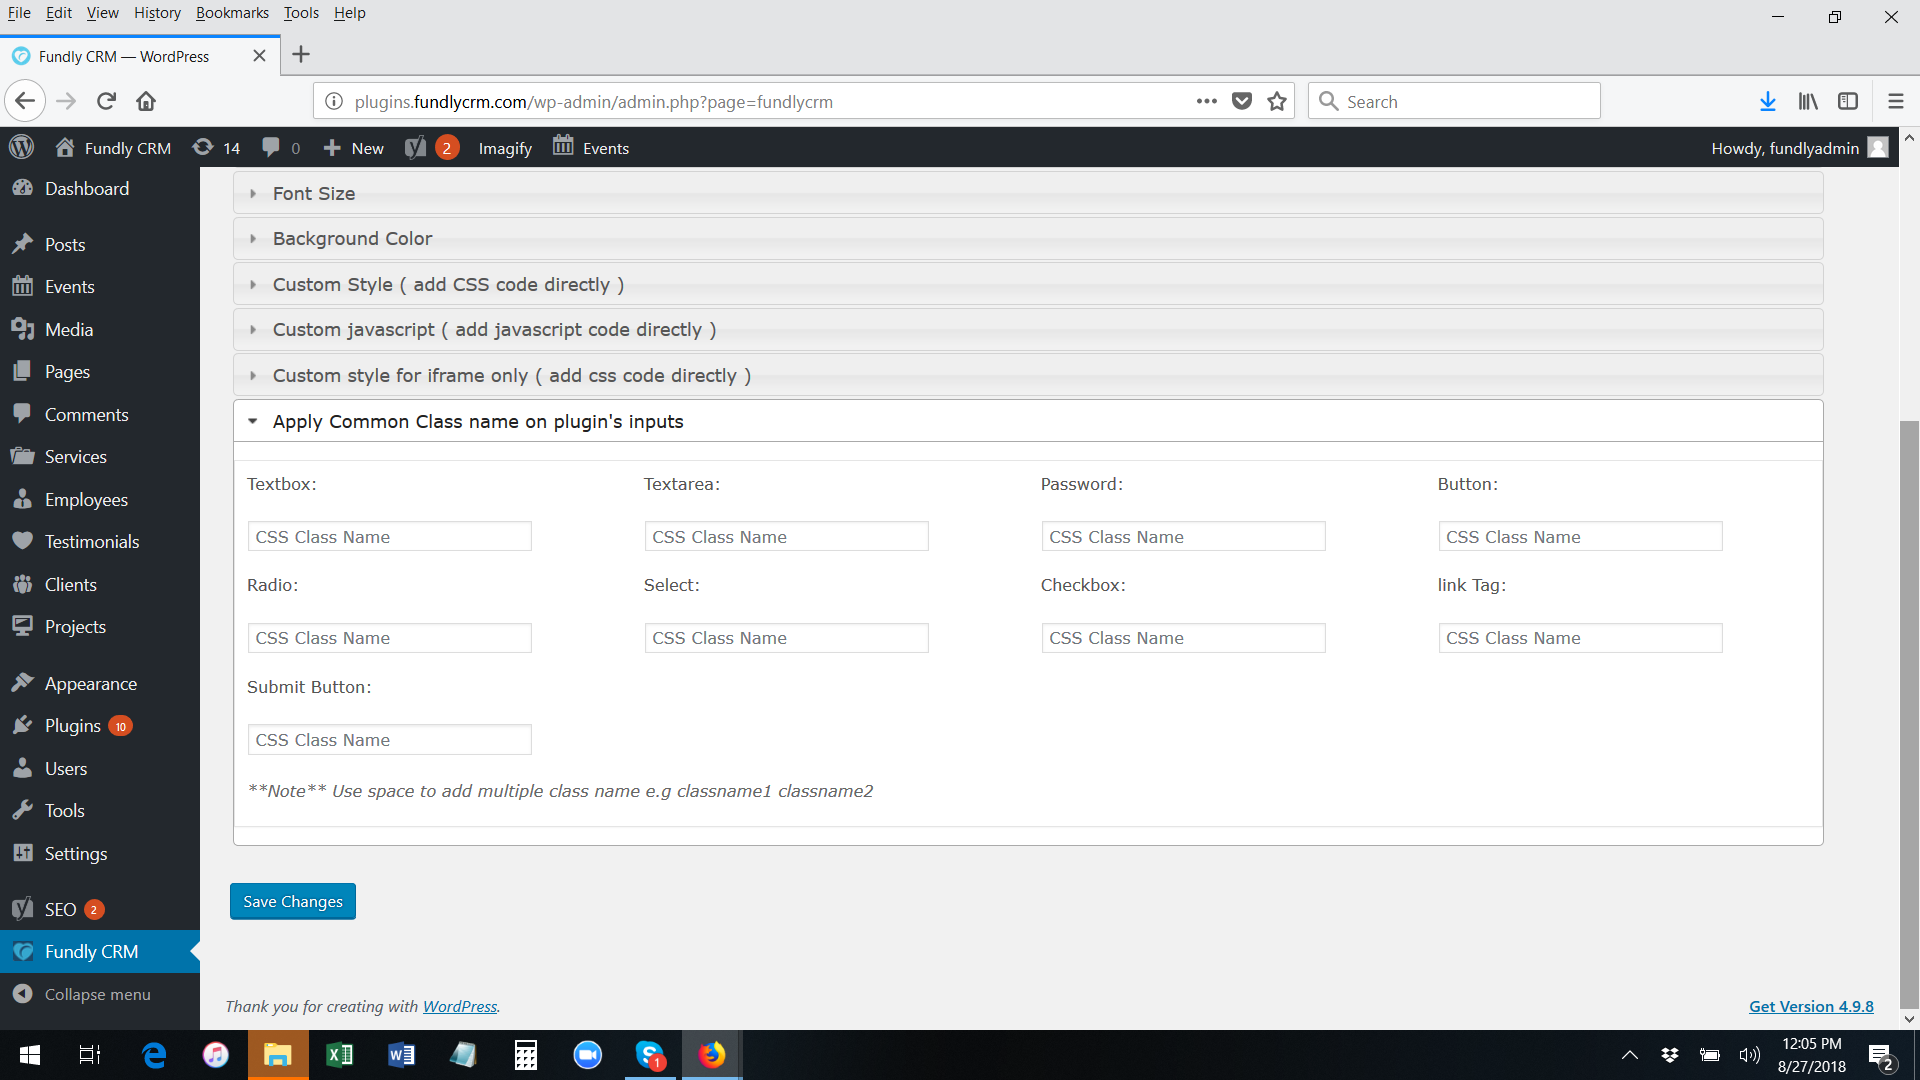
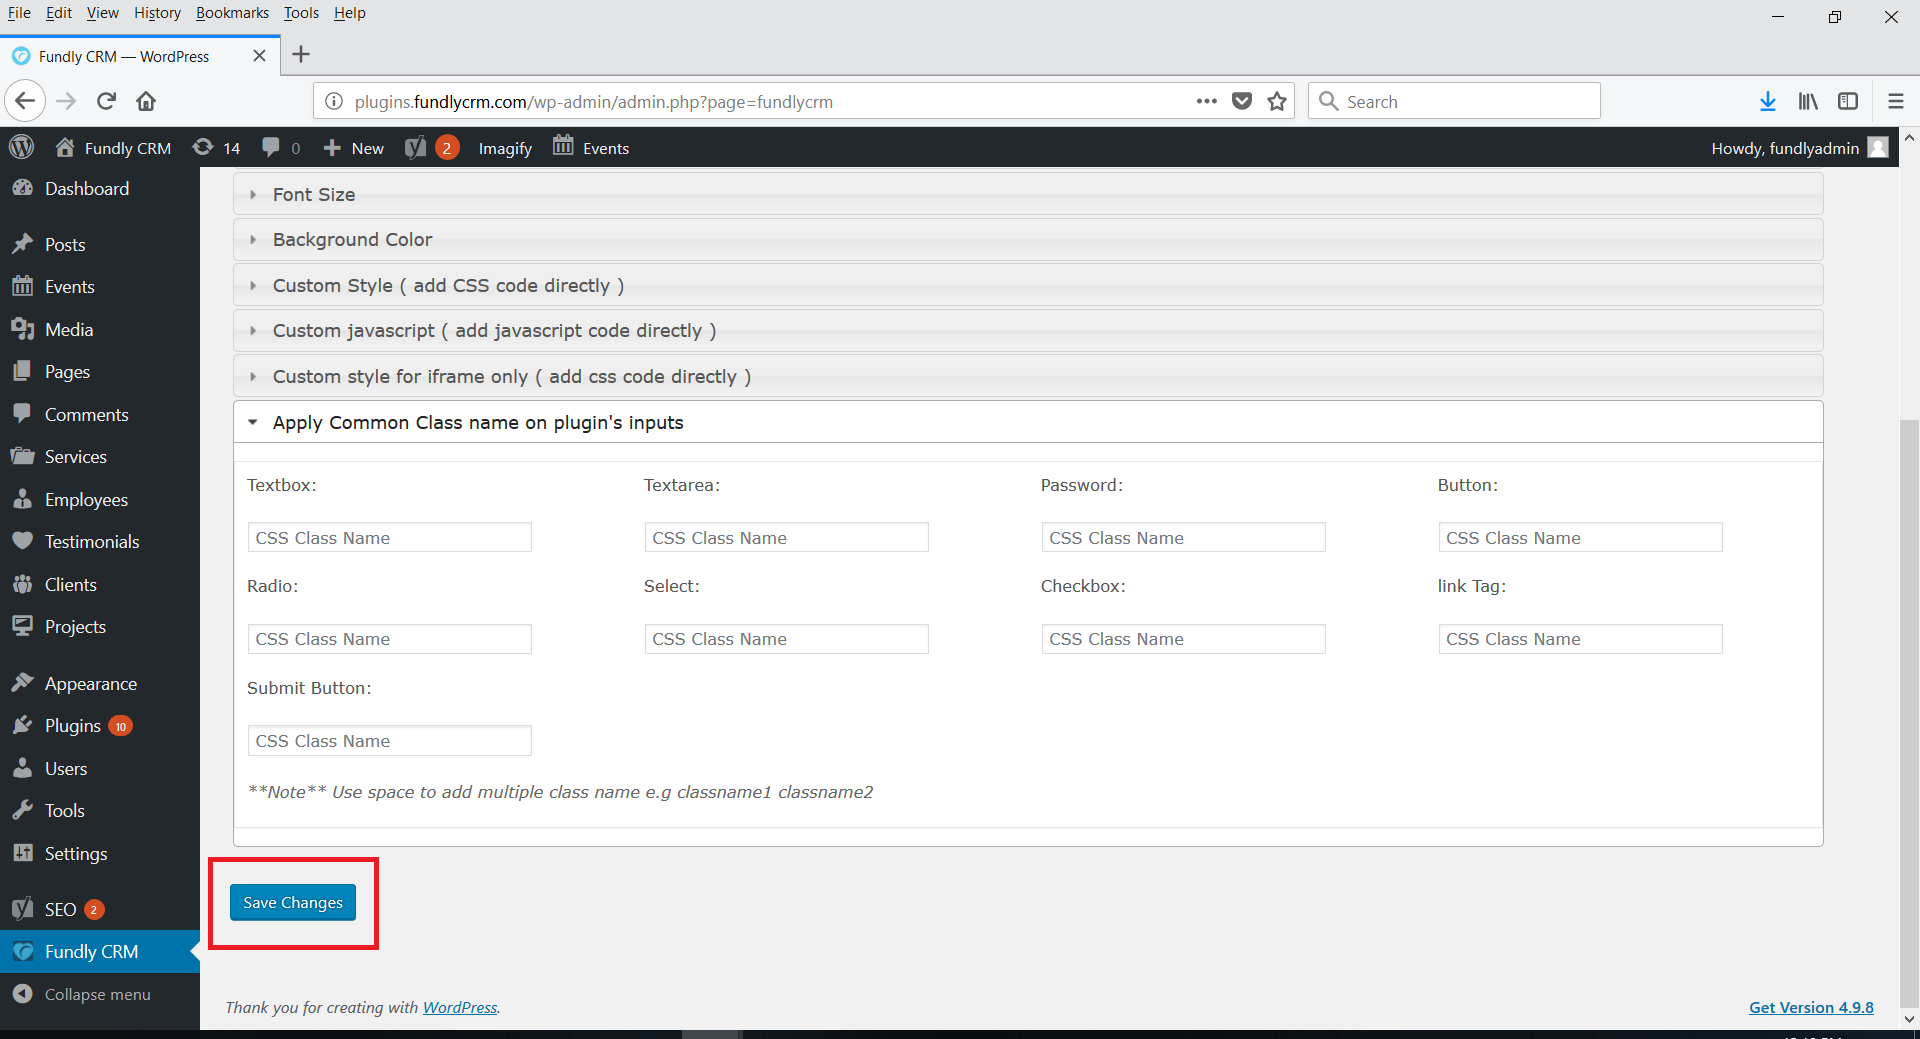
After making any changes on this tab, click the blue Save Changes button at the button at the bottom of the screen
Short Code List

The Shortcode API is a simple set of functions for creating WordPress shortcodes for use in posts and pages. For instance, the following shortcode (in the body of a post or page) would add a photo gallery of images attached to that post or page: [gallery]
The API enables plugin developers to create special kinds of content (e.g. forms, content generators) that users can attach to certain pages by adding the corresponding shortcode into the page text.
[gallery id="123" size="medium"]
Cart/Guest Checkout Settings

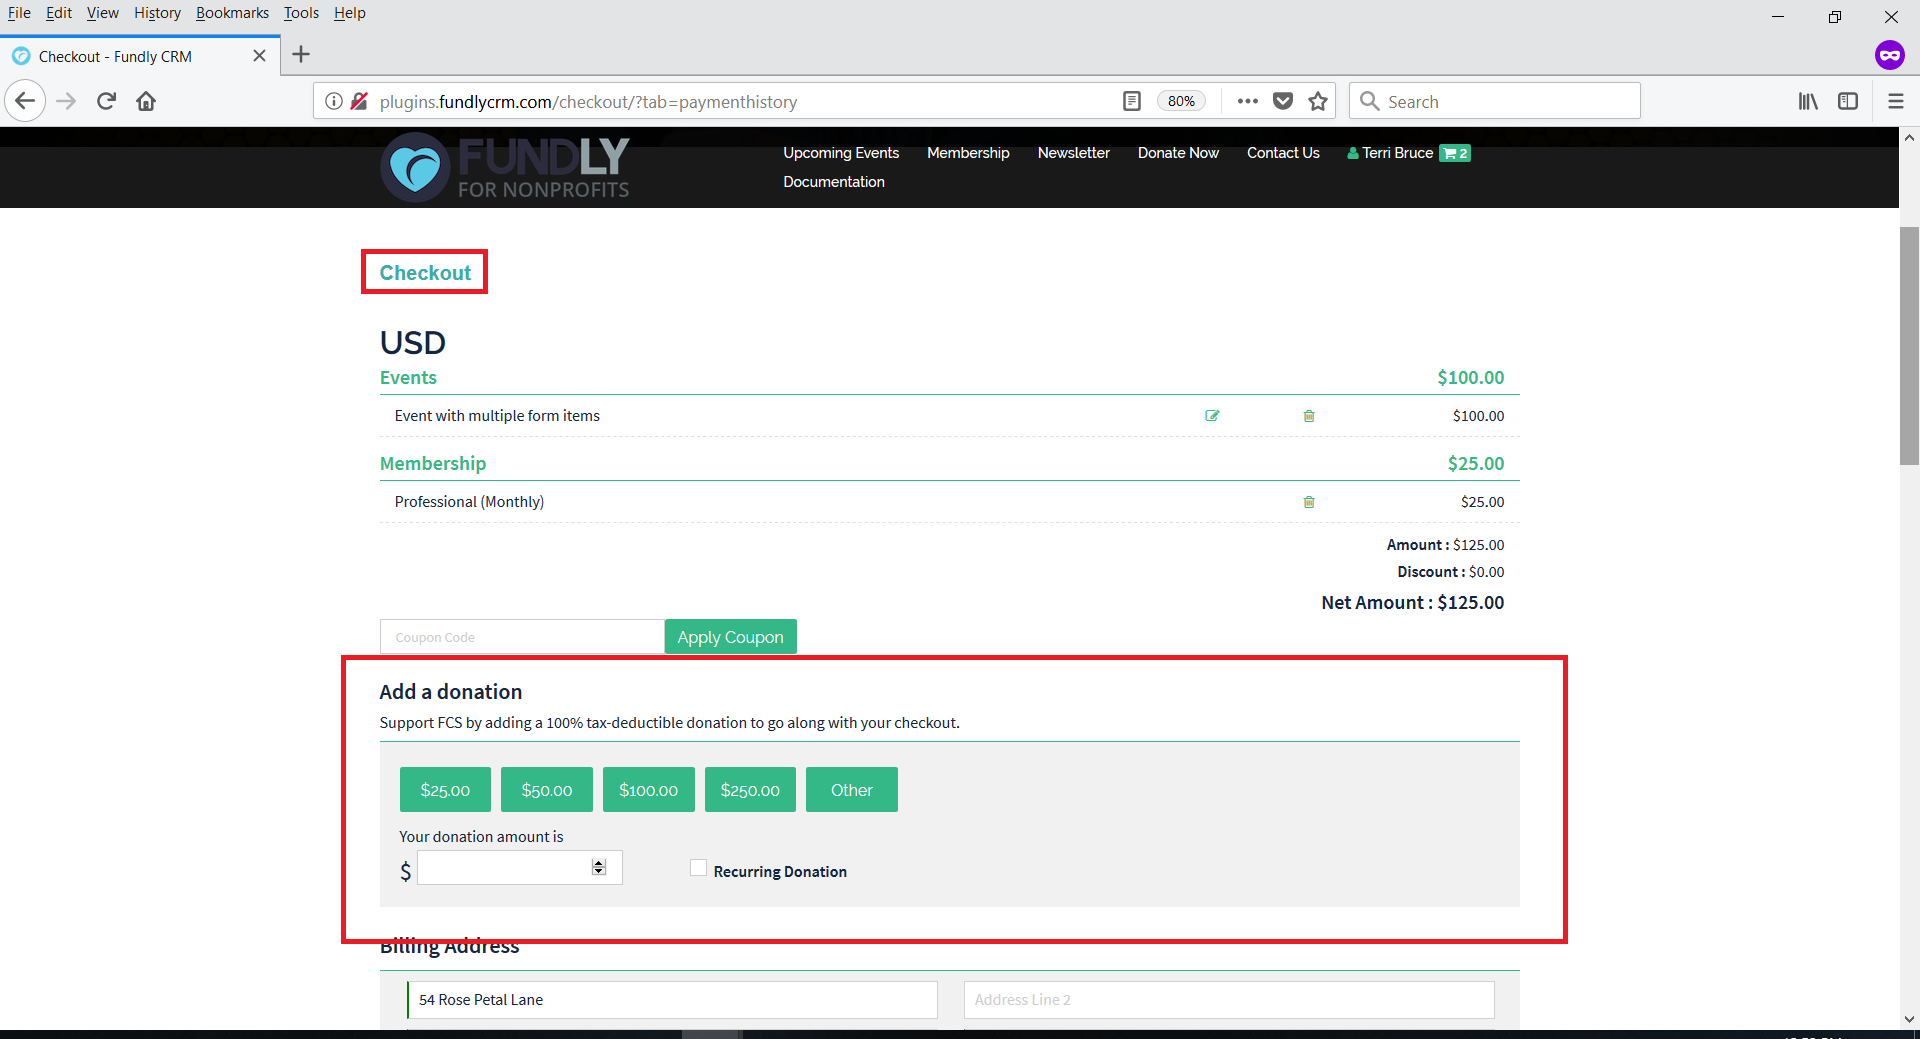
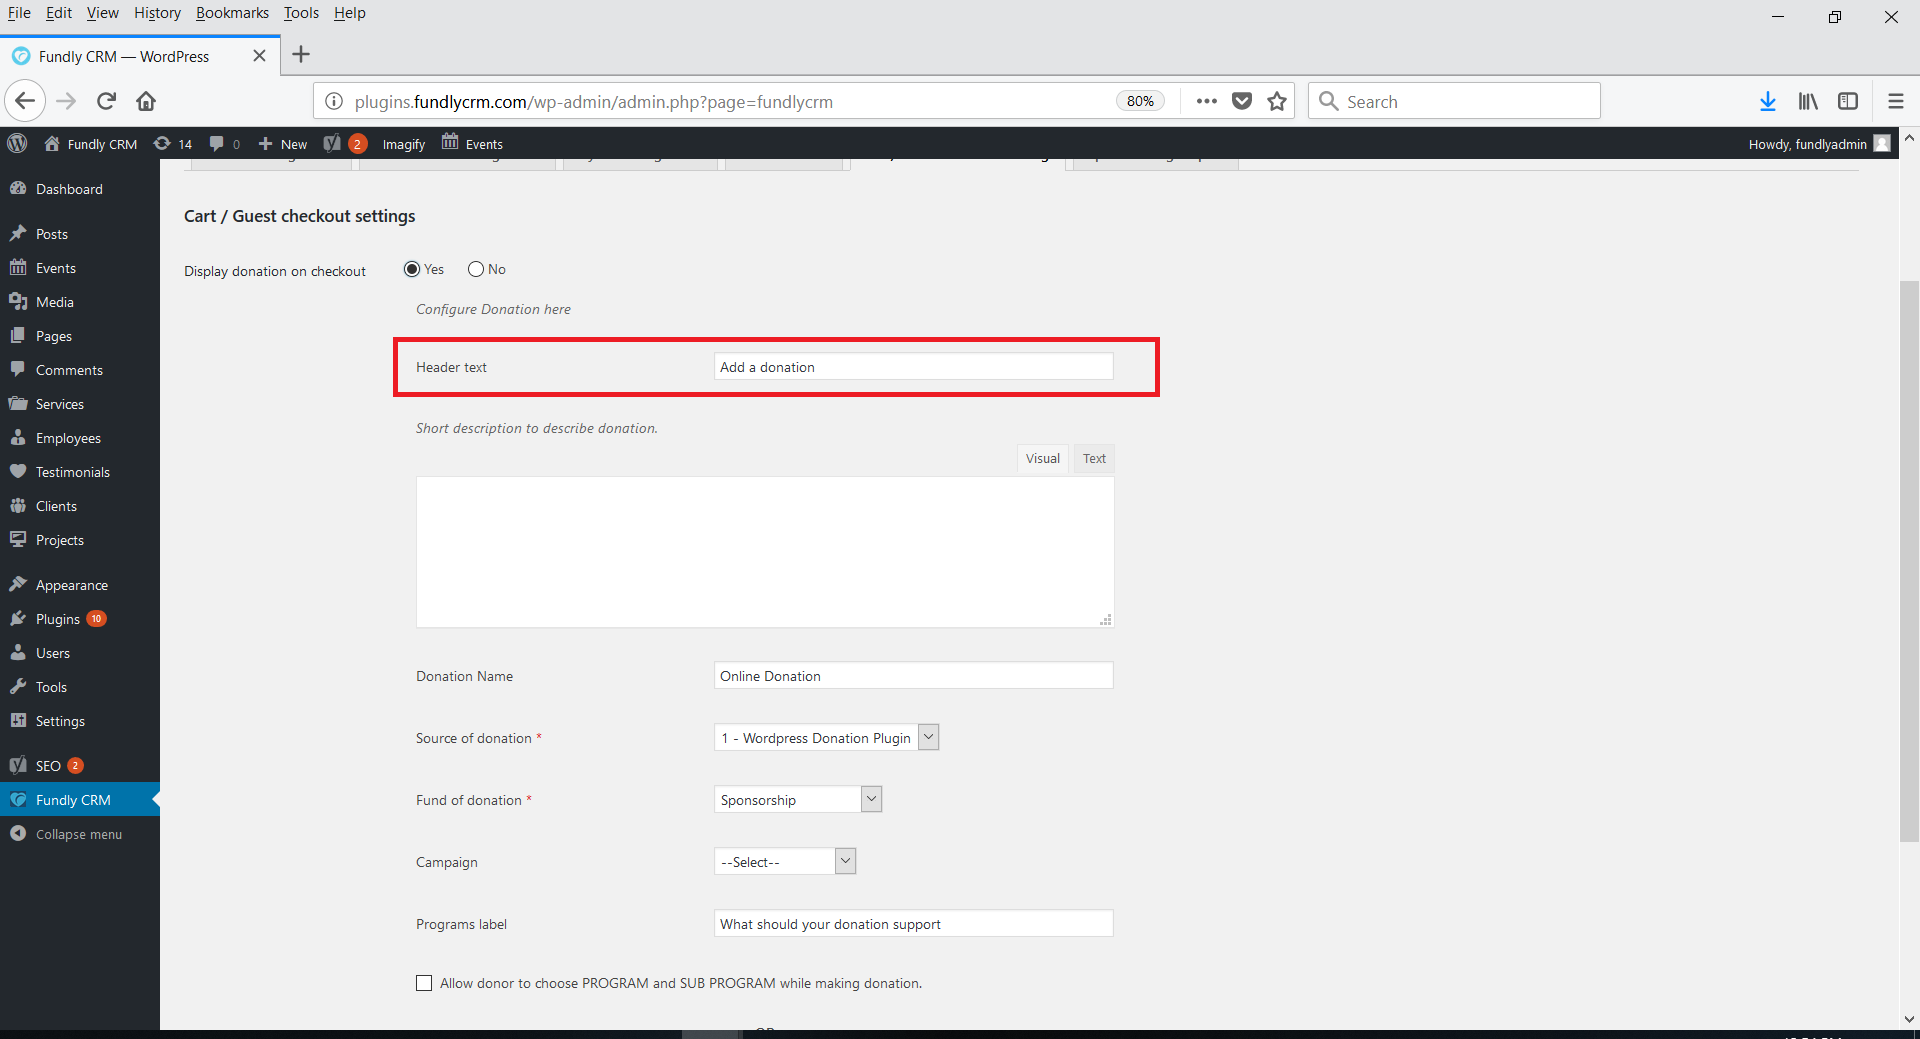
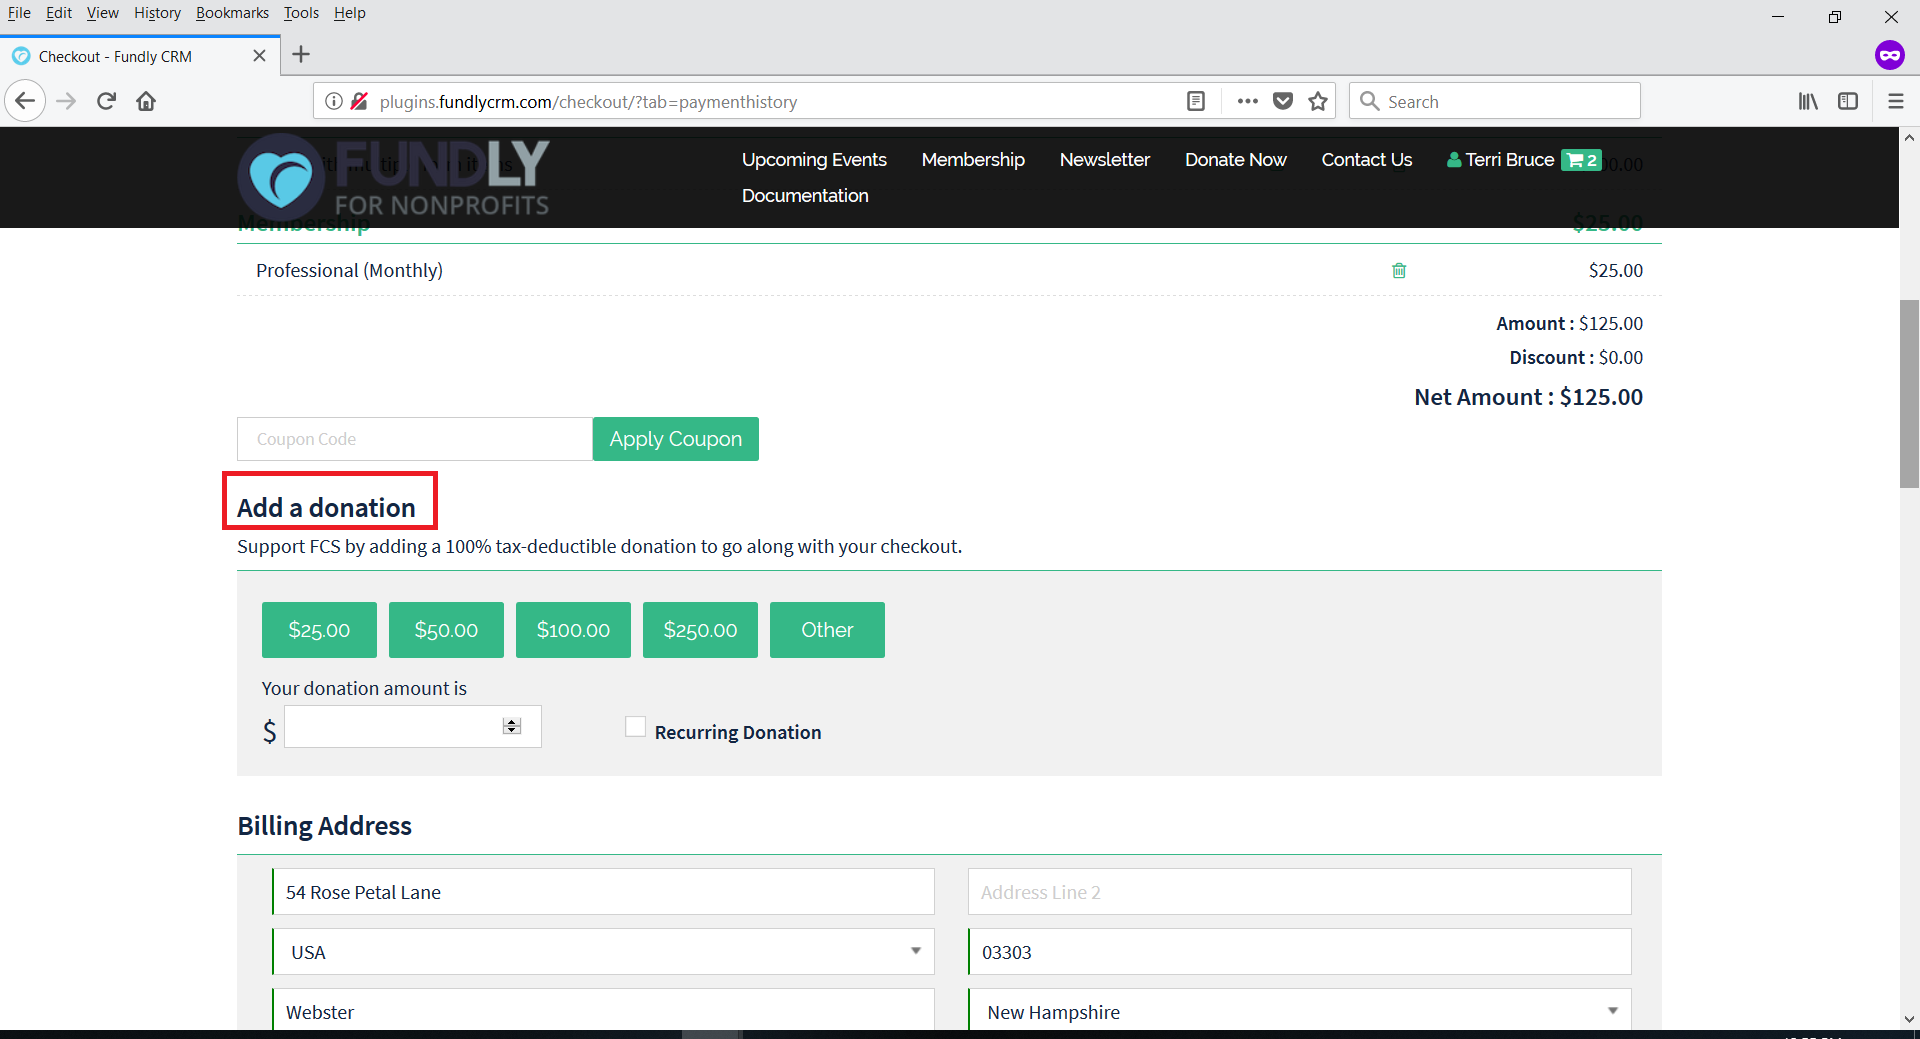
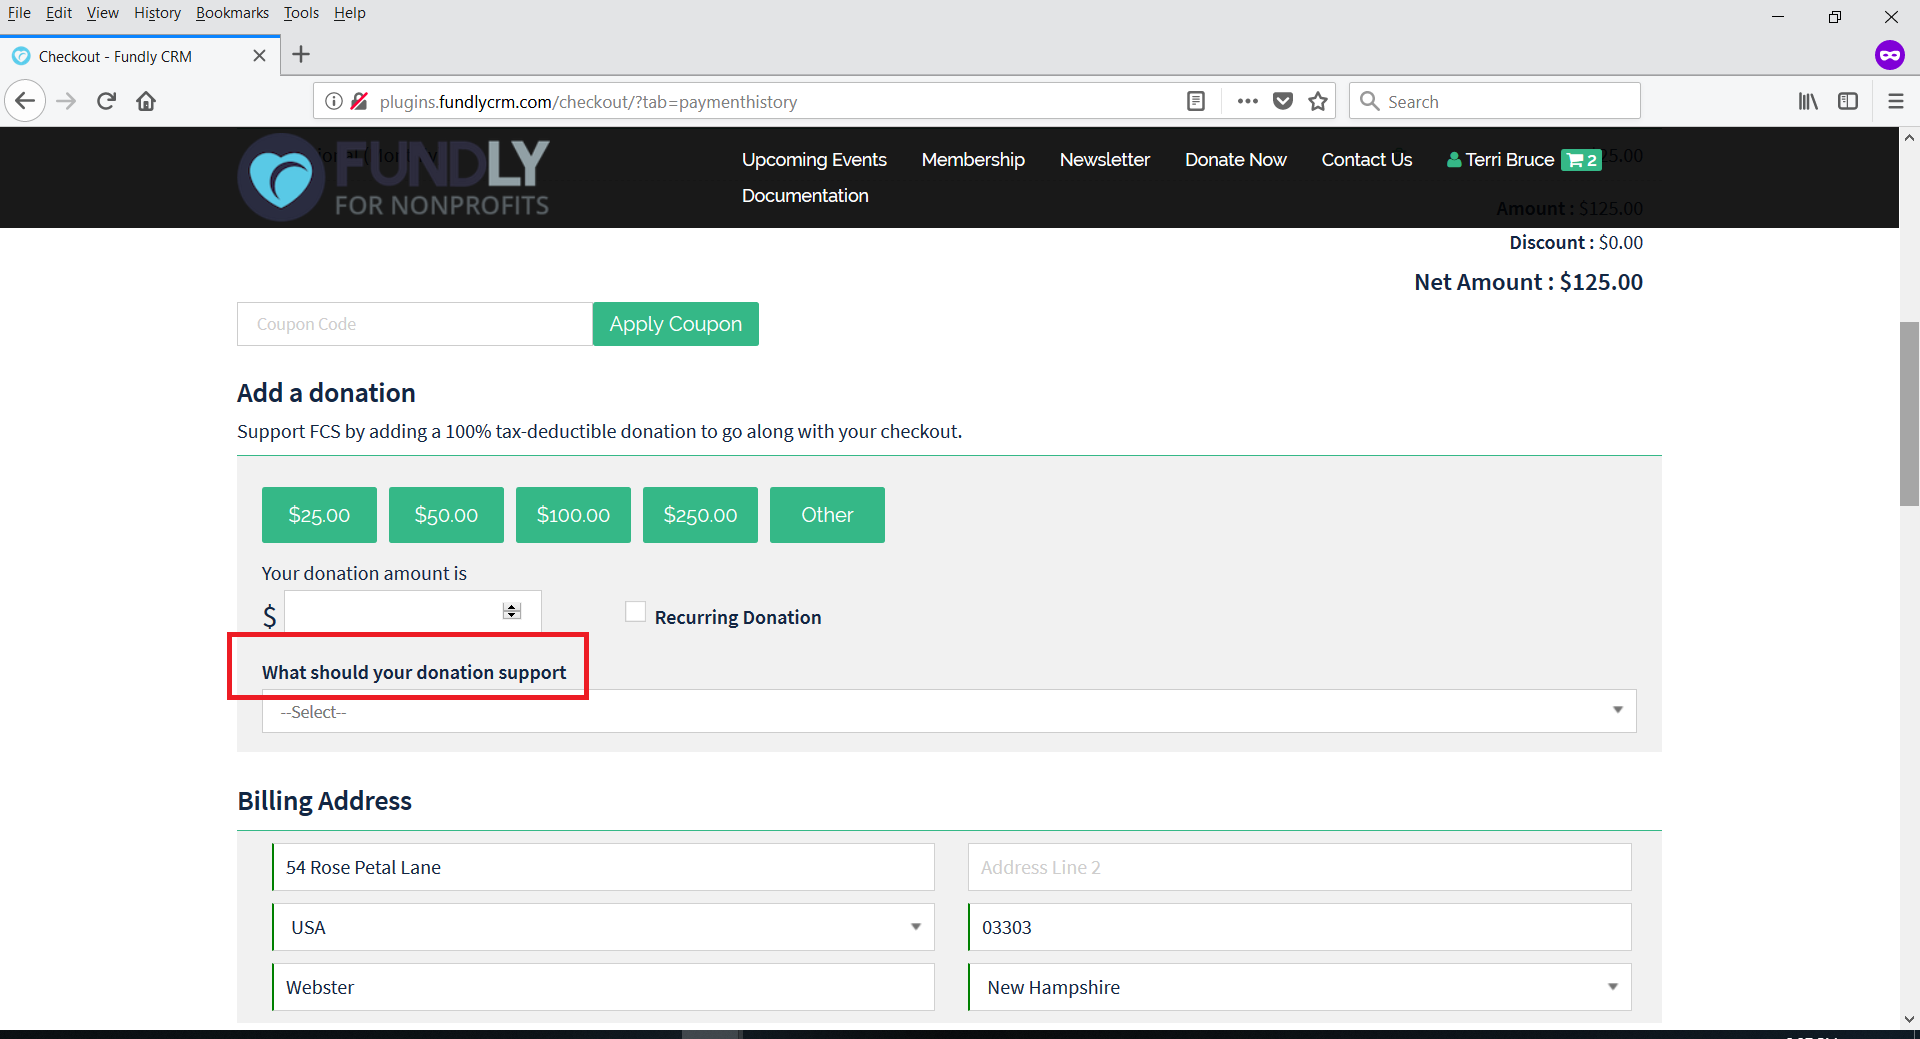
This tab controls whether or not users are asked to make an optional donation on checkout. If this is set to "Yes" then the "add optional donation" option will appear on the checkout page (below the items in their cart and the discount code field). This is different than your donation page(s) - this optional donation appears on the checkout/cart page and you can configure this donation to be tied to a different fund/program/campaign than your regular donations/donations made through your donation page(s).
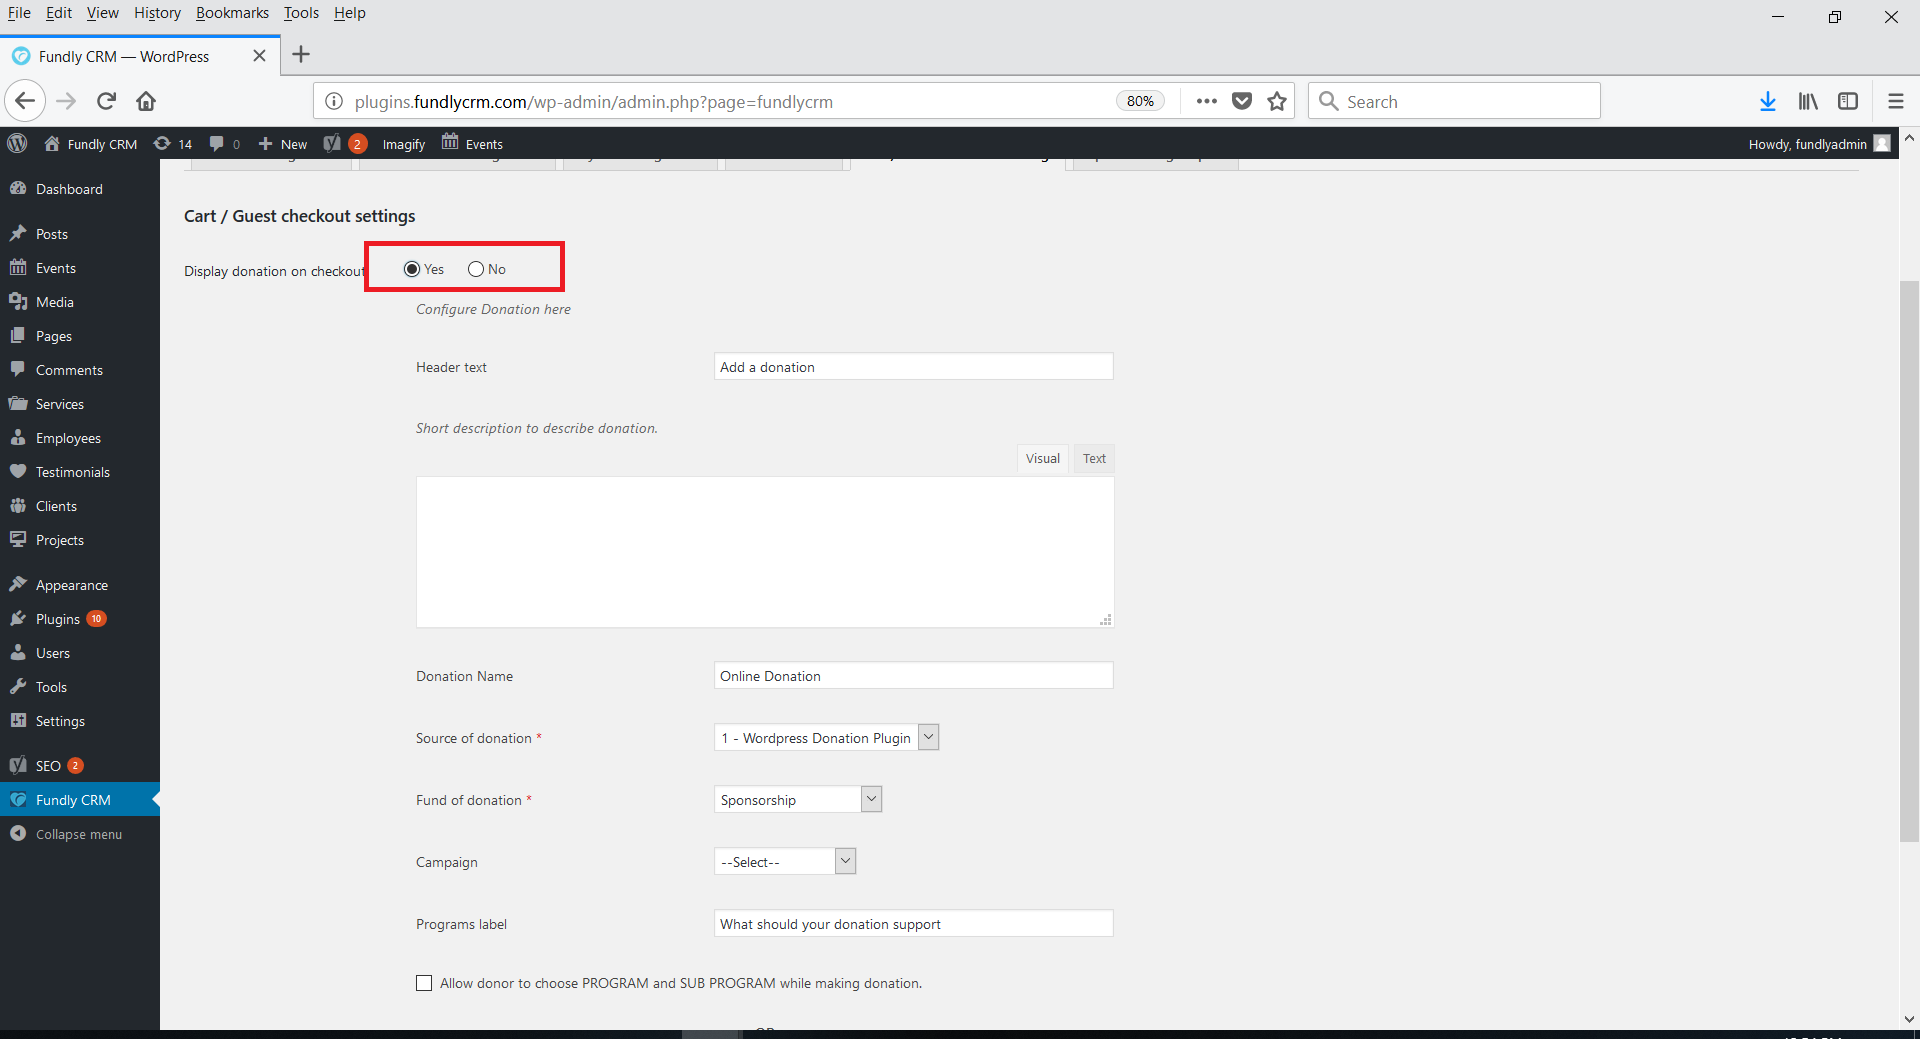
- Header Text - text that will appear at the top of the optional donation section of the cart screen.
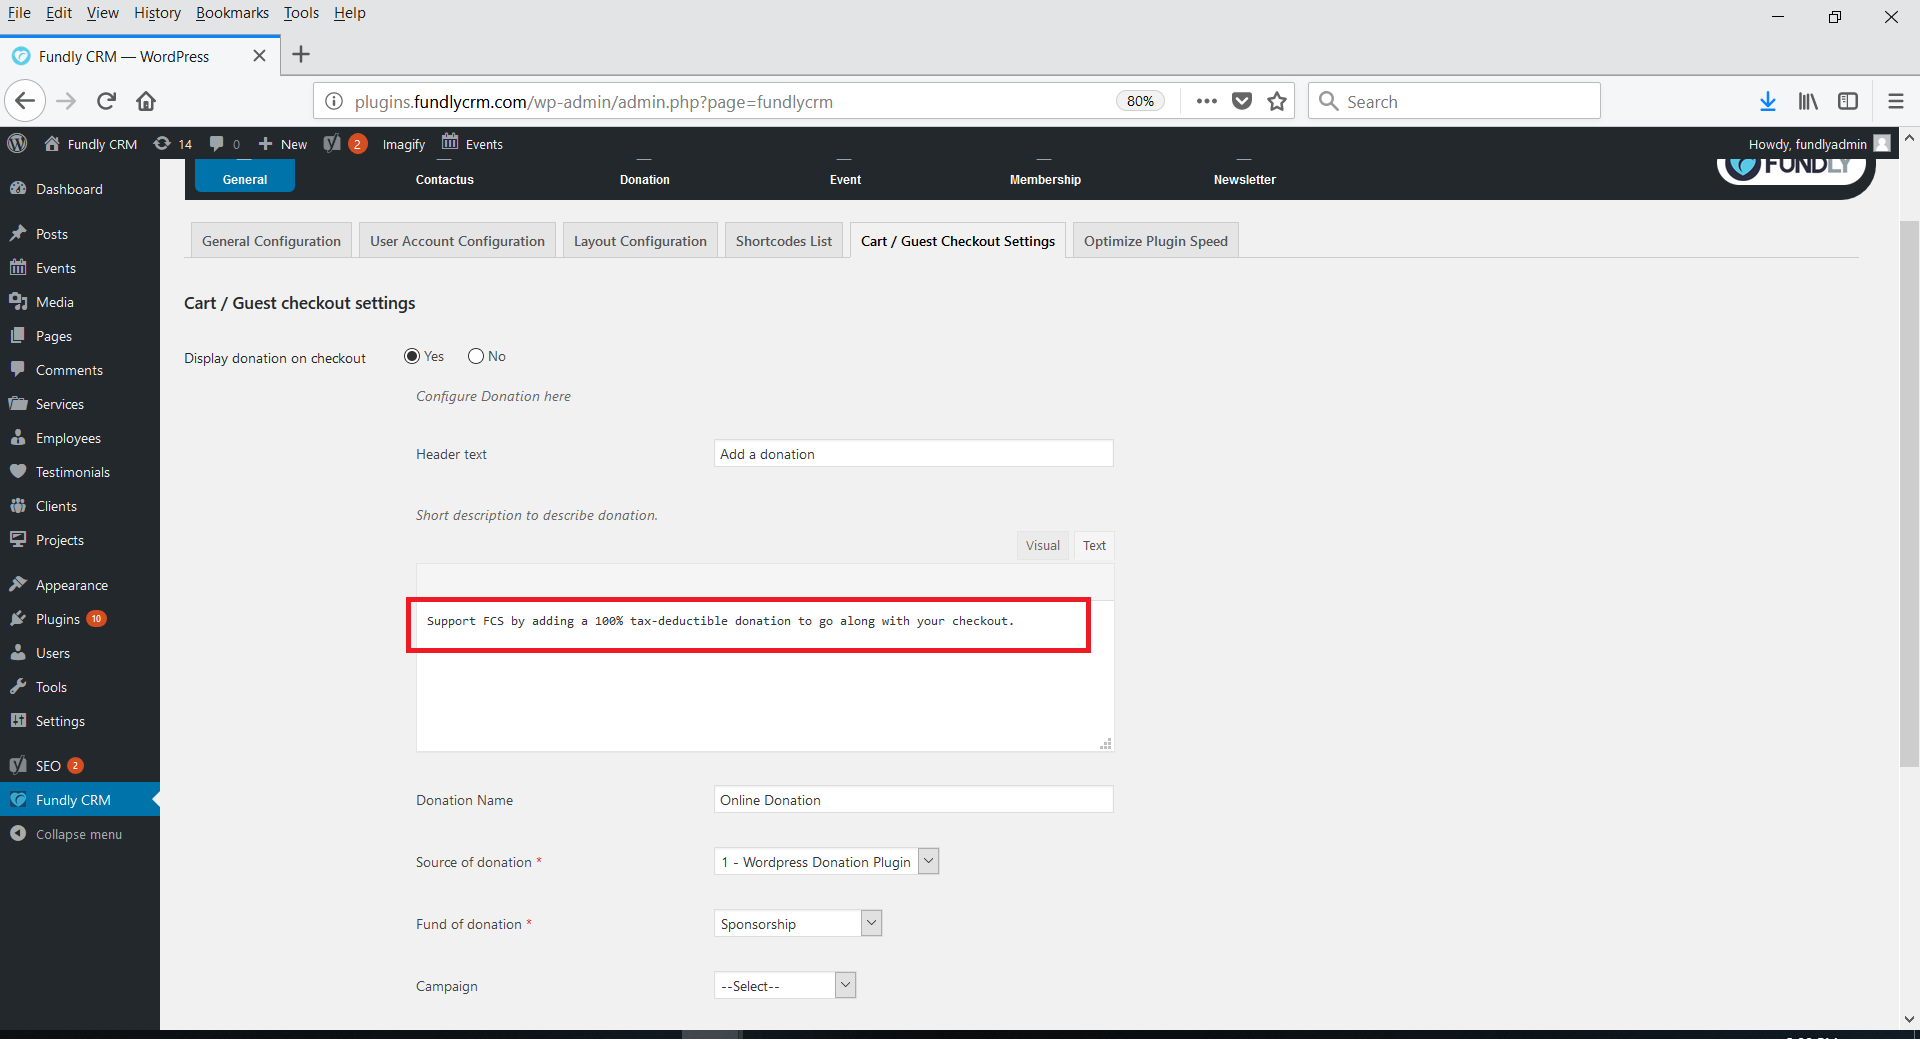
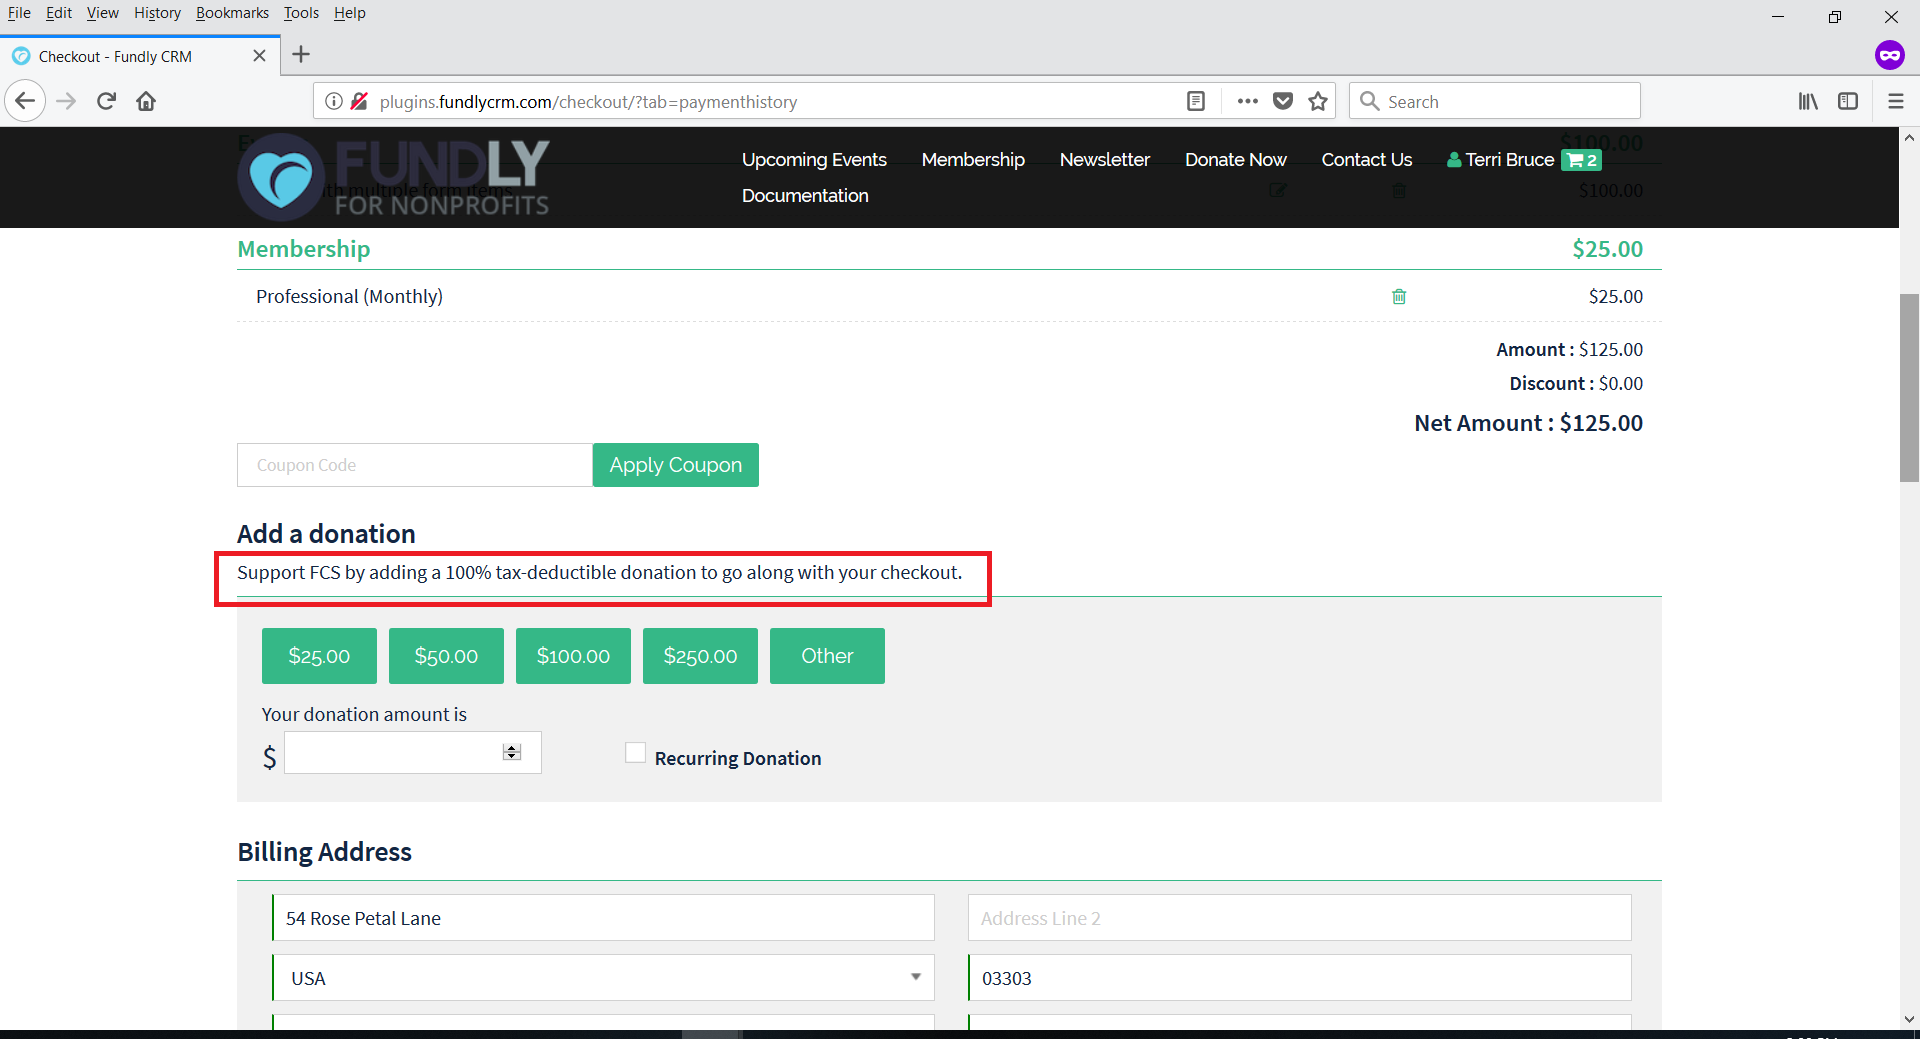
- Short Description to Describe Donation - optional description that will appear below the header text on the cart/checkout page.
- Donation Name
- Source of Donation - the value selected here will populate the donation Gift Source field on Add Gift
- Fund of donation - the value selected here will populate the Fund field in Add Gift
- Campaign - the value selected here will populate the Campaign field of Add Gift. This field is optional.
- Program Label -if you check the "allow donor to choose program" check box, then the text in the Program Label field will display above the program selection drop down.
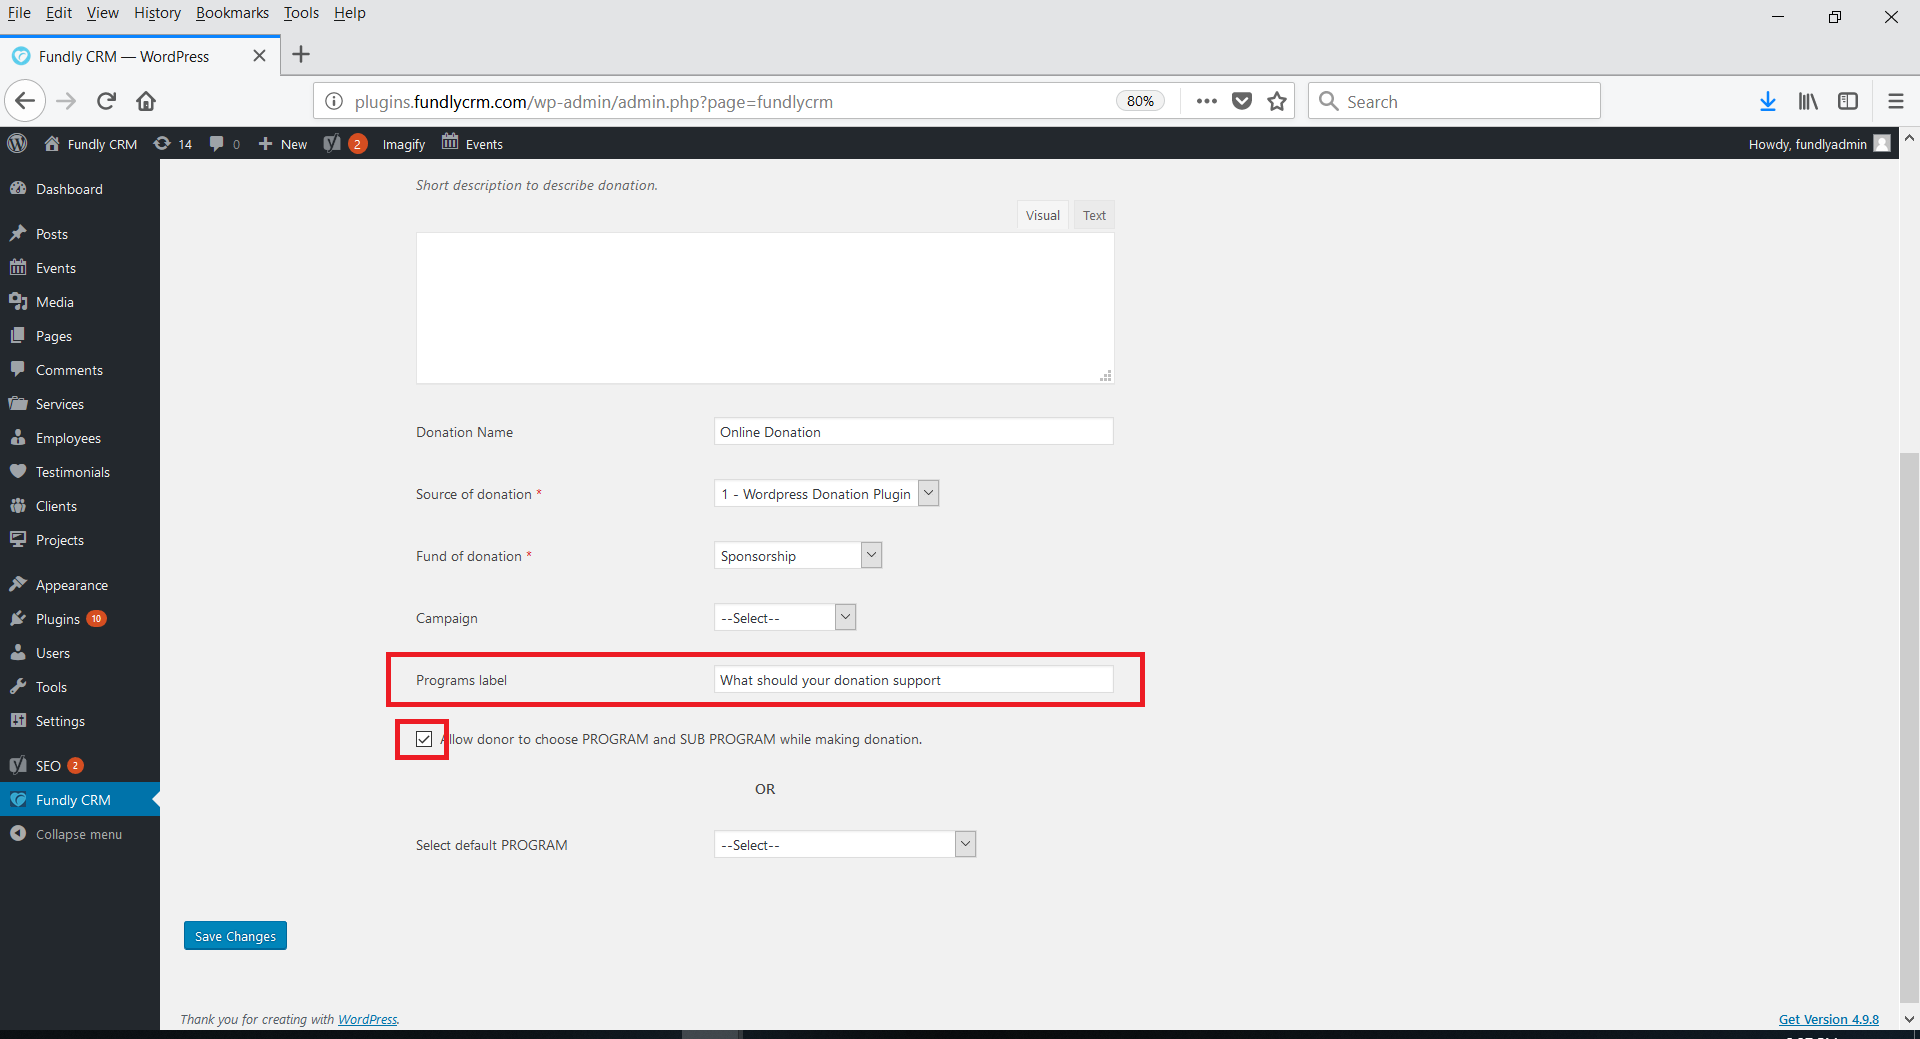
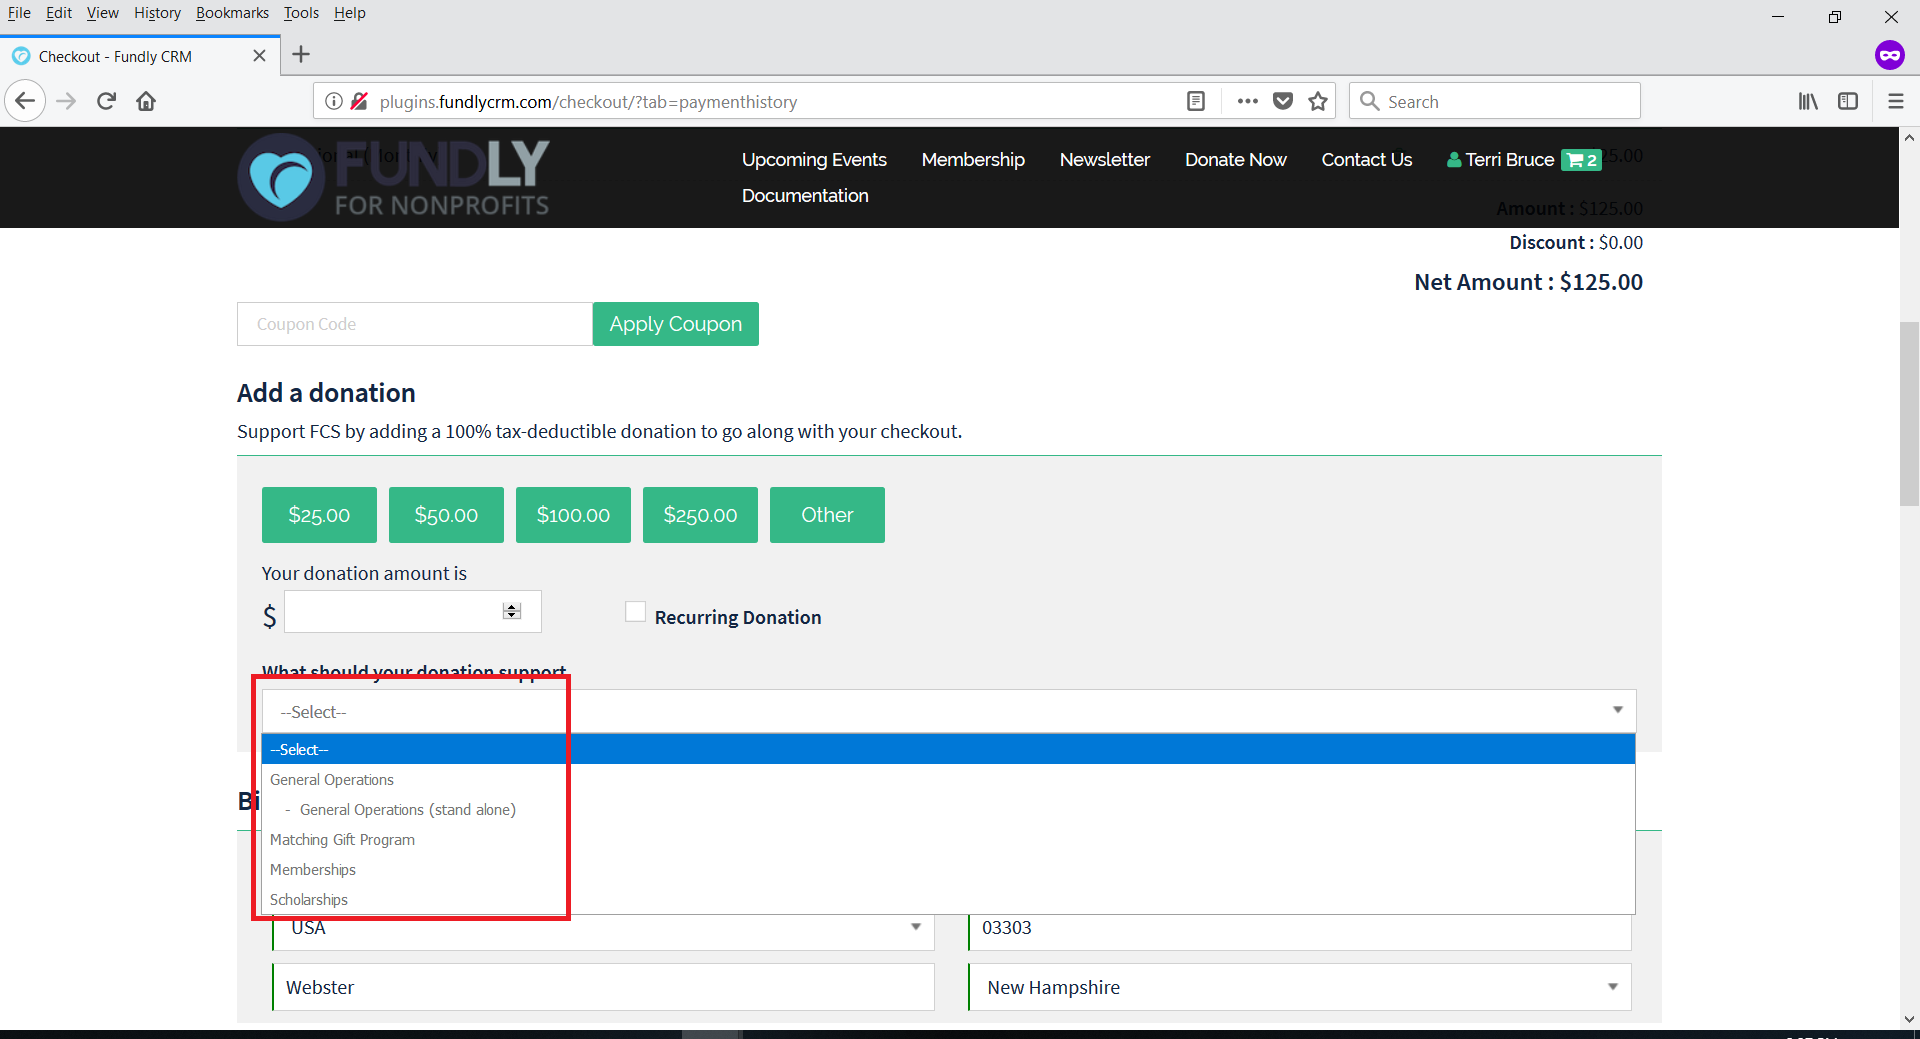
- Allow donor to choose Program check box - this will give the user the option to select a program to earmark their donation to. The value selected here will populate the Program field of Add Gift. It is optional to include a program and it's optional whether or not you allow users to select the program. If you do not check this box but do complete the Select Default Program field, then all donations will be tied to the default program (some clients prefer to control earmarking of donations to programs; other clients allow their donors to select from among their programs; some do neither and do not earmark donations to programs at all). Selecting this checkbox will provide a drop down of programs for the user/donor to select from on the optional donation section of the page.
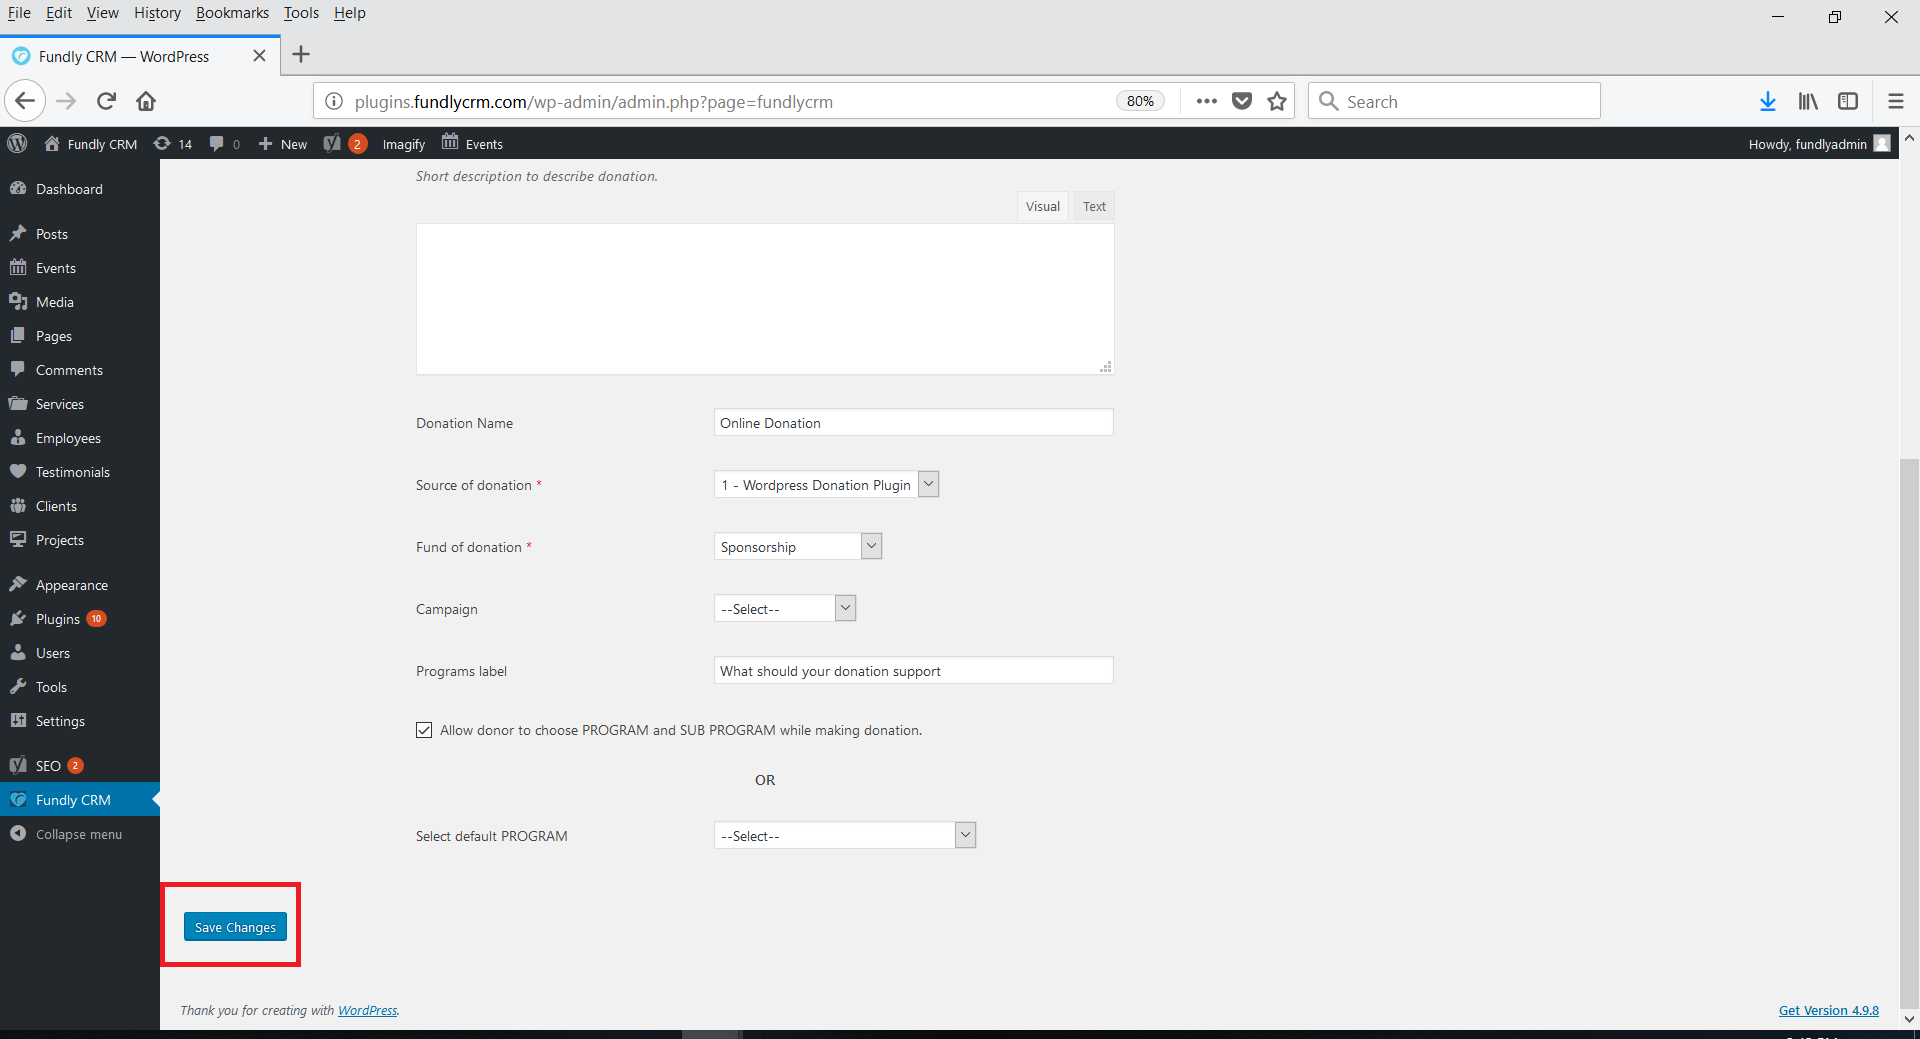
After making any changes on this tab, be sure to click the blue Save Changes button at the bottom of the page.
Optimize Plugin Speed
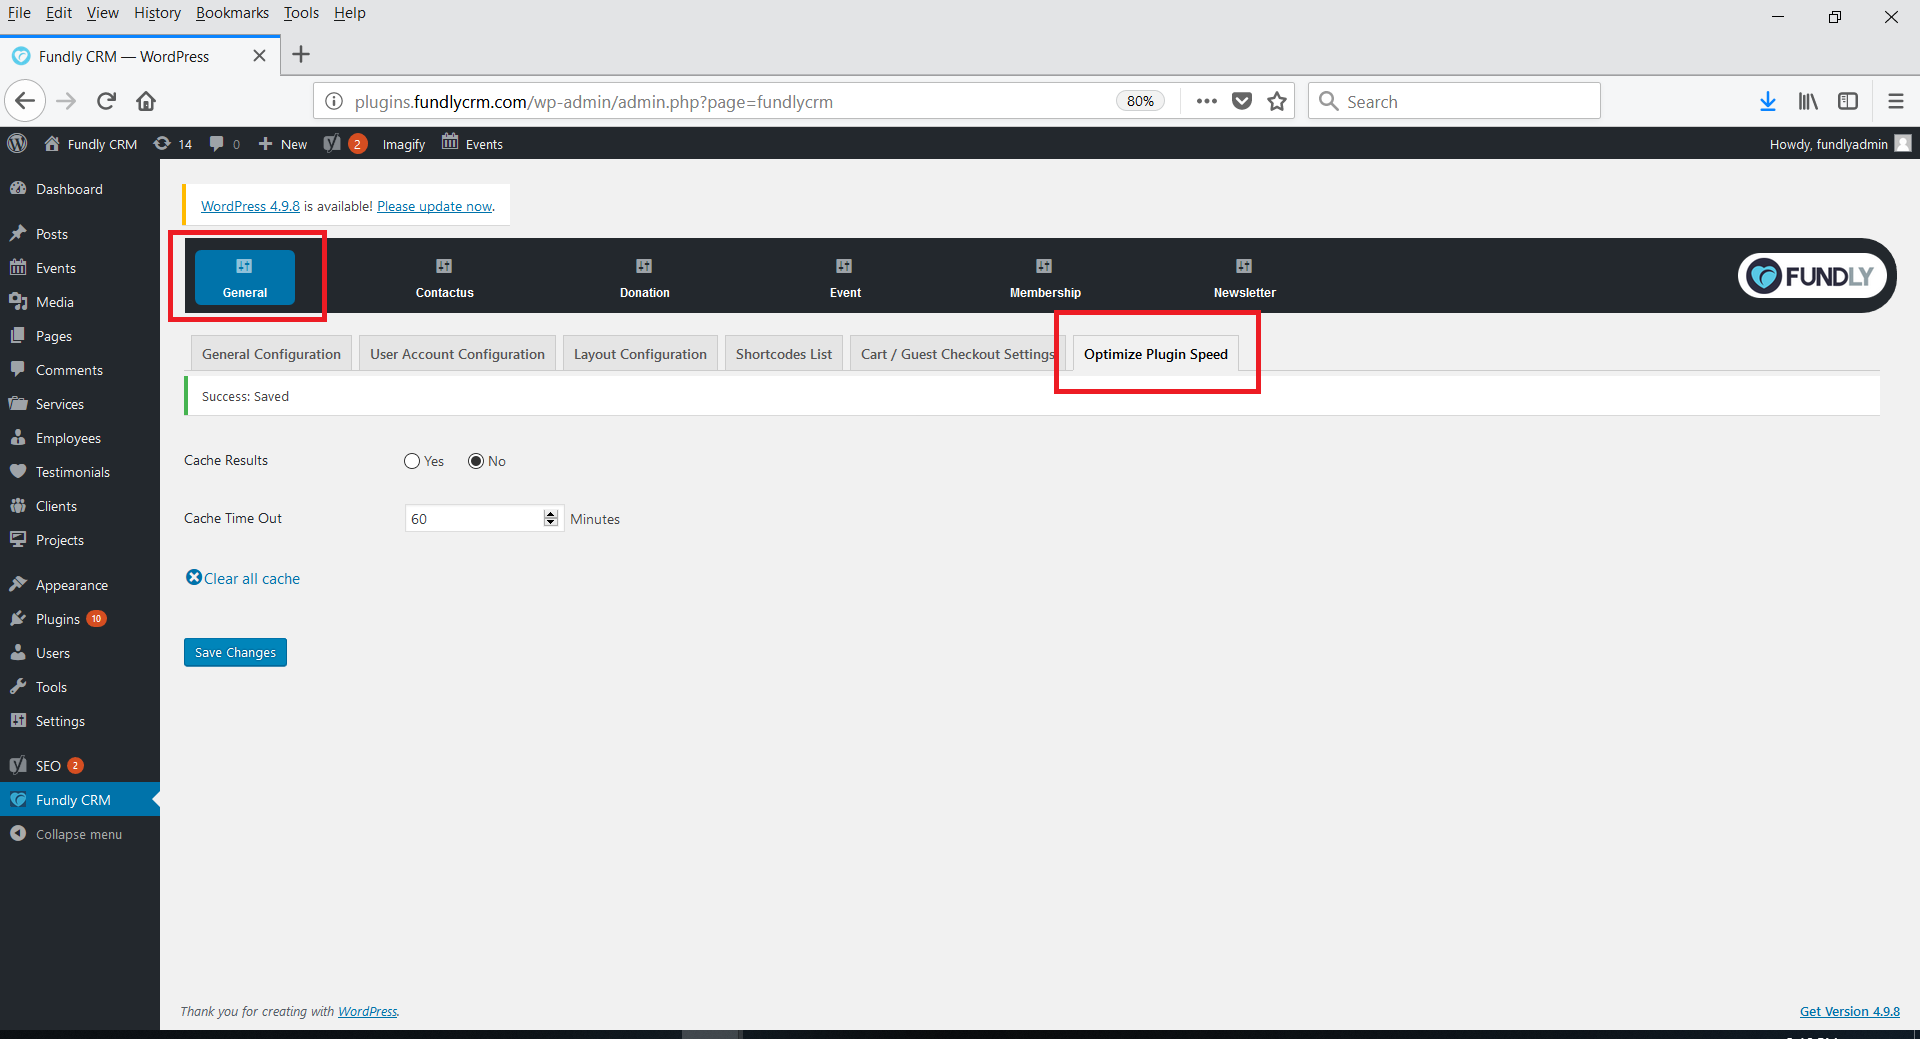
This tab allows you to set whether or not the CRM plugin caches pages/results. Caching can make pages load faster, but can cause issues if multiple users use the same computer to conduct transactions or to log in. If you do not want to allow caching of webpages controlled by the CRM plugin, set this to No.

You can manually clear the CRM plugin cache, but clicking the blue Clear all cache text.

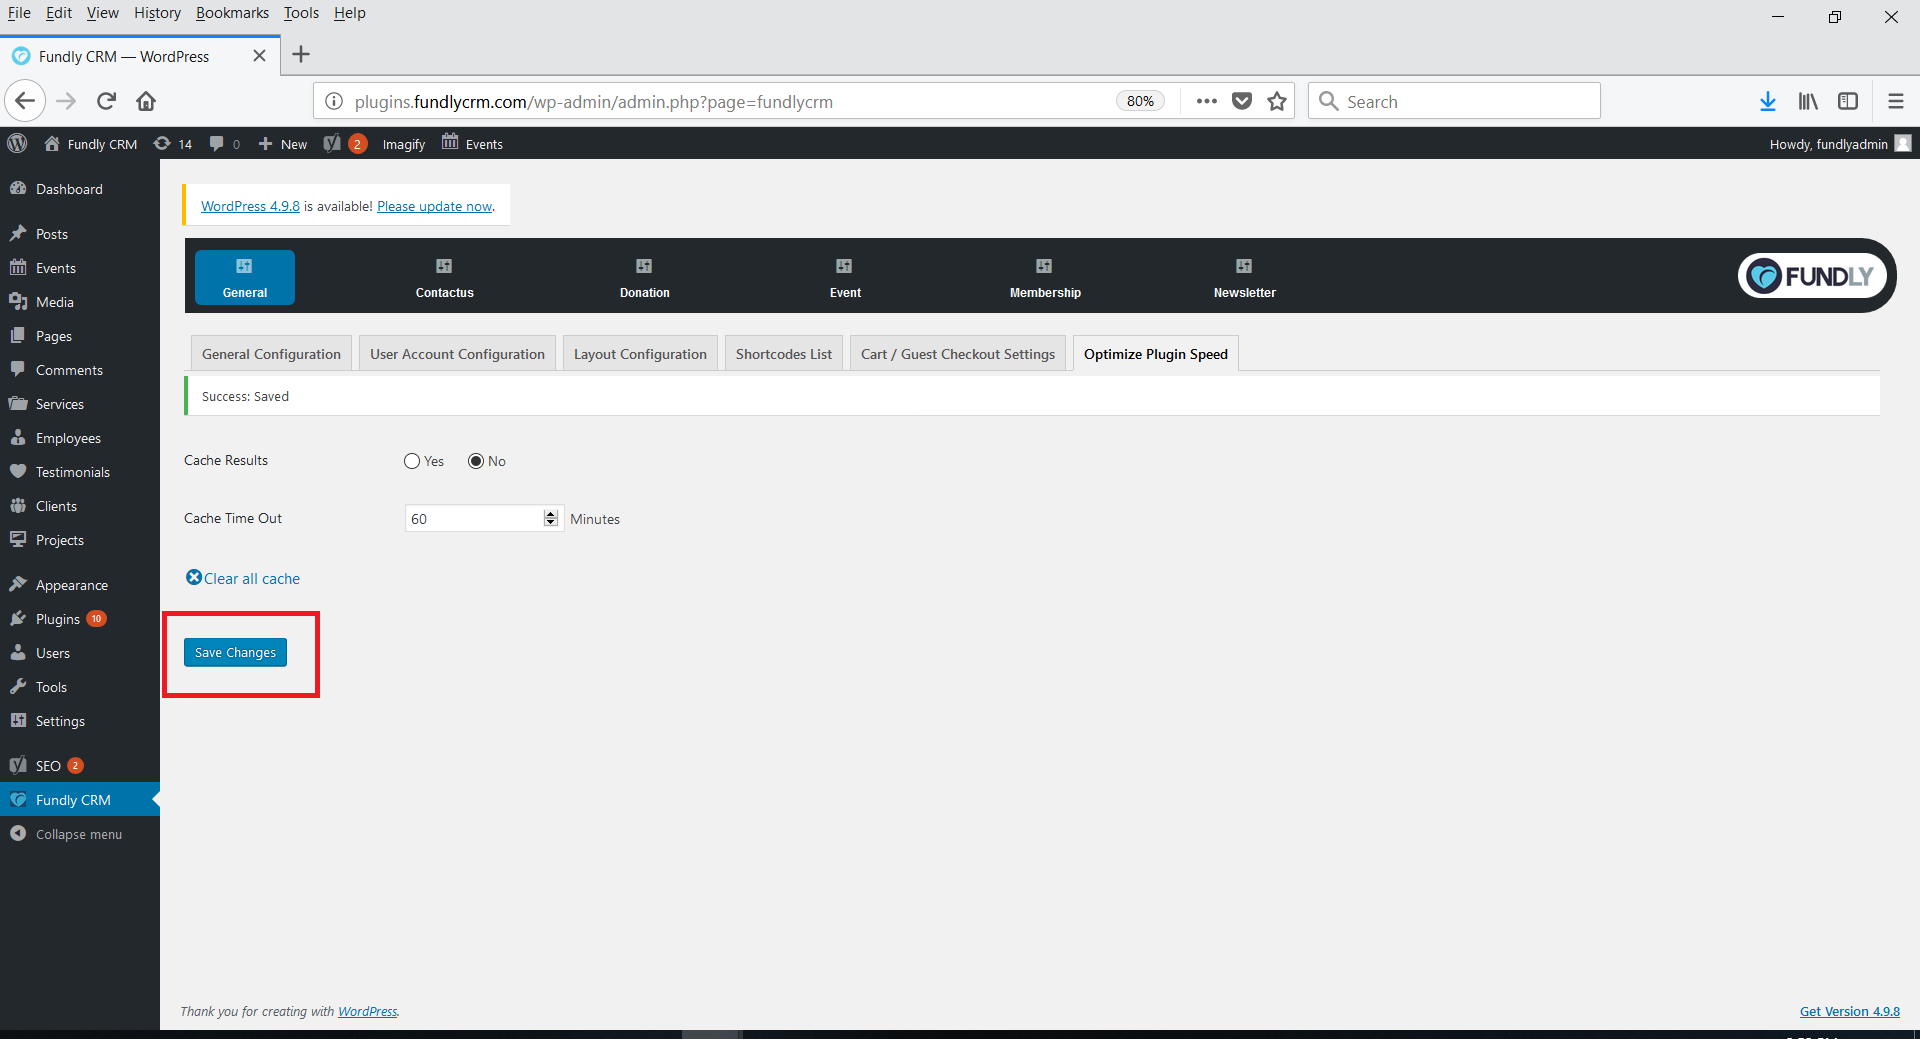
After making any changes on this page, click the blue Save Changes button at the bottom of the screen.
Comments
0 comments
Article is closed for comments.