
Donations: Batch Gift Entry Part II - Batch Gift Entry
- This tutorial will cover how to enter donations for an assigned batch within the system.
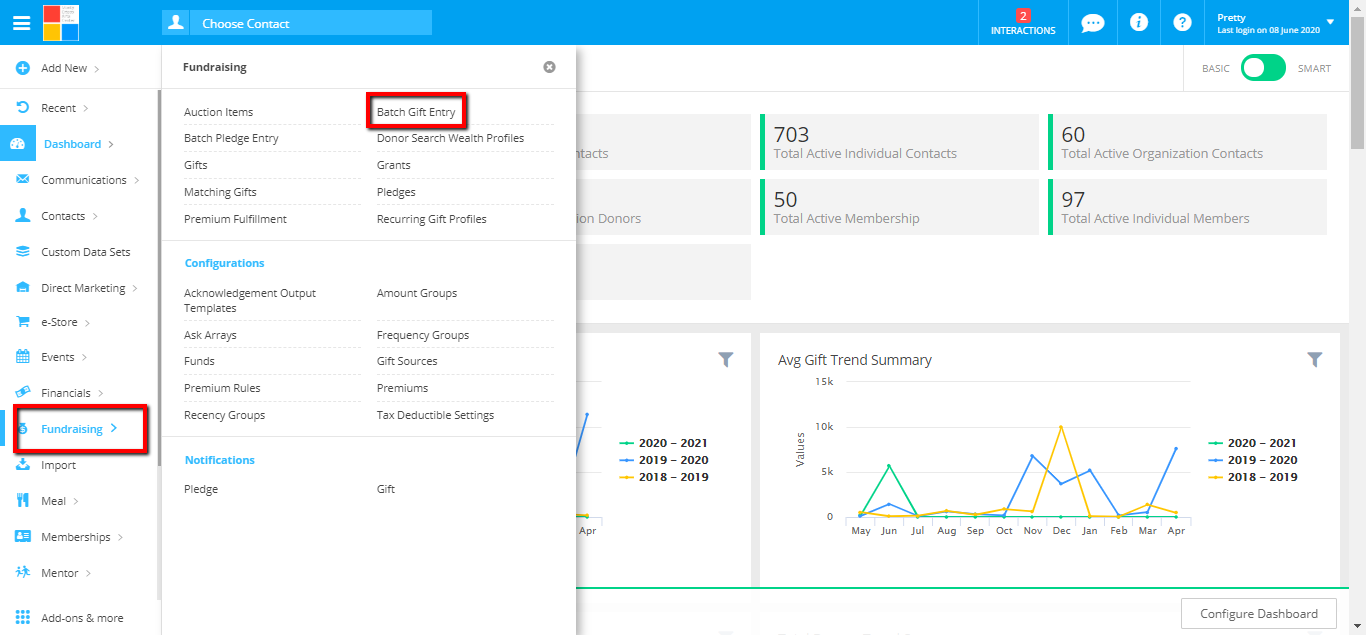
- Start by clicking on Fundraising on the Main Menu to open the fundraising sub-menu and then select Batch Gift Entry.
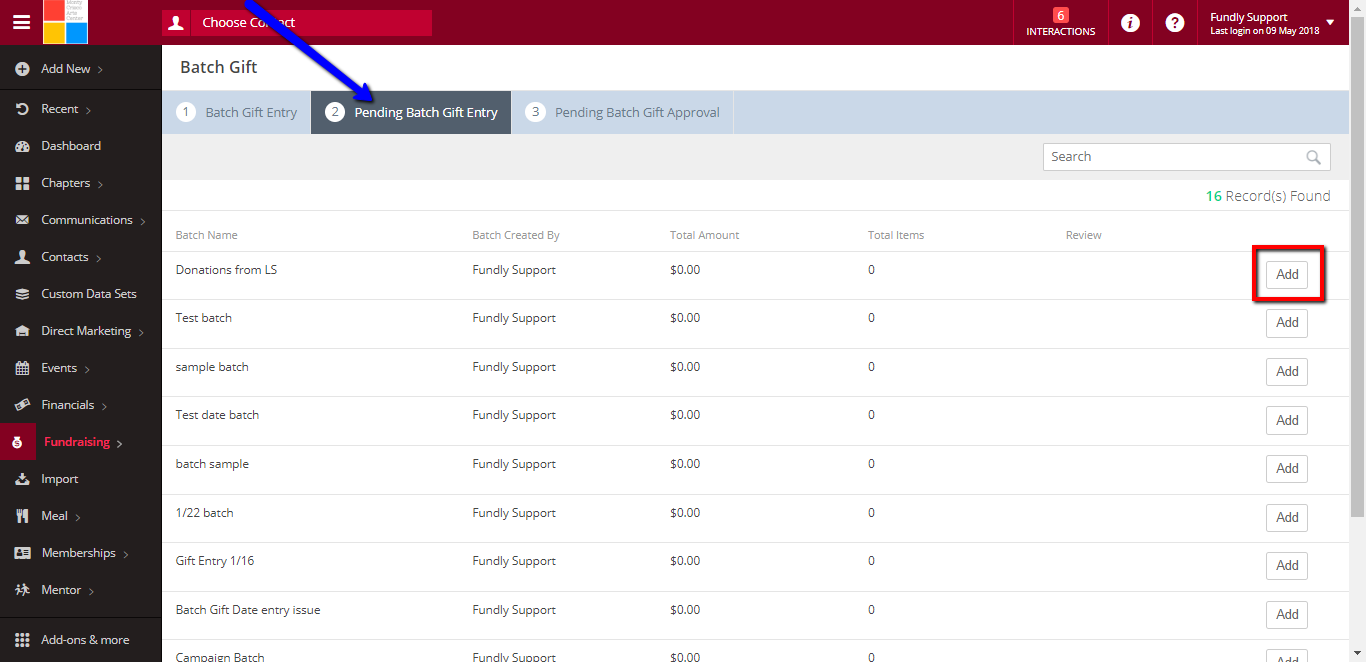
- To begin data entry for an assigned batch, click on the tab #2 or the Pending Batch Gift Entry tab, and for the batch you wish to enter, click on the Add button to the right.
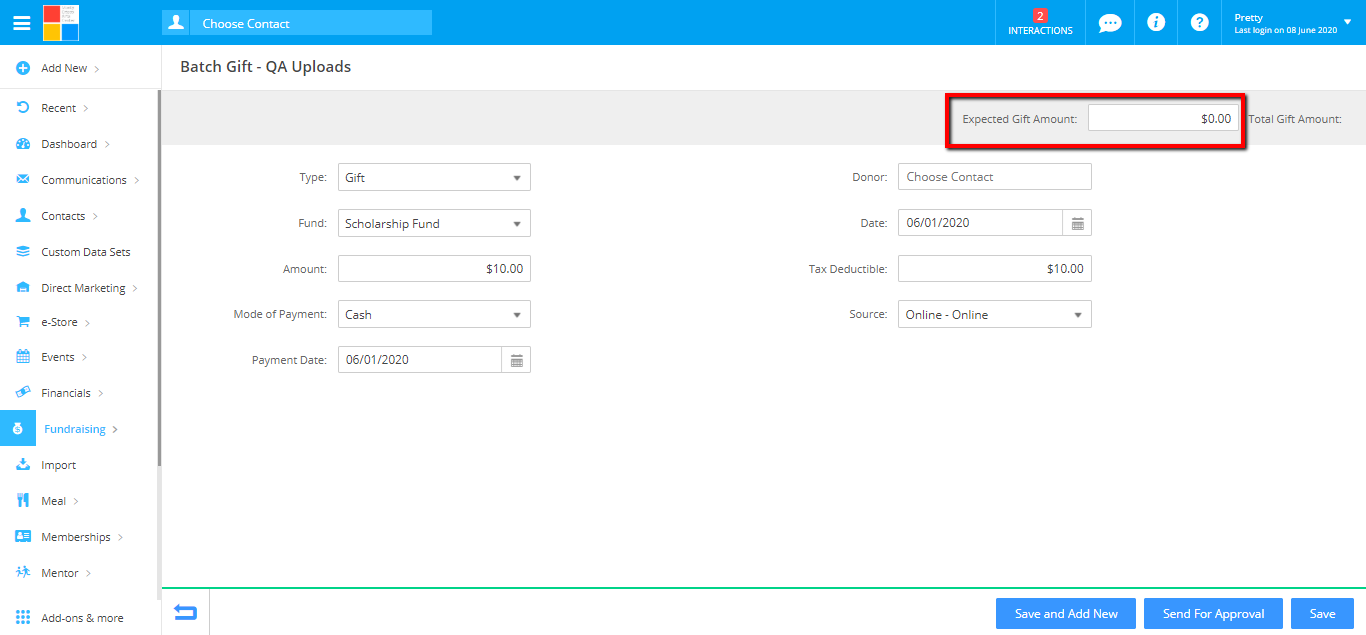
- This will bring up the batch entry screen for the batch and present all configured fields for the entry.
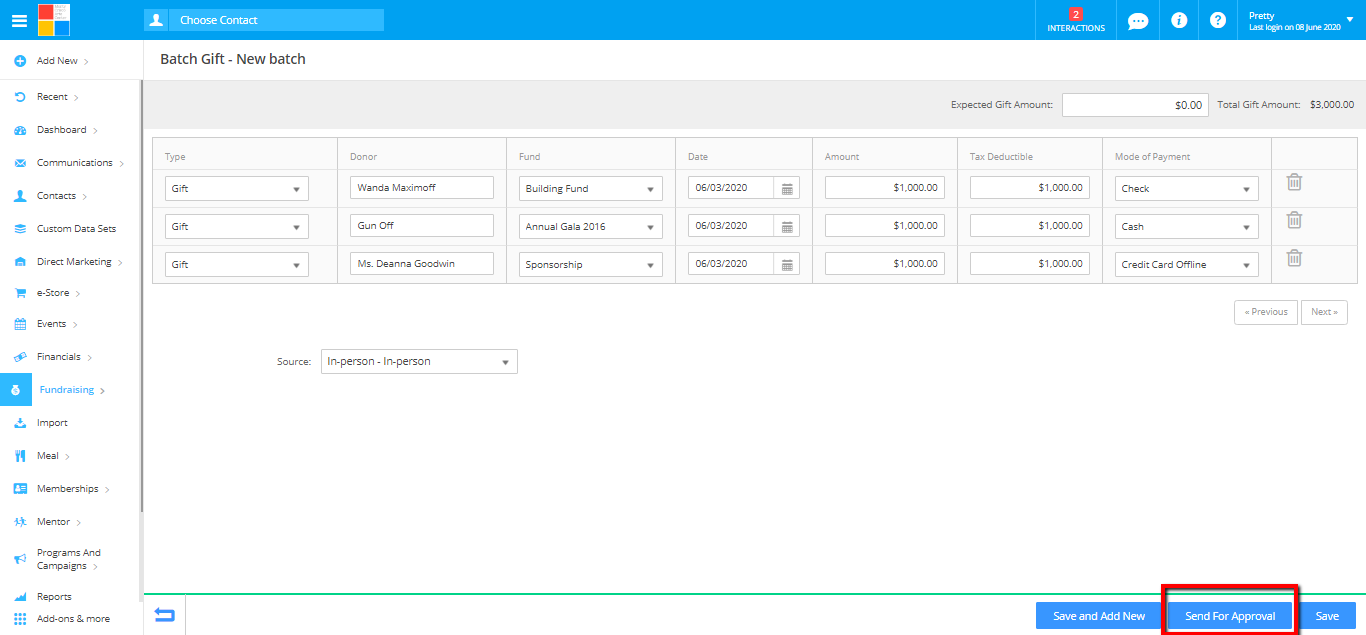
- If you know the total amount that all donations to be entered, you may enter this value in the Expect Gift Amount field in the upper right.
- All Common fields will be shown at the bottom of the page.

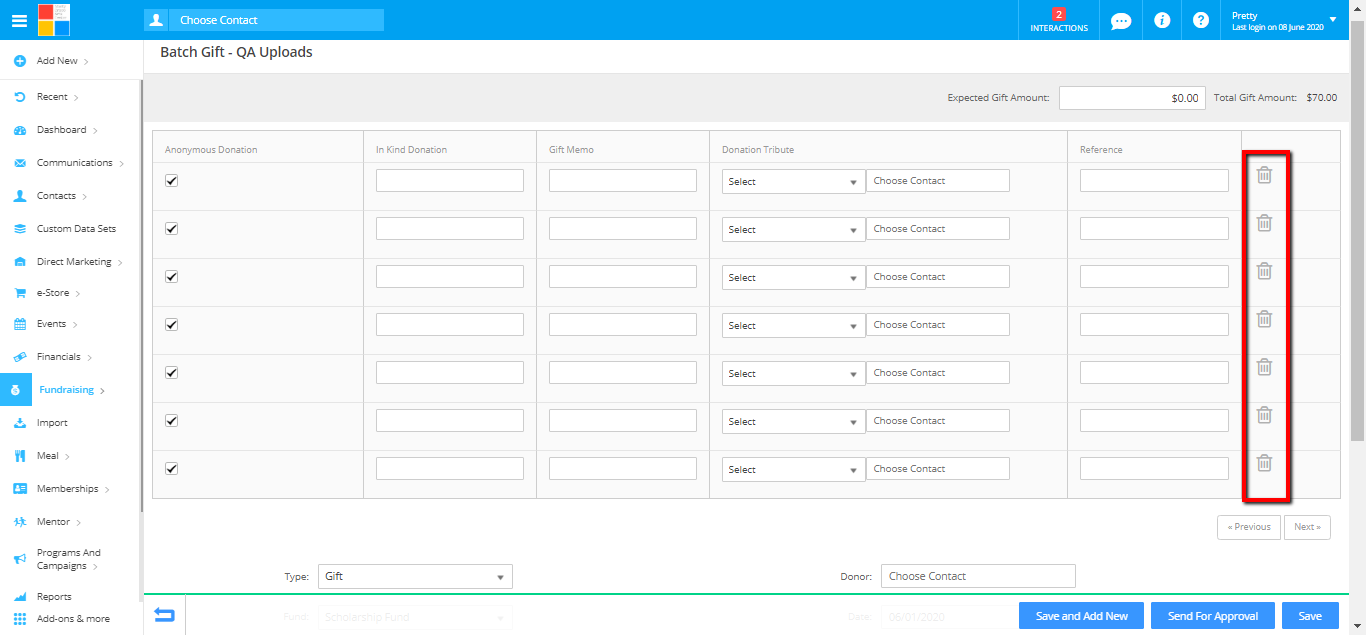
- By default each page will provide 10 lines to enter donations.
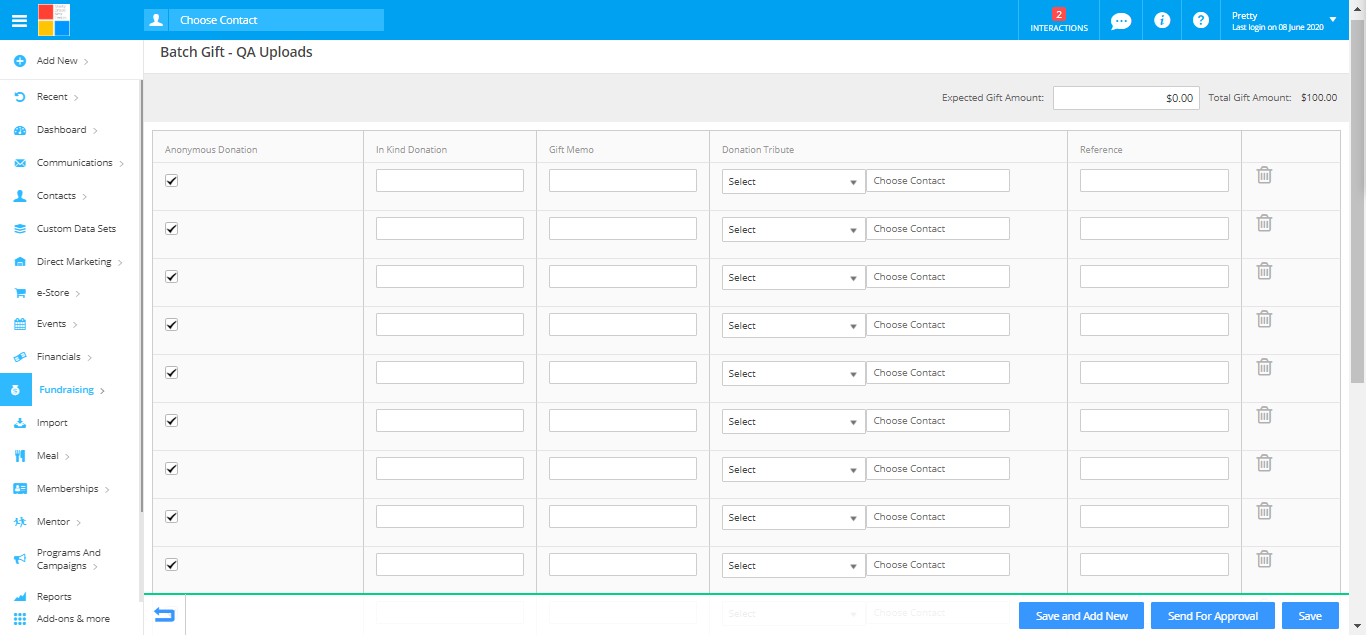
- To remove a row, click on the Trash Can button to the right of that row.
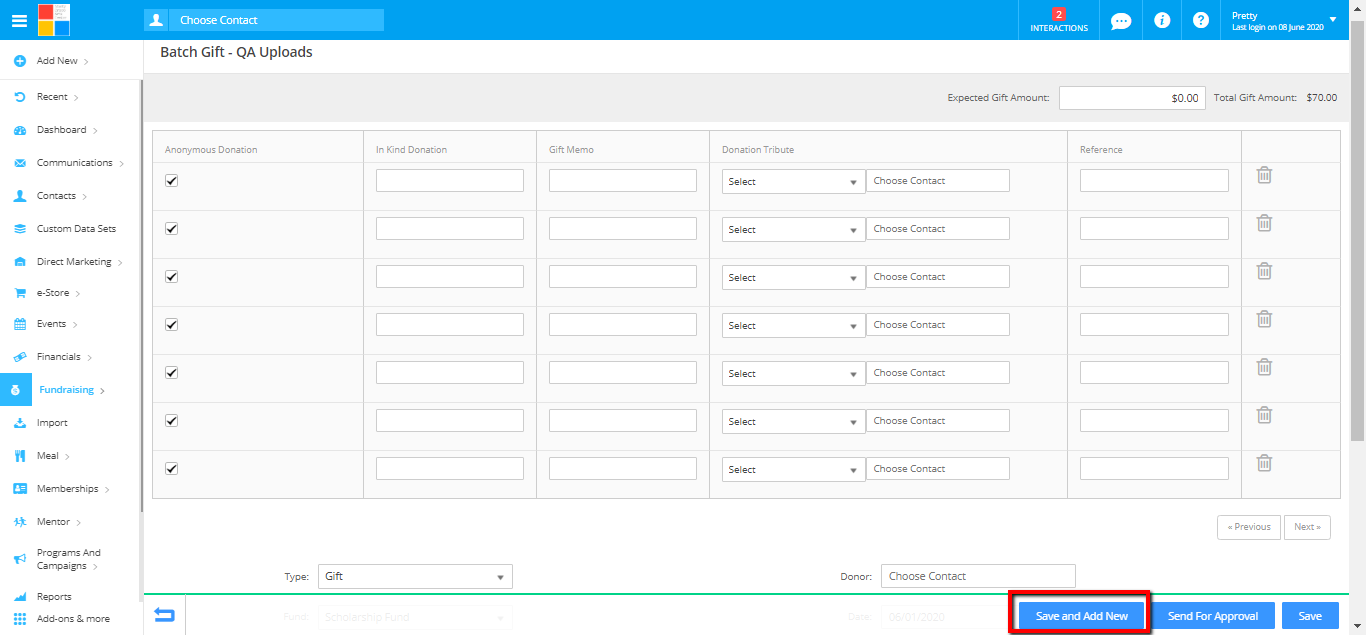
- To add another page of donations, once you have completed the current page, click on the Save and Add New button in the lower right.
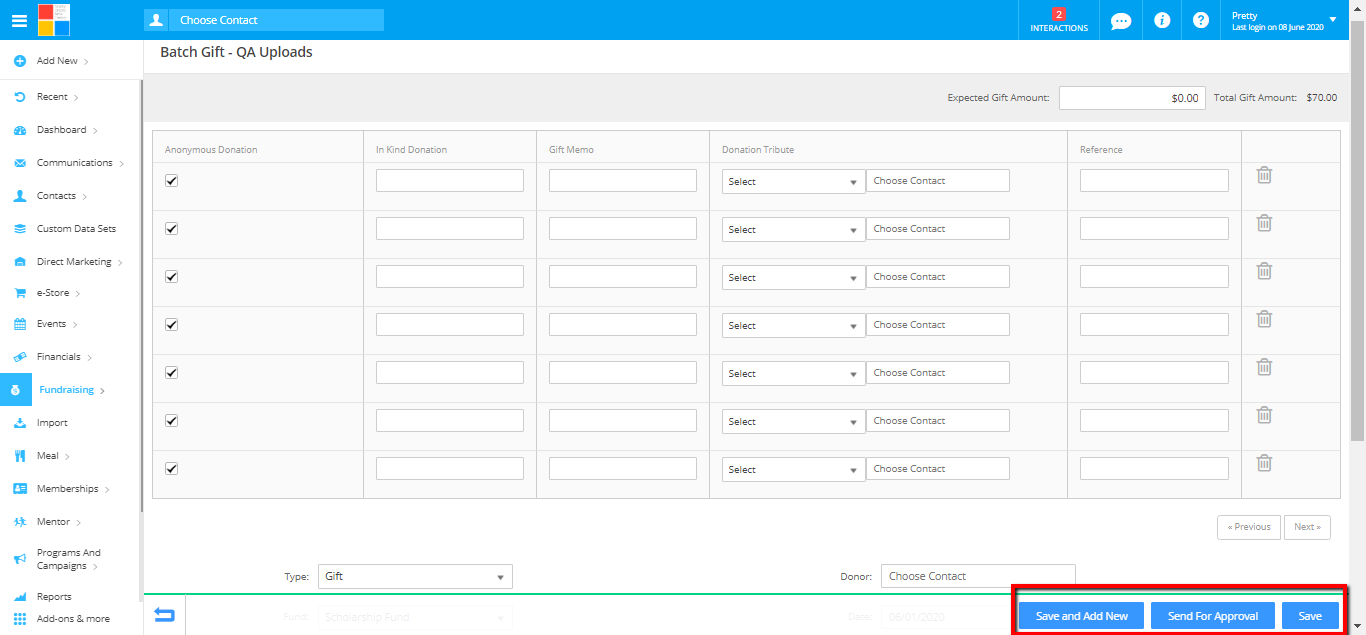
- If you wish to save the current page, and resume data entry later, click on the Save button. When you have finished entering all donations for this batch, click on Send For Approval in the lower right corner.
- This will complete the data entry process and allow the batch creator to review and either accept or reject the batch. (Please note: the screenshot below is how it looks like in the batch creator's end)
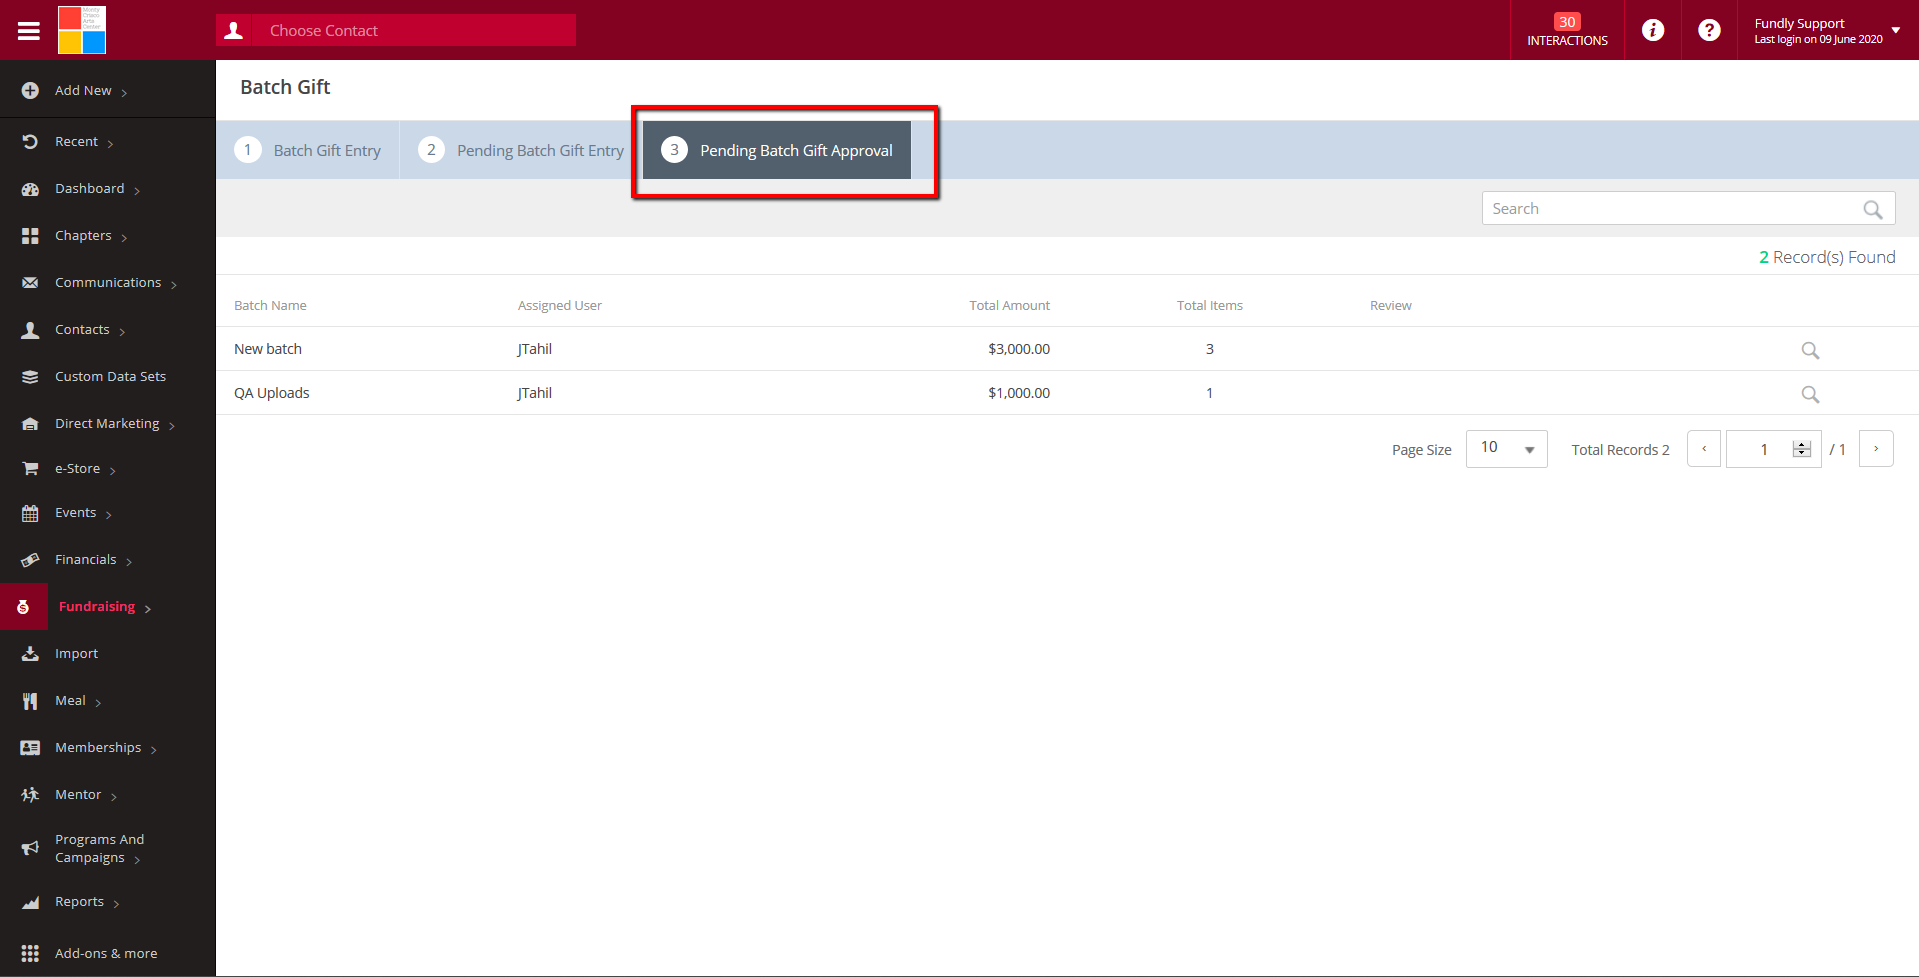

- If you self-assigned the batch, you will instead Save for Approval the batch will be approved automatically.
Comments
0 comments
Article is closed for comments.