
Financials: Configuration: Expense Groups
- This tutorial will cover how to configure expense groups within the system.
- Expense groups are categories allowing you to group together similar types of expenses and later track those expenses within the system.
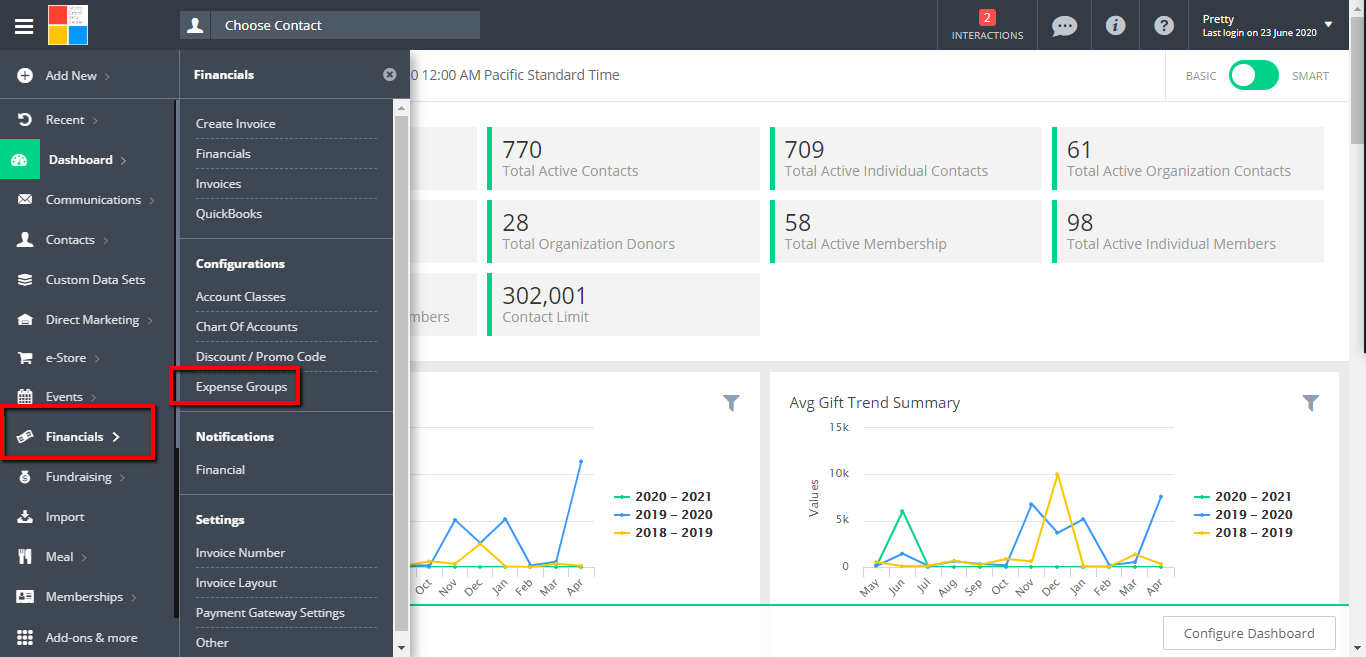
- To configure expense groups start by clicking on Financials from the left hand Menu and then click on Expense Groups under configuration in the sub-menu.
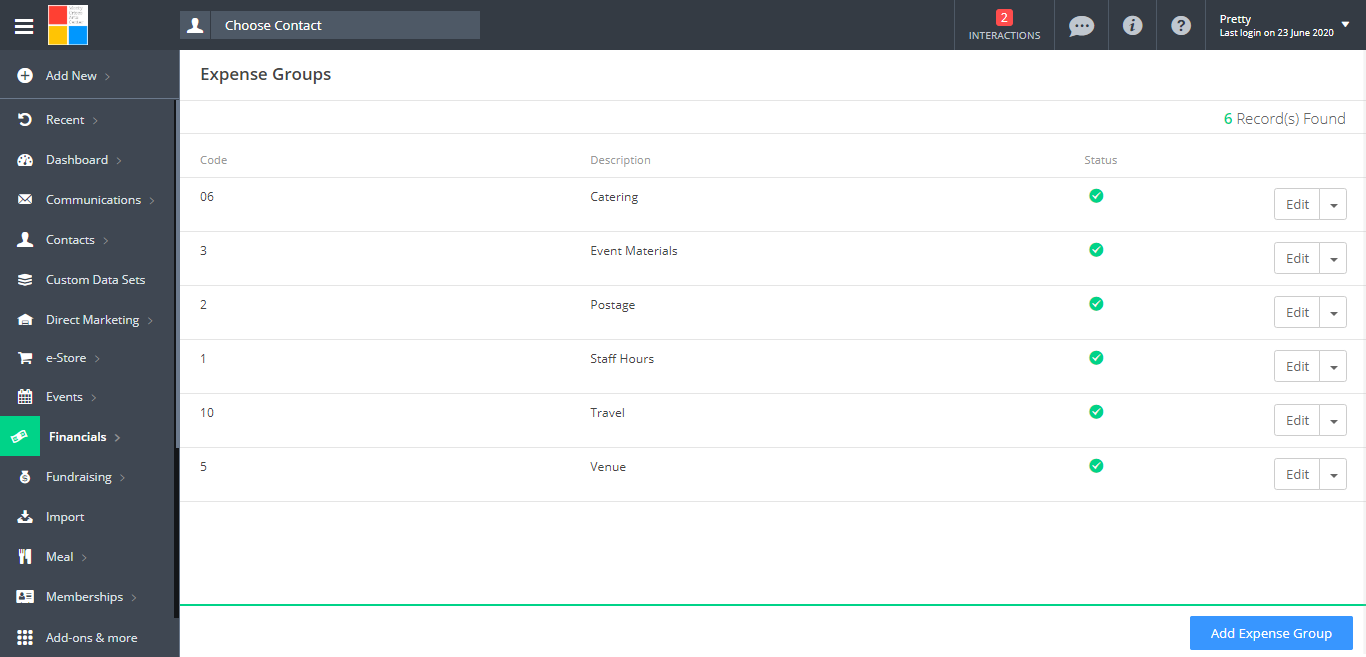
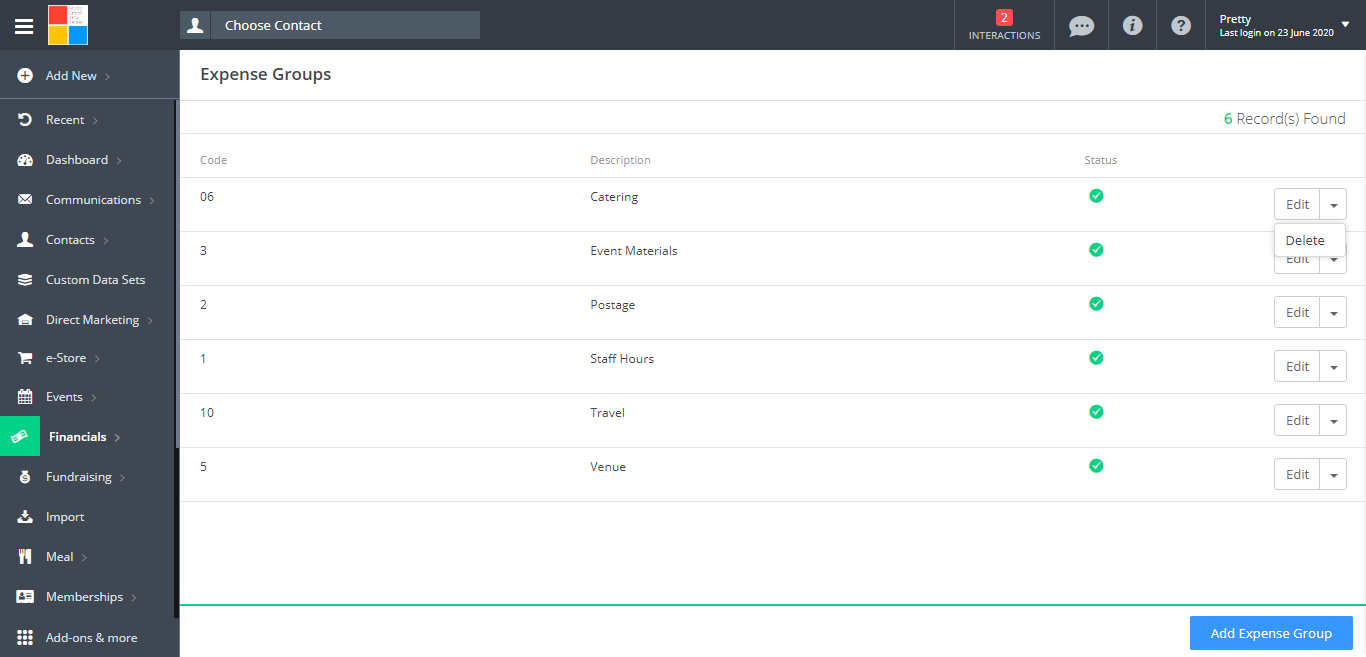
- You will be presented with the list of the existing expenses groups configured in the system.
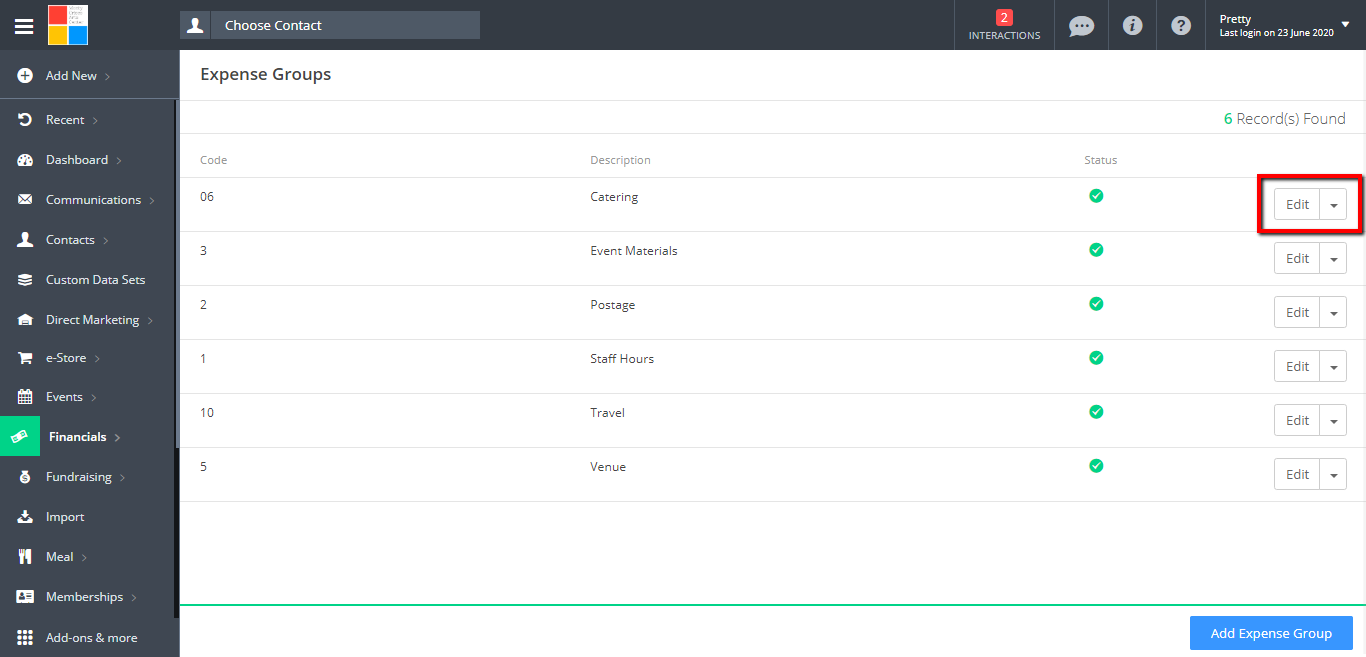
- To edit existing expense group, click on the Edit button on the right of each line item.
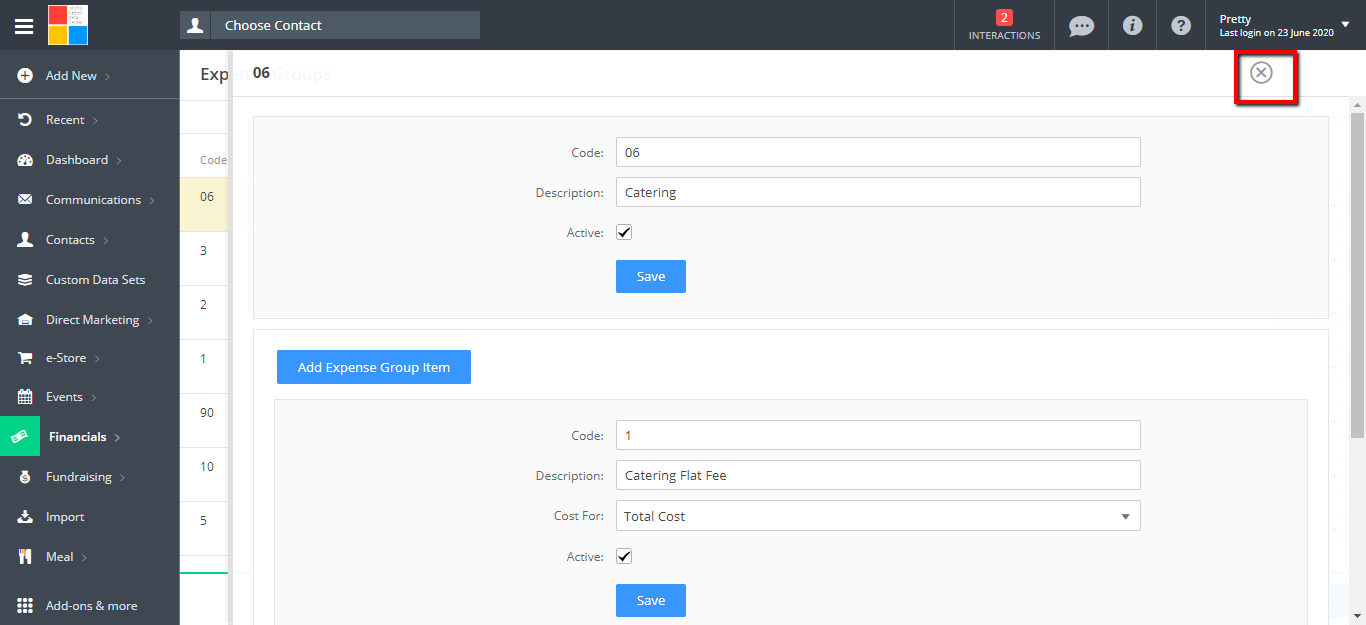
- You will be directed to the configuration screen. Make your desired changes and click on Save. To return to the expense group index screen, click on the (X) icon on the pop up.
- In the drop down arrow beside the edit button, you will have the Delete option. You can click this if you want to delete an existing expense group.
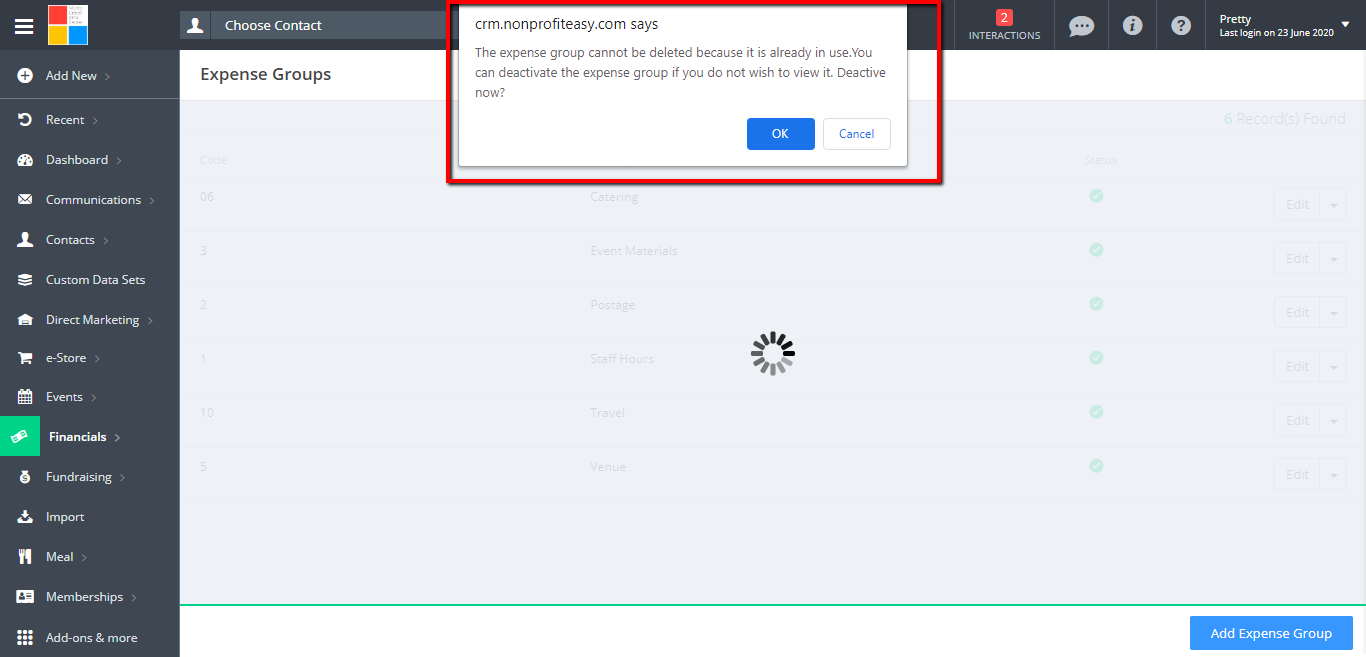
- Please know that you can only delete an expense group that has not been used. There will be a validation pop up that will inform you that the expense group that you want to delete is already in used.
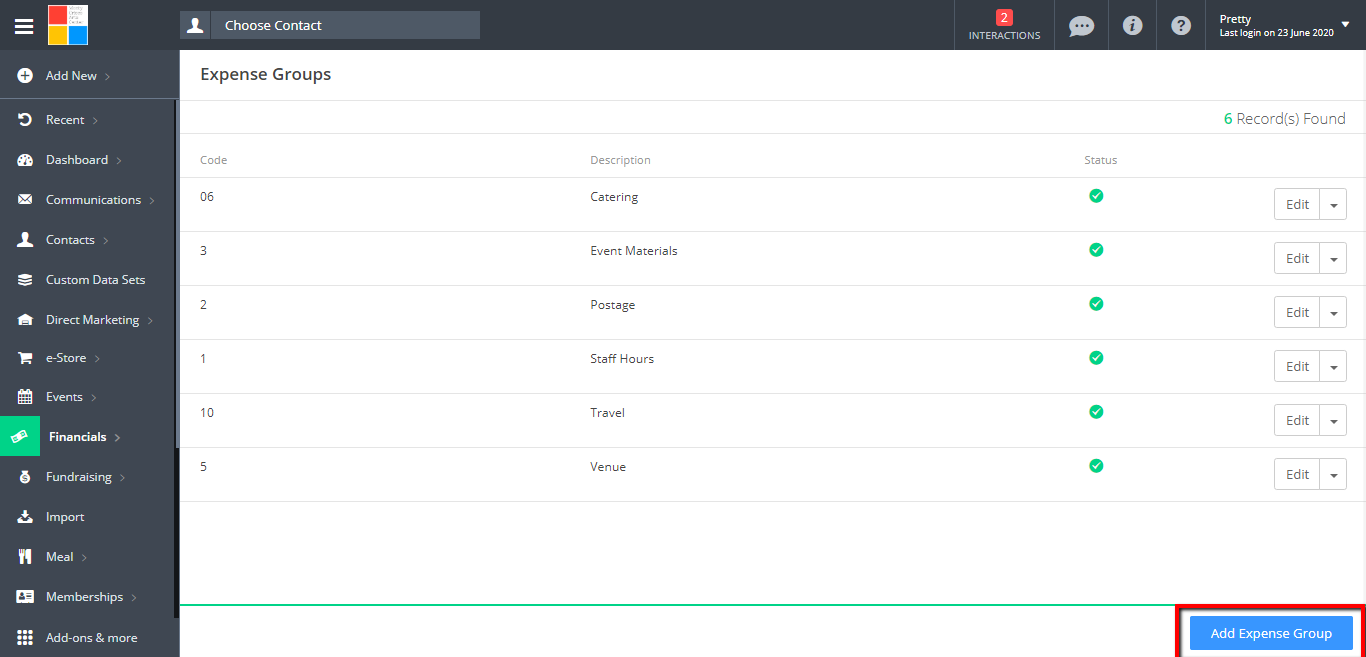
- To create a new expense group and its subsequent expense items, click on the Add Expense Group button in the lower right corner.
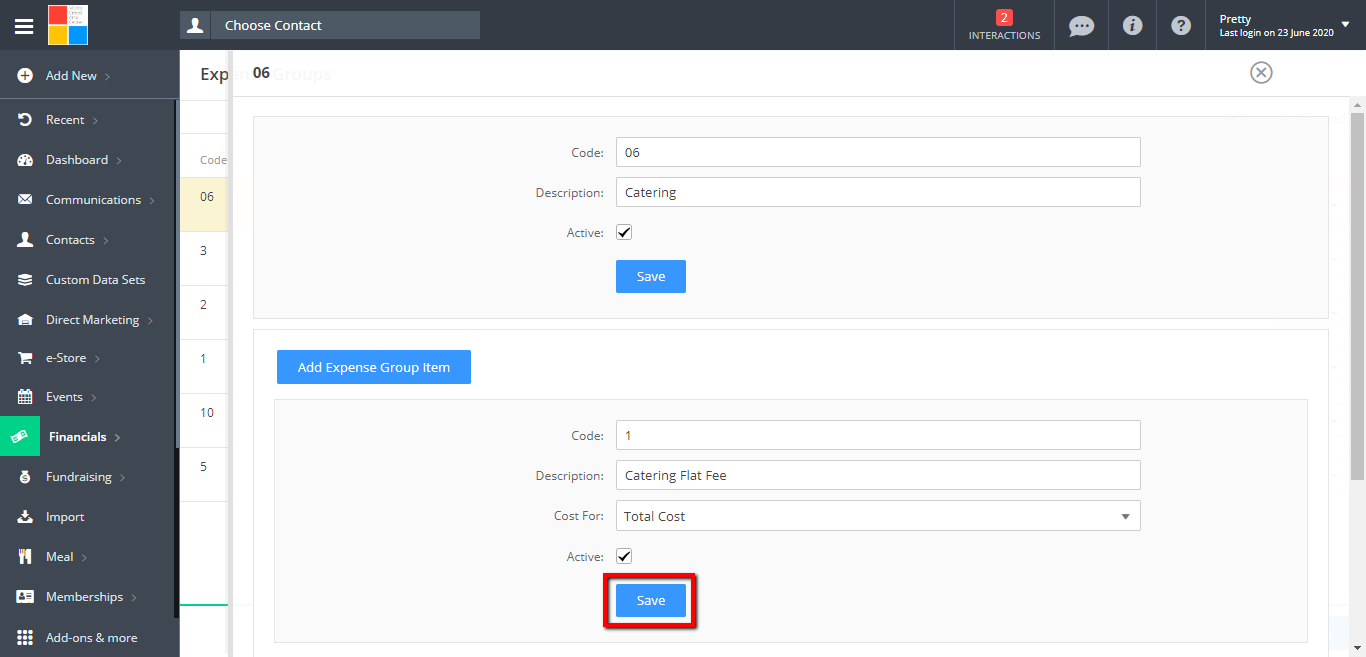
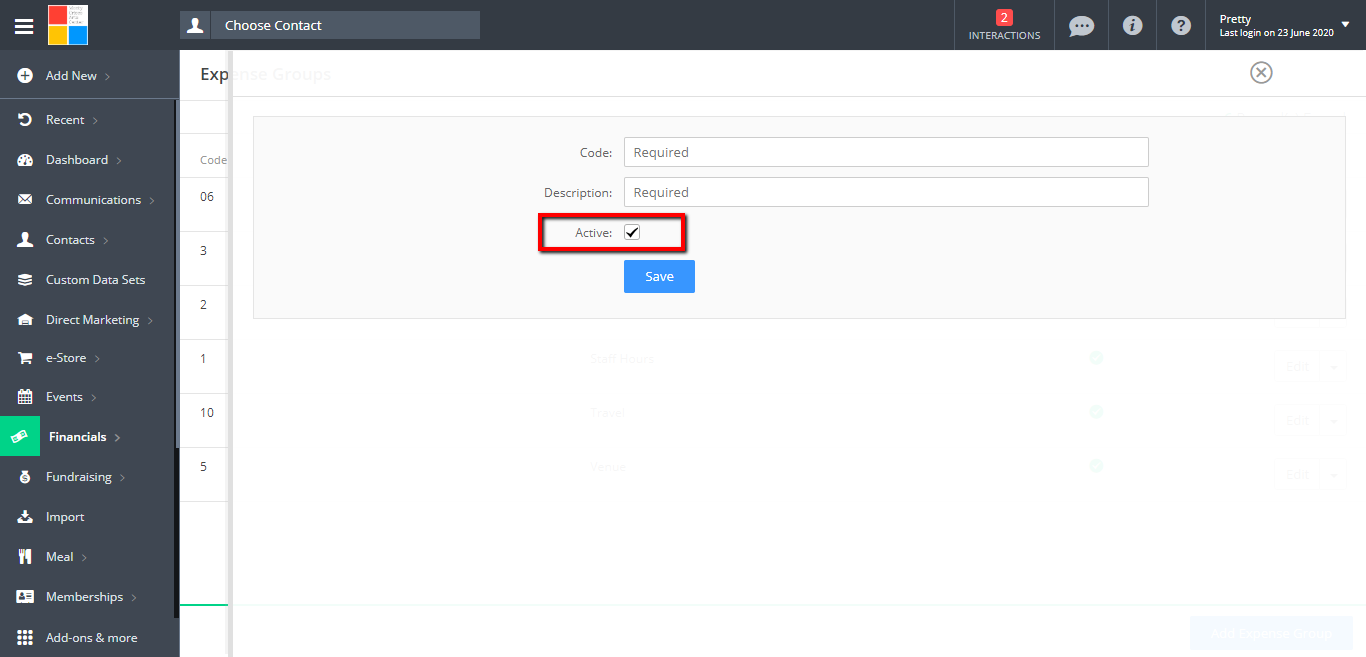
- In the resulting screen, start by providing a unique code and description for the expense group in the Code and Description fields respectively.

- Use the Active checkbox to indicate whether this expense group is currently active for use within the system.
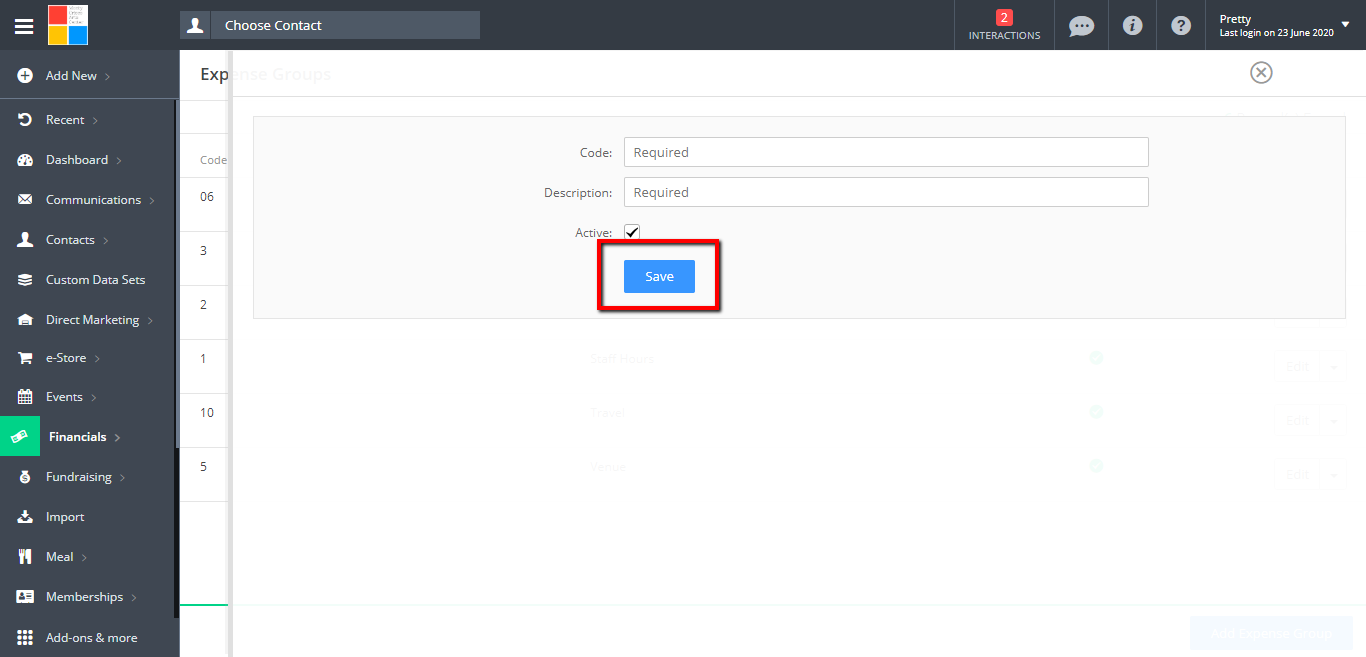
- When you have finished adding the information required click on Save.
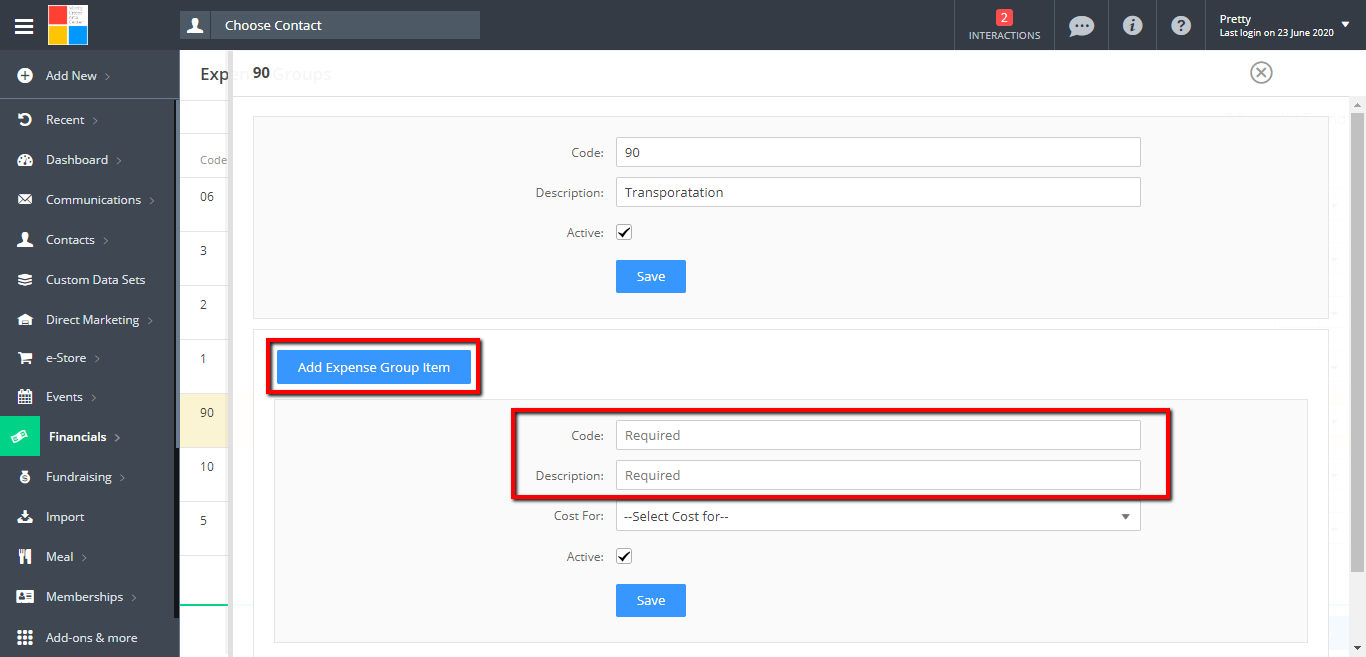
- To create a new expense group item, click on the Add Expense Group Item button and provide a unique code and description for the expense group item in the Code and Description fields respectively.
- Next, select if the cost of the expense represents a total cost, percentage of income, or a cost per piece sold.
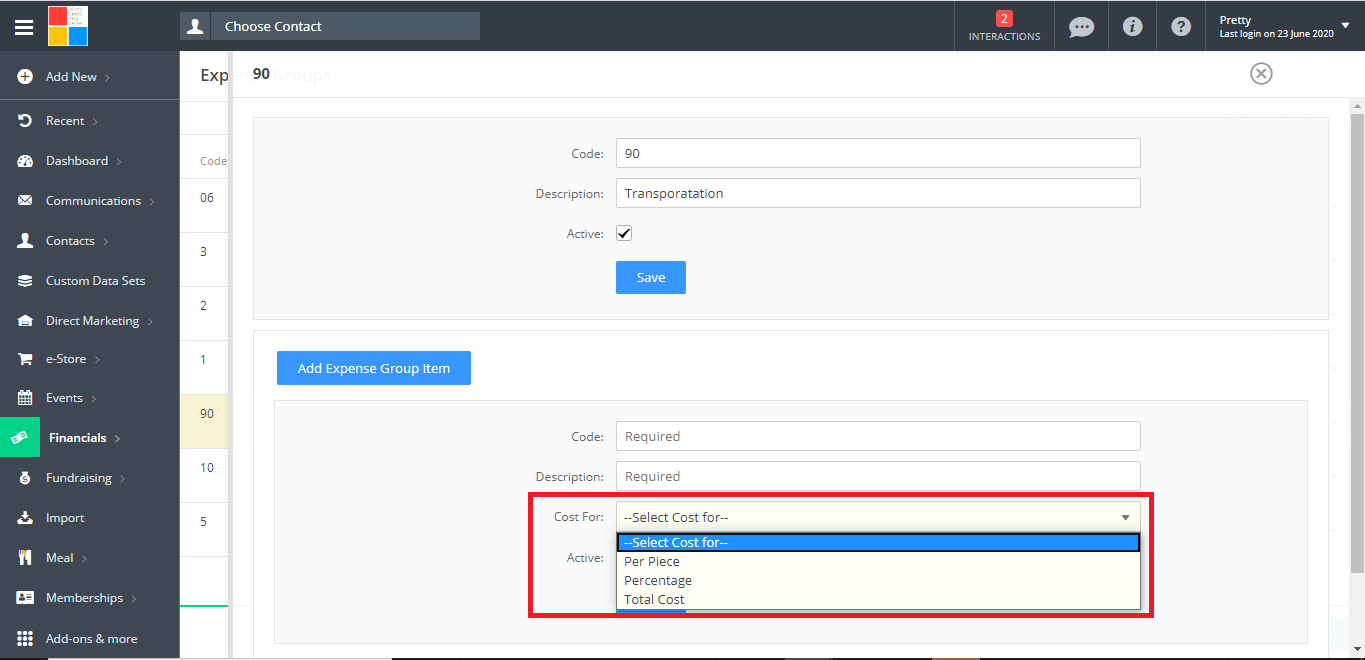
- When you have completed configuring the expense group item, click on the Save button.

Comments
0 comments
Article is closed for comments.