
Financials: Invoices: Create and Manage Invoices
- This tutorial will cover how to create and manage invoices for contacts within the system.
- The way CRM uses the term invoices is a bit of a misnomer; it simply means "financial transactions." Whenever you record a donation, a grant, a pledge, a membership purchase, a membership renewal, an event registration, or an e-store purchase in the system, a financial transaction (invoice) is created/recorded within the system. Invoices are simply financial transactions (both paid and unpaid).
- You can add event registrations by creating an invoice or by simply going to the event and adding registrations. You can record a donation by creating an invoice or by choosing to Add Gift from the quick add menu, the contact screen, or the gift index screen. You can add a membership by creating an invoice or by adding a membership from the quick add screen, membership widget on contact screen or the manage membership page, etc. Generally, using "create invoice" to create a transaction record is the long, hard way with more steps/clicks. It is usually faster to record the transaction from the contact record or the module's index page (gifts index screen, grant index screen, etc.).
- The differences between using "Create Invoice" and "Add Gift/Membership/Event Registration" are:
- Recording a transaction by creating an invoice is generally a longer, more complicated process (more steps) than simply using the add gift, add membership, or add event registration functions. For example, when using create invoice to record a donation or membership, it's a three step/screen process whereas when recording a donation using Add Gift or recording a membership using the quick add membership function it is one step process (with payment recorded on the same screen instead of on a separate screen).
- The advantage to using the Create Invoice function, however, can be that you can record a transaction without recording payment (if payment is not yet received) and also, for events, it can allow you to create several registrations in quick succession rather than going back to the event over and over to add new registrations.
- For memberships, you can only access the File Upload field, auto renew membership, and membership additional information custom data set from full add membership (either from the Manage Membership index page or from Create Invoice). These fields are not accessible from Quick Add Membership (see the Add New Membership tutorial for full details of the distinction between quick add membership and full add membership).
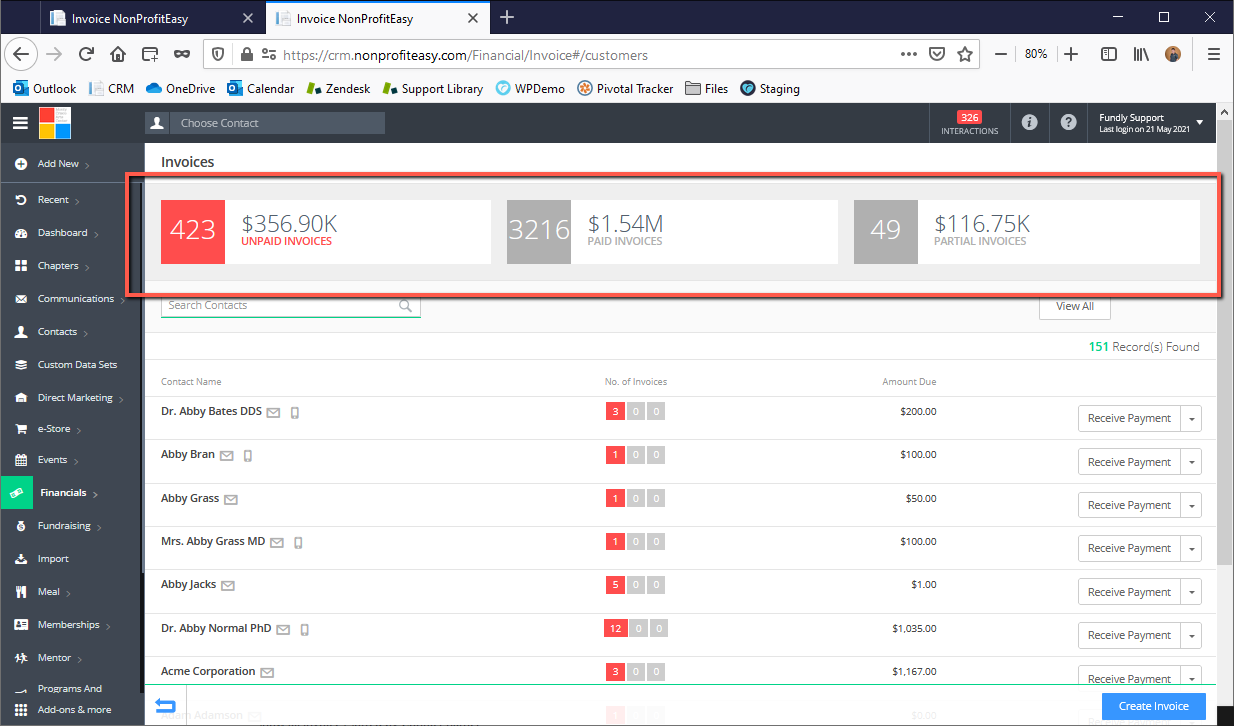
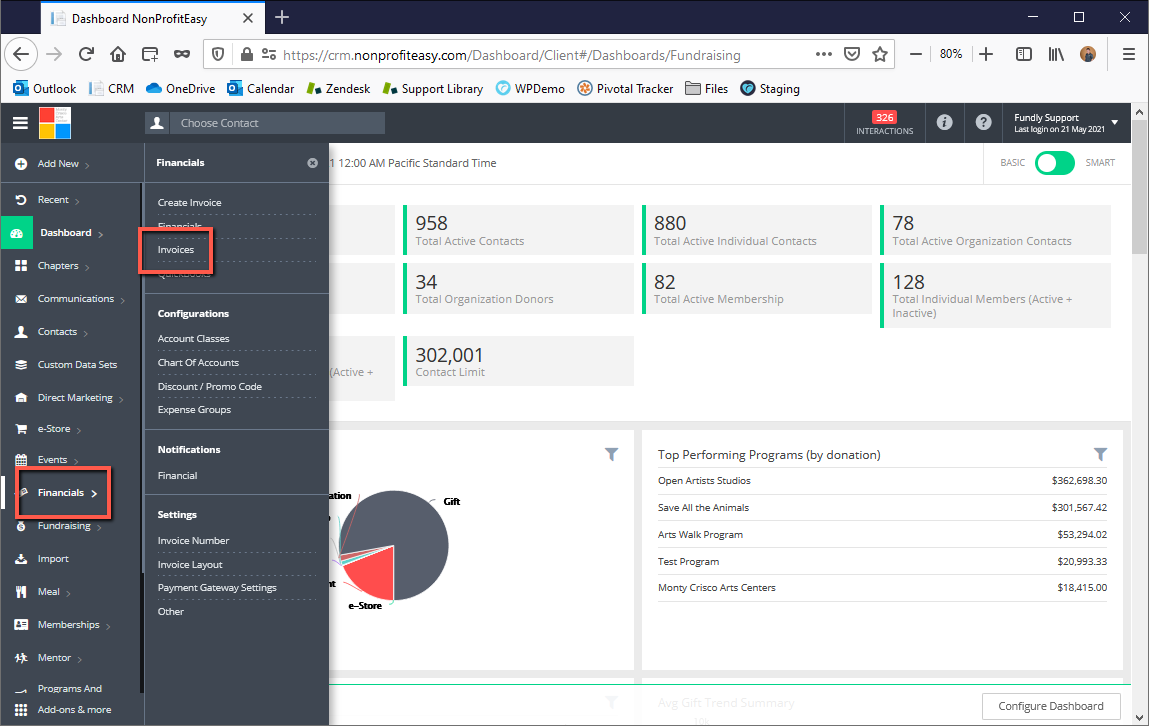
- To start, click on Main Menu > Financials > Invoices to be directed to the Invoices index screen.
- You can click on each tab to see the unpaid, fully paid, and partially paid invoices. By default, it will show all invoices sorted by contact name.
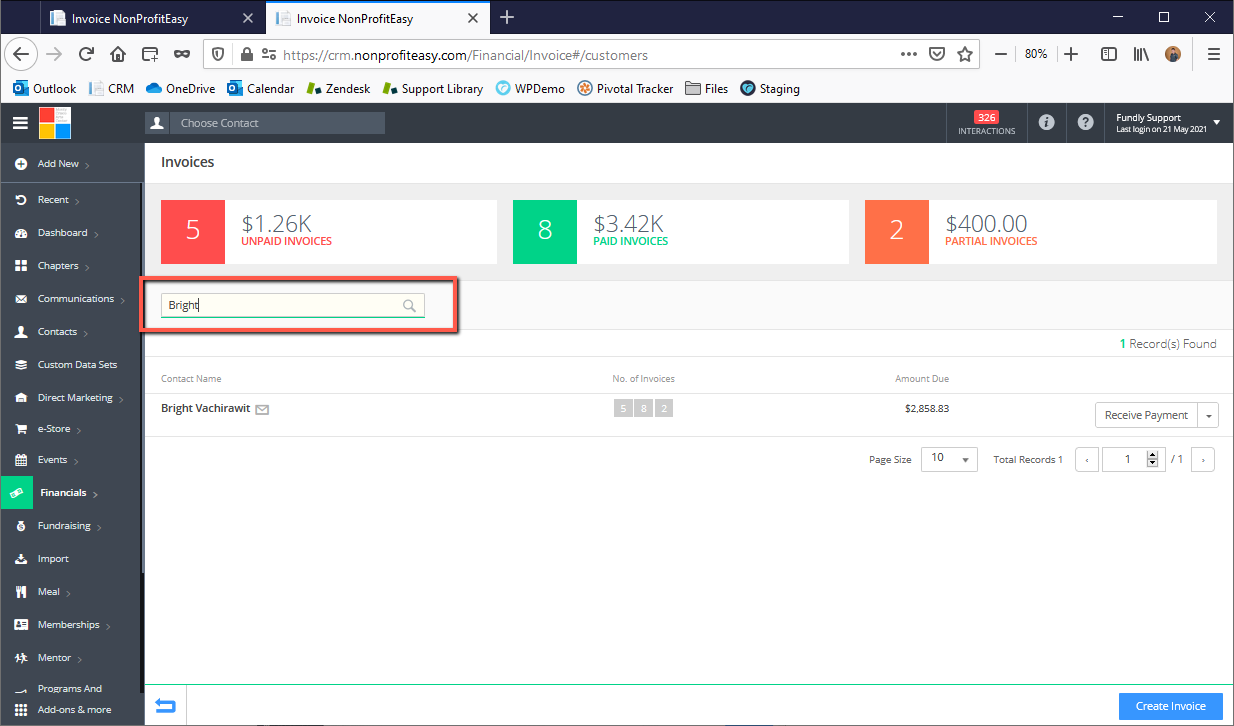
- To Edit or Delete an Invoice for a contact, look for the contact you wish to edit/delete an invoice from by scrolling over the list or by searching the contacts through the contact search box.
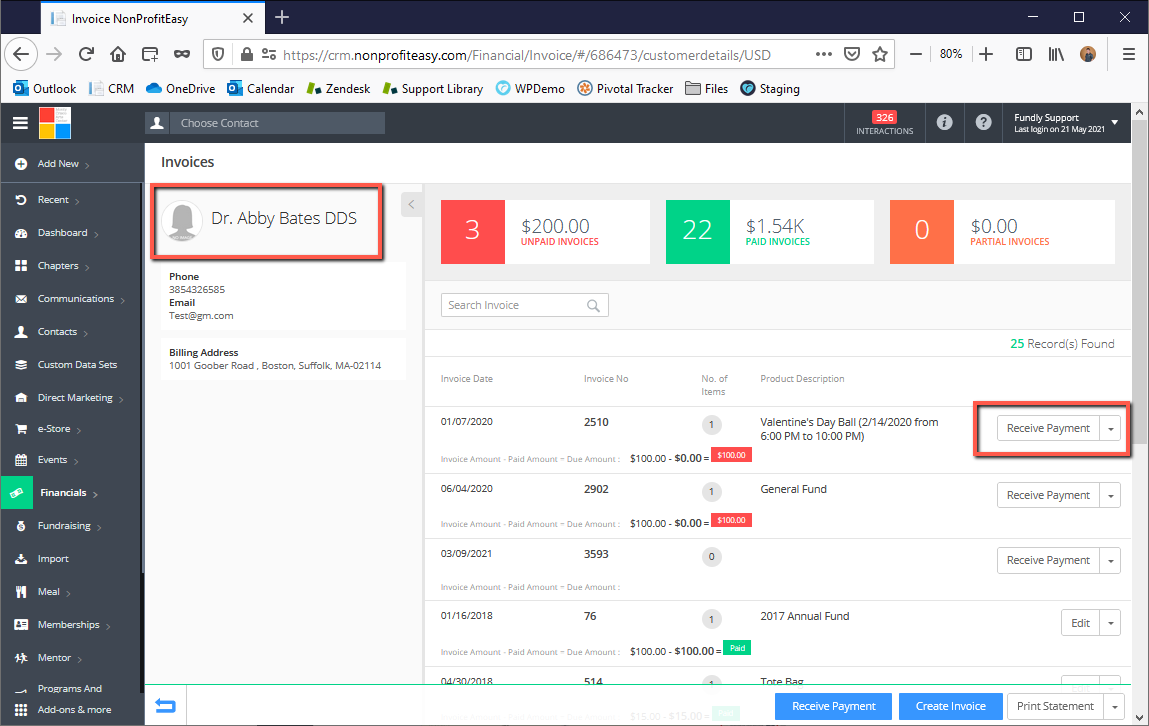
- Click the drop down to the right of the contact's name and select View All.

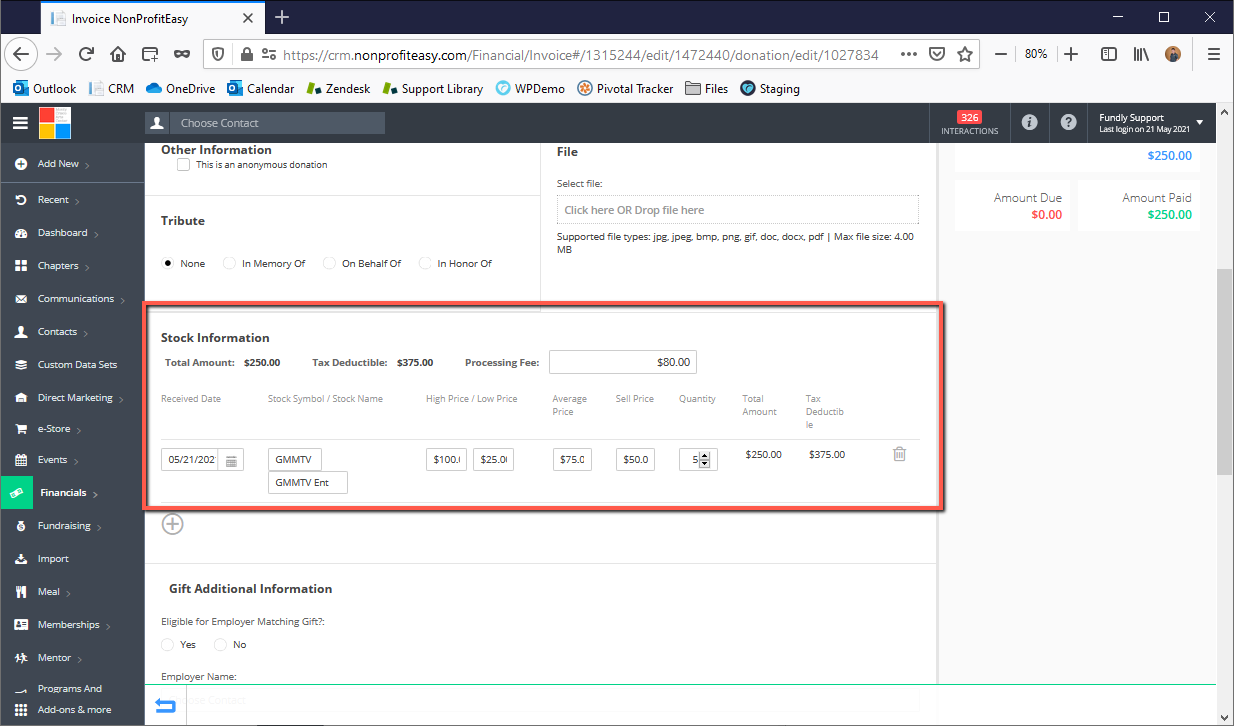
- Find the invoice you wish to edit in the list of invoices and select Edit from the drop down to the right of the invoice. To delete an invoice, select Delete from the drop-down. Please Note: Invoices for Pledges cannot be edited or deleted from the invoices area (they will only have a View button and no option to edit or delete). Please see our tutorial on Working With Pledges for more details on how to edit or delete pledges. Also, editing stock gift invoices looks different than the regular gift as it will not show you the ask array, instead you can edit the stock gift information.

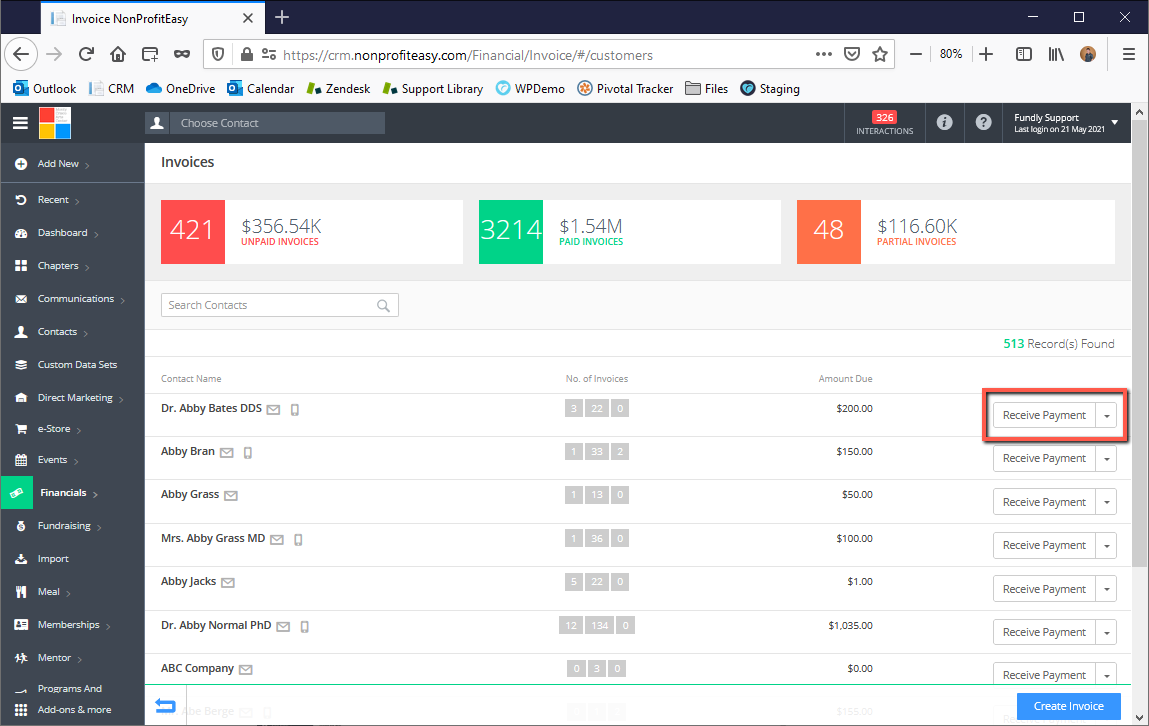
- To receive payment for a previously created invoice (an invoice with an outstanding balance) click Receive Payment from the drop down to the right of the contact's name on the Invoices Index Page or click Receive Payment from the drop down to the right of the invoice on the View All Invoices page of a particular contact.
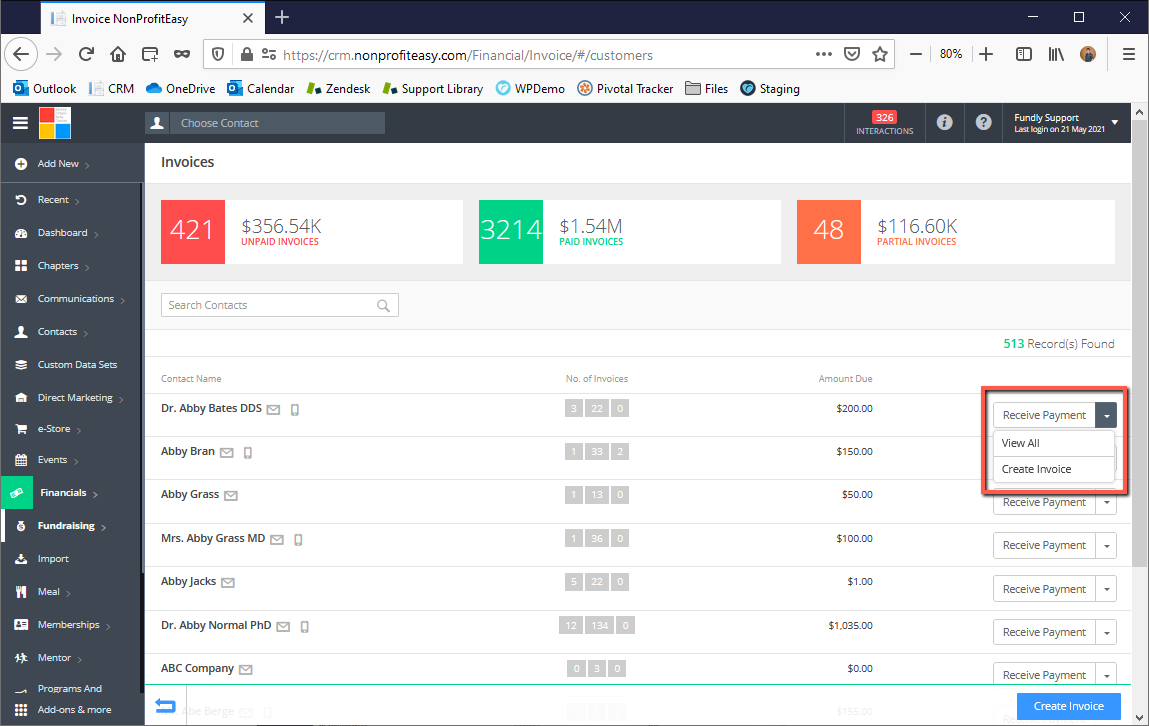
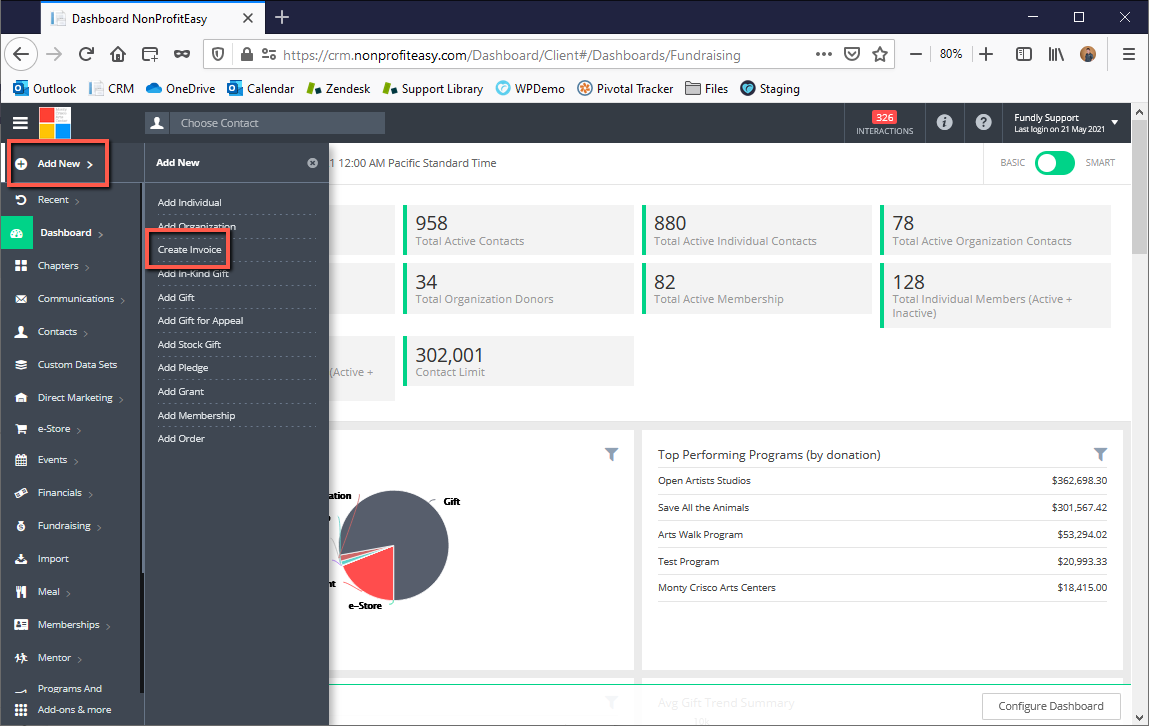
- To create a new invoice, on the Main Menu, click Add New, and select Create Invoice or go to the Invoices index screen (Main Menu: Financials: Invoices) and click the blue Create Invoice button in the lower right (you can also create an invoice for a contact by selecting Create Invoice from the drop down to the right of the contact's name in the Invoices Index screen).
OR

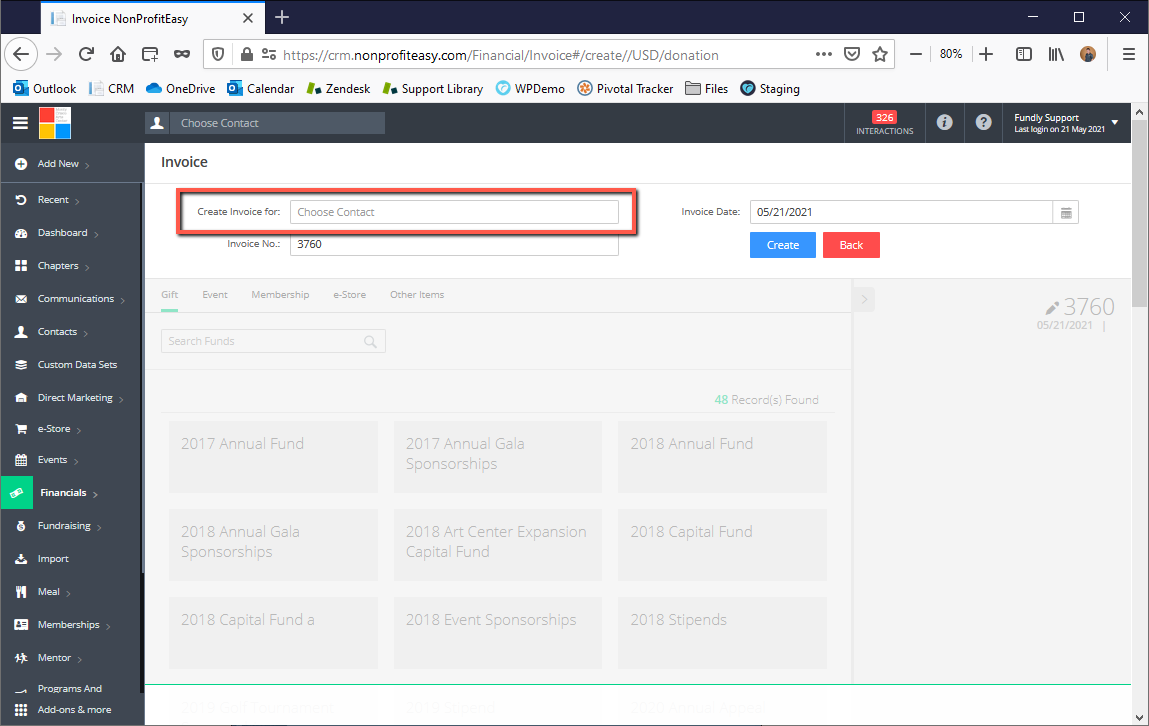
- In the resulting screen, use the Create Invoice For field to select the contact for who this invoice is for (this is the person responsible for all payments on the invoice). You can add contacts "on the fly" (that is, the contact doesn't have to already be in your database) by simply typing the name and hitting enter. The Quick Add contact dialog box will open. Create the contact and save/close the pop up to continue creating your invoice.
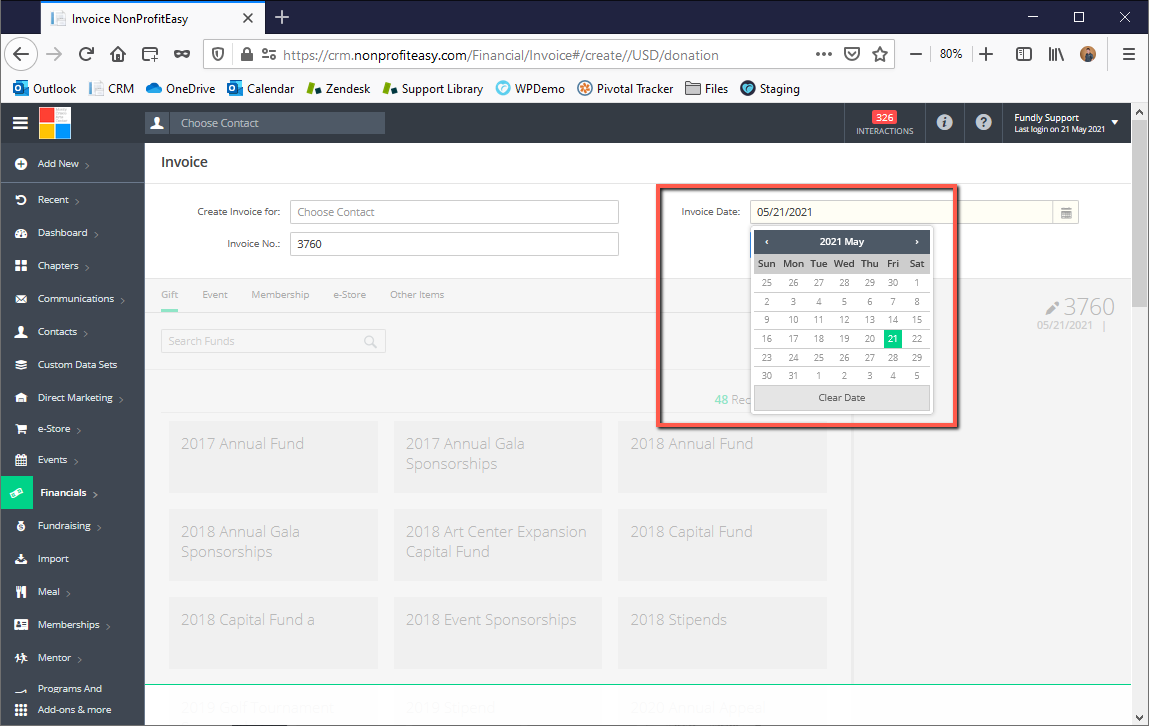
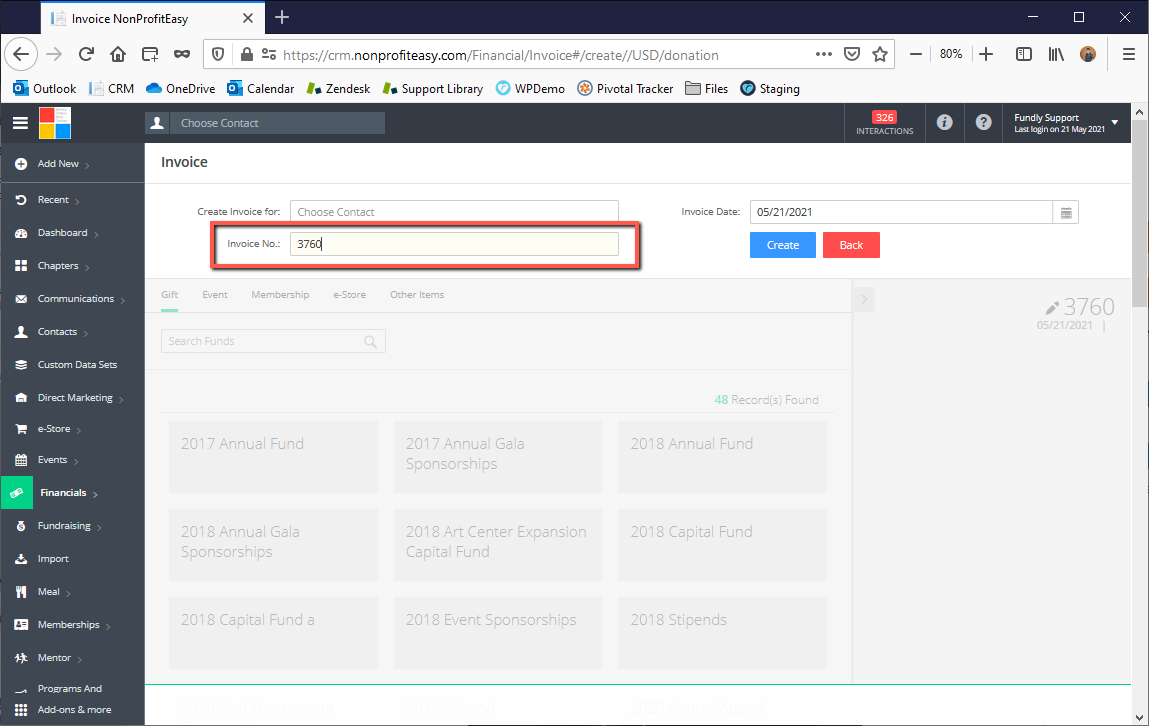
- Next, set the Invoice Date, and if applicable, override the Invoice Number (which will populate from your Invoice Settings) with the Invoice Date and Invoice No. fields respectively. The Invoice Date field doesn't have a set definition - most types of transactions will also have a transaction date field and also a payment date field - so you can use the transaction date to mean whatever you want. If you have some other type of date you wish to track (date the form was received in your office, data entry date, etc.) then simply define what this field is tracking/means to your organization and then make sure all staff are consistent in what they are entering here.
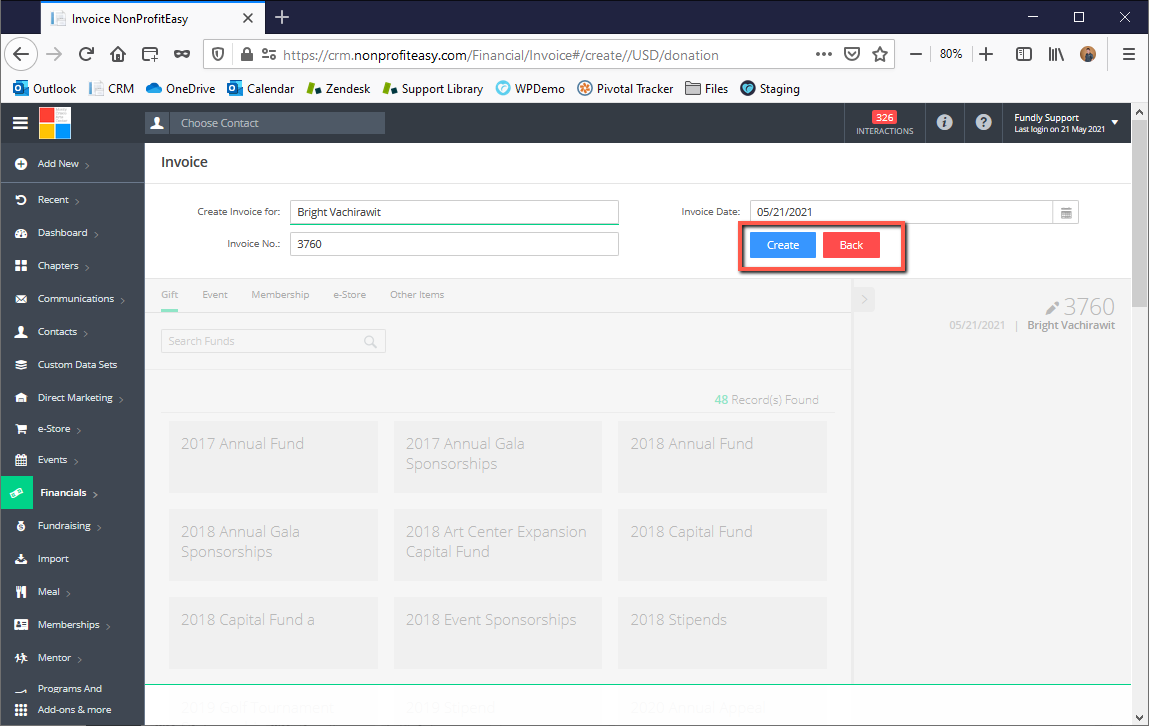
- When these initial fields have been set for the invoice, click on Create to create the invoice and begin adding items to the invoice.
- Click on the Transaction Type tab at the top of the screen to select the type of transaction you are recording.
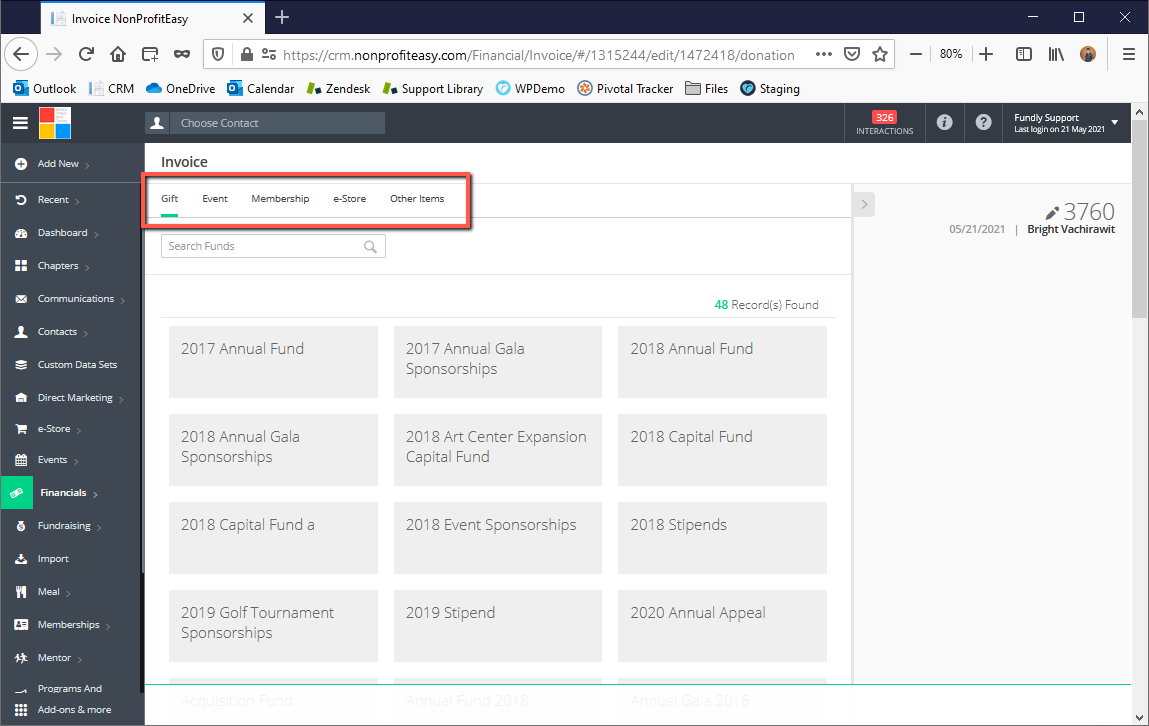
- If you are entering an event registration:
- once you select the Events tab, you will see a list of UPCOMING events. Please note: you cannot use "create invoice" to record registrations for past/inactive events. You can only record registrations for those through the event itself.
- Select the event and then complete the event registration (see our Add New Event Registration tutorial for information on recording an event registration).
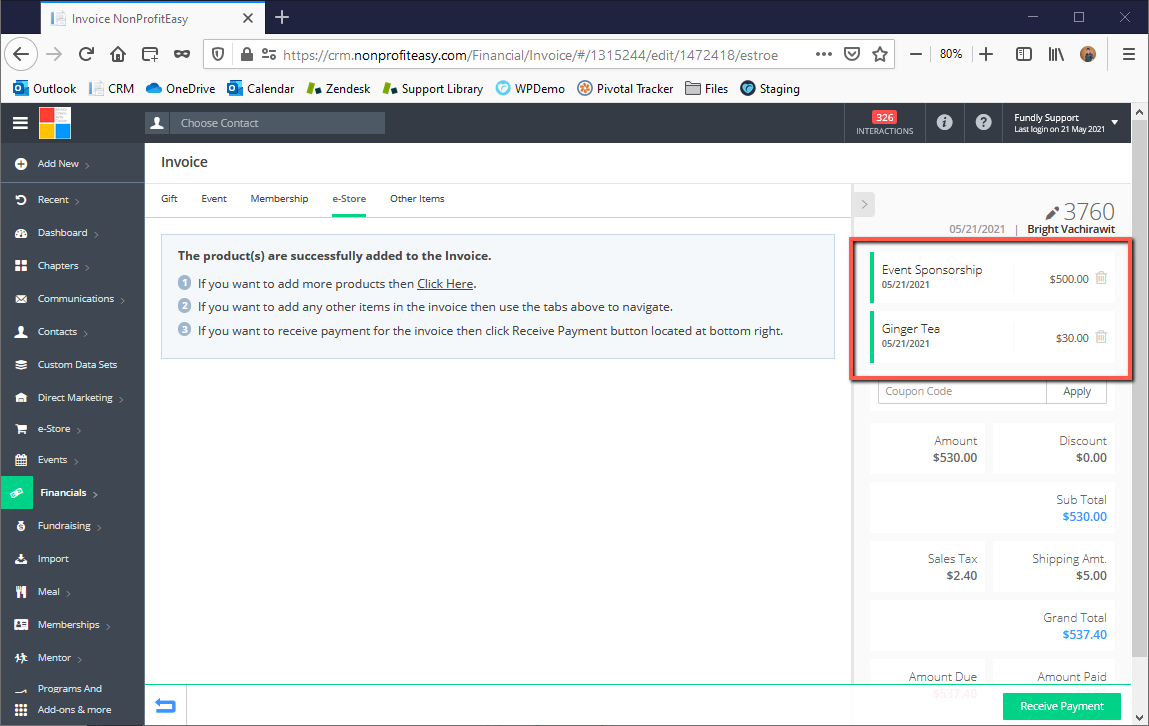
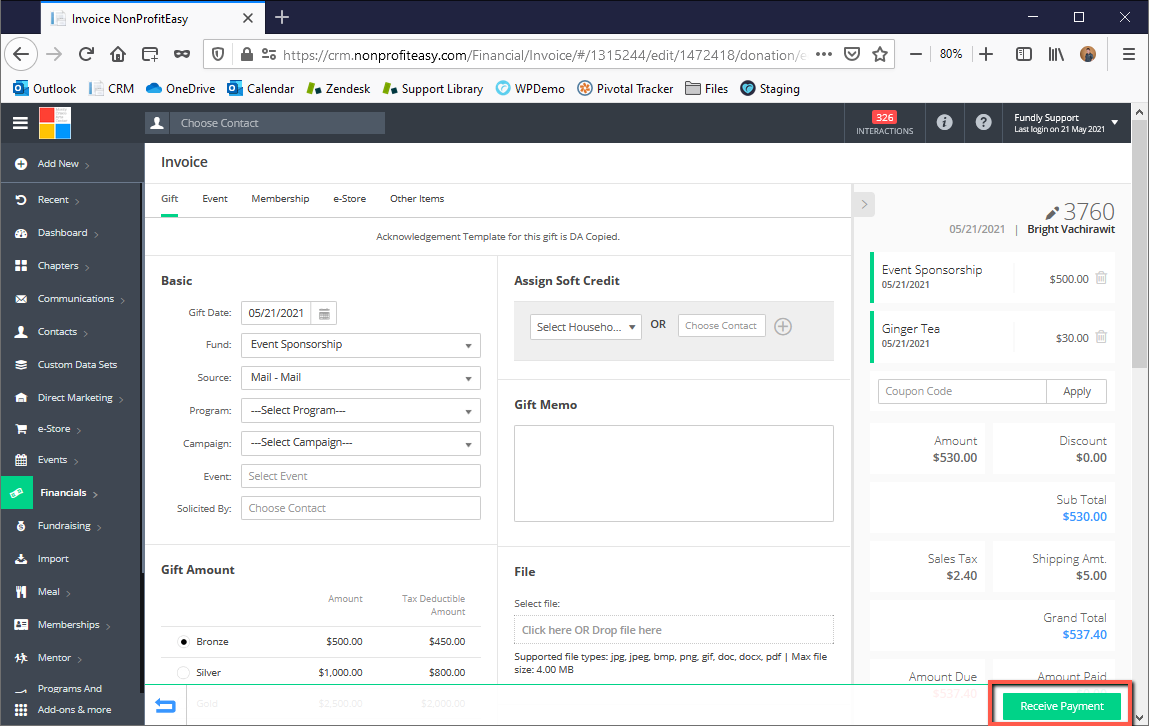
- After you complete the registration, the green Receive Payment button will appear in the lower right. If you wish to record payment at this time, you can do so. Otherwise, you can exit the invoice and record payment at a later date.
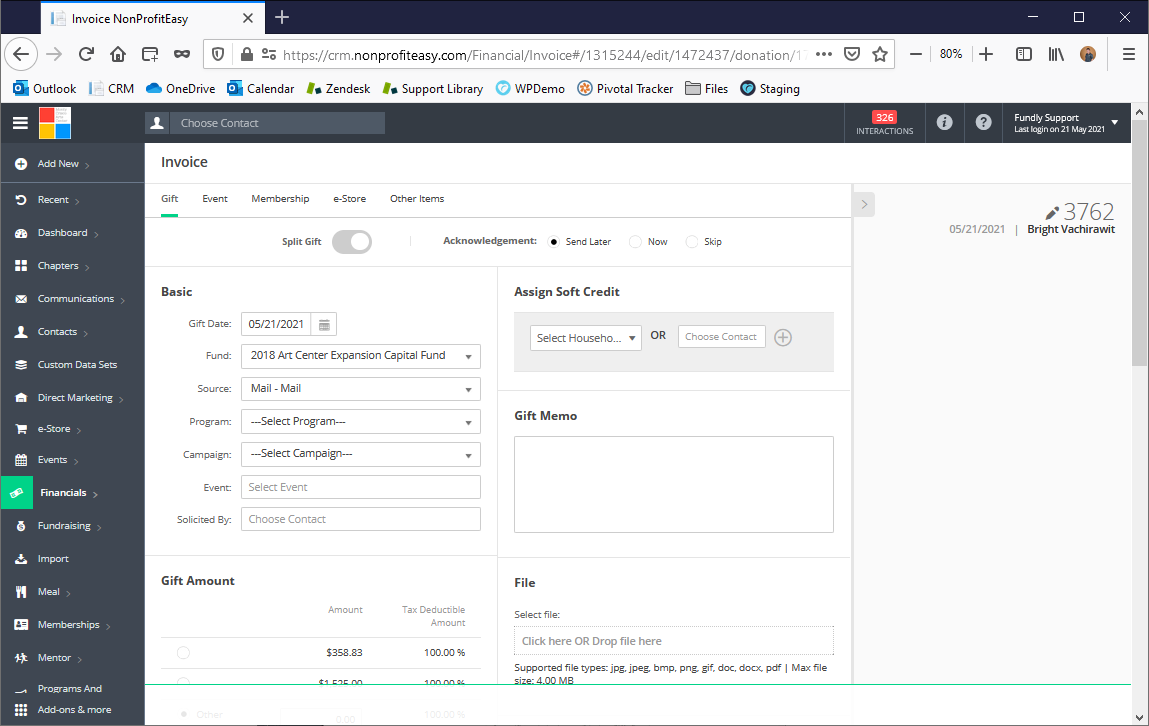
- If you are entering a donation:
- once you select Gift, you will be presented with a list of Funds. Select the fund.
- You will be then taken to the Add Gift screen where you will complete the gift fields. For details on how to Add Gifts/the gift fields, see the Add Gifts tutorial.
- After you record the donation details, the green Receive Payment button will appear in the lower right. If you have the payment information, you can enter it now. Otherwise, you can exit the invoice and record the payment later. Please Note: CRM uses cash accrual accounting principles; as such, donations should be recorded only when they are "in hand"/payment has been received. If payment is not yet received, then, generally, this should be recorded as a pledge in the system (create invoice cannot be used to record a pledge or a stock gift or a grant. These transactions can only be recorded from their respective index pages).
- Also note that you can only add Stock Gifts through Main Menu: Add New > Add Stock Gift and though the Add Stock Gift on the lower right of the gift index screen. You can't add it through create invoices screen.
- If you are entering a membership:
- Click on the Membership tab. You will be presented with the list of Membership Levels. Select the level and then you will be taken to the Add New Membership screen.
- See this tutorial on adding a new membership/for the description of the add membership fields.
- After you complete the membership, the green Receive Payment button will appear in the lower right. If you wish to record payment at this time, you can do so. Otherwise, you can exit the invoice and record payment at a later date.
- If you need to edit any of the invoice meta data (invoice date or number) while you're creating the invoice, click on the Edit(Pencil) icon above the contact’s name on the right.

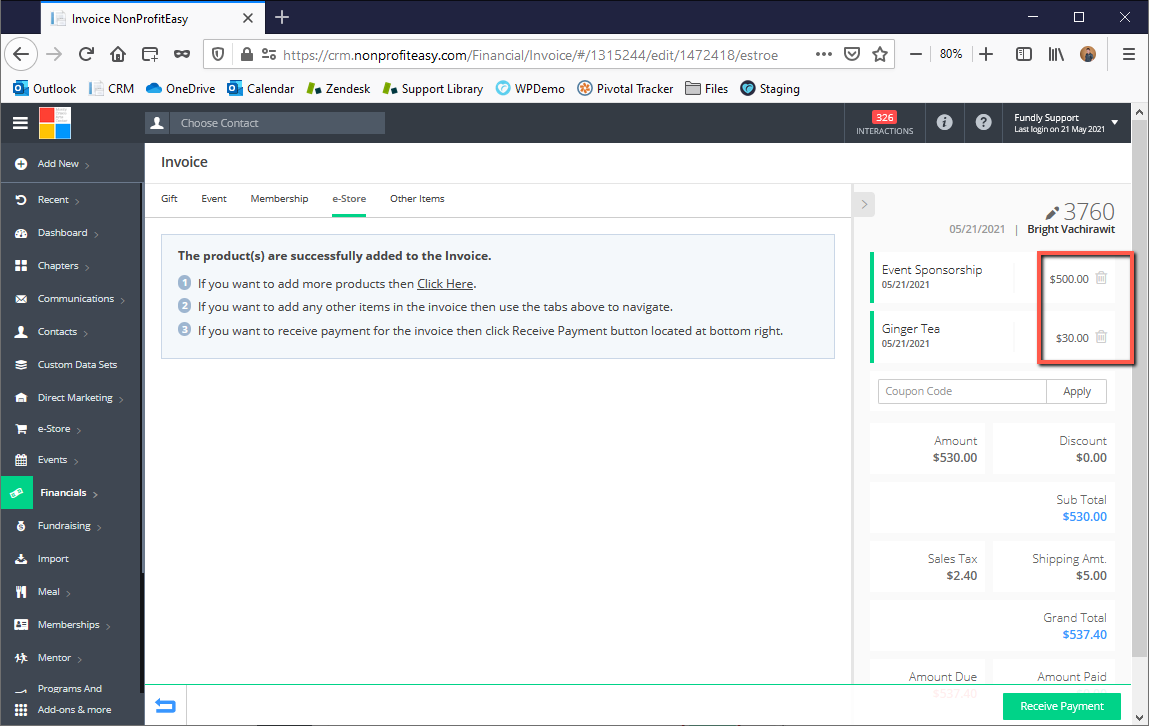
- To edit an item that has been added to an invoice, click on the item name in the area on the right (under the invoice number). This will open up the item in the main part of the screen for editing. Please see our tutorials on editing event registrations, memberships, and donations for more details on how to edit these specific types of transactions.
- To remove a transaction from the invoice, click on the Delete icon (trash can) button to the right of the appropriate transaction in the area on the right.
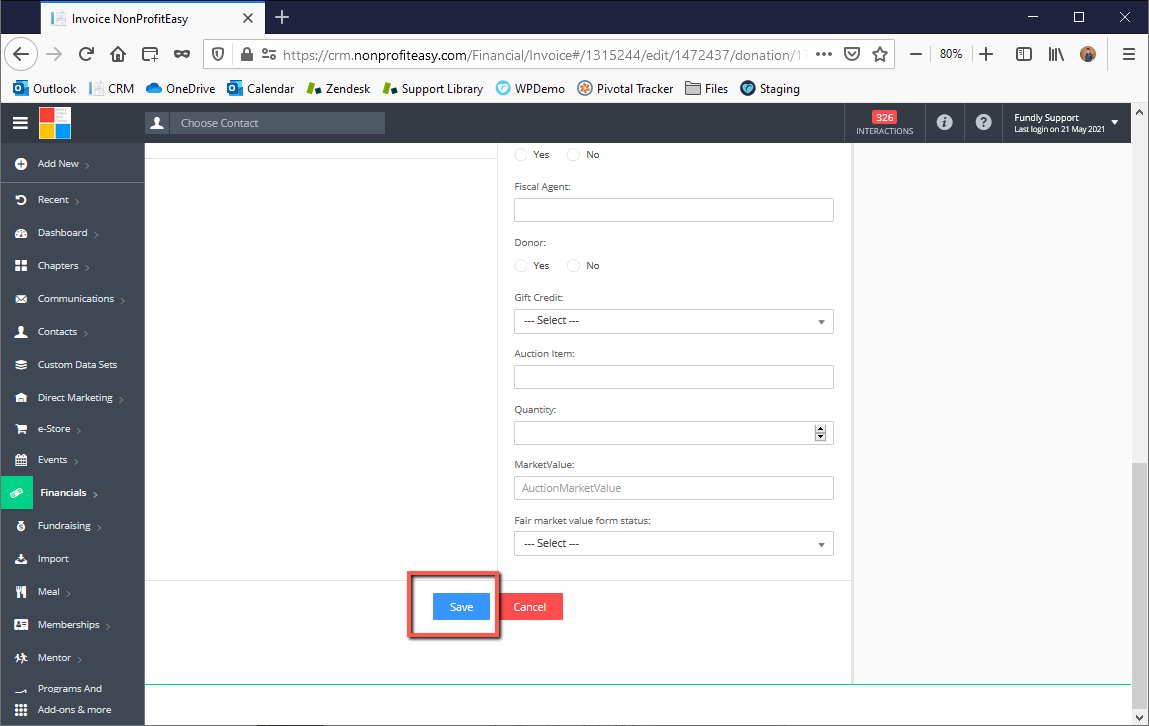
- To complete an invoice click the Save button at the bottom the form of the transaction. To record payment, click on the Receive Payment button in the lower right hand corner of the screen.
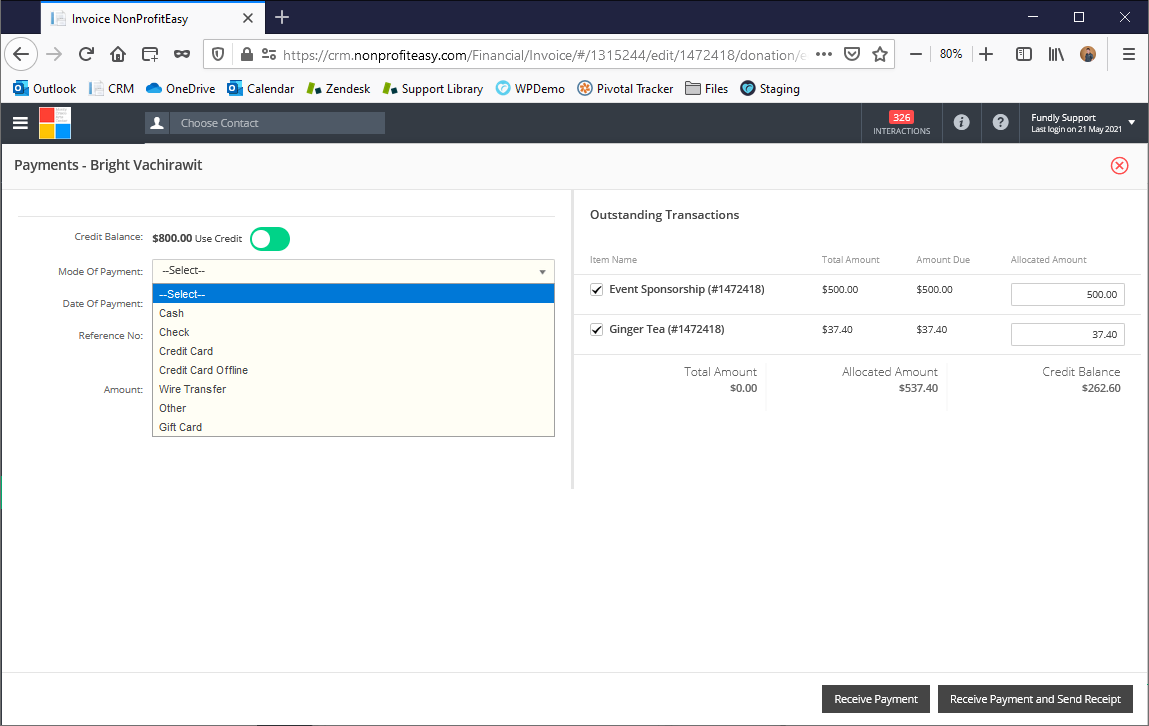
- If the contact has a credit on their account, you use the credit to pay for the transaction (see our tutorial on using credits) or you can record the payment details if not using a credit.
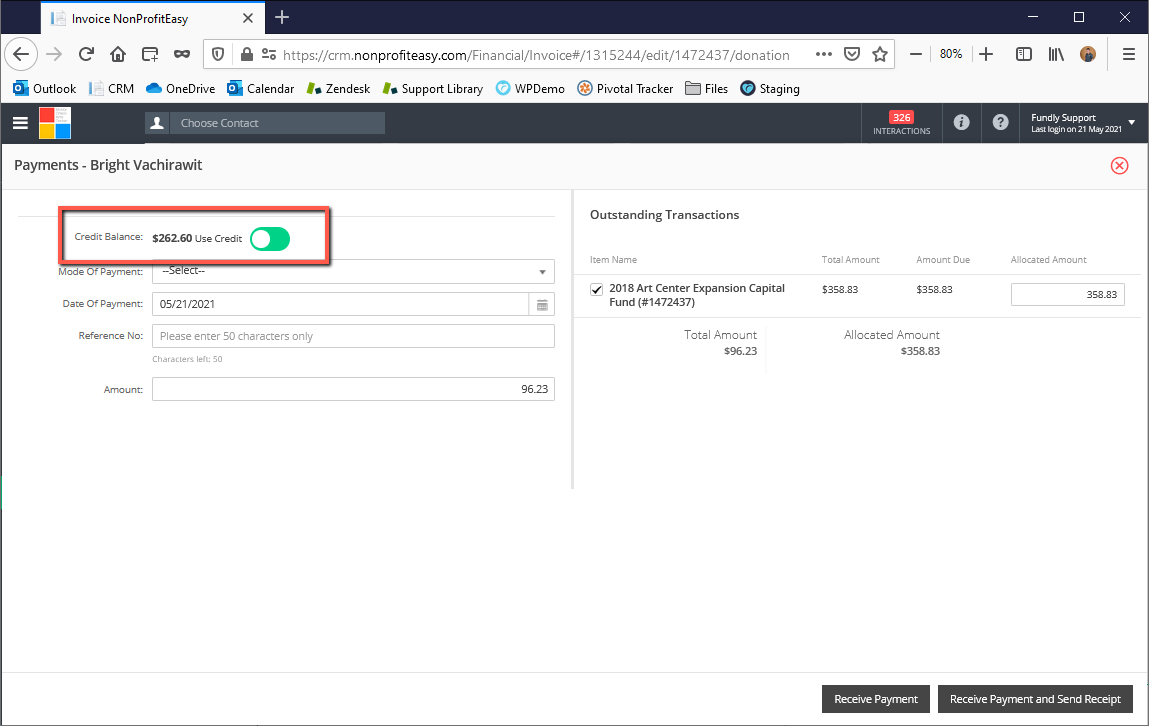
- If recording payment, record the payment date, and payment mode. Credit Card will charge the contact's credit card (via Stripe) immediately. Credit Card offline means that the credit card was already charged (either directly via Stripe or perhaps through a third-party site such as Paypal, Network for Good, etc.) (you can use either credit card offline or other for these transactions). ACH can be recorded as wire transfer or other. Be sure to check the box next to the transaction in the right hand panel to associate the payment to the transaction and then select Receive Payment or Receive Payment and Send Receipt.
- You can also receive payment for a contact from contact profile screen (view contact page). On the contact profile page (contact view page), click Quick Action at the top. This will open the Quick Action pane.
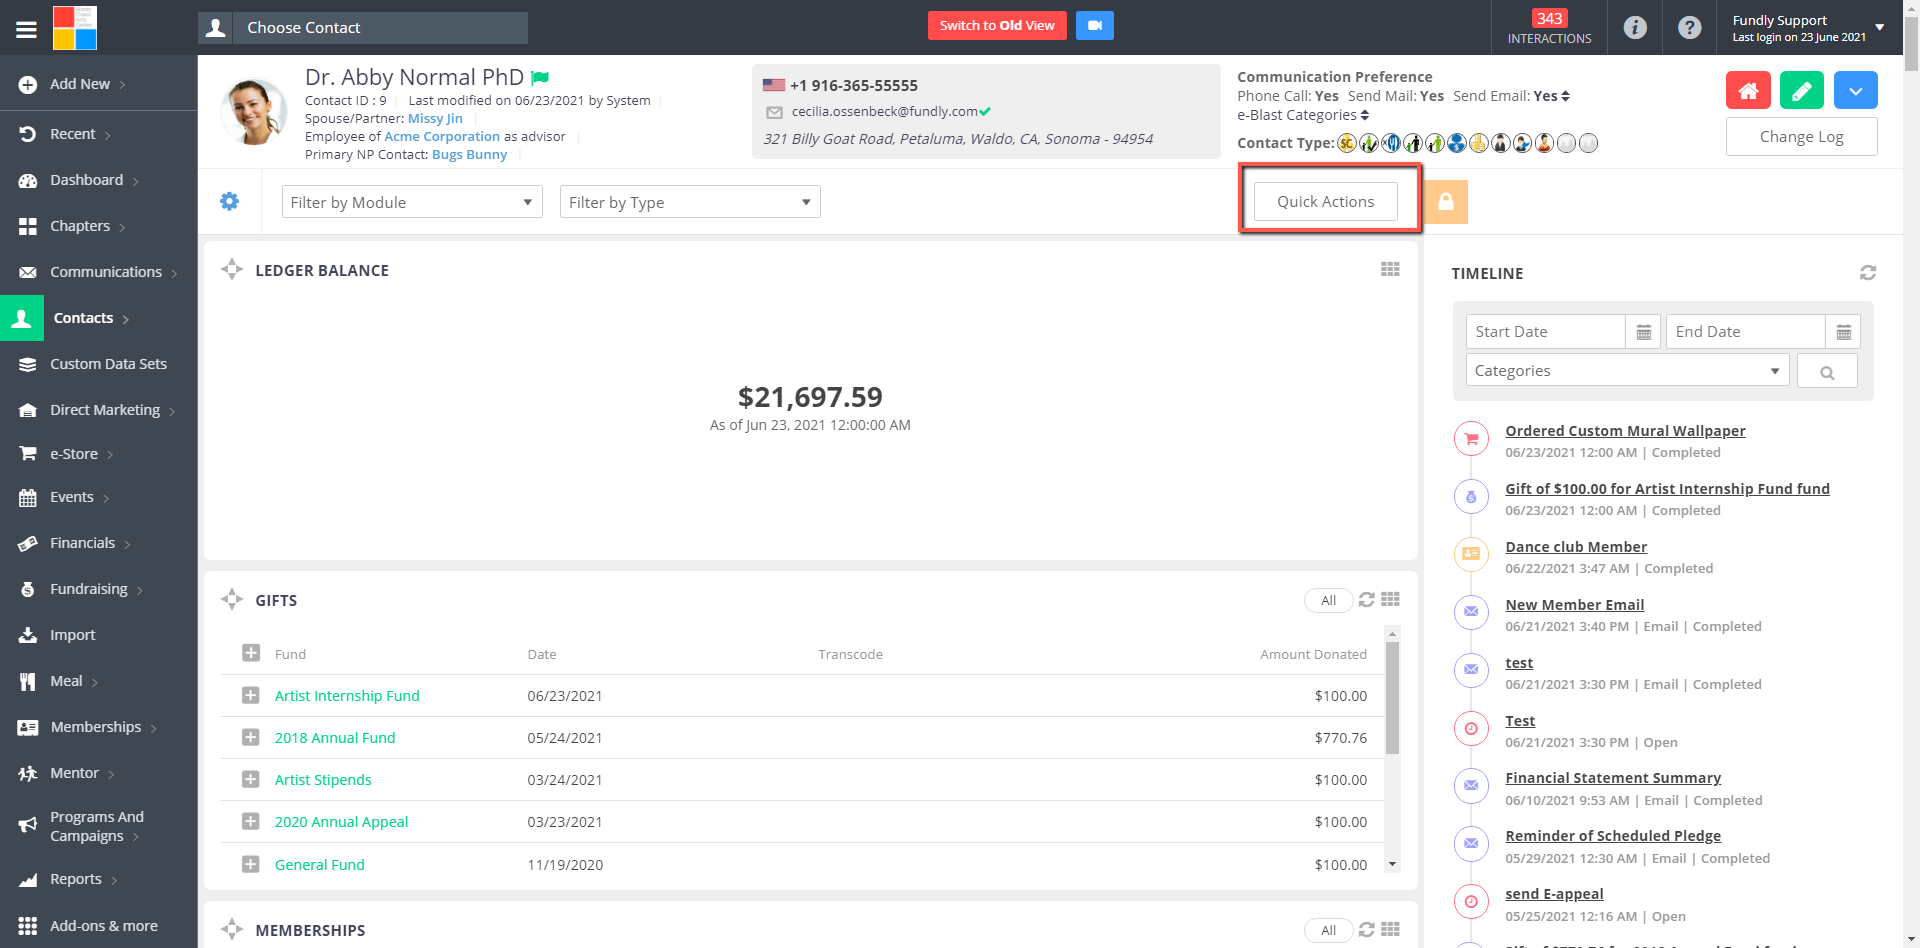
- In Quick Action pane, click Receive Payment under Financials.

- Follow the above steps #23 and #24 to complete Receive Payment process.
Comments
0 comments
Article is closed for comments.