Chapters: Create Chapter Account
Please email support@fundly.com to activate chapters for your organization. Once chapters have been activated (an overnight process), you may proceed through the following steps.
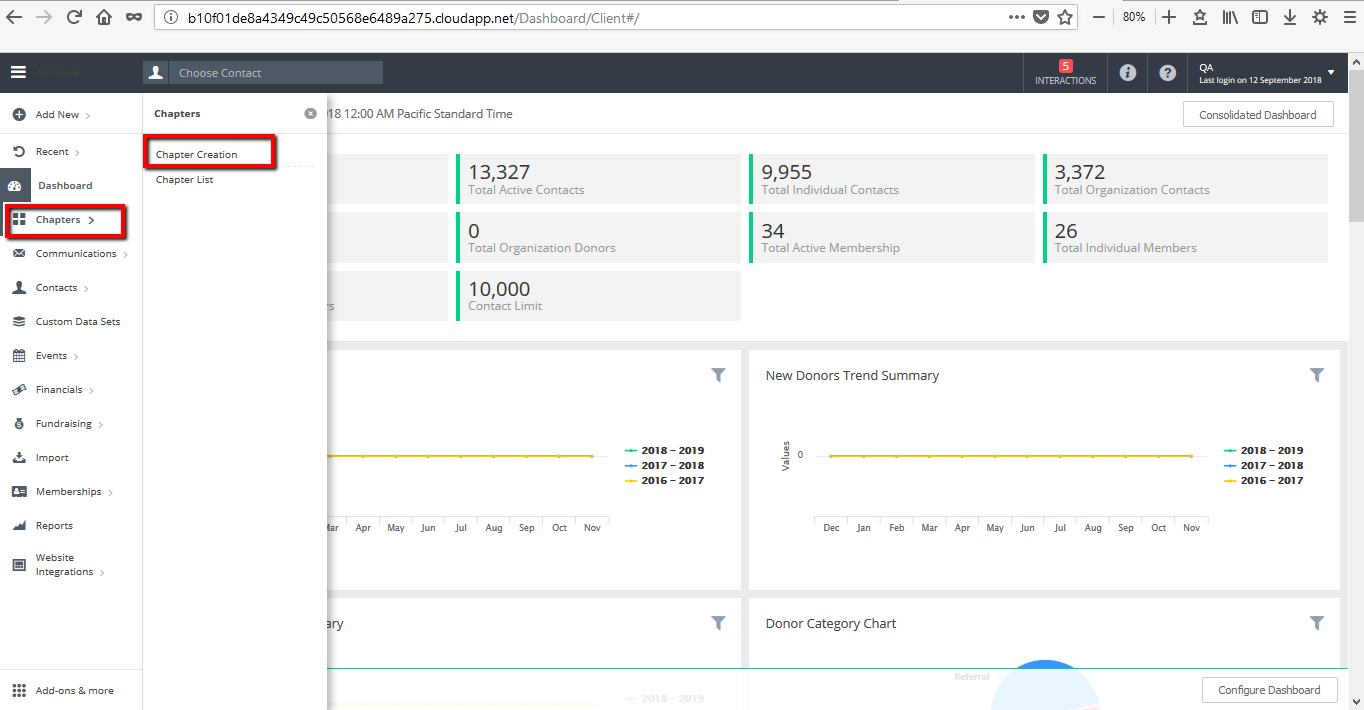
- From the Left hand Main Menu, click Chapter, select Chapter Creation from the sub menu OR from the Chapter List, select Chapter Creation from the menu on the left.
- Please Note: Once you enter chapter creation/set-up, none of your choices/work is saved until Step 6: Review and Confirm. If you leave the set-up process before completing step 6, you will have to start over at the beginning to set up the sub-chapter.
- On Tab #1, Select Plan, select the chapter’s CRM subscription level
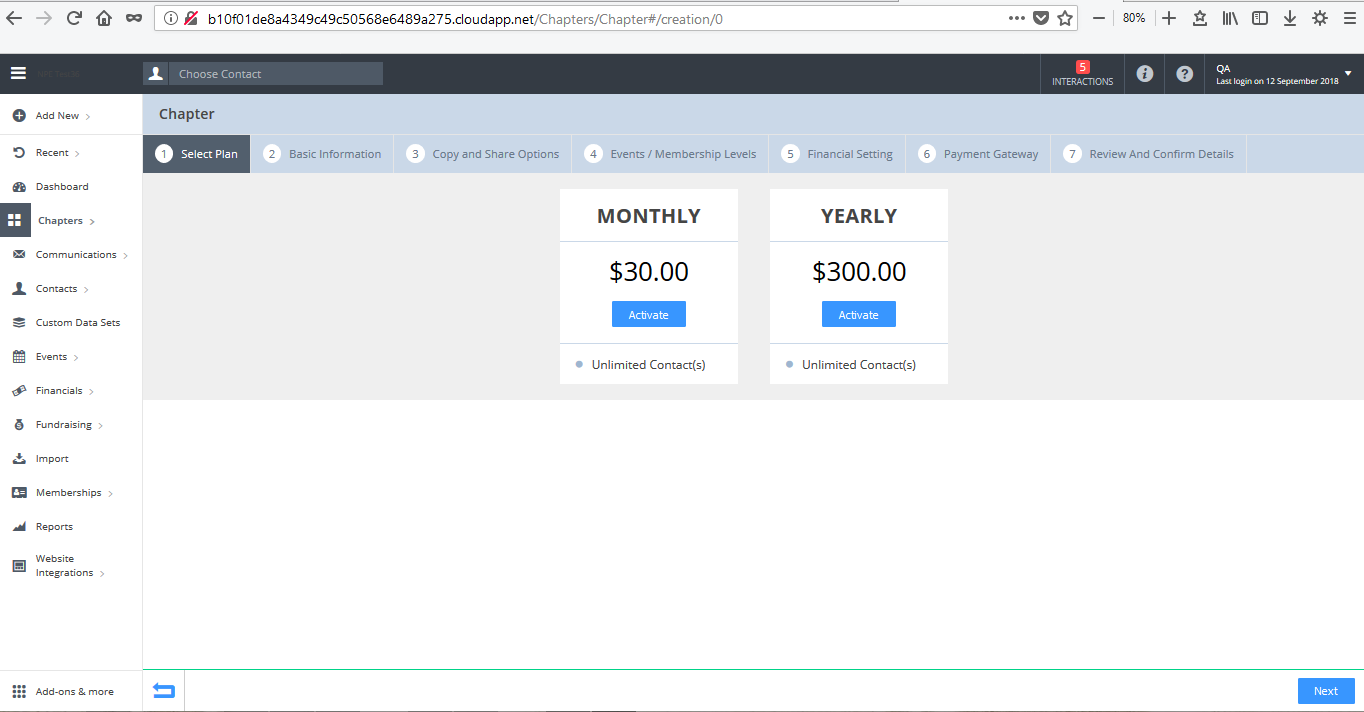
- If you have a coupon code, enter it.
- Select Next
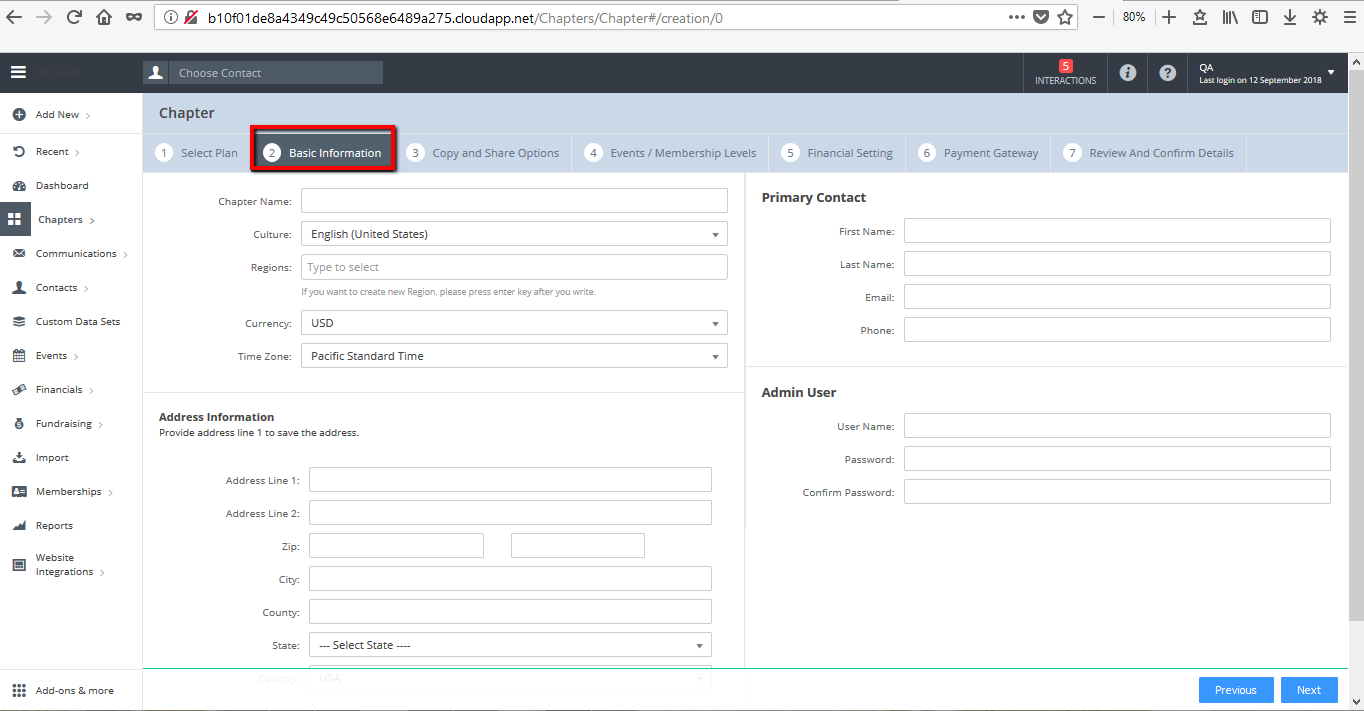
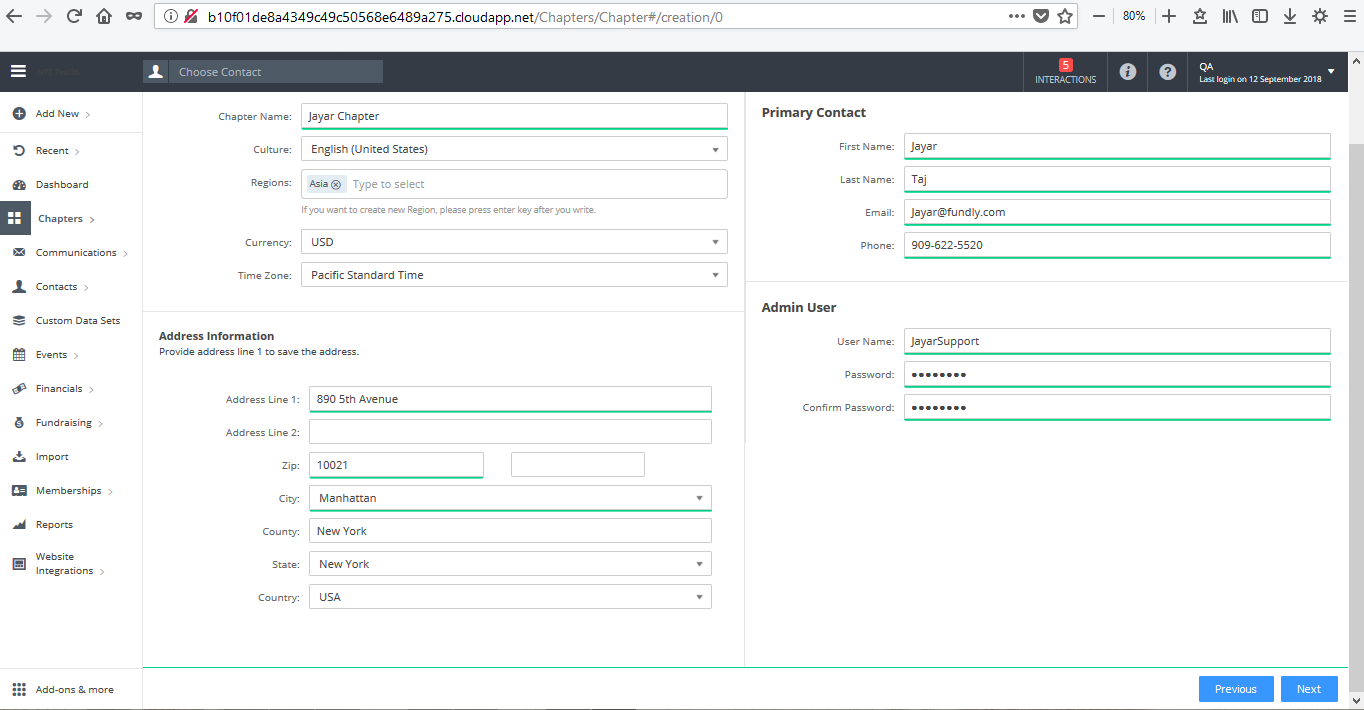
- On the Tab #2, Basic Information, fill in the information for the chapter (Organization Name, Address, Primary Contact, and Admin User); then select Next to proceed to the next tab. Please Note: the name and email you enter as admin should be the person at the chapter's organization who will be the administrator for the chapter's database.
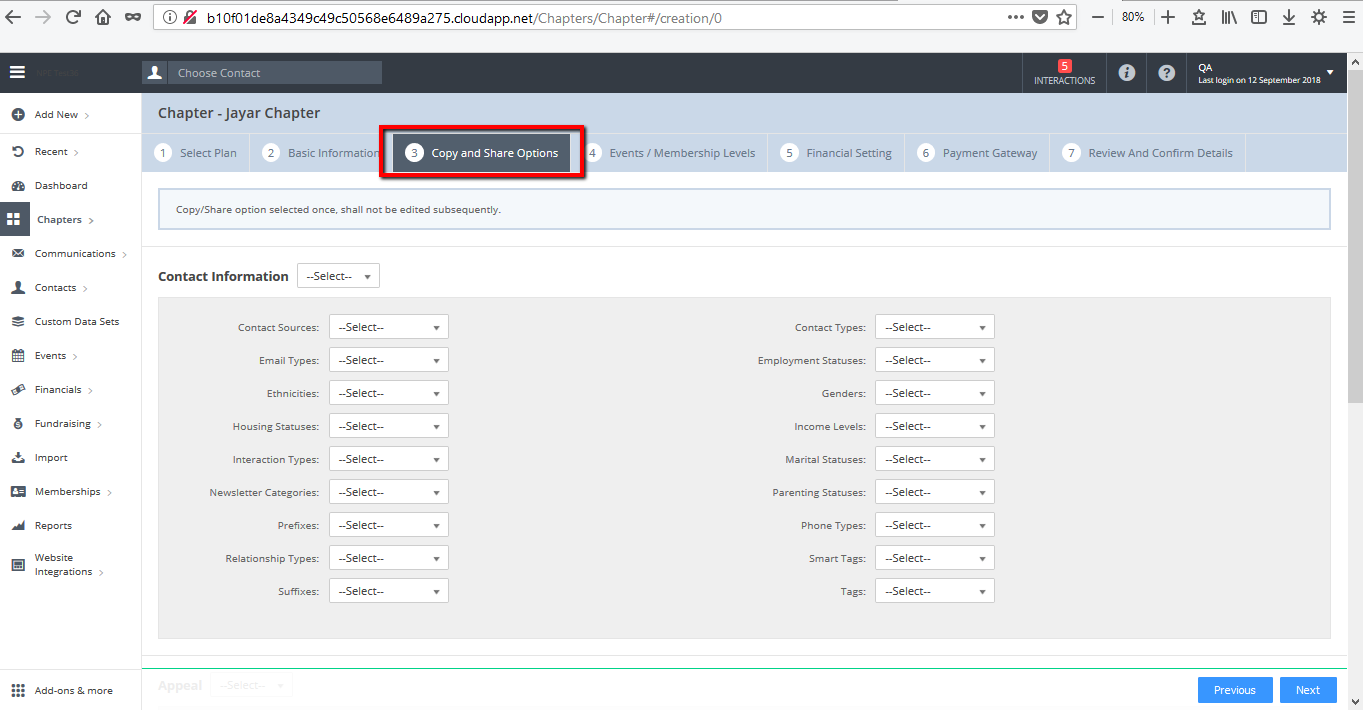
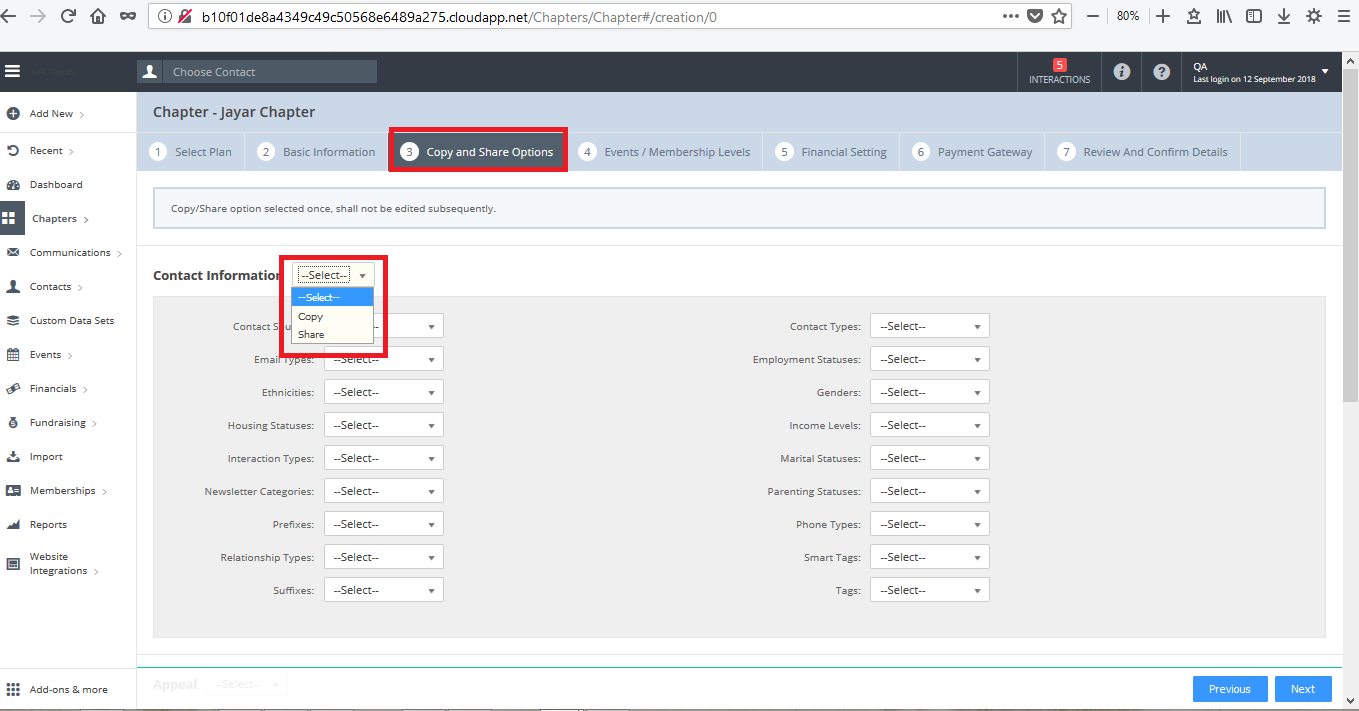
- On Tab #3, Copy and Share Options, user then selects if they wish to copy or share configurations options (contact configurations such as genders and prefixes), appeals module configurations (if applicable), financial configurations (accounts and classes), and fundraising/donation configurations (including funds, campaigns, and programs) from the parent organization’s CRM to the chapter’s CRM.
- Copy copies the chosen configurations to the chapter account at the time of creation as a static copy (using the copy option, any further changes made to configurations in the parent account after the chapter account creation will not be pushed to the chapter account). The chapter users will be able to edit these configurations going forward.
- Share allows the parent organization to share their configurations with the chapter account going forward. Under share, any changes made to the parent organization’s configurations after the chapter account creation will be reflected in the chapter account’s system. The chapter users will not be able to edit these items going forward (only the parent organization can edit these items going forward).
- Select Copy or Share next to each bolded section header to set all sub-items for that section to the selection.
- Otherwise, leave the box next to the bolded header blank and set the copy/share option per sub-item.
- For any option you are unsure of, you can leave them blank and choose whether to copy or share at a later date.
- When you have finished on this tab, select Next to move to the next tab in the lower right corner.
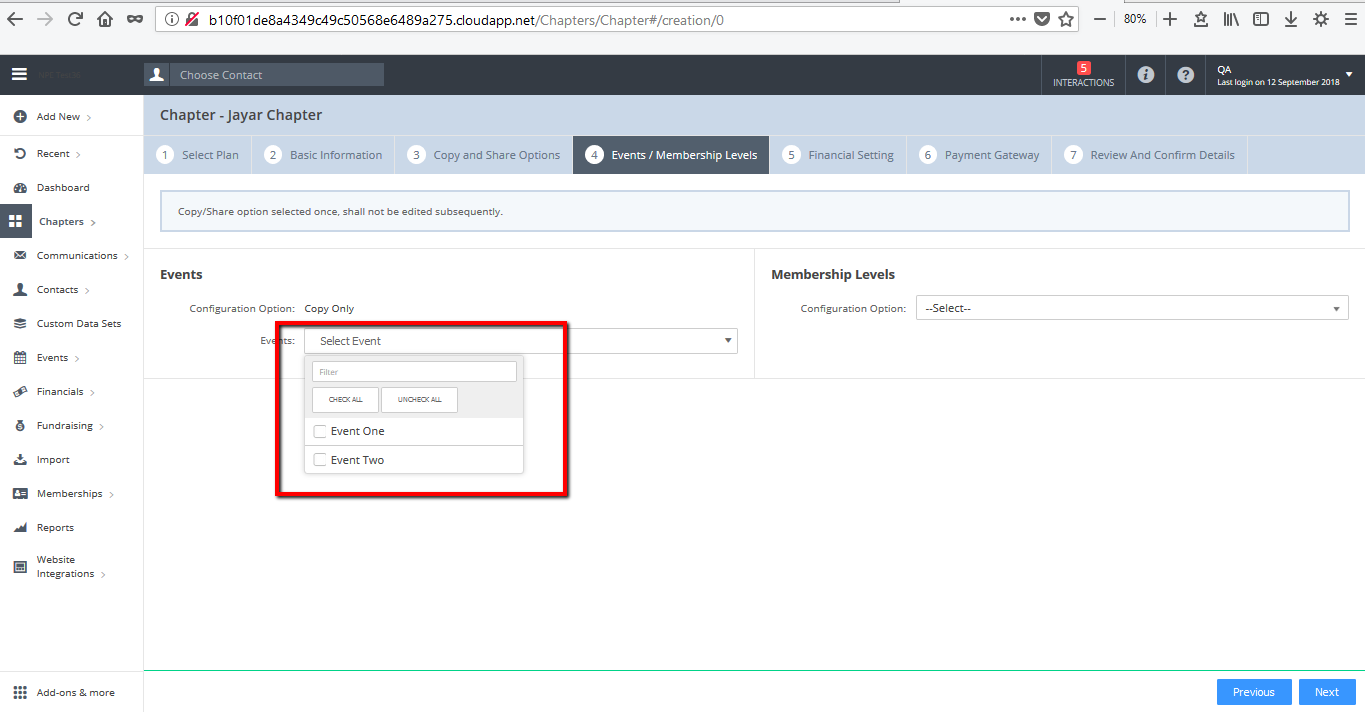
- On Tab #4, Events/Membership Levels, select the individual events (if any) that the parent organization wishes to copy to the chapter’s CRM and choose whether or not to share or copy membership levels from the parent organization’s system to the chapter system. Please note: events can only be copied and not shared between parent organization and chapter. Memberships Levels can be either copied or shared.
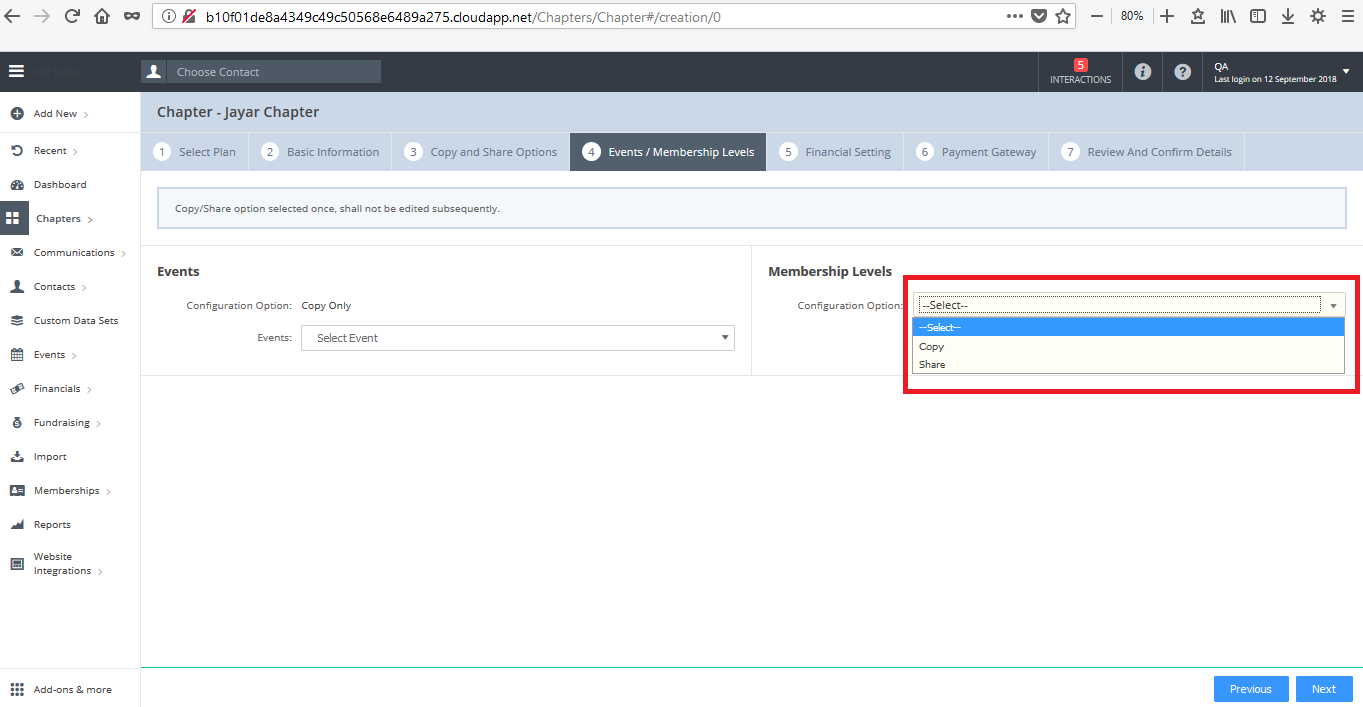
- Select Next when done.
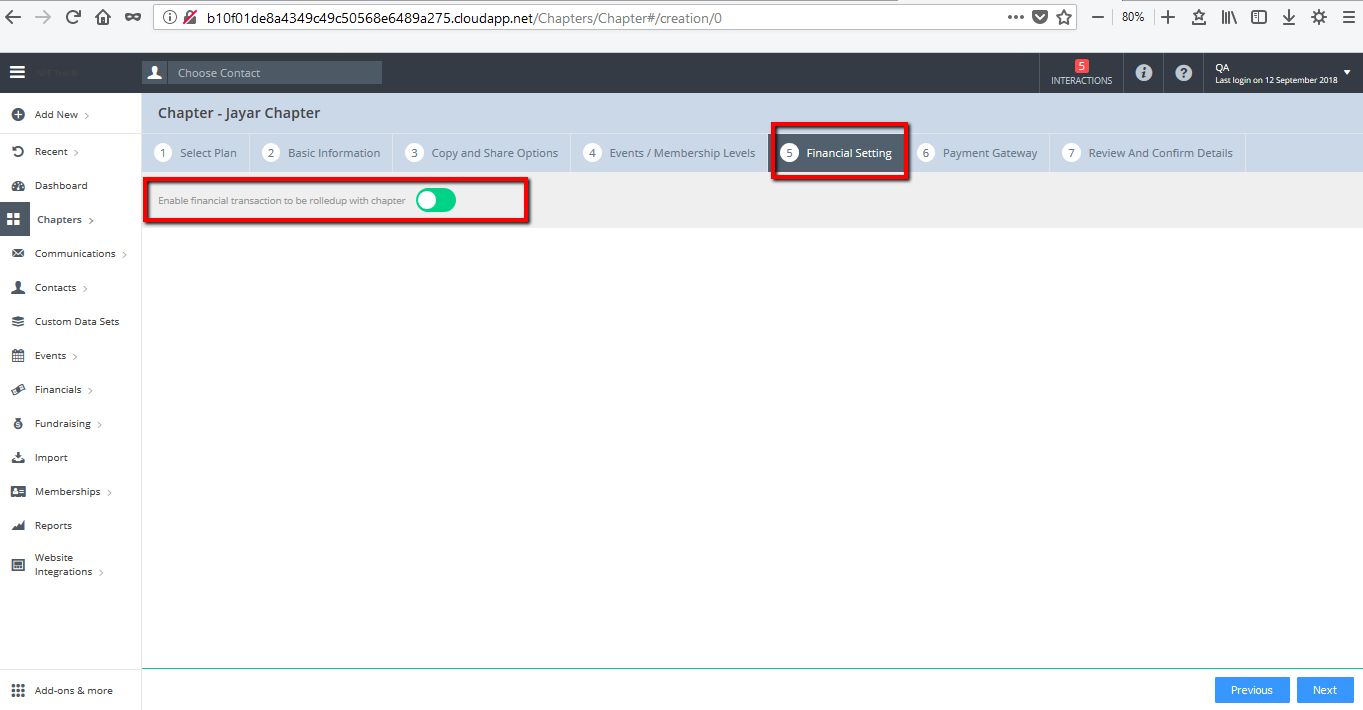
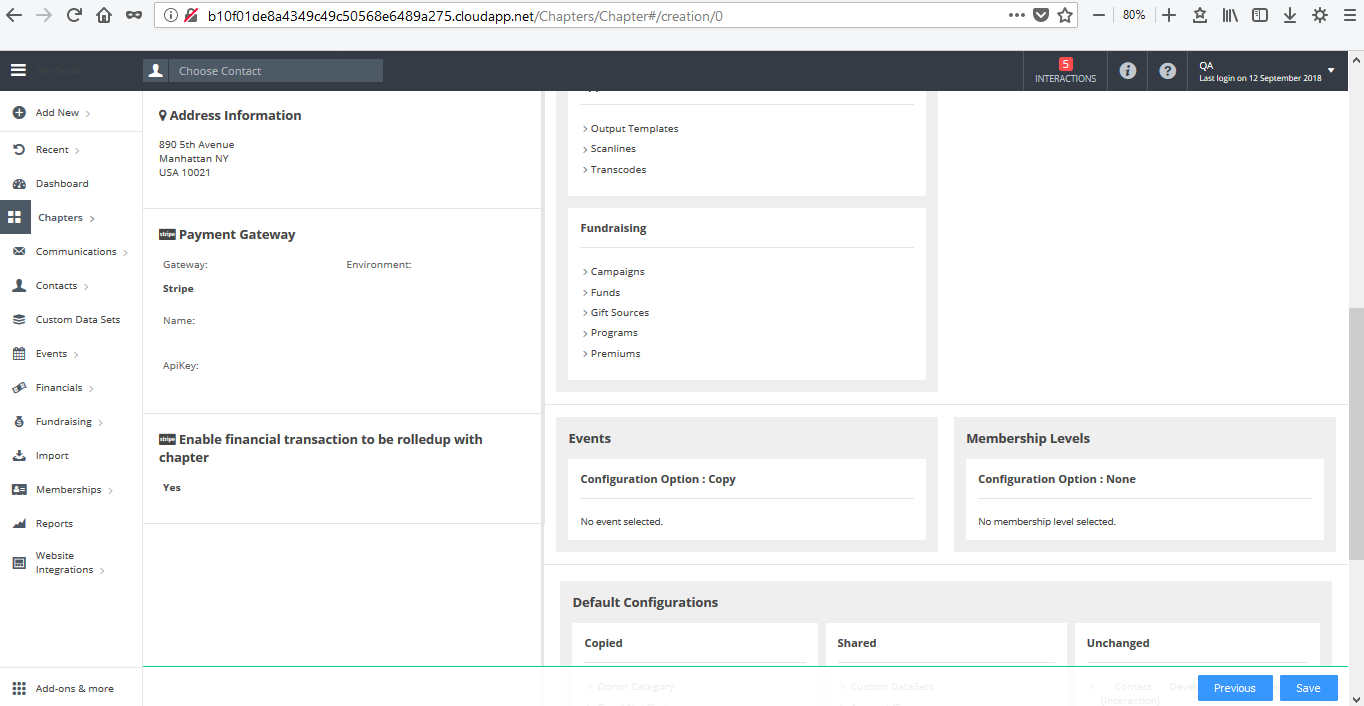
- On tab #5, Financial Setting, the user can opt to roll up financial transaction with chapter. If you enable roll up, all financial transactions from chapter and parent will be displayed in the Financials Module. If you do not enable roll up, only financial transactions from the parent account will show in the Financials Module.
- On Tab #5, Payment Gateway, the user can opt to use the parent organization’s payment gateway for the chapter’s system or to configure a new payment gateway for the chapter account to use. The Payment Gateway is the credit card processing company used to process credit card payments through the CRM. The CRM only integrates with Stripe. For more information, see our tutorials on How to Configure a Payment Gateway.
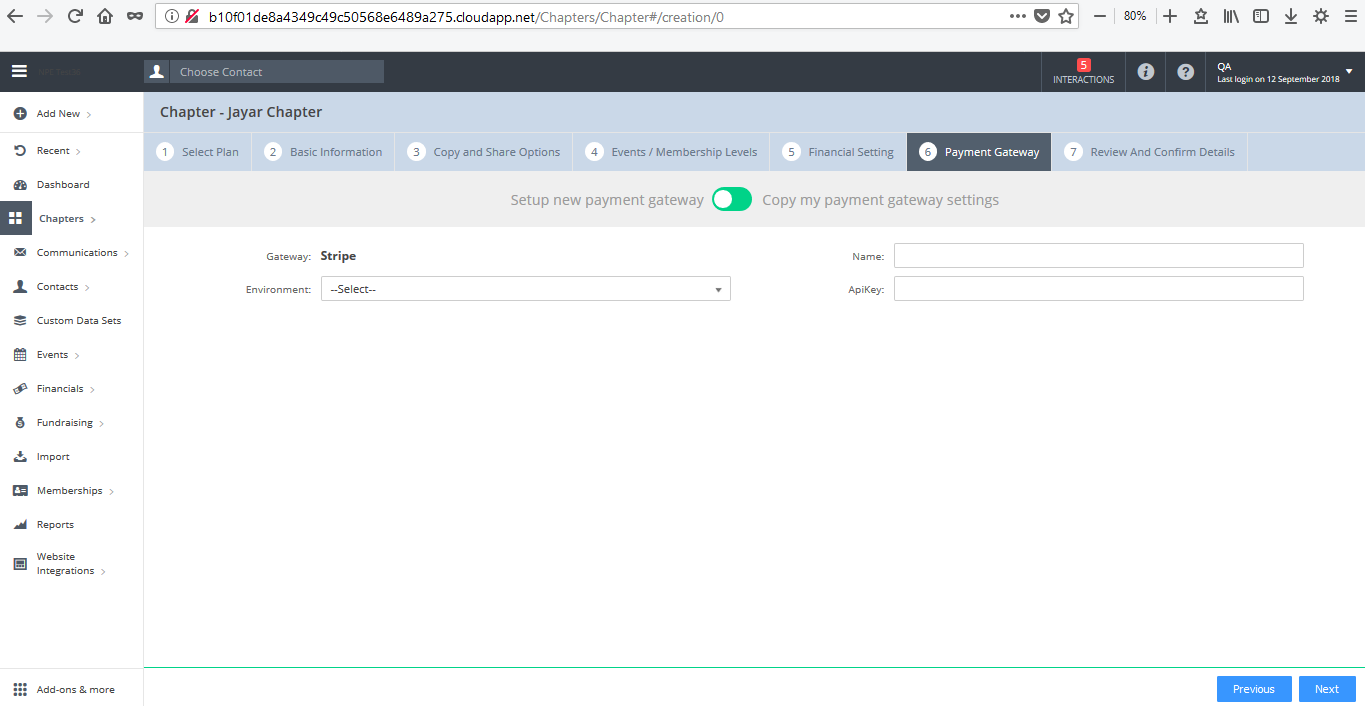
- By default, the system selects to use the parent organization’s payment gateway. Change the slider to Setup New Payment Gateway to enter new payment gateway information for the sub-chapter account. If the parent organization doesn’t know the chapter’s payment gateway information, select Setup New Payment Gateway and leave all fields blank (information is not required in these fields to move to the next step). The Payment Gateway information can then be configured from within the chapter account at a later date.
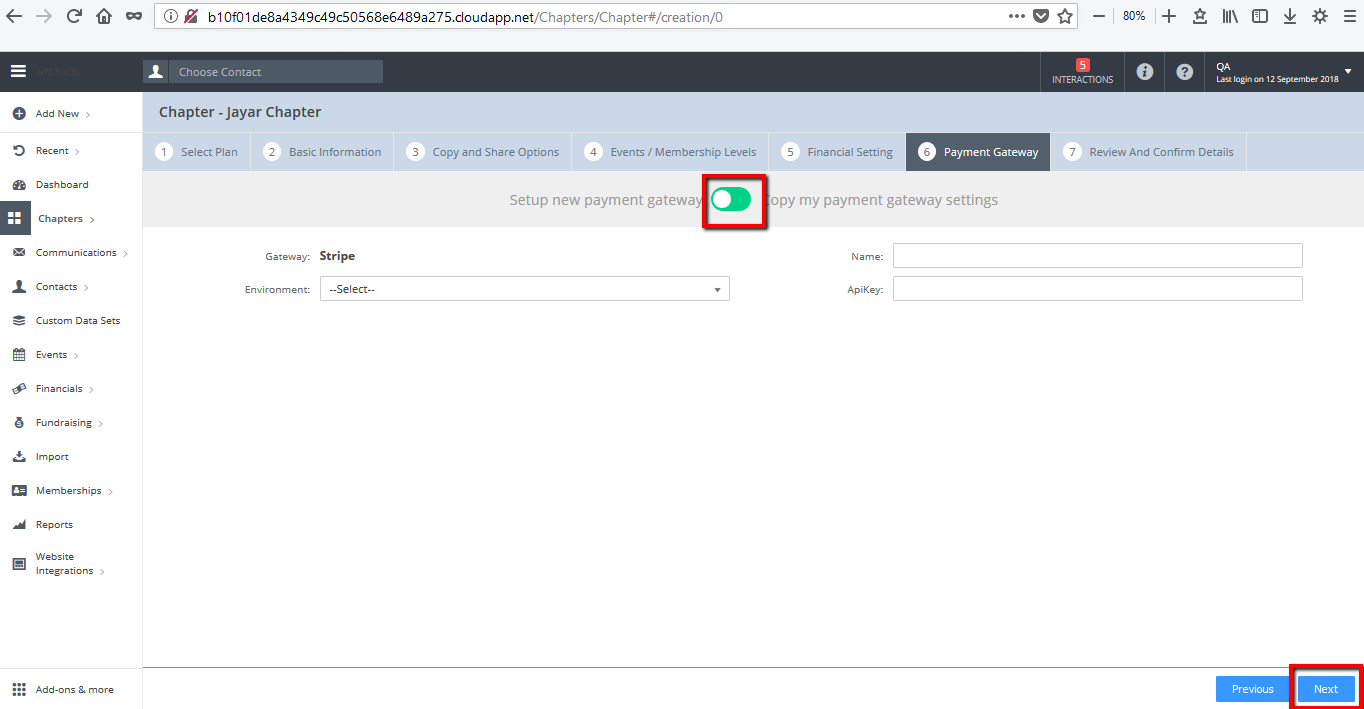
- When finished, click Next.
- On Tab #6, Review and Confirm Details, review all settings selected; please note: once you save and create, you will not be able to change copy/share options.
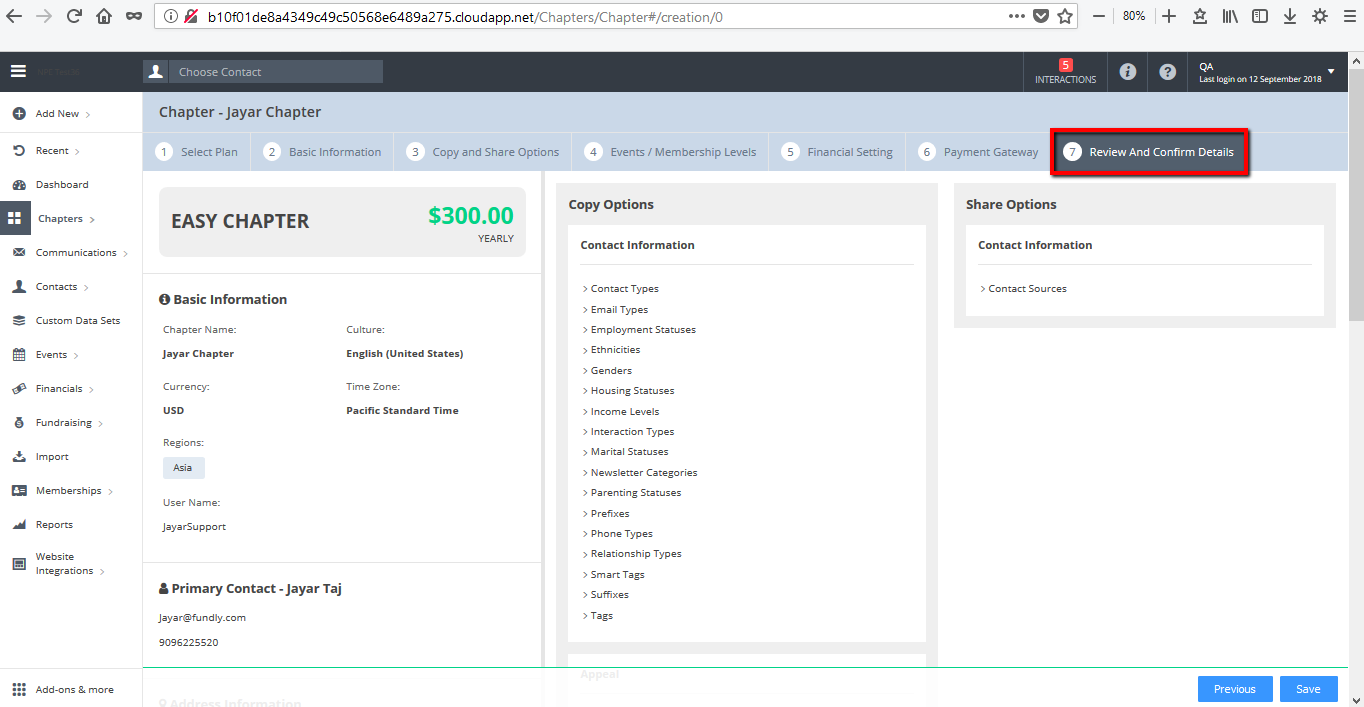
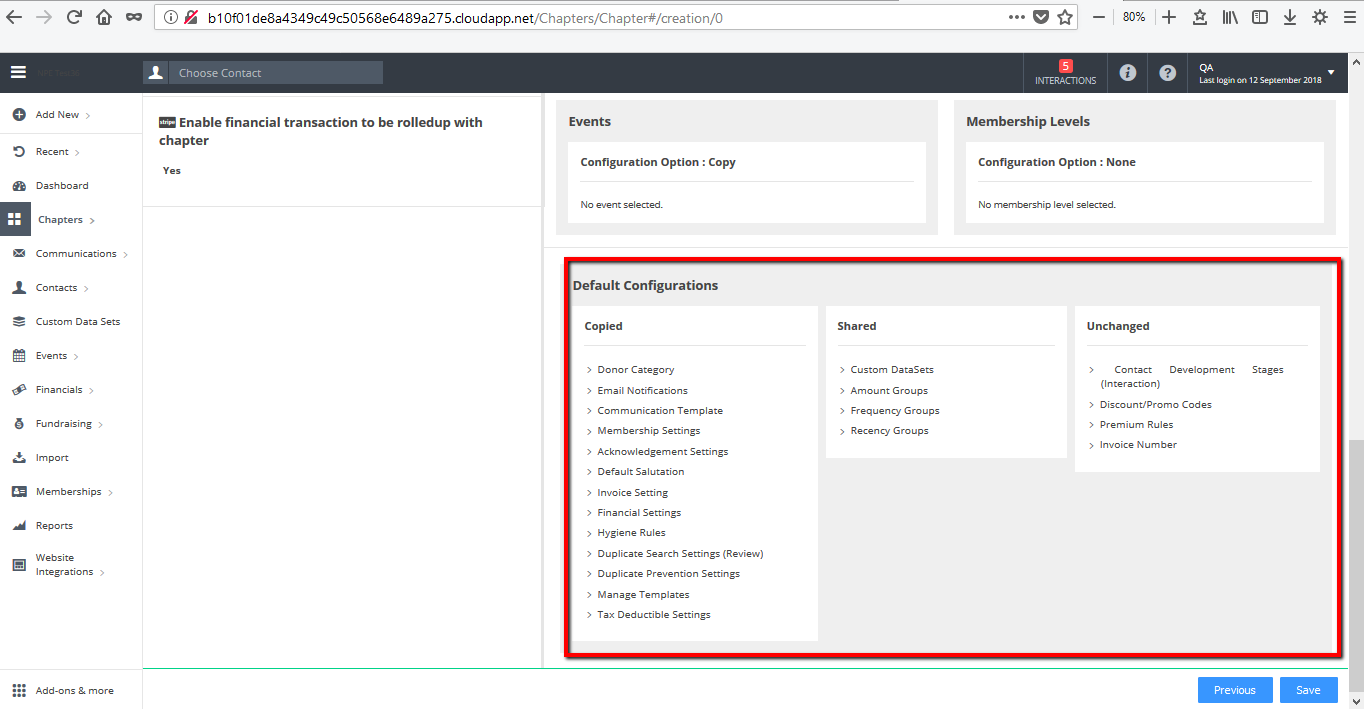
- The Default Configurations are those configurations the user cannot change/modify; this information is presented here as informational only so that the user is notified of these settings. All items copied to the chapter system can be edited/deleted by the chapter if the parent organization's configurations/templates are not needed. All information shared between the two systems will not be editable by the chapter.
- Click Save to create the chapter account.
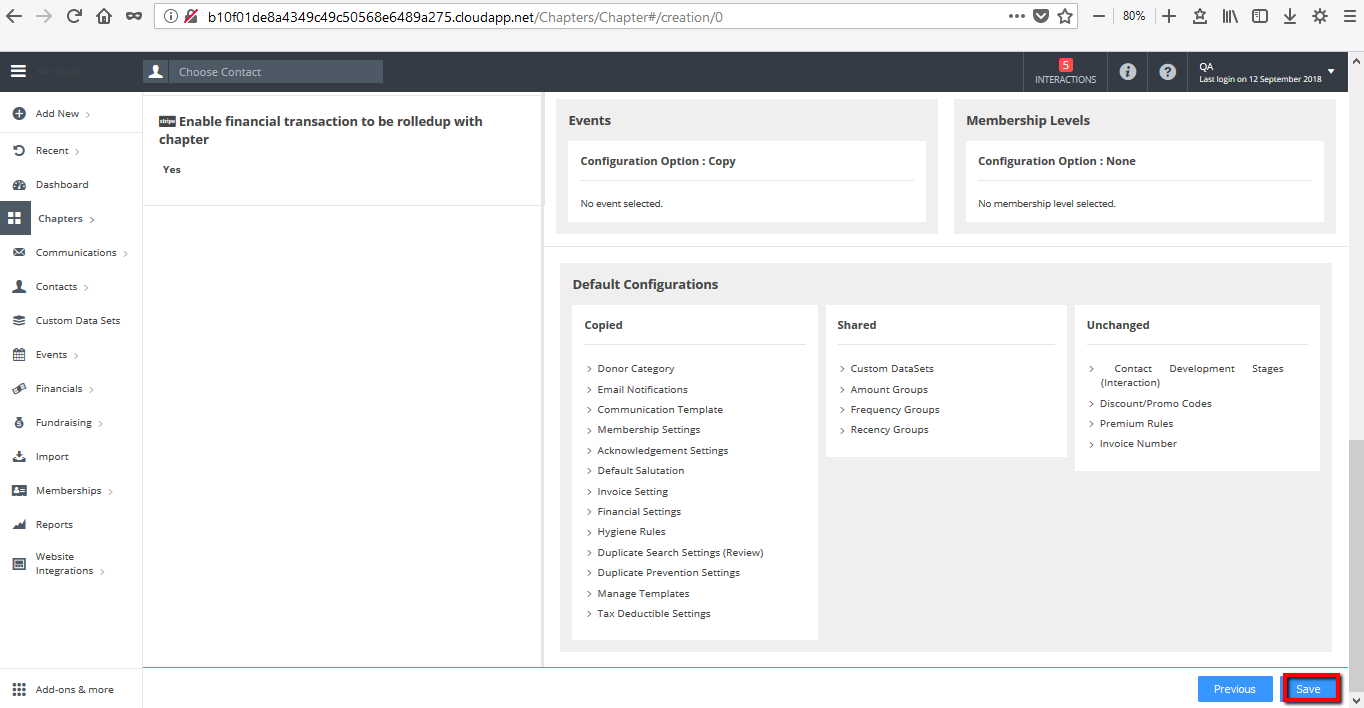
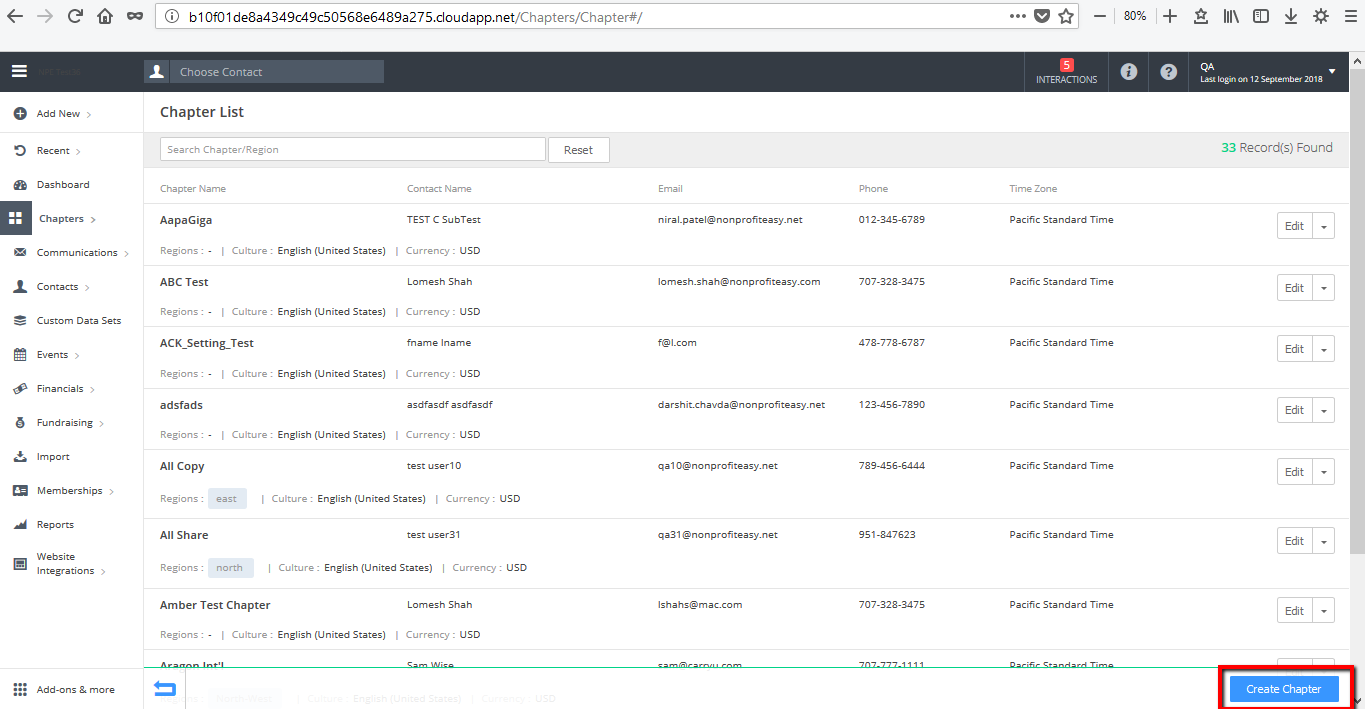
- The newly created chapter should now appear in the Chapter List.
- The person you identified during chapter set up (Tab #2) as the system administrator for the chapter will receive an email with their log-in credentials to the new chapter CRM (log in ID and temporary password) and can begin using the system immediately.
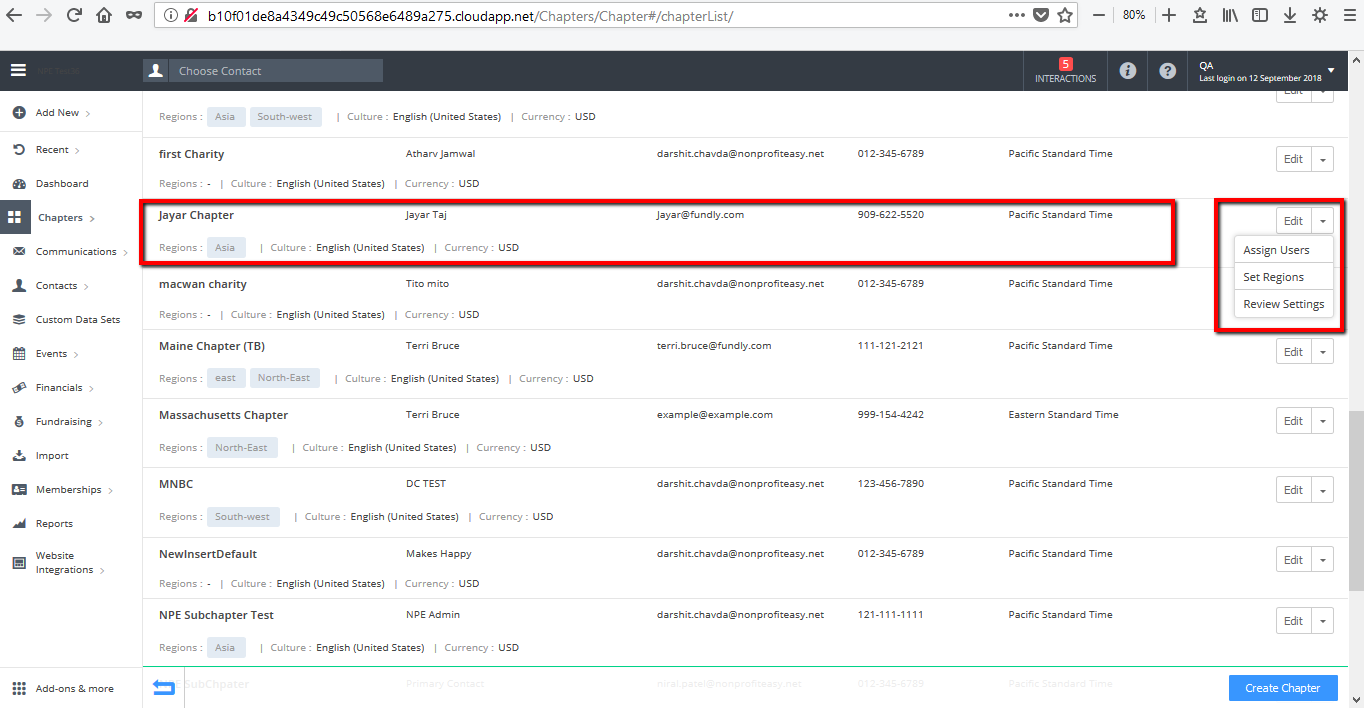
- If you wish for users of the parent organization’s system to be able to access the chapter system directly, select the drop down to the right of the sub-chapter name and select Assign Users.

Comments
0 comments
Article is closed for comments.